Since the beginning of the month I've been exhaustively testing and improving the 3D printed structure and now it is working nicely together with the manufactured PCB. The overall shape is now a little bit rounder, still not final though!
Major changes:
- Hall sensor: the new support for the breakout hall sensor is now provided by the pillar, making it easier to attach as the PCB is attached to it (and taking advantage of the 3 pin 2.54mm female header on the PCB);
- PCB: is locked tightly on both surrounding pillars and 6 screws and helps the overall rigidity;
- Daisy wheel: attending several feedbacks (including from David Knochenhauer, thank you!), I've made it removable and as a bonus, the initial assembly process is now much easier!
- Feeder: its new design takes advantage of the PETG's own flexibility, removing one pesky item from the B.O.M., the spring;
- Display: the bigger OLED with 128x64 pixels made the QR code totally straightforward to read (was pretty hard to focus) and also the overall GUI reading is much better (more updates on the GUI soon);
- Press: with this new shape the initial alignment when assembling is easier now, and its structural rigidity is greatly improved too. Also, it uses a M6 washer in contact with the servo to make sure it doesn't bend when pressed, while at the same time allowing it to rotate freely.
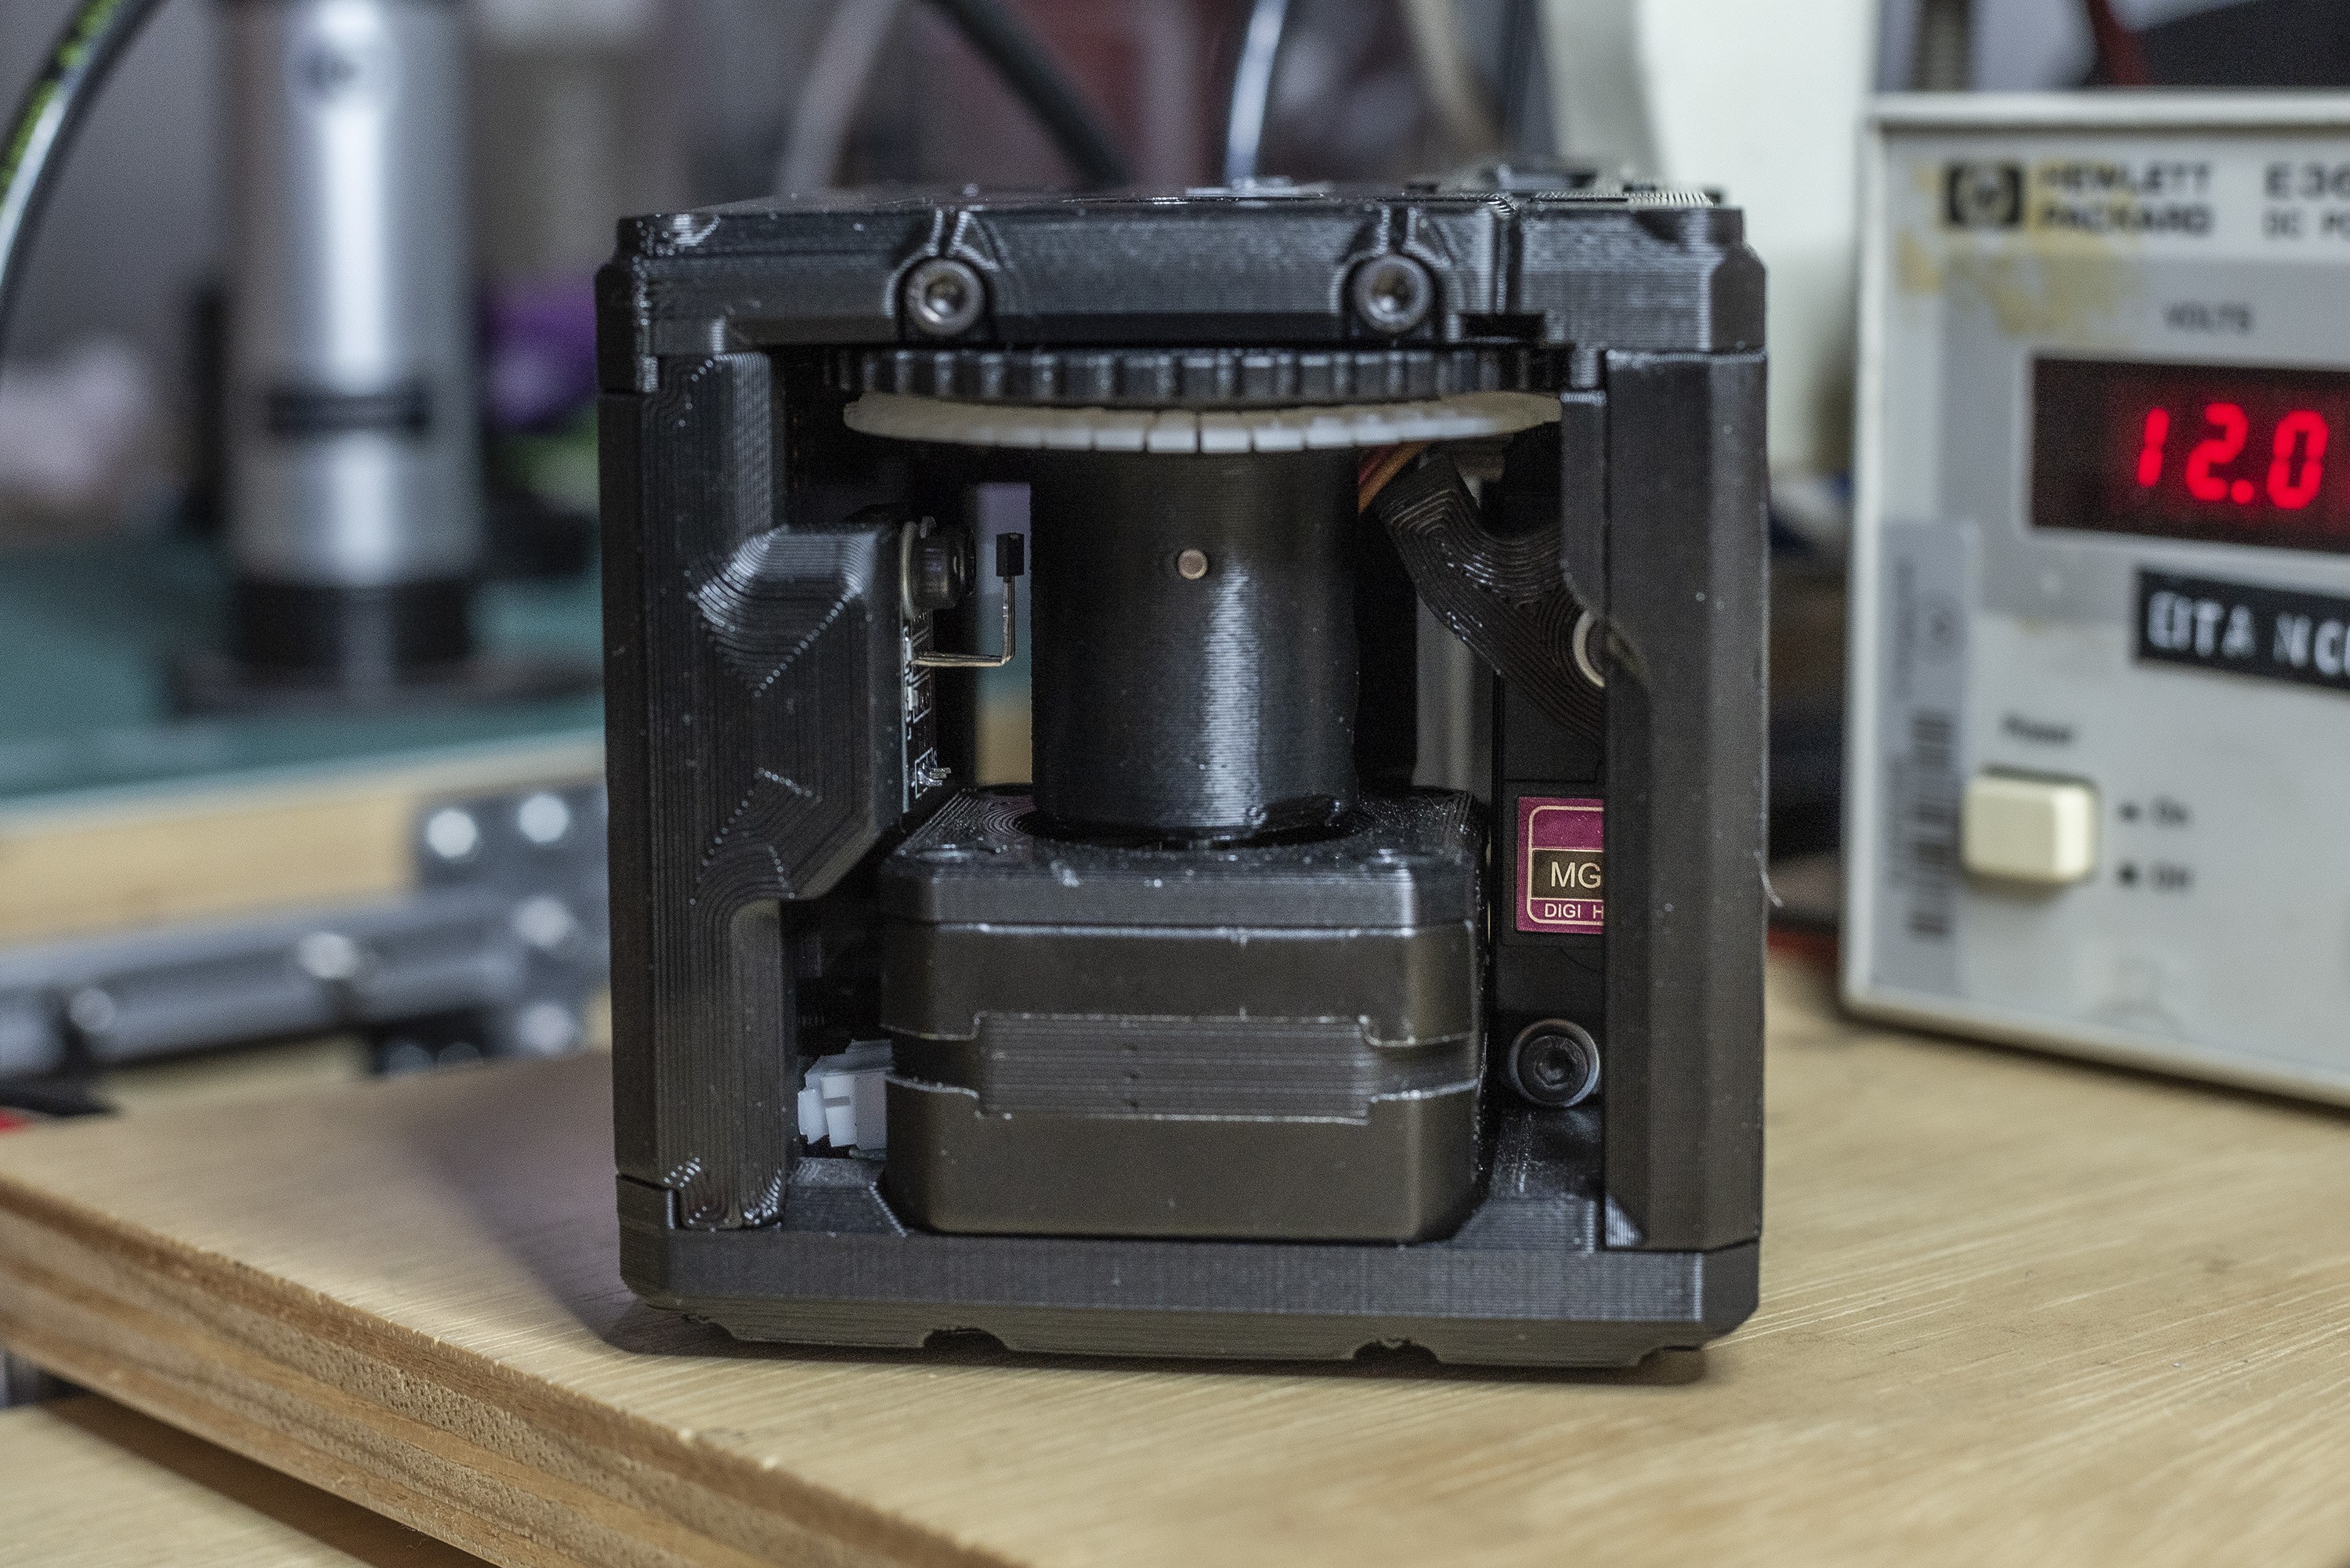
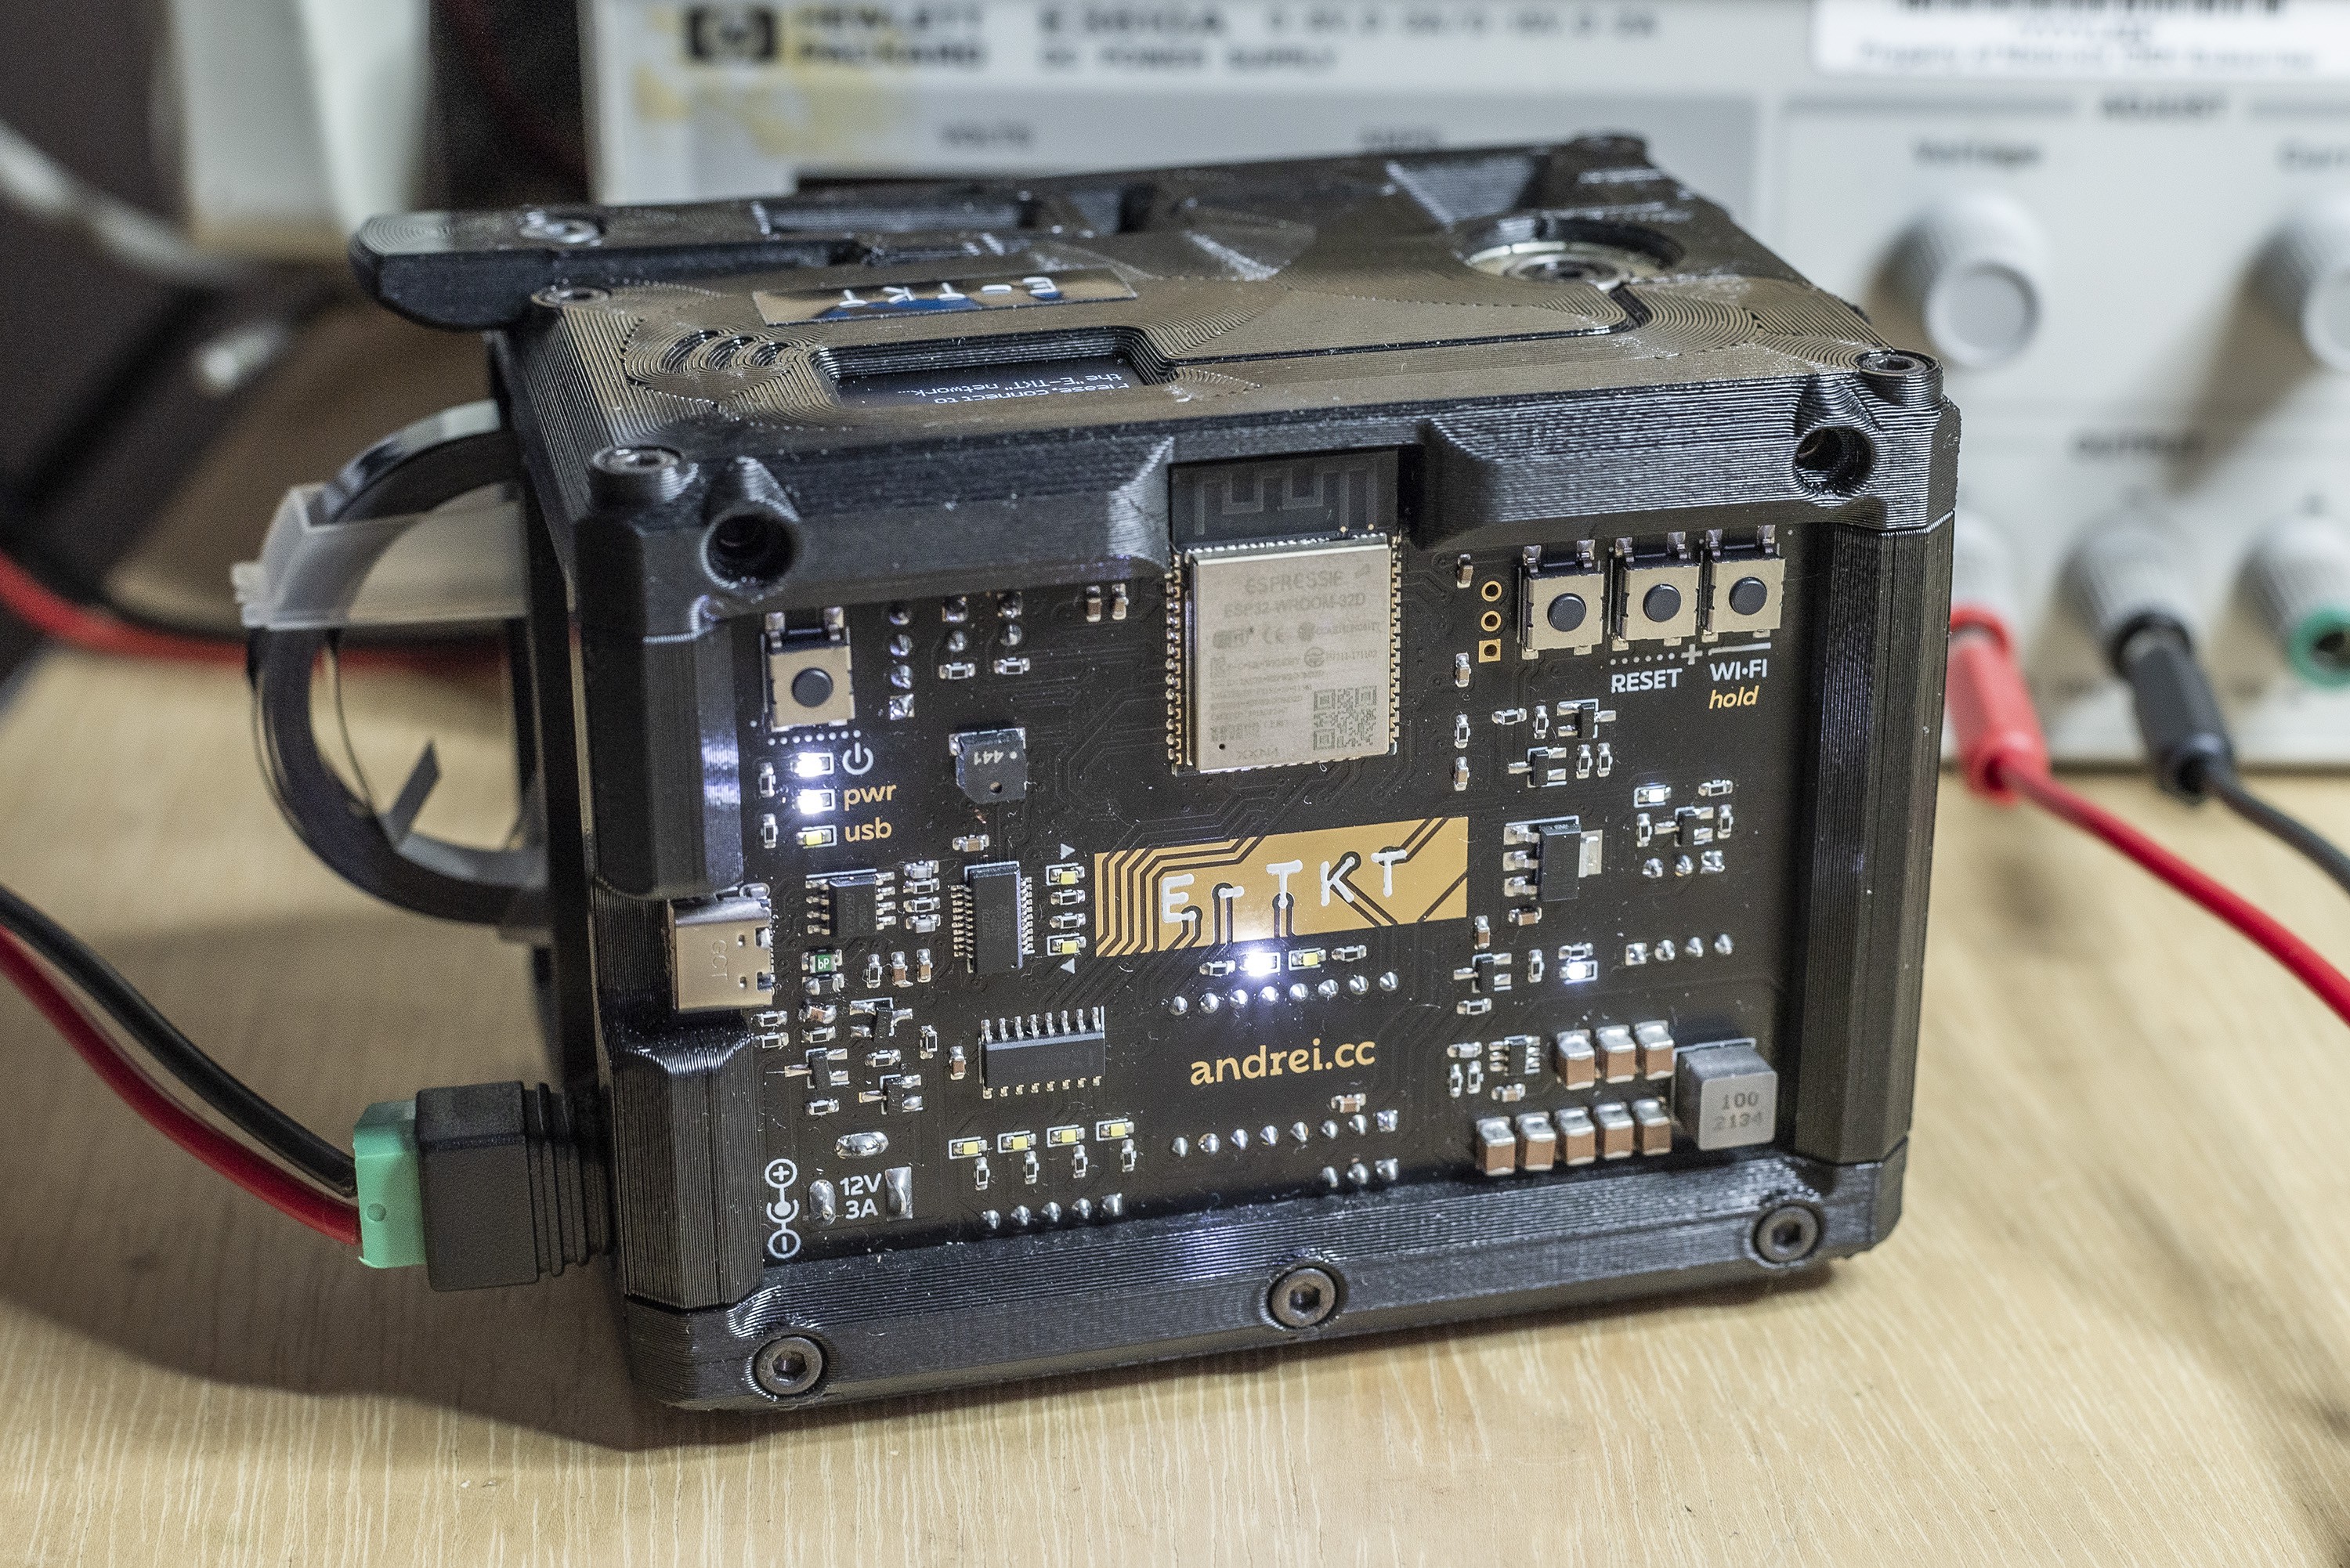
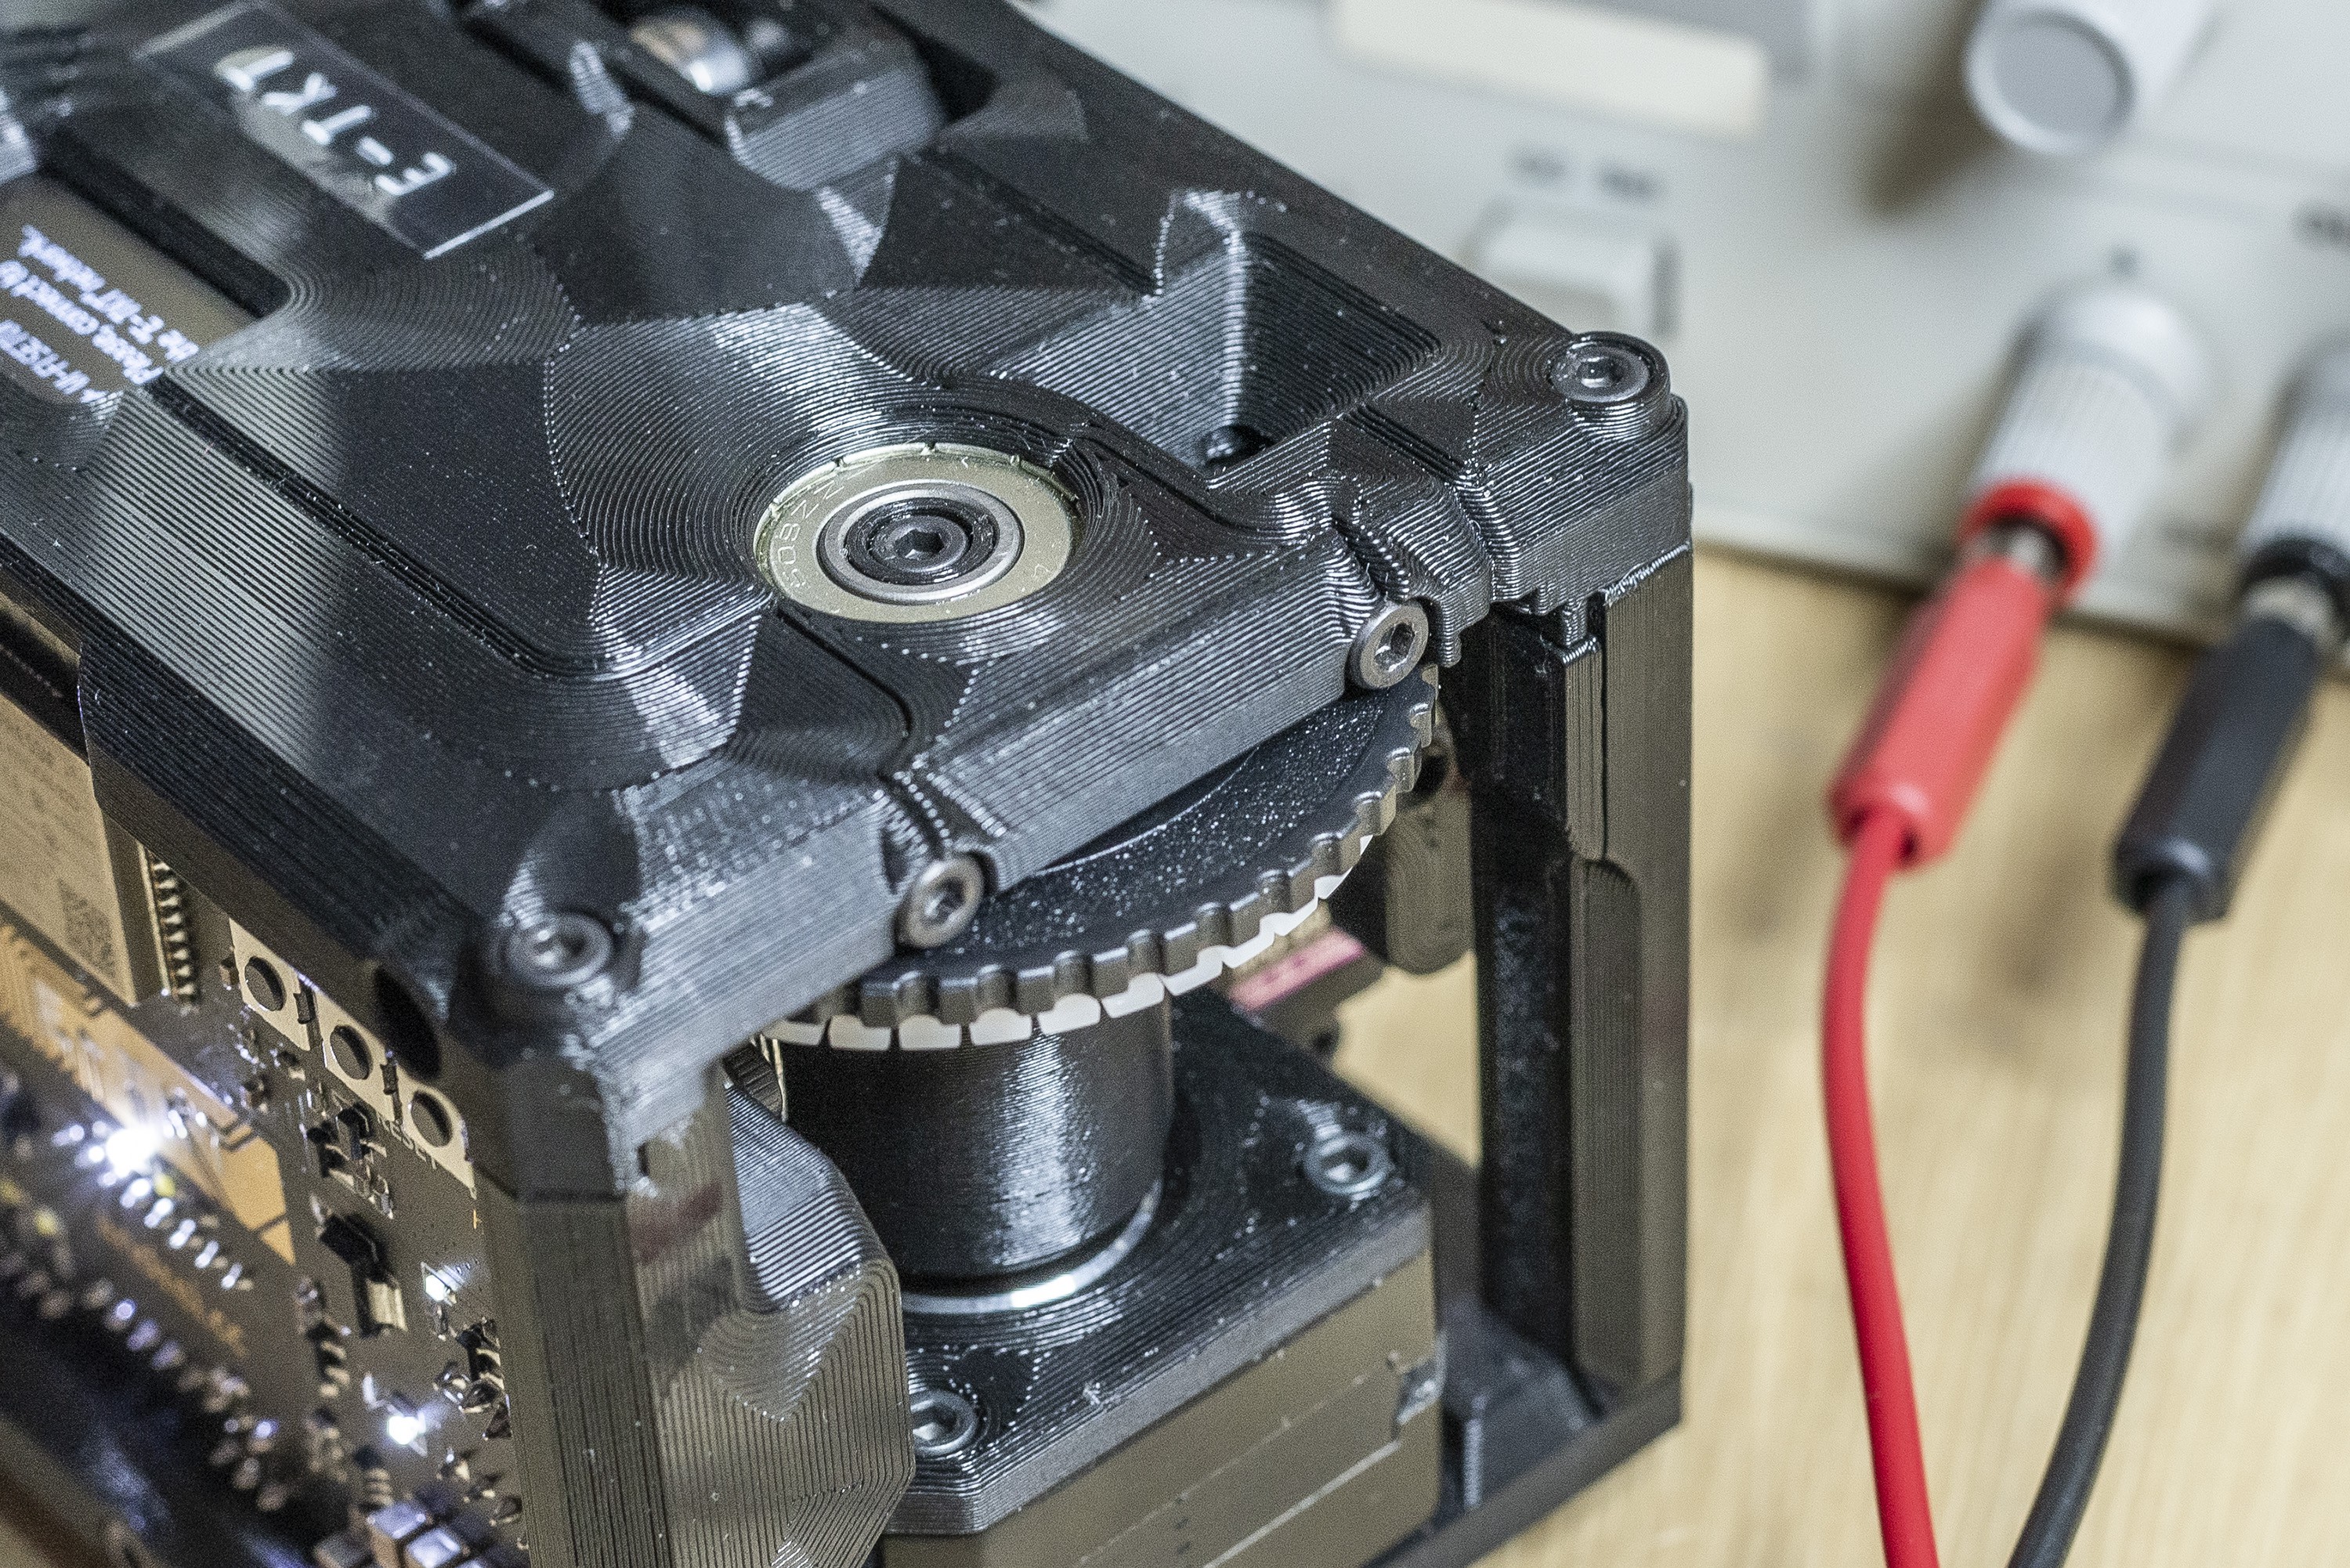
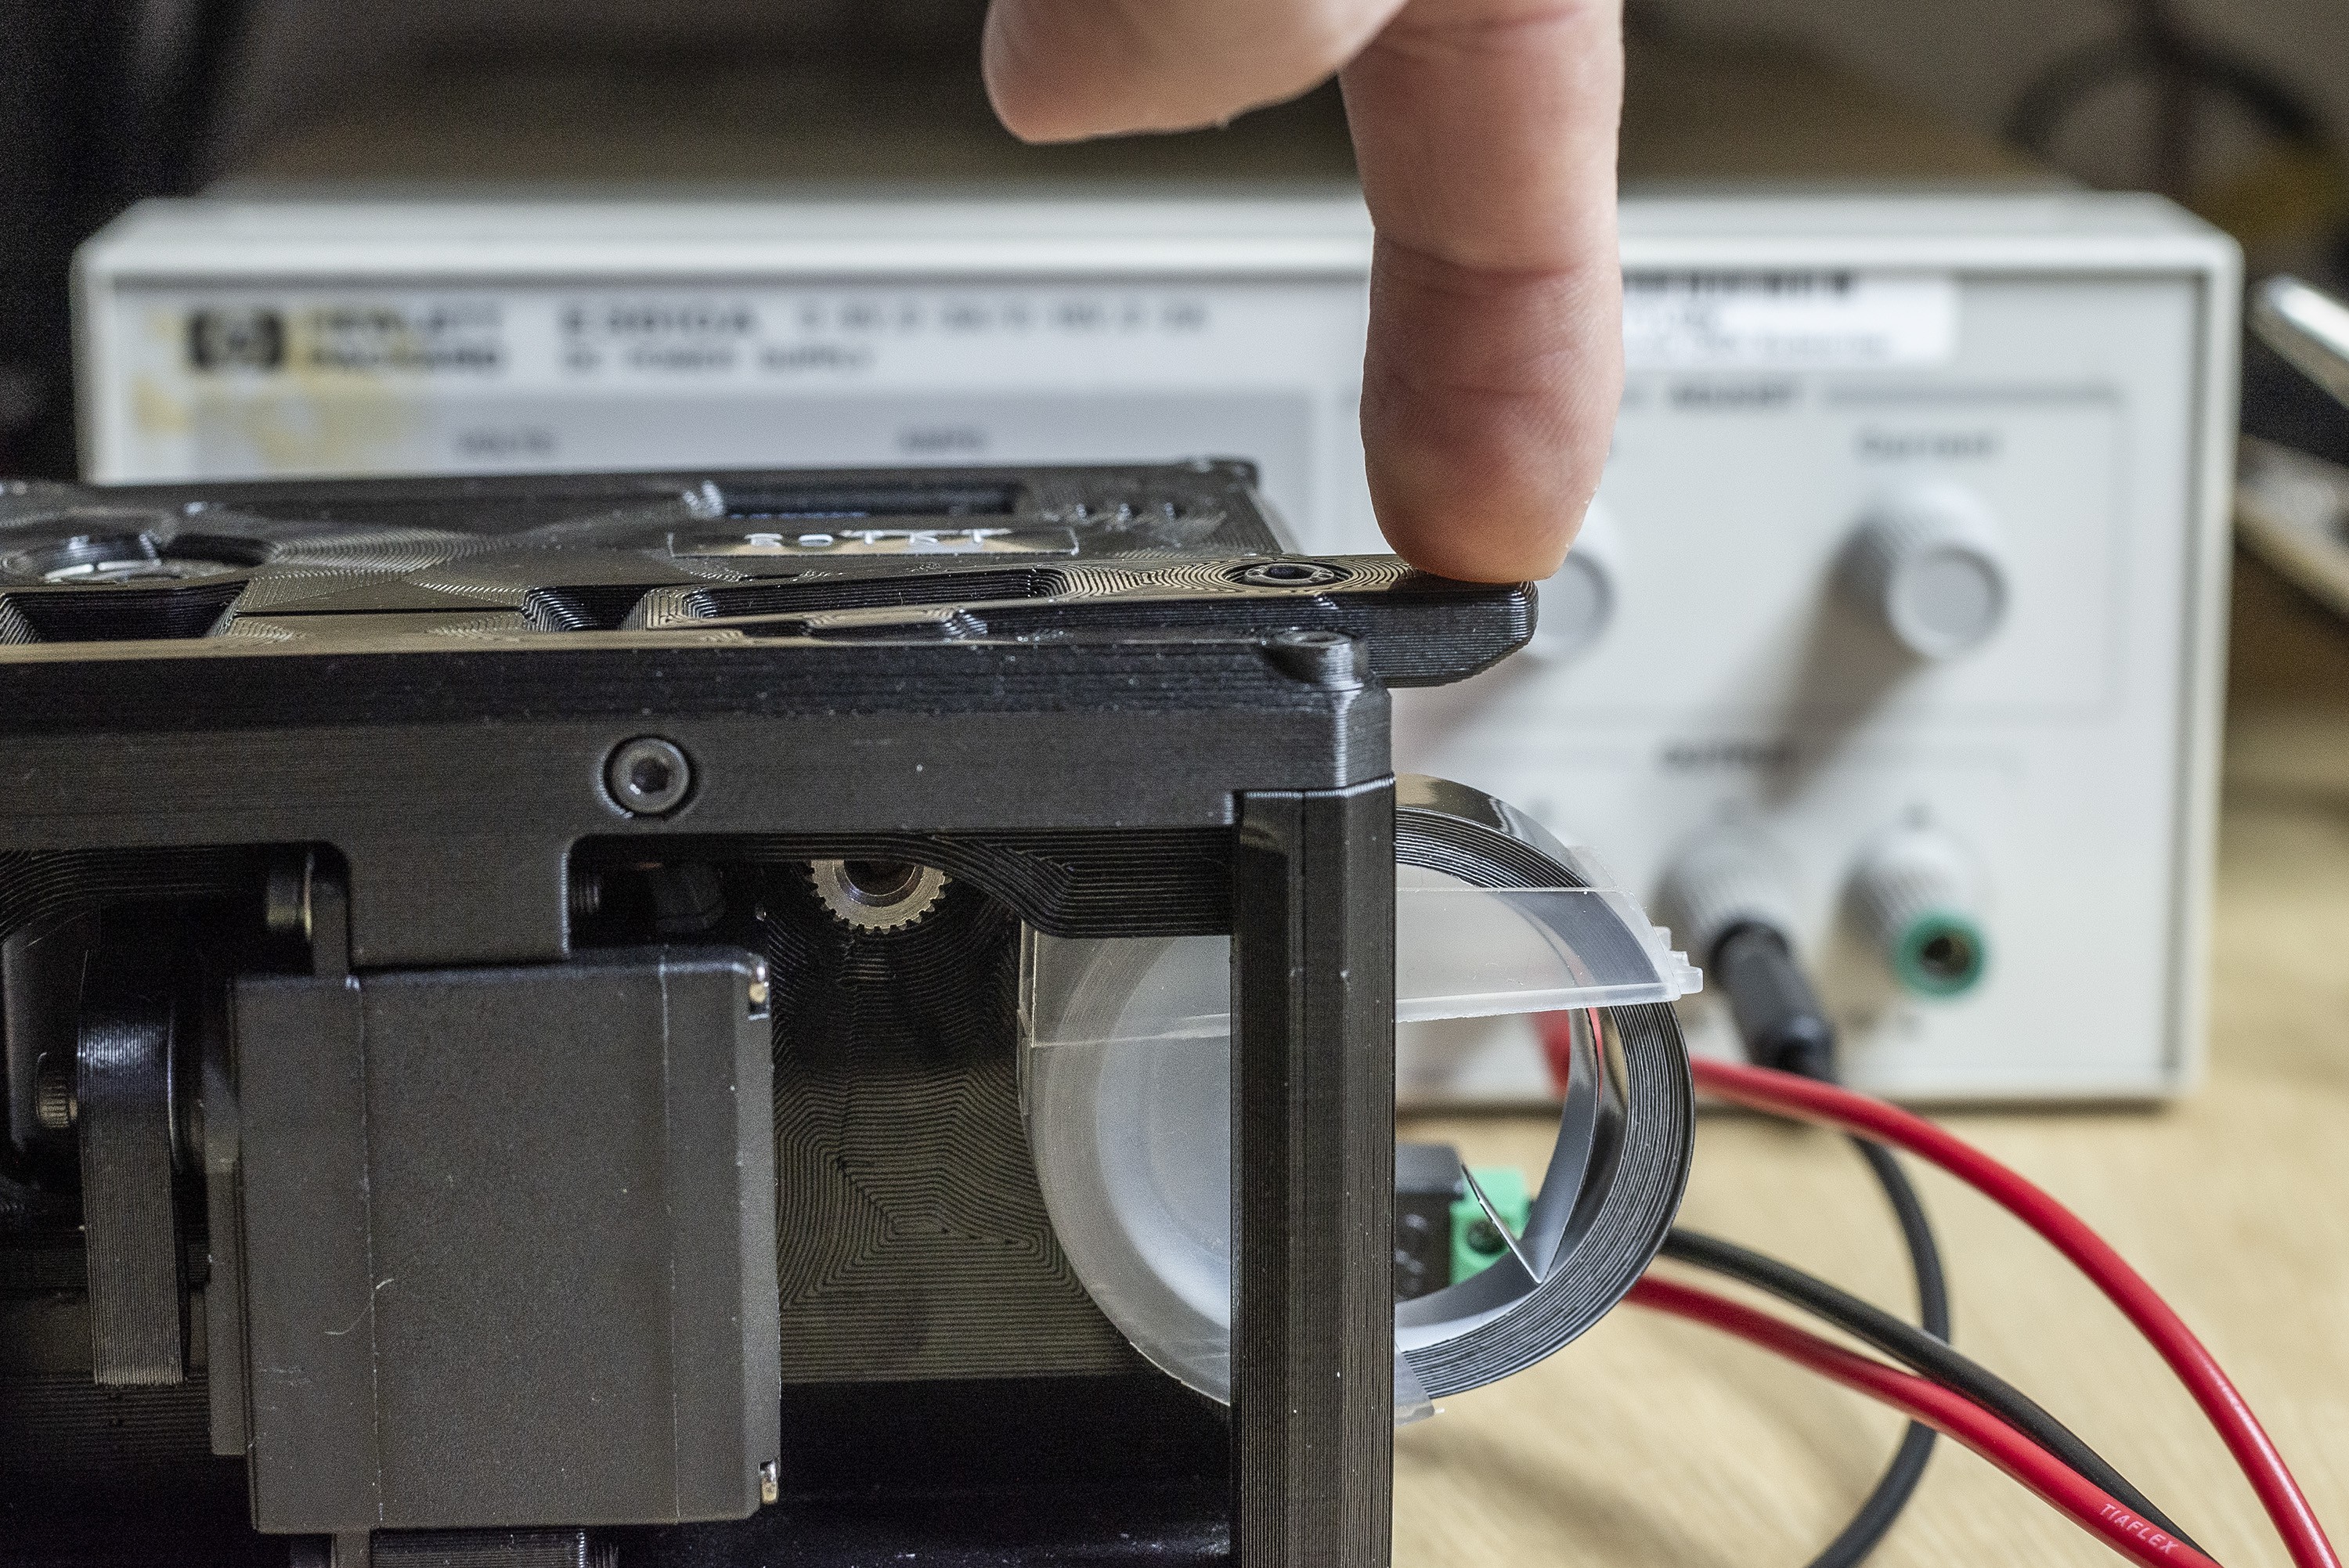
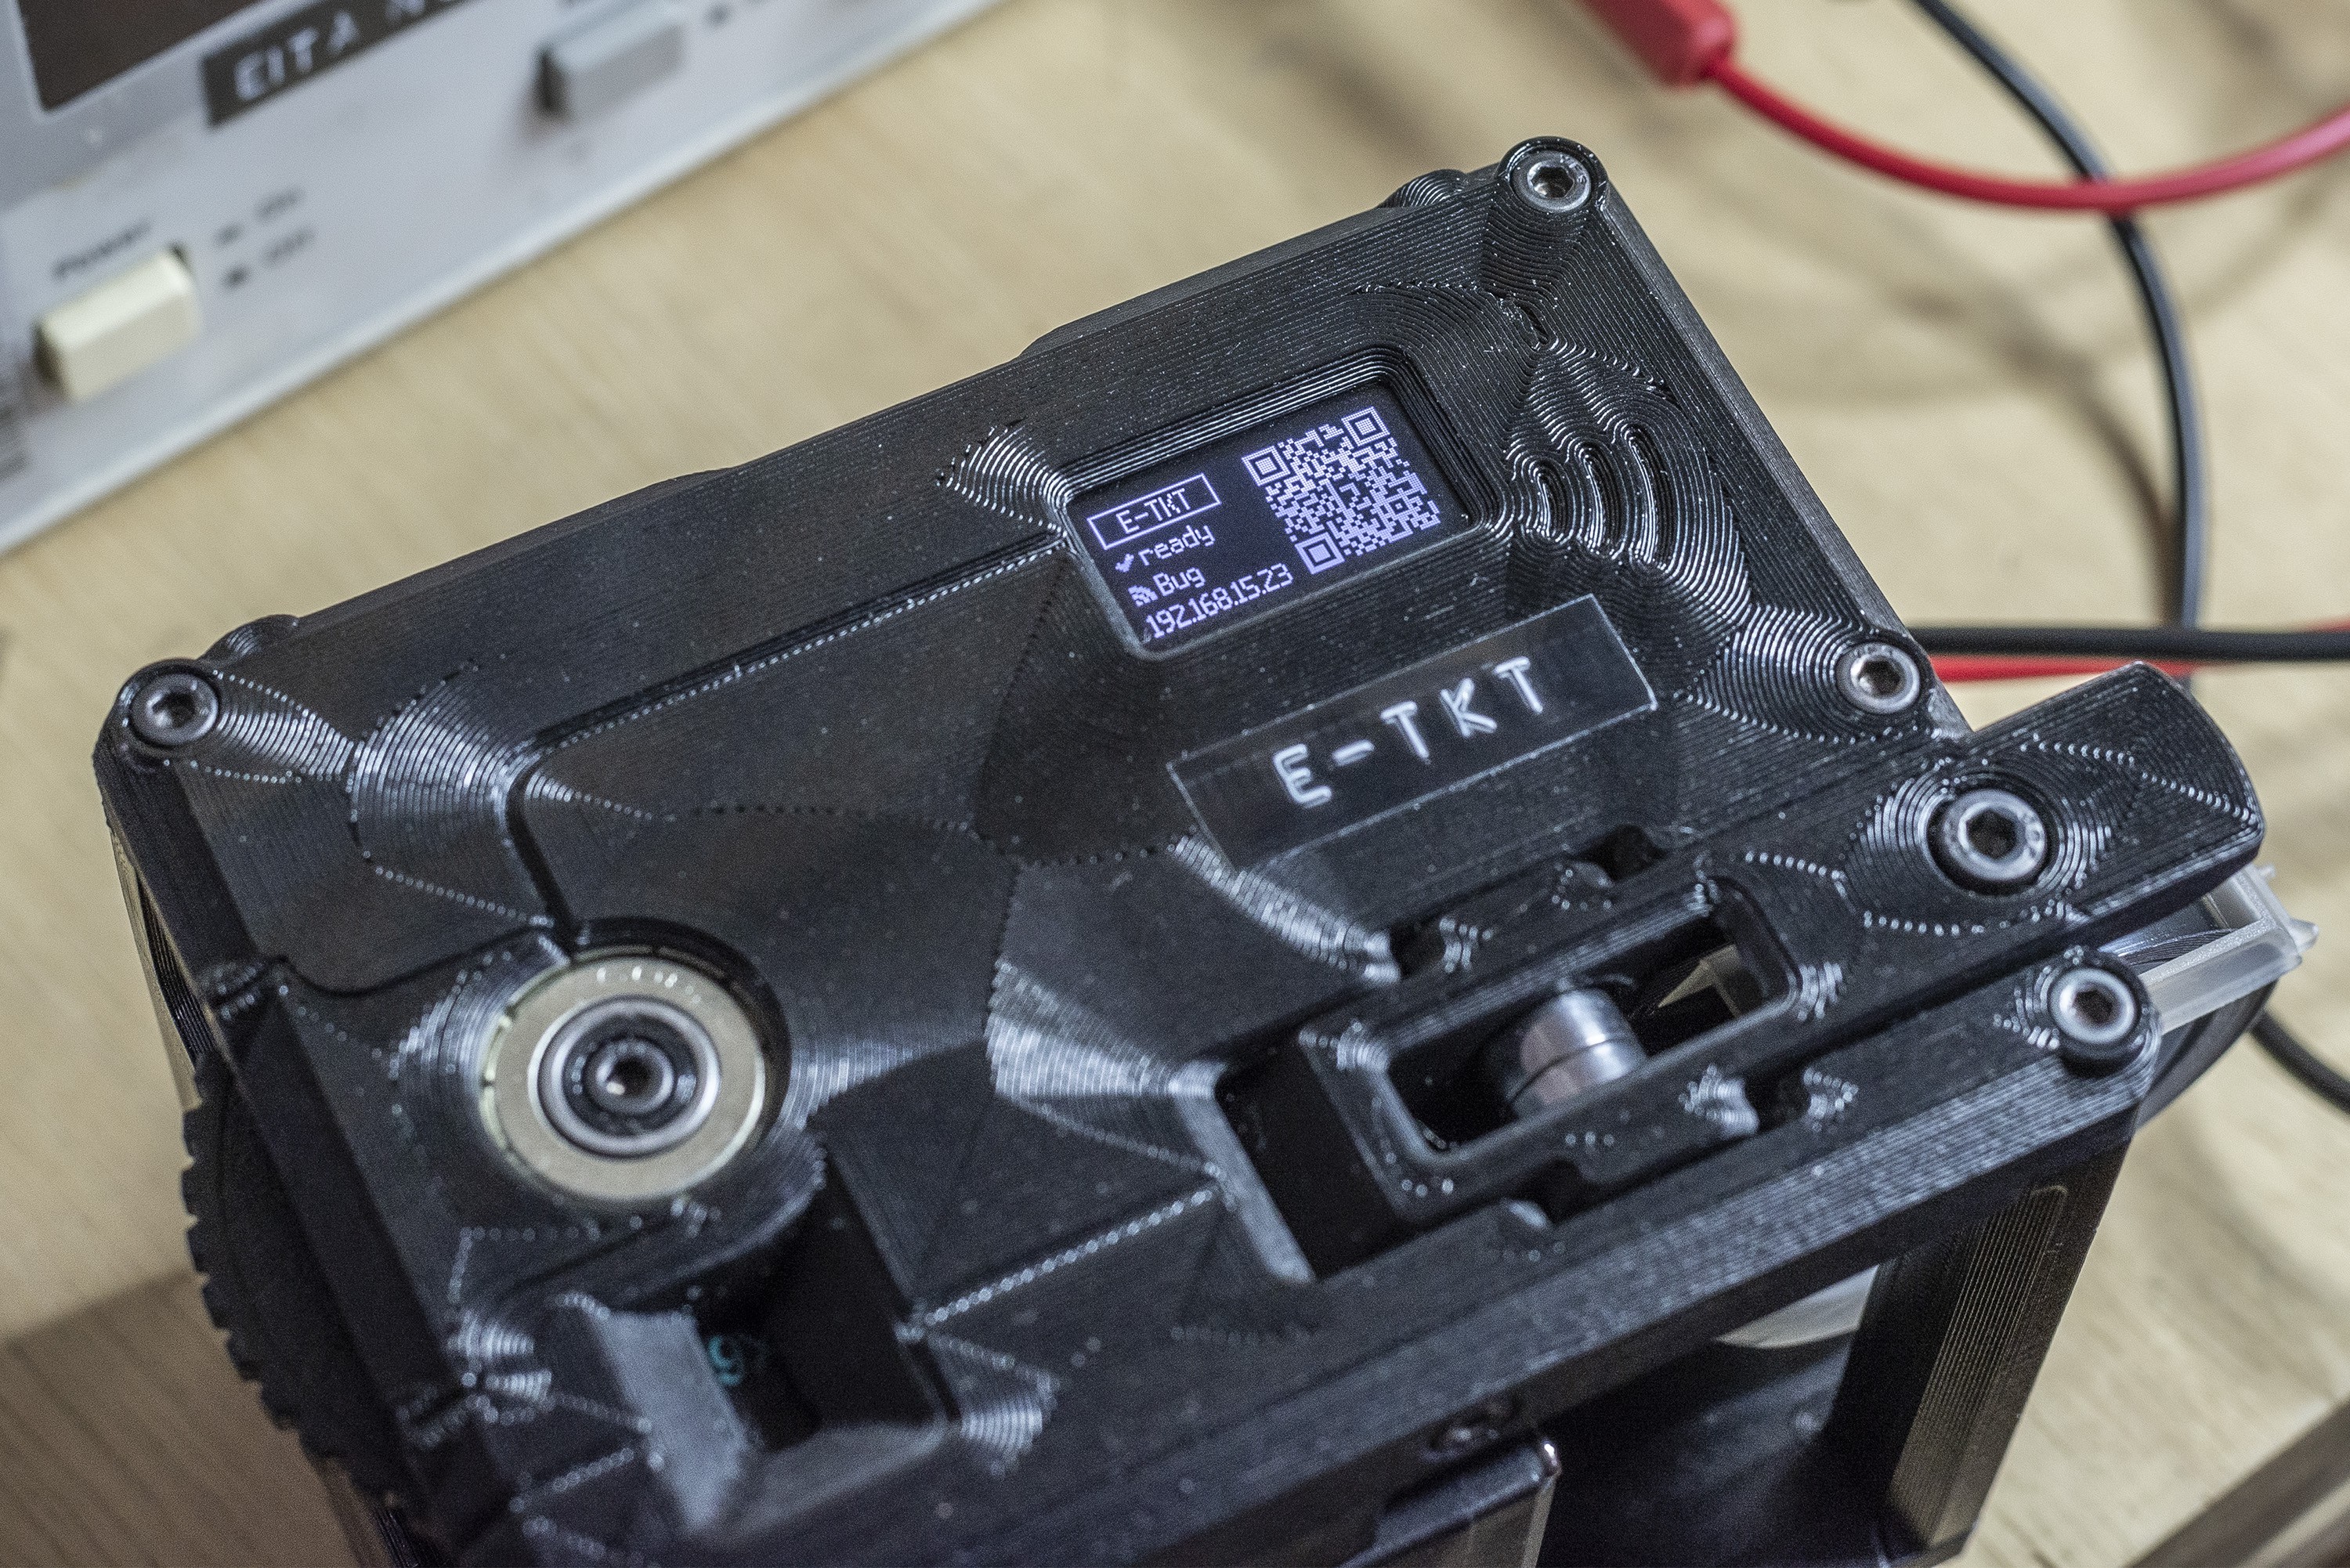
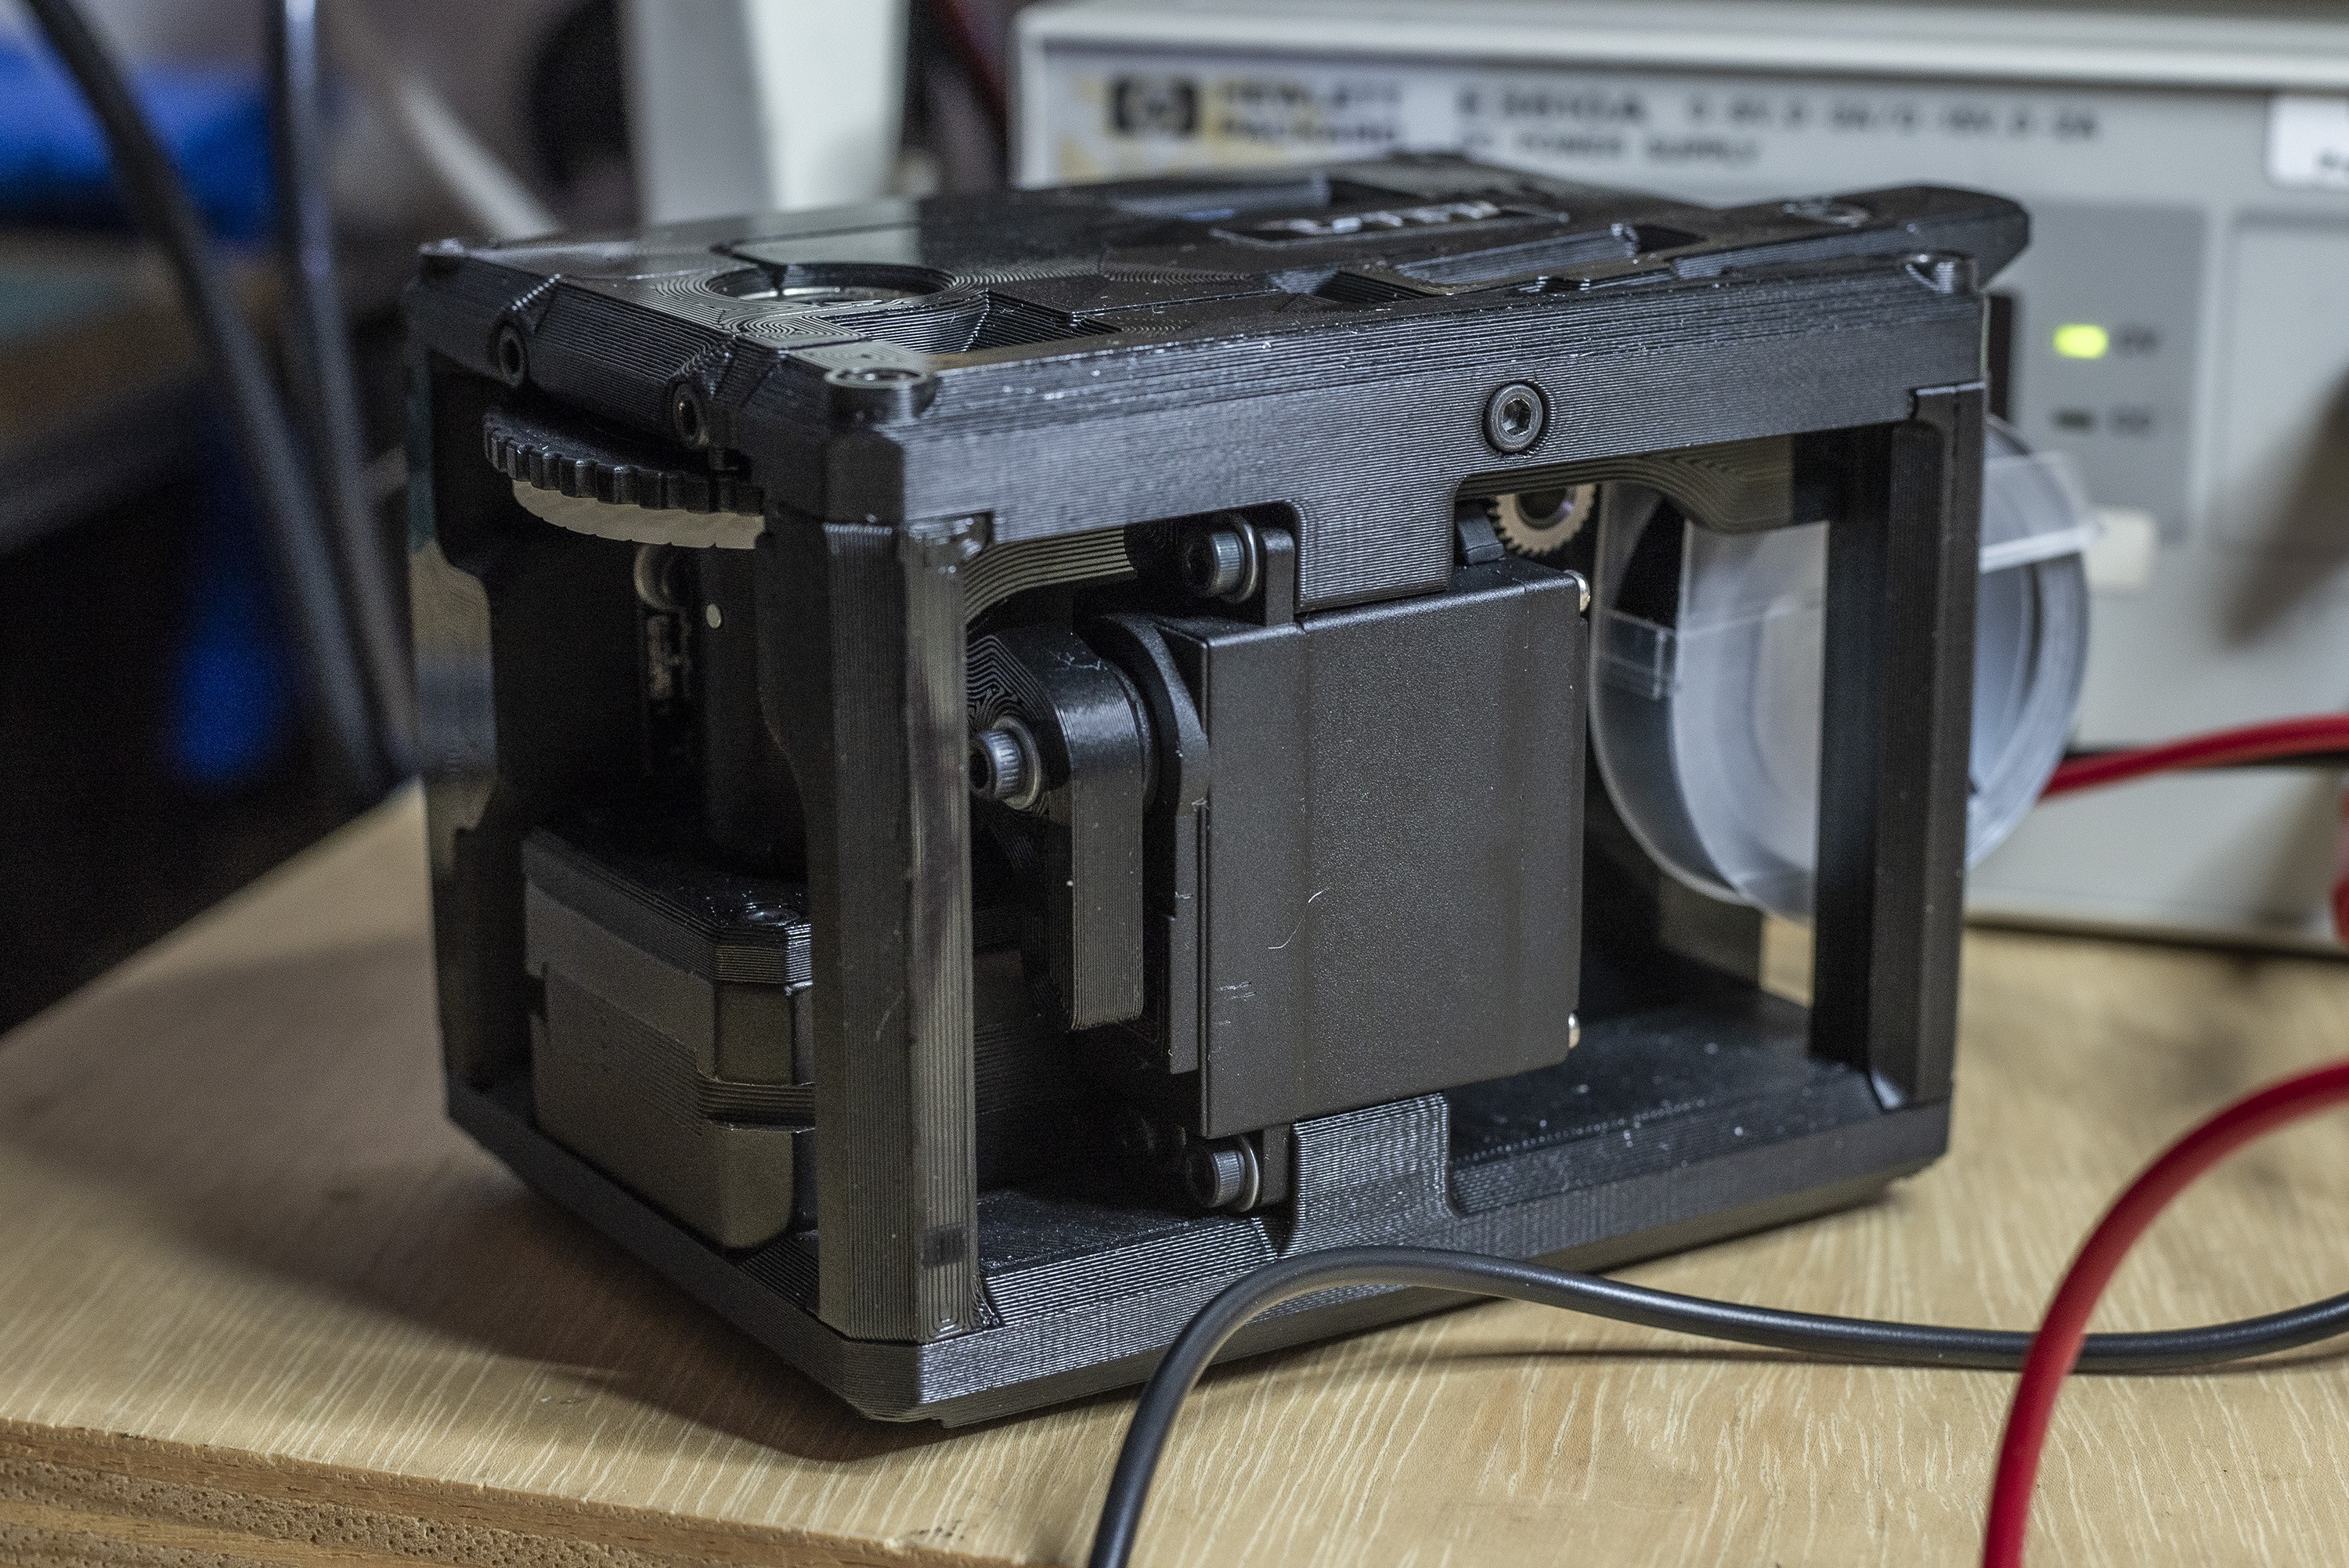
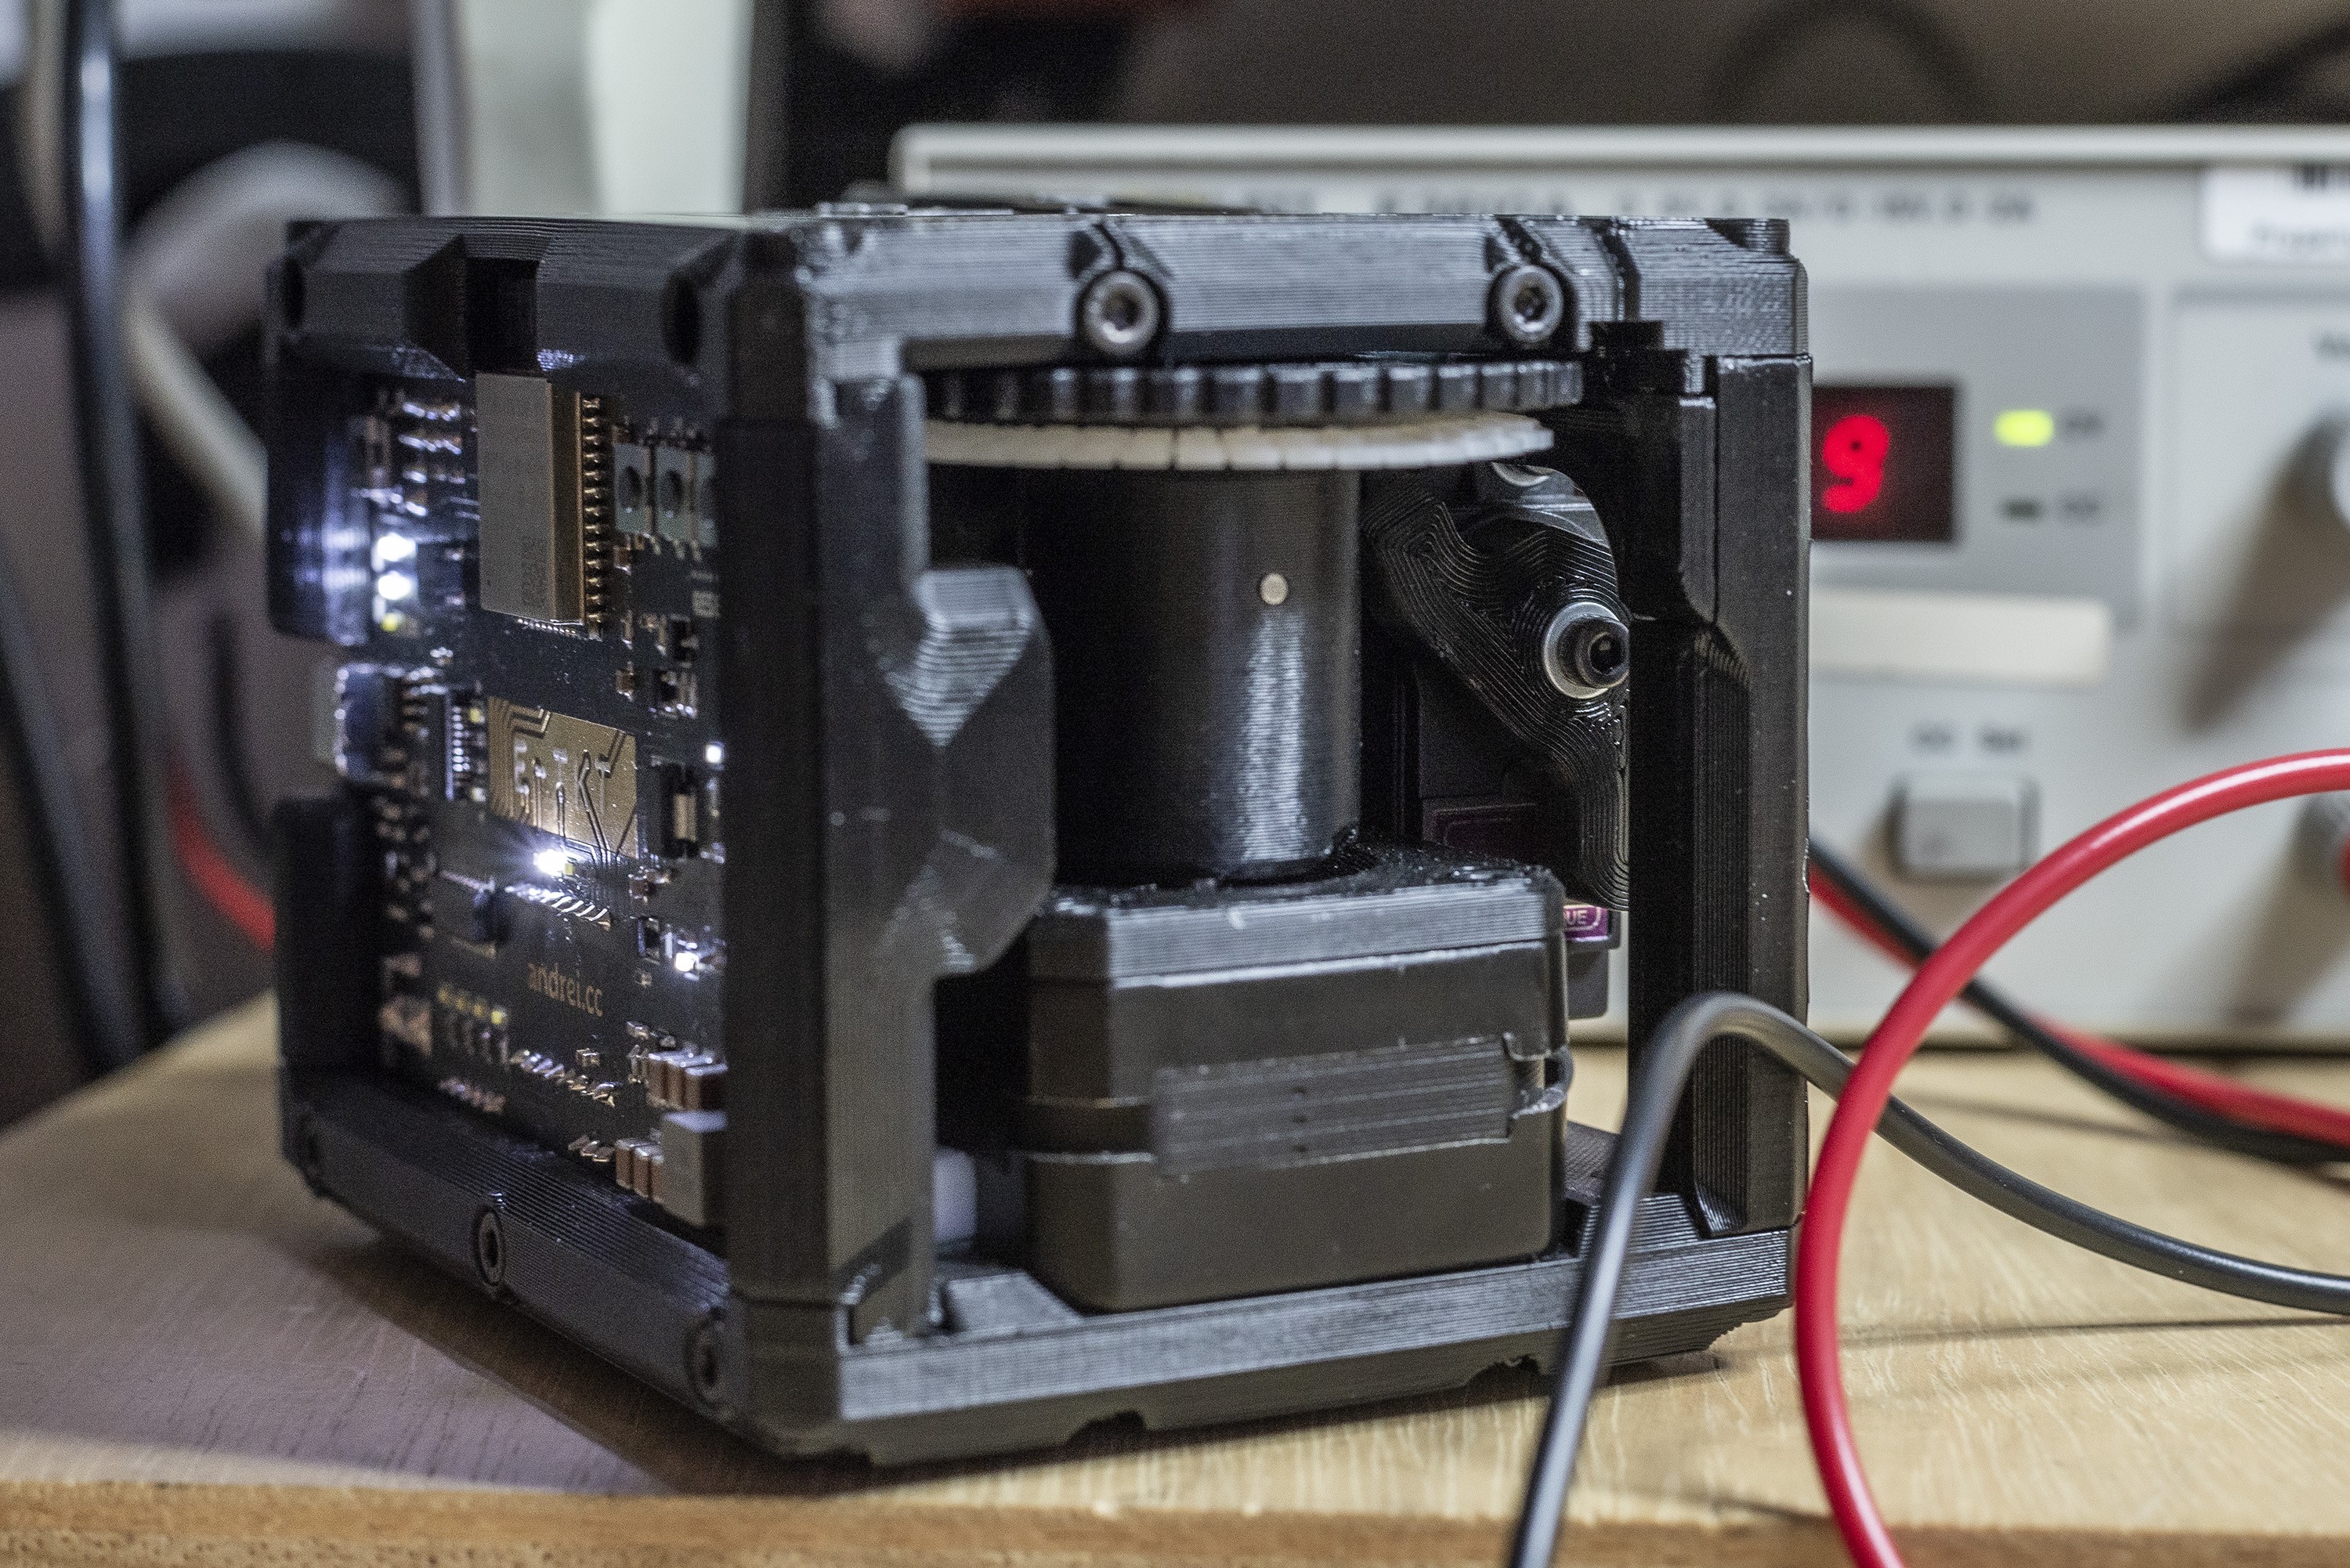
Some photos of the printing process, aiming for that sharp first layer.
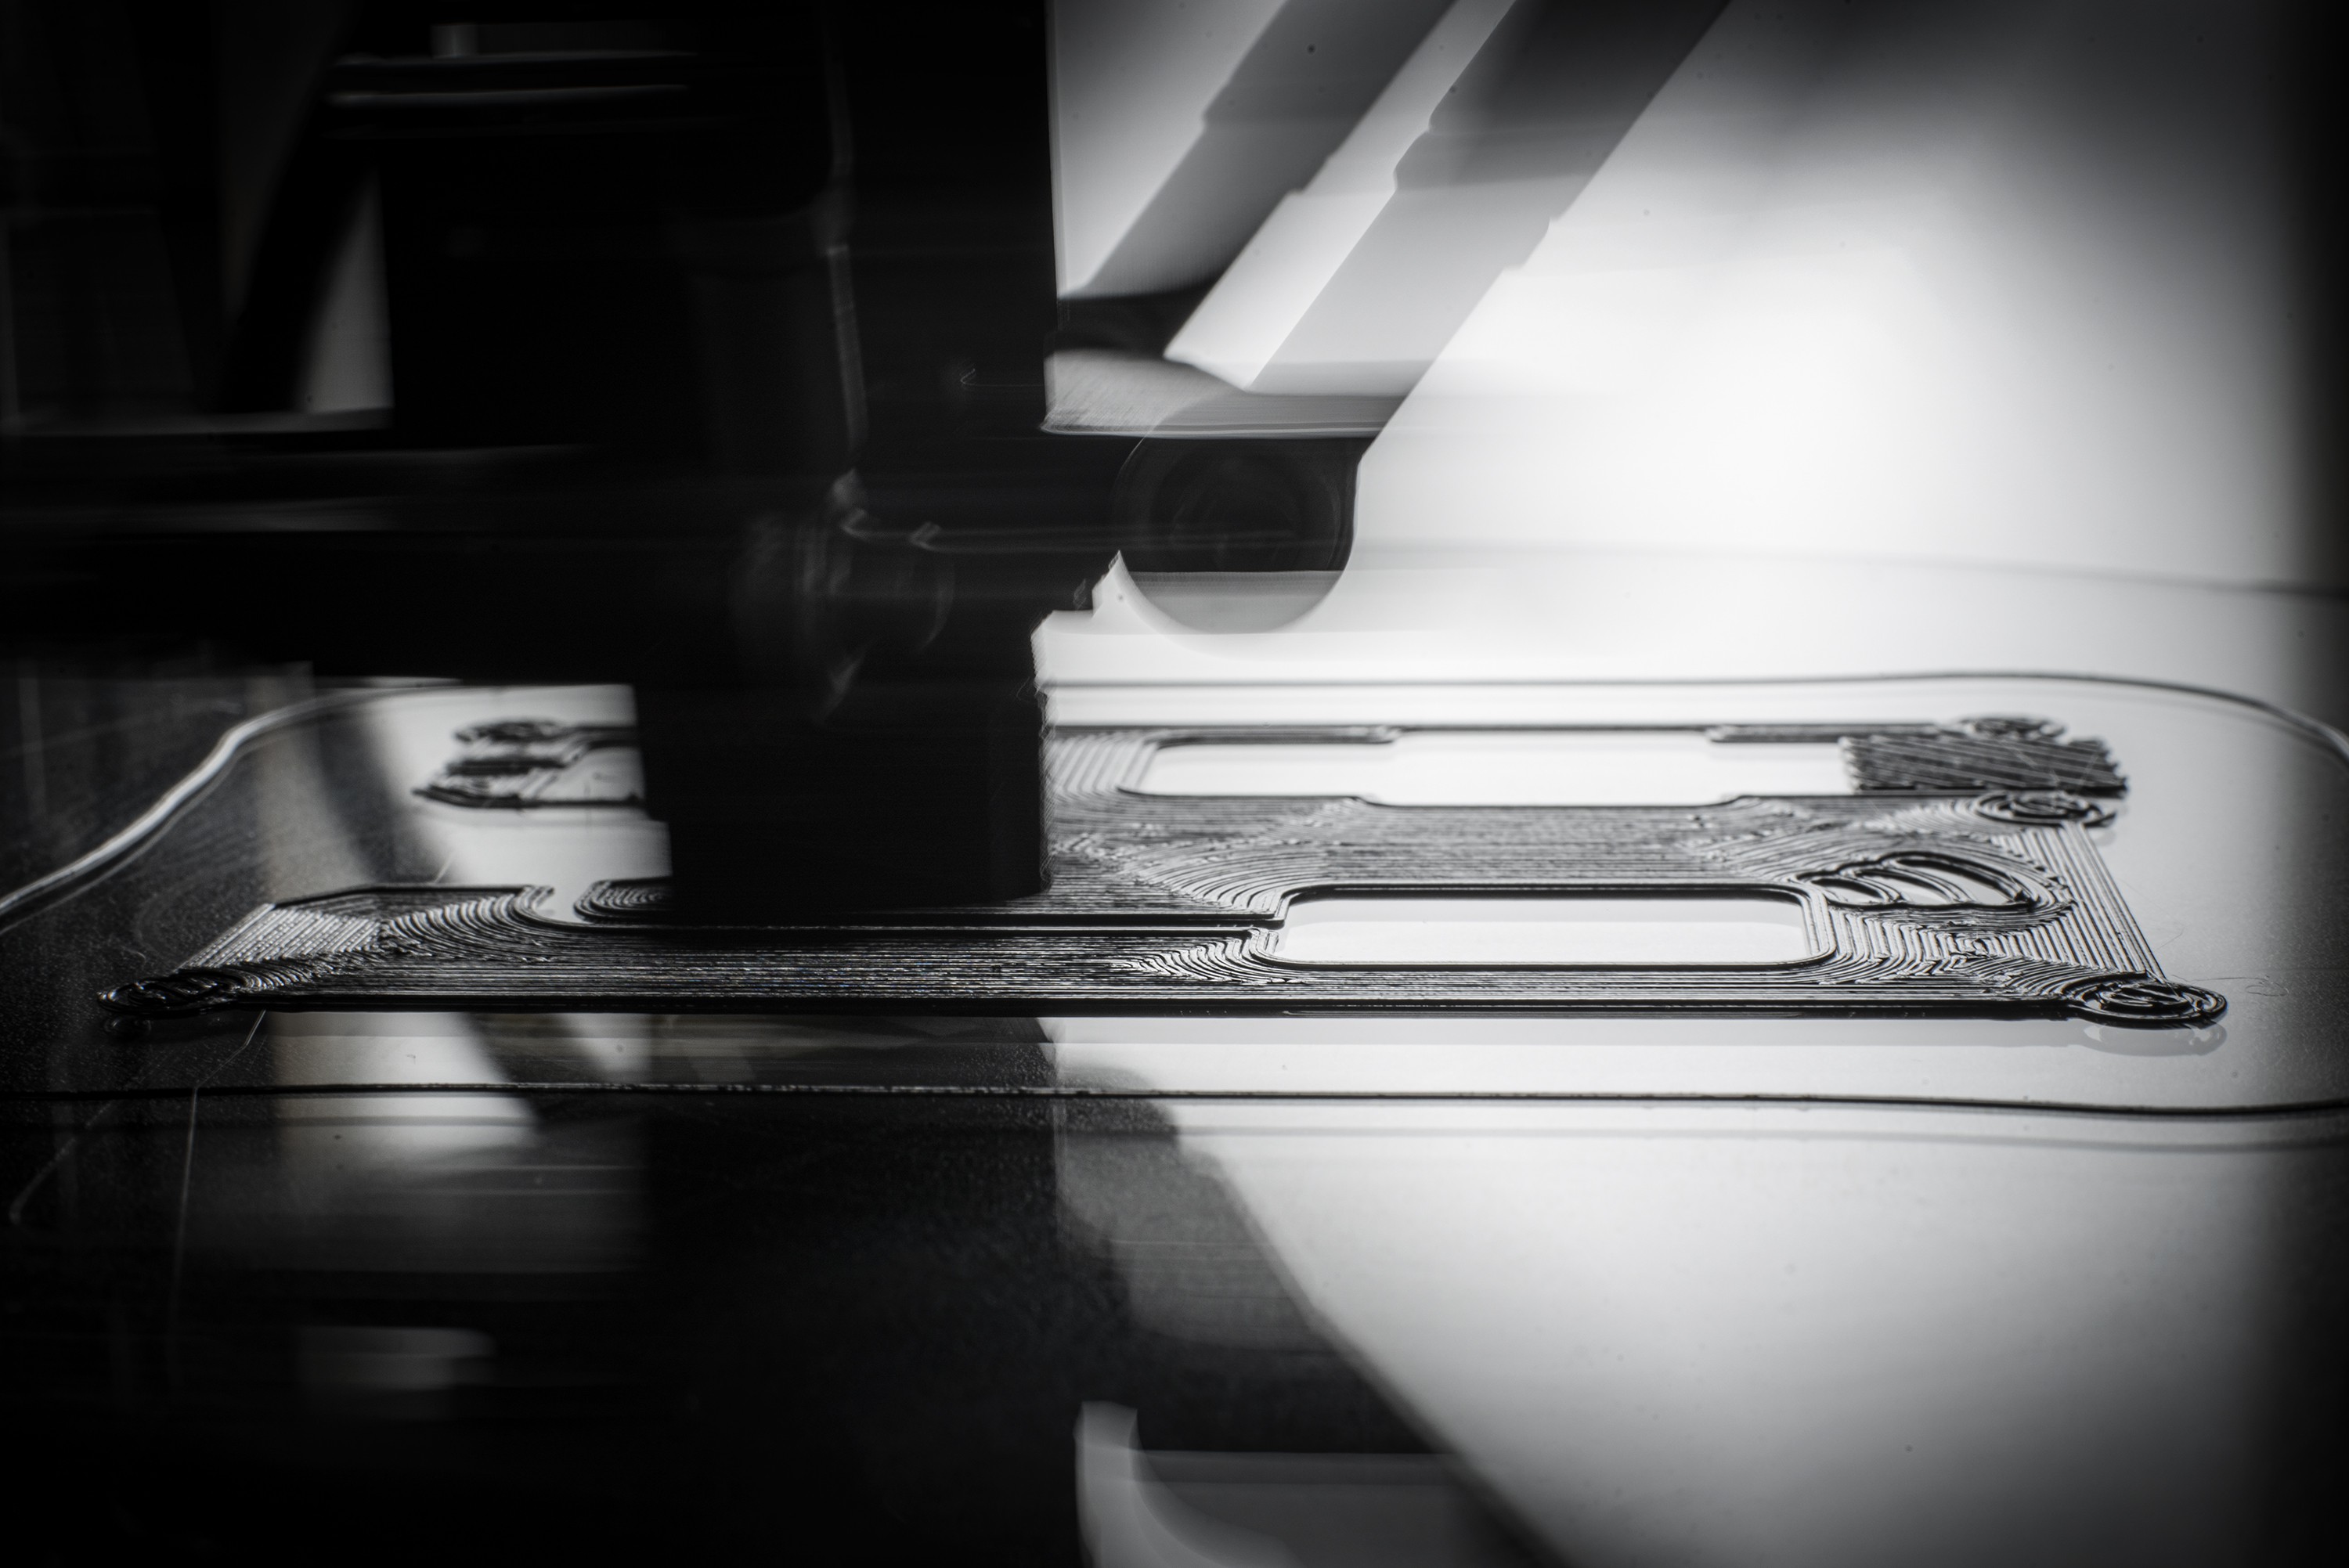
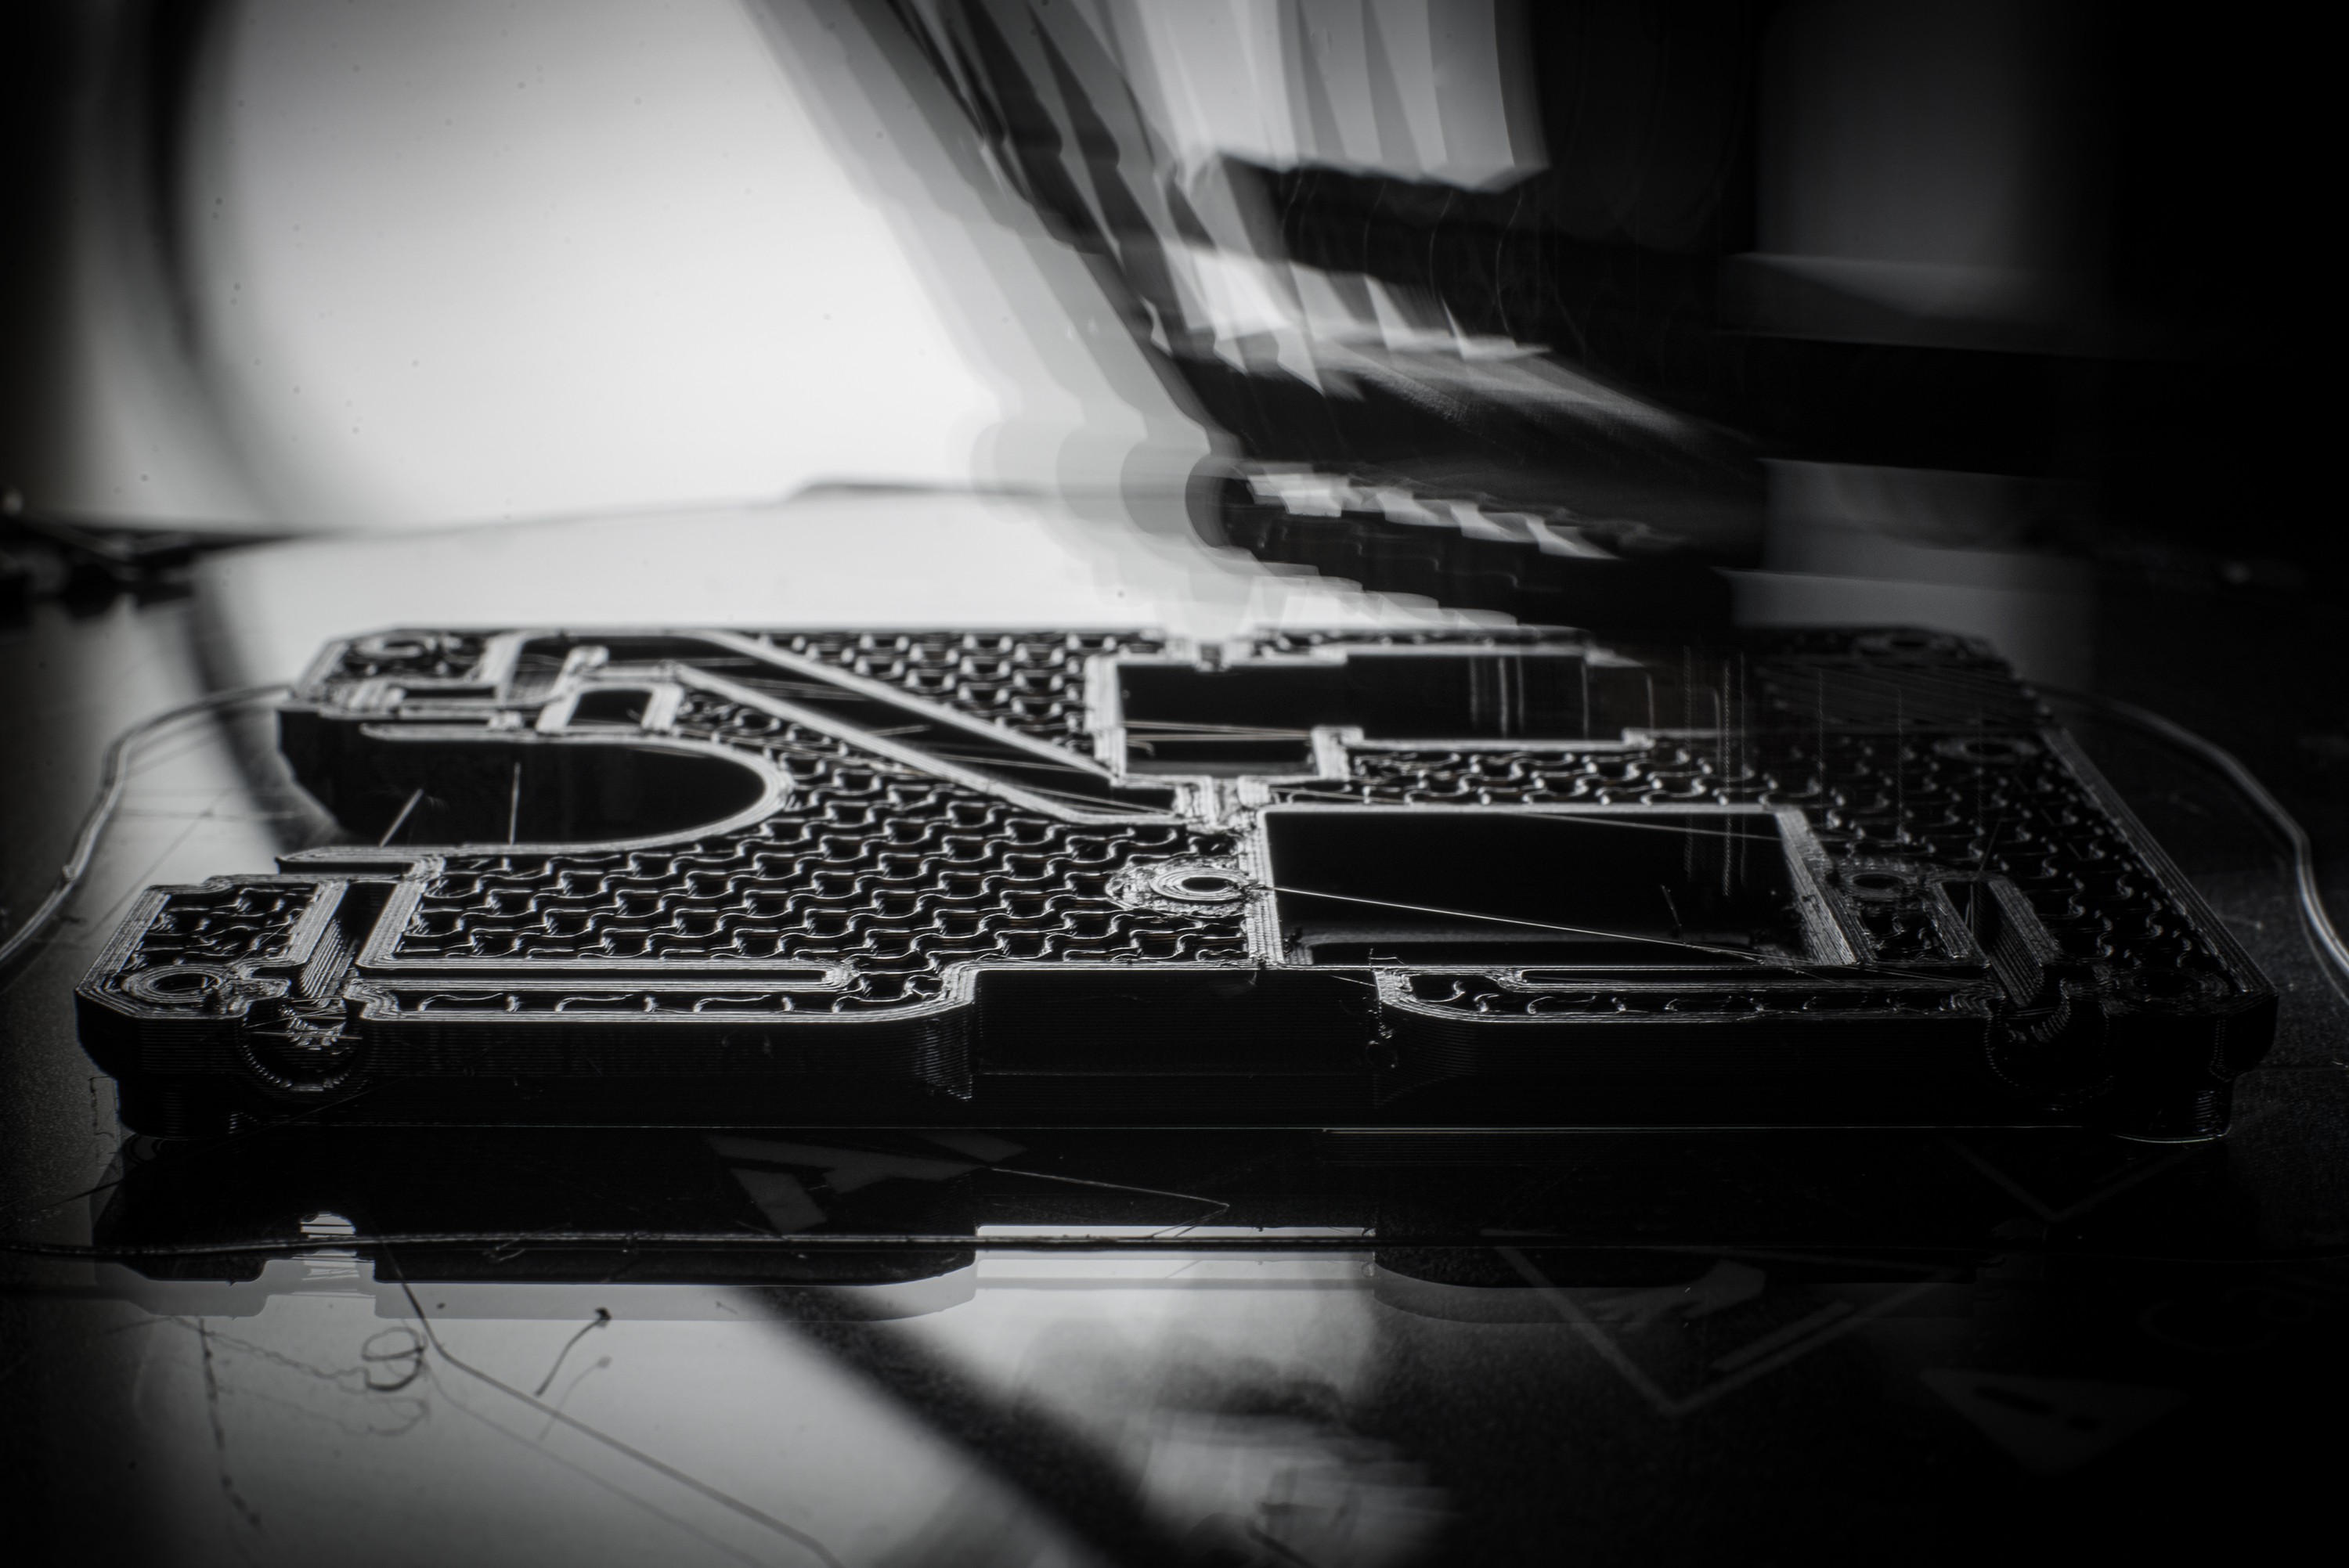
PS: the revised v1.0 PCB with several adjusts has already shipped, more about that soon!
 Andrei Speridião
Discussions
Become a Hackaday.io Member
Create an account to leave a comment. Already have an account? Log In.