New guide: smart, open source, IoT irrigation system
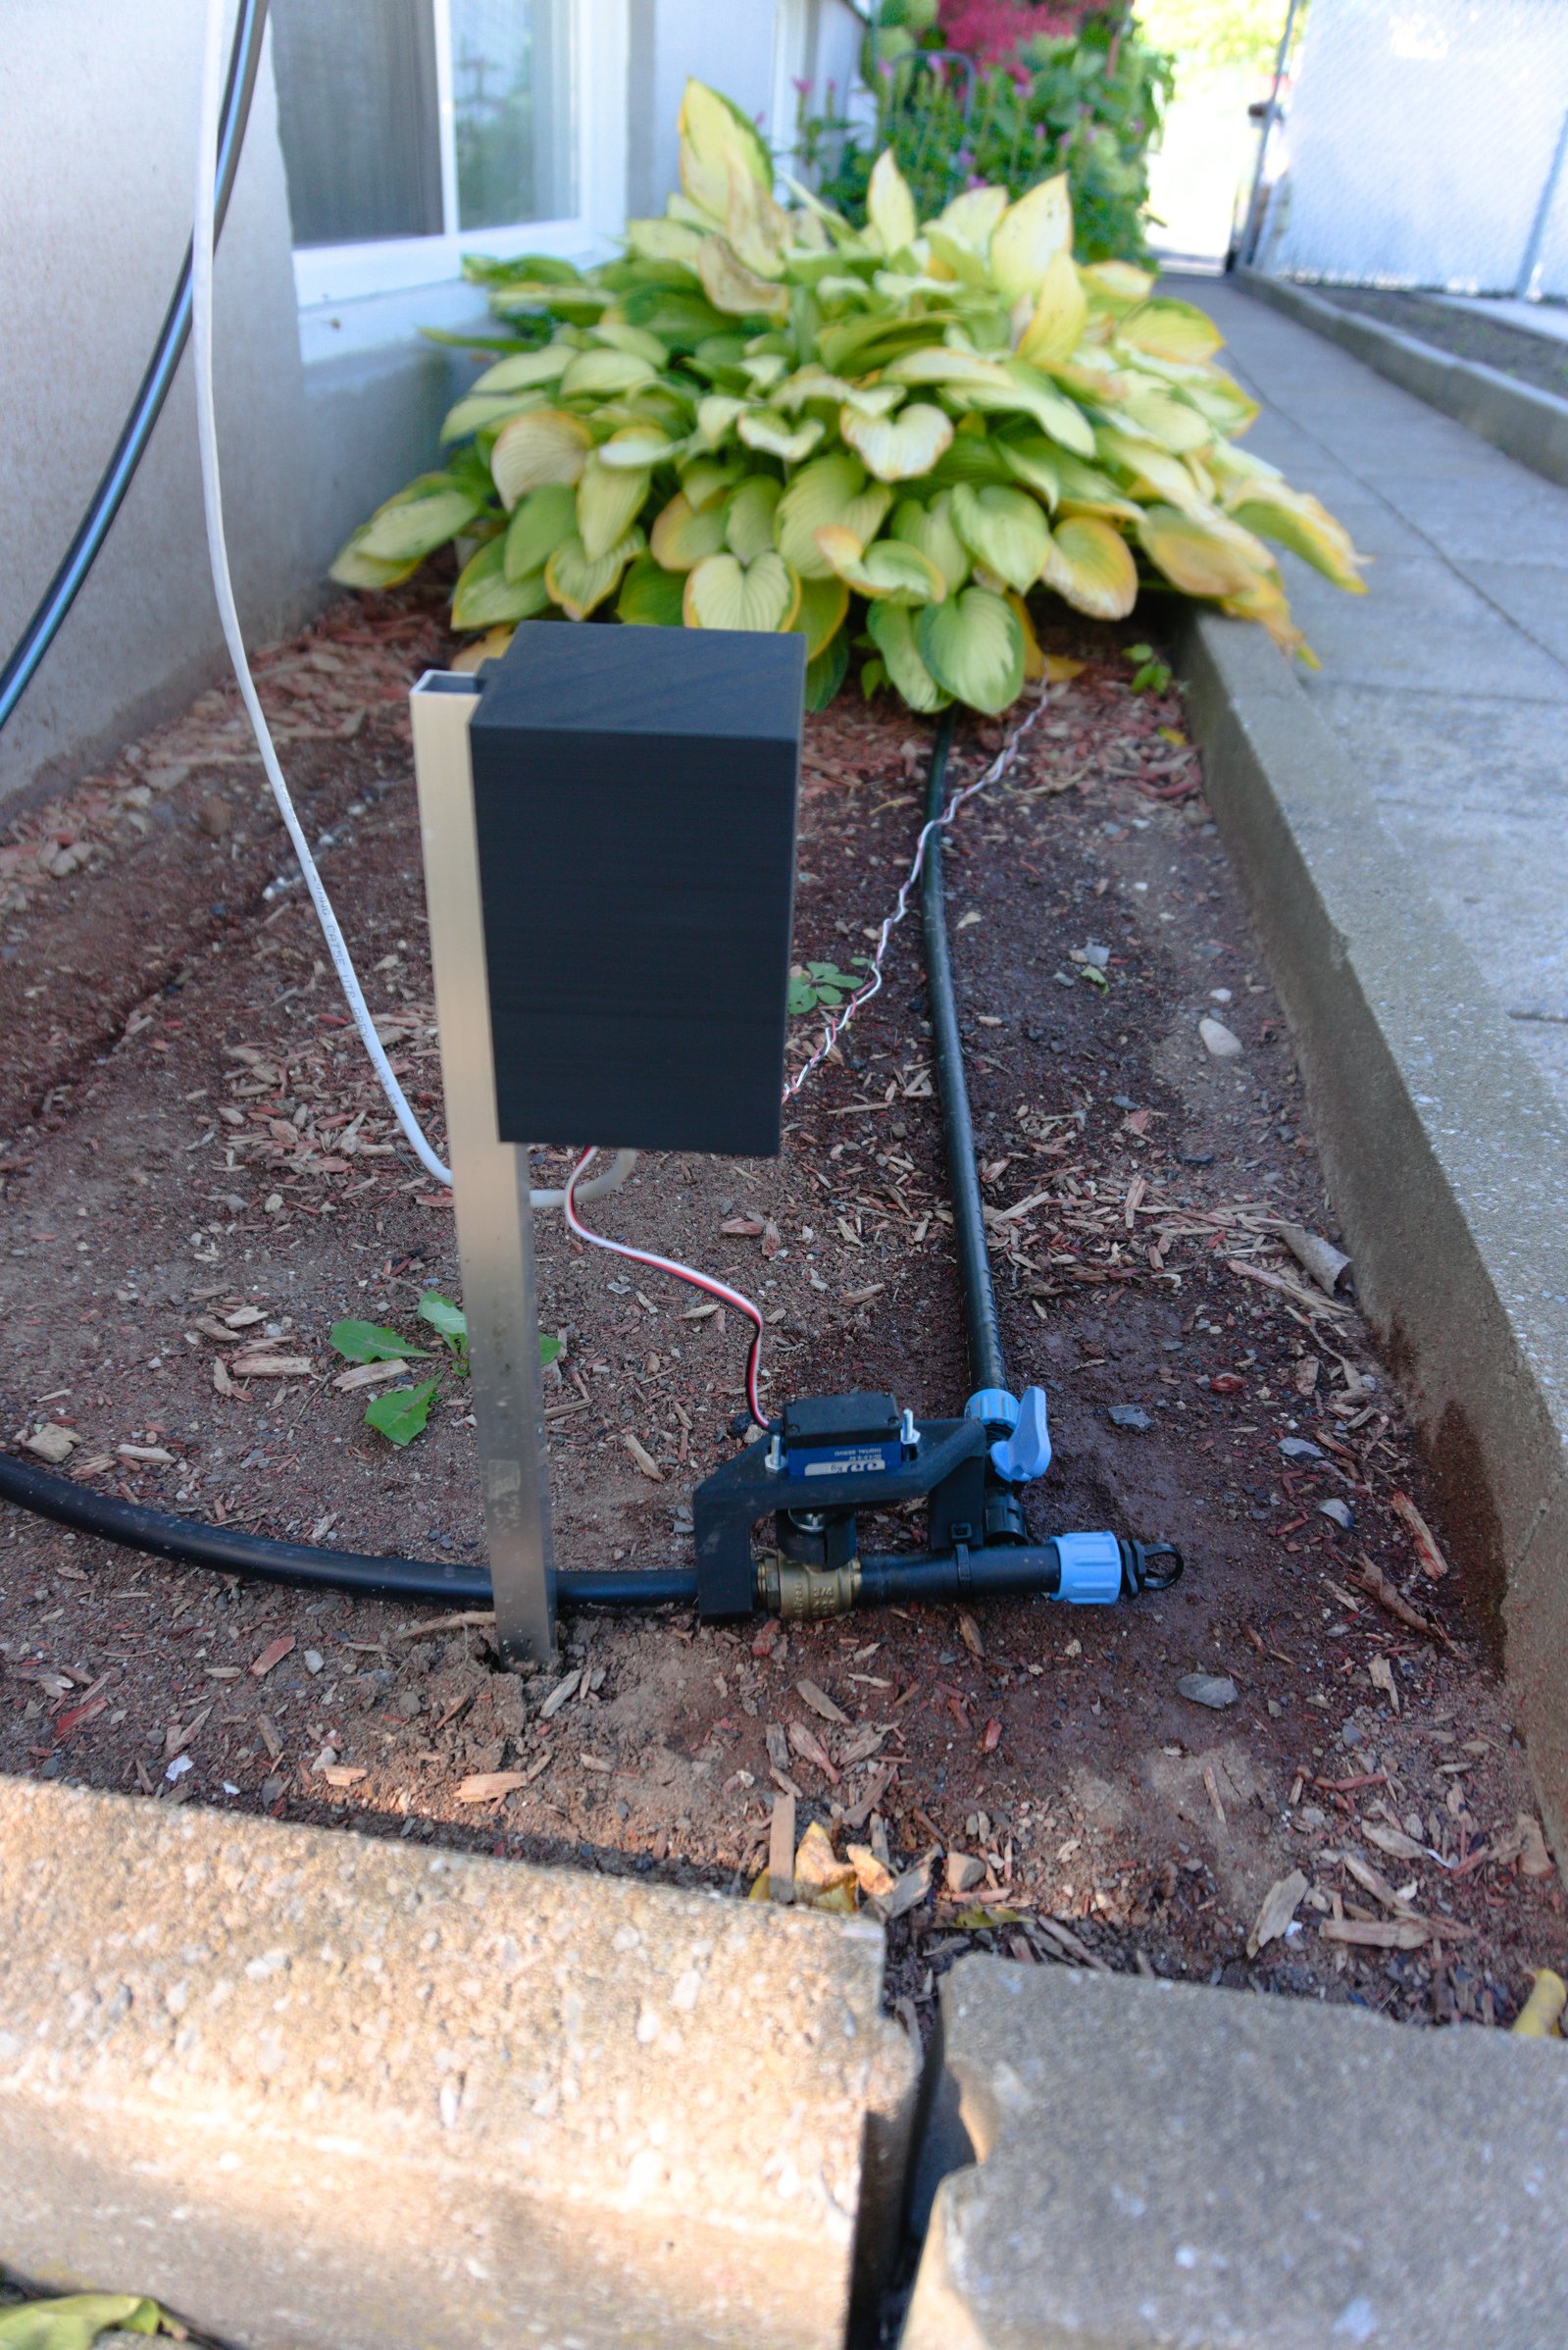
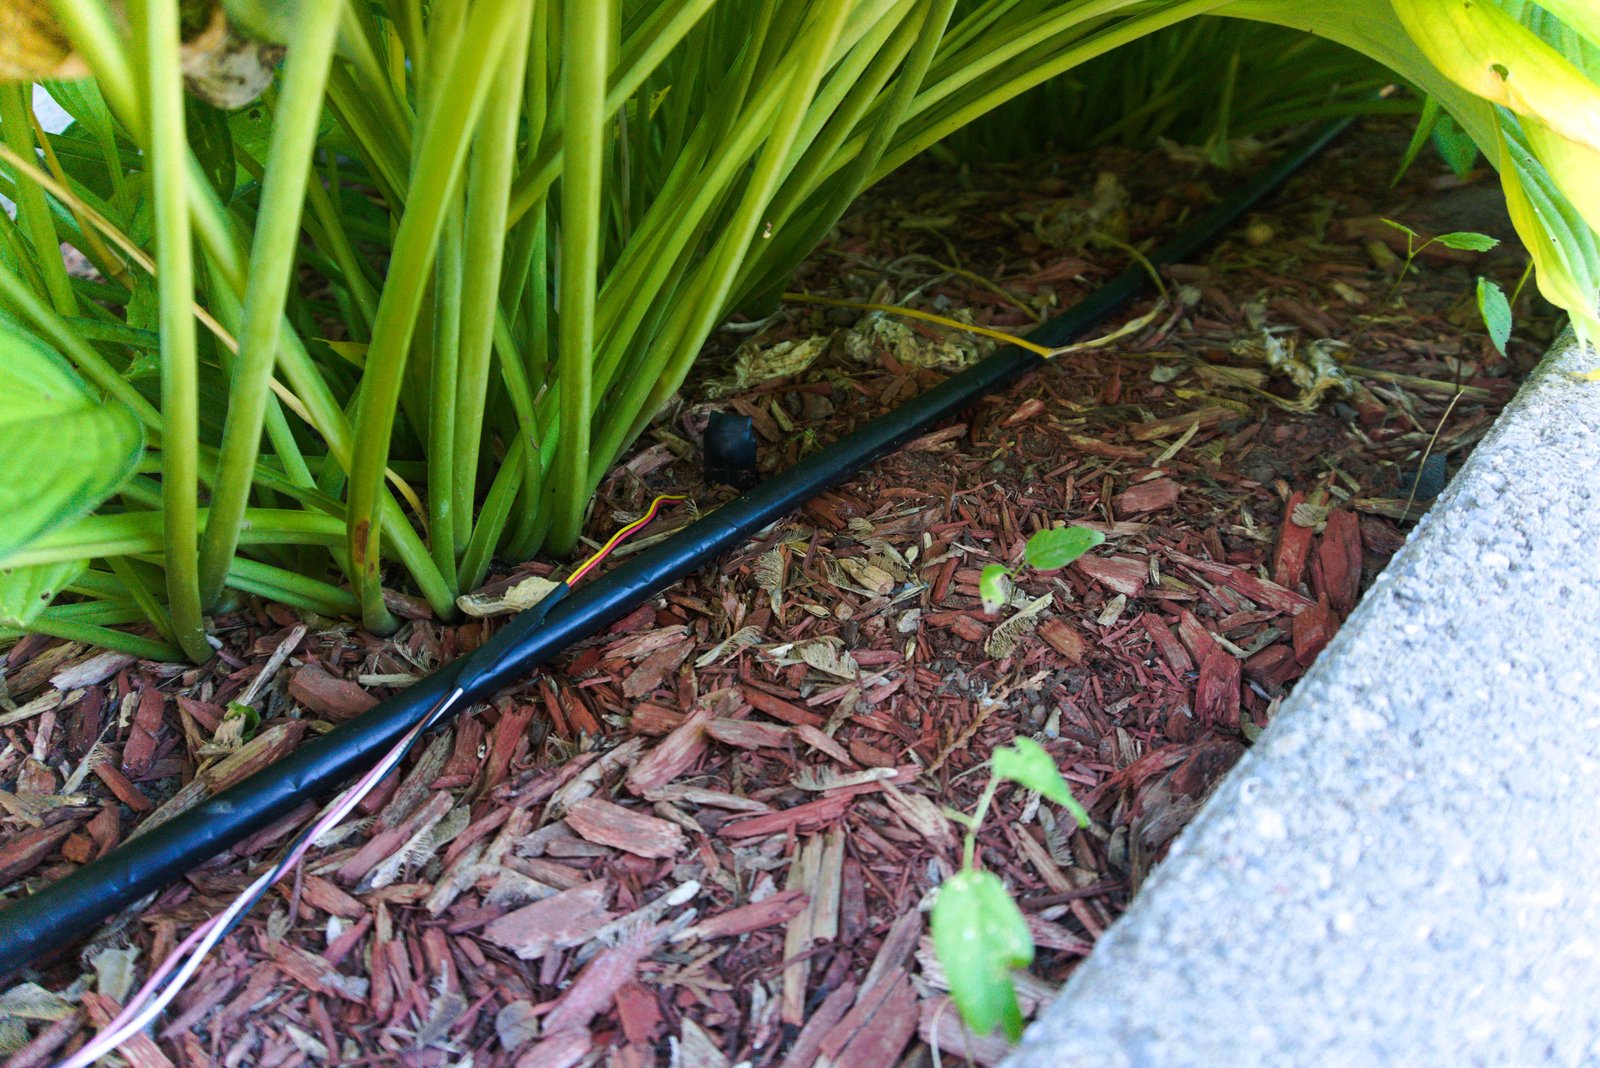
Last week, I covered how to create an IoT application with Espoir without any programming. This week, I have a follow-up guide, IoT irrigation with Espoir. It covers the fabrication and configuration of a smart irrigation valve controlled by a calibrated capacitive soil moisture sensor, to both save water and grow healthy plants at low cost. The guide covers a lot of ground, including:
- Basic irrigation principles
- Ruggedizing the capacitive soil moisture sensor to make it last outdoors
- Calibrating the moisture sensor's response curve
- Connecting and configuring Tasmota and Home Assistant to read the sensor values
- Preparing the valve automation
- Setting the irrigation levels
If you're like me, and you enjoy fresh, healthy, local food, but would rather not spend time each day babysitting your plants, check it out!
Production is GO!
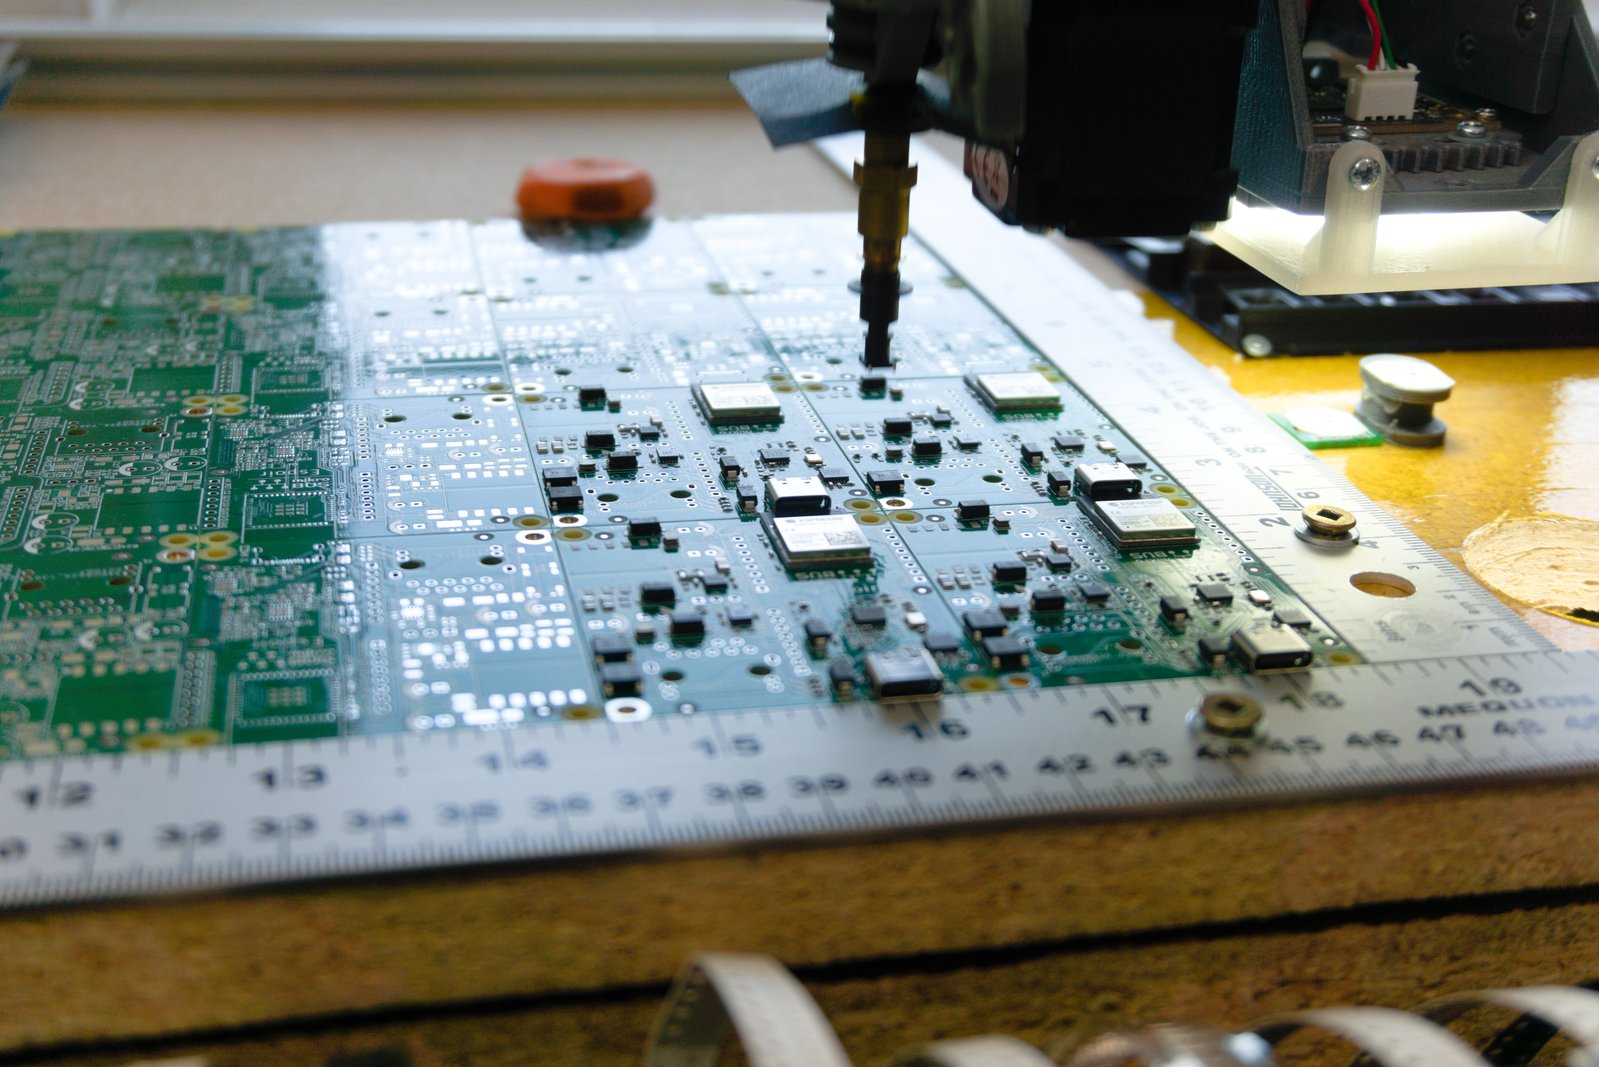
Production has officially started! We're not yet at full speed, but we're already at a rythm where production should be completed at the end of the launch campaign. Exciting! I have to say I'm still debugging some stuff here and there (mostly (always) the feeders, urgh!), and I'm still looking for the perfect timings for dip soldering the through-hole parts without bridges or missing joints that I have to rework. I really want to get the time I spend on each PCB to under 5 minutes, and to get there everything needs to be perfect.
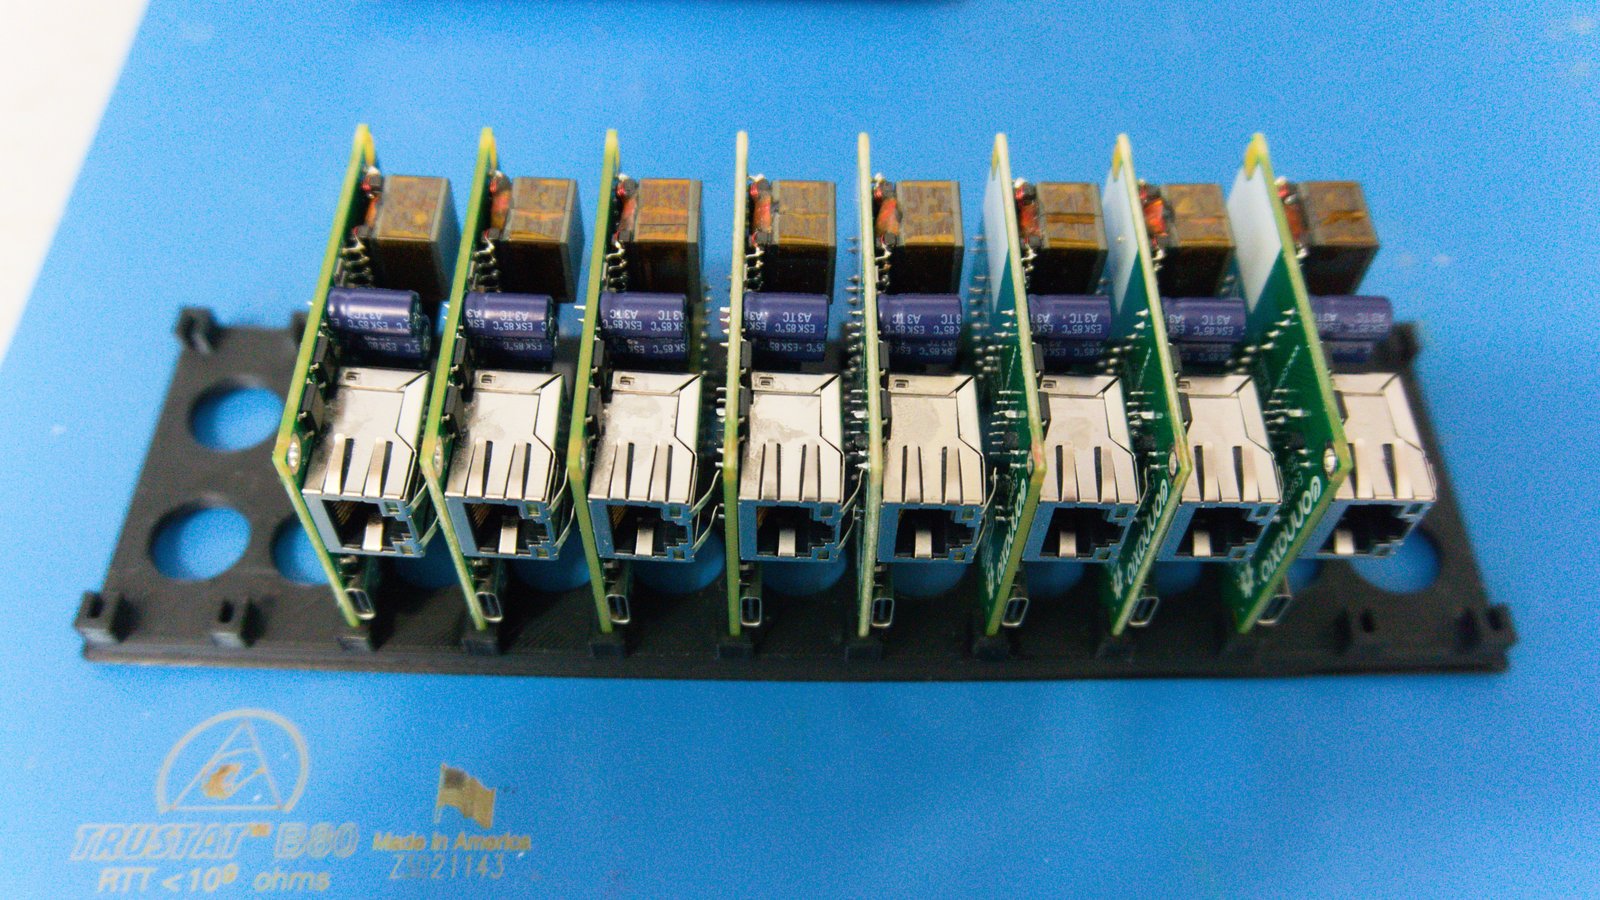
The boards are preparing for a nice high-frequency cleansing bath. Looking at the bottom of the bath, it's clearly a necessary step.
The pick-and-place is optimized
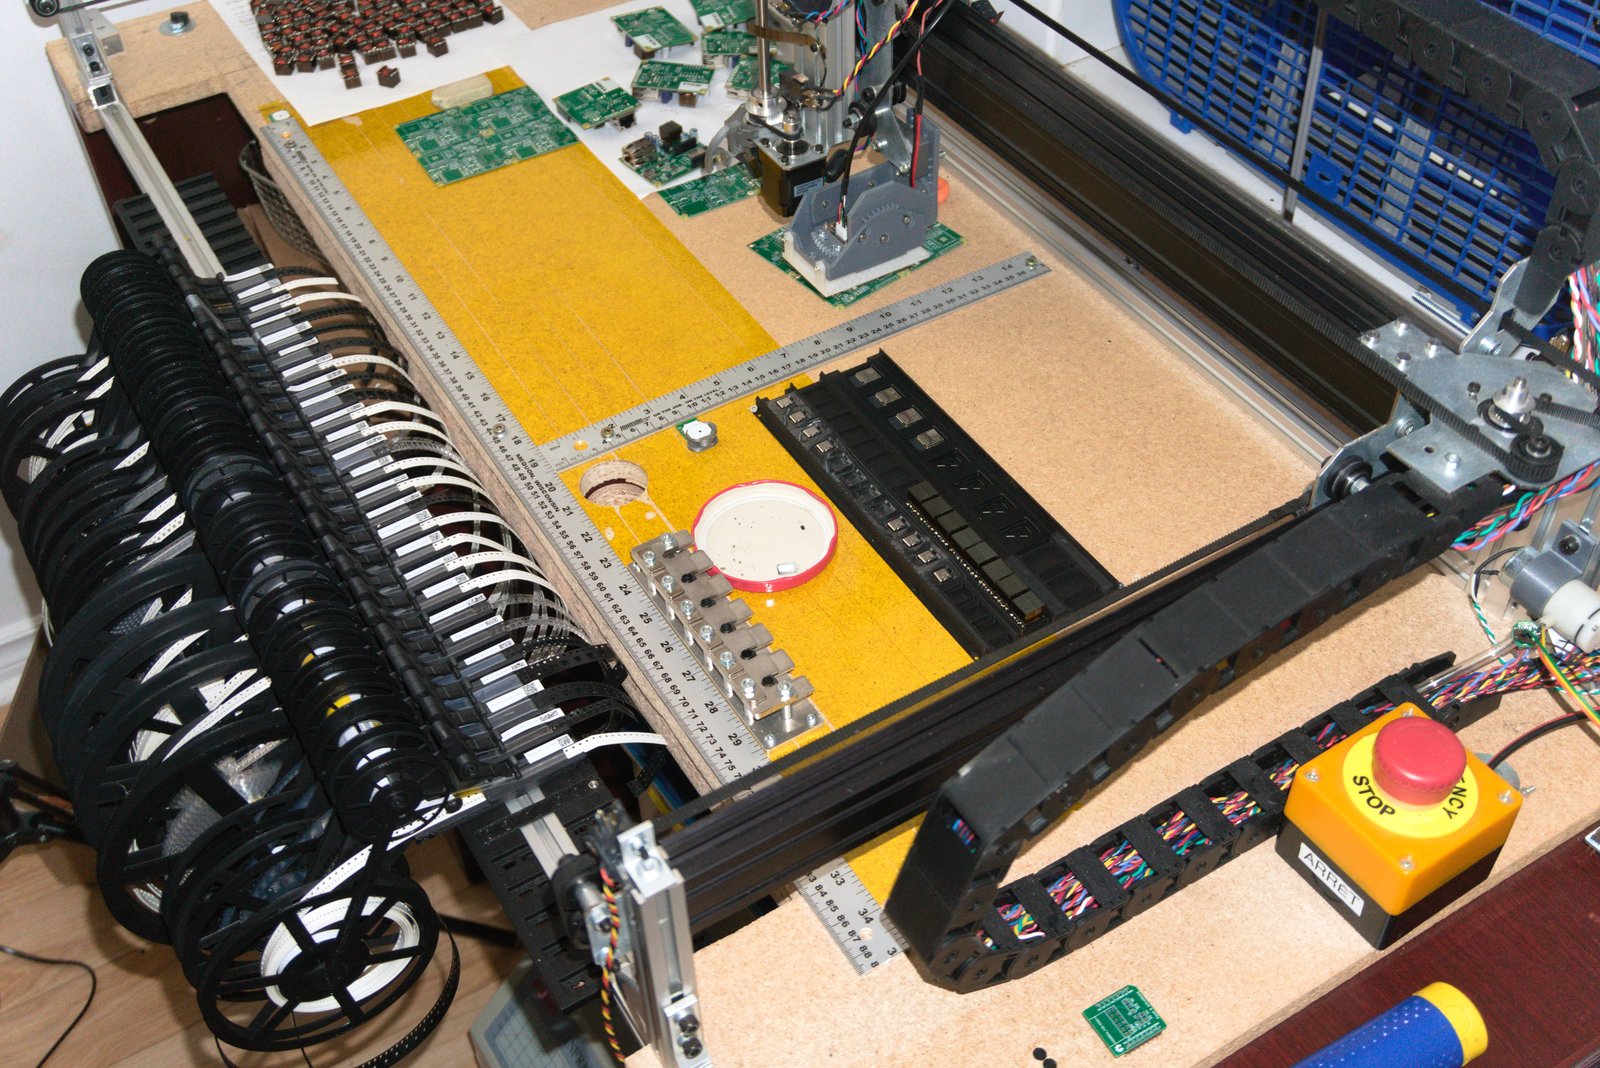
I had been putting this off, but now it's done: the pick-and-place is as optimized as it will get (except maybe I could get a bigger Y-axis motor to increase speed). The bottom camera and board placement location are now centered, which minimizes overall travel distance. That also makes the assembly occur very close to the calibration location, which means smaller mechanical disparities between the calibration and assembly. I've never been so confident about the machine's next part placement, which is supported by a 100% yield rate so far.
For the curious, it is a modified (wider) LitePlacer machine running OpenPnP software. Both offer great support and have a big community.
The new guy is noisy
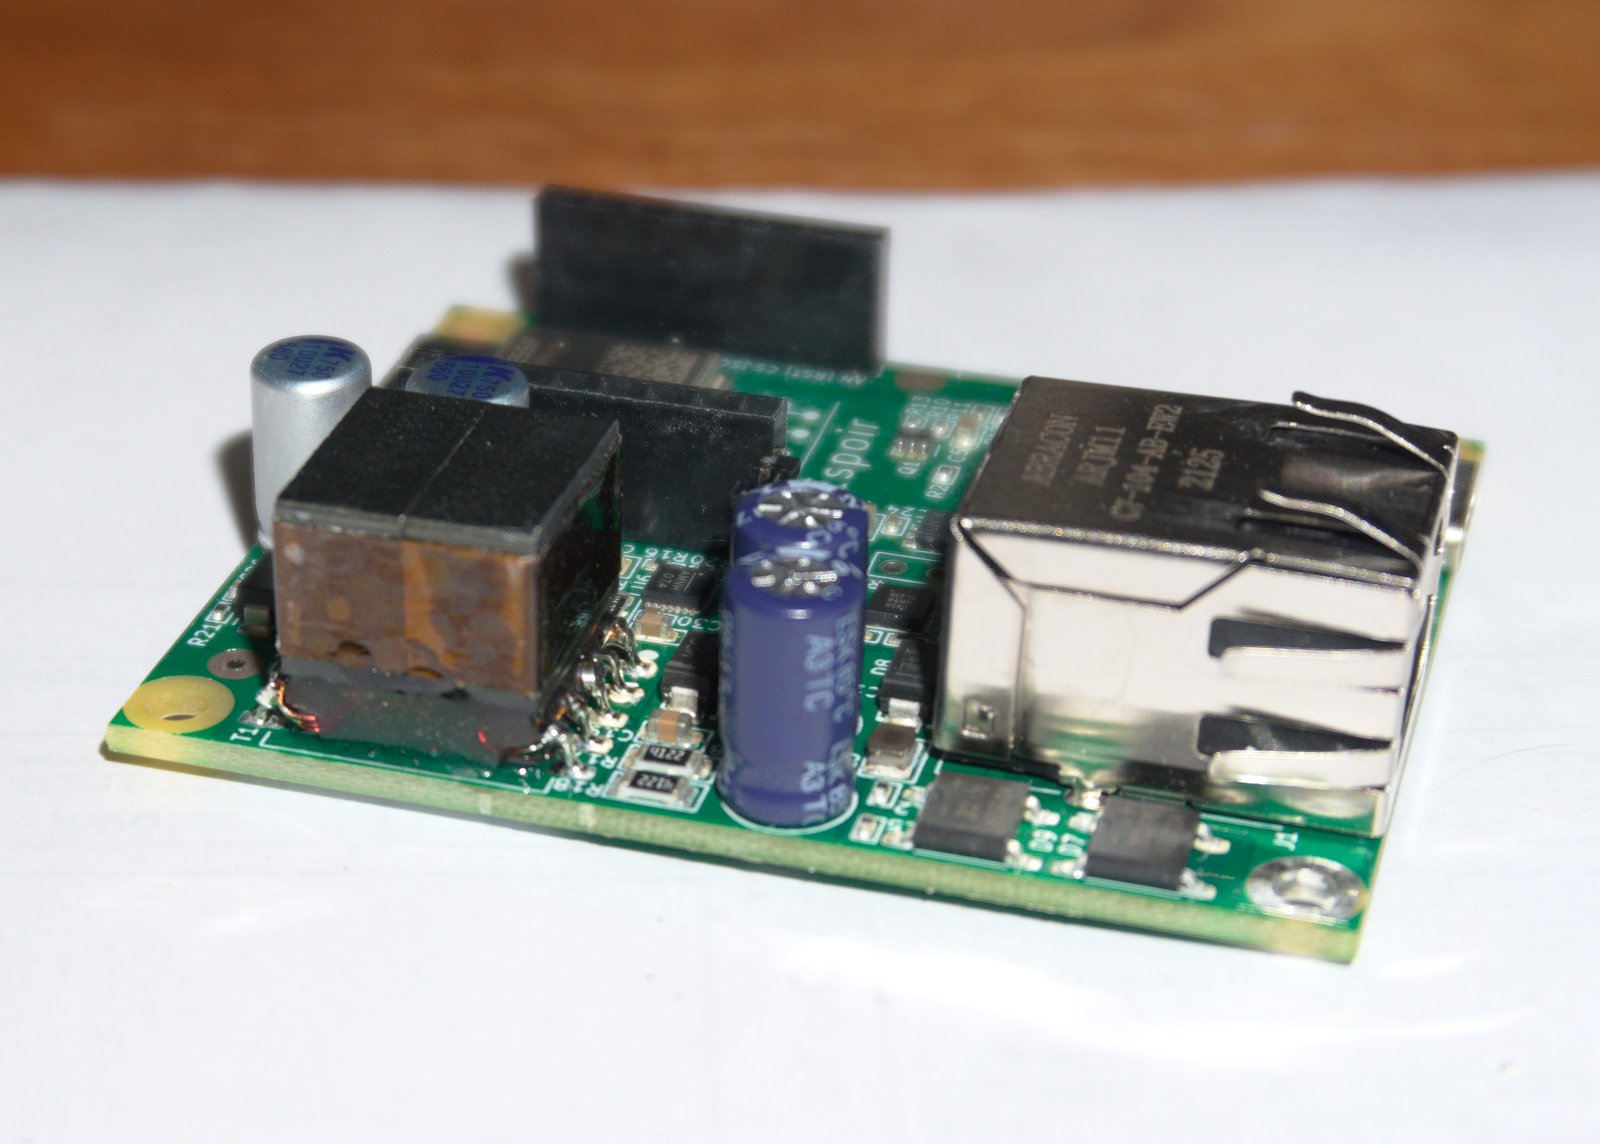
Somehow, the new batch of transformers I just opened has started making noise. This is due to the DCM flyback circuit I use to generate the 5V output running at audible frequencies when under very light load (under 0.4 W). This causes the transformer to vibrate due to magnetostriction in the core. After making very sure it was the transformer's fault and not the ceramic capacitors around it, I looked into coating the transformer to reduce noise. After trying cyanoacrylate and polyurethane coatings, epoxy managed to dampen the noise by a large margin, so I'm quite happy with that. Basically, it makes the core so stiff that it can't vibrate any more. You can see that the bottom of the transformer is filled with a transparent, hard coating. Rest assured, this is a standard practice that does not affect performance. I guess it could reduce airflow under the coils (?), but the transformer was never the hottest part anyway.
 Marc-Antoine Lalonde
Discussions
Become a Hackaday.io Member
Create an account to leave a comment. Already have an account? Log In.