Close
0%
0%

My Little Scanning Electron Microscope

This project details the build of a scanning electron microscope and electron lithography unit.

Similar projects worth following
I've been putting together tools for developing a semiconductor chip fabrication lab detailed here: https://hackaday.io/project/185897-easy-bake-fab-lab . One of the next tools that I will need is a scanning electron microscope, also known as an SEM. This intends to serve two primary uses in my lab. The first is to act as a microscope so I can examine in detail the surfaces of semiconductor devices that I'm building. Secondly - to act as a lithography device so I can use an electron beam to expose photosensitive chemicals. This will allow me to create new semiconductor devices with exceptional detail and resolution.

One tool that I've wanted in my lab for a long time is a scanning electron microscope.  https://en.wikipedia.org/wiki/Scanning_electron_microscope . Now that I'm building a semiconductor fabrication lab - it seems to be the time to build my very own SEM.

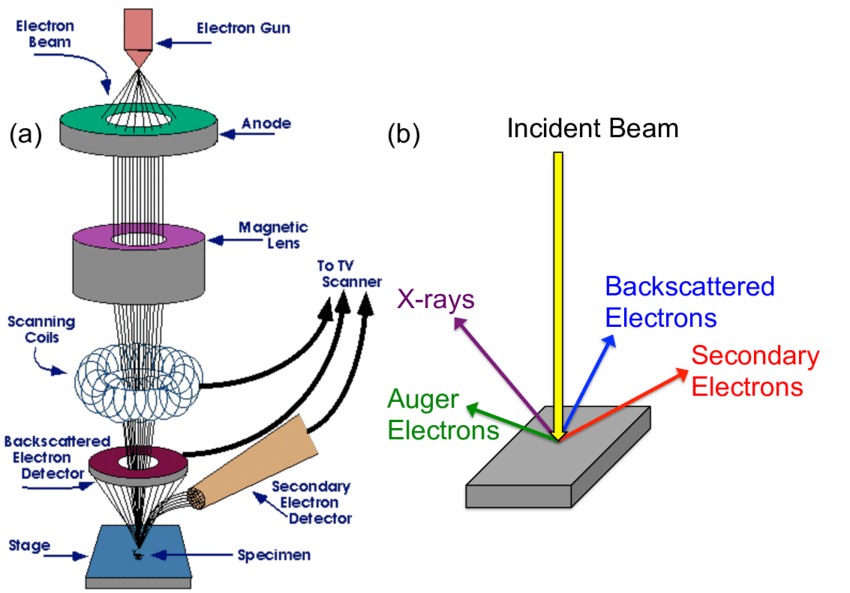
Here's a basic diagram of a SEM:
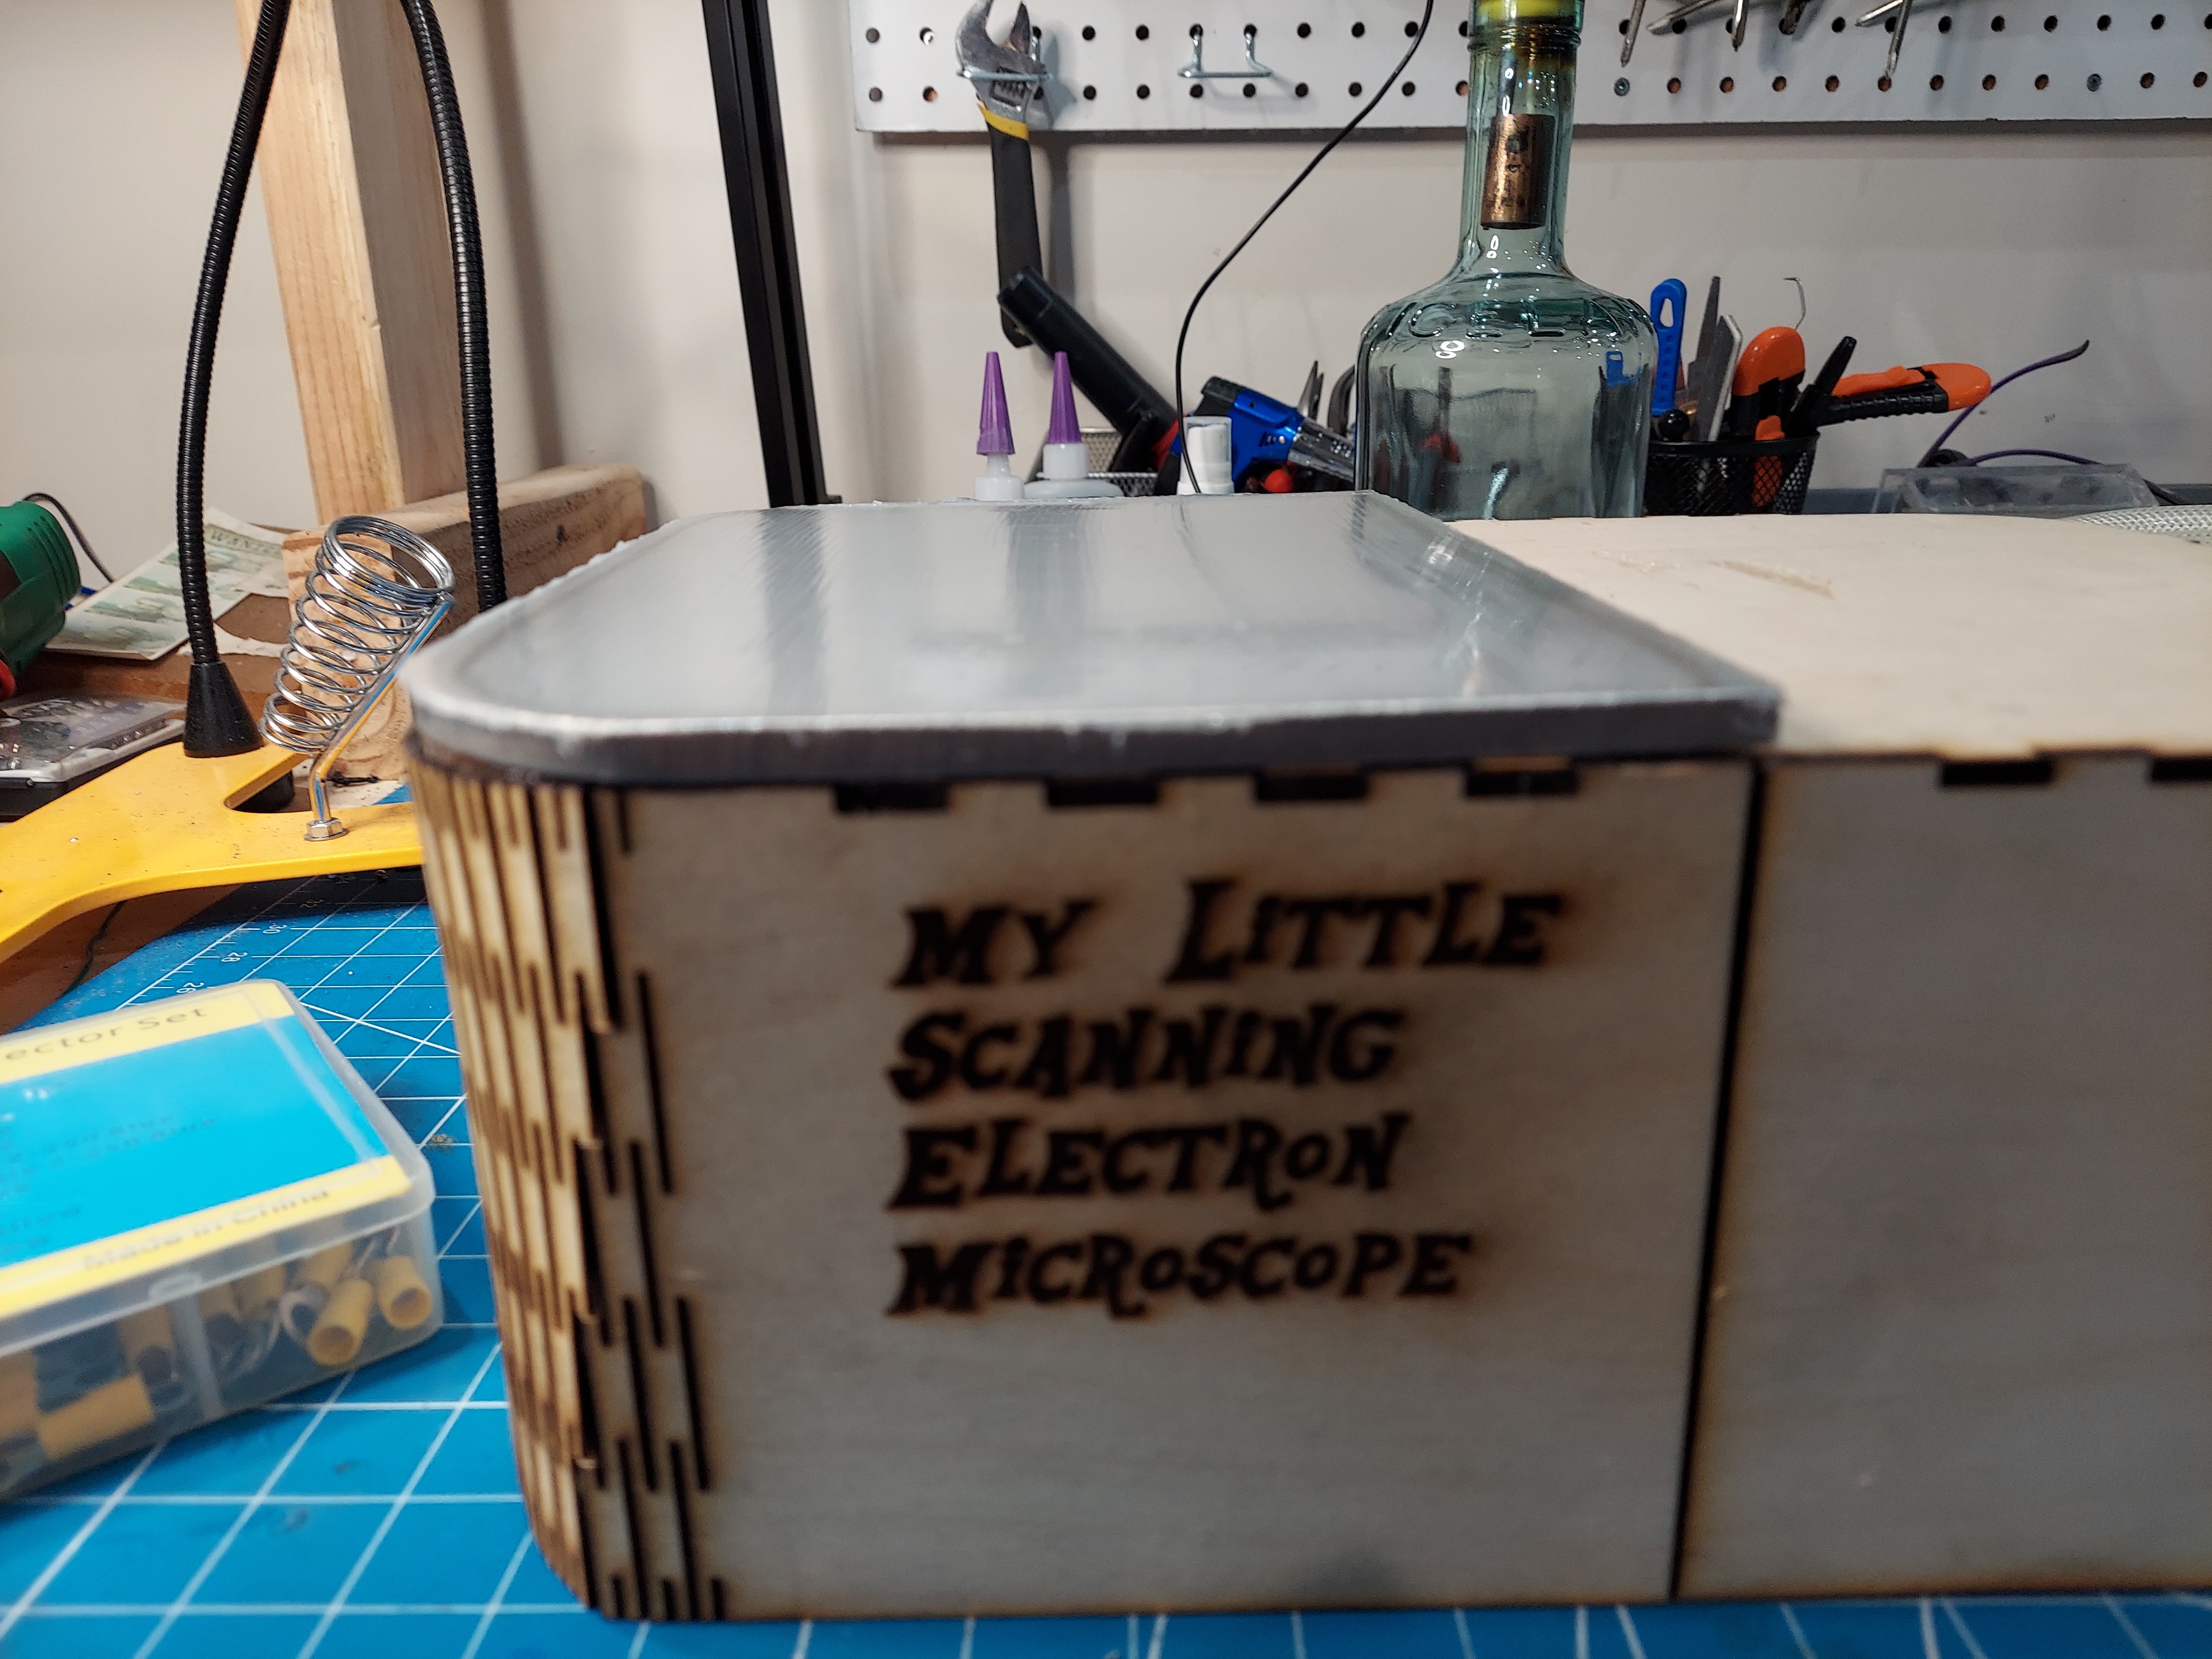
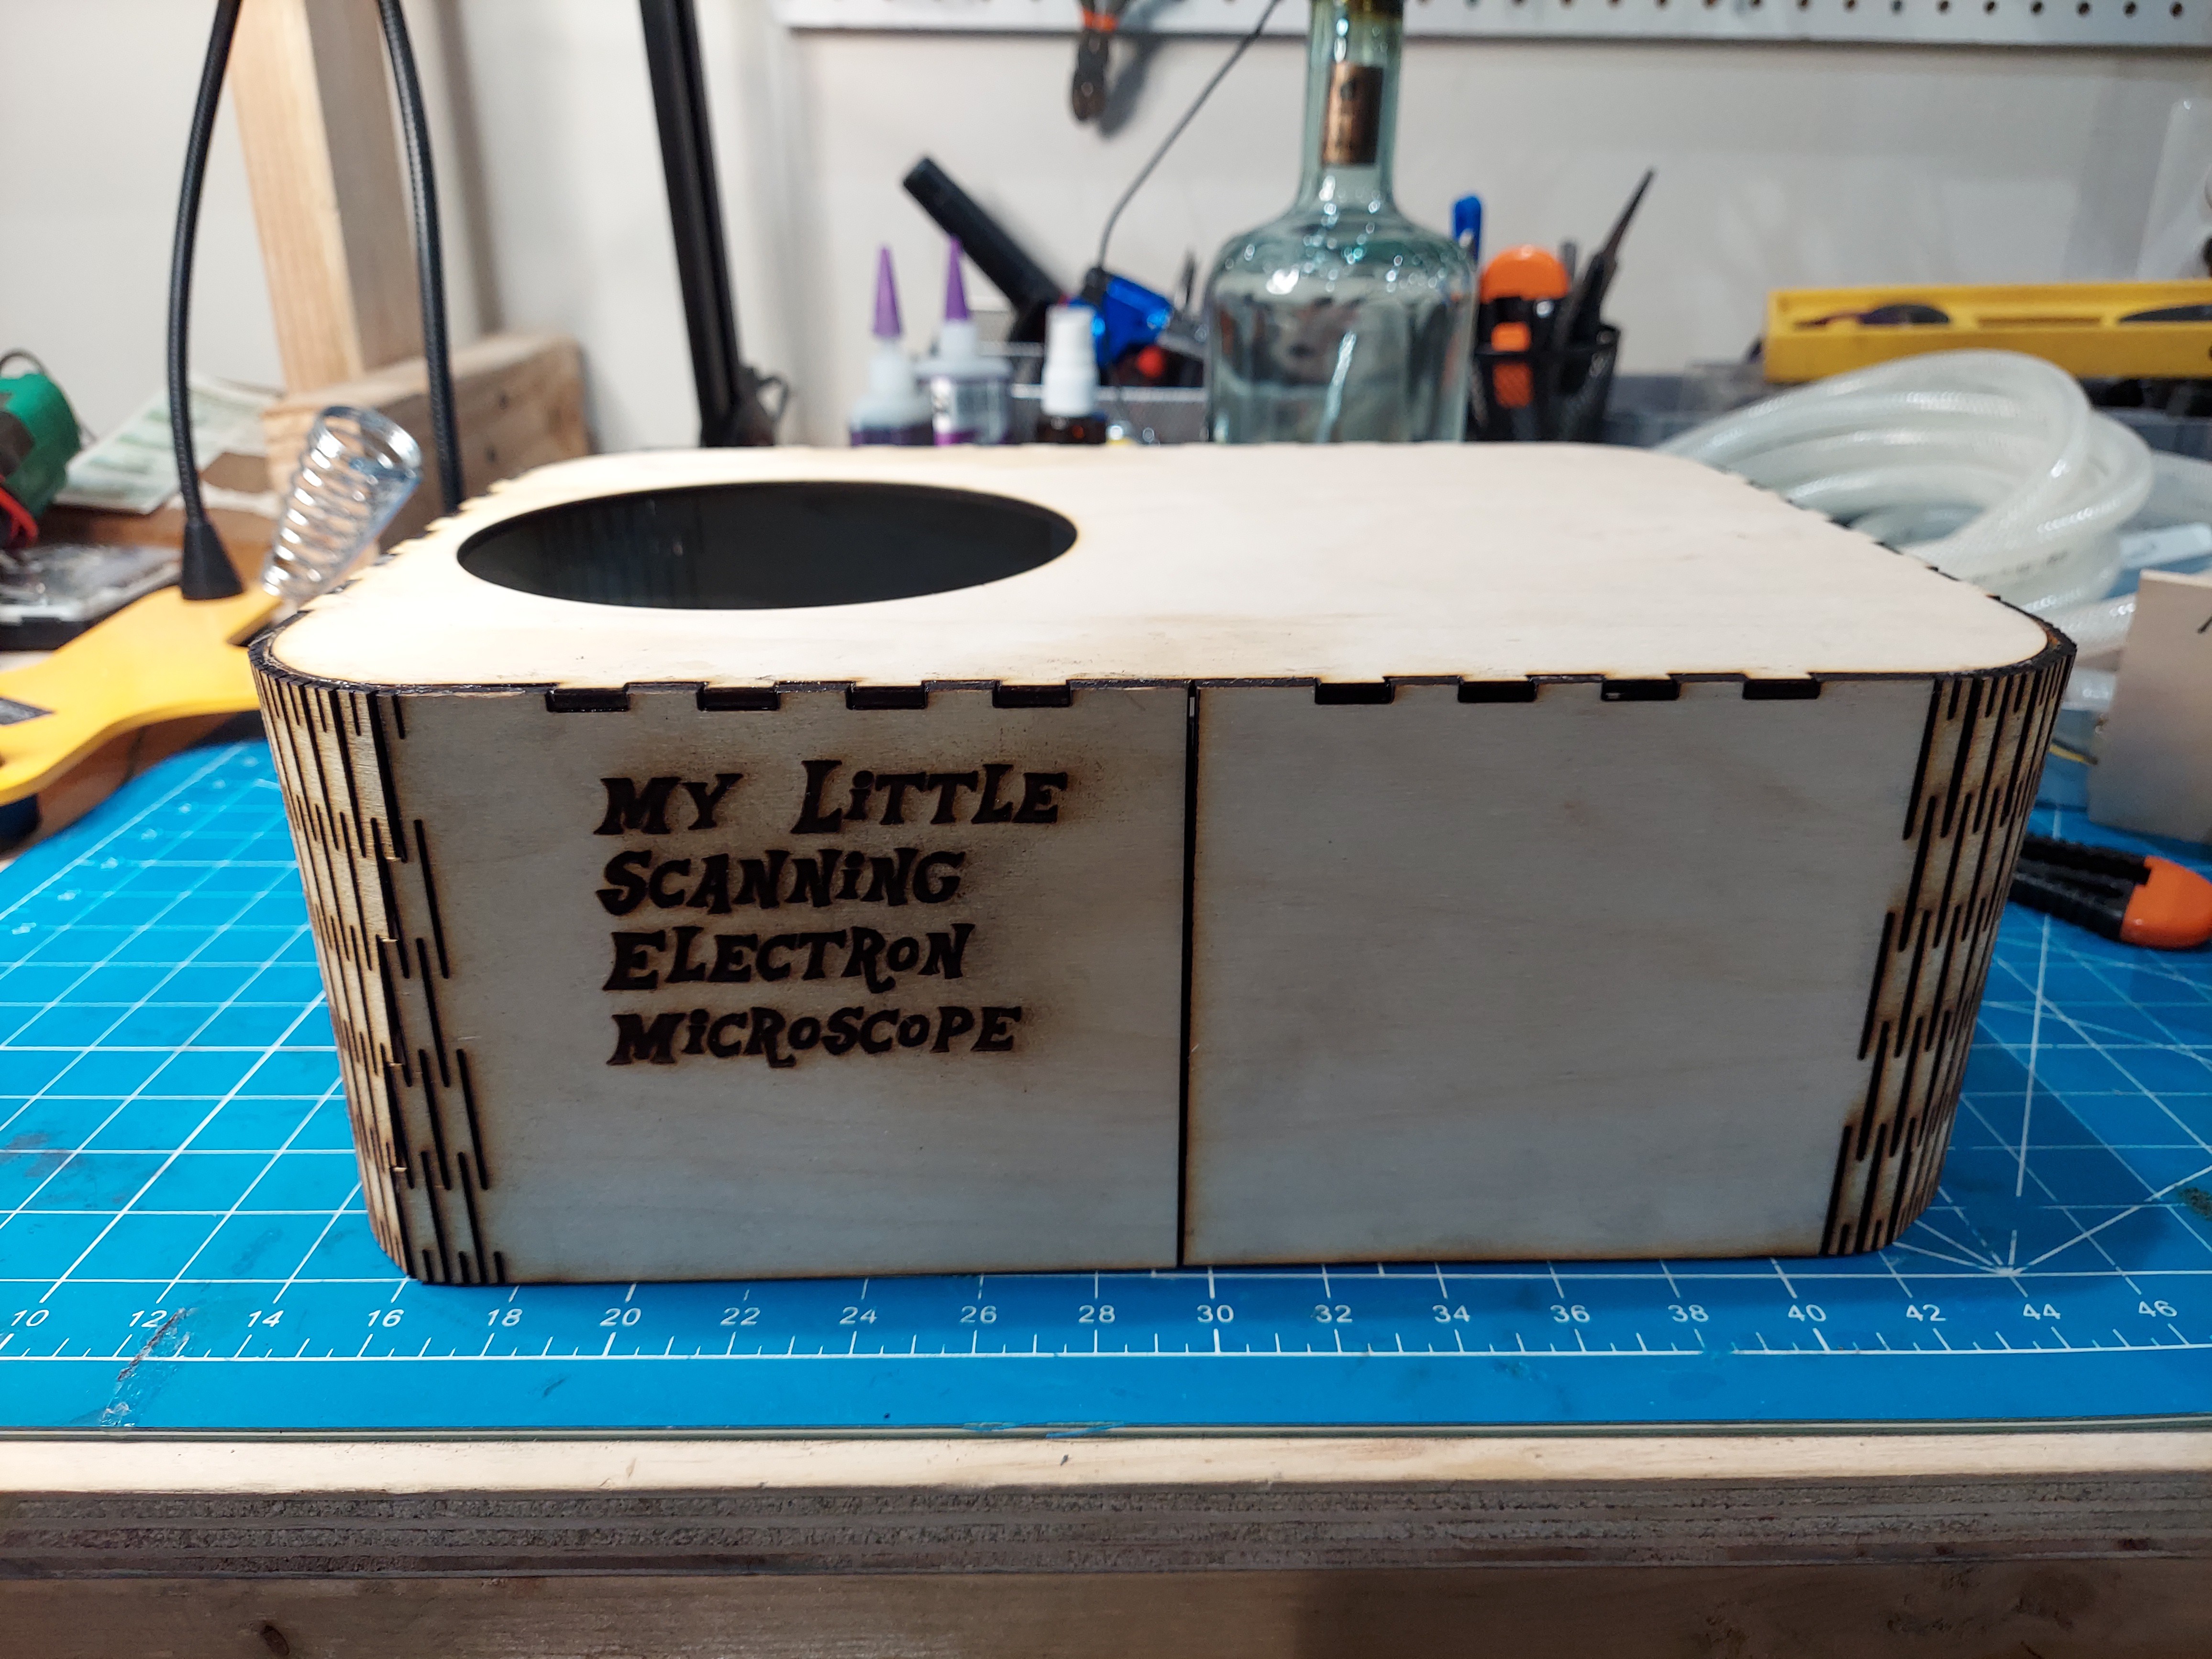
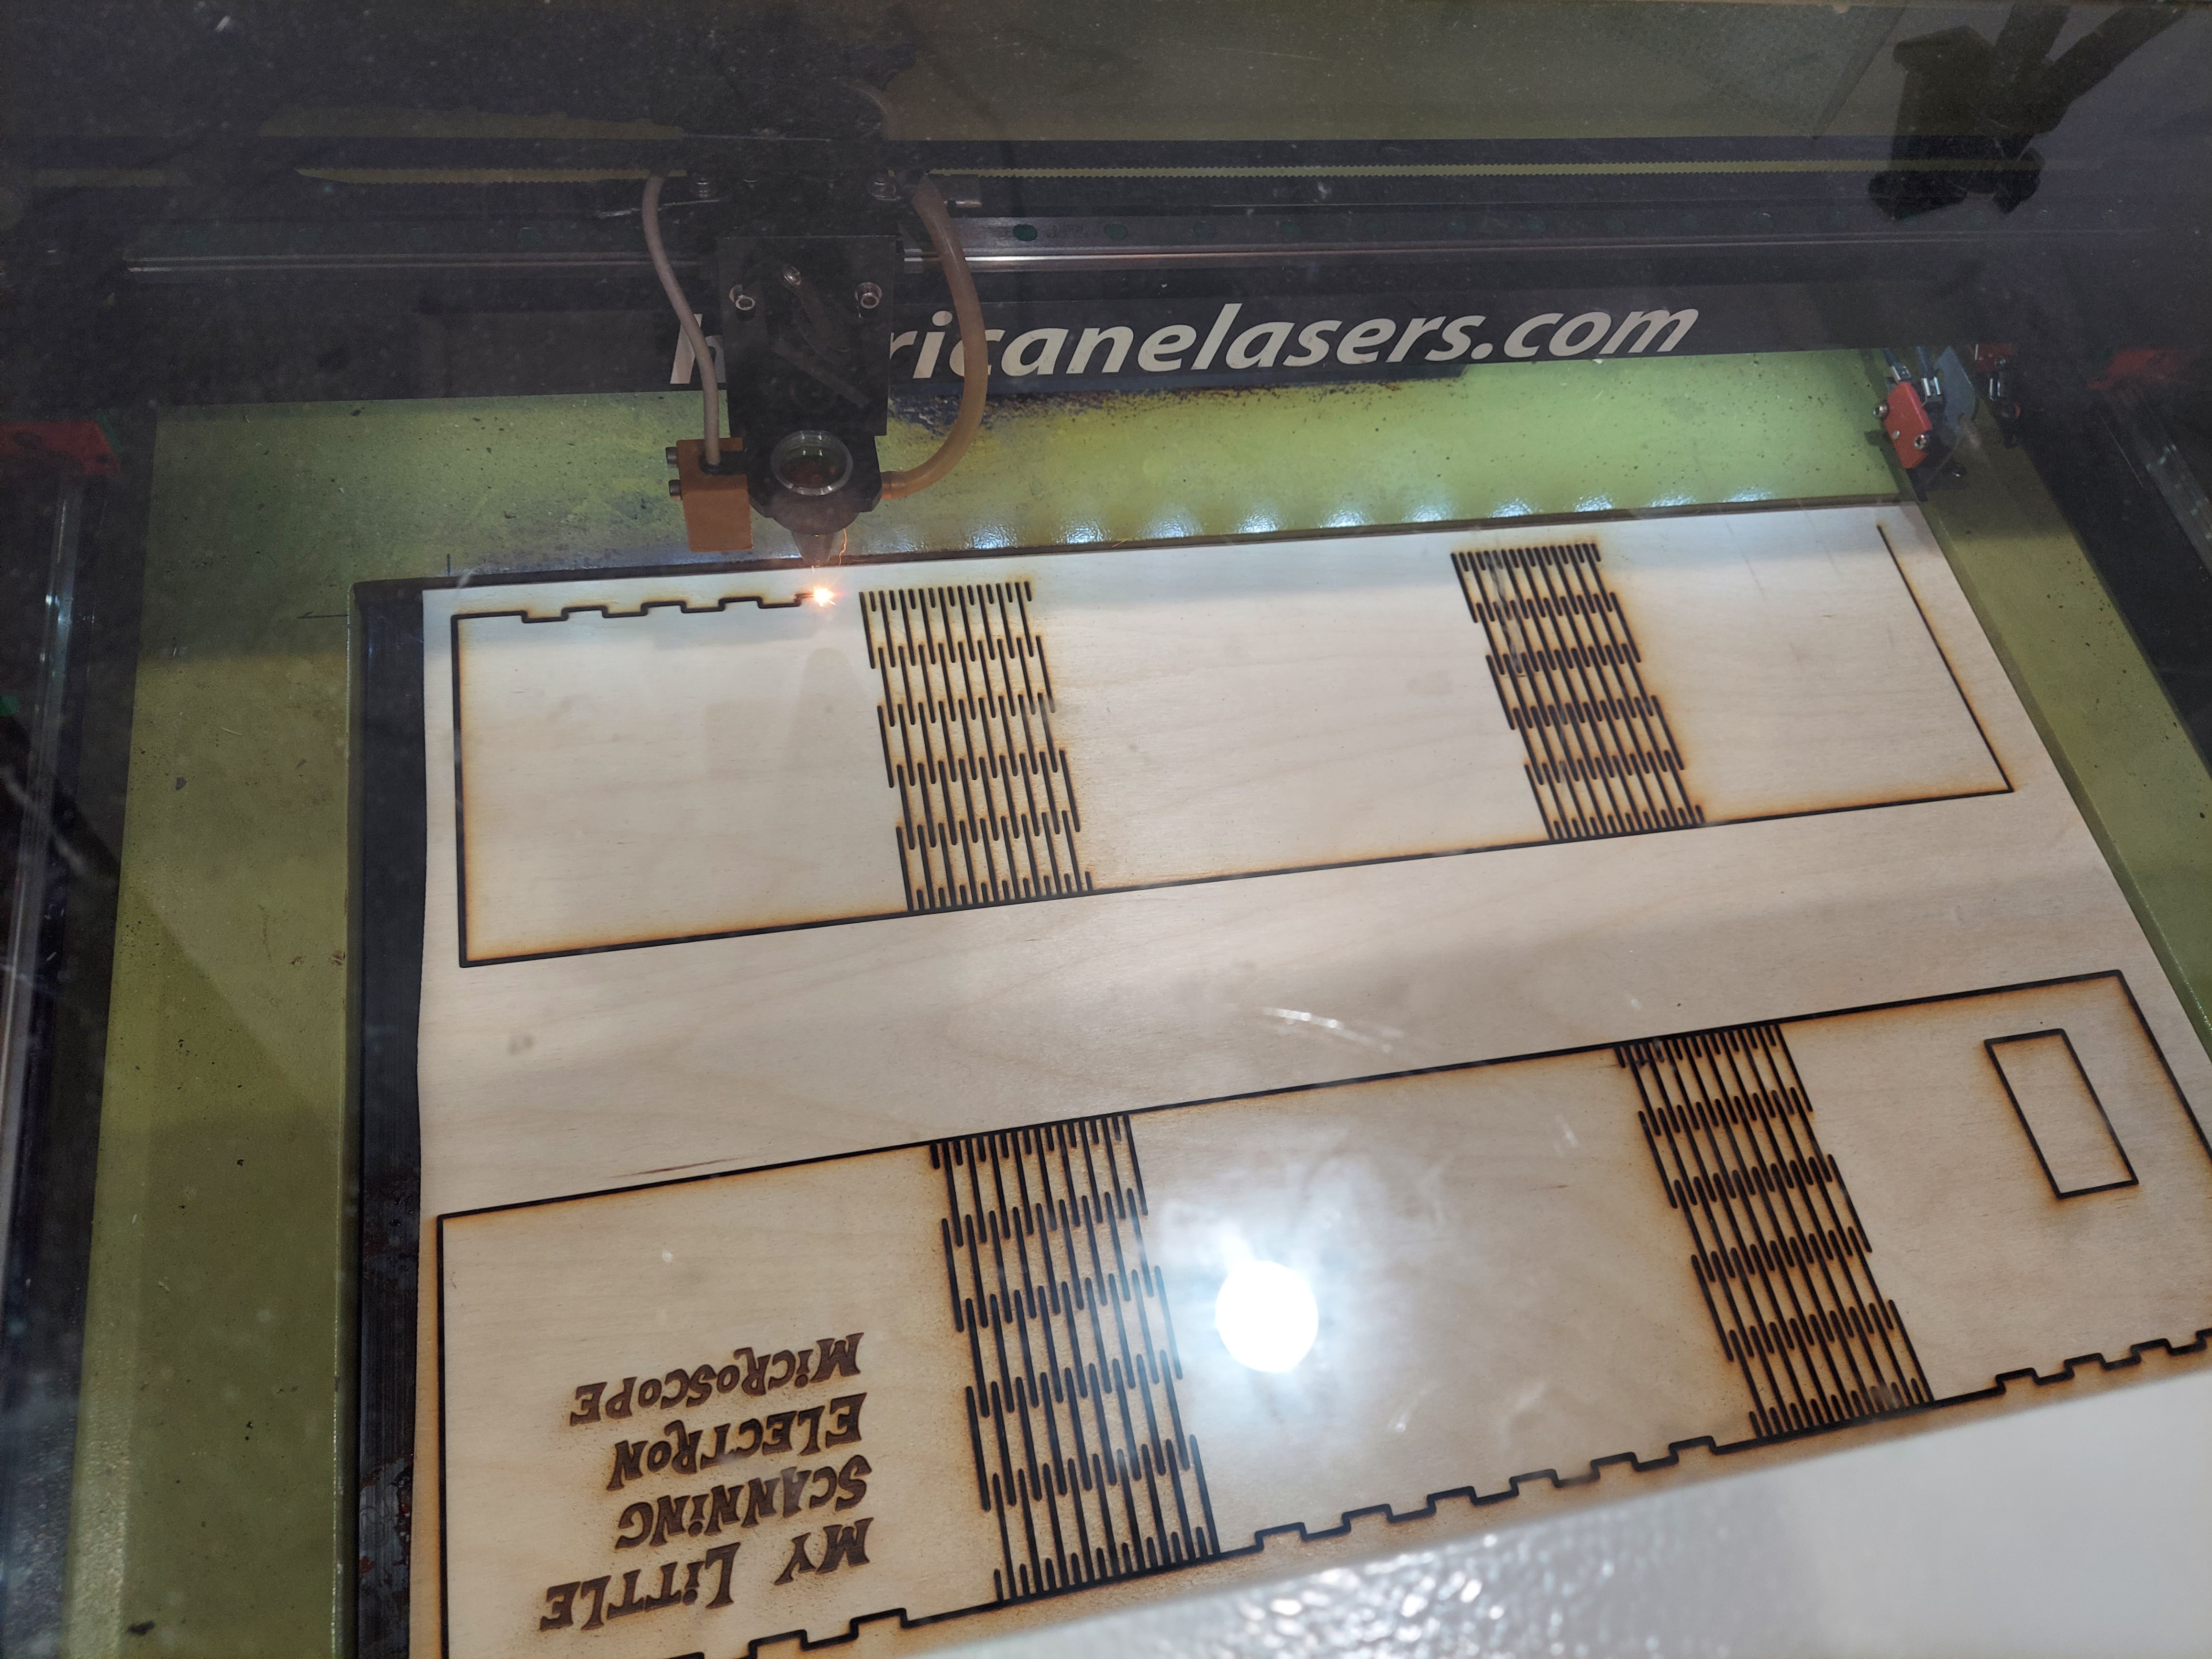
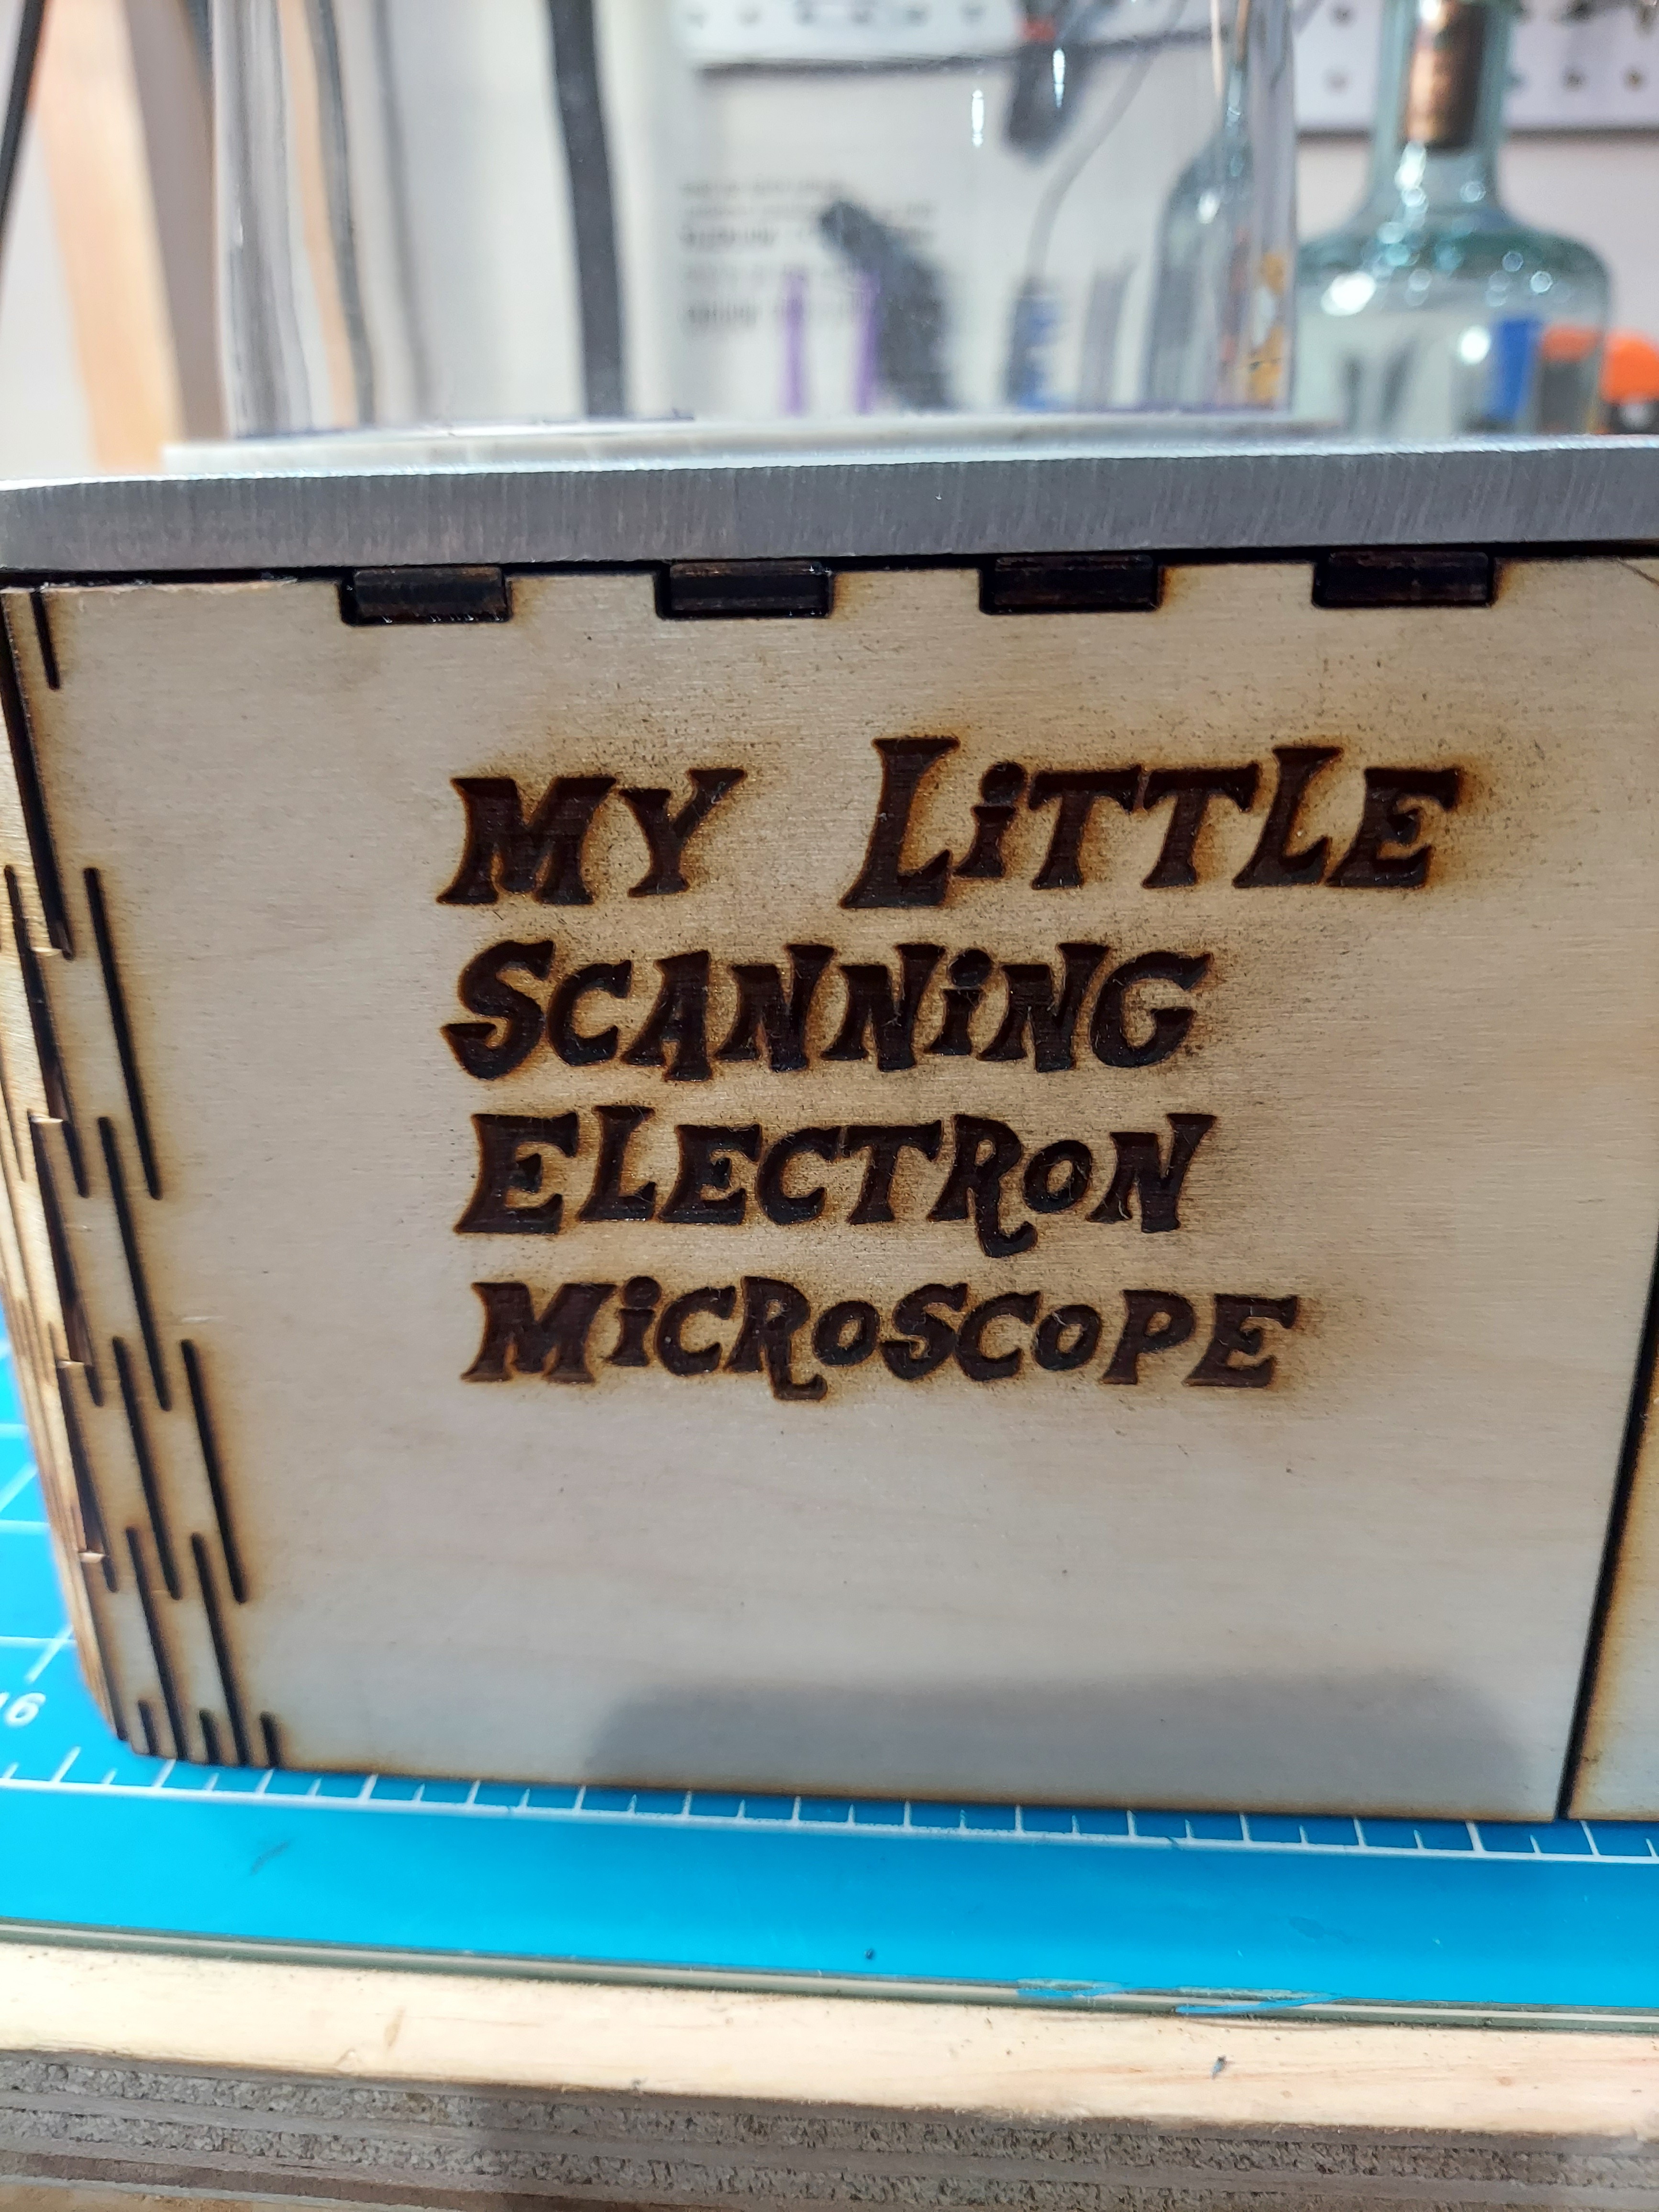
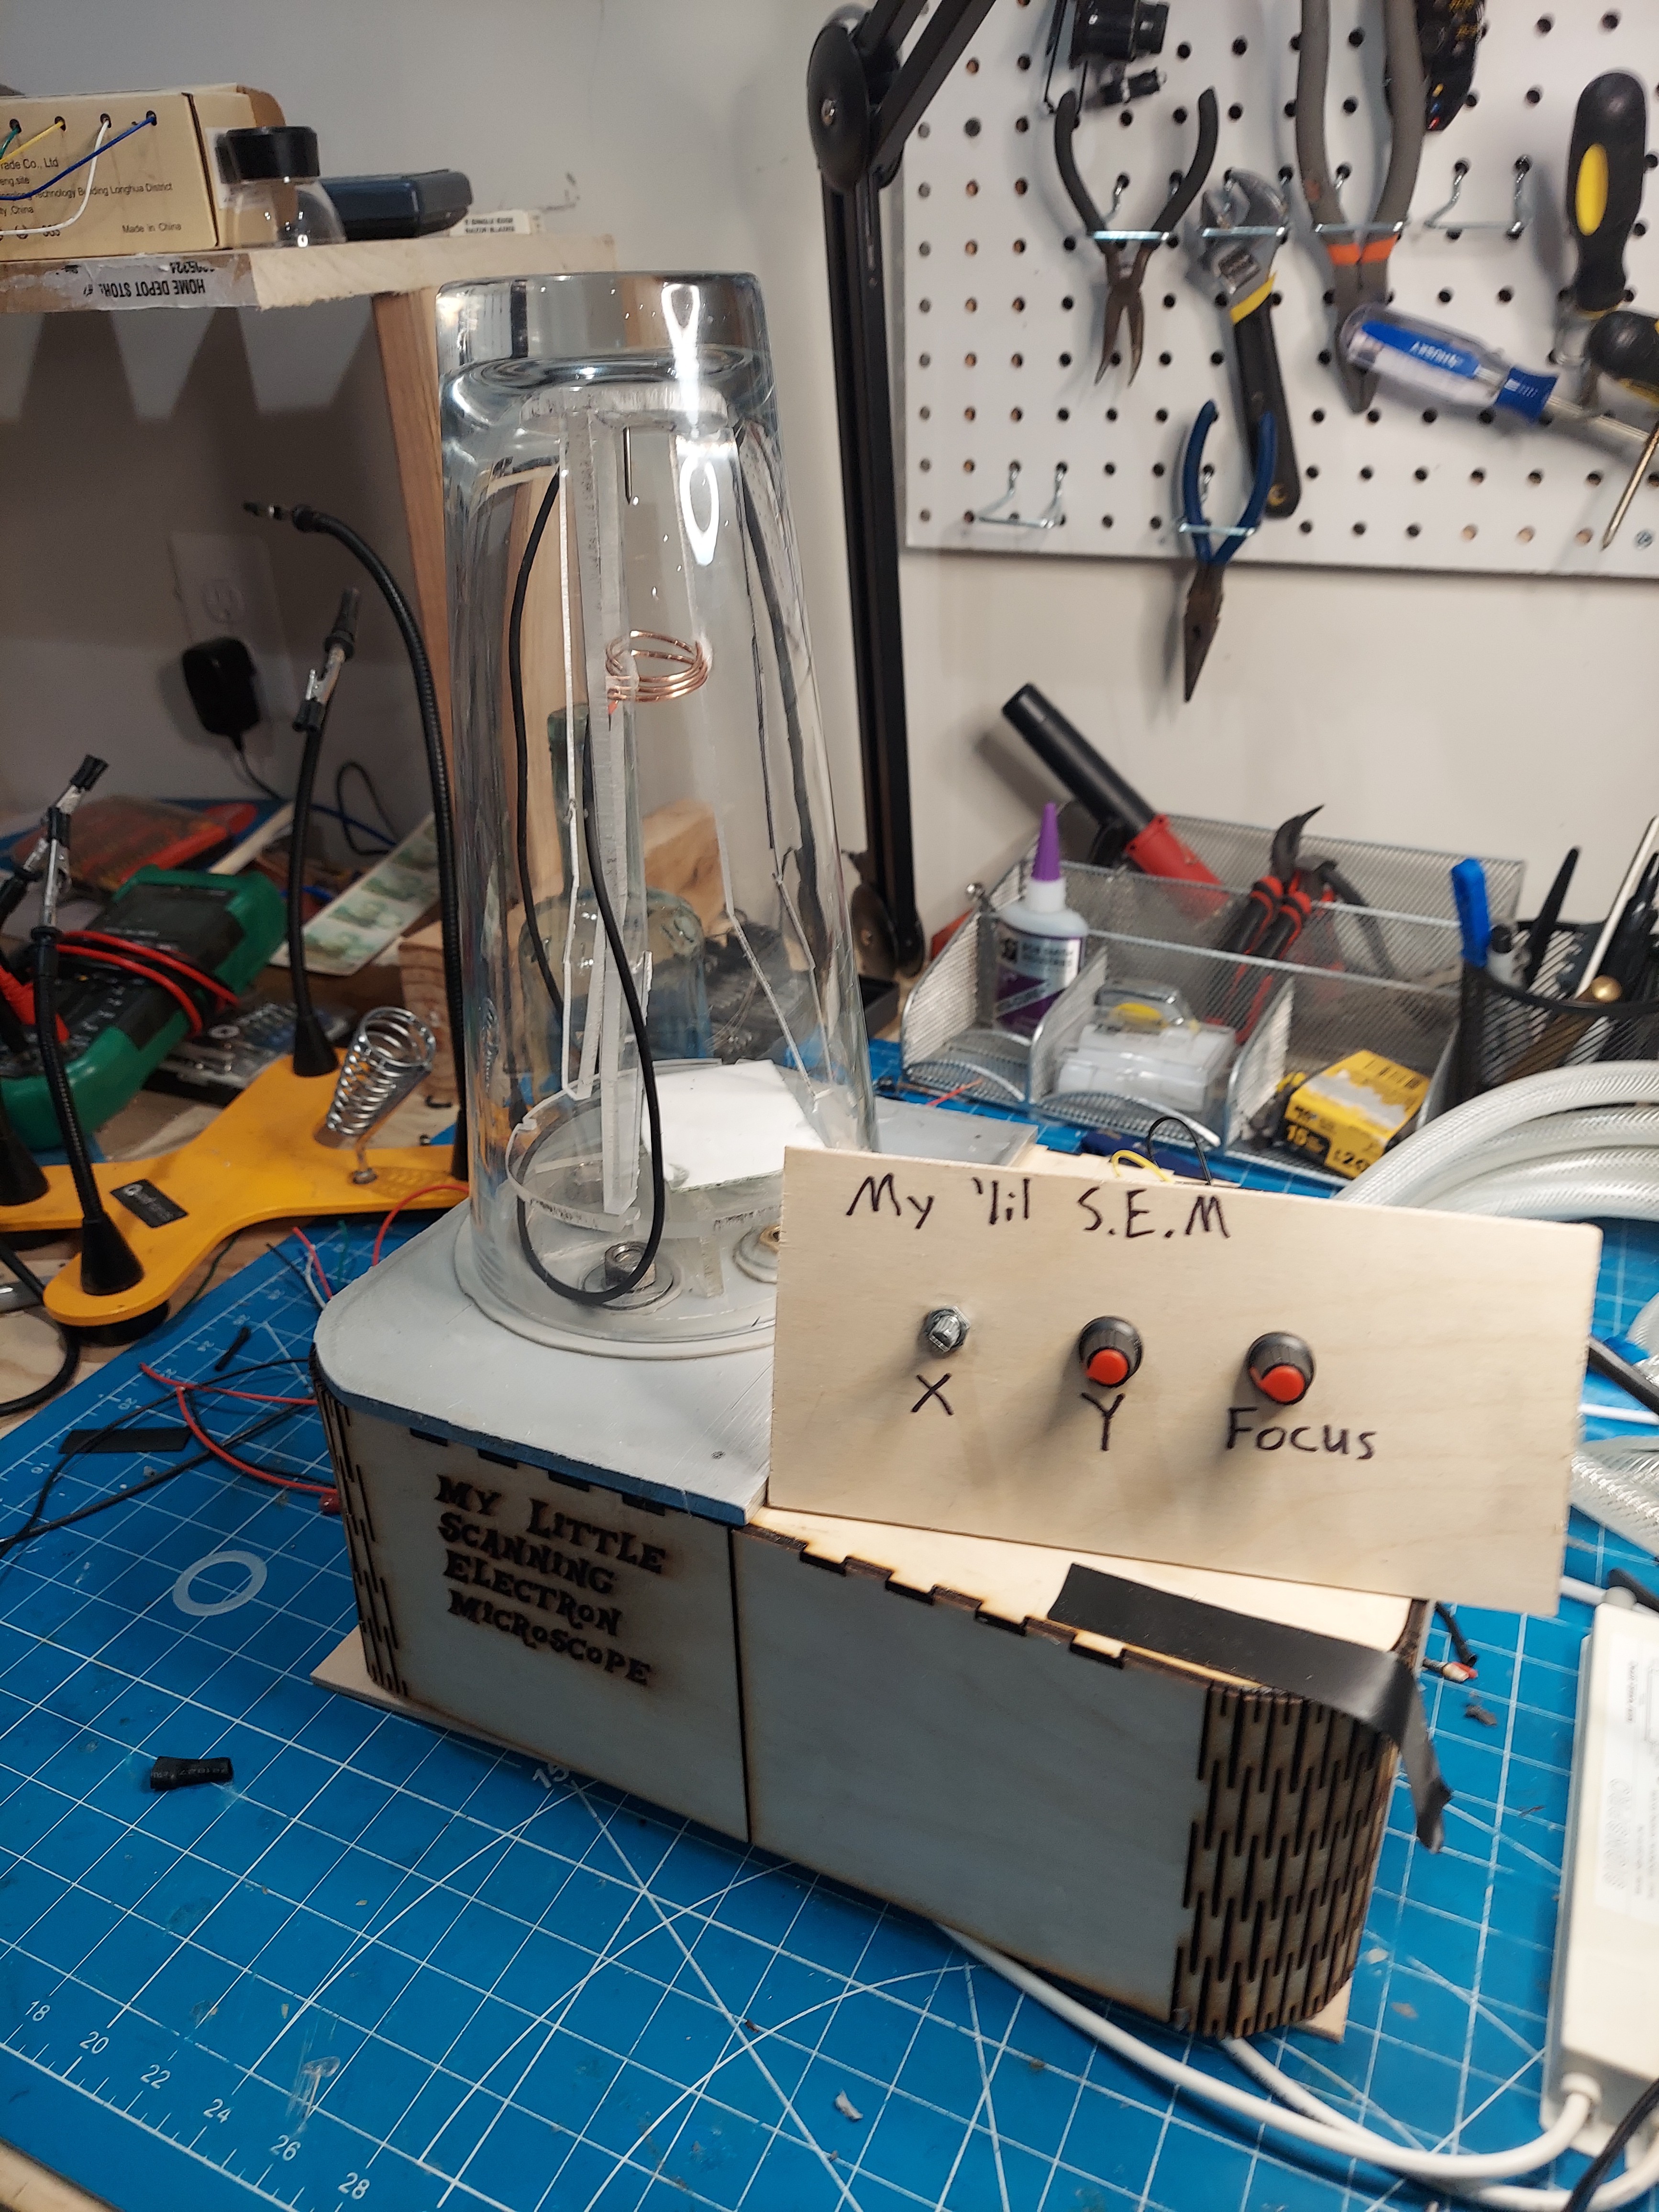
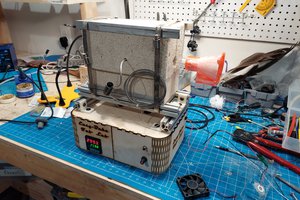
I decided to re-use the same project box that I used in my  "Easy Bake Fab Lab" and "Mr. Pickles" projects. 

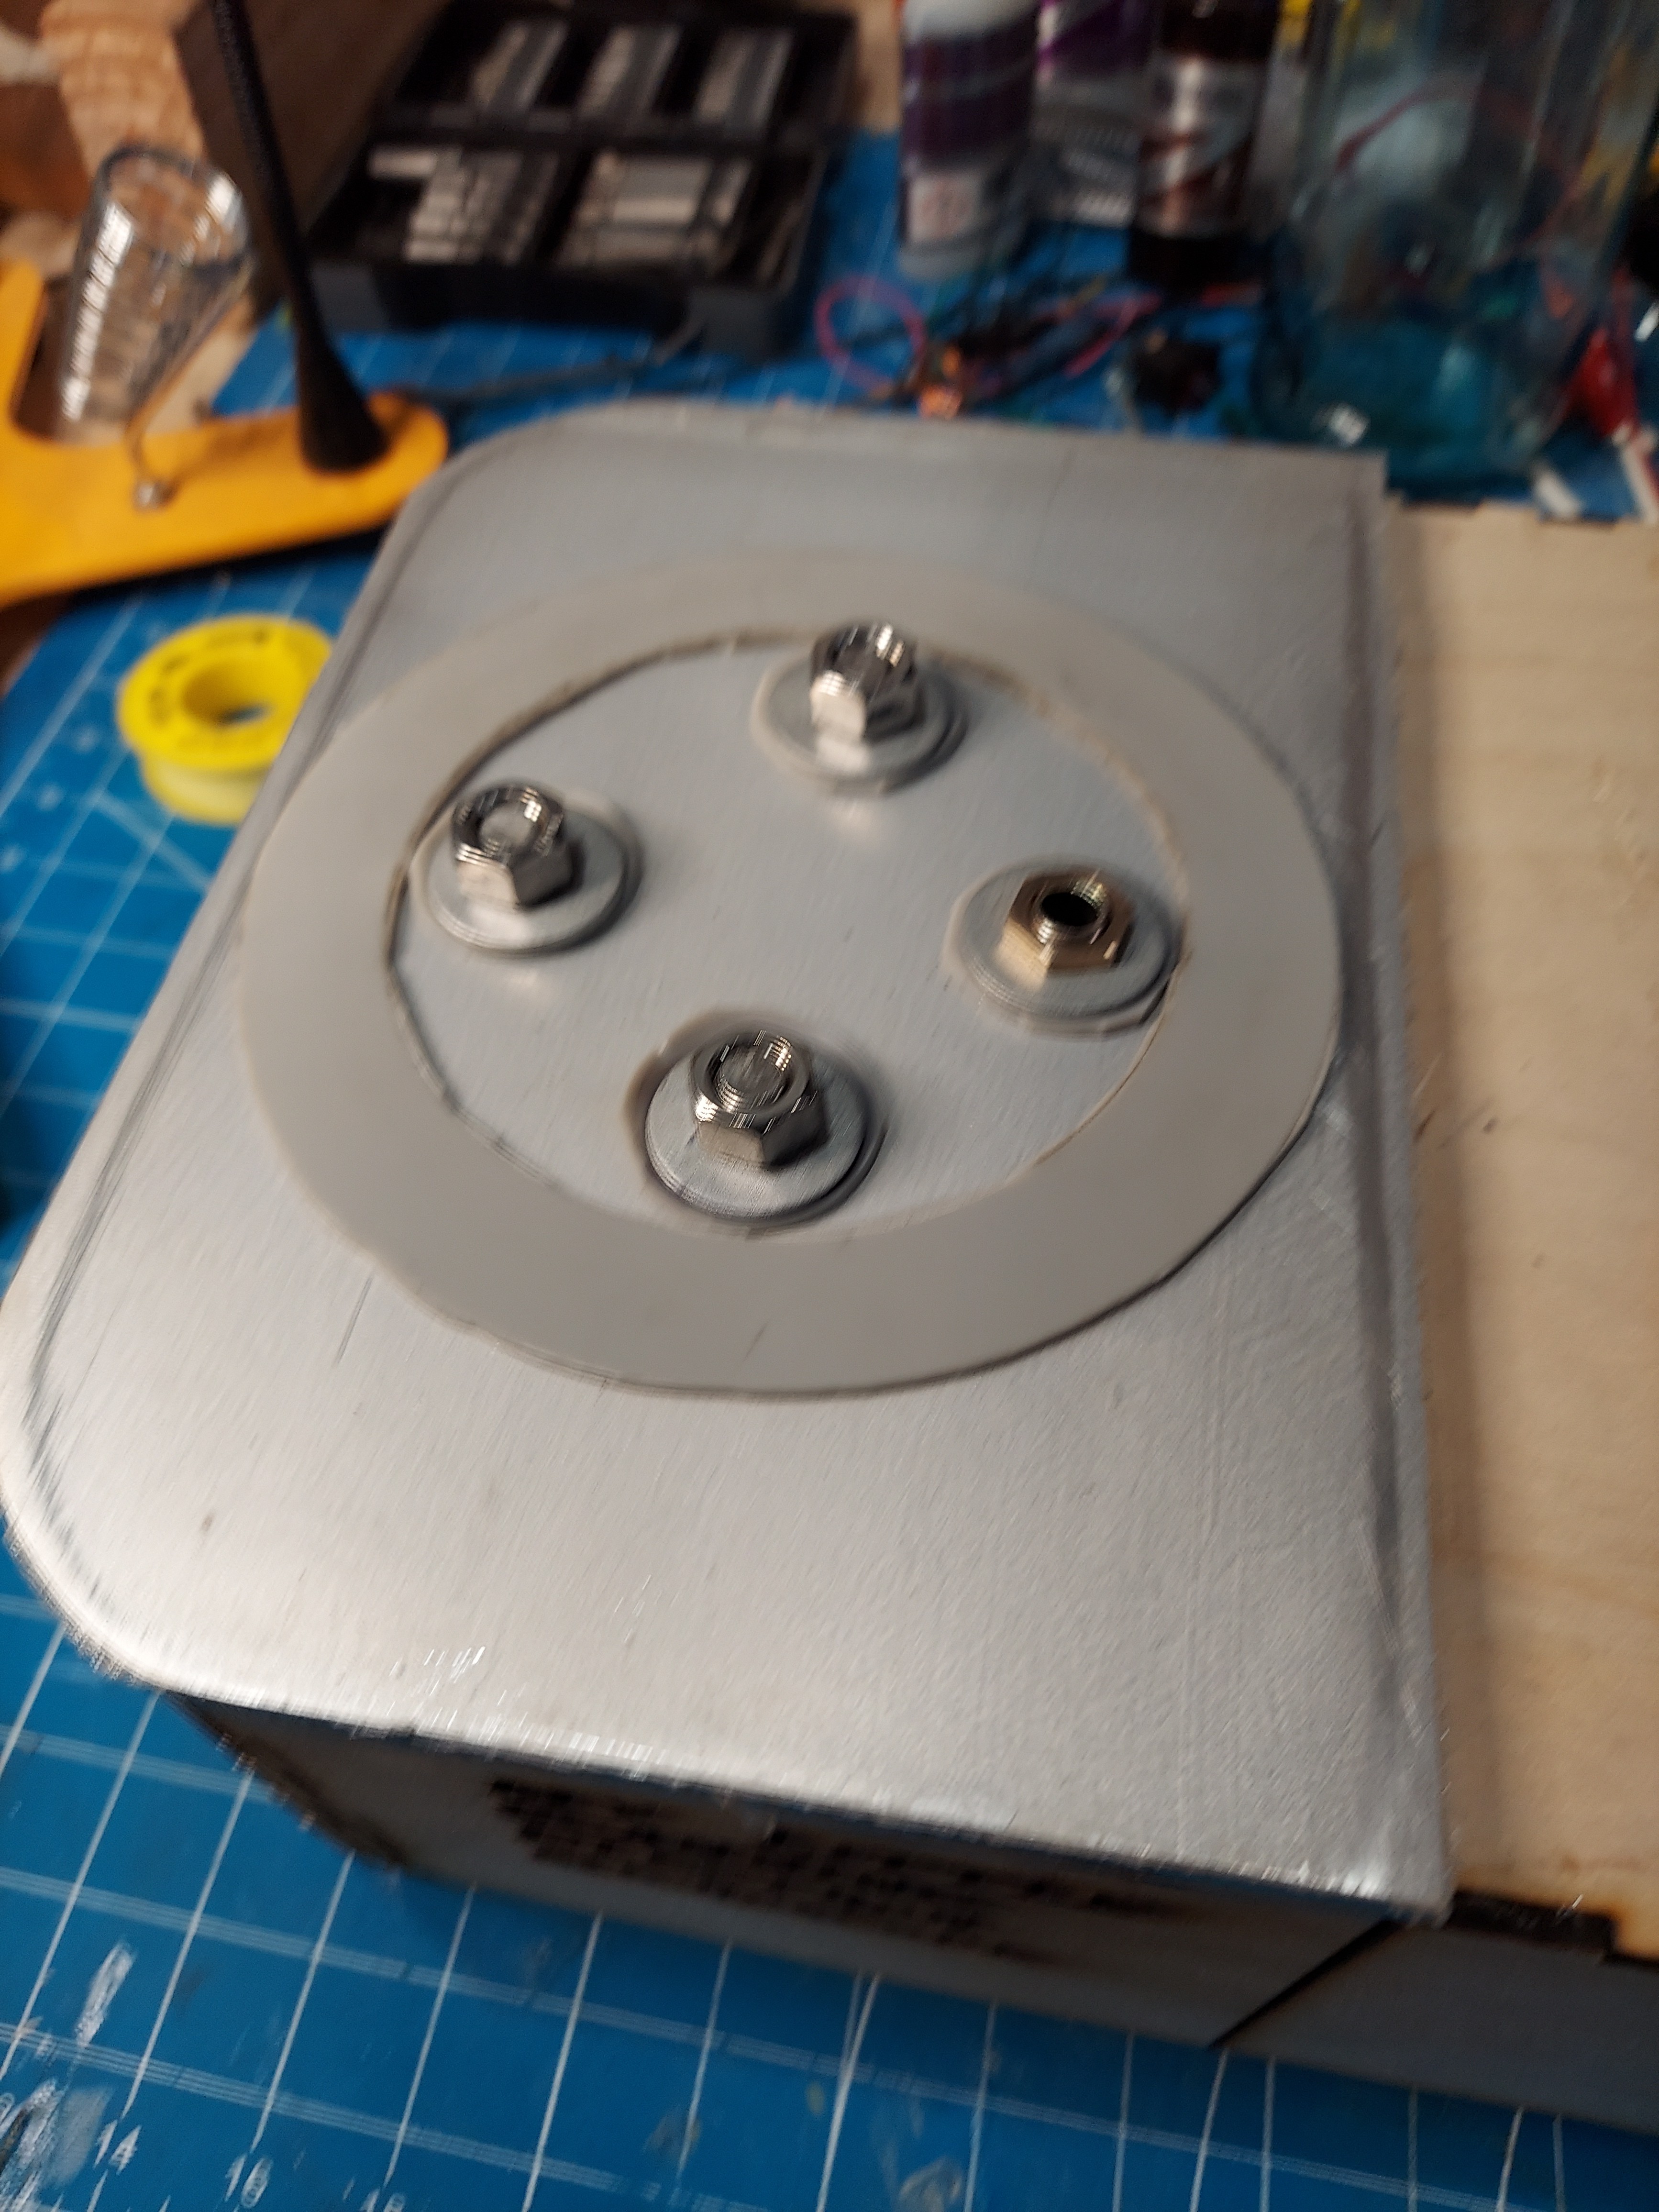
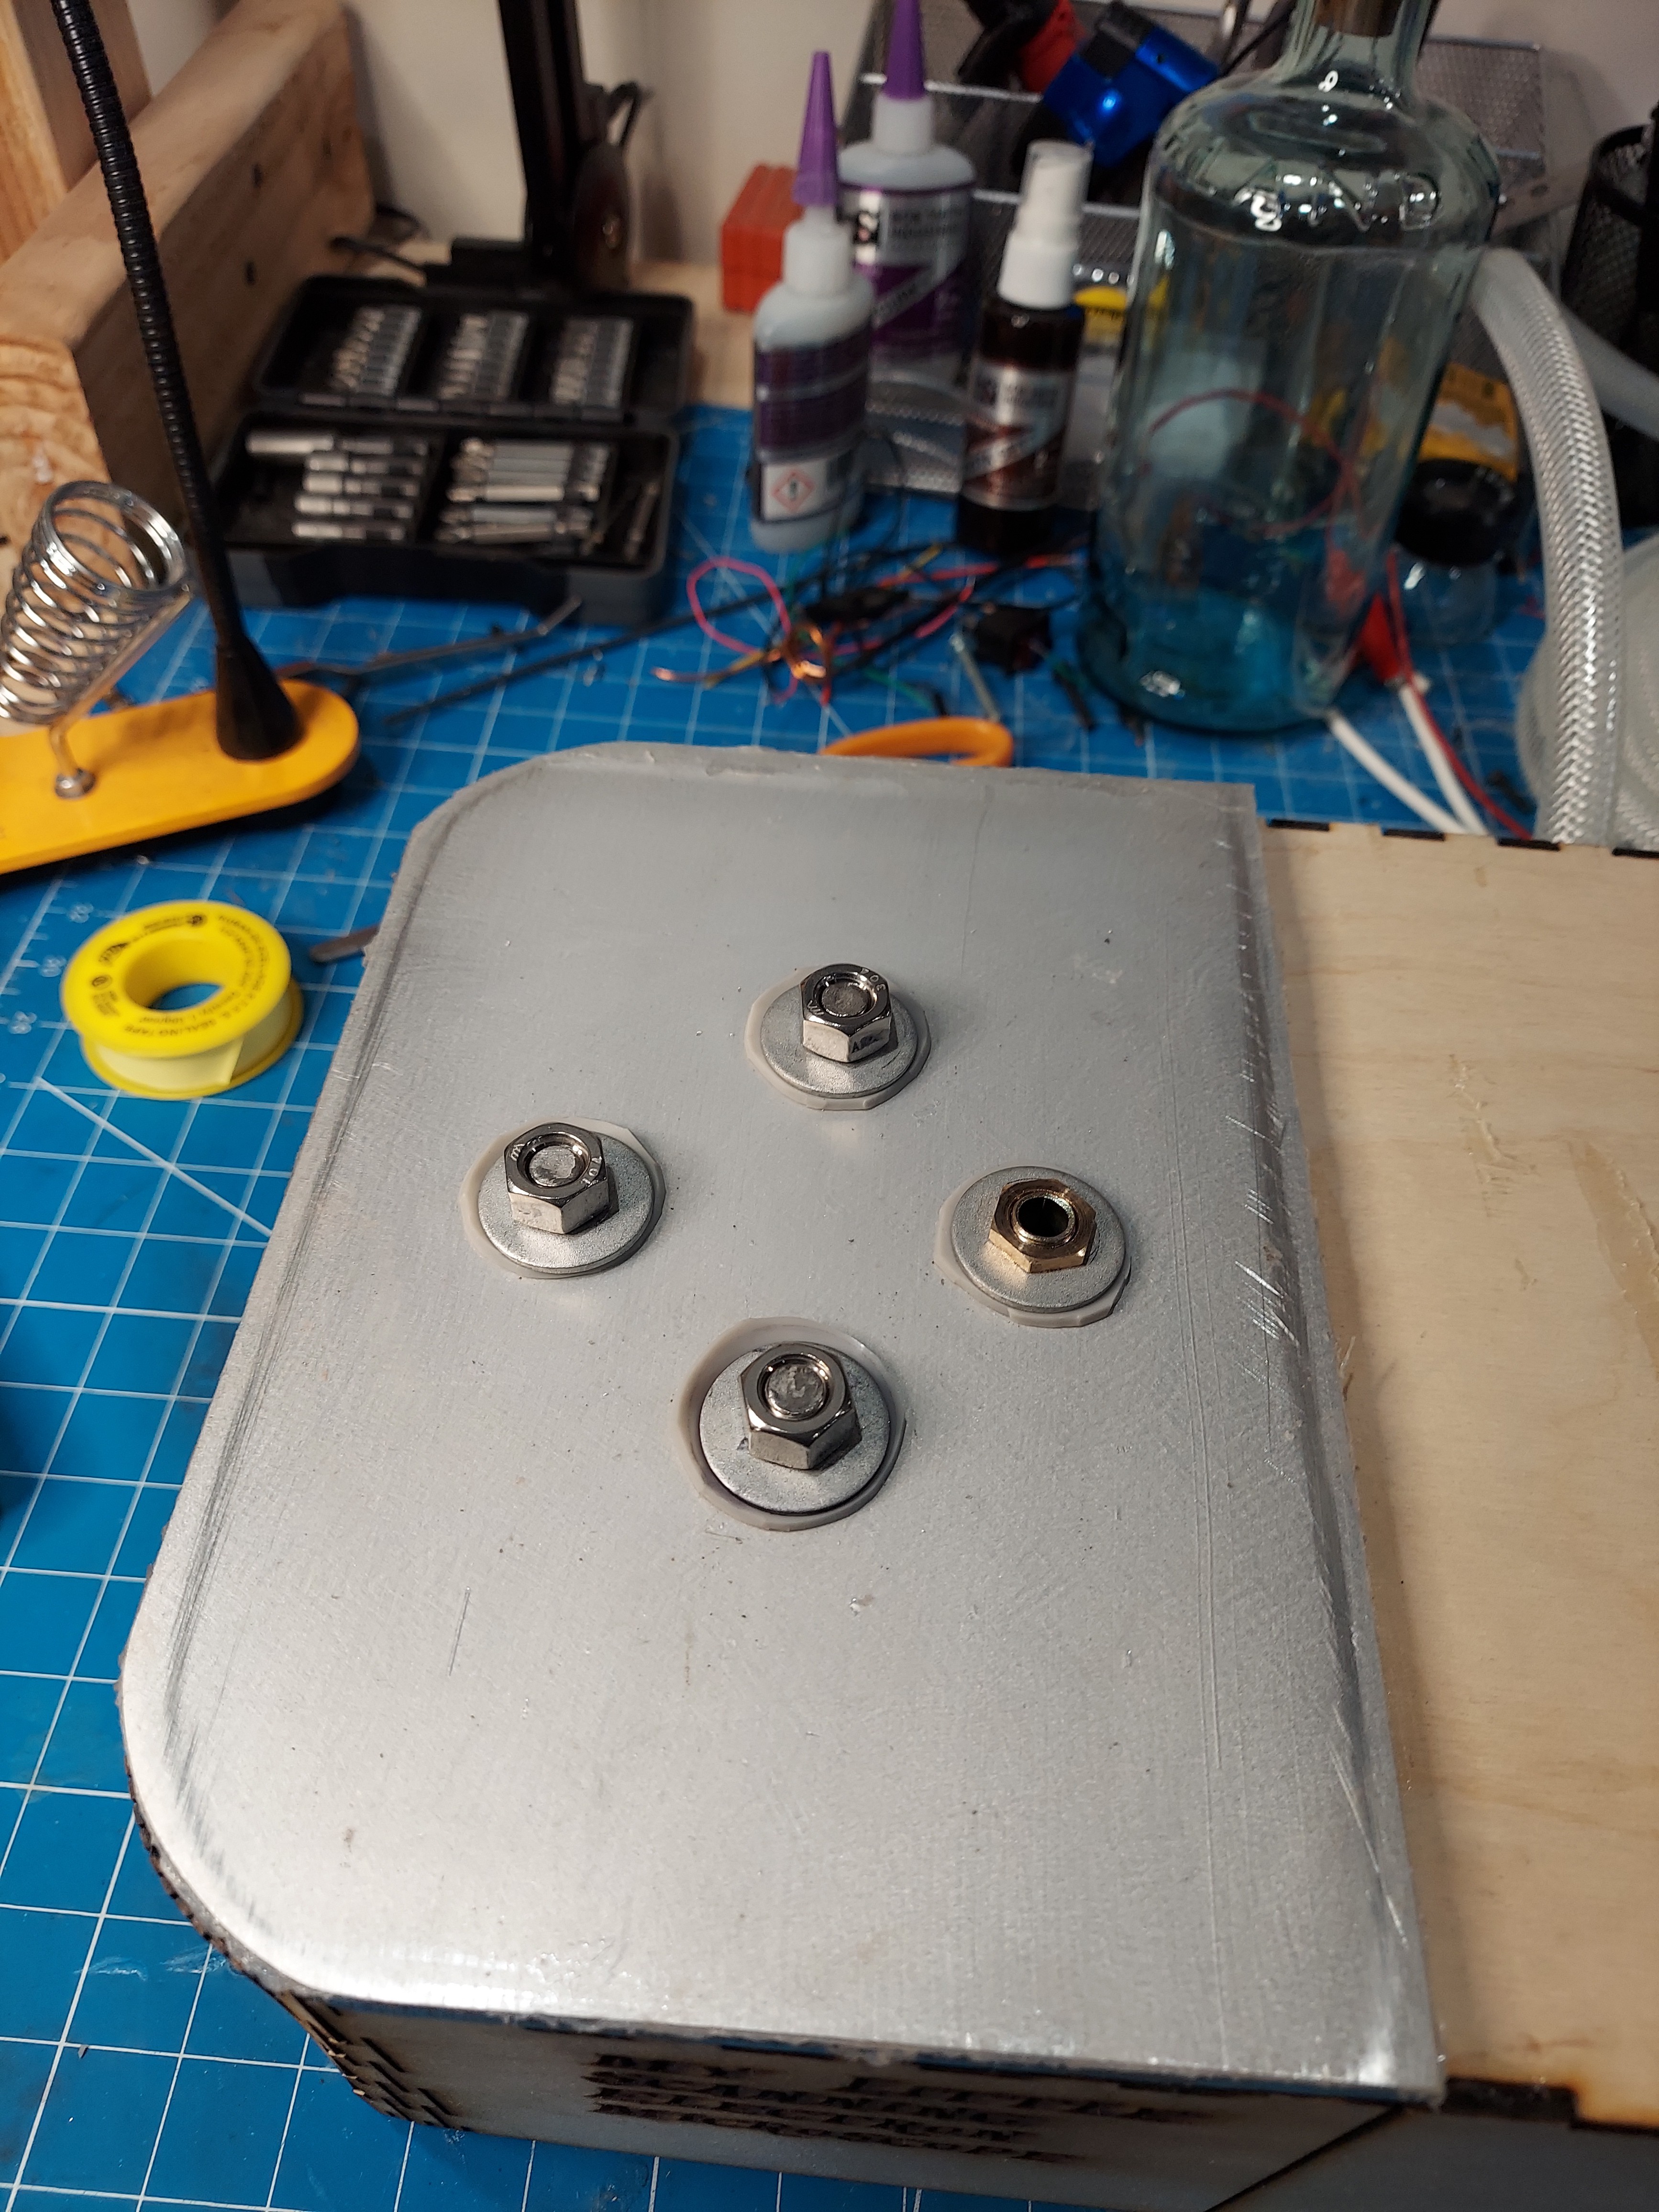
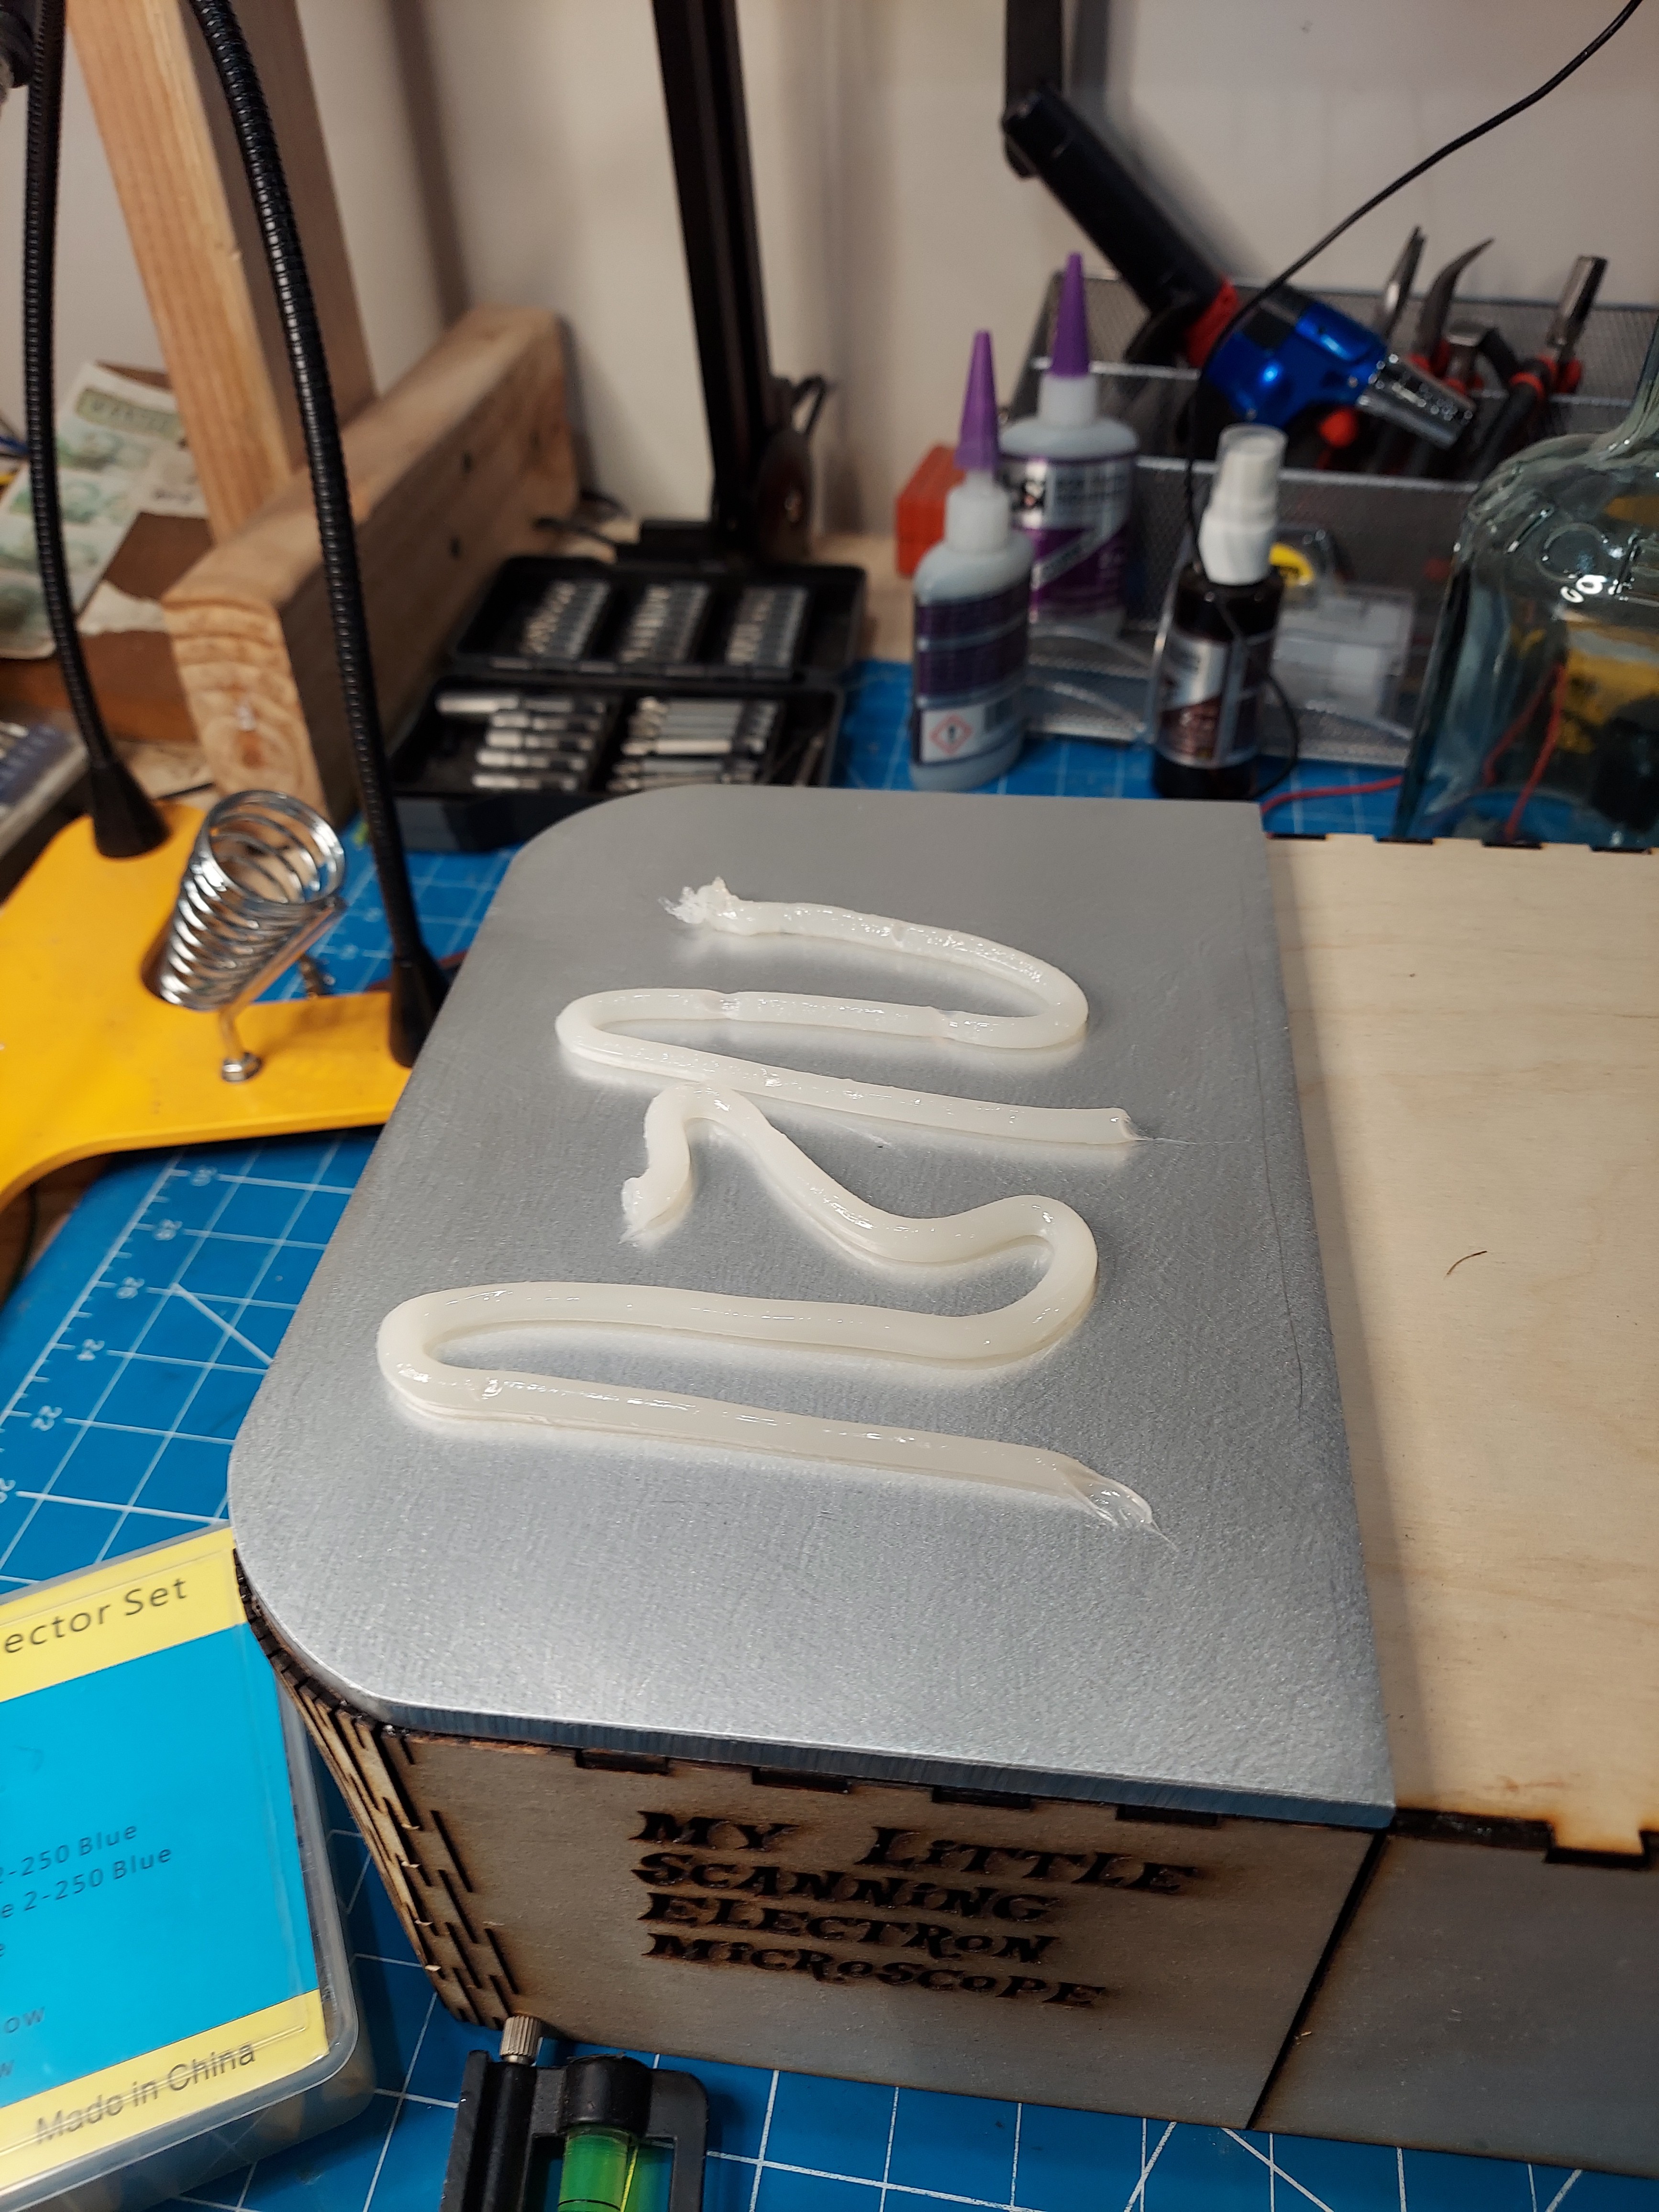
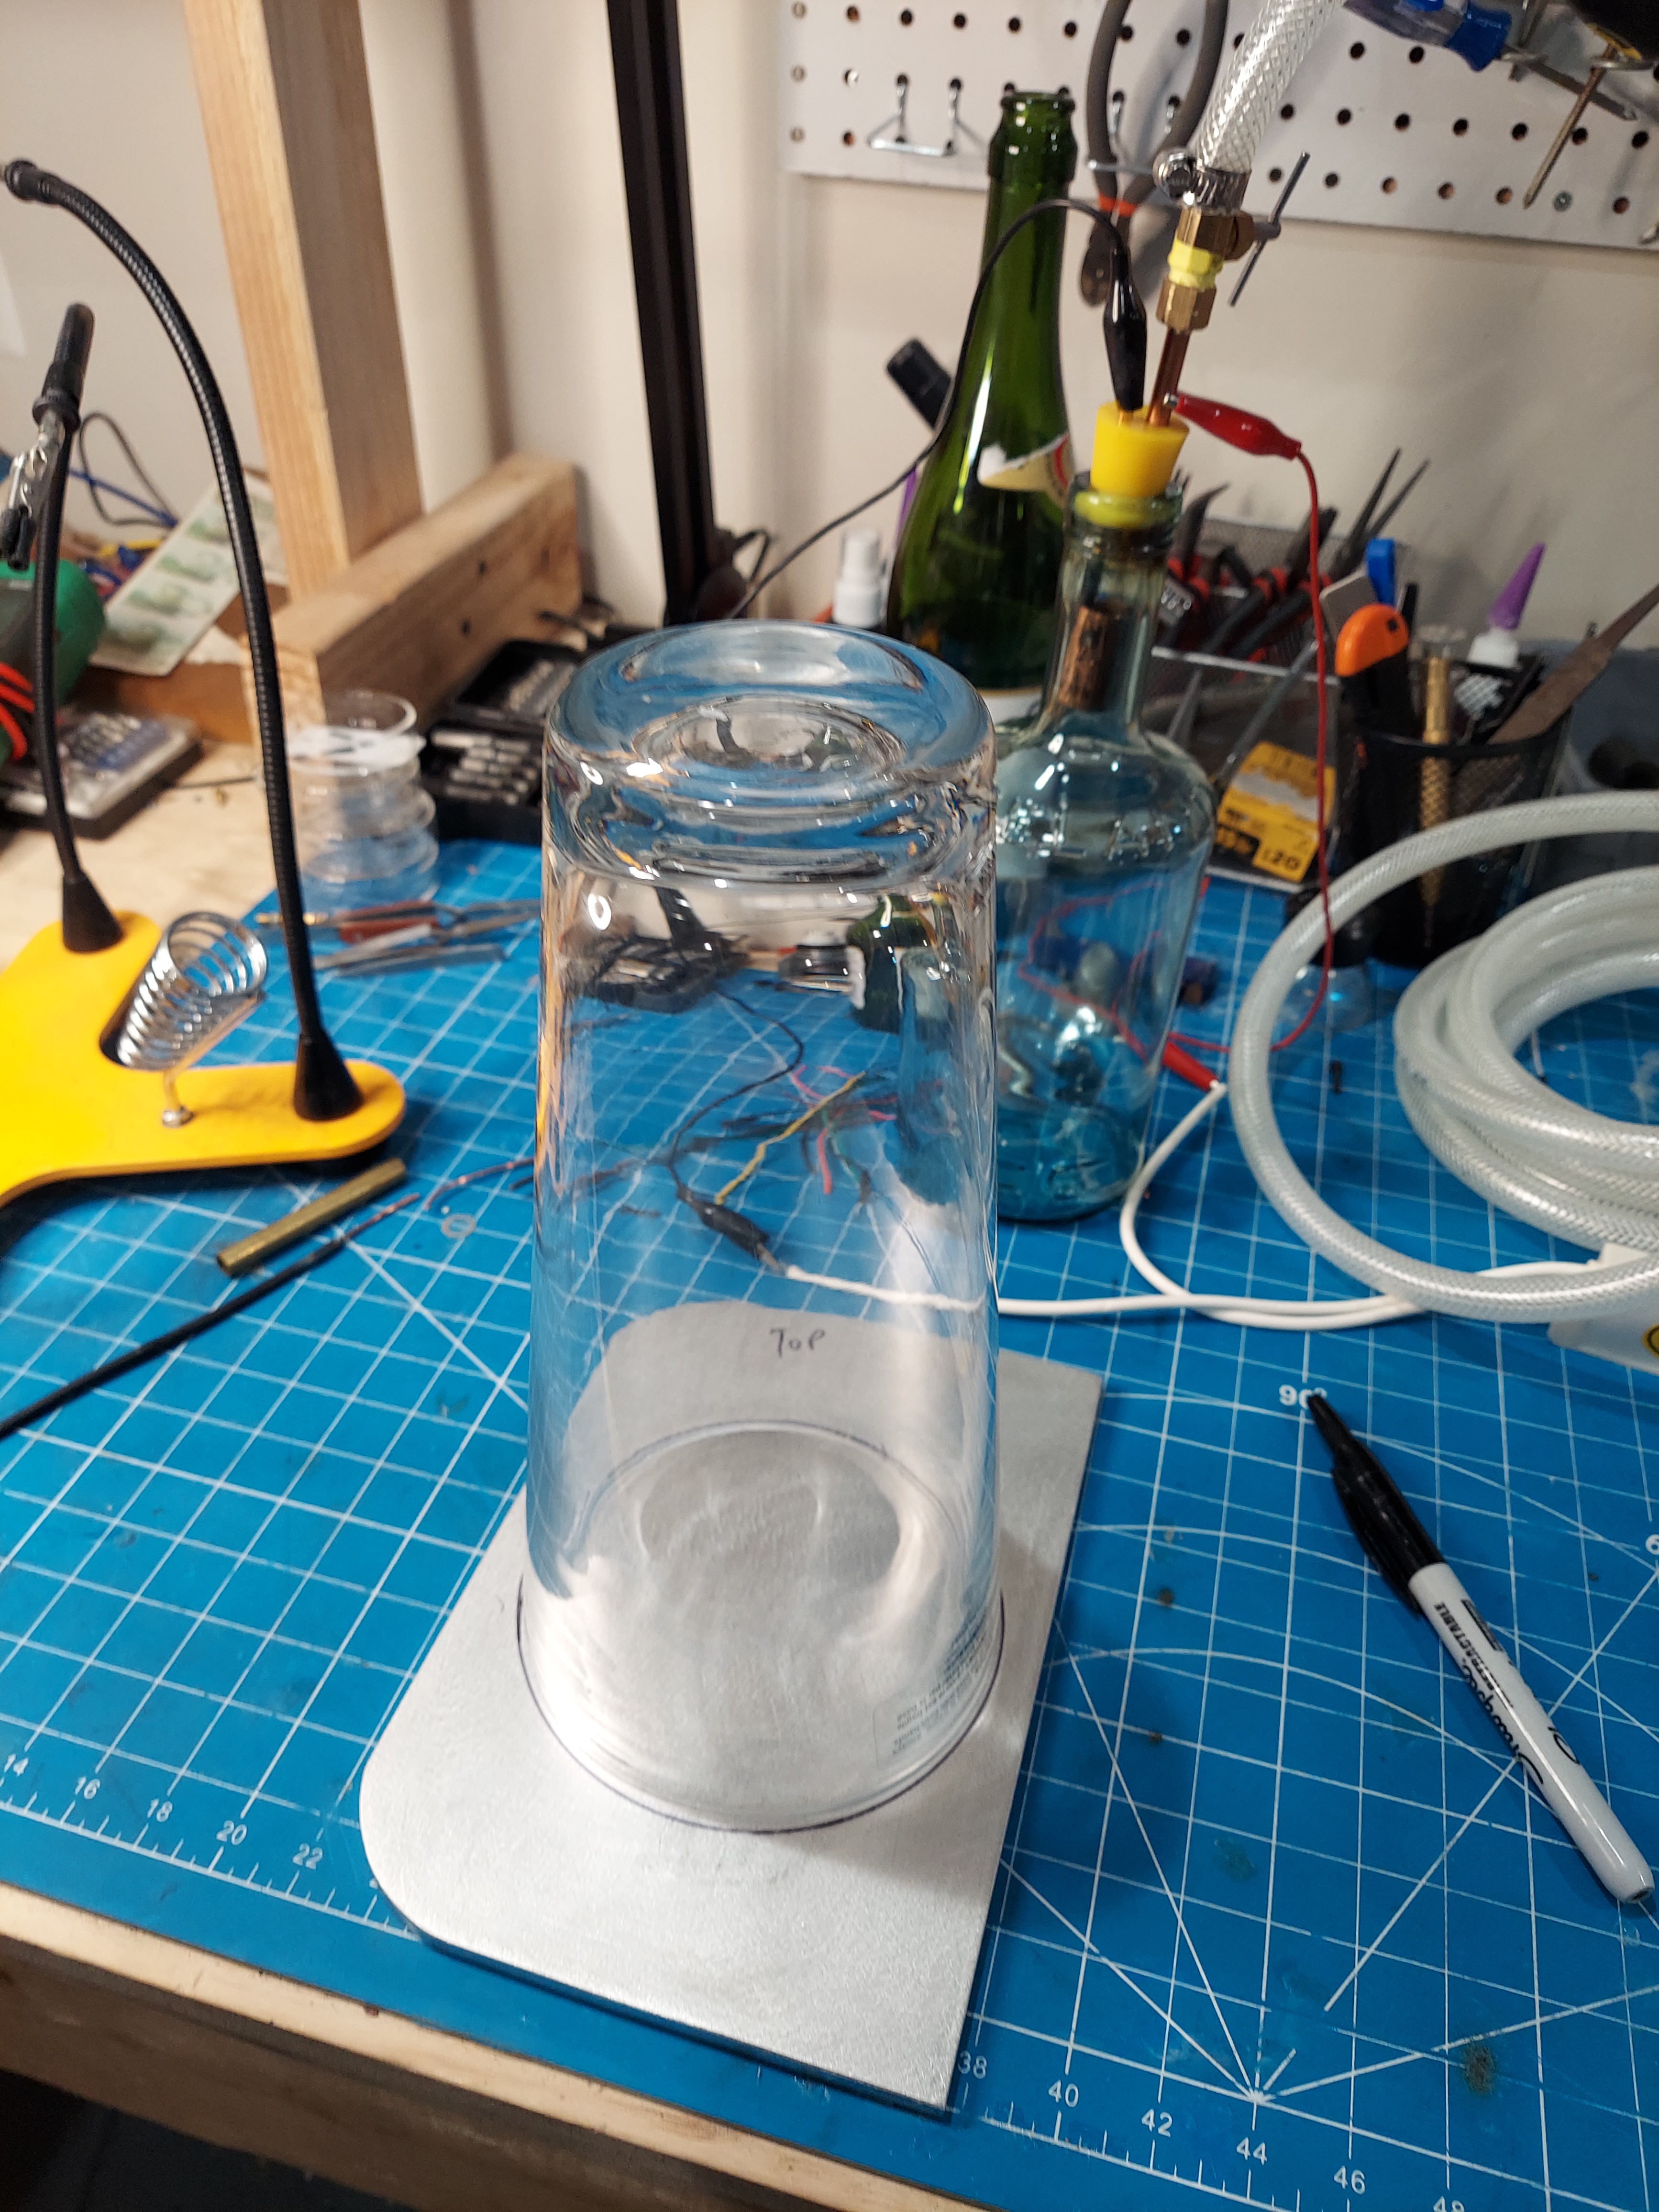
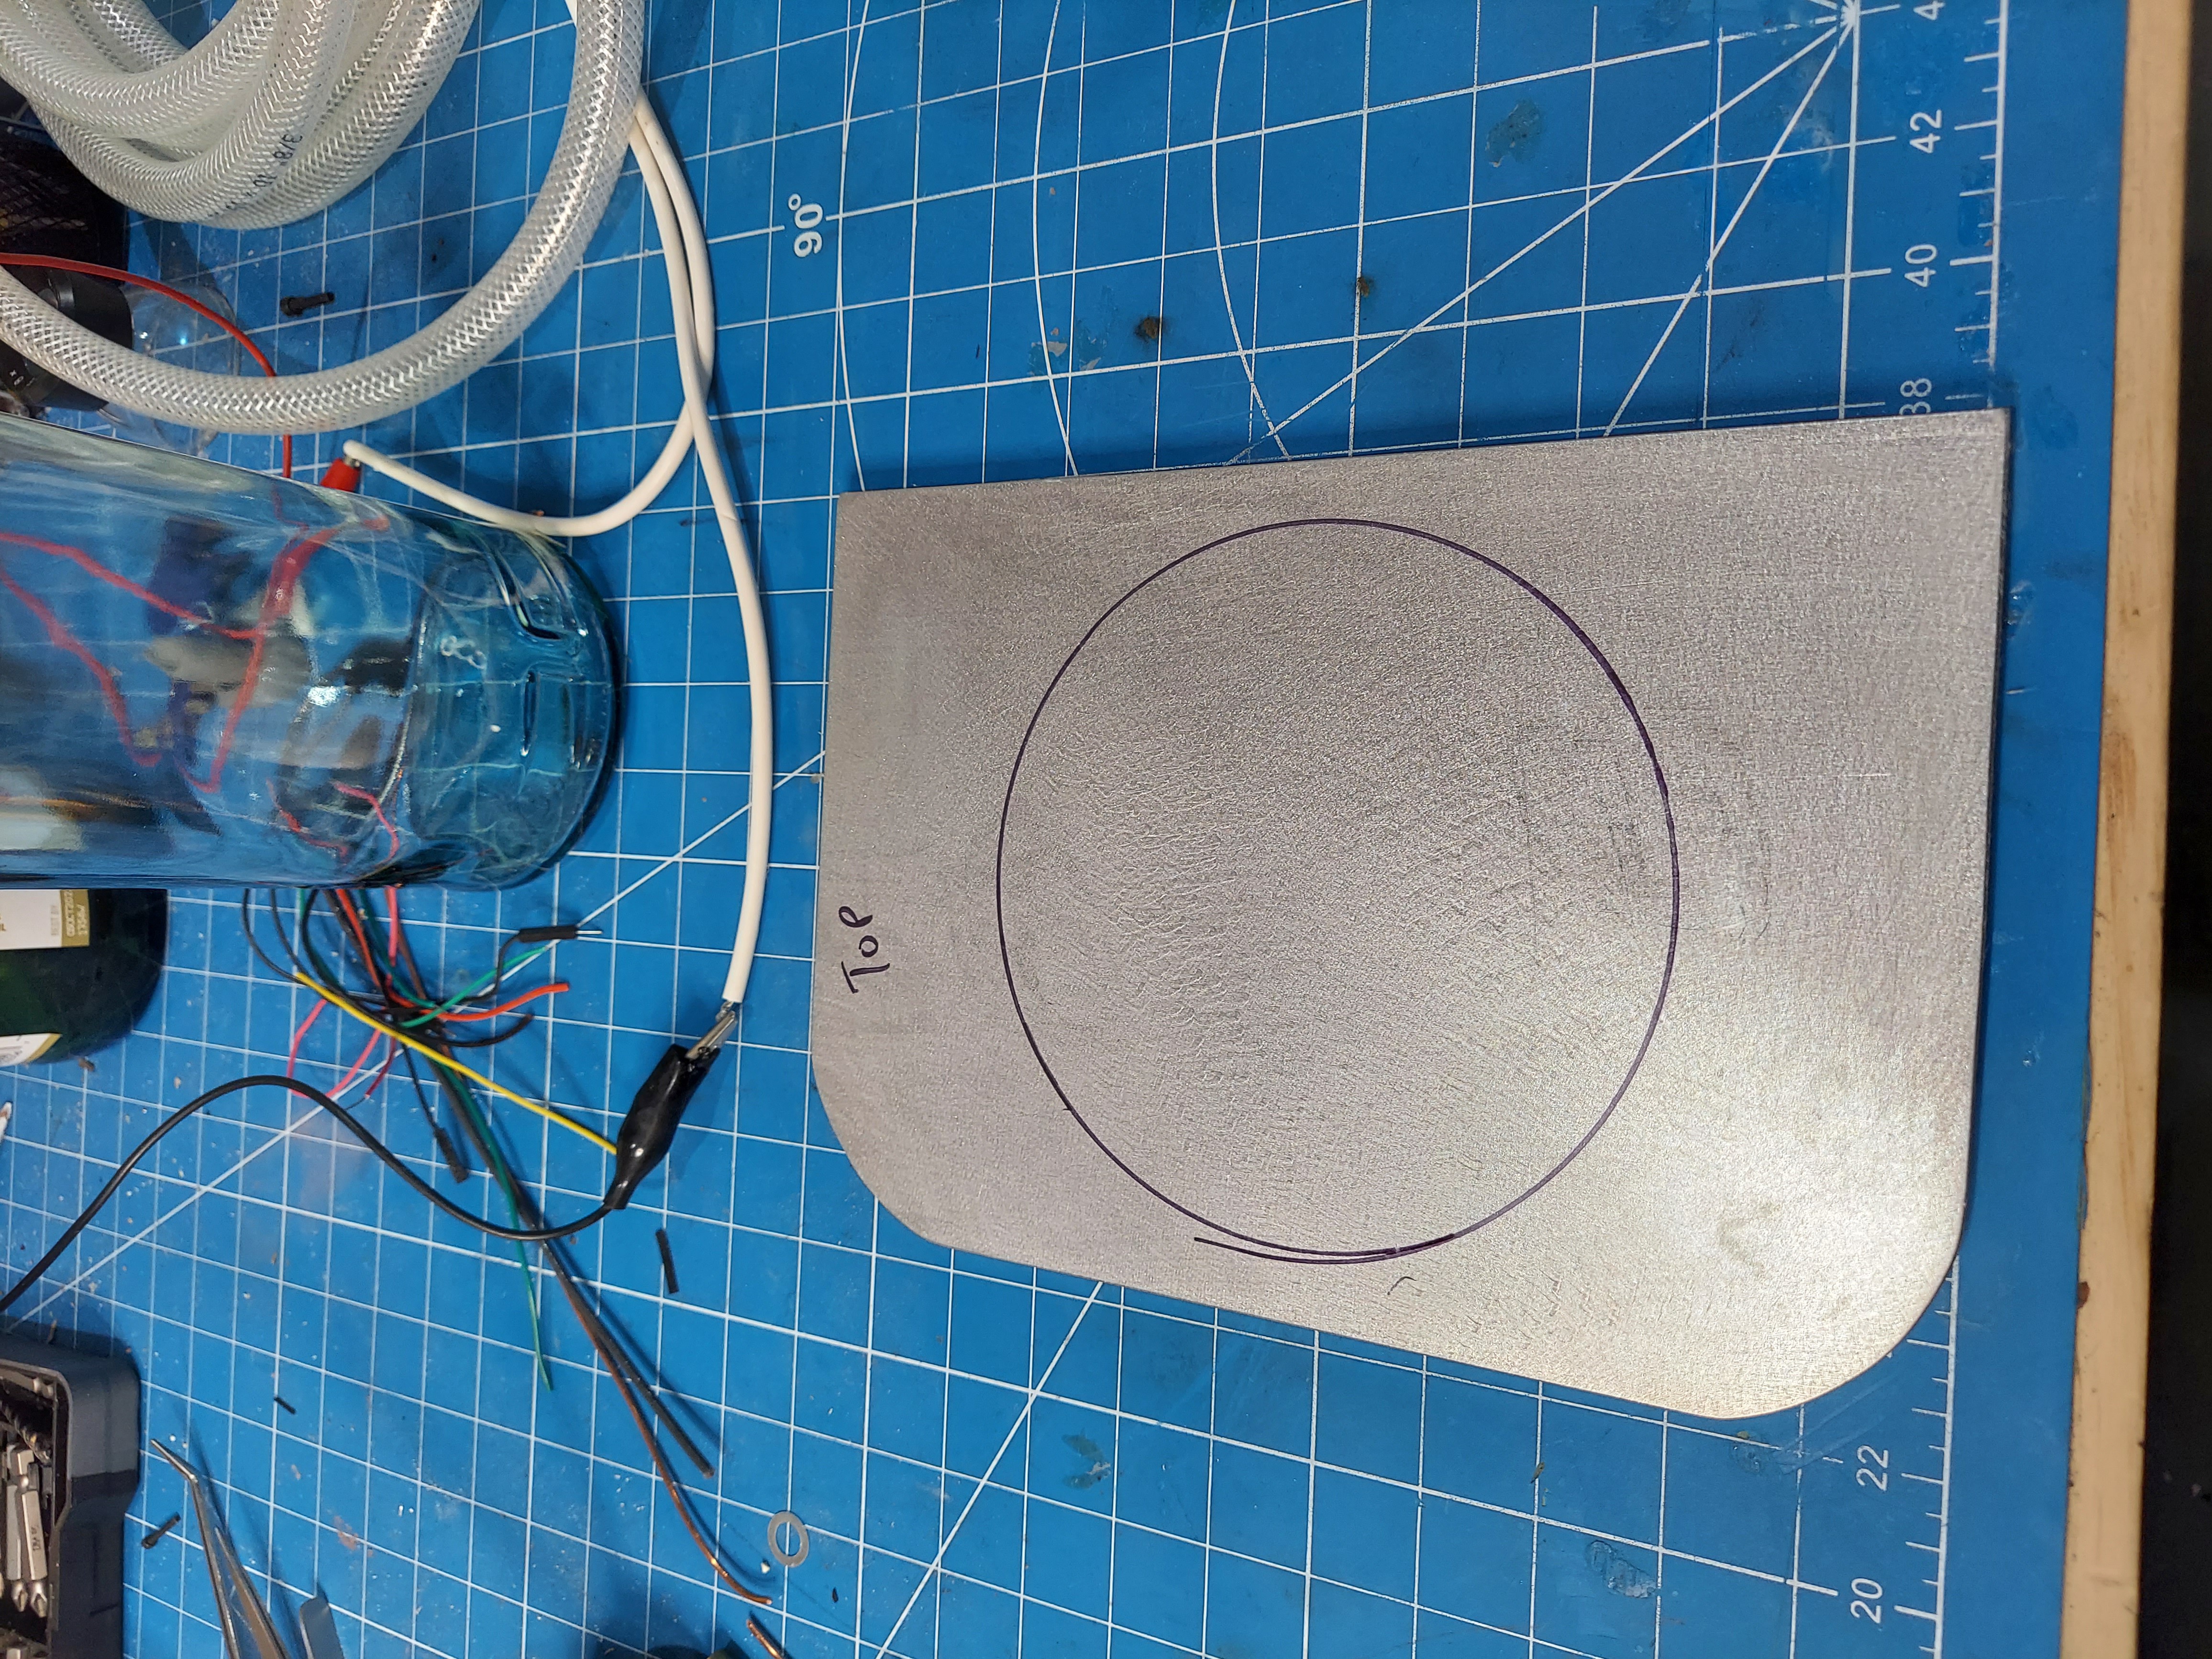
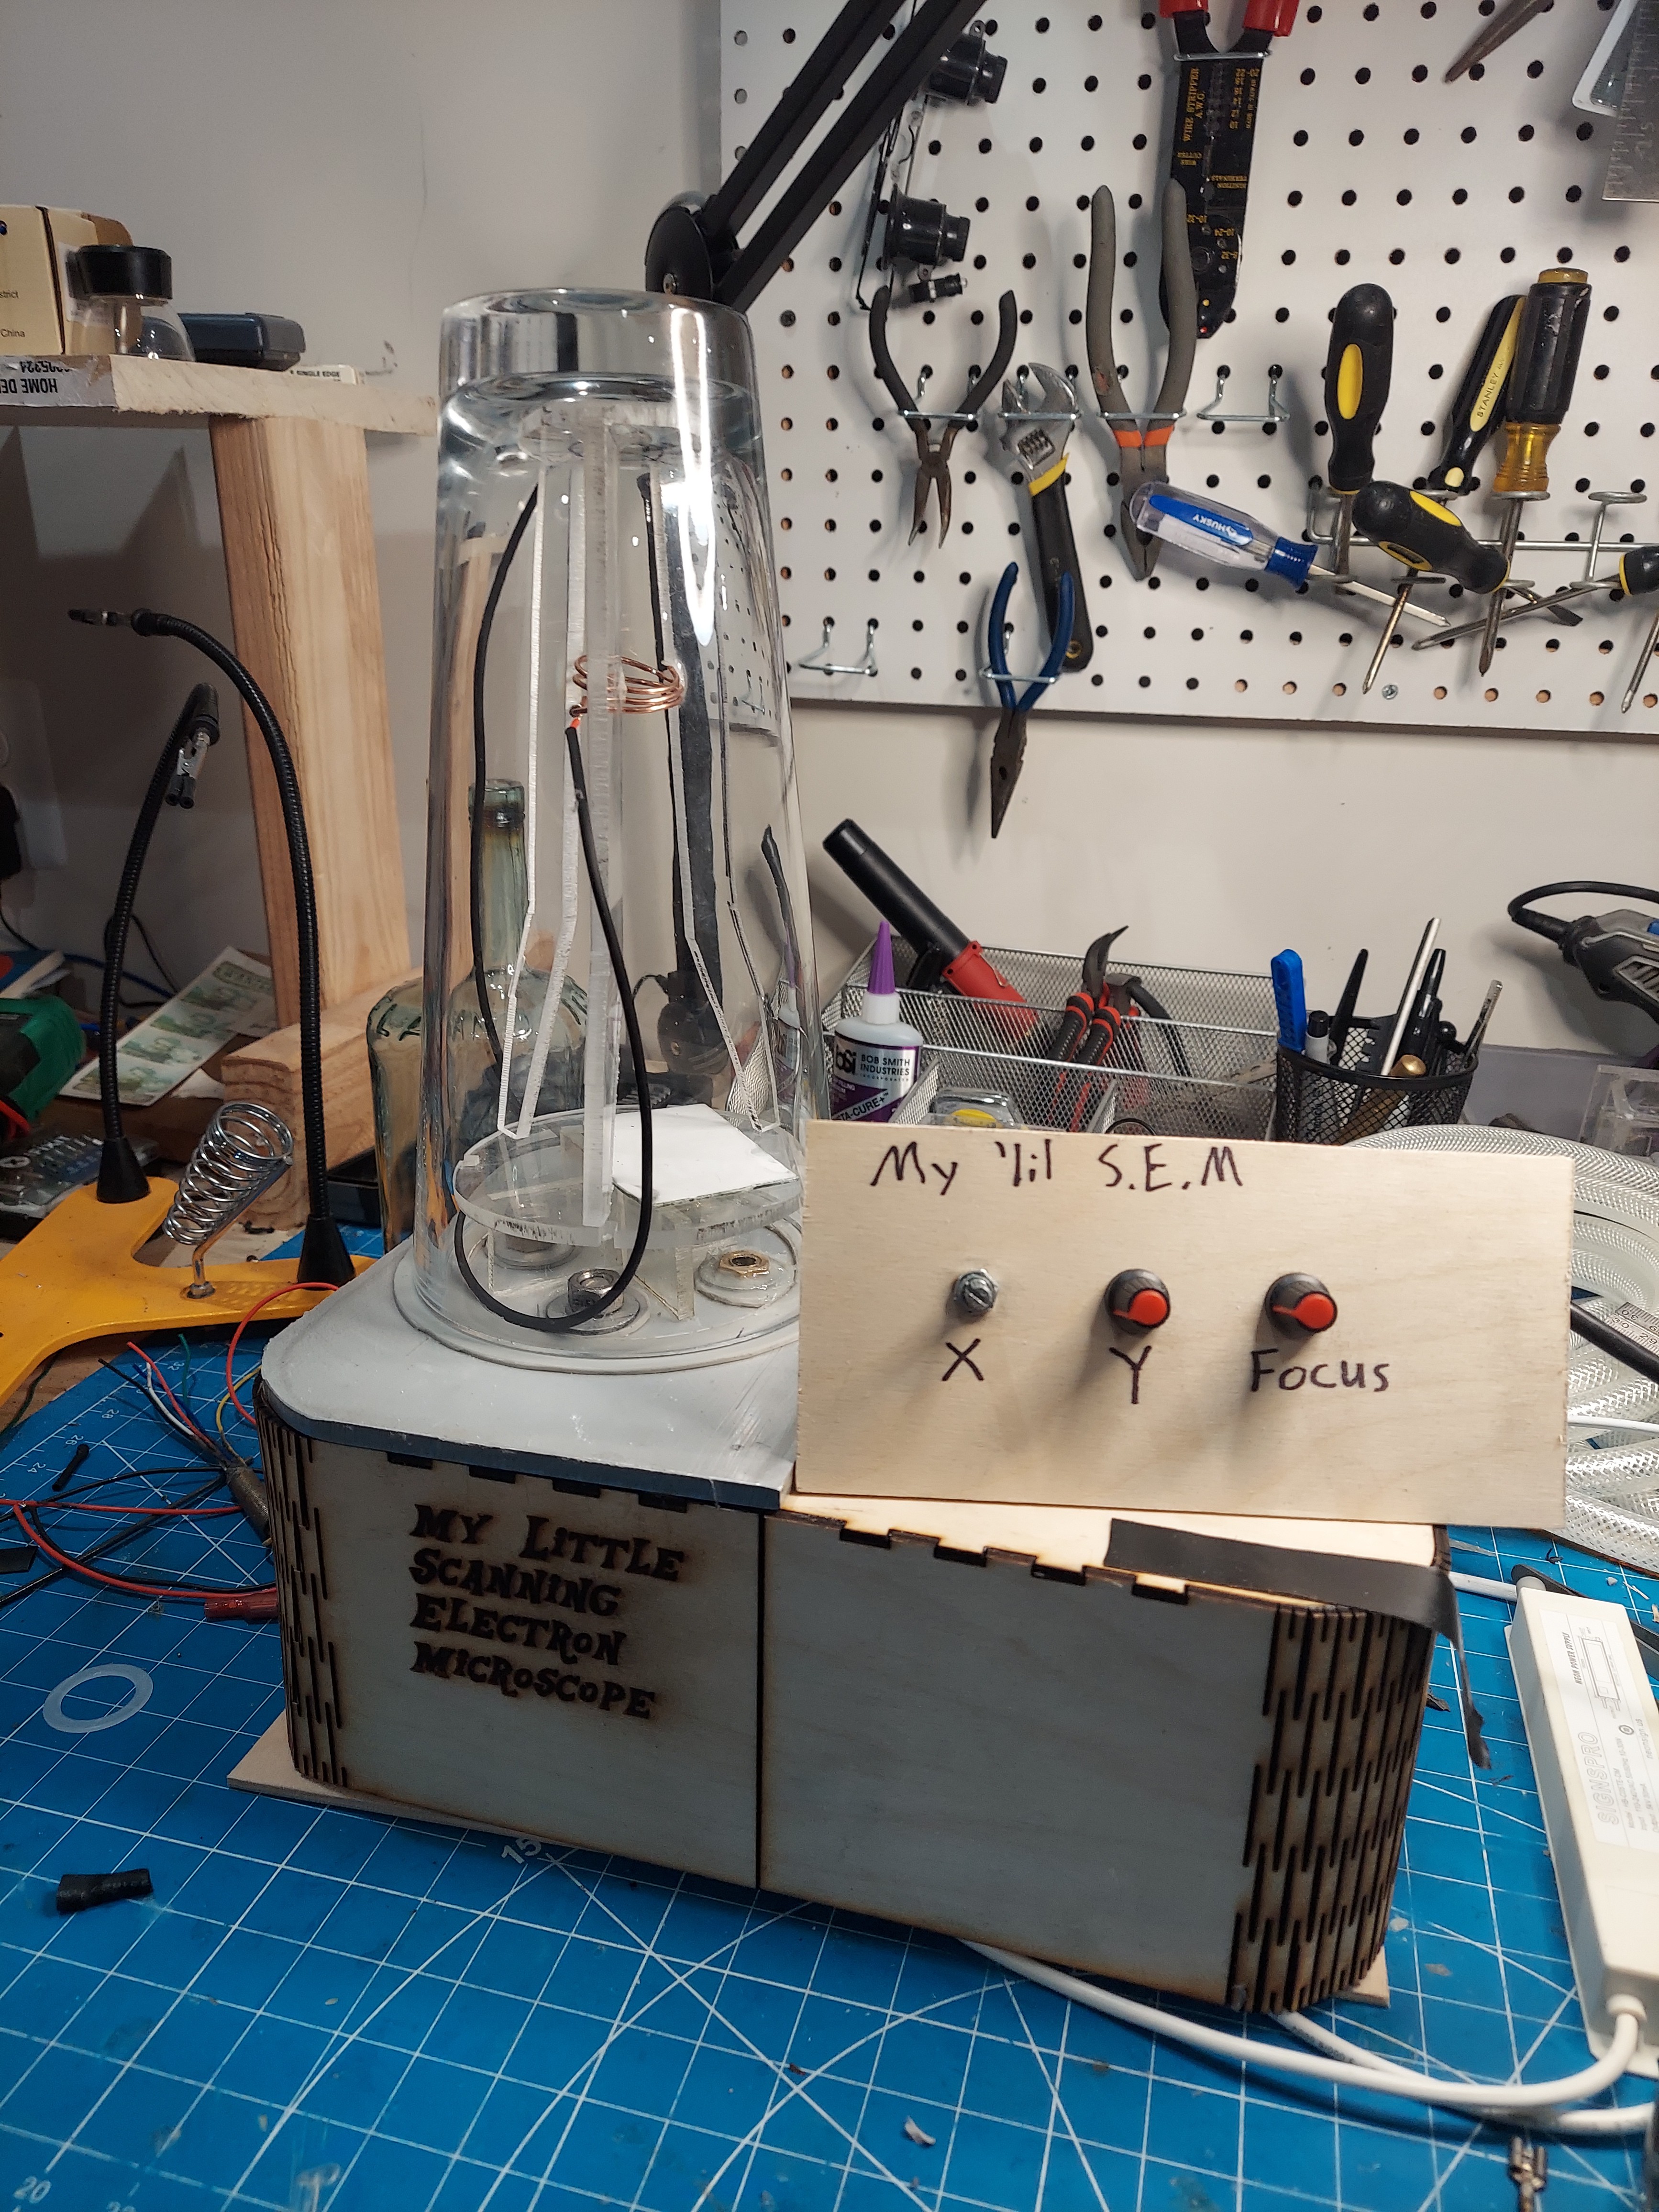
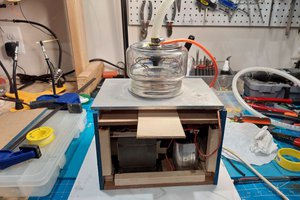
The vacuum chamber was constructed mainly from a plate of aluminum I had laying around. It was cut to fit on the box top. I went to a local art and craft store and found a thick glass vase to use as the chamber itself. 
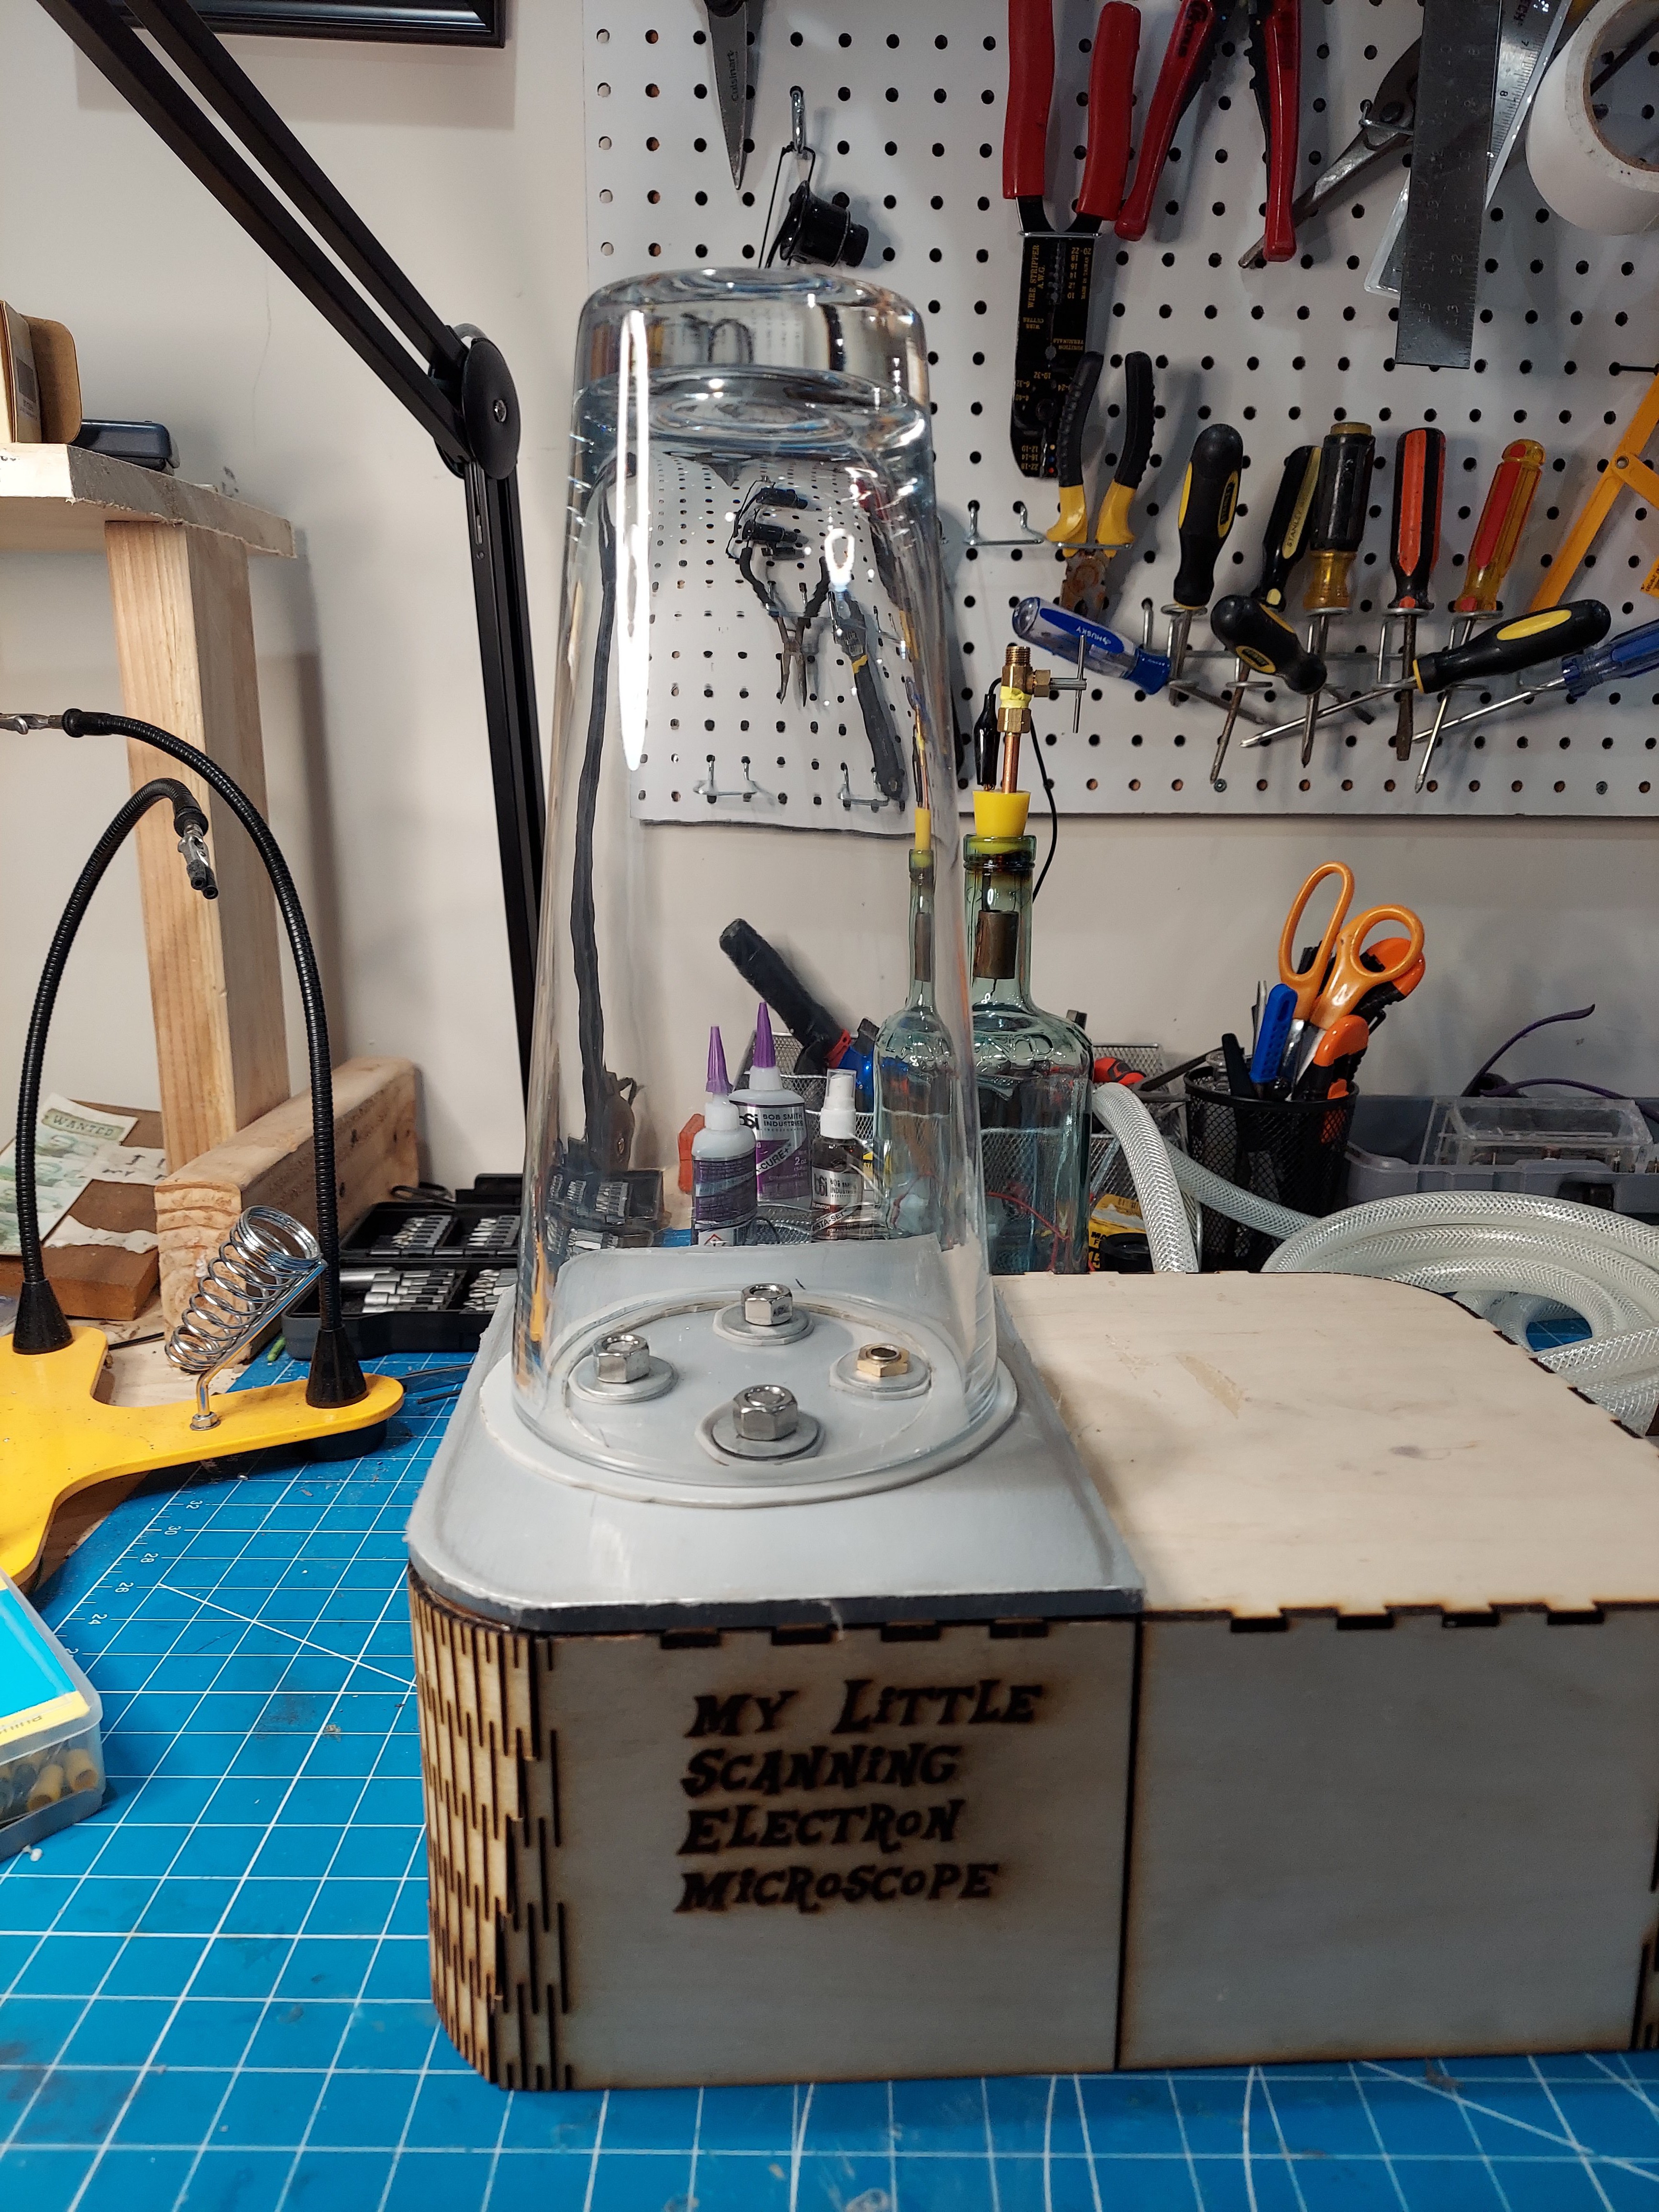
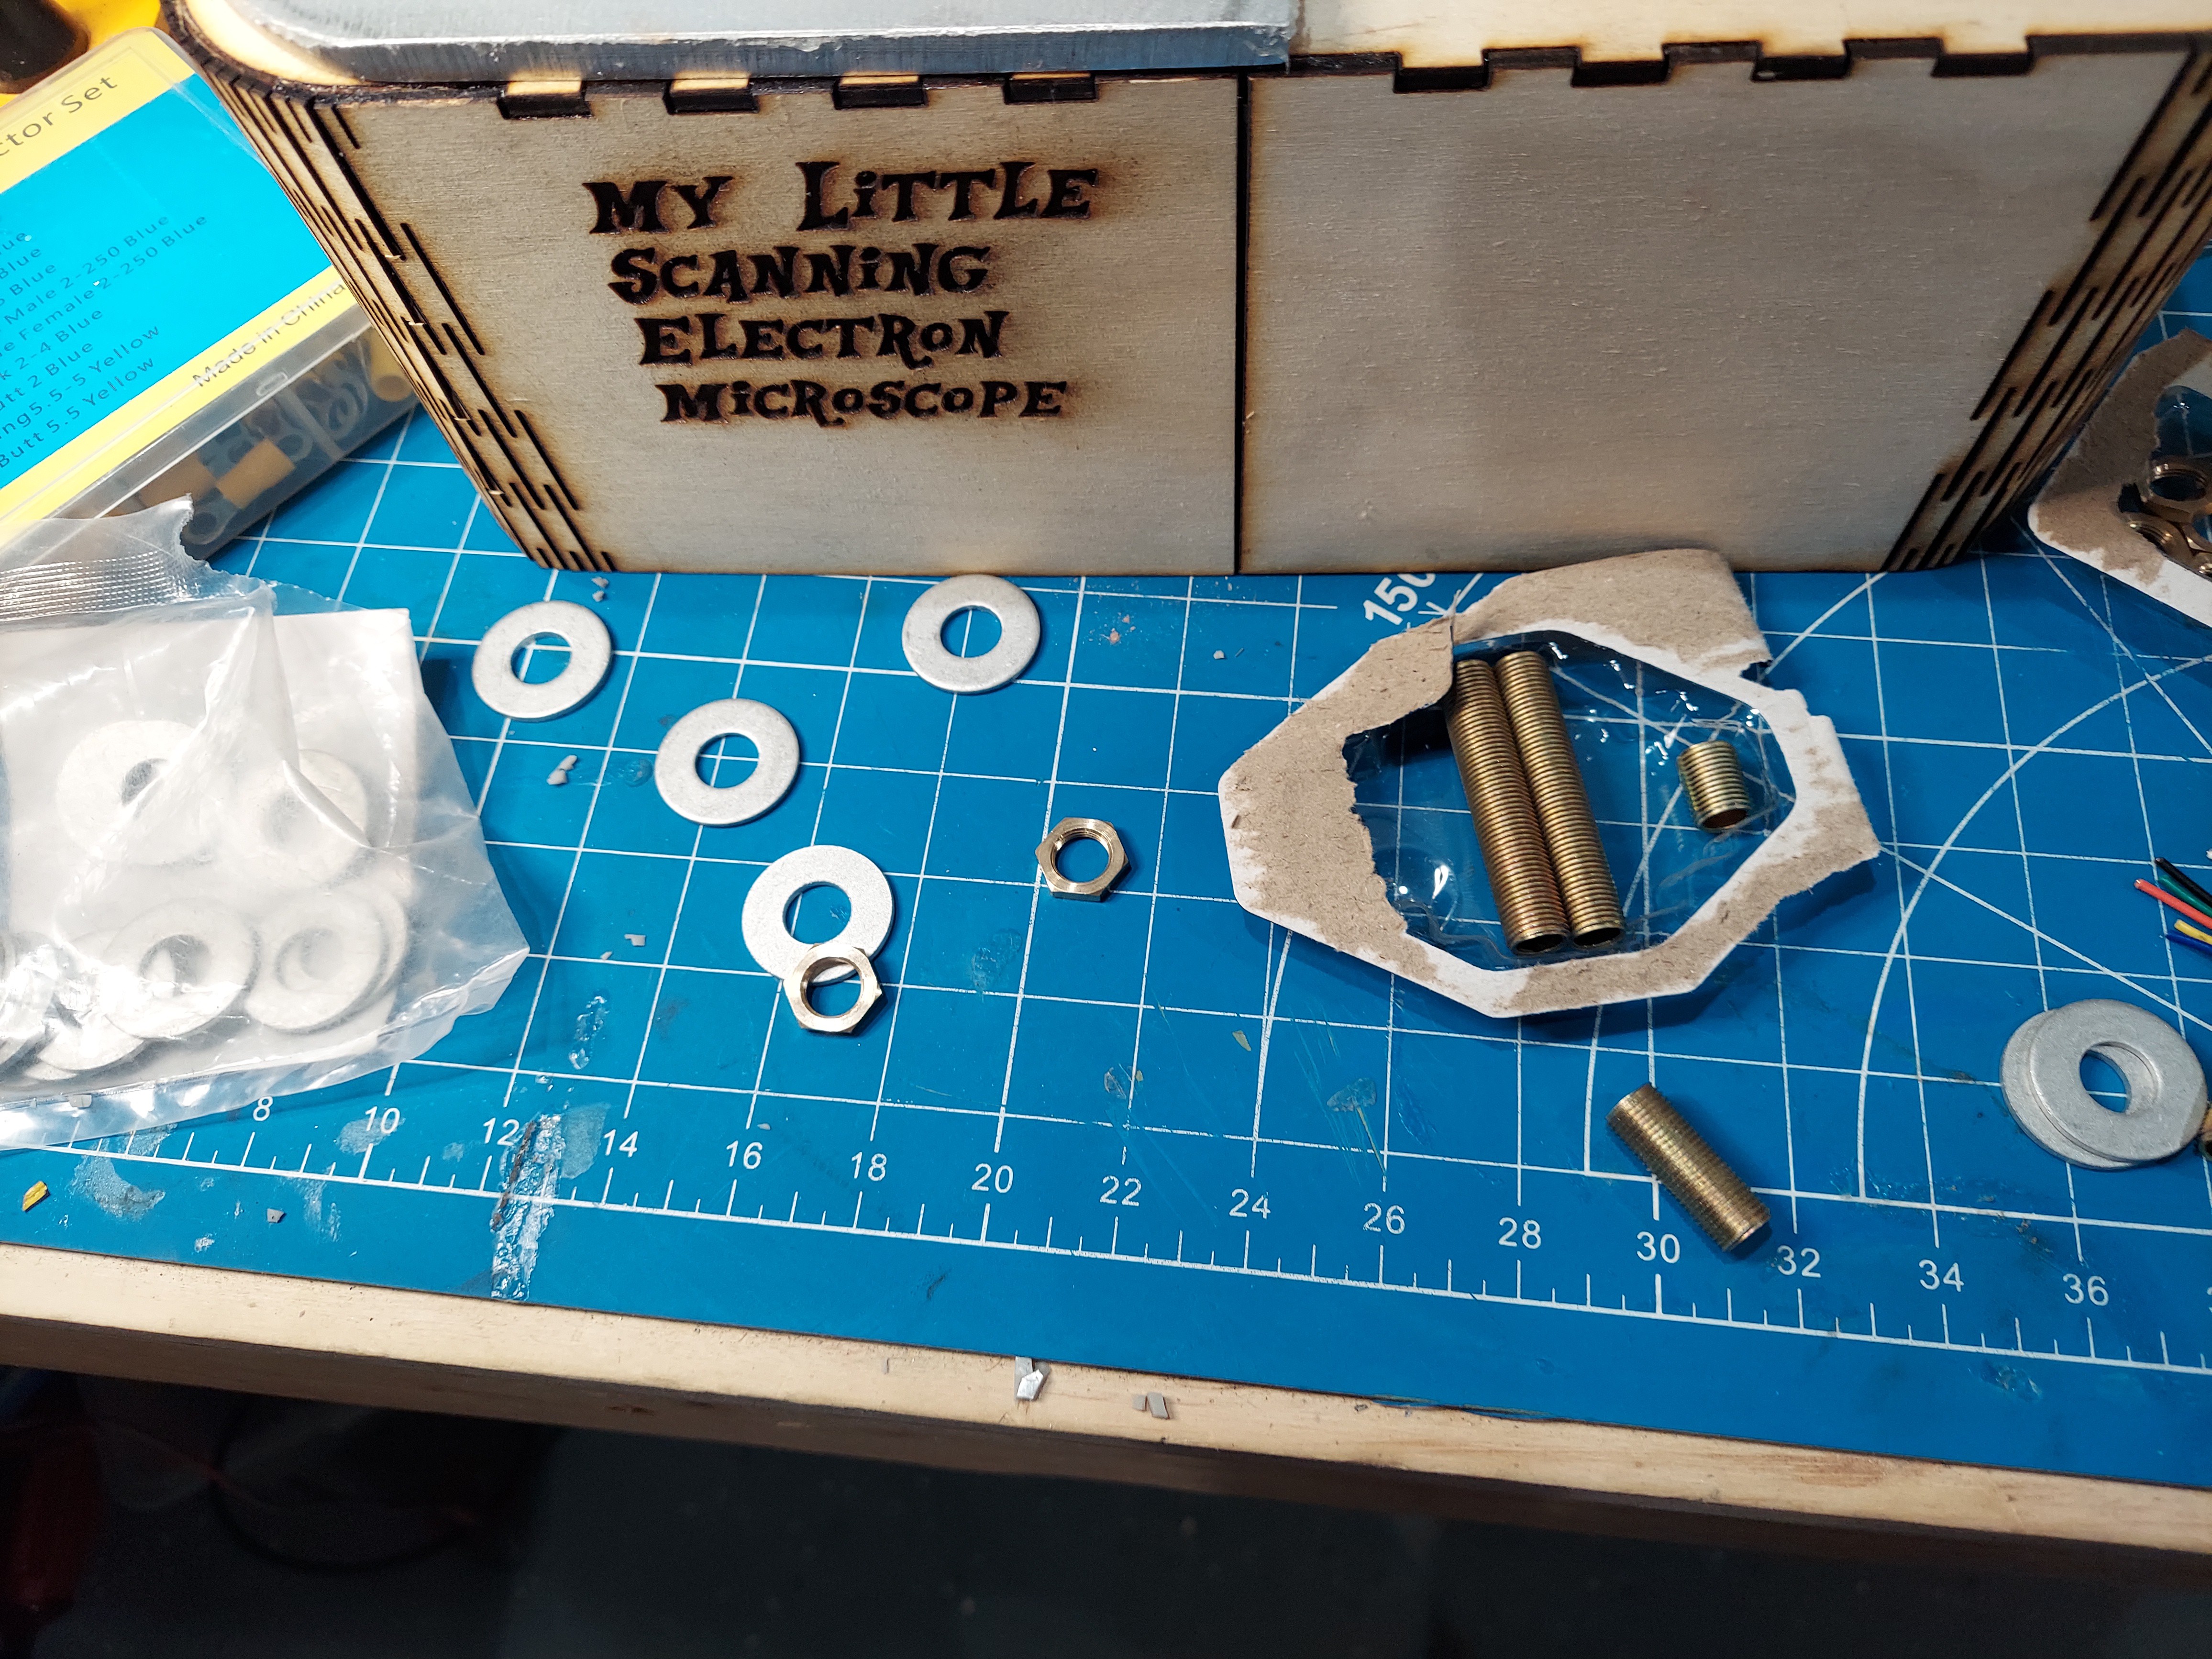
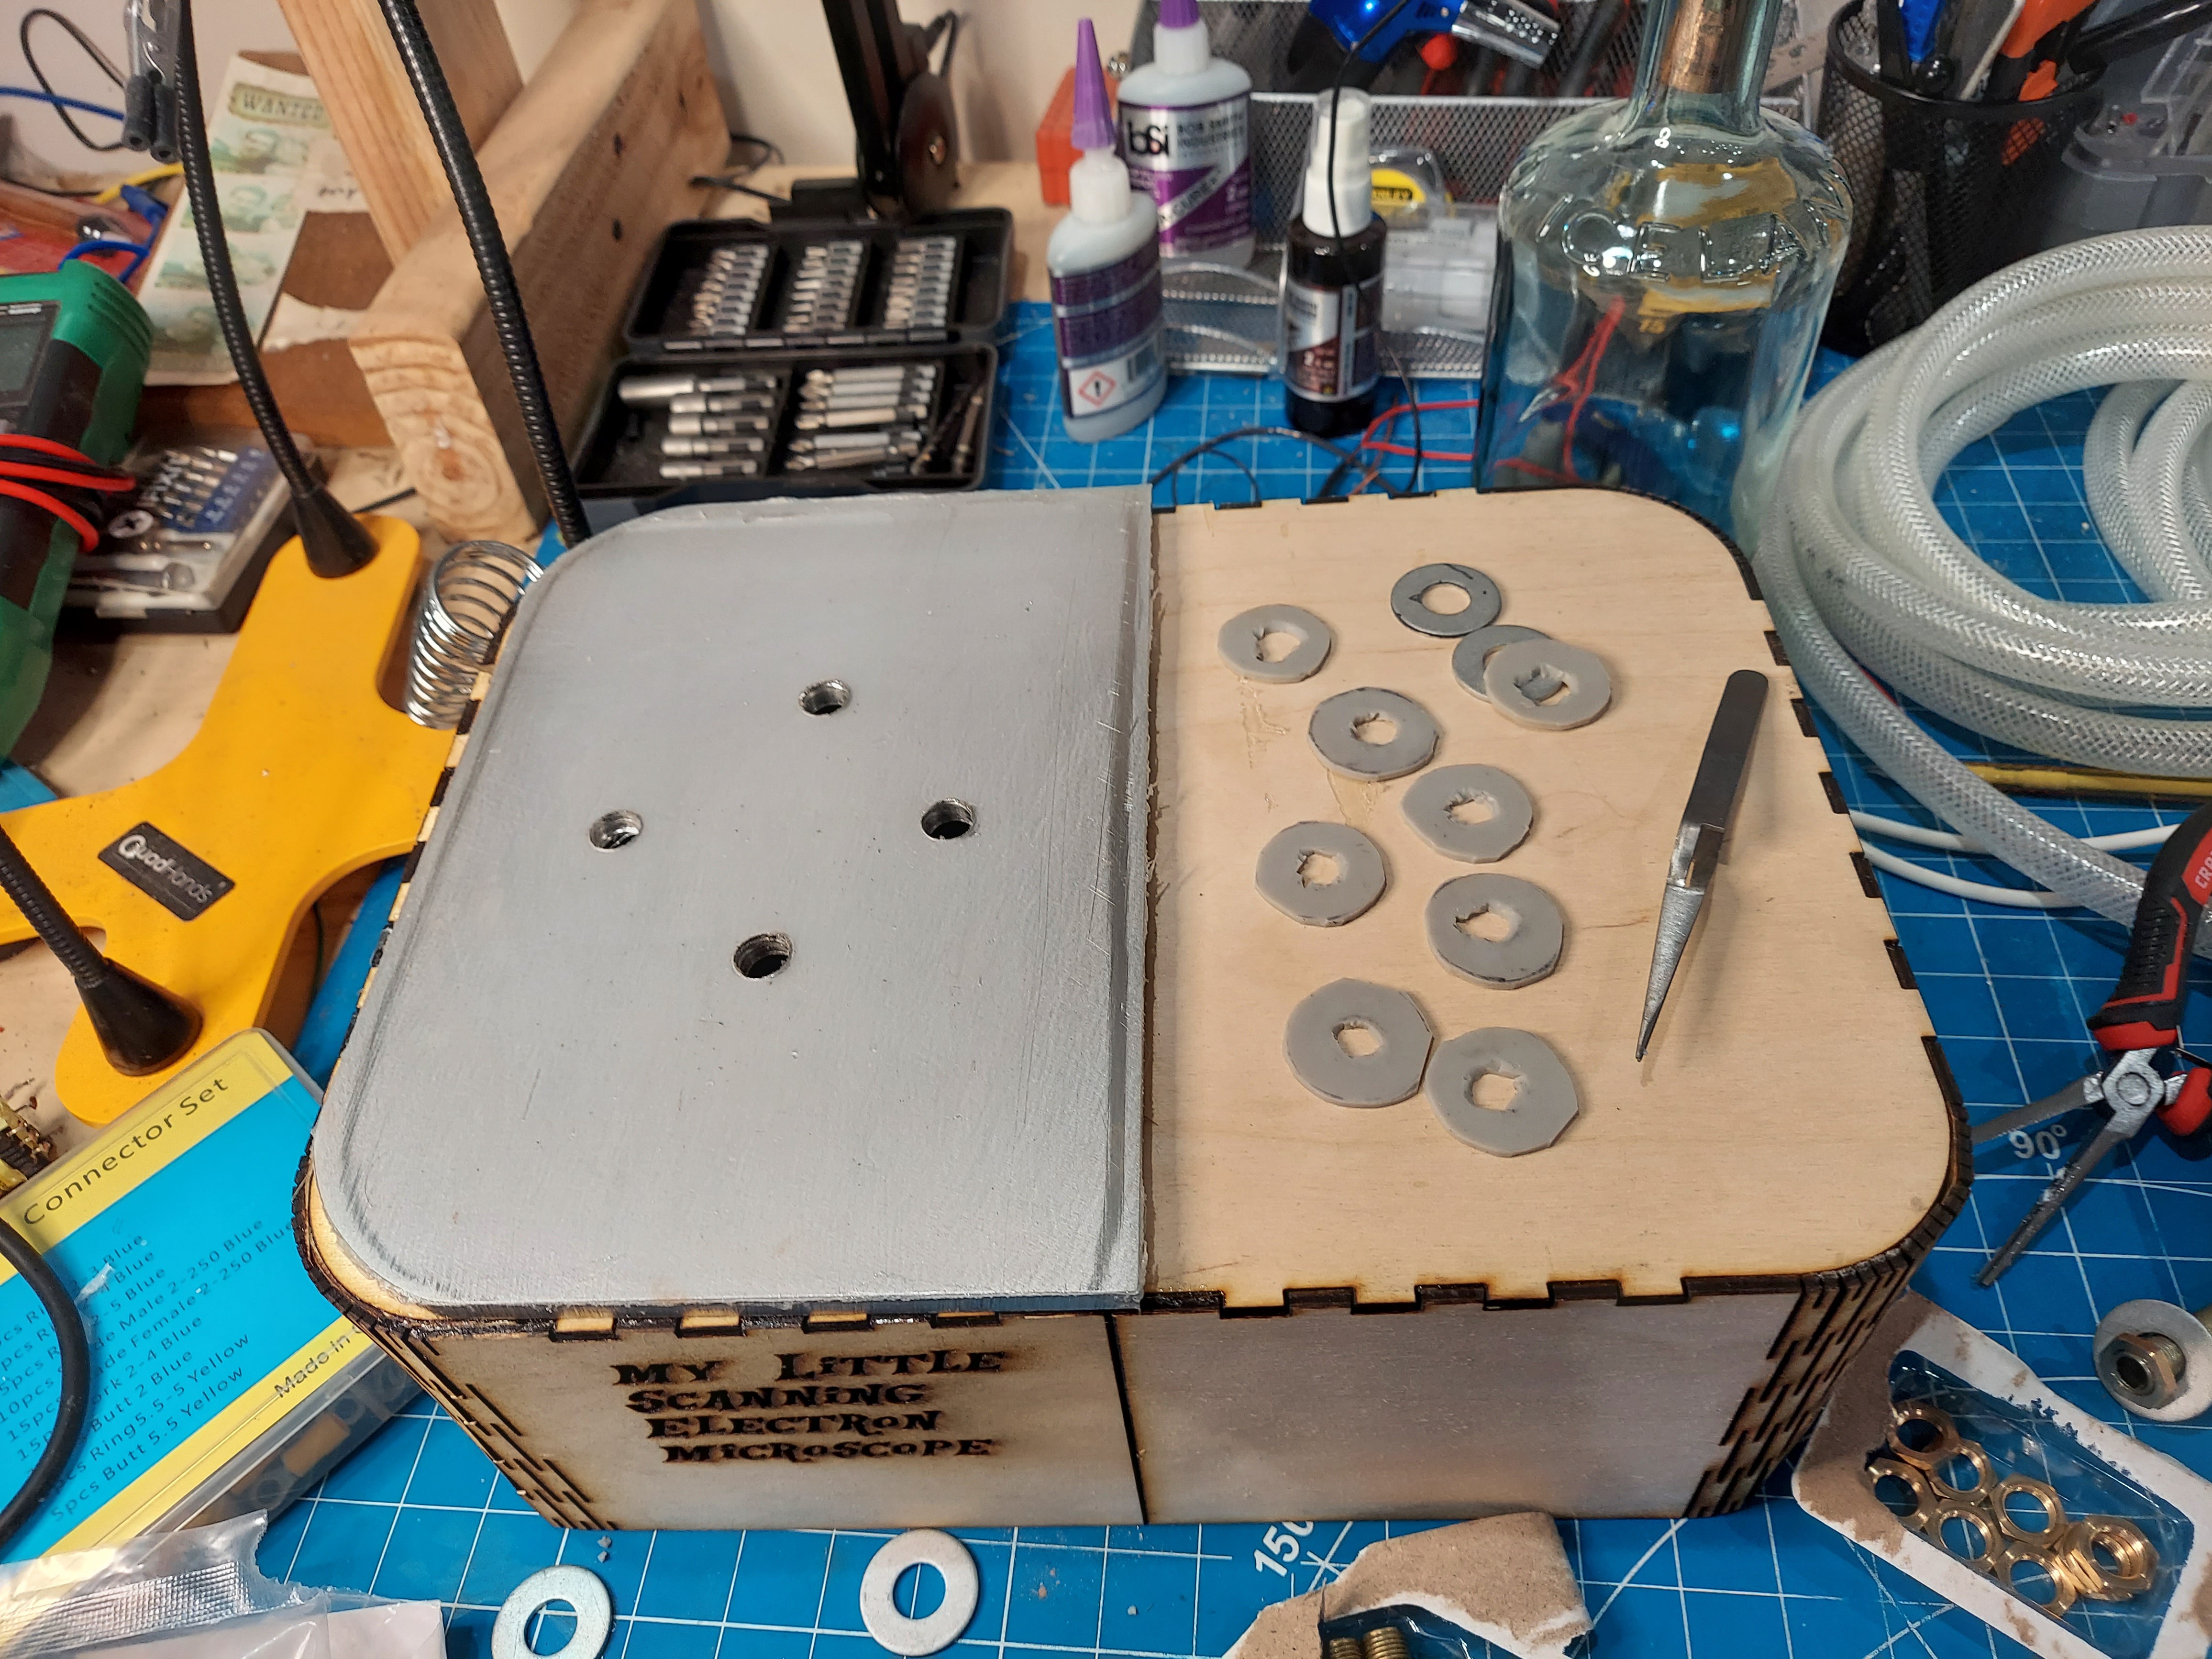
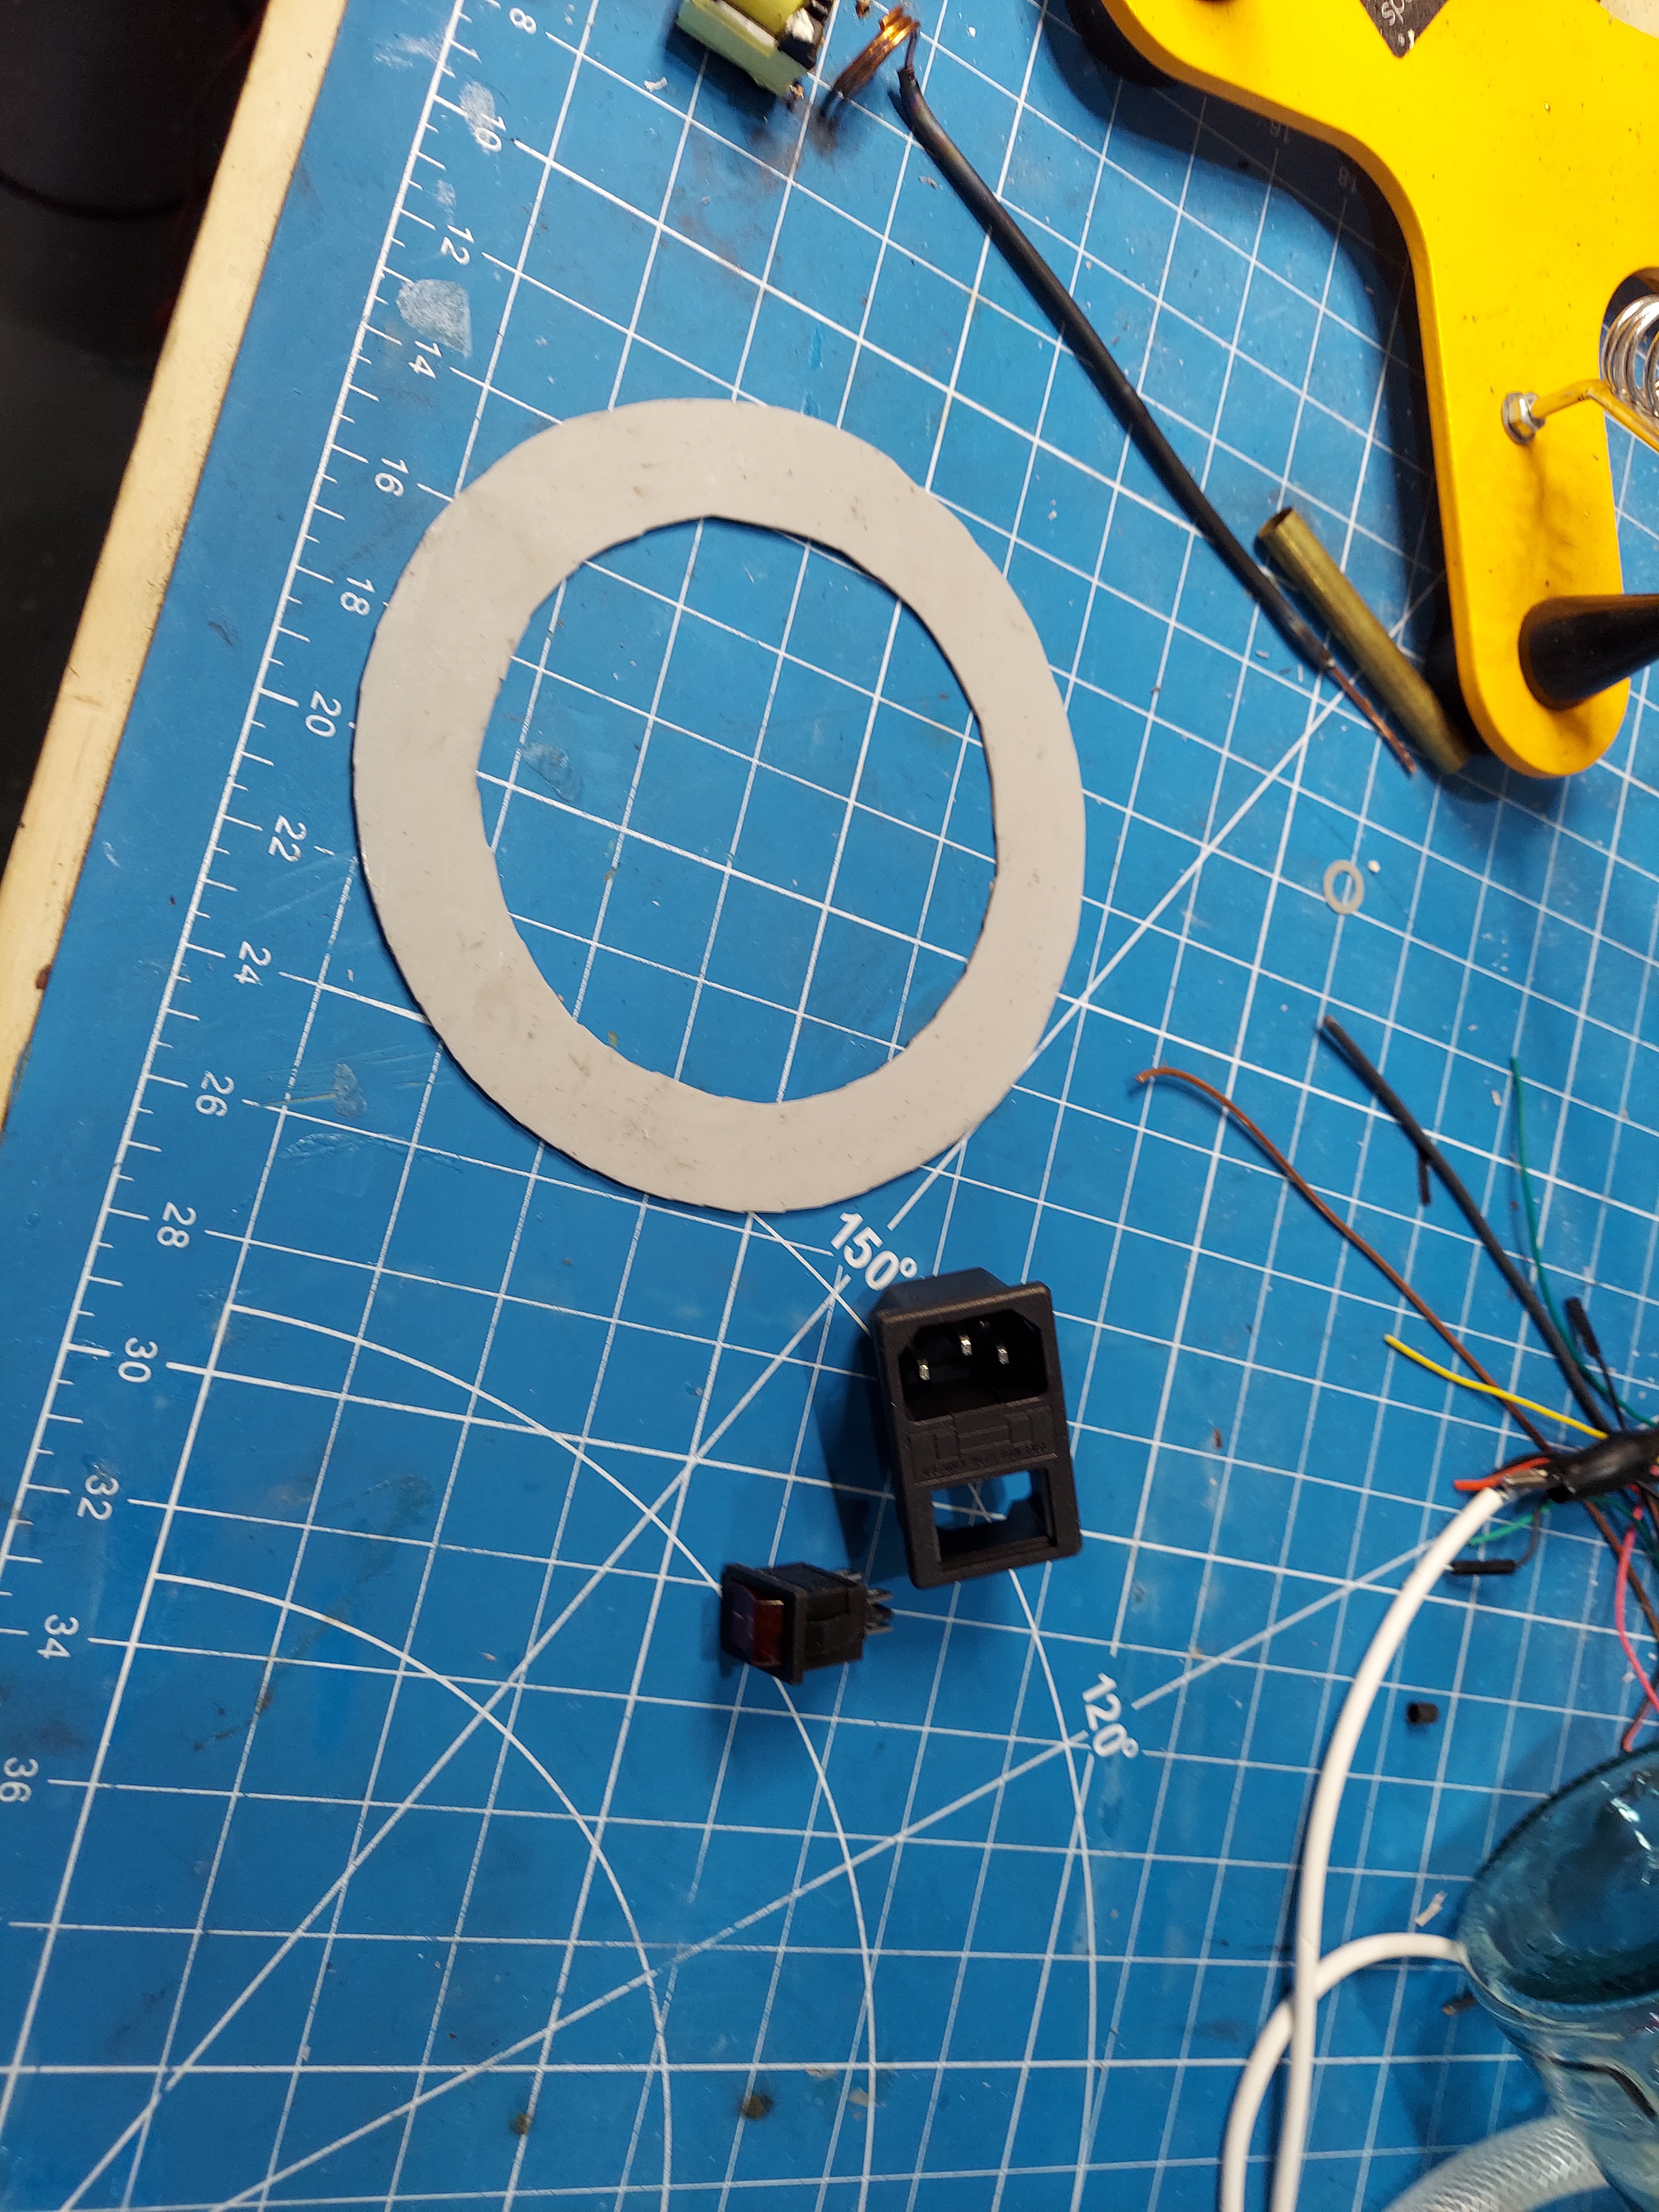
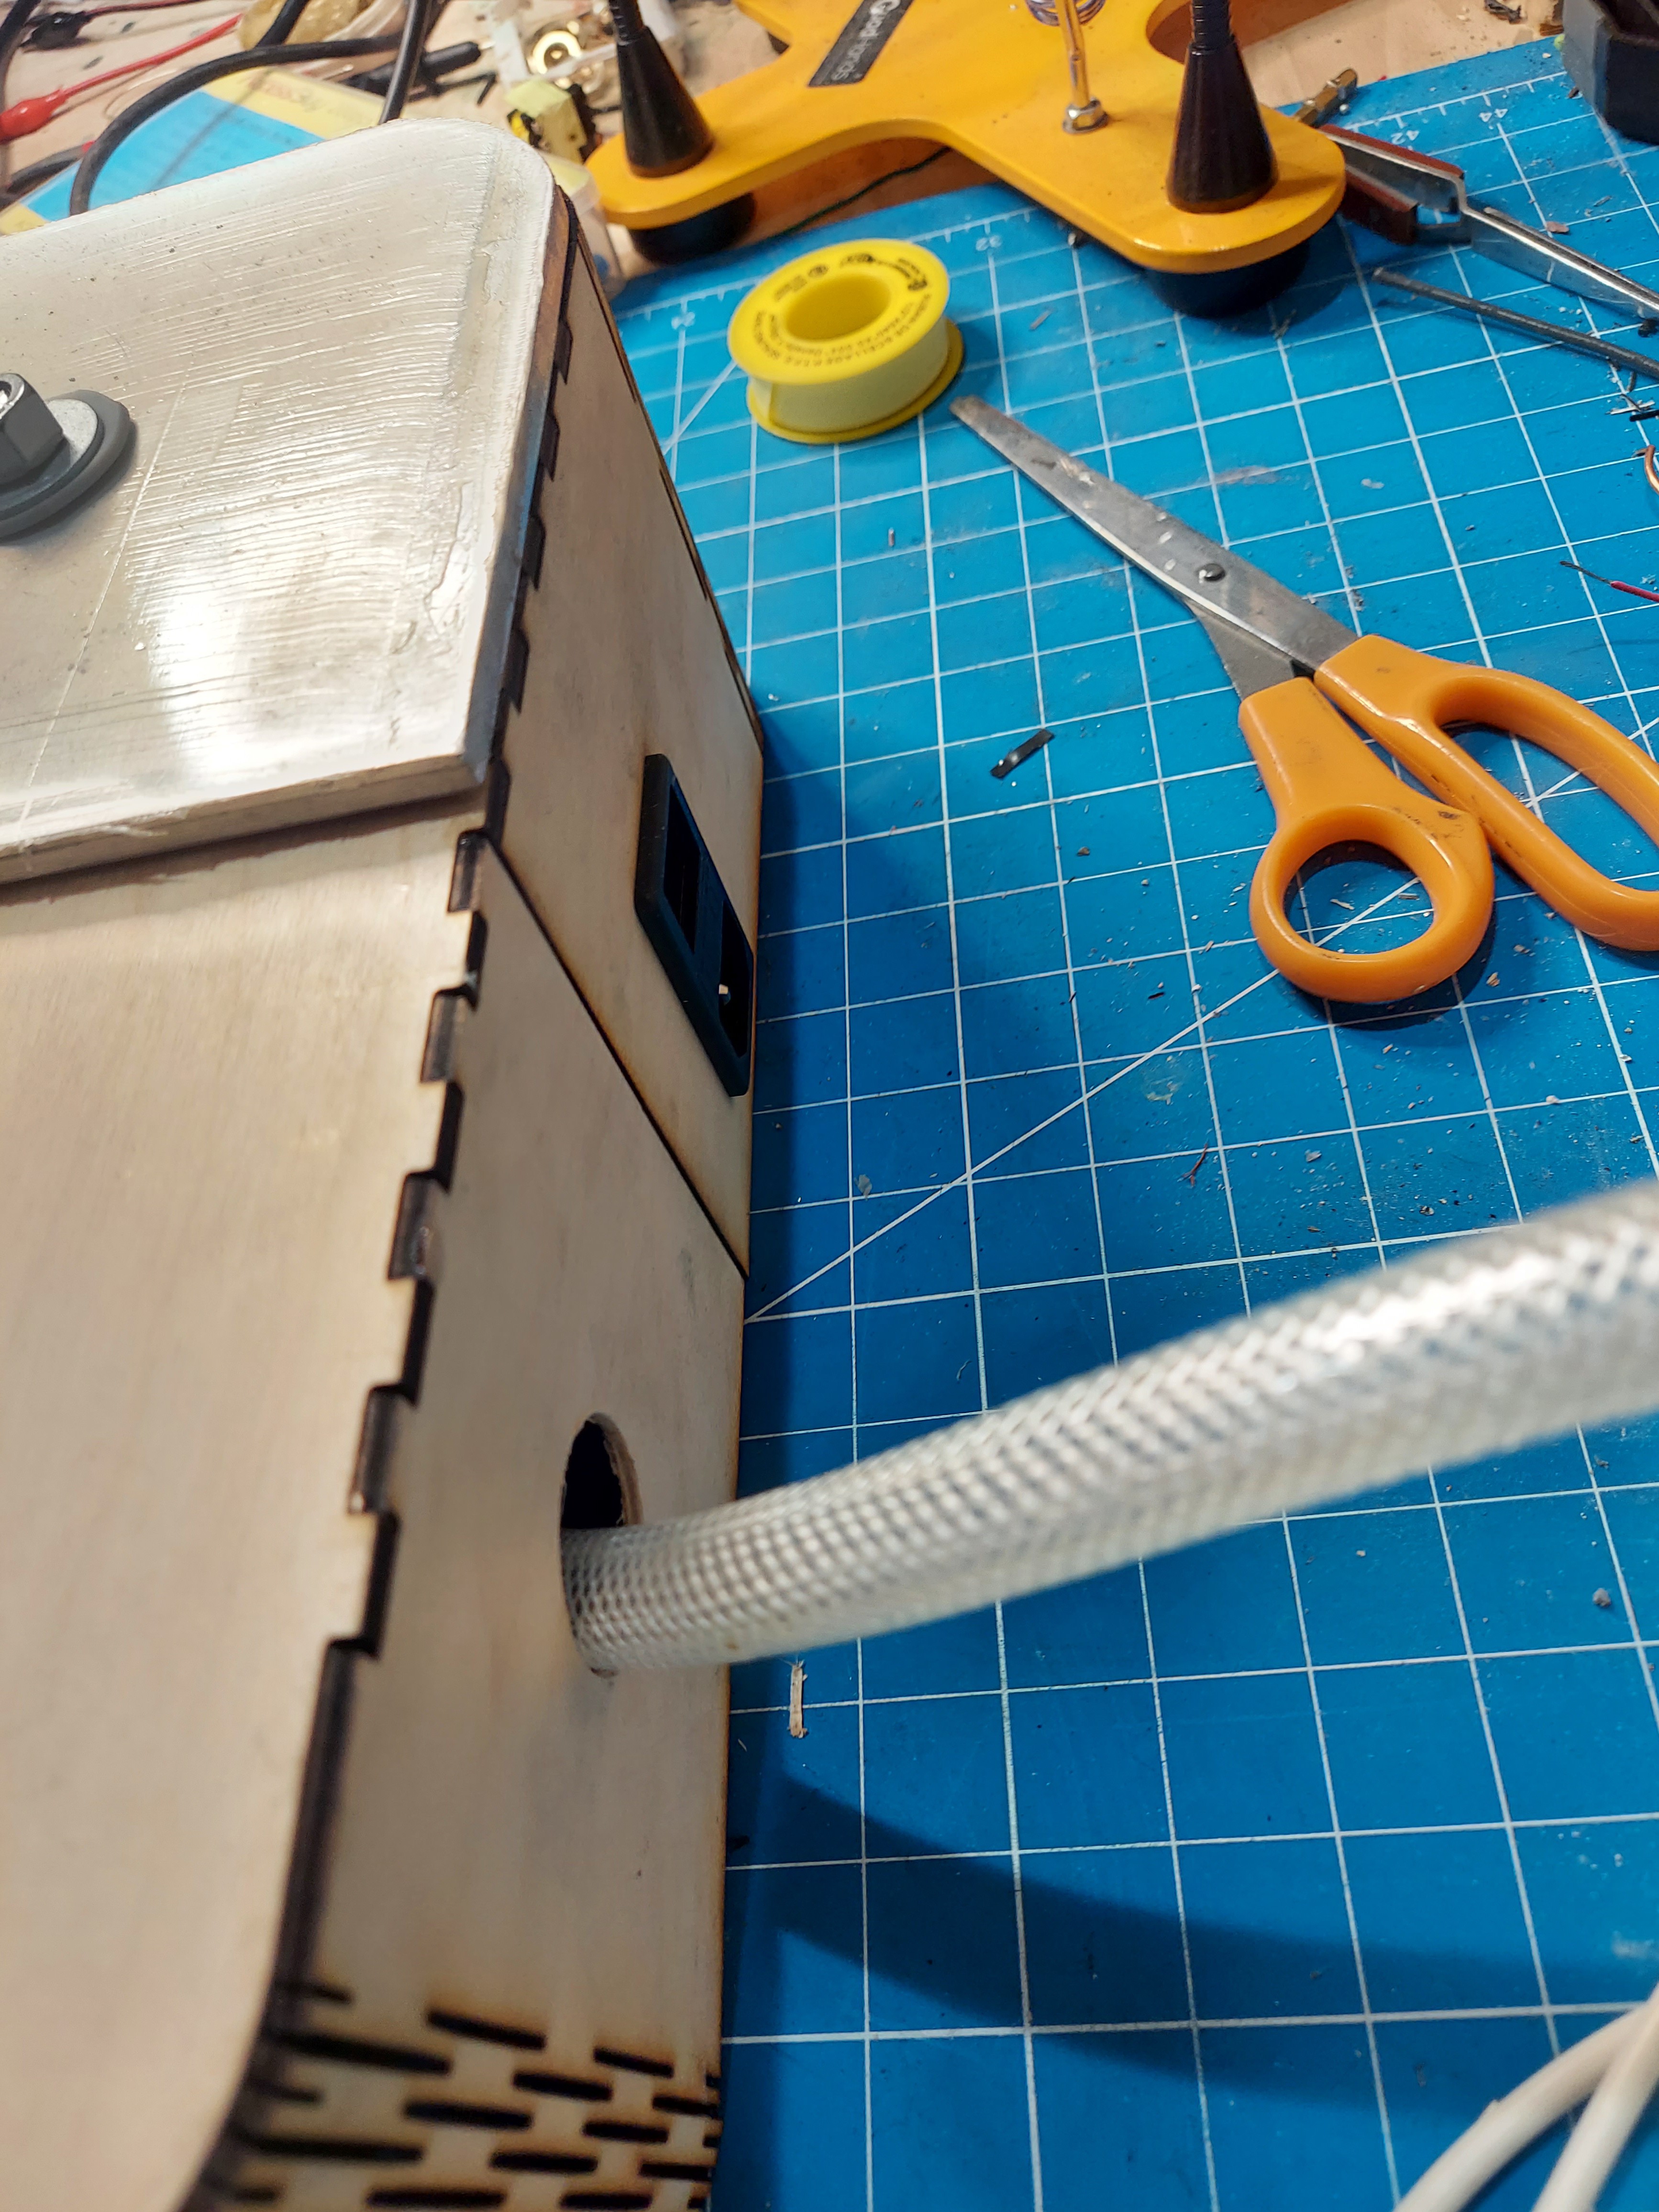
This gives about a 6" interior space. The surface of the aluminum was coated with a thin coat of silicon. This was to adjust for a slight concave bow in the surface. A silicone ring seal was also cut from silicone sheet to provide the vacuum seal.  Silicone disks with washers were used to provide the passthrough for the high voltage lines, control lines, and vacuum line. 
  • Some updates

    Steve Hernandez06/28/2022 at 02:07 0 comments

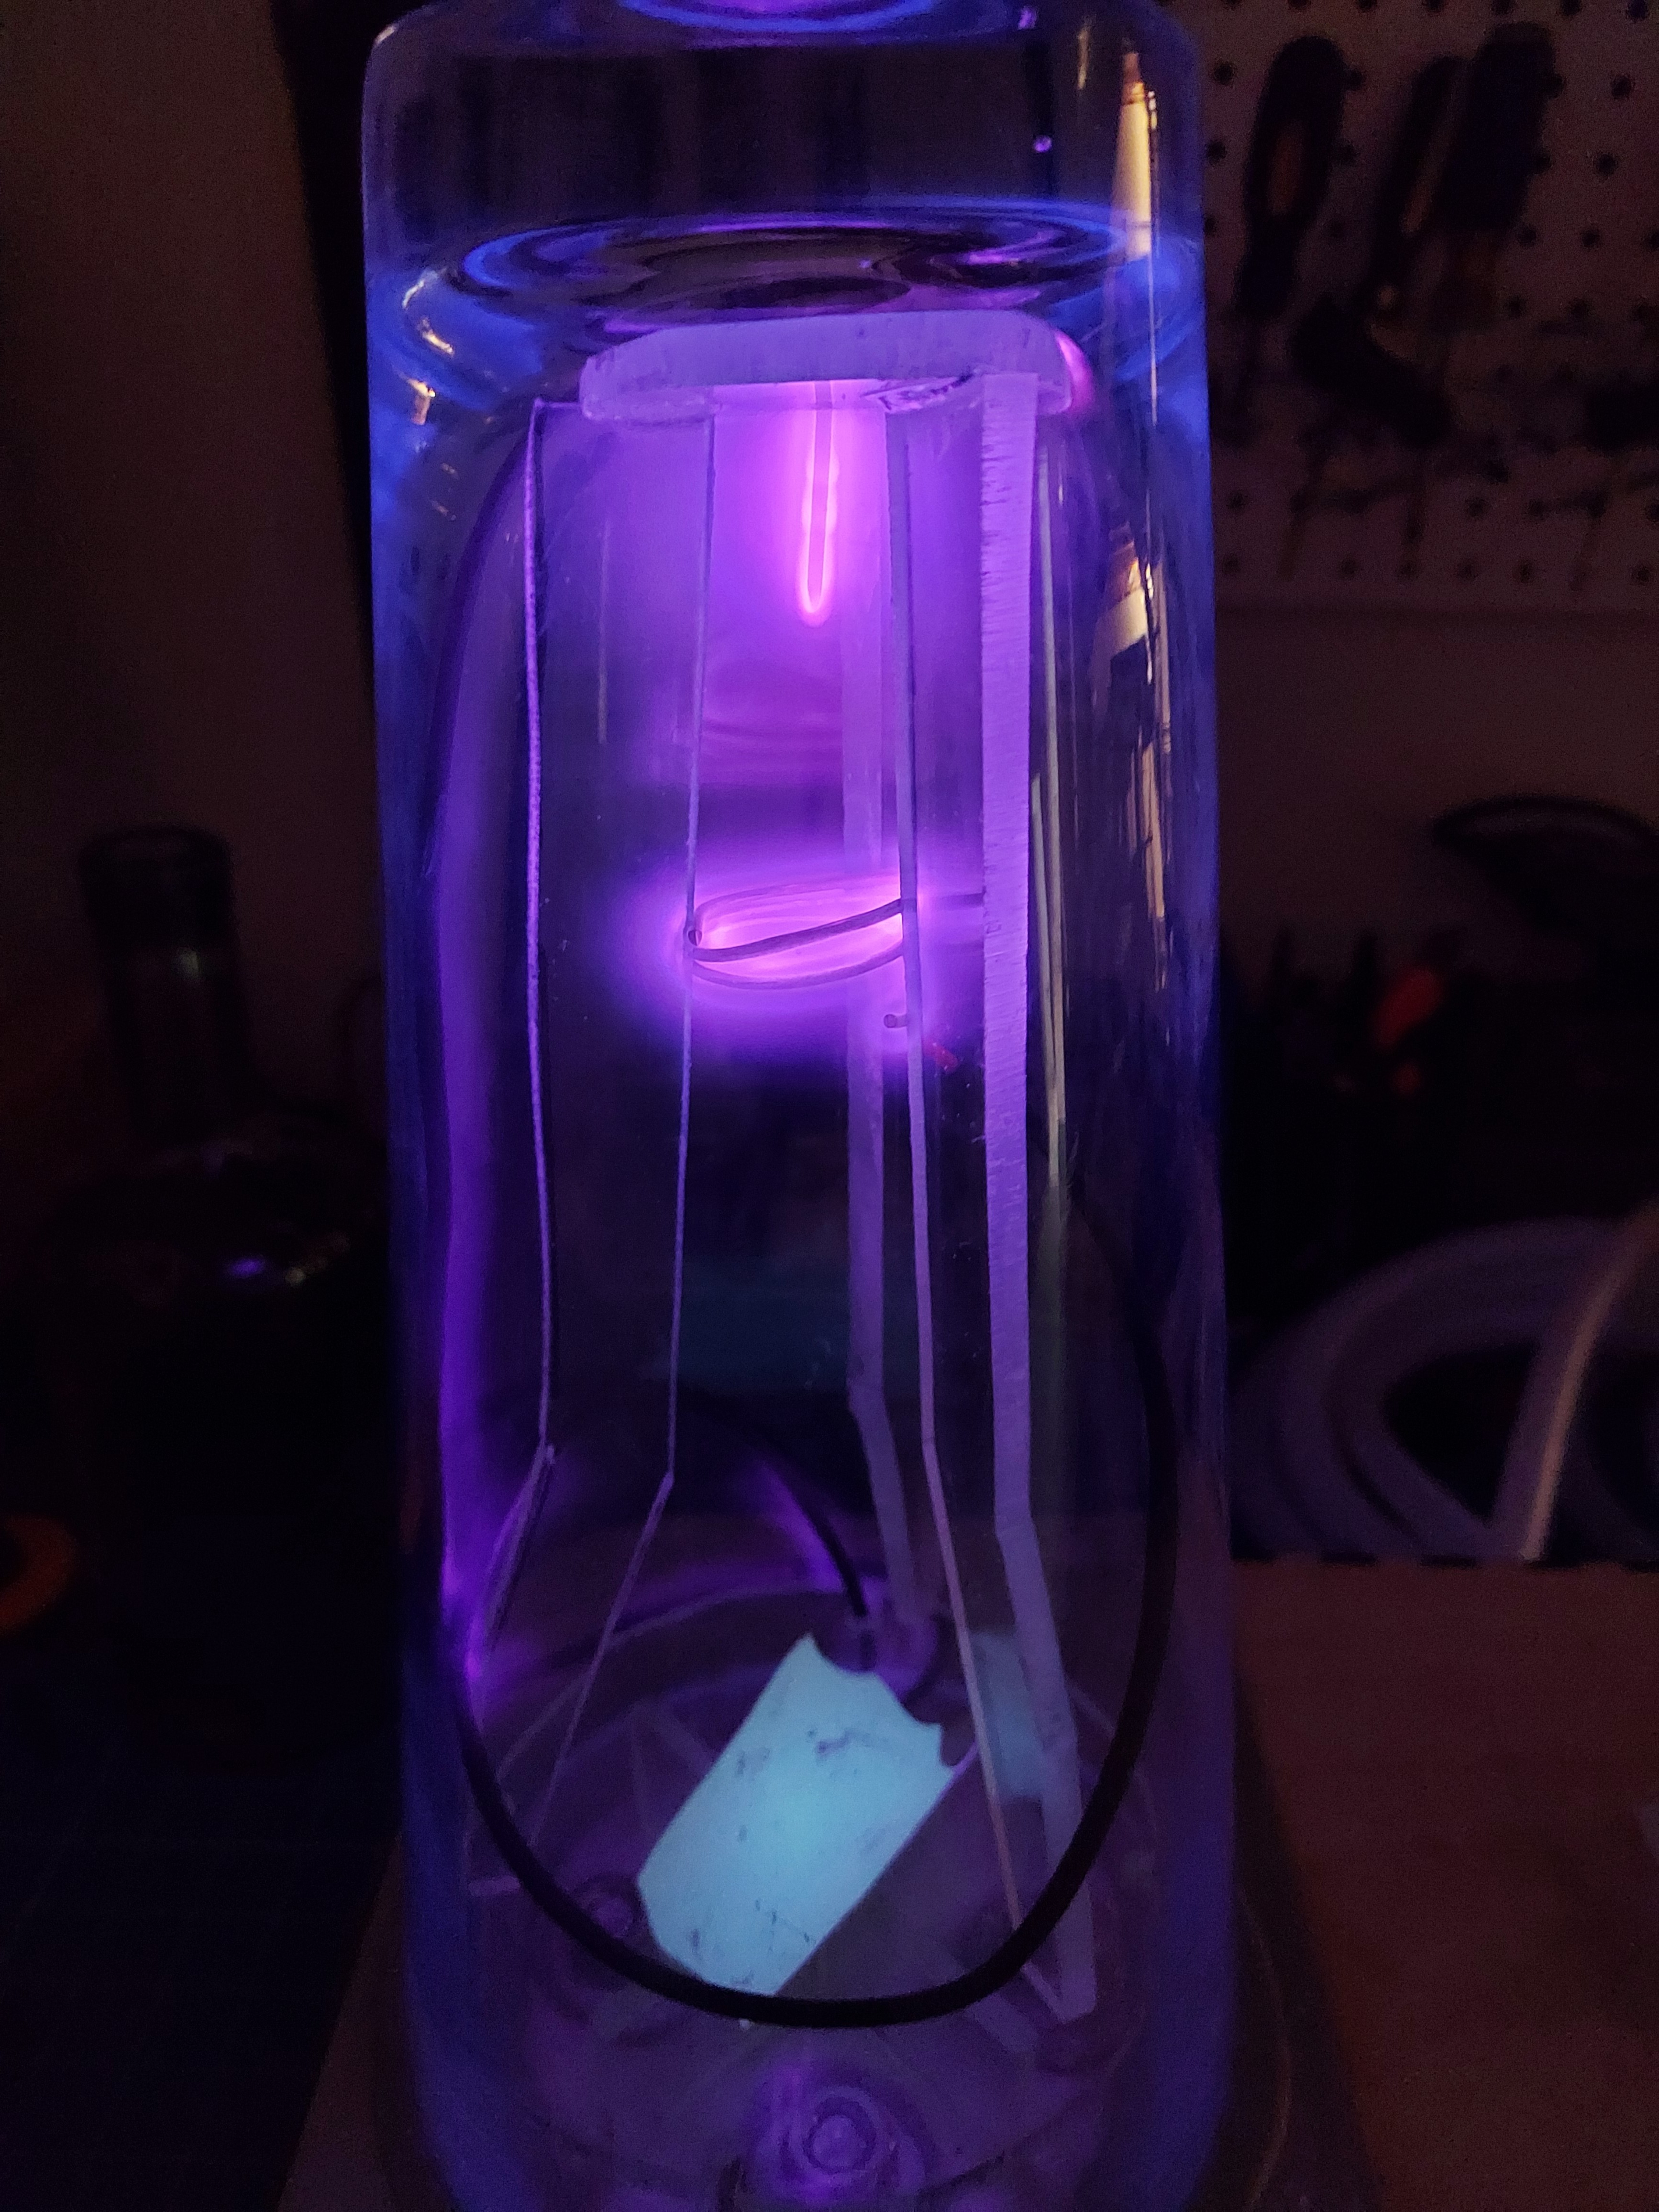
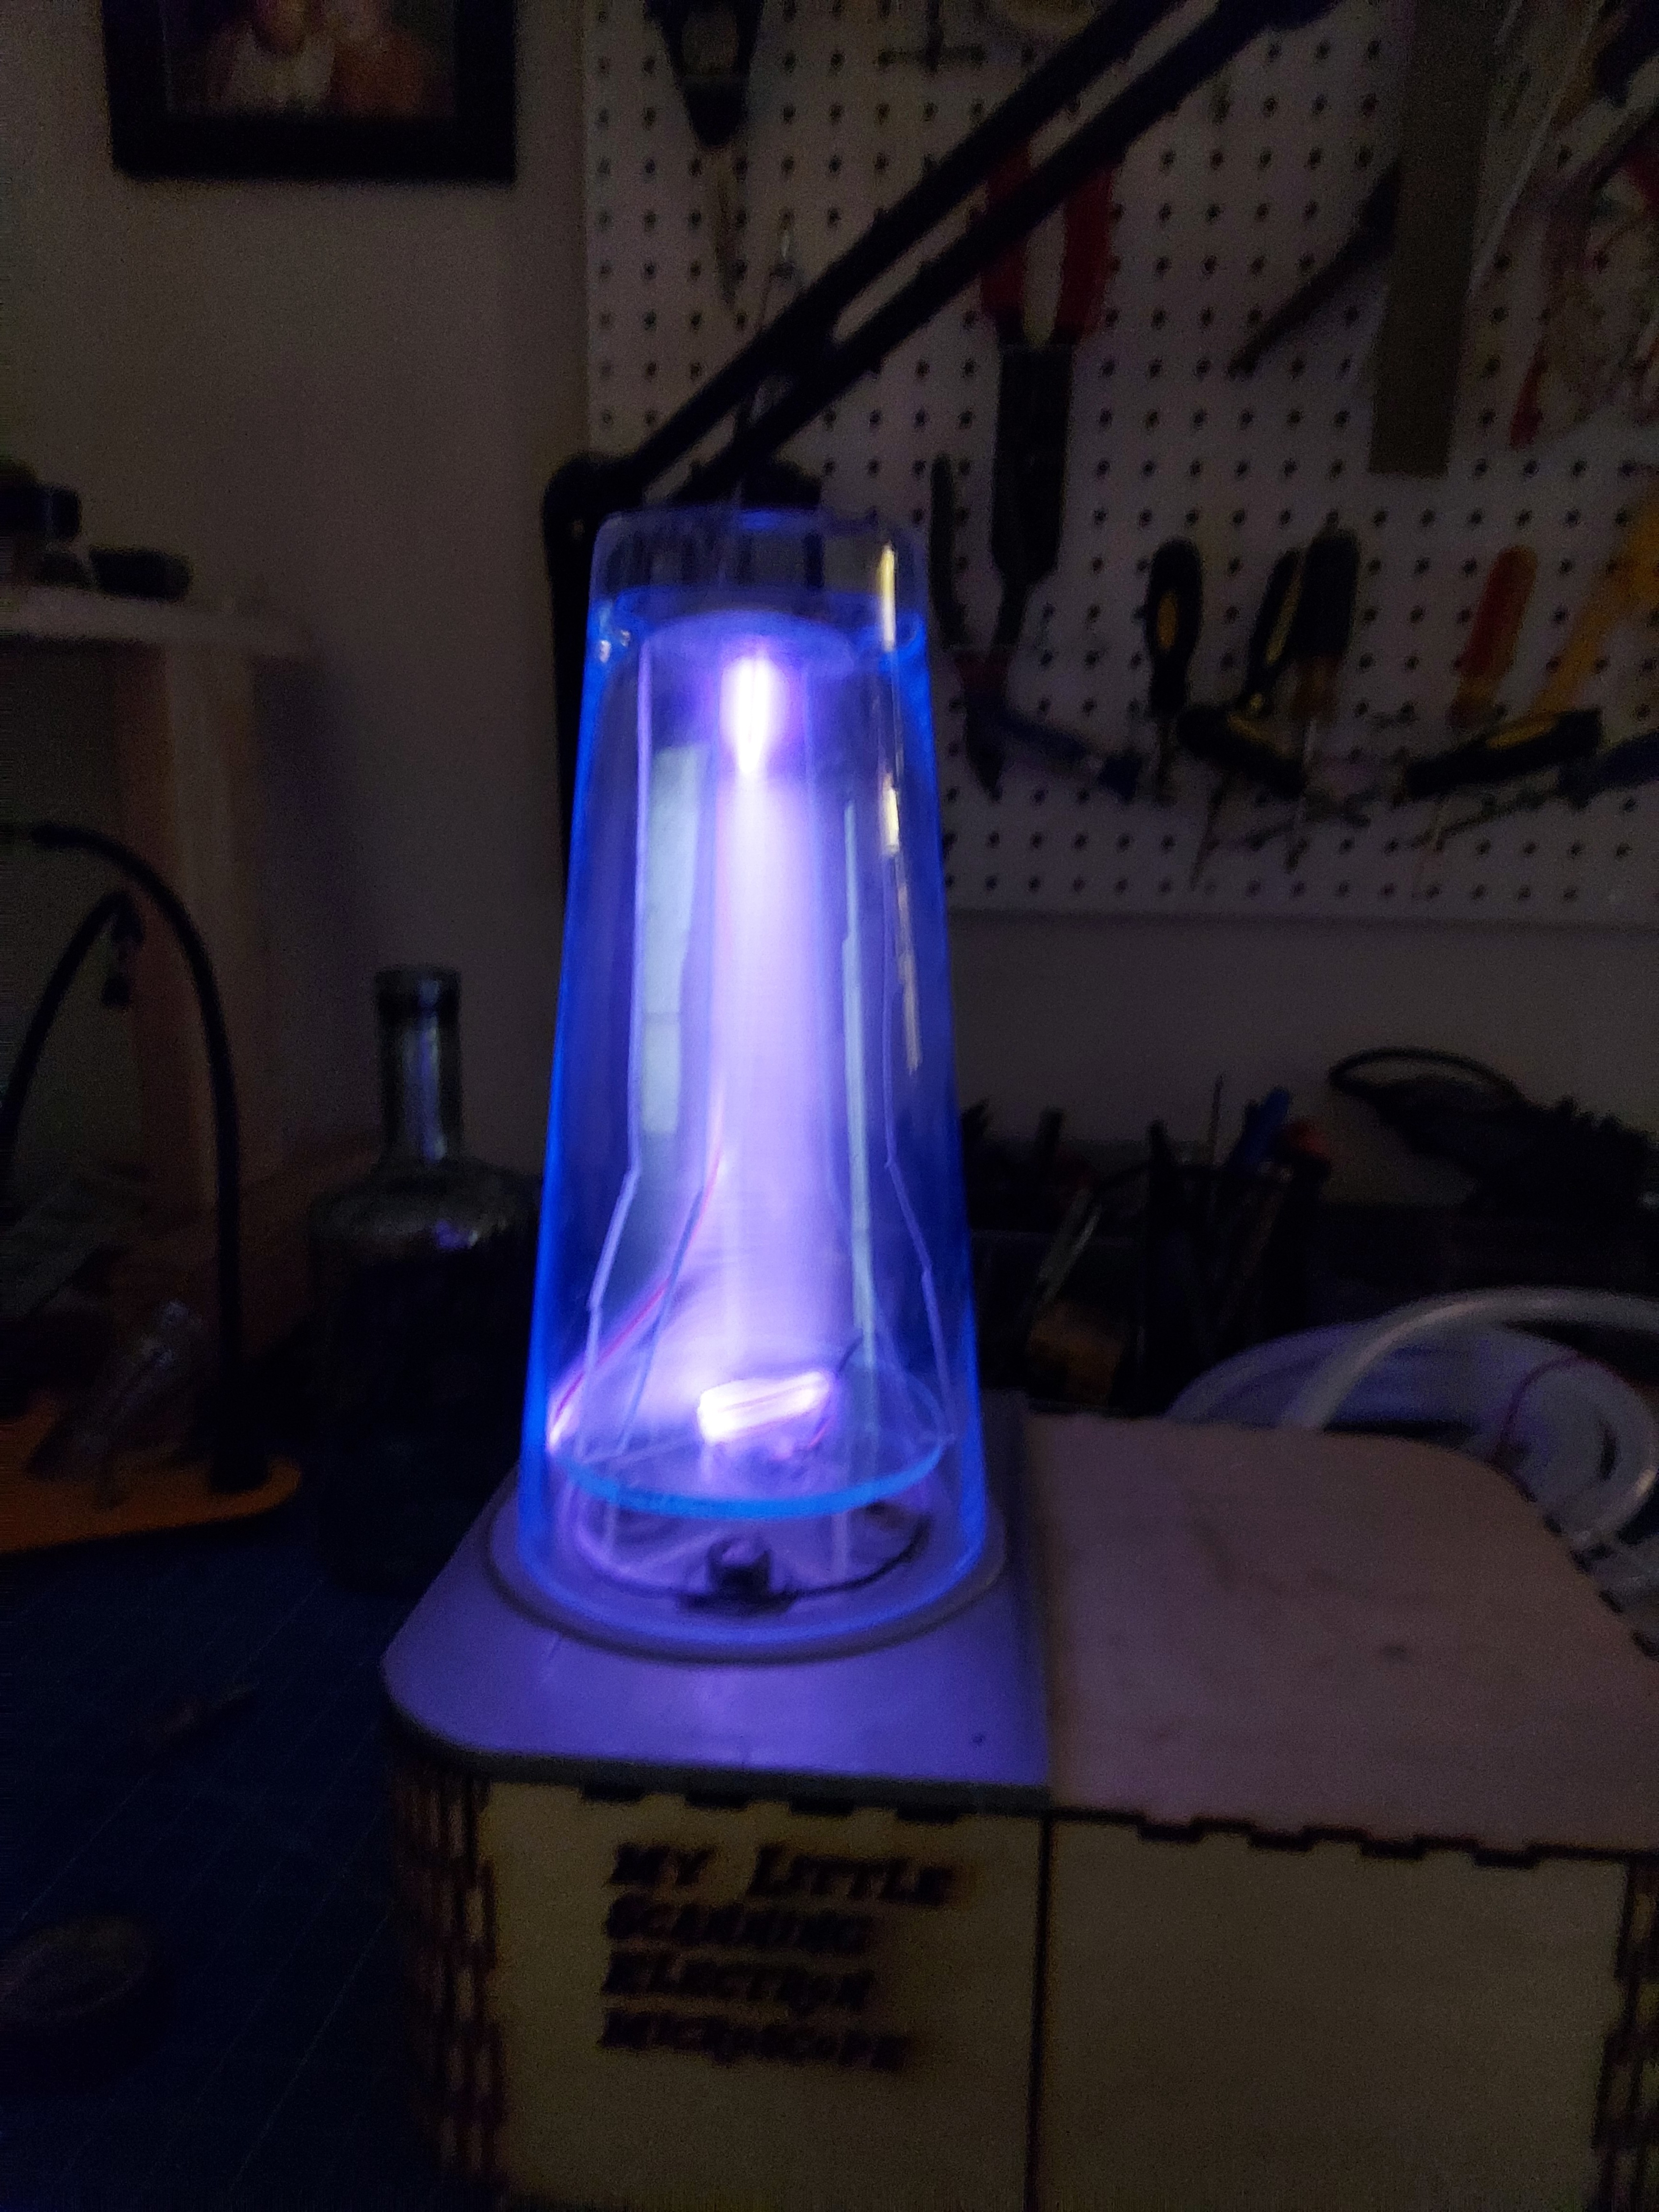
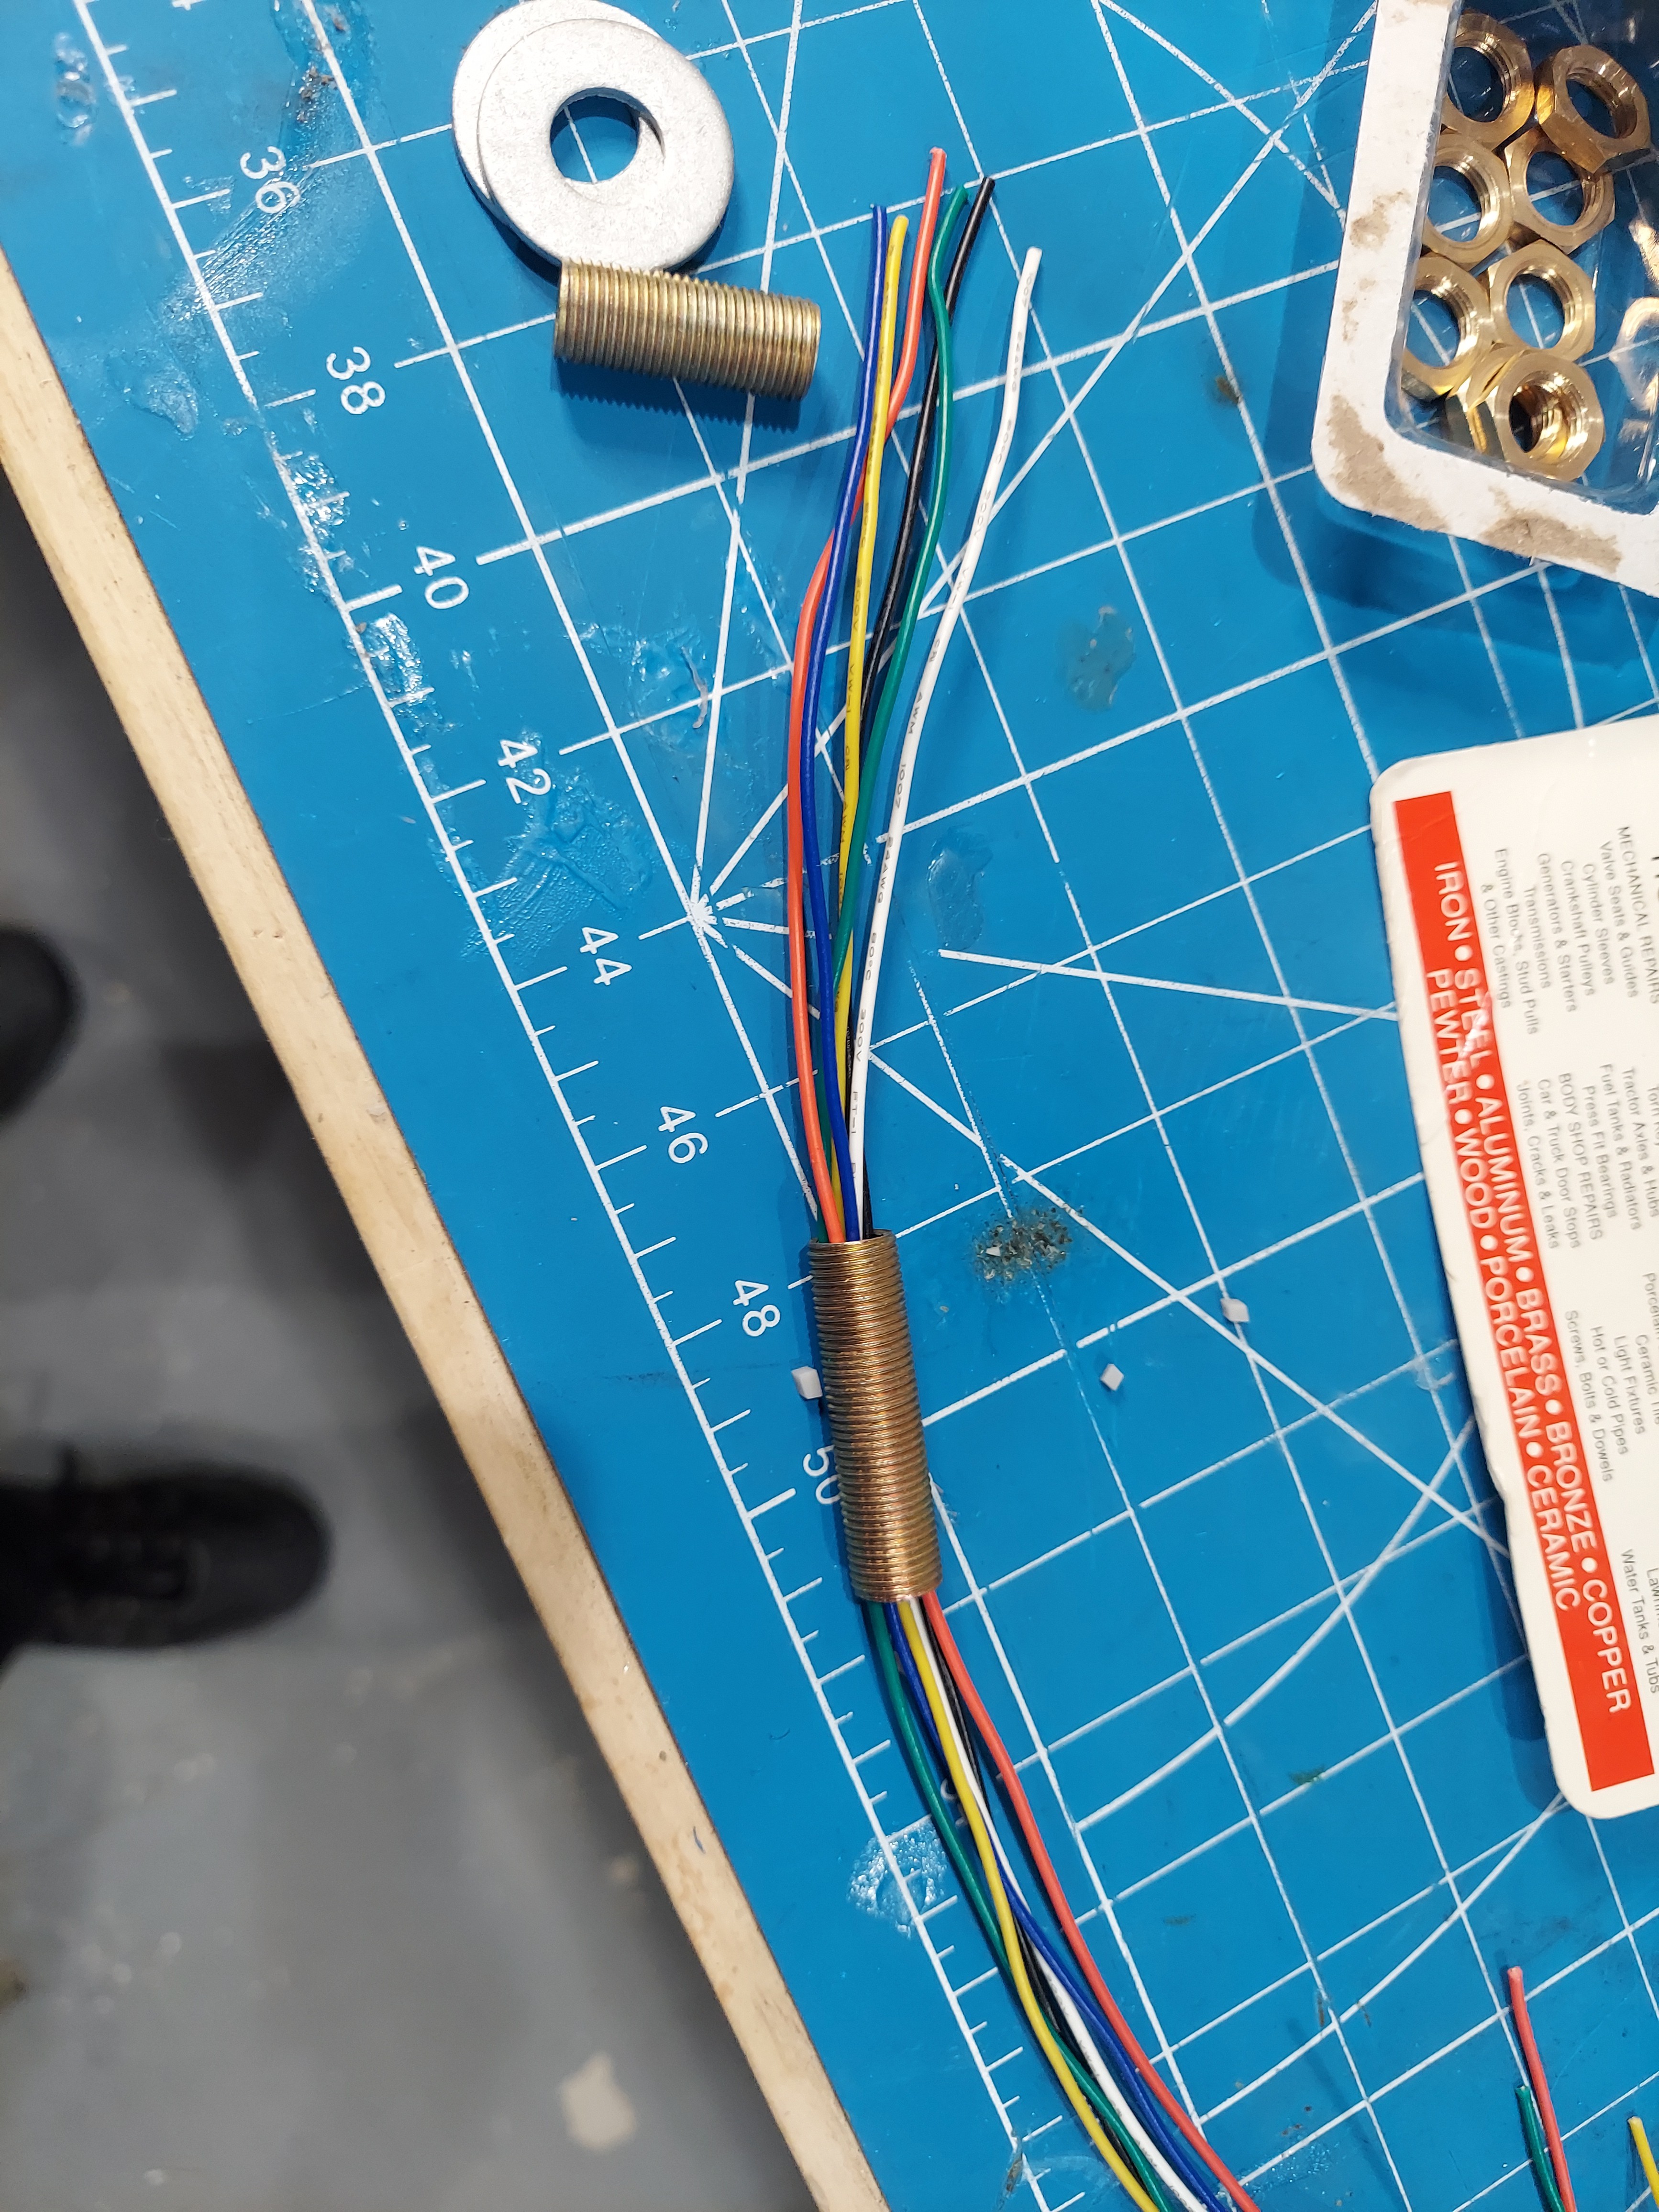
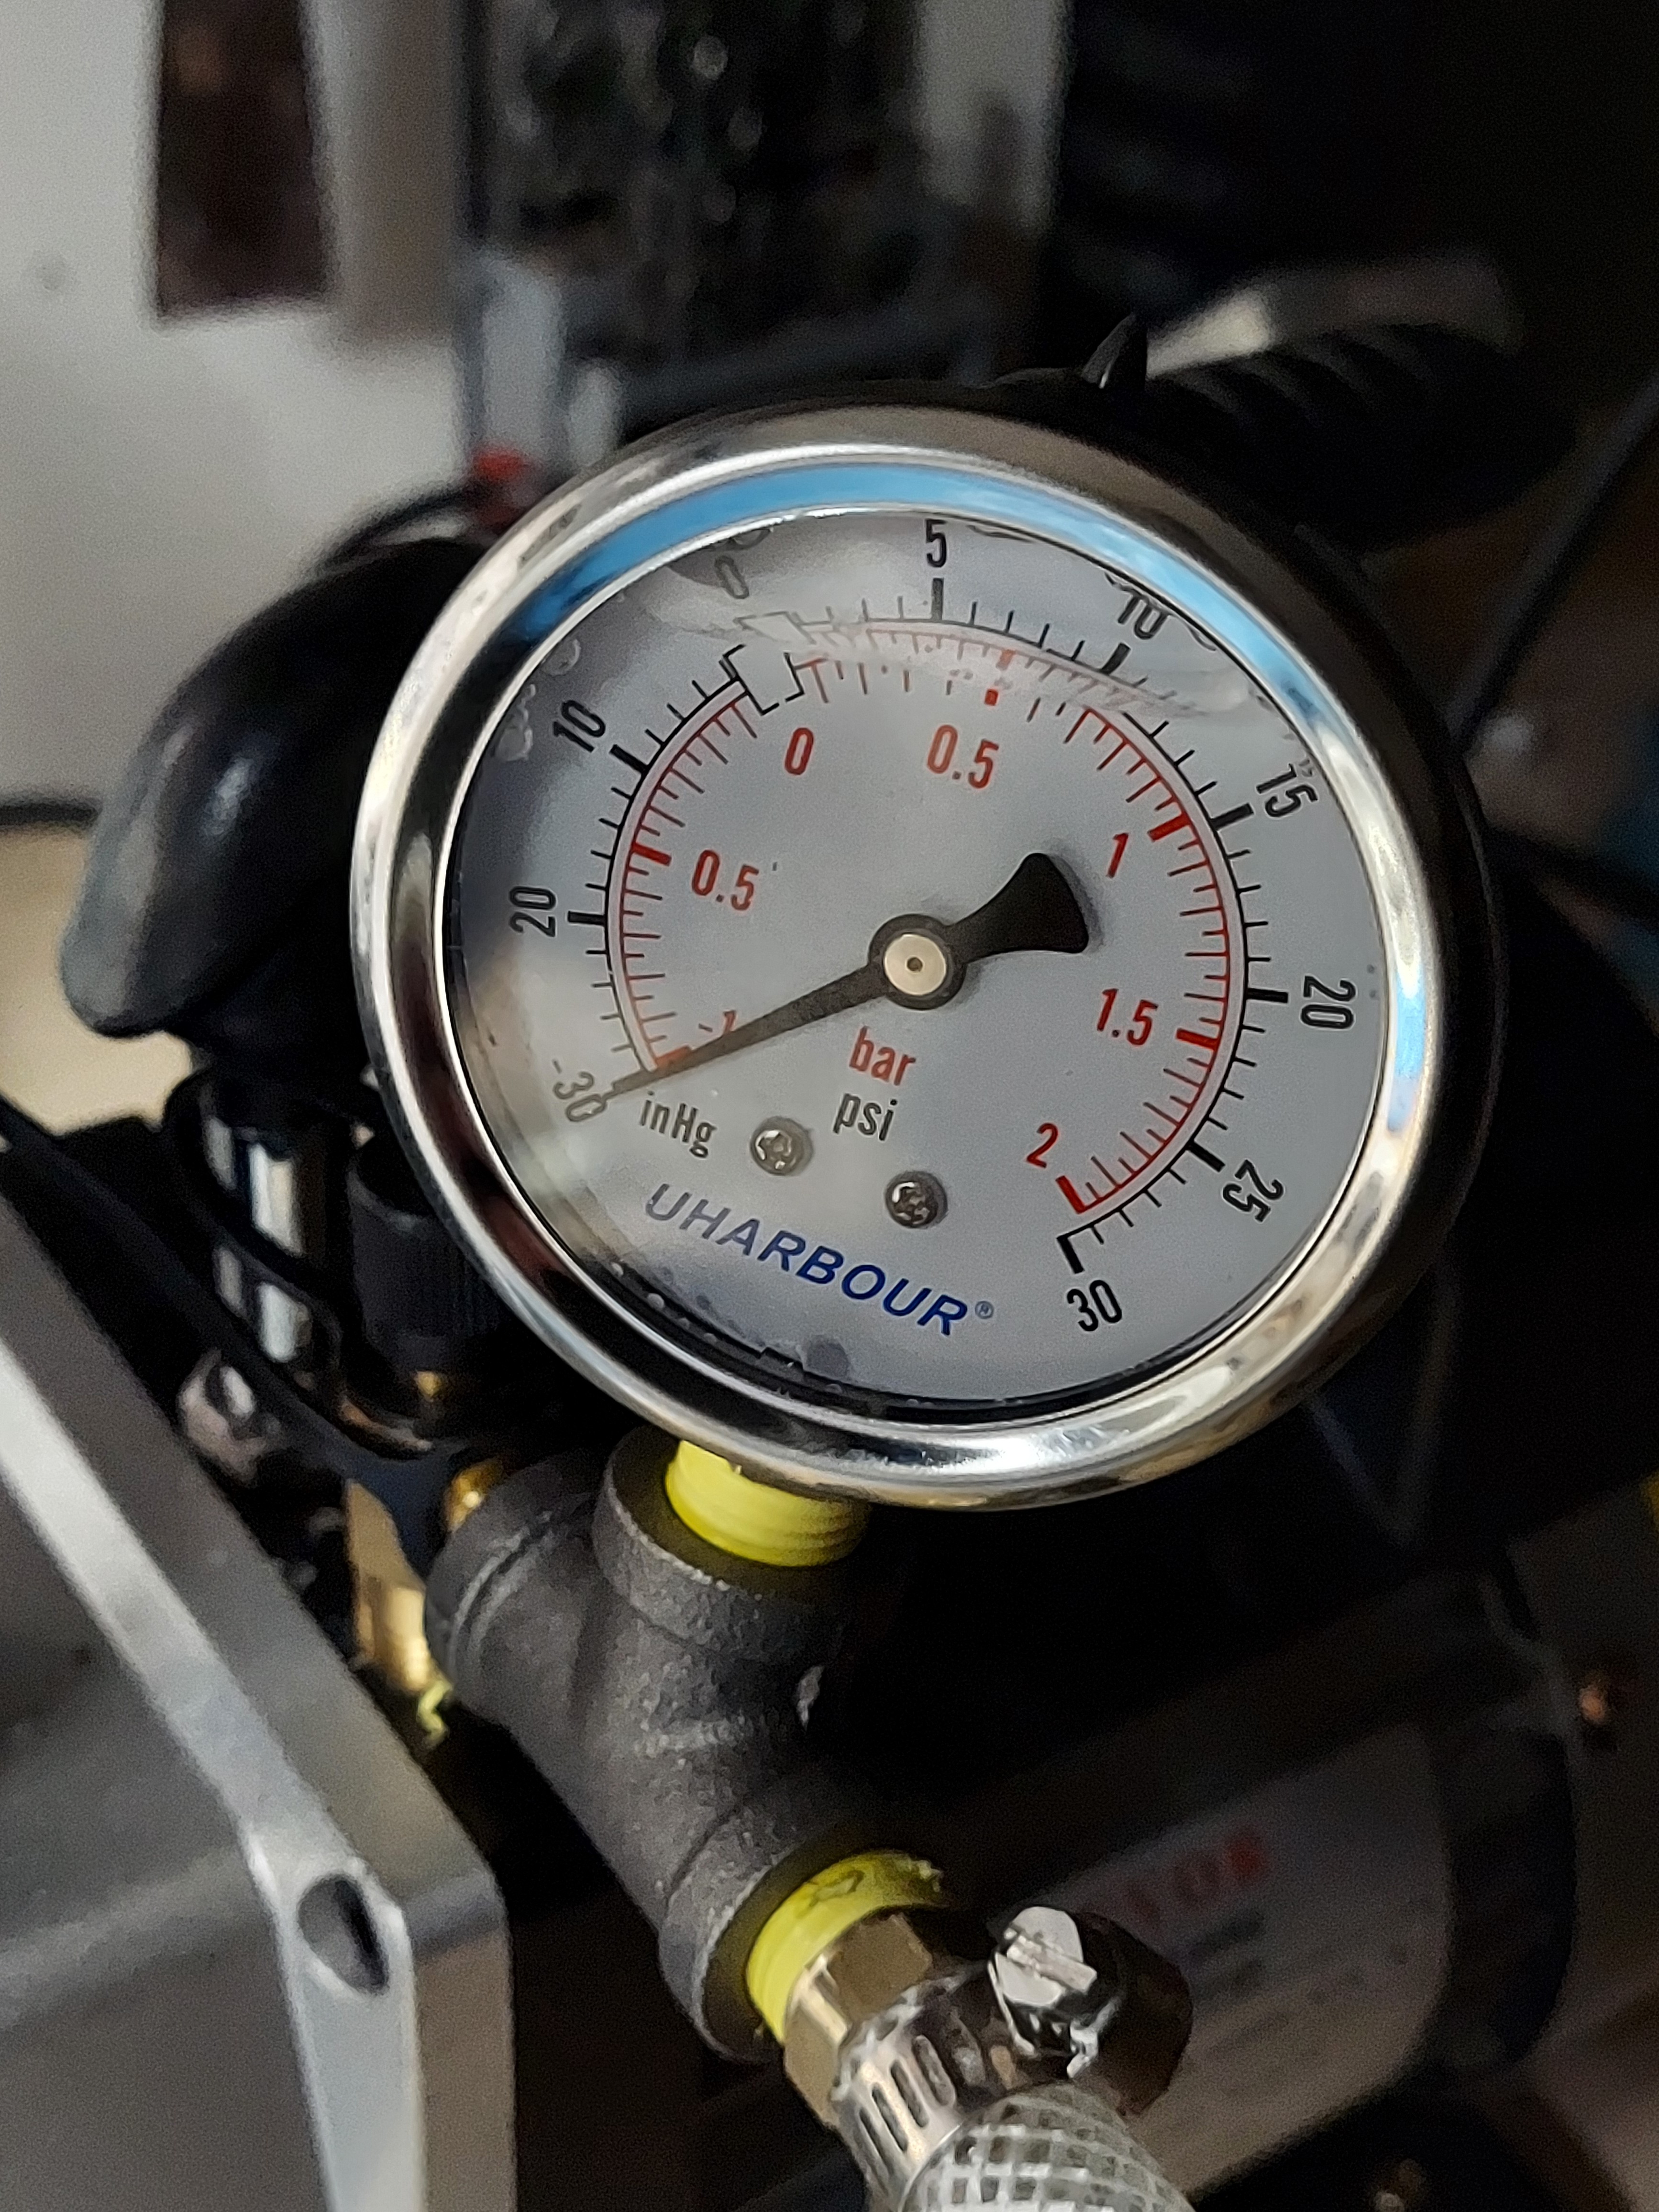
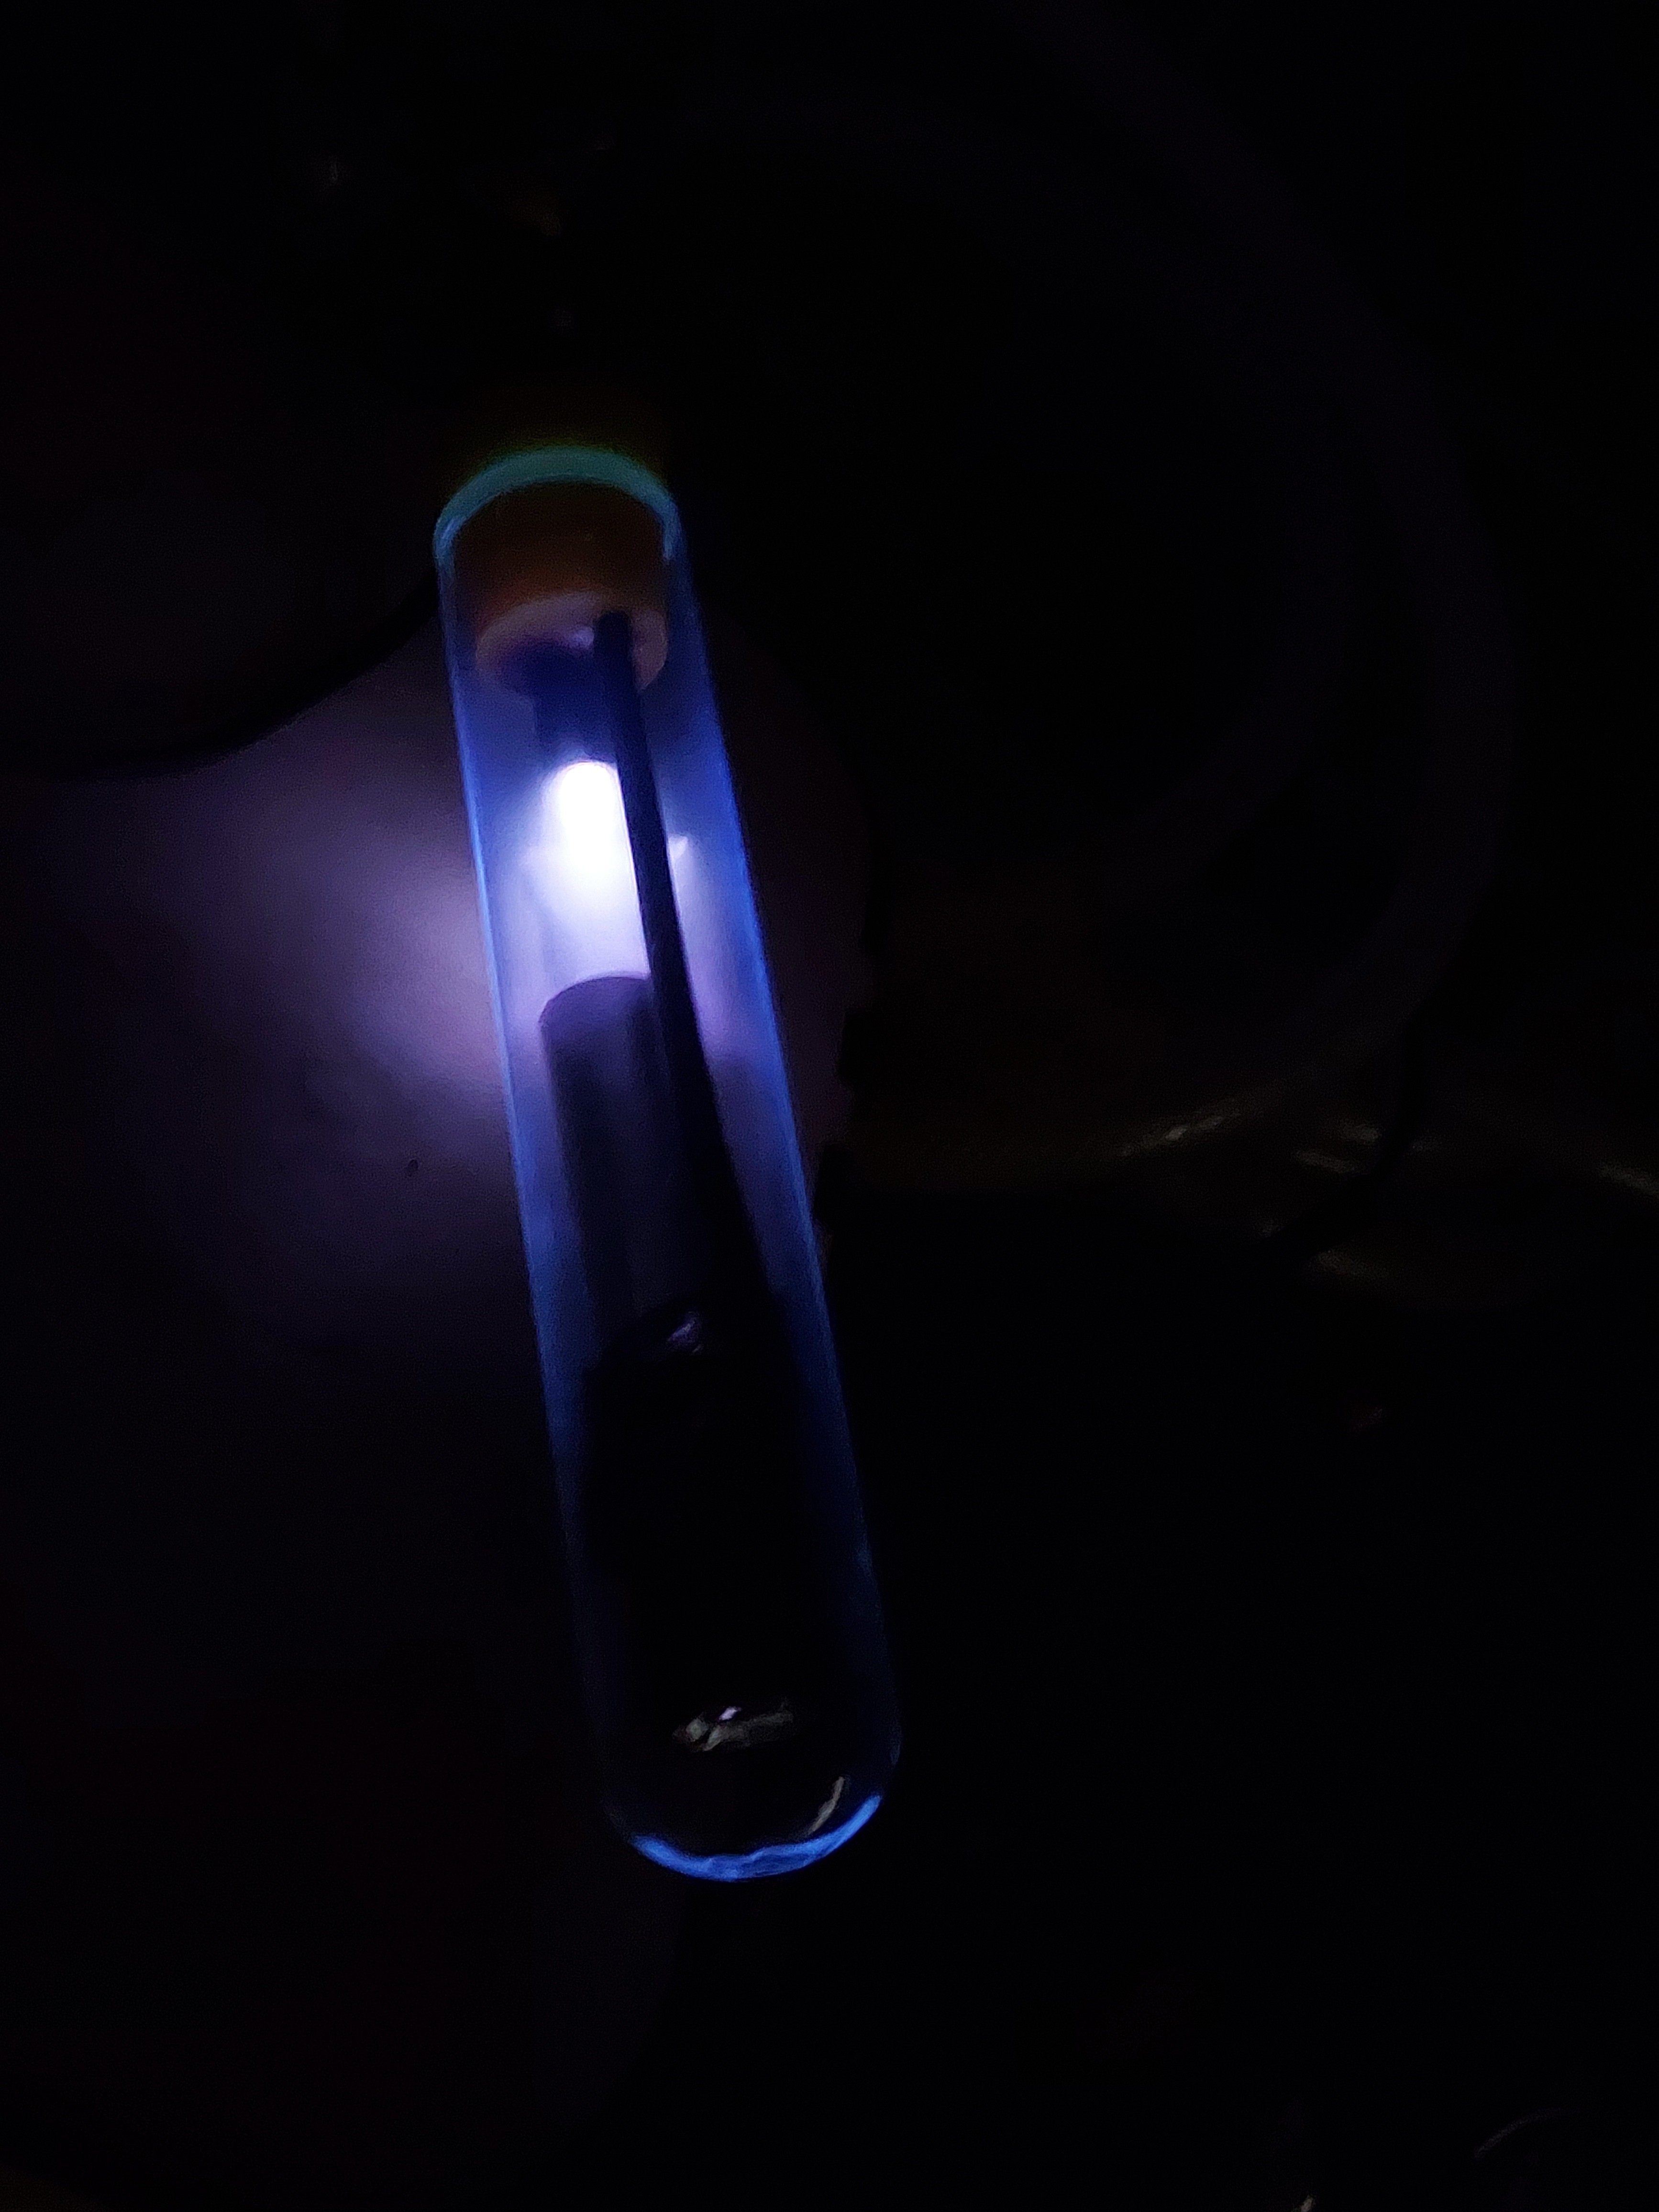
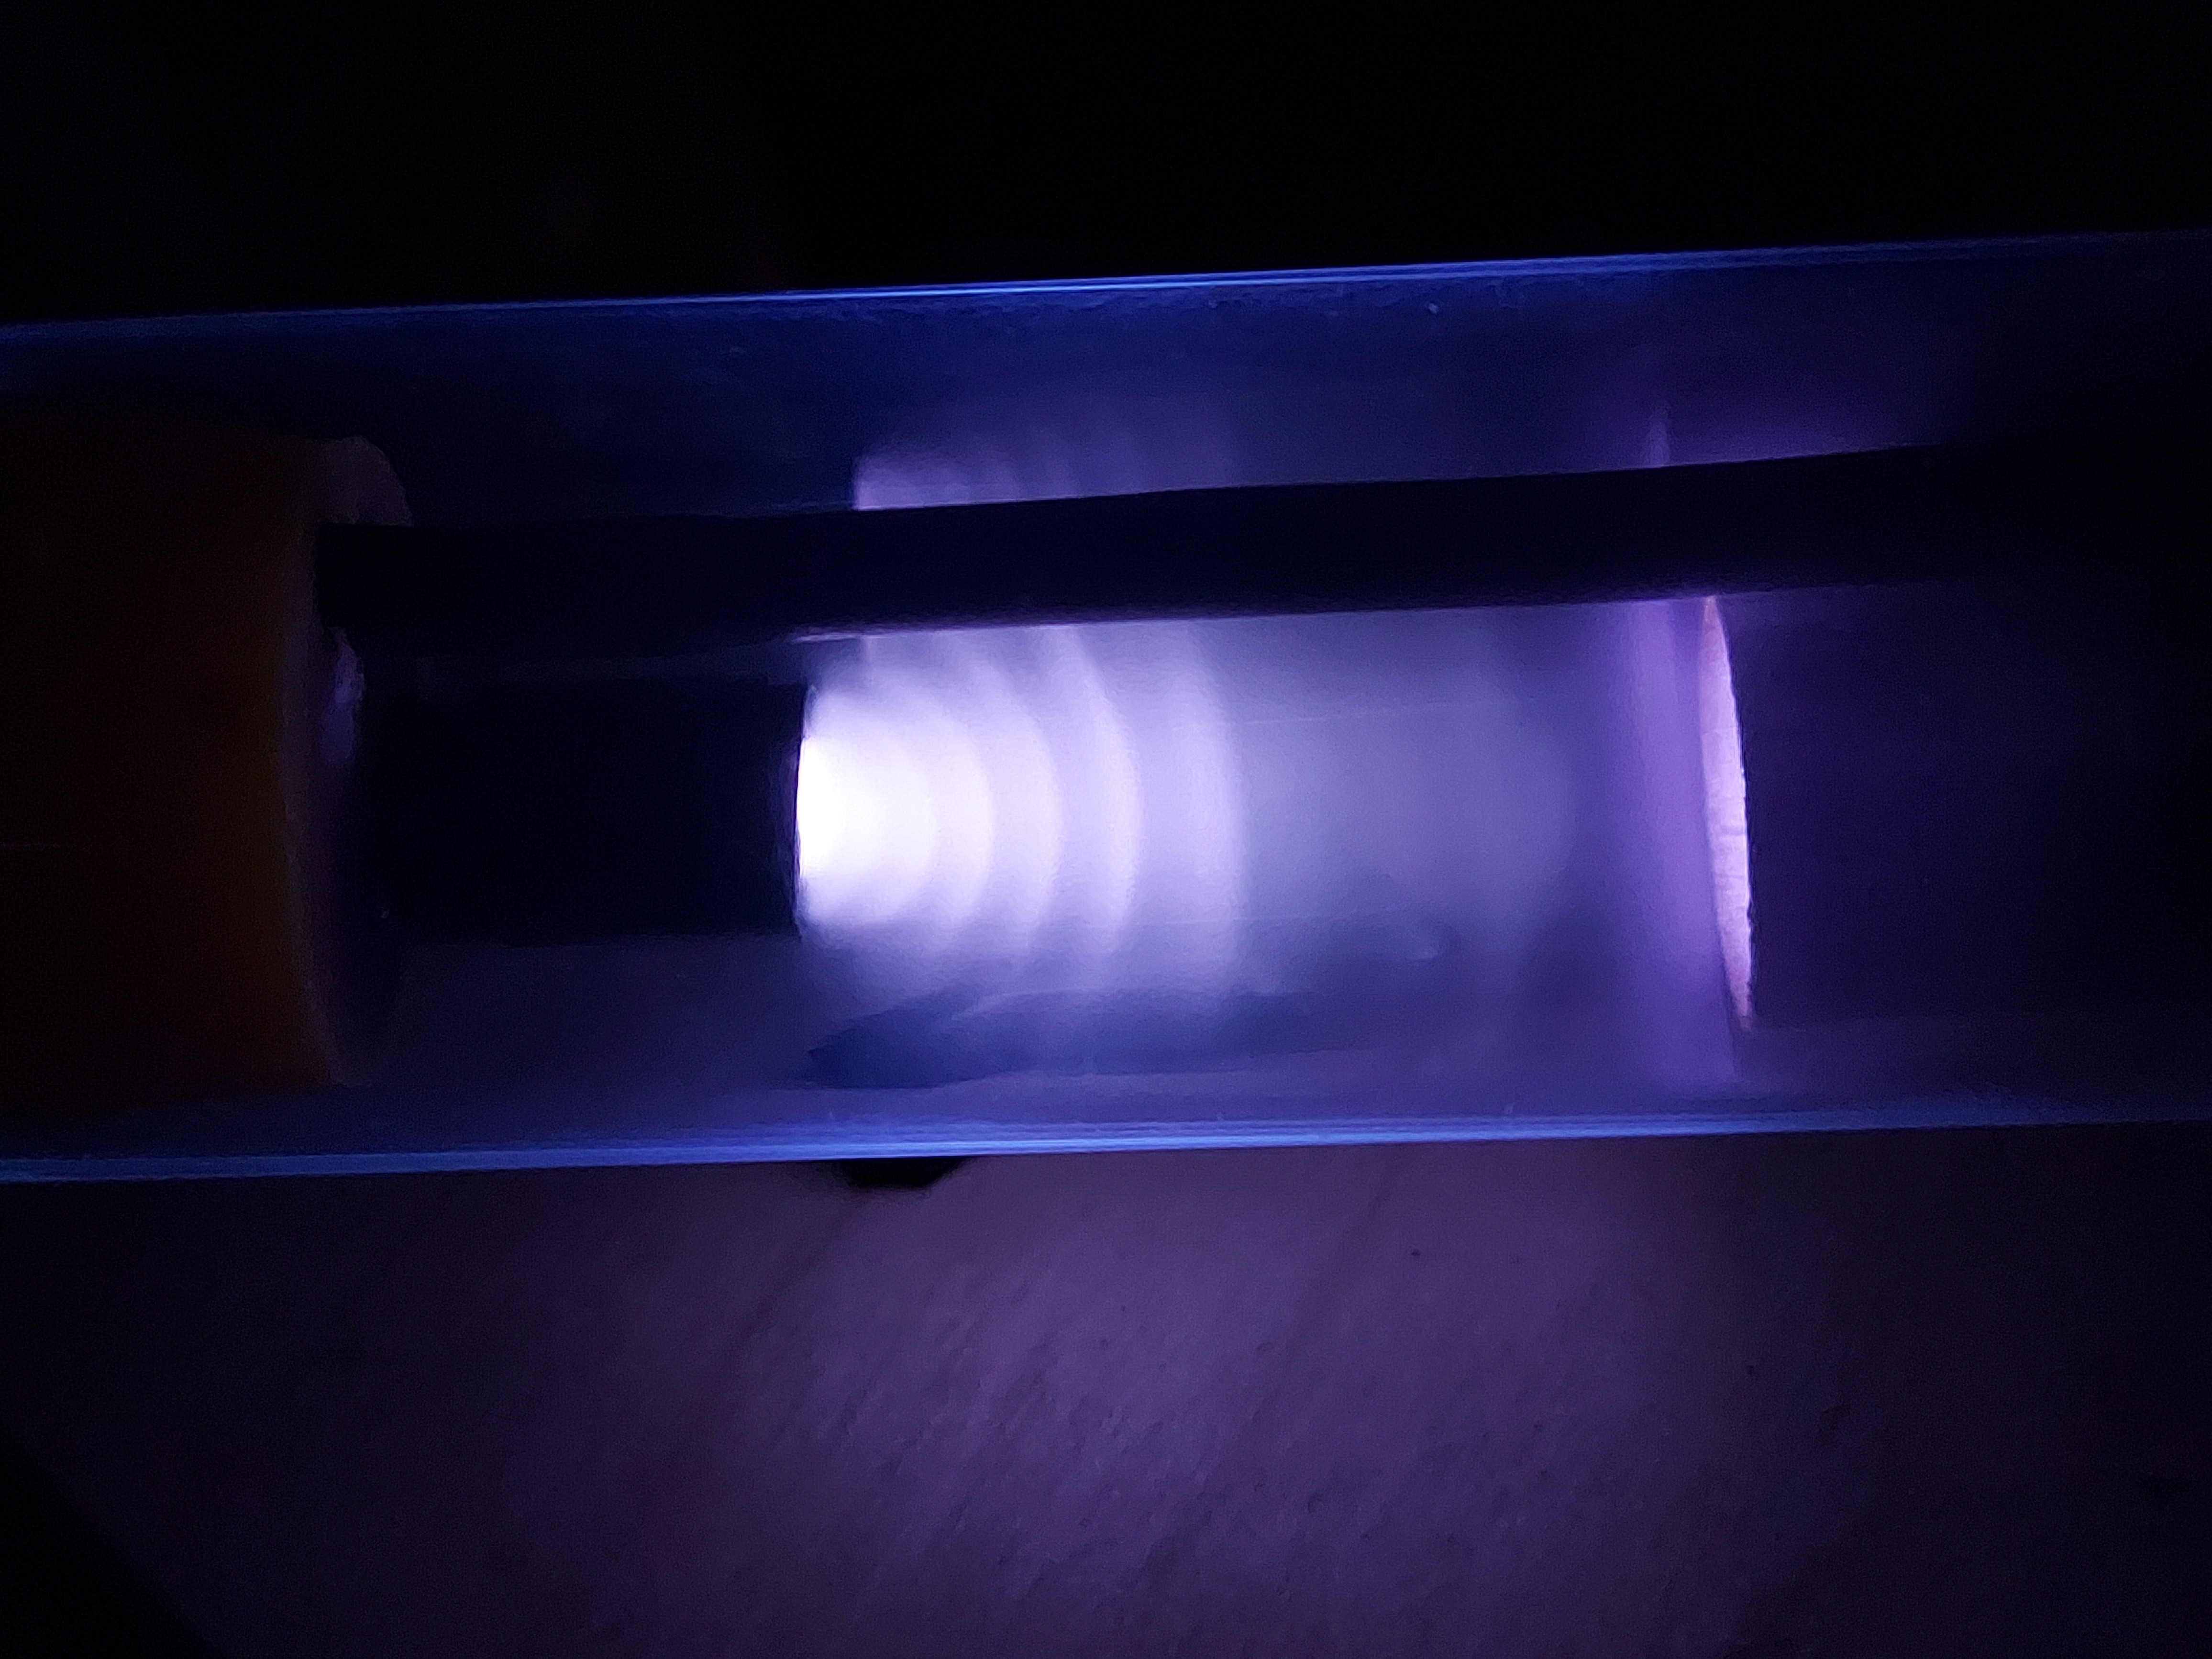
    There's a number of things to do on this project and I'm researching and experimenting on several of them. This week, I created my vacuum chamber with wire passthroughs for high voltage as well as the focus, and deflection coils. My vacuum - a "2-Stage 1/2 Hp Rotary Rotary Vane" gets down to 25 microns, however - this isn't enough vacuum to allow an electron beam to be created and

    controlled. So, far, I have wonderful purple and white charged air. I'm going to need a second pump such as a diffusion or turbomolecular pump to get down to the right vacuum pressure.

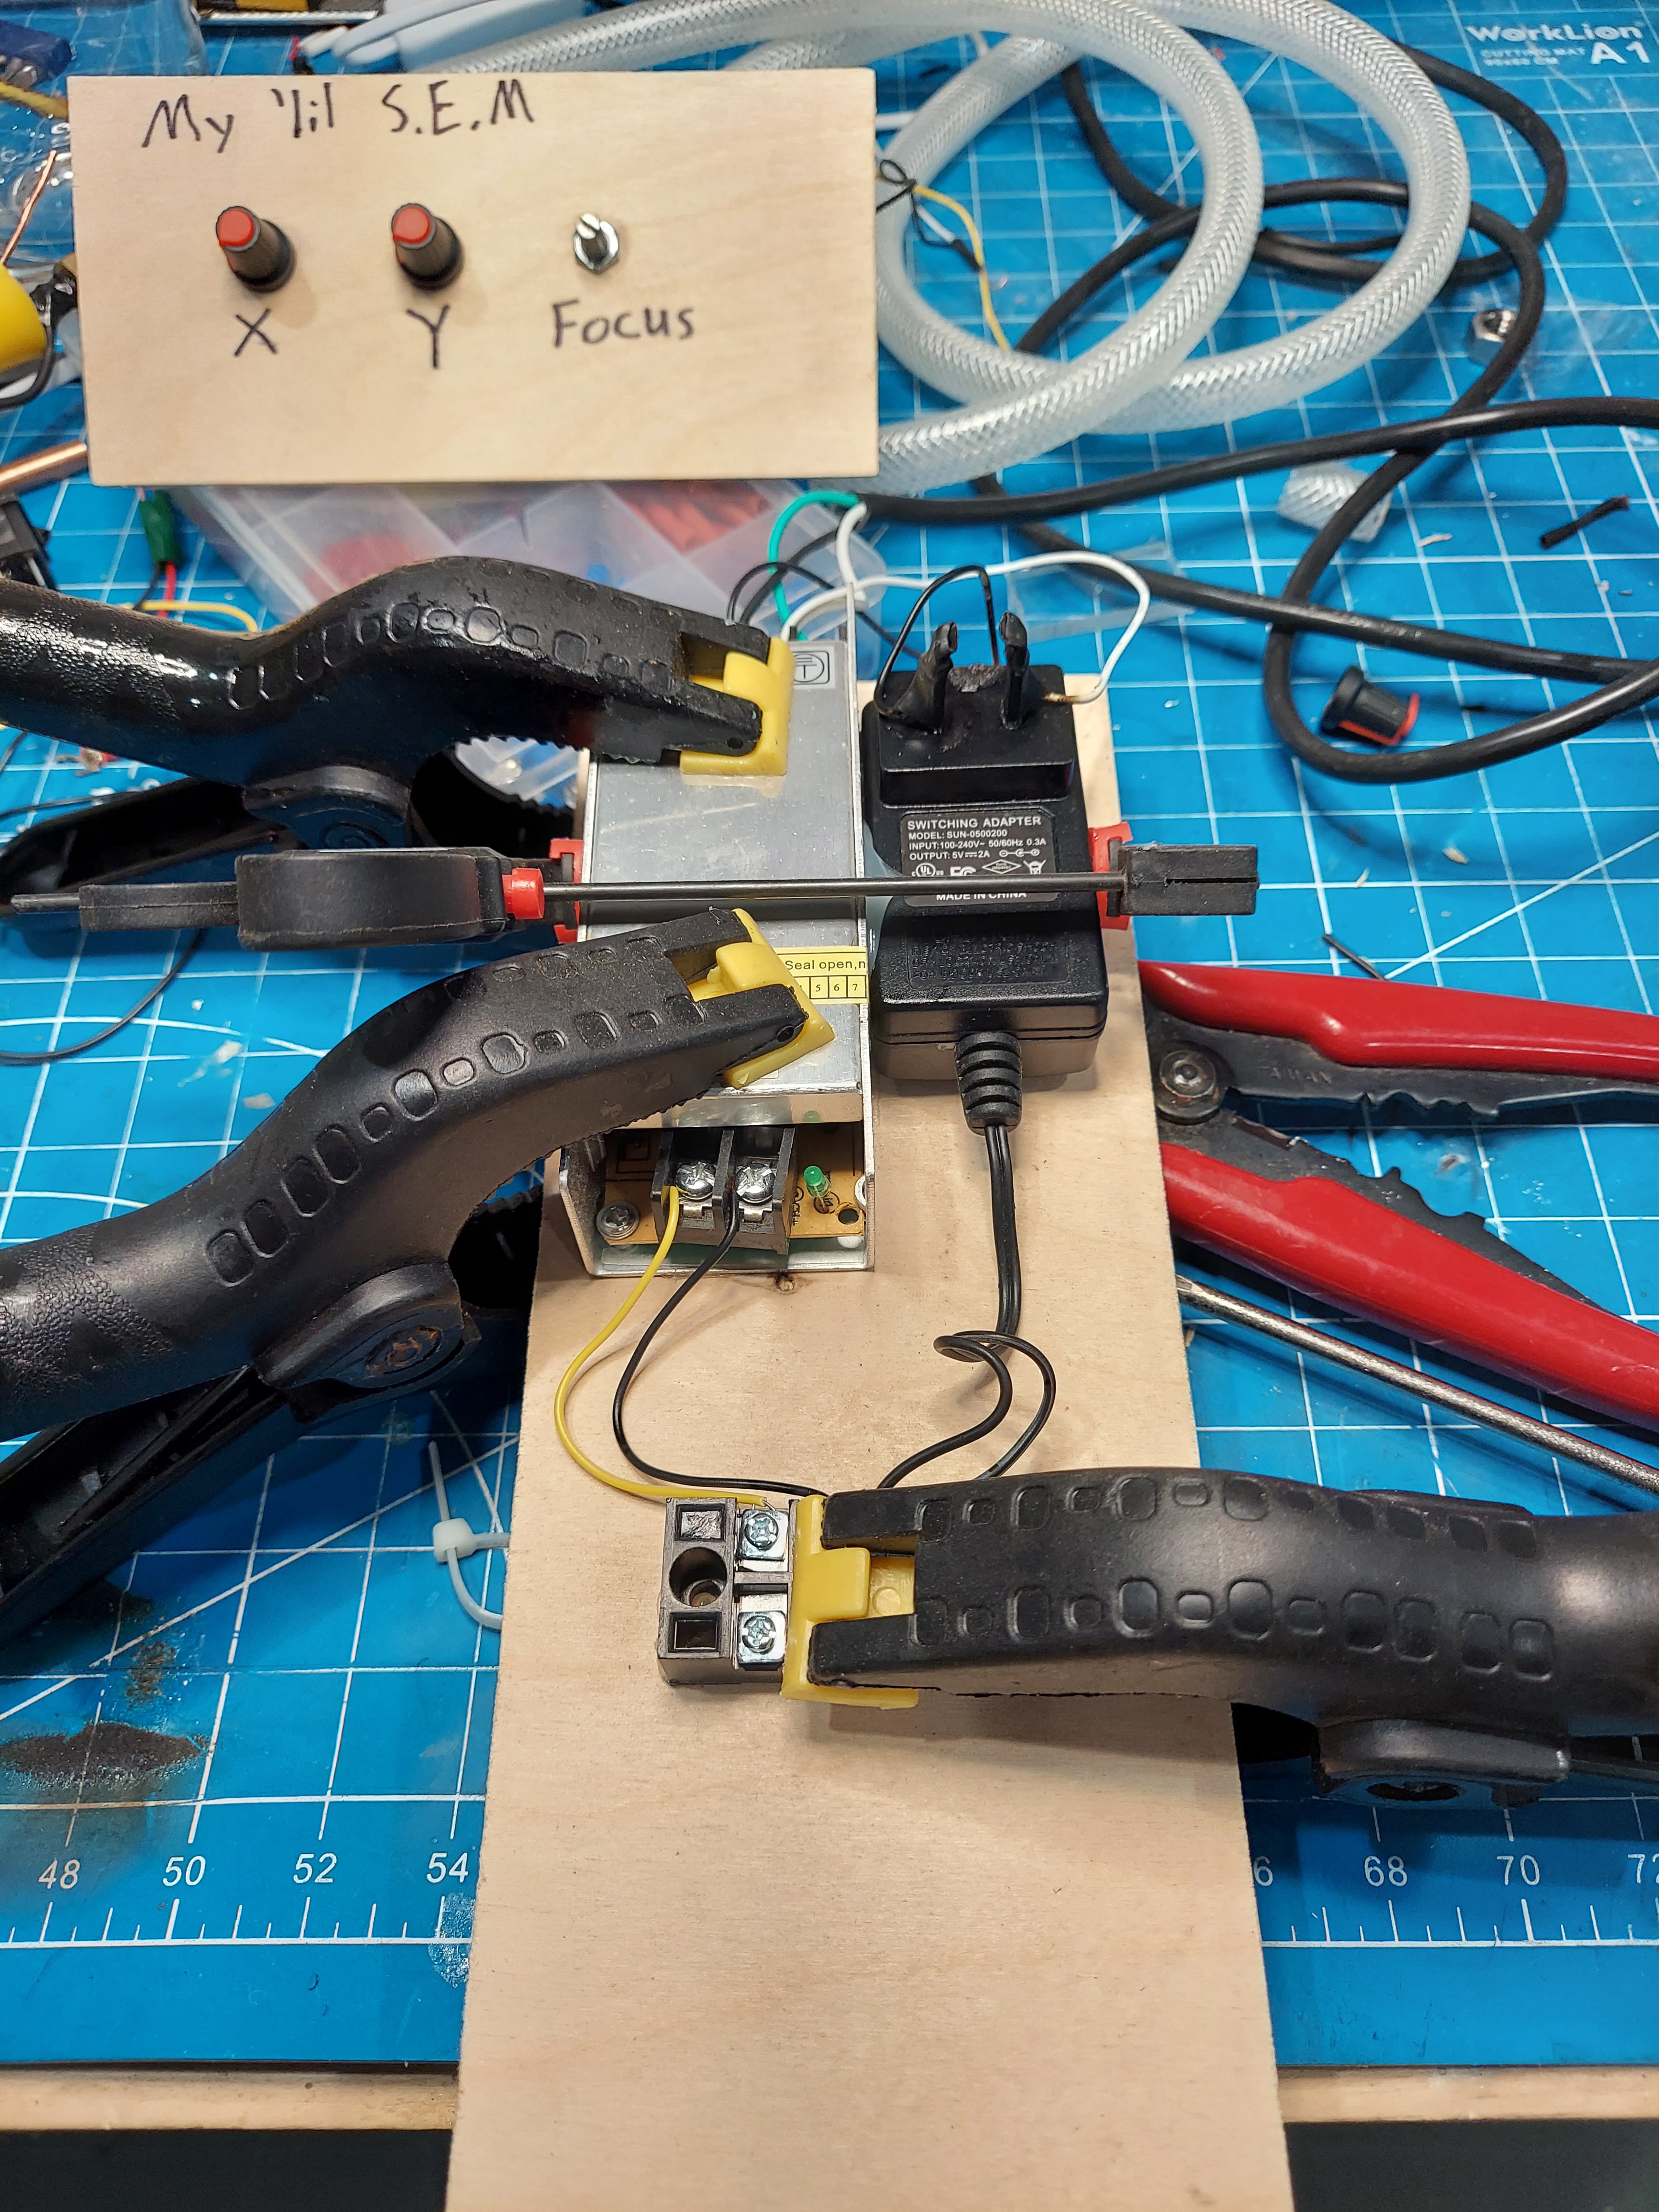
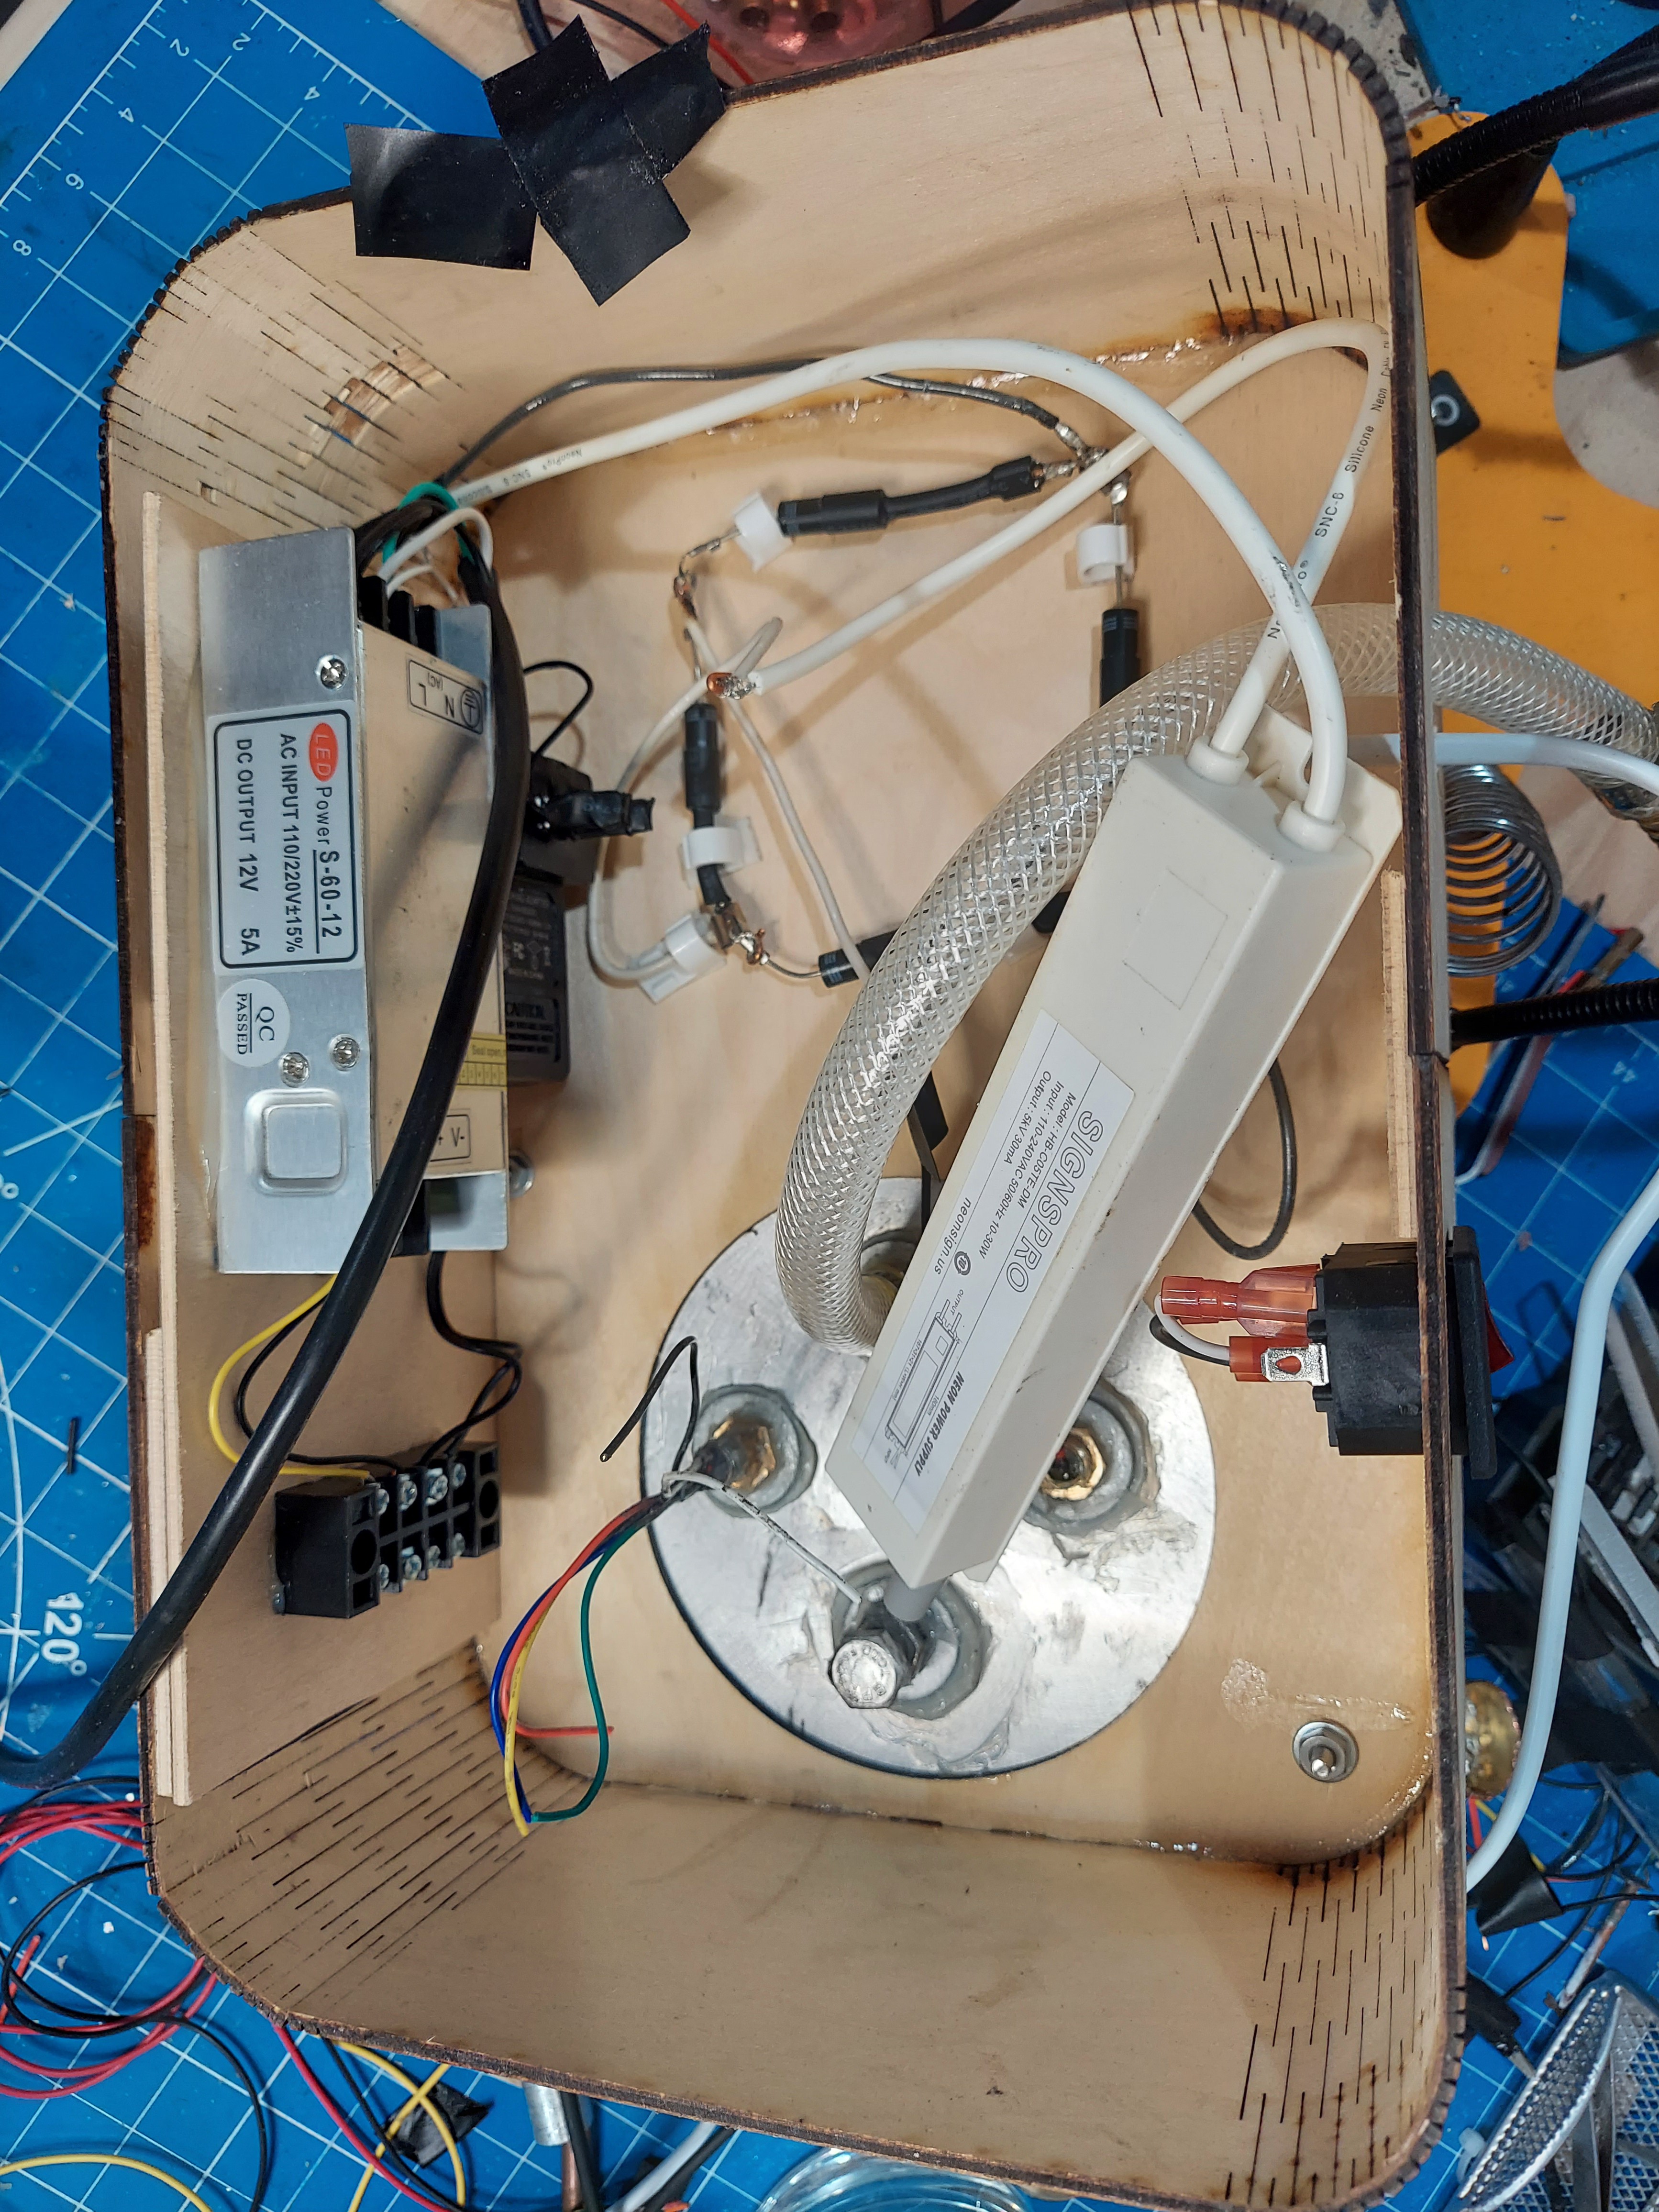
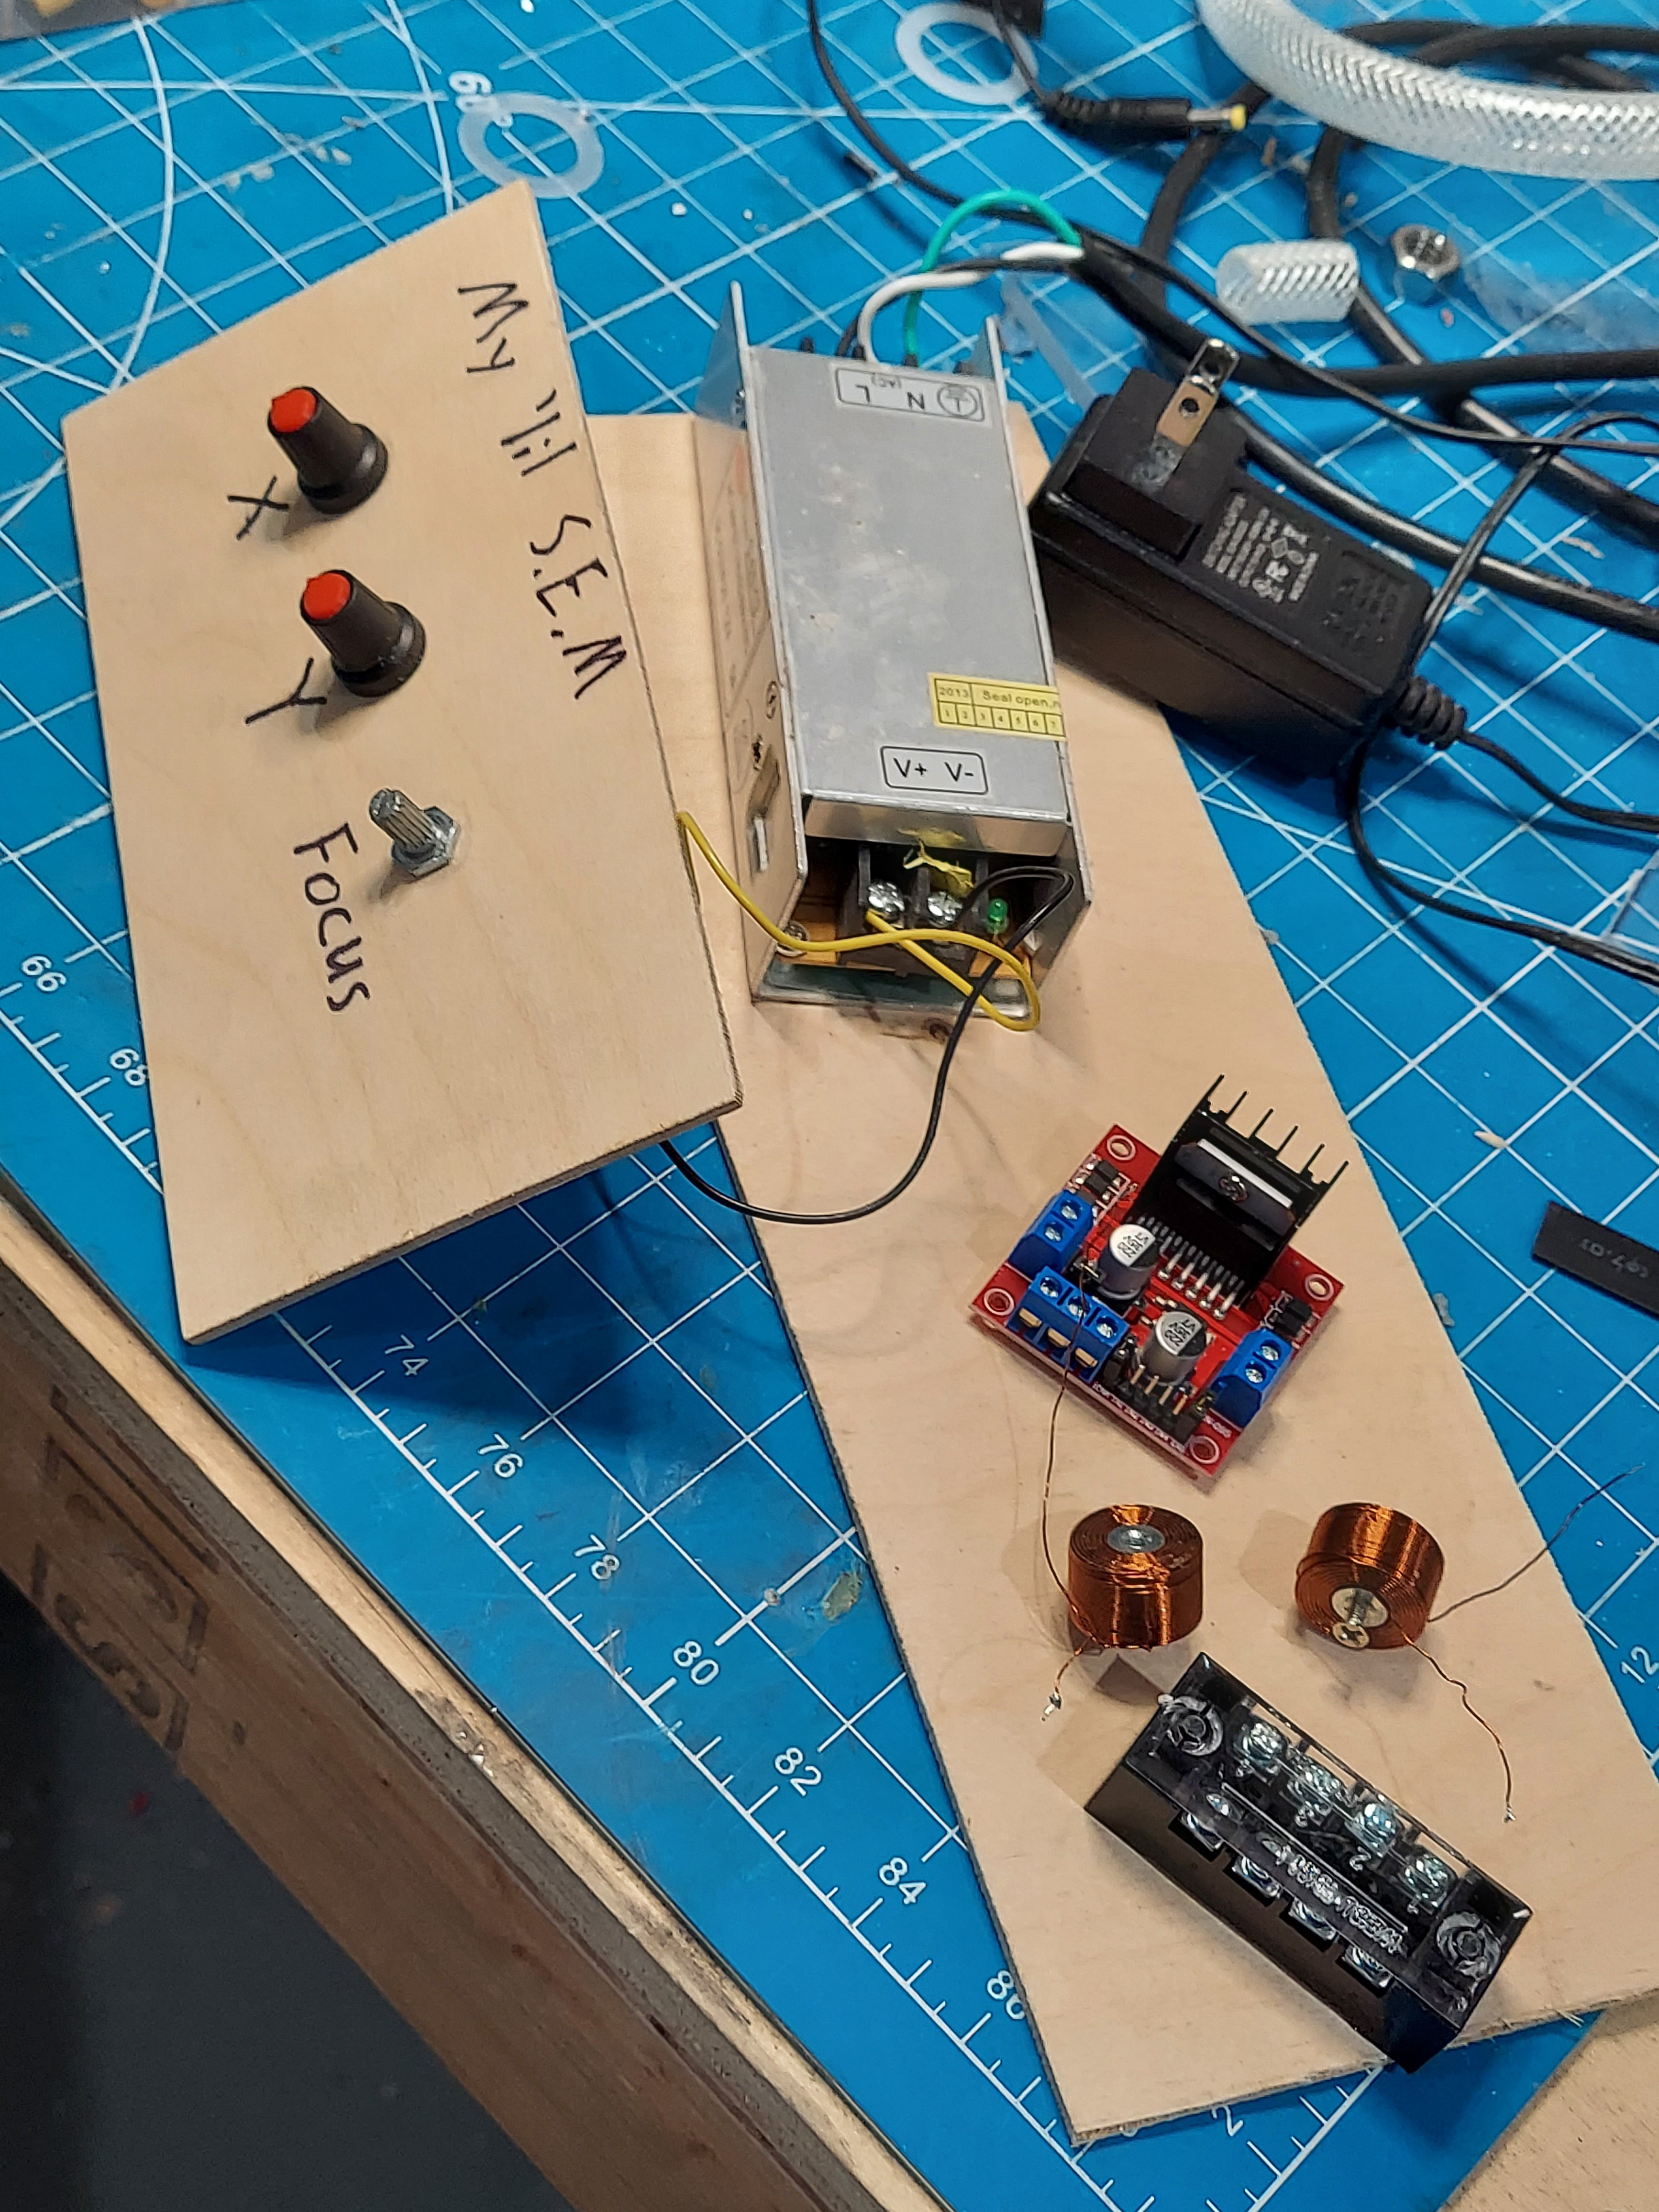
    I did take the time to wire up the enclosure with a 5V / 12V power supply, along with a 5 KV 35ma AC neon sign transformer. That is wired up to a bridge rectifier to get the DC high voltage to power the electron gun.

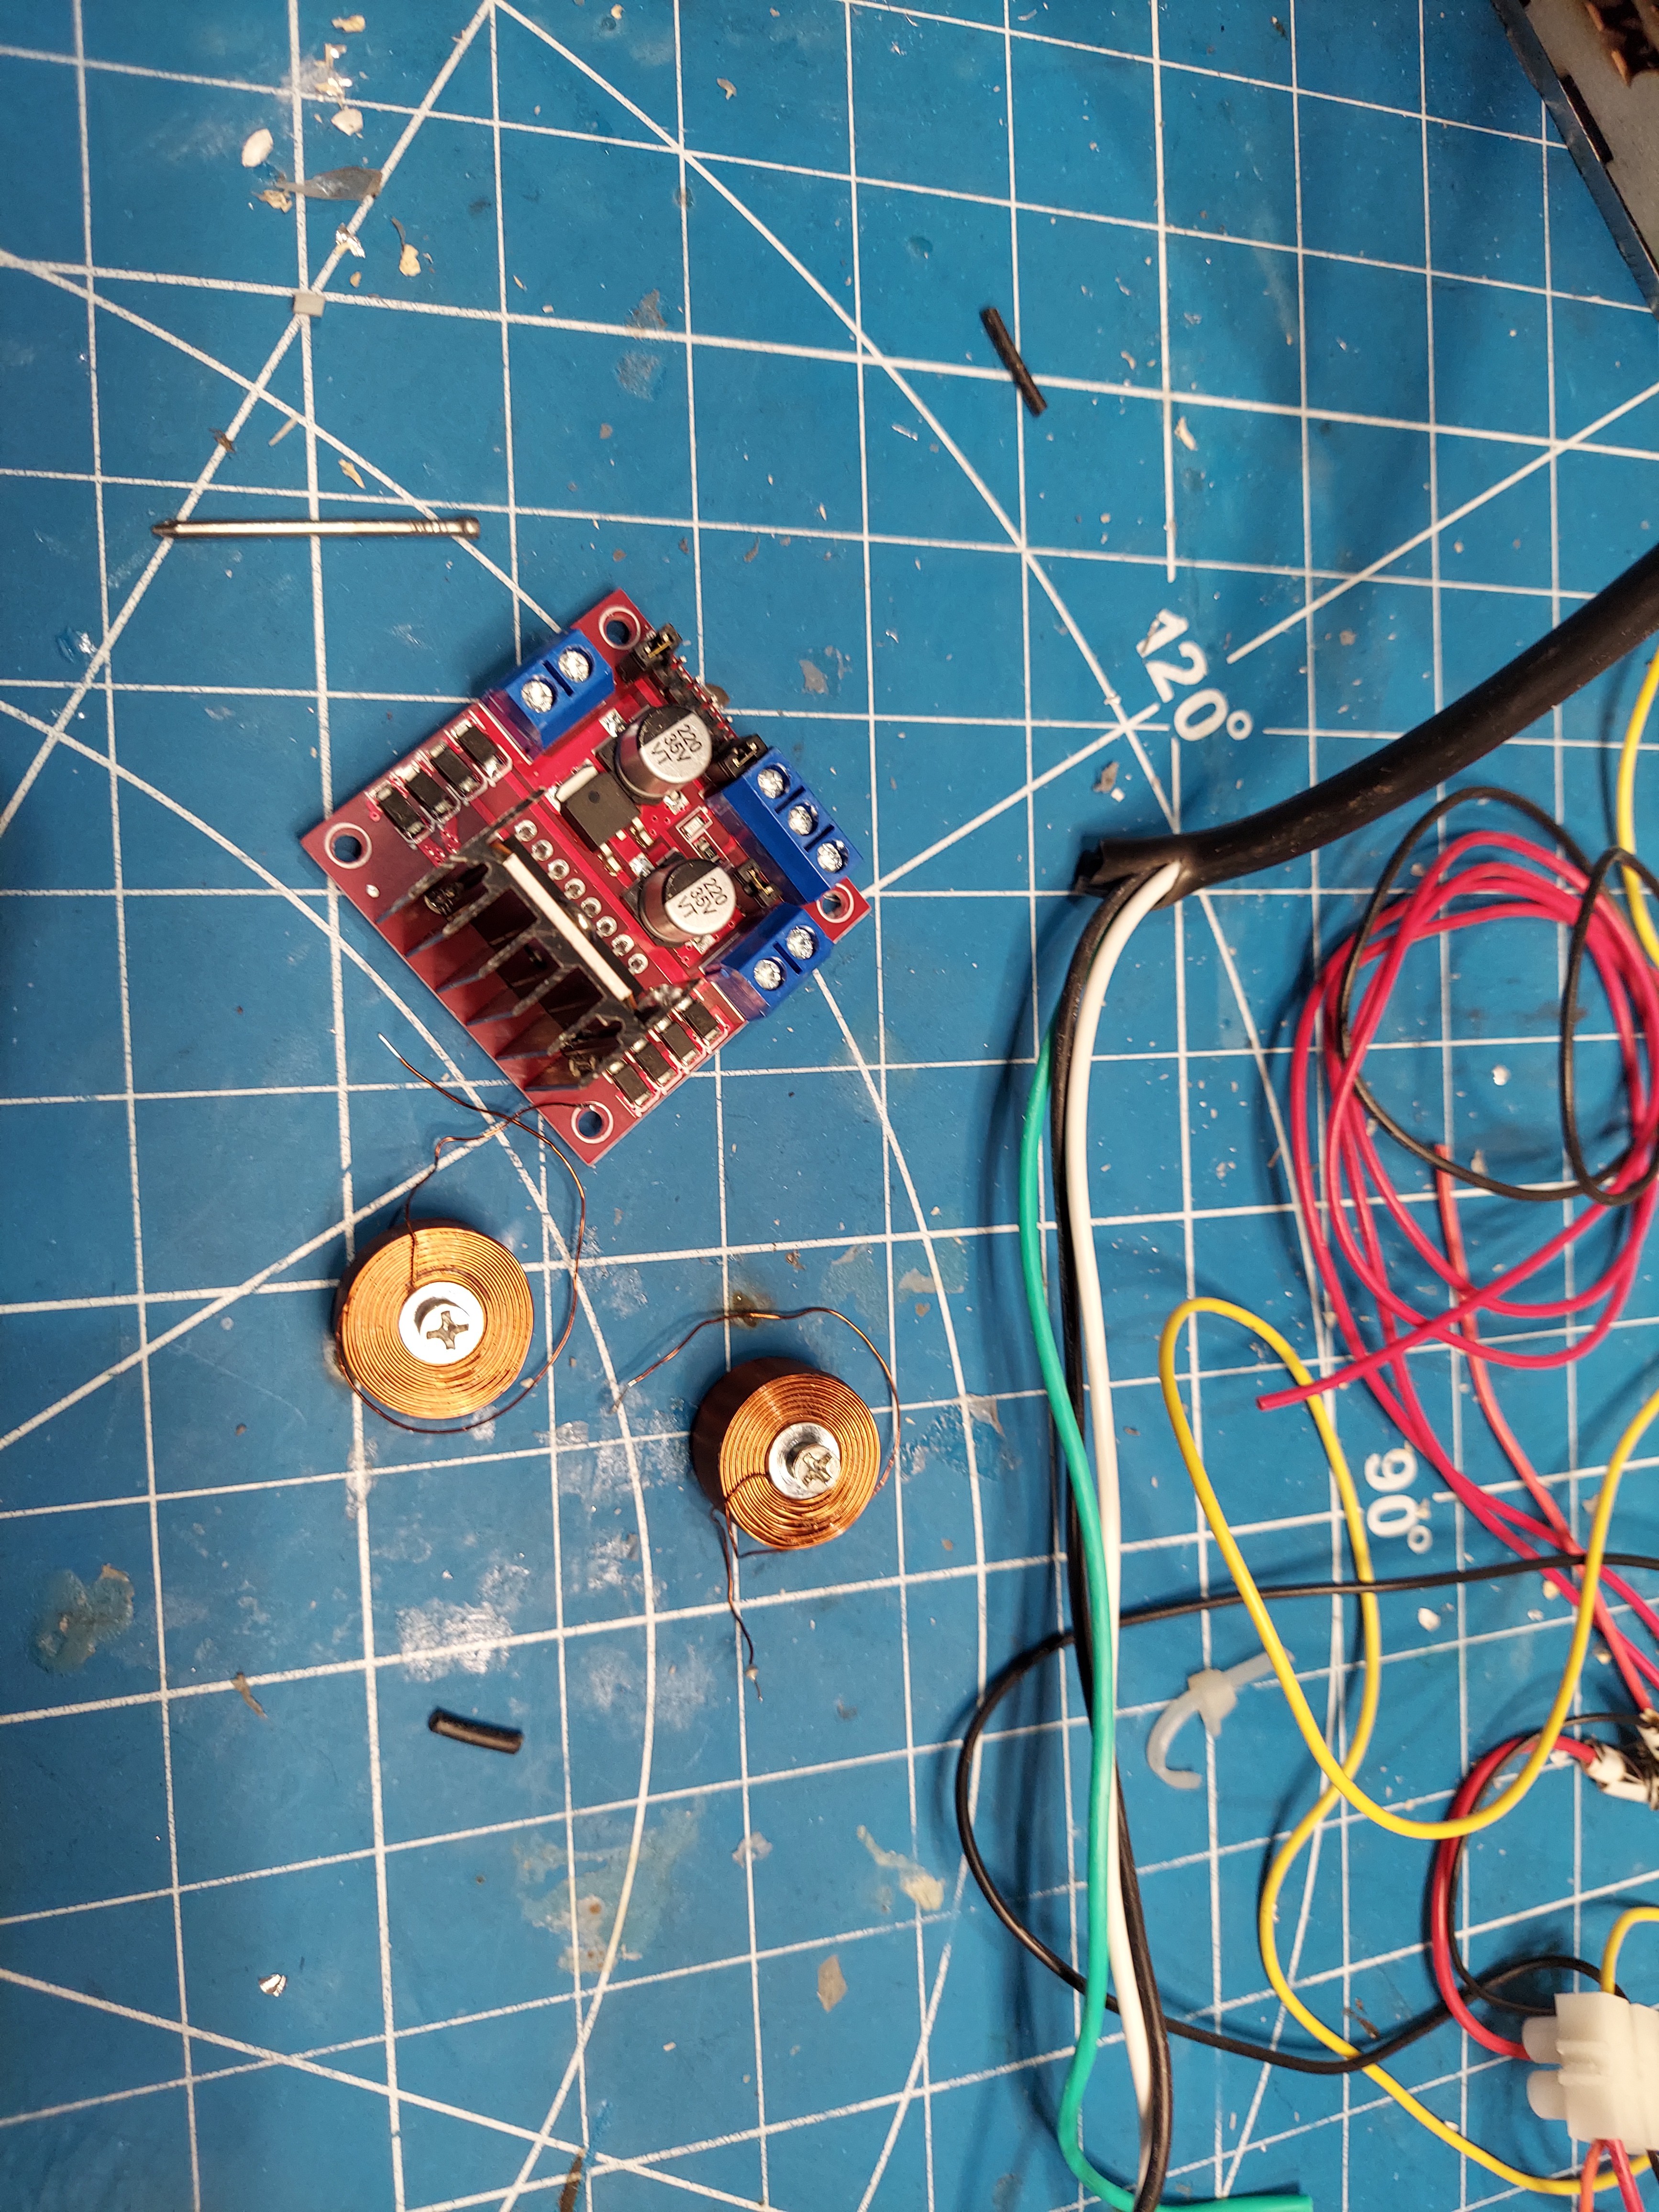
    My plan is to use a dual H-Bridge motor driver with the 2 coils to drive the x/y deflection. 

    I'm planning on using a ESP32 board to control the scanning algorithm, It will also connect to a host computer to transfer imagery and receive commands.

    Once I have a secondary vacuum system. I'll be able to continue development of the electron gun and focus coil. Until then, I can work on building the deflection and focus coil system, the firmware for scanning and reading data from the photodiode, and generating imagery. 

View project log

Enjoy this project?

Share

Discussions

Similar Projects

Does this project spark your interest?

Become a member to follow this project and never miss any updates