 Sergio Ghirardelli
My first sensor module layout idea was to design a compact box that would enclose in a single object: module, sensor and solar panel, something like this:
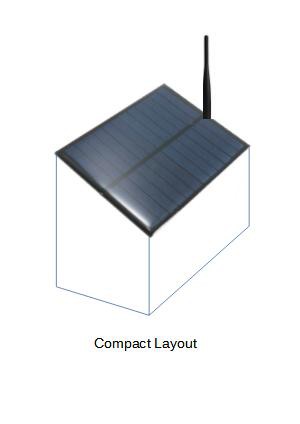
But I immediately realized that it was not the most suitable solution, because it was not versatile.
A wireless sensor network platform that has the main function of preventing dangerous natural events (such as fires and floods) must be more flexible, in order to allow the solar panel to be positioned in the sunniest point for maximum efficiency, even at higher heights than the ground. While the electronic board must be placed in a convenient position for configuration and maintenance operations, furthermore the sensor used must have the possibility of being placed in the most appropriate position.
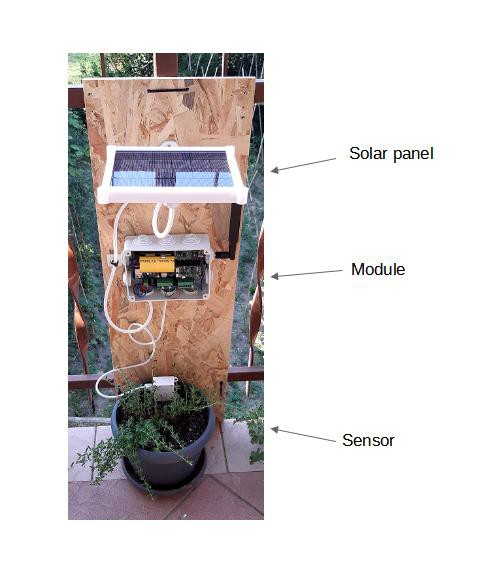
For this reason, I abandoned the idea of a single compact box and decided to divide each node into 3 independent parts:
1) Solar panel, with its adjustment bracket
2) Sensor module
3) Sensor.
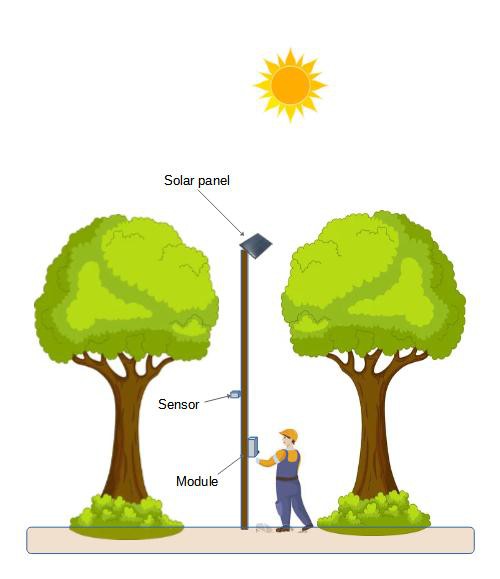
The drawing below shows an example of how in a sensor network for the detection of forest fires, it is of fundamental importance to have a flexible layout like the one I have chosen for my project.
In the next videos I show how to install the solar panel and one of the sensors.
Discussions
Become a Hackaday.io Member
Create an account to leave a comment. Already have an account? Log In.