Close
0%
0%

Mega Charger

Bulk charge 12 USB battery banks at once

Similar projects worth following
I have 12 LED strips around a trampoline each individually controlled. Each also has a battery bank to keep it running. These 12 batteries need charging just about simultaneously and hogging all the phone chargers in the house was becoming a bit of a hassle.

I pulled an old PC power supply out which has more than enough current to charge the batteries and made a funky battery holder unit for the power banks to sit in while charging.

All the batteries charge quickly and at the same time. The ammeter on the front lets me know when everything is charged up.

This project uses a ATX power supply, these supply a significant amount of current compared to a phone charger. 

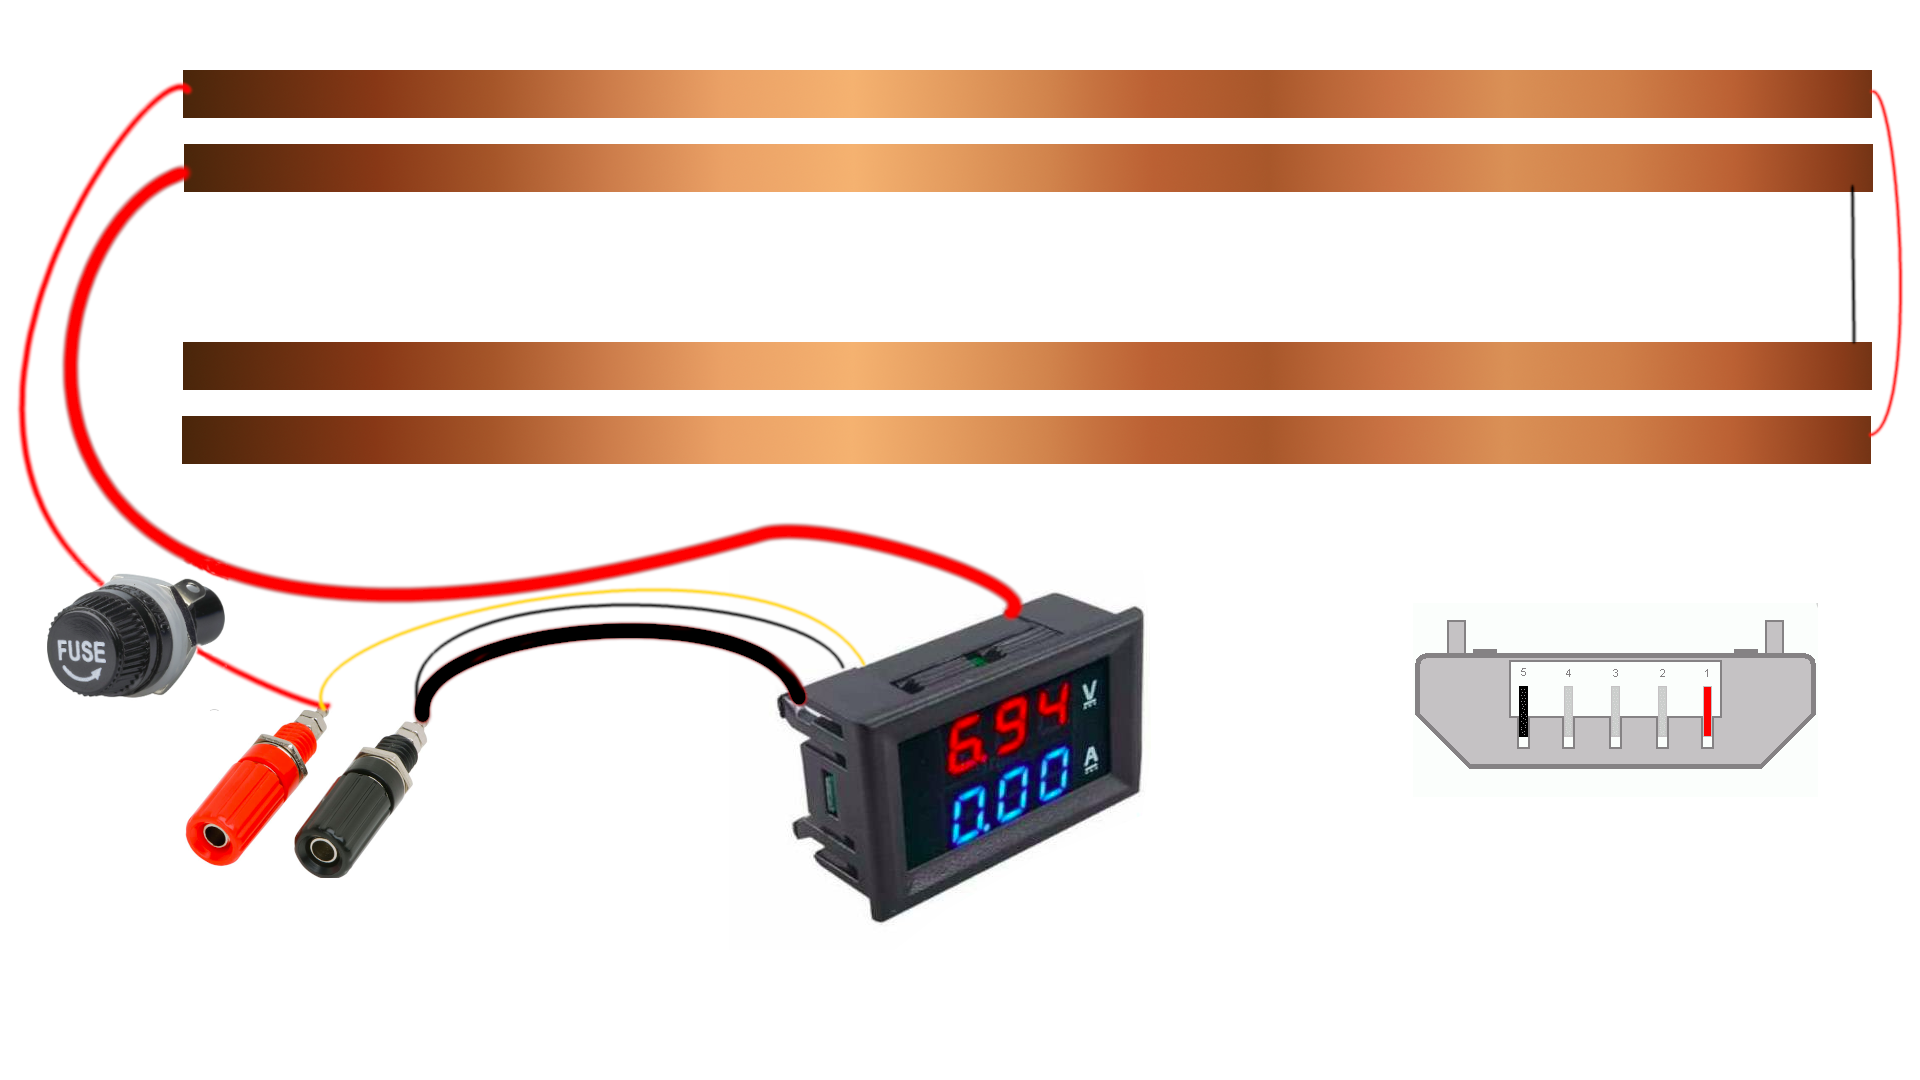
Power is delivered to each connect via copper wire strips and low-cost micro USB cables. 

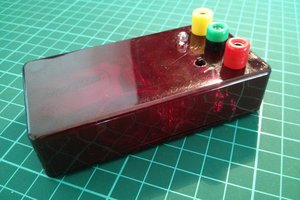
The result is a funky-looking functional battery charger. 

batteryHolder.stl

Mount to hold batteries

Standard Tesselated Geometry - 984.94 kB - 07/07/2022 at 22:56

Download

rearSupport.stl

Rear support

Standard Tesselated Geometry - 875.94 kB - 07/07/2022 at 22:56

Download

FrontDisplayHolder.stl

Front display mount

Standard Tesselated Geometry - 501.60 kB - 07/07/2022 at 22:56

Download

top.svg

Outline for acrylic

svg+xml - 13.01 kB - 07/07/2022 at 22:56

Preview

View all 7 components

  • 1
    Print STLs

    These should be pretty straightforward to print. No supports and 20% infill. For the screw holes, I like to add a support blocker (Cura) and increase the wall count to 6 to make sure these holes are solid. This prevents the screws from splitting the PLA.

  • 2
    Top and bottom acrylic/wood

    I printed the SVGs to the correct size glued these onto the top of the acrylic and used this as a template to cut out and drill. This is easy for acrylic as it has a protective sheet to peel off any. Wood might leave a mess. 

  • 3
    Hook up wiring

    Check the gallery for the wiring diagram. These meters have a weird sort of configuration with the wire colour and you need to connect a red wire to the negative side which doesn't make much sense but hopefully, the picture will help. 

View all 4 instructions

Enjoy this project?

Share

Discussions

Similar Projects

Does this project spark your interest?

Become a member to follow this project and never miss any updates