 Lixie Labs
A few big things have happened, and the Lixie is better than ever!
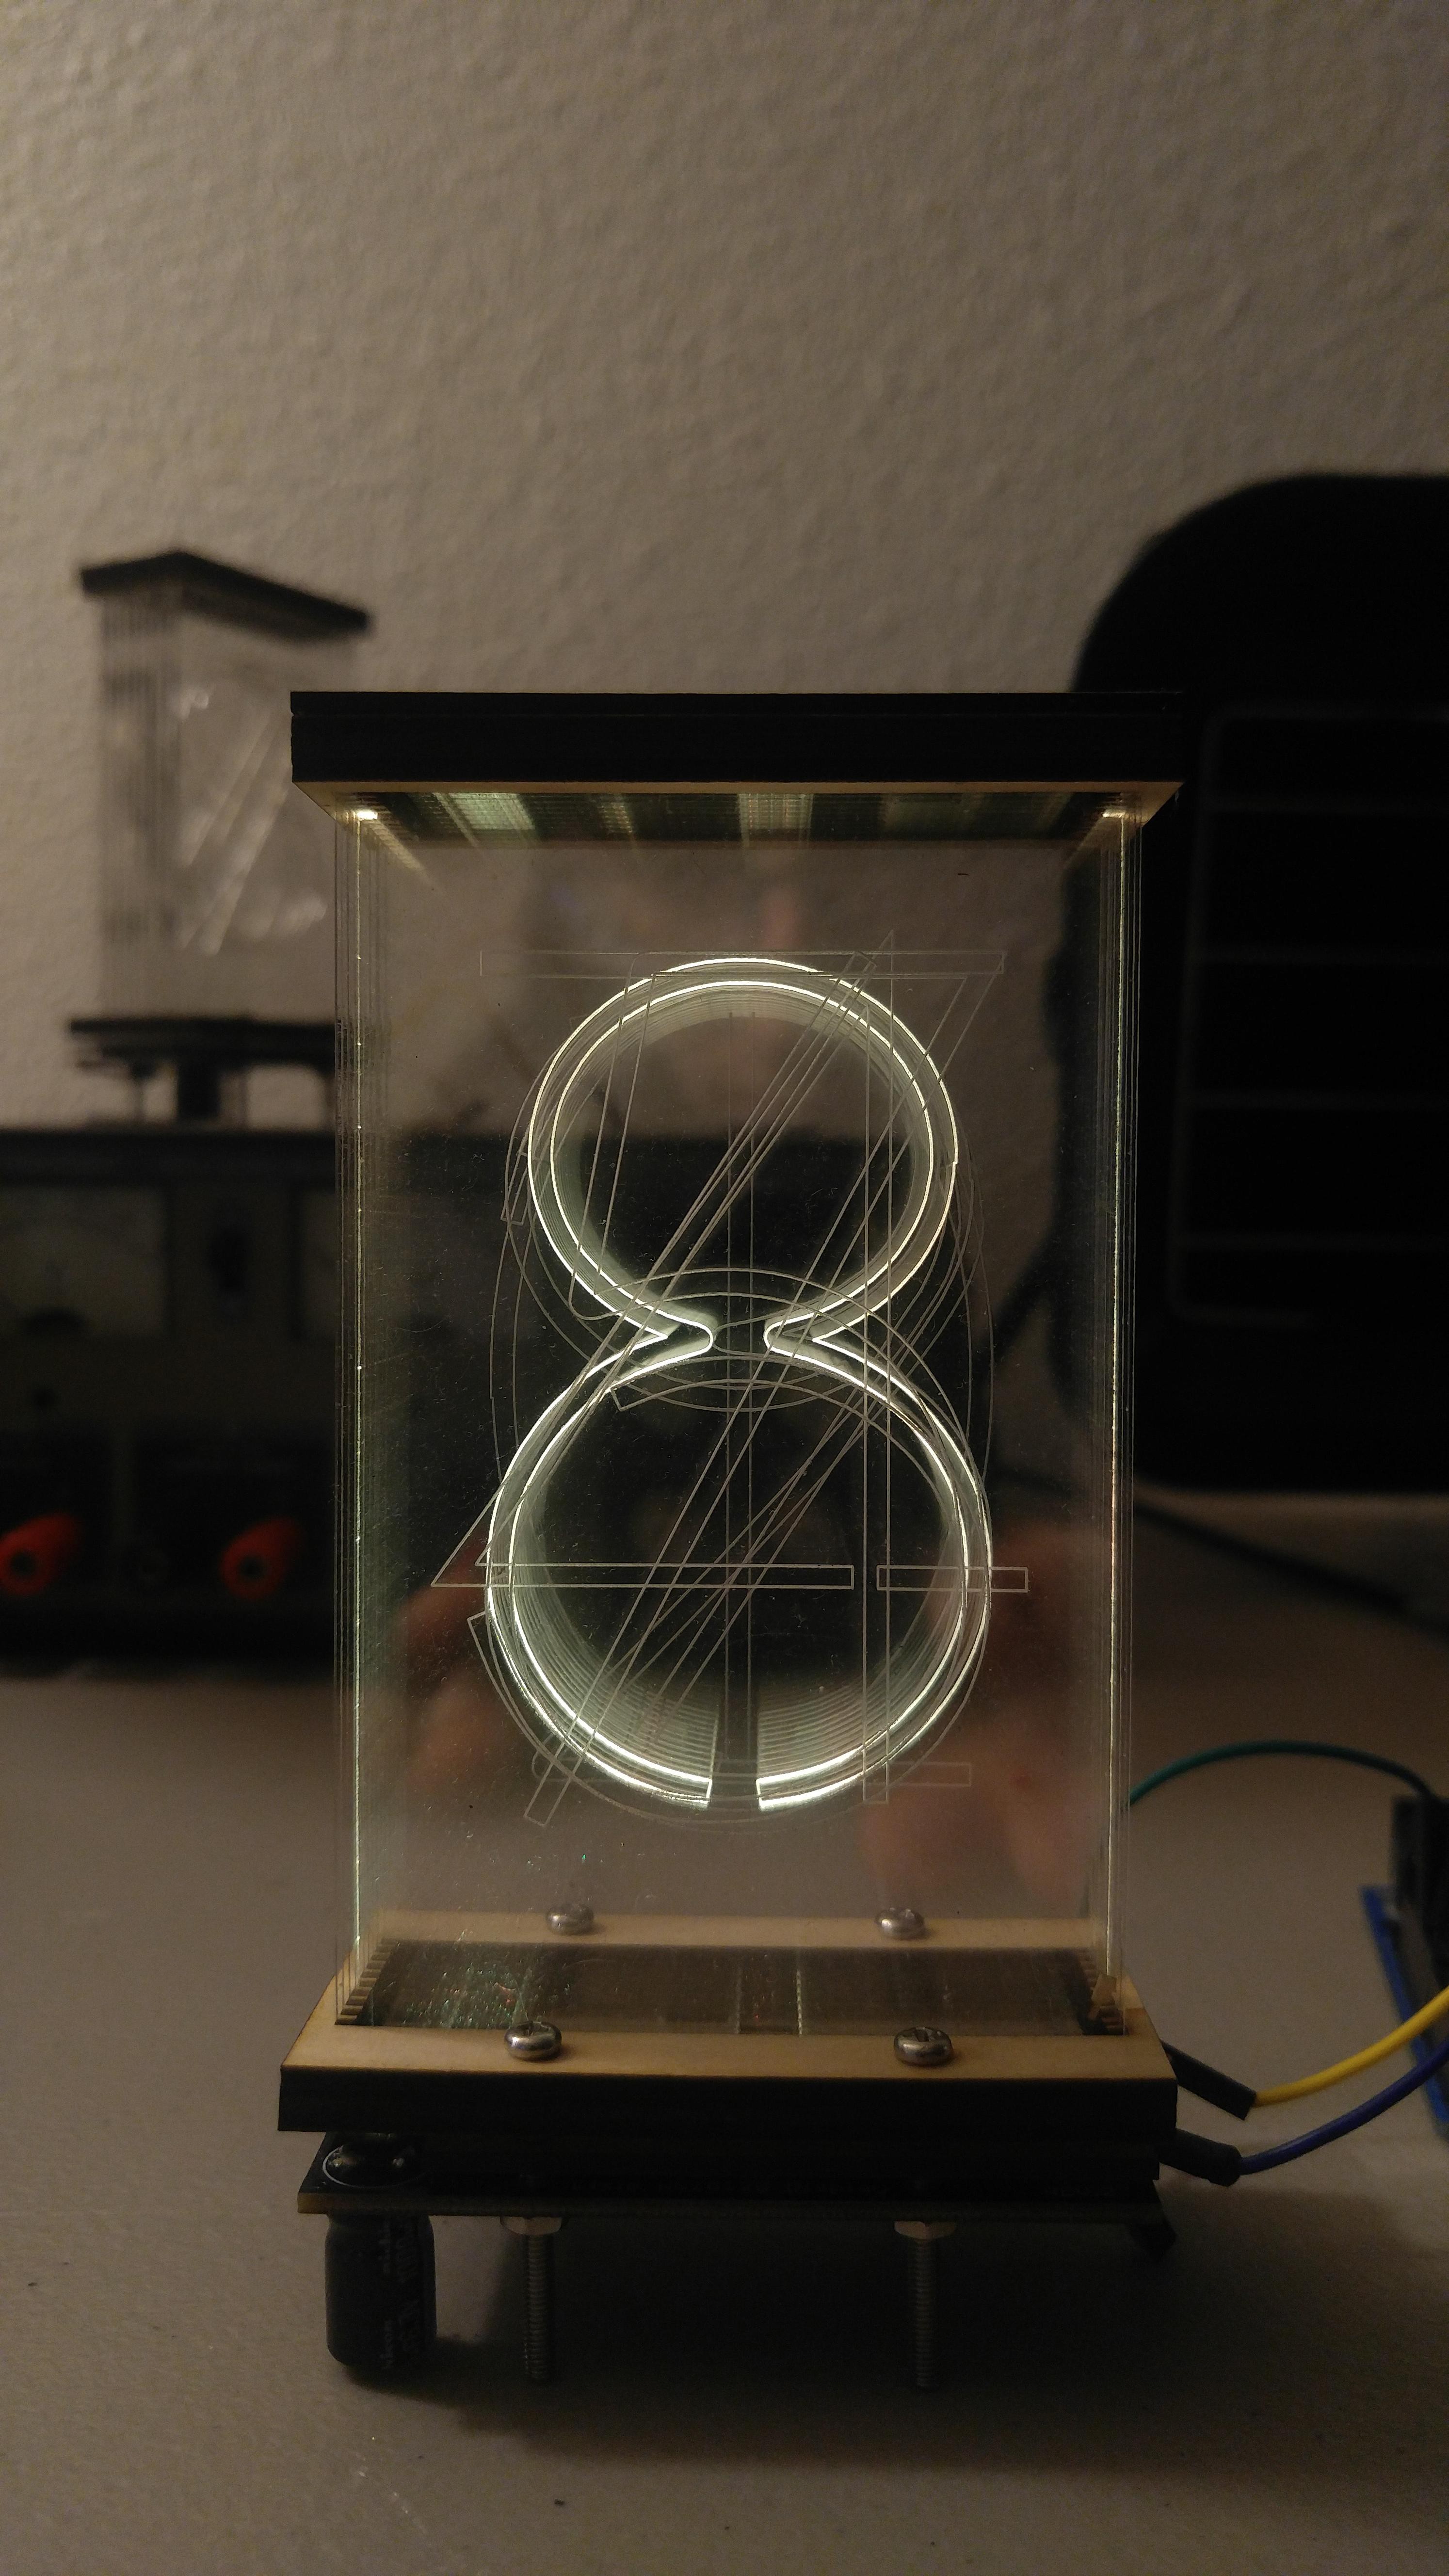
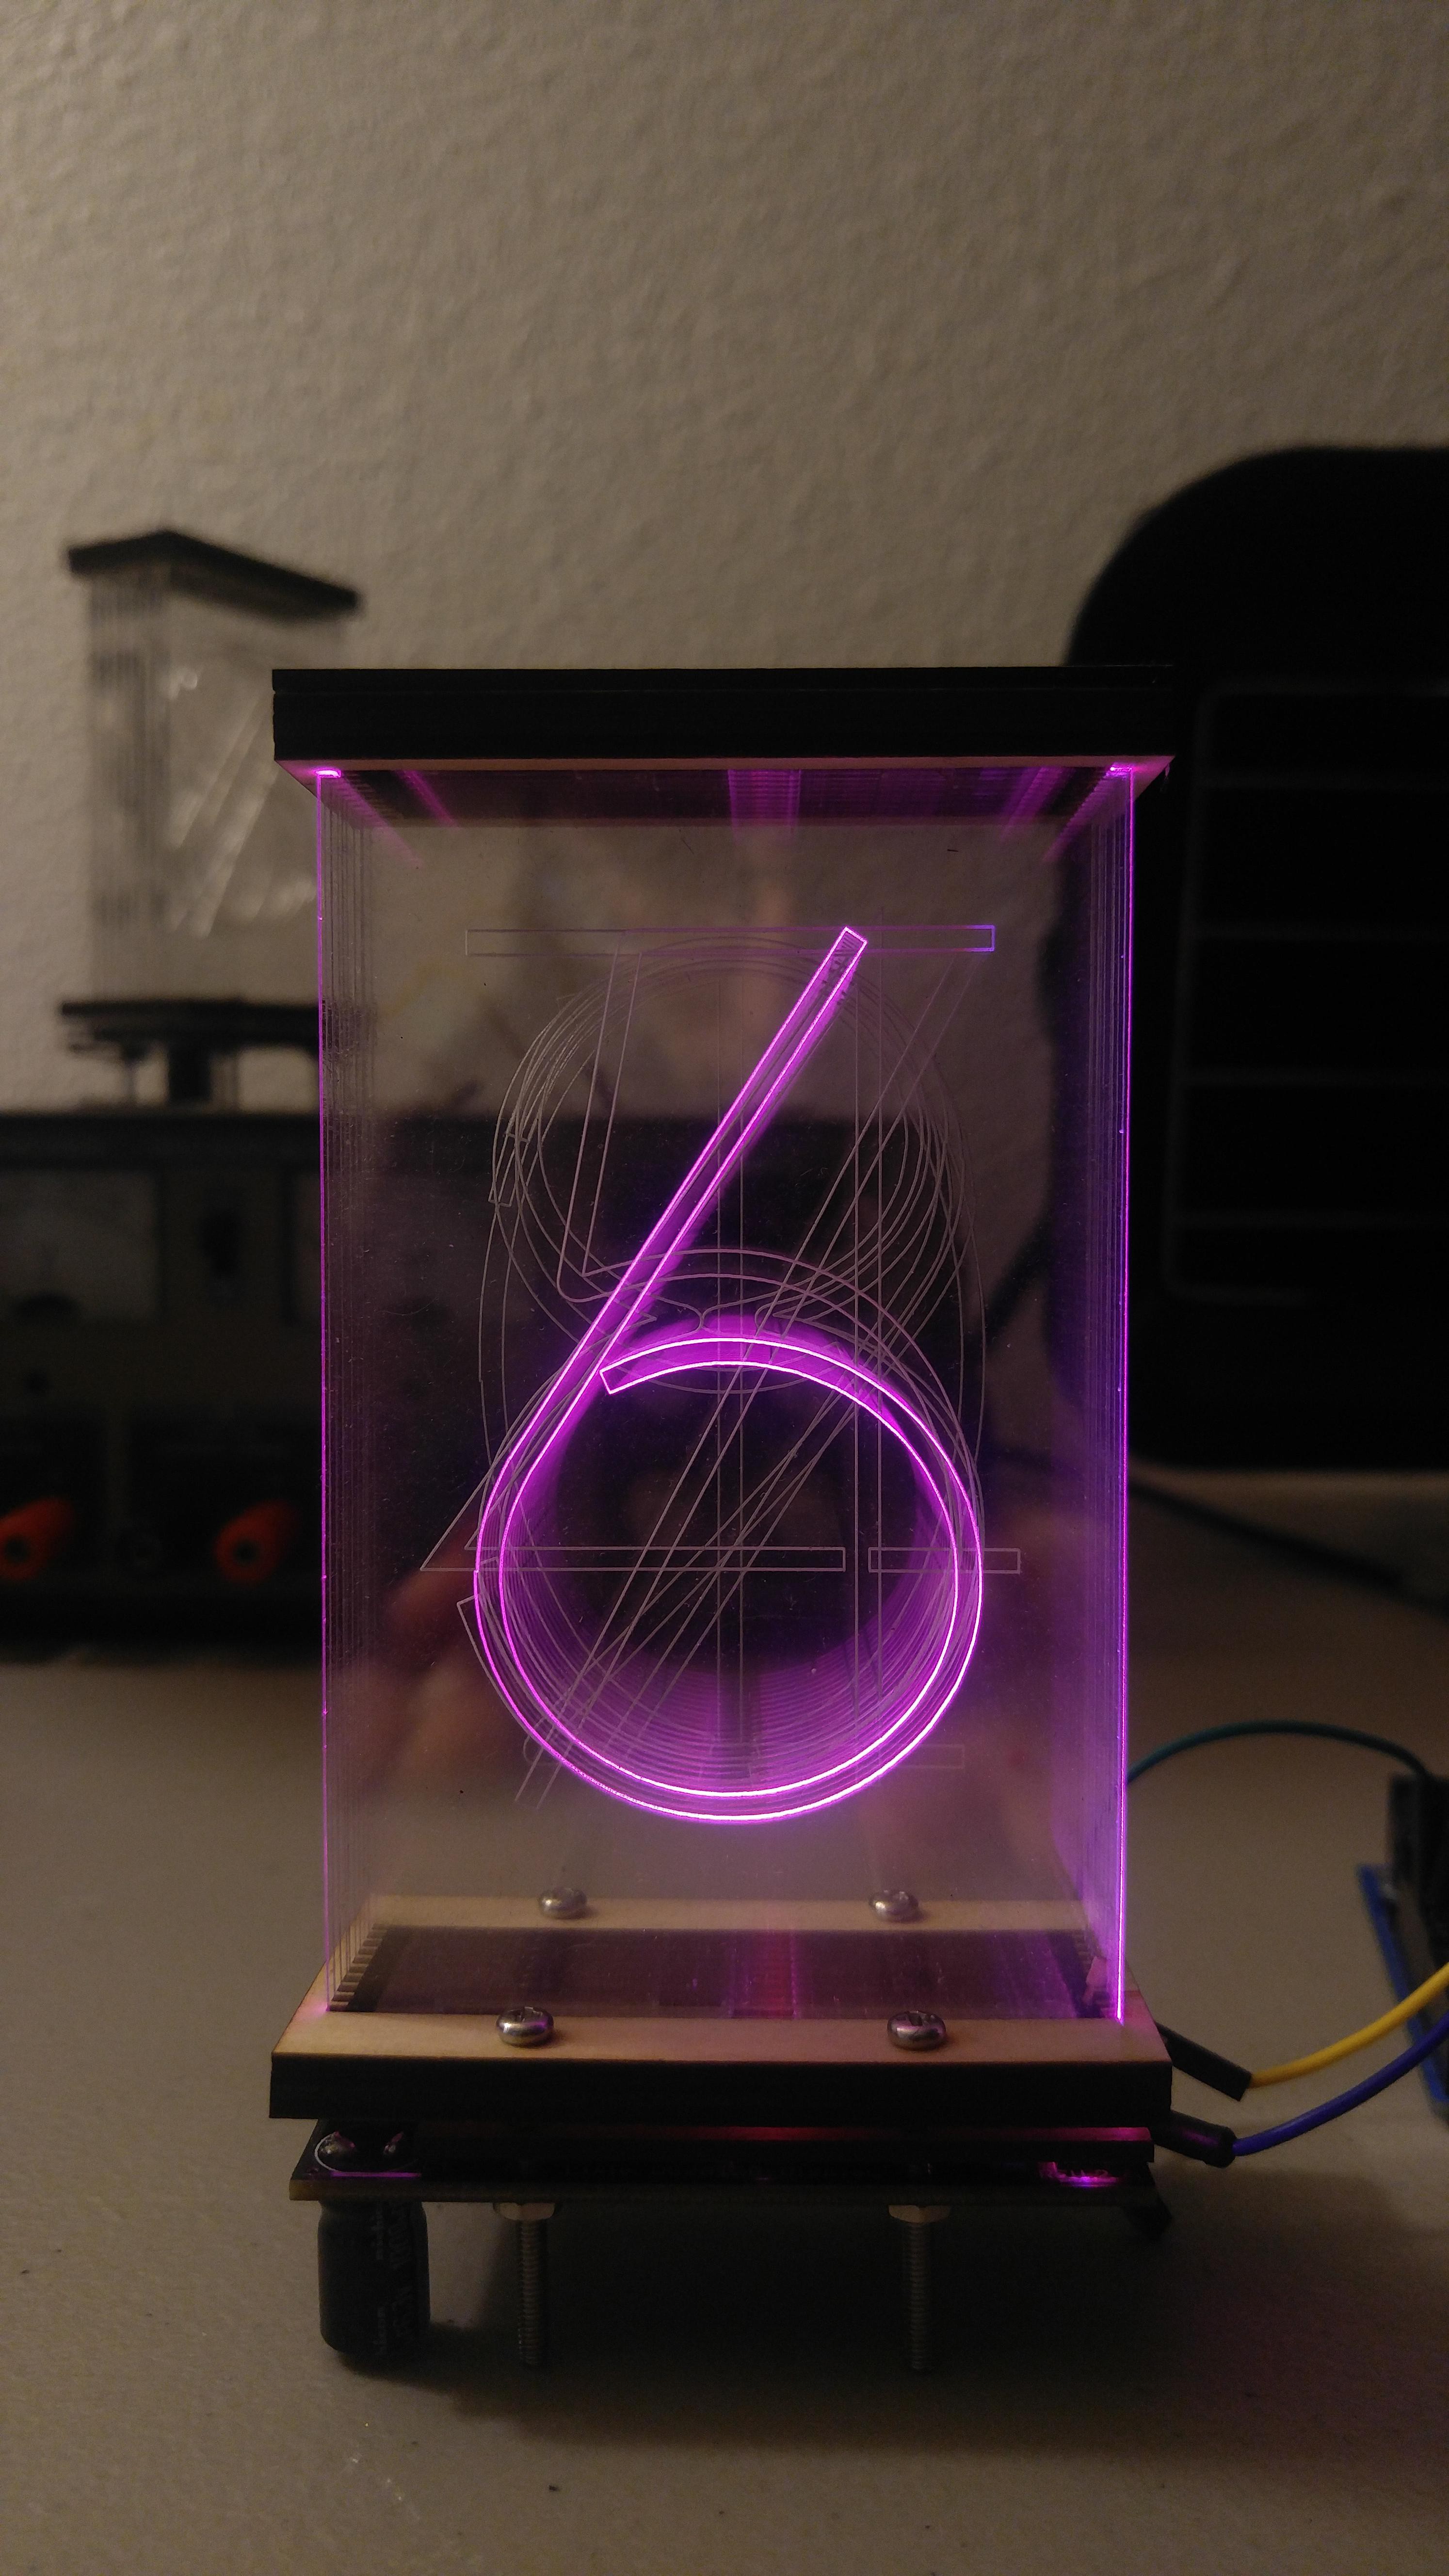
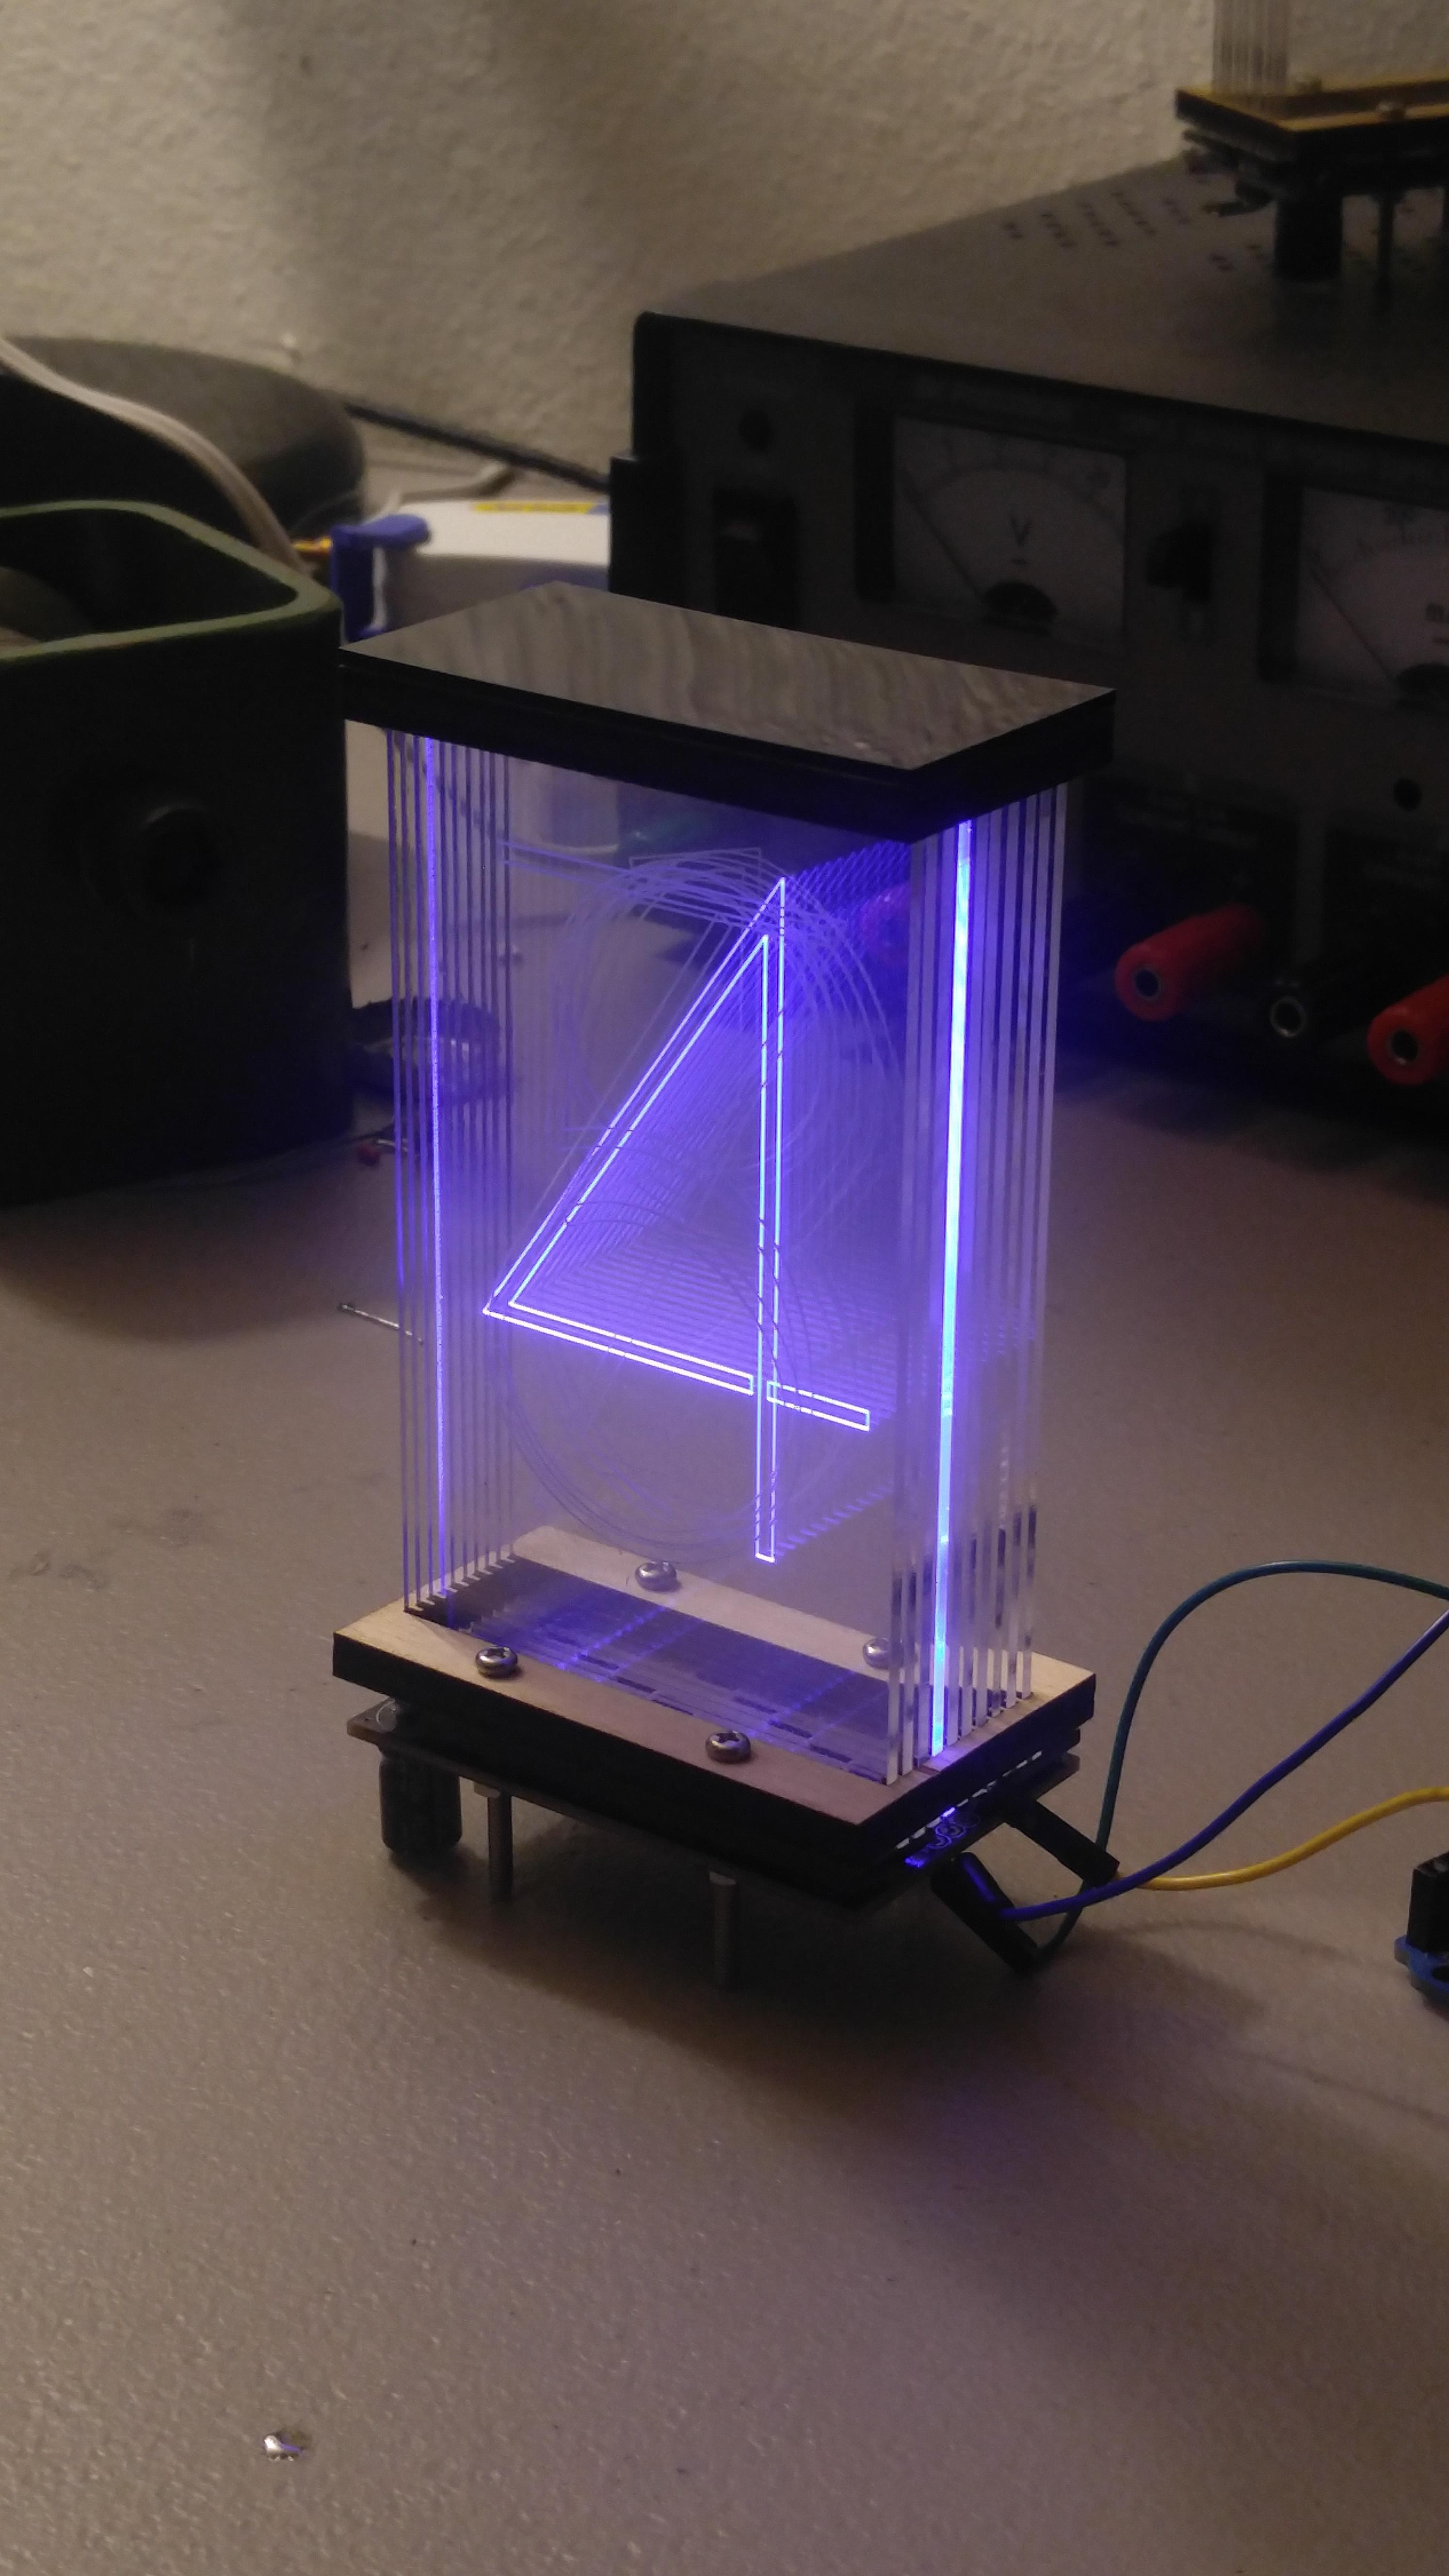
On the left is the original Lixie you all know. On the right is the final model, with two major changes:
- The numbers are outlines, instead of a stroke. This essentially doubles the light catching area without hurting the final cost.
- They are now engraved, instead of cut.
Originally, I doubted the brightness of engraved vs. cut acrylic, and completely cut each digit through. Unfortunately, this only worked when viewed from an angle - the numbers would almost completely disappear when viewed straight on.
Lixies are also less fragile now that each pane is a solid piece!
All of you on the waiting list or joining it going forward will be receiving this better version, of course!
Software Updates
A wonderful help in the development process, David Madison teamed up with me to deliver an amazing Arduino library for Lixie Displays. Most of the awesome features are in the changelog, but here's some of the most important additions:
- lix.max_power(volts,milliamps) This is an extension of FastLED that allows you to globally limit brightness of the WS2812Bs so that they never draw more than your power supply can handle! Under normal use, a Lixie can only consume up to 120mA when two LEDs are lighting a digit at full white. But sometimes you might want to flash ALL LEDs for a notification. If you flashed full white on a 6-digit clock, it would draw more than 7.2 amps!
- lix.color_balance(CRGB c_adj) Sets a color calibration for the LEDs. Supports all FastLED color temperatures, and custom temperatures in the form CRGB(r, g, b). (Default: Tungsten100W / R: 255 G: 214 B: 170)
- lix.get_leds() Returns a pointer to the CRGB array that holds the color values sent to the displays. The library's show() function overwrites the values in this array, so call FastLED.show() to see any changes.
The biggest addition David brought was removing the need for a config.h file to define constants. Now that are set from inside the sketch!
#include "Lixie.h" // Include Lixie Library

#define DATA_PIN   13
#define NUM_LIXIES 2
Lixie lix(DATA_PIN, NUM_LIXIES);

long count = 0;

void setup() {
  lix.begin(); // Initialize LEDs
}

void loop() {
  lix.write(count);
  count++;
  delay(250);
}
You can also have multiple different sets of Lixie displays on a single Arduino that can be separately written to.Release Update
Everything is still on schedule for a January release! I'll be ordering 32 units to start, and another 32 immediately after! Feel free to hop on the waiting list to get one on release! :) Thank you again guys for the awesome support and David for all the great pull requests!
- Connor

Discussions
Become a Hackaday.io Member
Create an account to leave a comment. Already have an account? Log In.