Close
0%
0%

Restoring a 1920's Gramophone

Restoring a 1920's Gallotone gramophone that has seen some better days.

Similar projects worth following
Hello fellow makers,


I have always loved restoring old radios and record players, unfortunately due to the recent surge in pricing of these vintage beauties I had to start looking for alternatives.

Luckily damaged and non working examples can still be snapped up for cheap and honestly they are way more fun to repair!

With this project I will be restoring a 1920's Gallotone gramophone that has seen some better days, but this gave me the opportunity to completely redo it and give it a bit of an update.

To replicate this restoration project you will need the following:

  • a Gramophone in need of some love
  • Paint
  • Scraper
  • Sanding paper
  • Contact Adhesive
  • Lubricants

I used a Moly lithium blend grease and Full Synthetic gearbox oil.

Amazon - Moly Grease

Amazon - Synthetic oil

  • Degreaser

Amazon - Heavy Duty Degreaser

  • Rust remover

Amazon - Rust Remover

  • Wood filler

Amazon - Filler

  • Polishing compound

Amazon - Compound blocks

  • Leather (from off cuts)

Amazon - Leather Off Cuts

  • Felt
  • Brass Rod

Amazon - Rods

  • Dremel

Amazon - Dremel kit

  • Tools (eg. screwdrivers, pliers)

Optional:

Soundbox repair:

  • Access to a 3D Printer
  • TPU and PLA filament
  • Thin aluminium sheet

Horn repair:

  • Solder
  • Flux
  • Butane Torch

Decals:

  • Vinyl Sticker
  • Laser 3D printer kit or access to a laser engraver

Amazon - 0.5W Laser module

Sound reflector:

  • Heatgun
  • 1mm thick Poly-carbonate sheet

*As an Amazon Associate I receive a small percentage from sales made through provided links at no cost to you, this helps fund future projects.

20220507_123408.jpg

JPEG Image - 2.45 MB - 07/23/2022 at 12:48

Preview

20220511_120508.jpg

JPEG Image - 2.37 MB - 07/23/2022 at 12:48

Preview

20220523_153129.jpg

JPEG Image - 2.27 MB - 07/23/2022 at 12:48

Preview

20220523_164616.jpg

JPEG Image - 2.21 MB - 07/23/2022 at 12:48

Preview

20220506_094145.jpg

JPEG Image - 2.15 MB - 07/23/2022 at 12:48

Preview

View all 83 files

  • Repair a Gramophone Soundbox/Reproducer With 3D Printed Die

    Jamie Matthews07/23/2022 at 13:41 0 comments

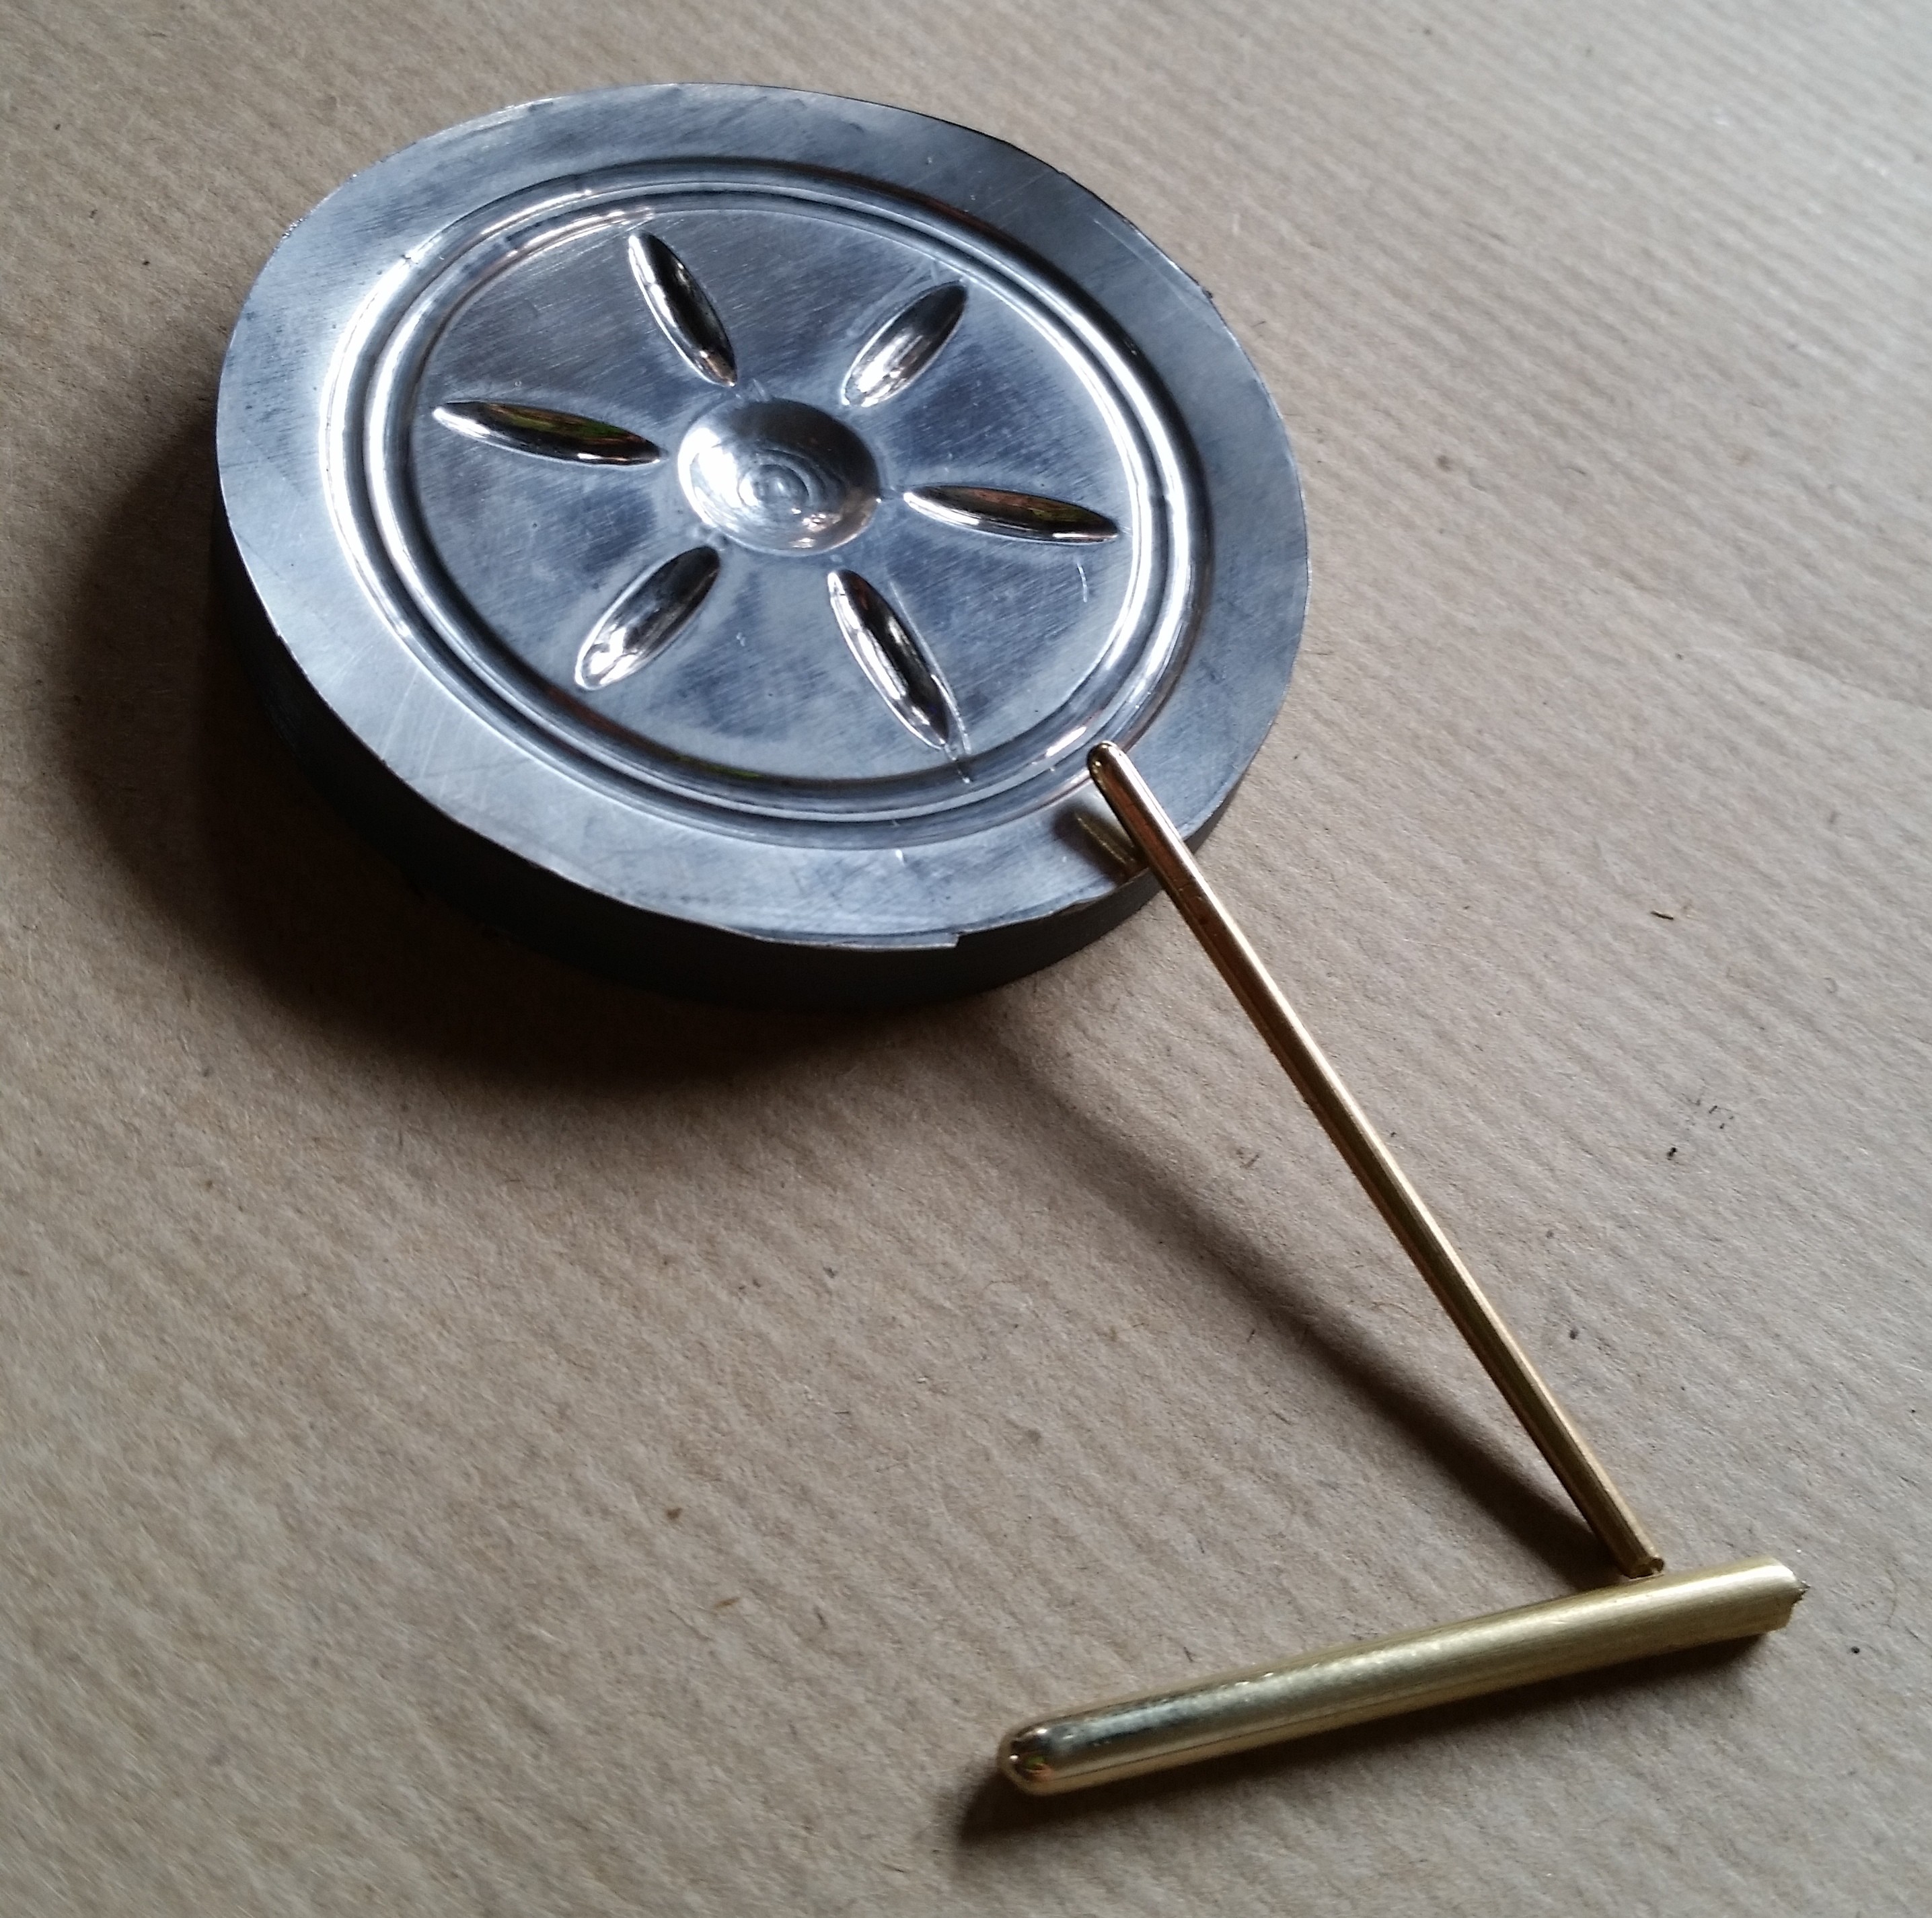
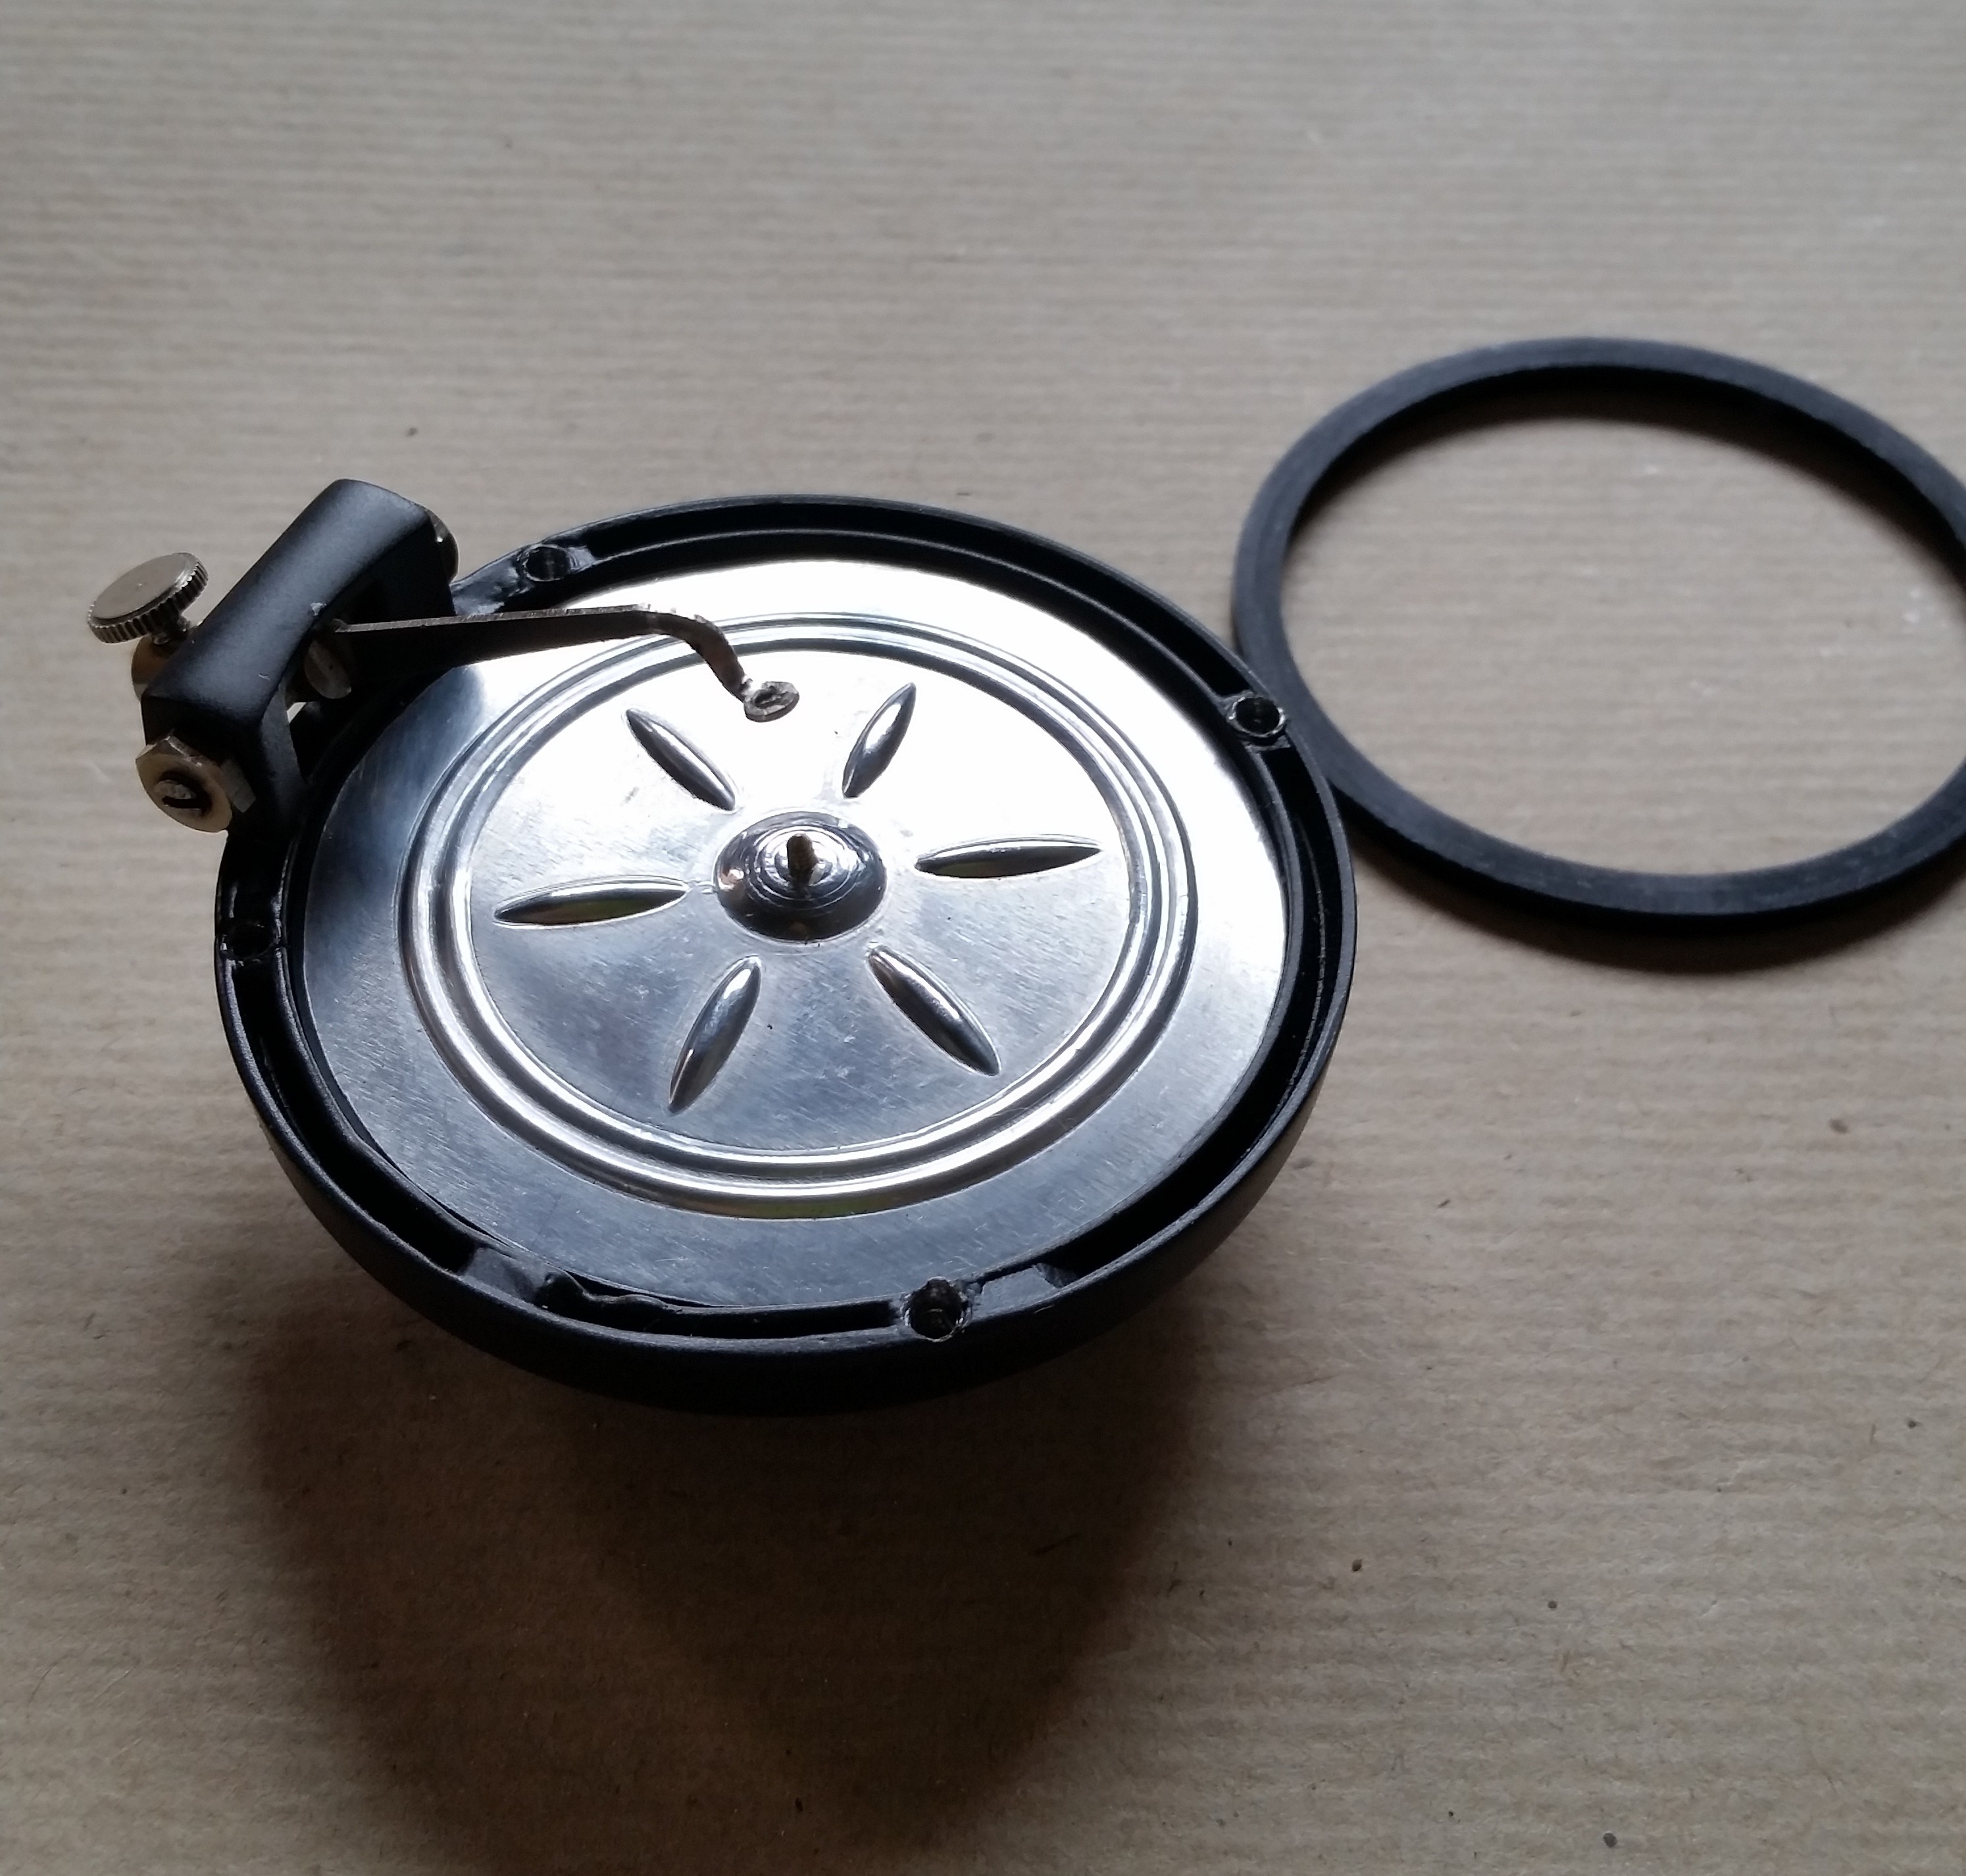
    Create a brand new diaphragm for your soundbox with a 3D printed die and some thin aluminium sheet.

    Place your die onto the aluminium piece then mark around it and cut it out, what I like to do is to score around the die with a sharp hobby knife and then by bending the aluminium slightly back and forth your shape should break free.

    Now place the cut piece of aluminium onto the die and rub over it with your finger, this will create slight indentations that can be used as a reference on where to start.

    Using a embossing tool (I use a 3mm and 1.5mm brass rod that i rounded the points) start in the centre and gently start "rolling" the aluminium into the die, go slow too much pressure at once will cause a tear. We want to slowly stretch the aluminium into the die.

    TIP: If you are having trouble with your embossing tool "grabbing" onto the aluminium you can add some oil to lubricate it.

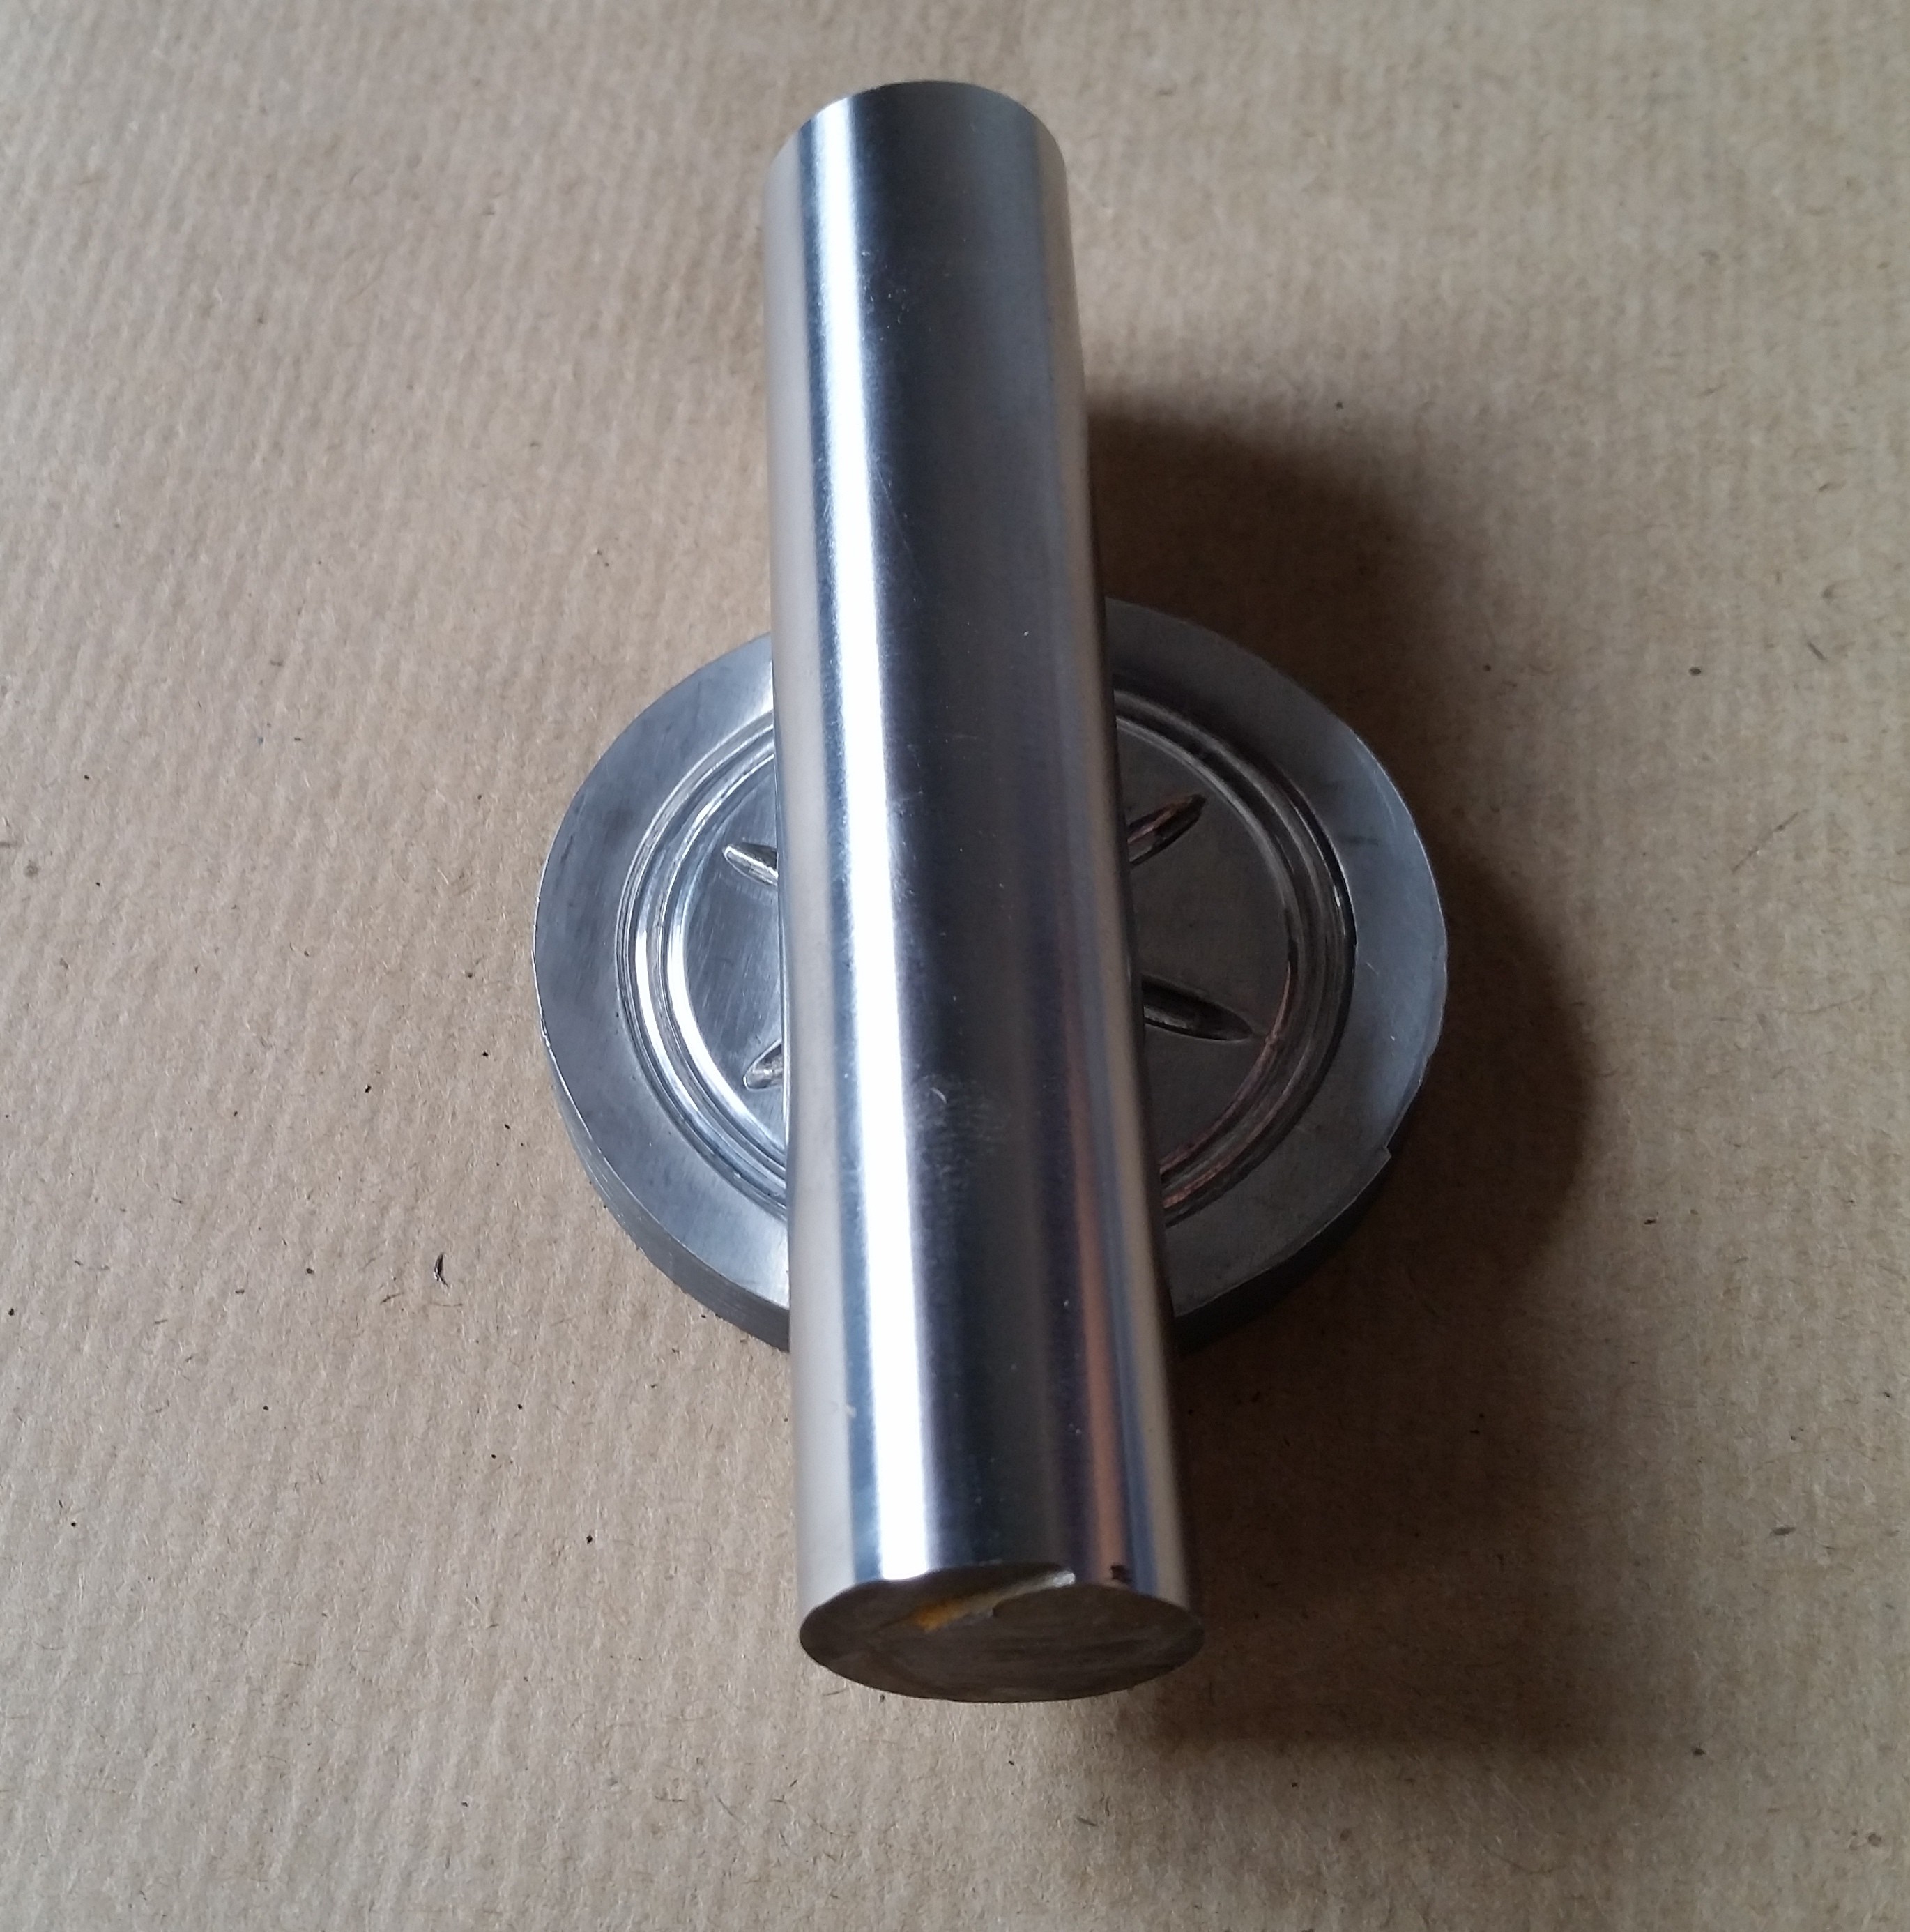
    Now we are going to take the metal rod and roll/scrape it over the die a few times in different directions.

    Doing this will flatten out the diaphragm getting rig of any wrinkles and it will also work harden the aluminium giving you a much stiffer end result.

View project log

  • 1
    Inspect the Damage:

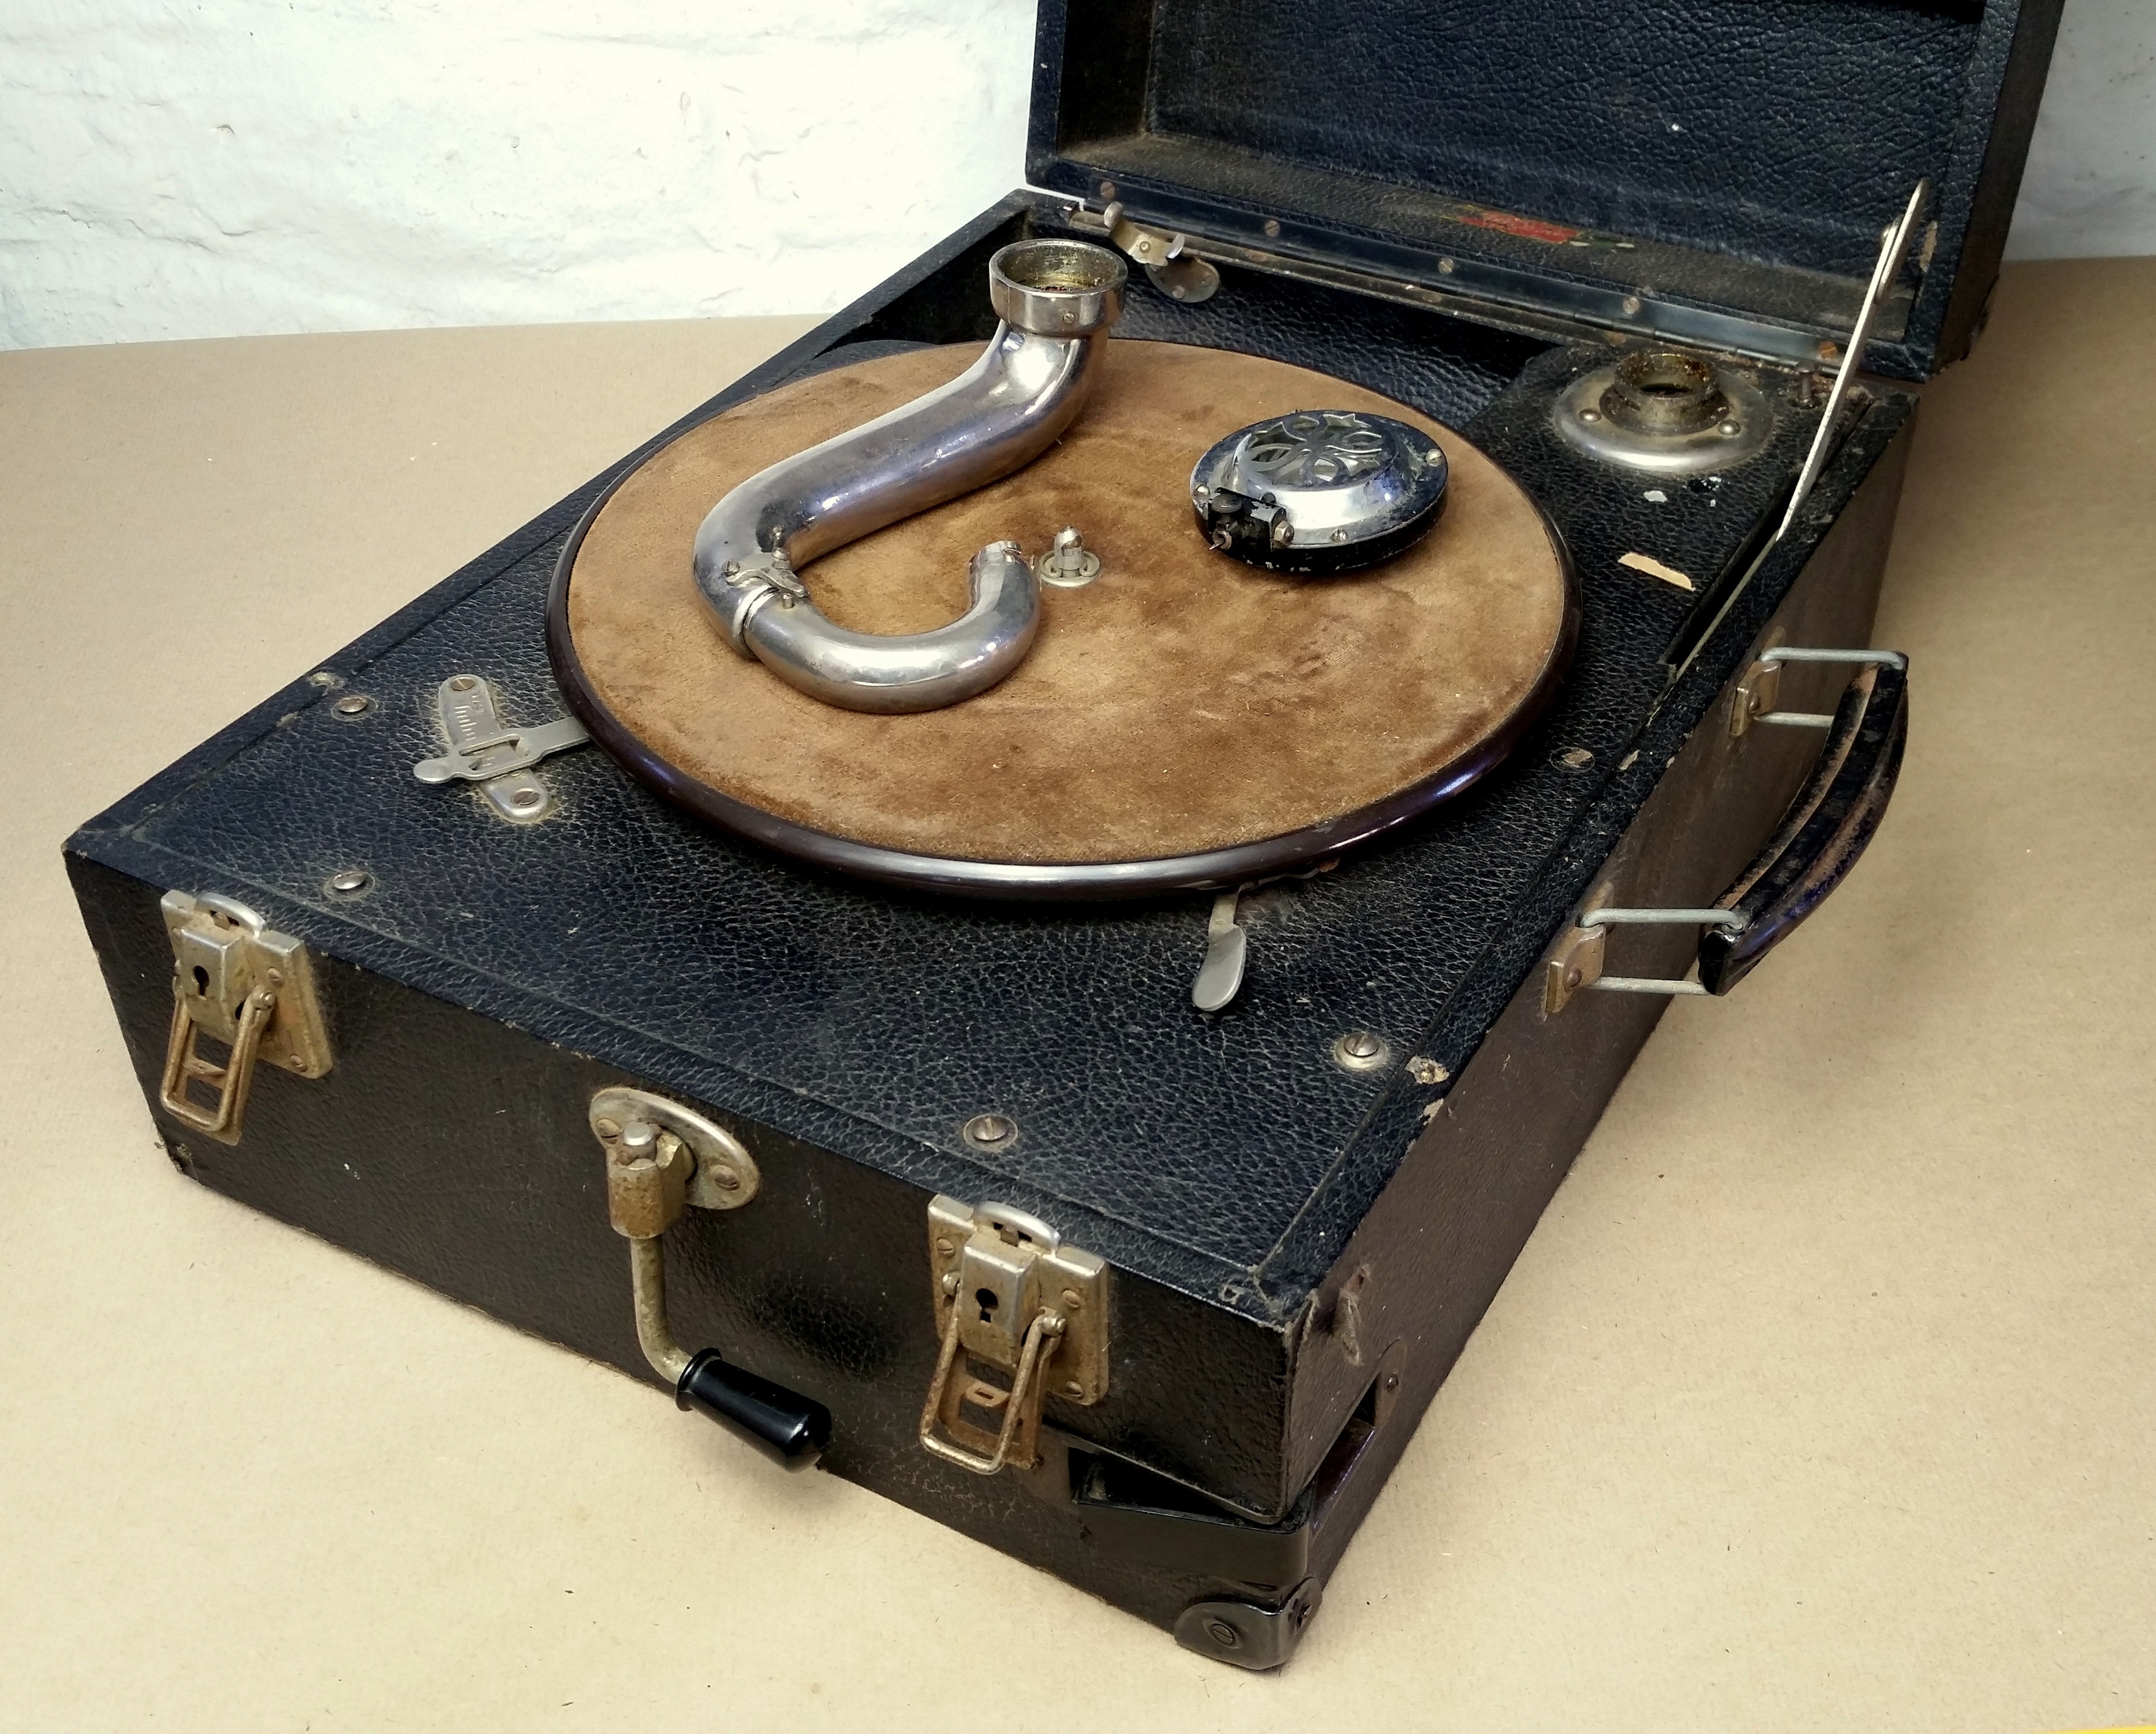
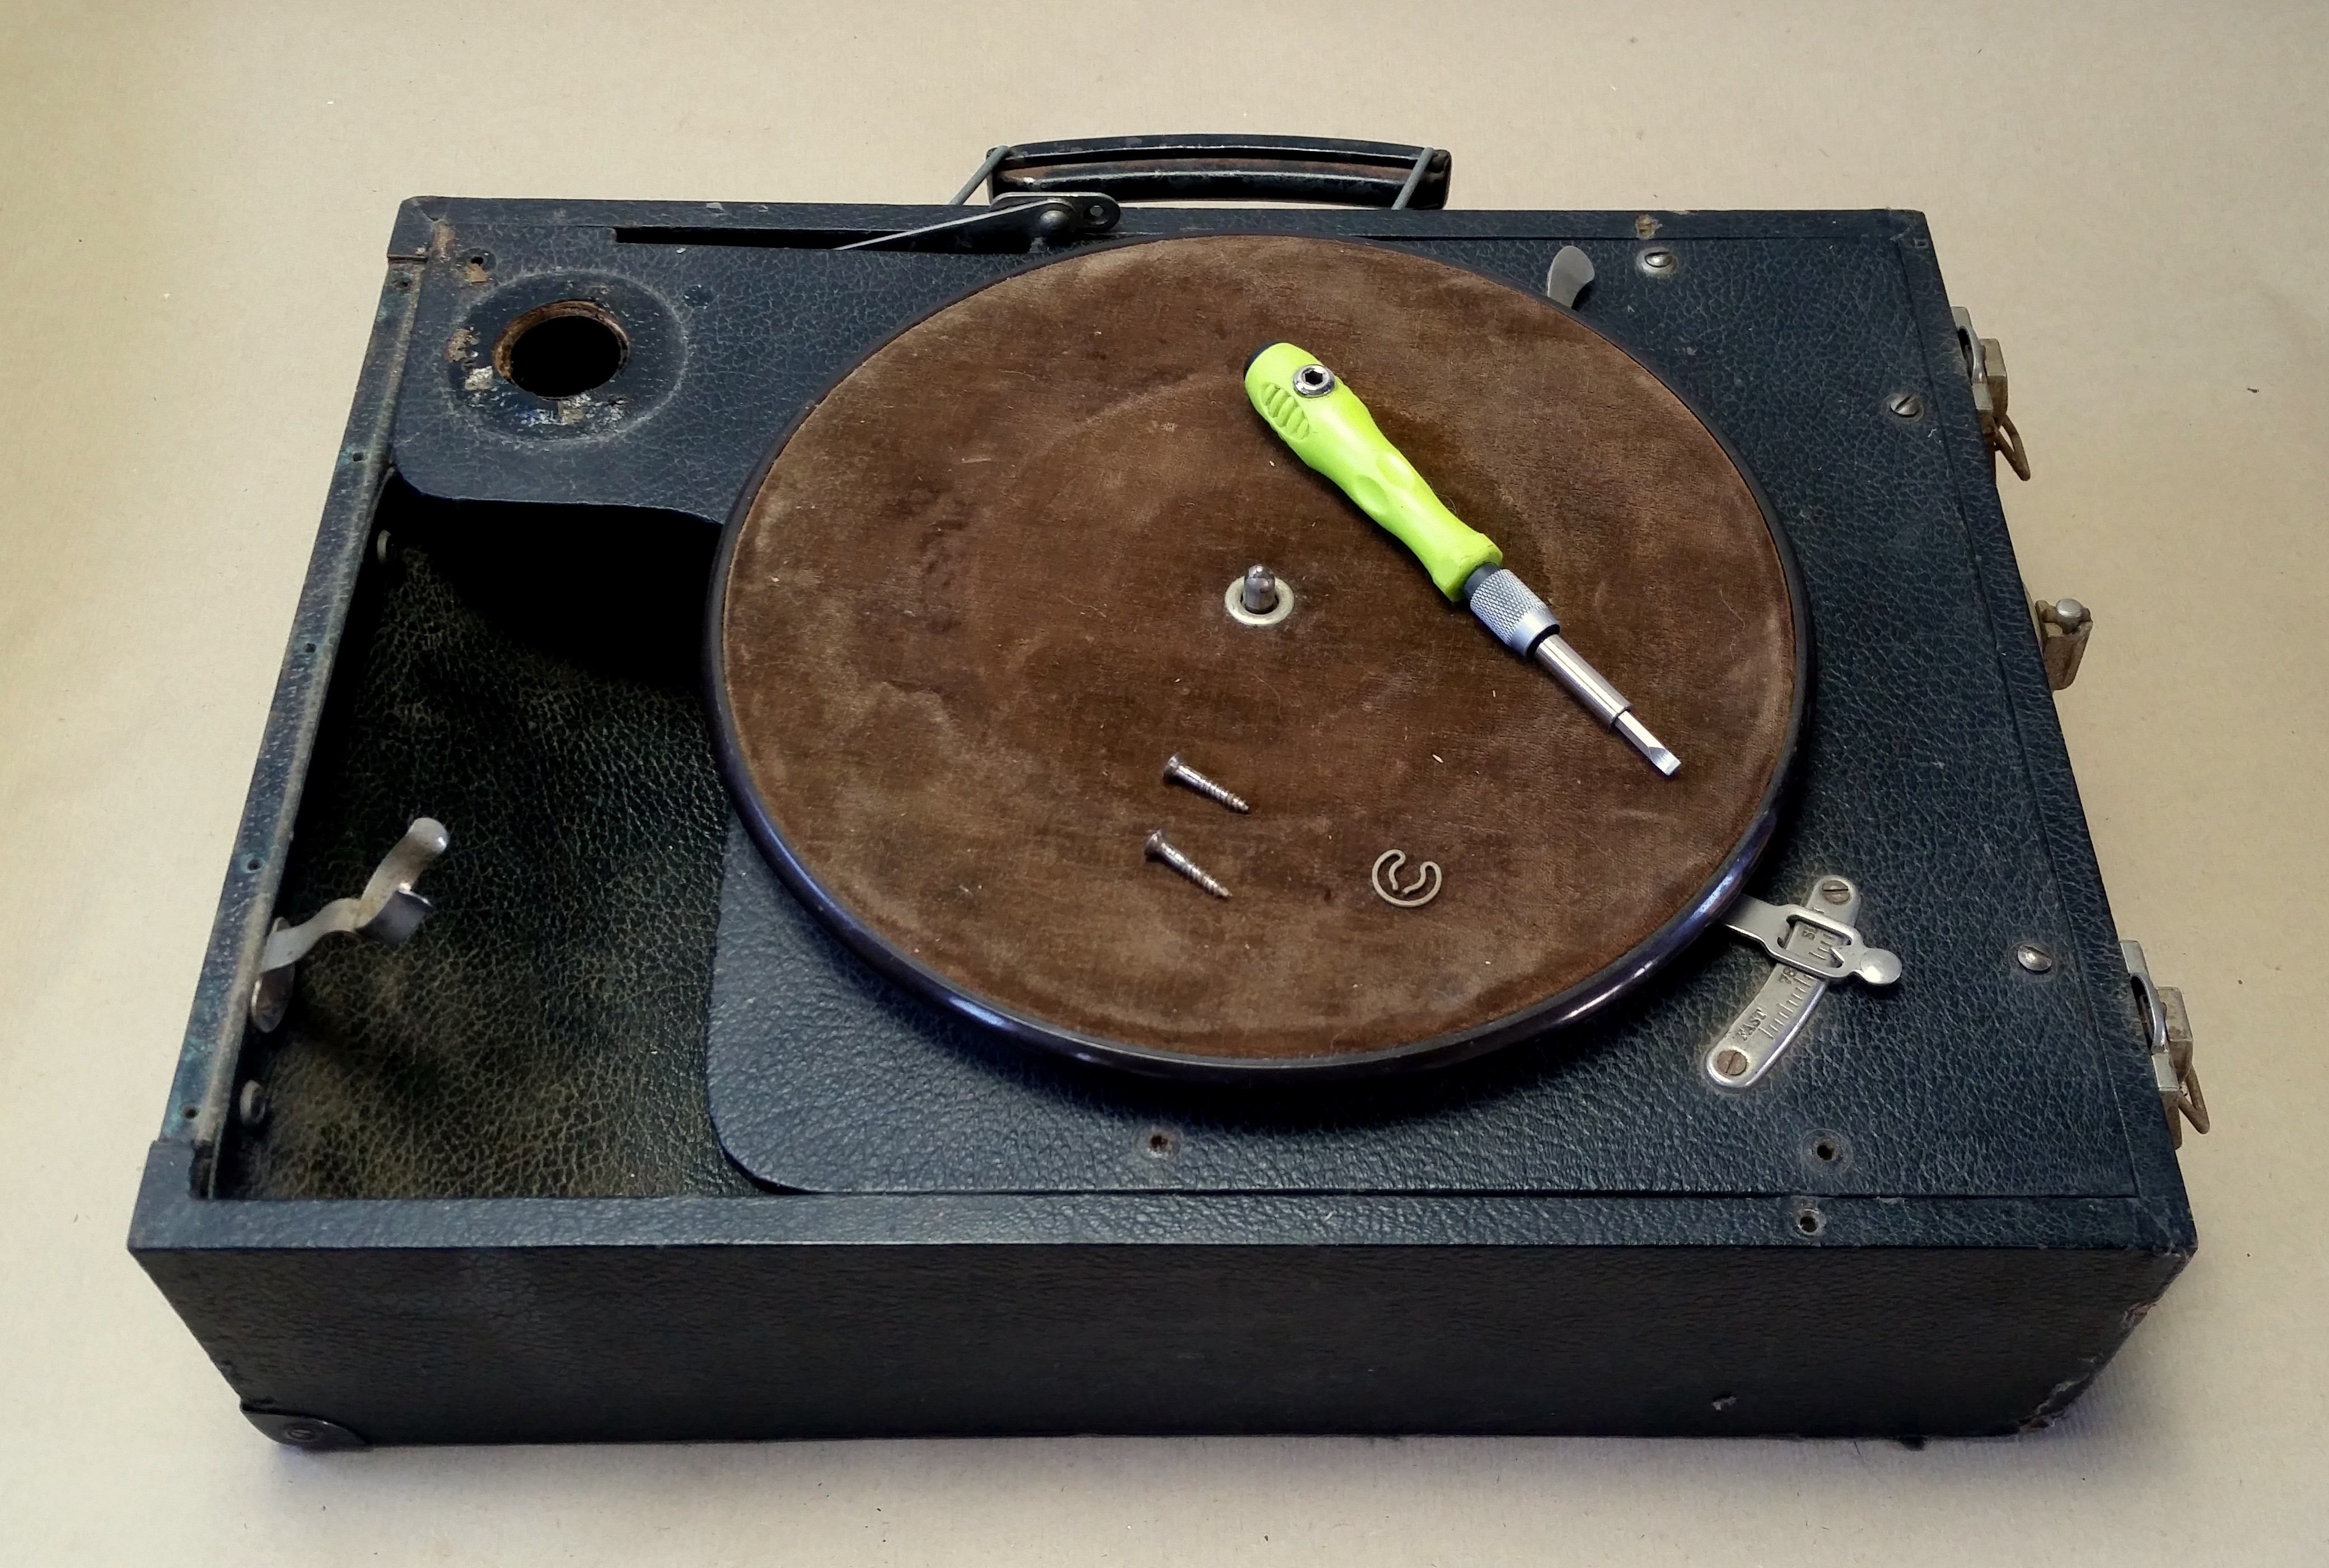
    First thing we will need to do is to go through the gramophone and inspect all the damage that will need to be repaired.

    In my case even though it looked pretty bad there was minimal serious damage.

    Major problems that needed to be addressed:

    1. Damaged reproducer diaphram that needed to be replaced.
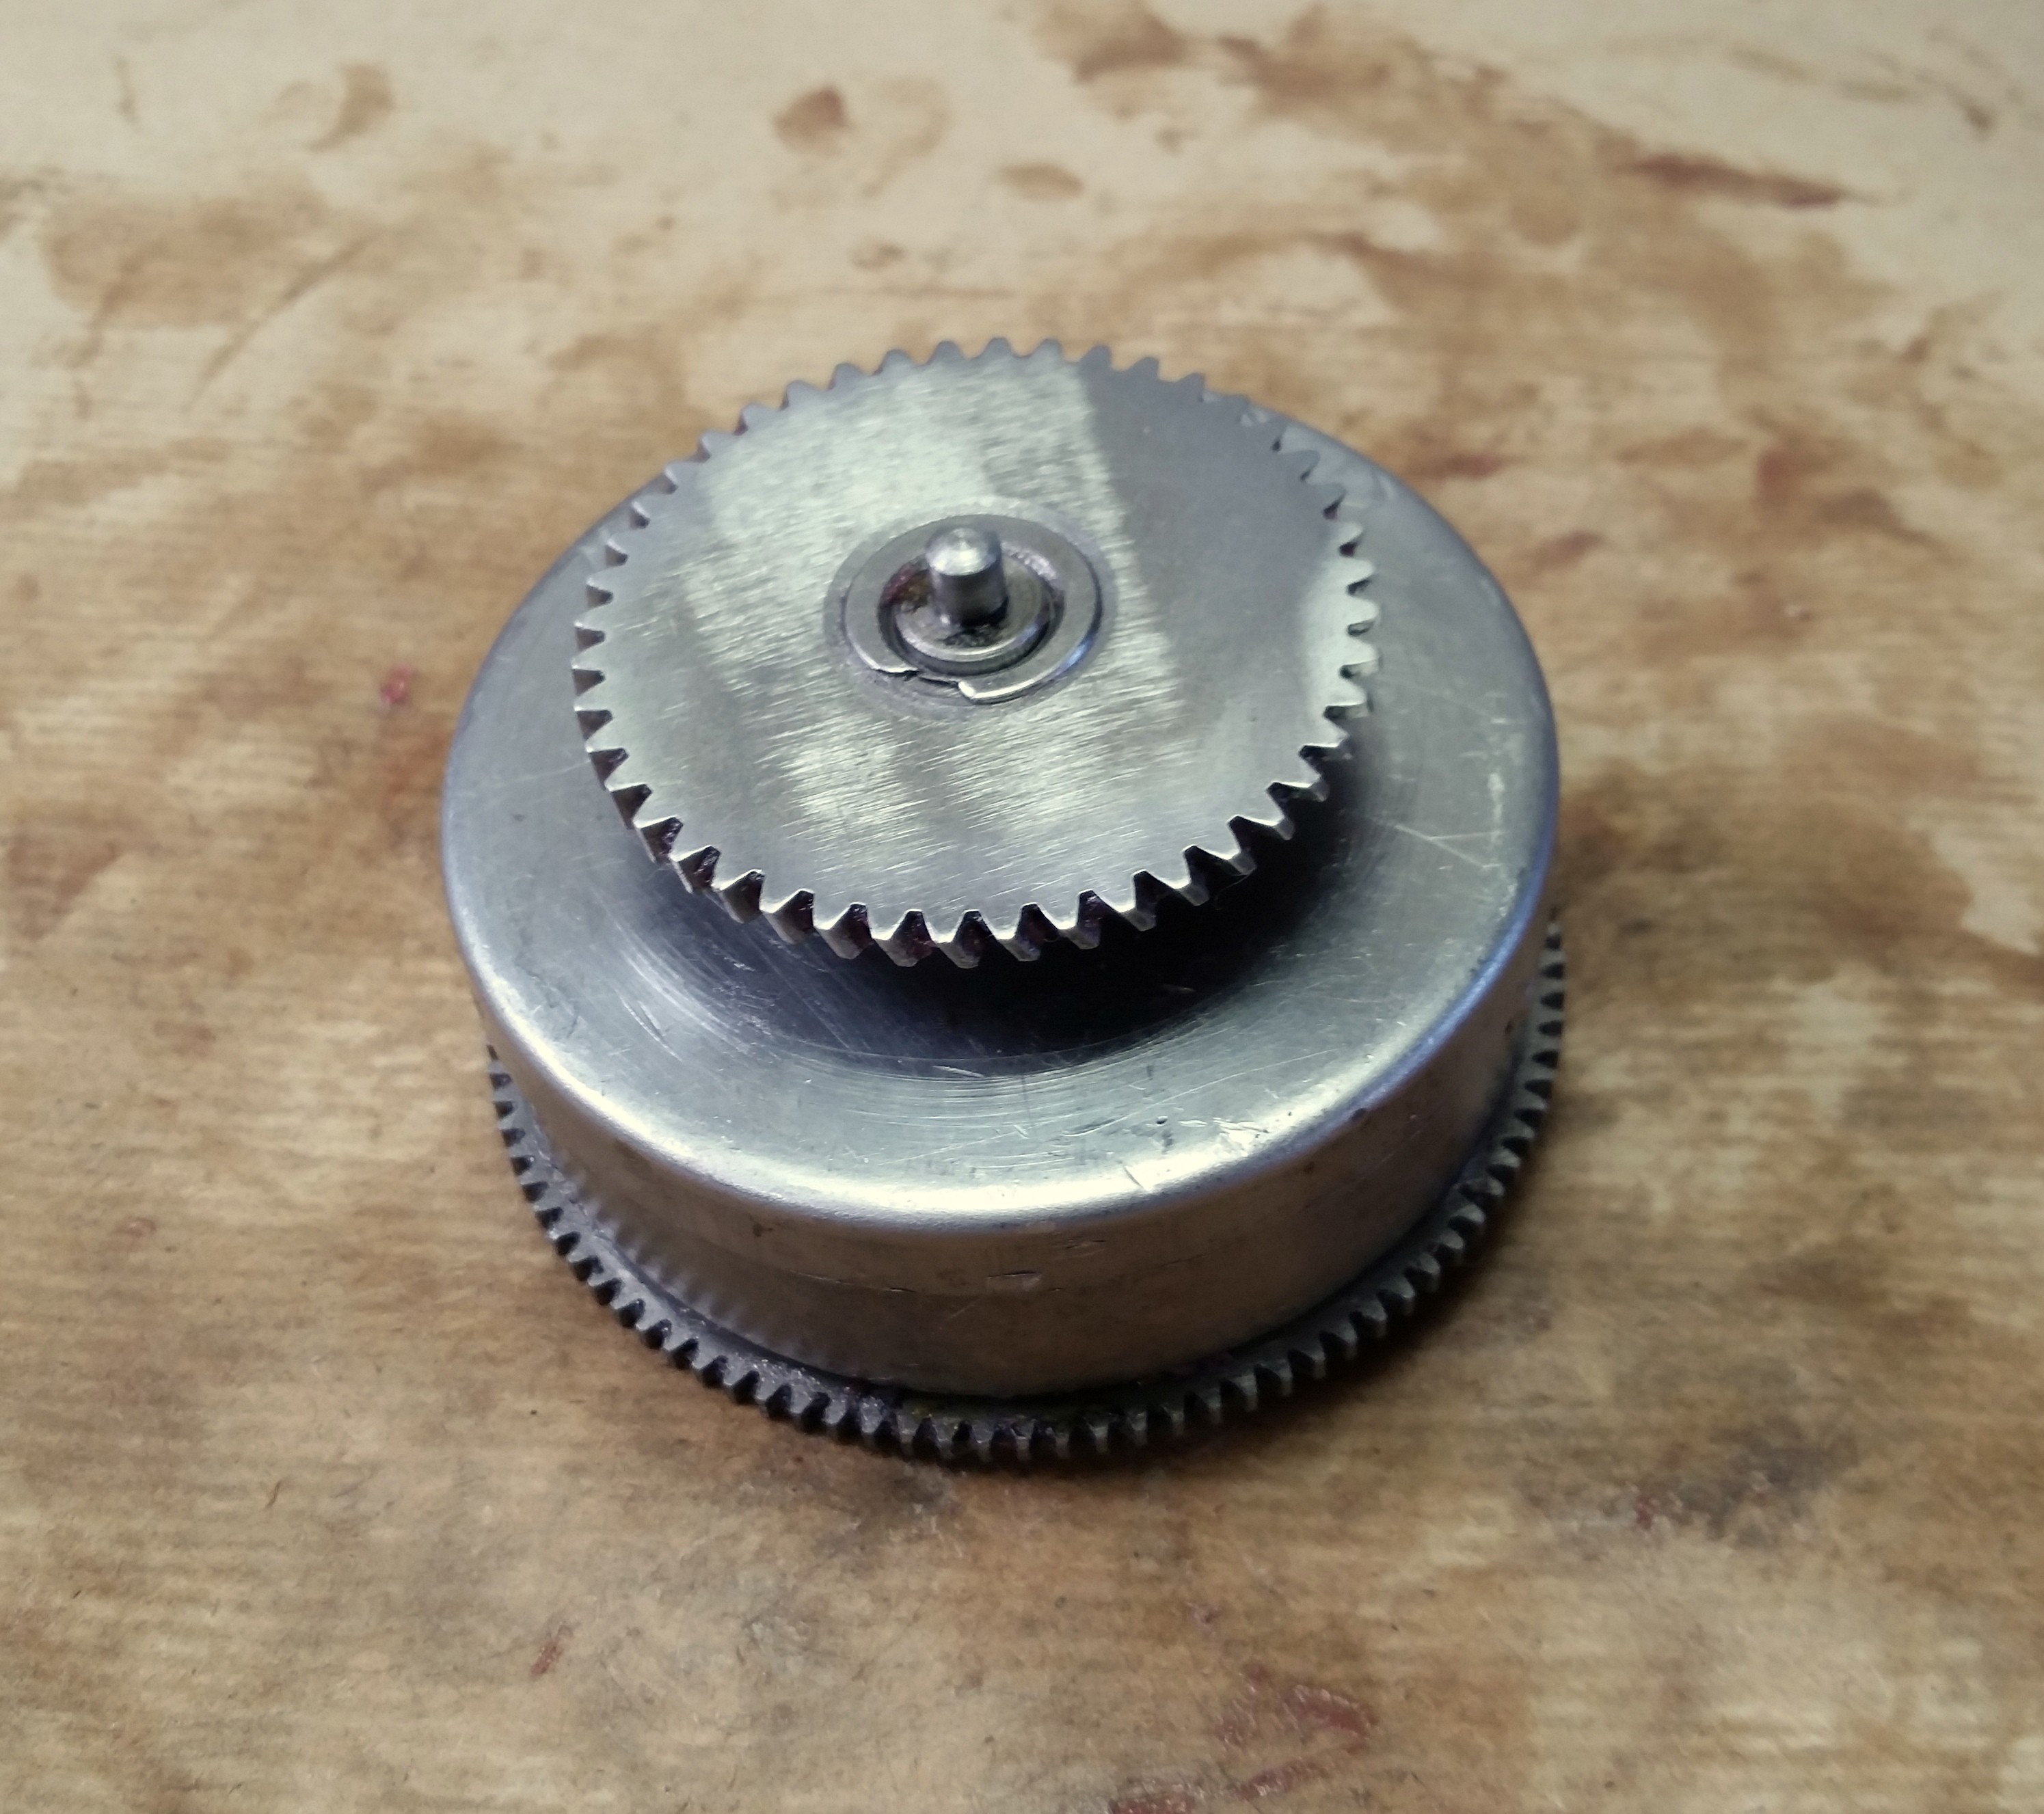
    2. A clonky mainspring that was in desperate need of a service.
    3. Other than that I'm just going to give the enclosure a refresh.
  • 2
    Stripping It Down:

    Now we need to start stripping it down.

    Caution! - There will litterally be a hundred years worth of dirt and dust bunnies in there :D

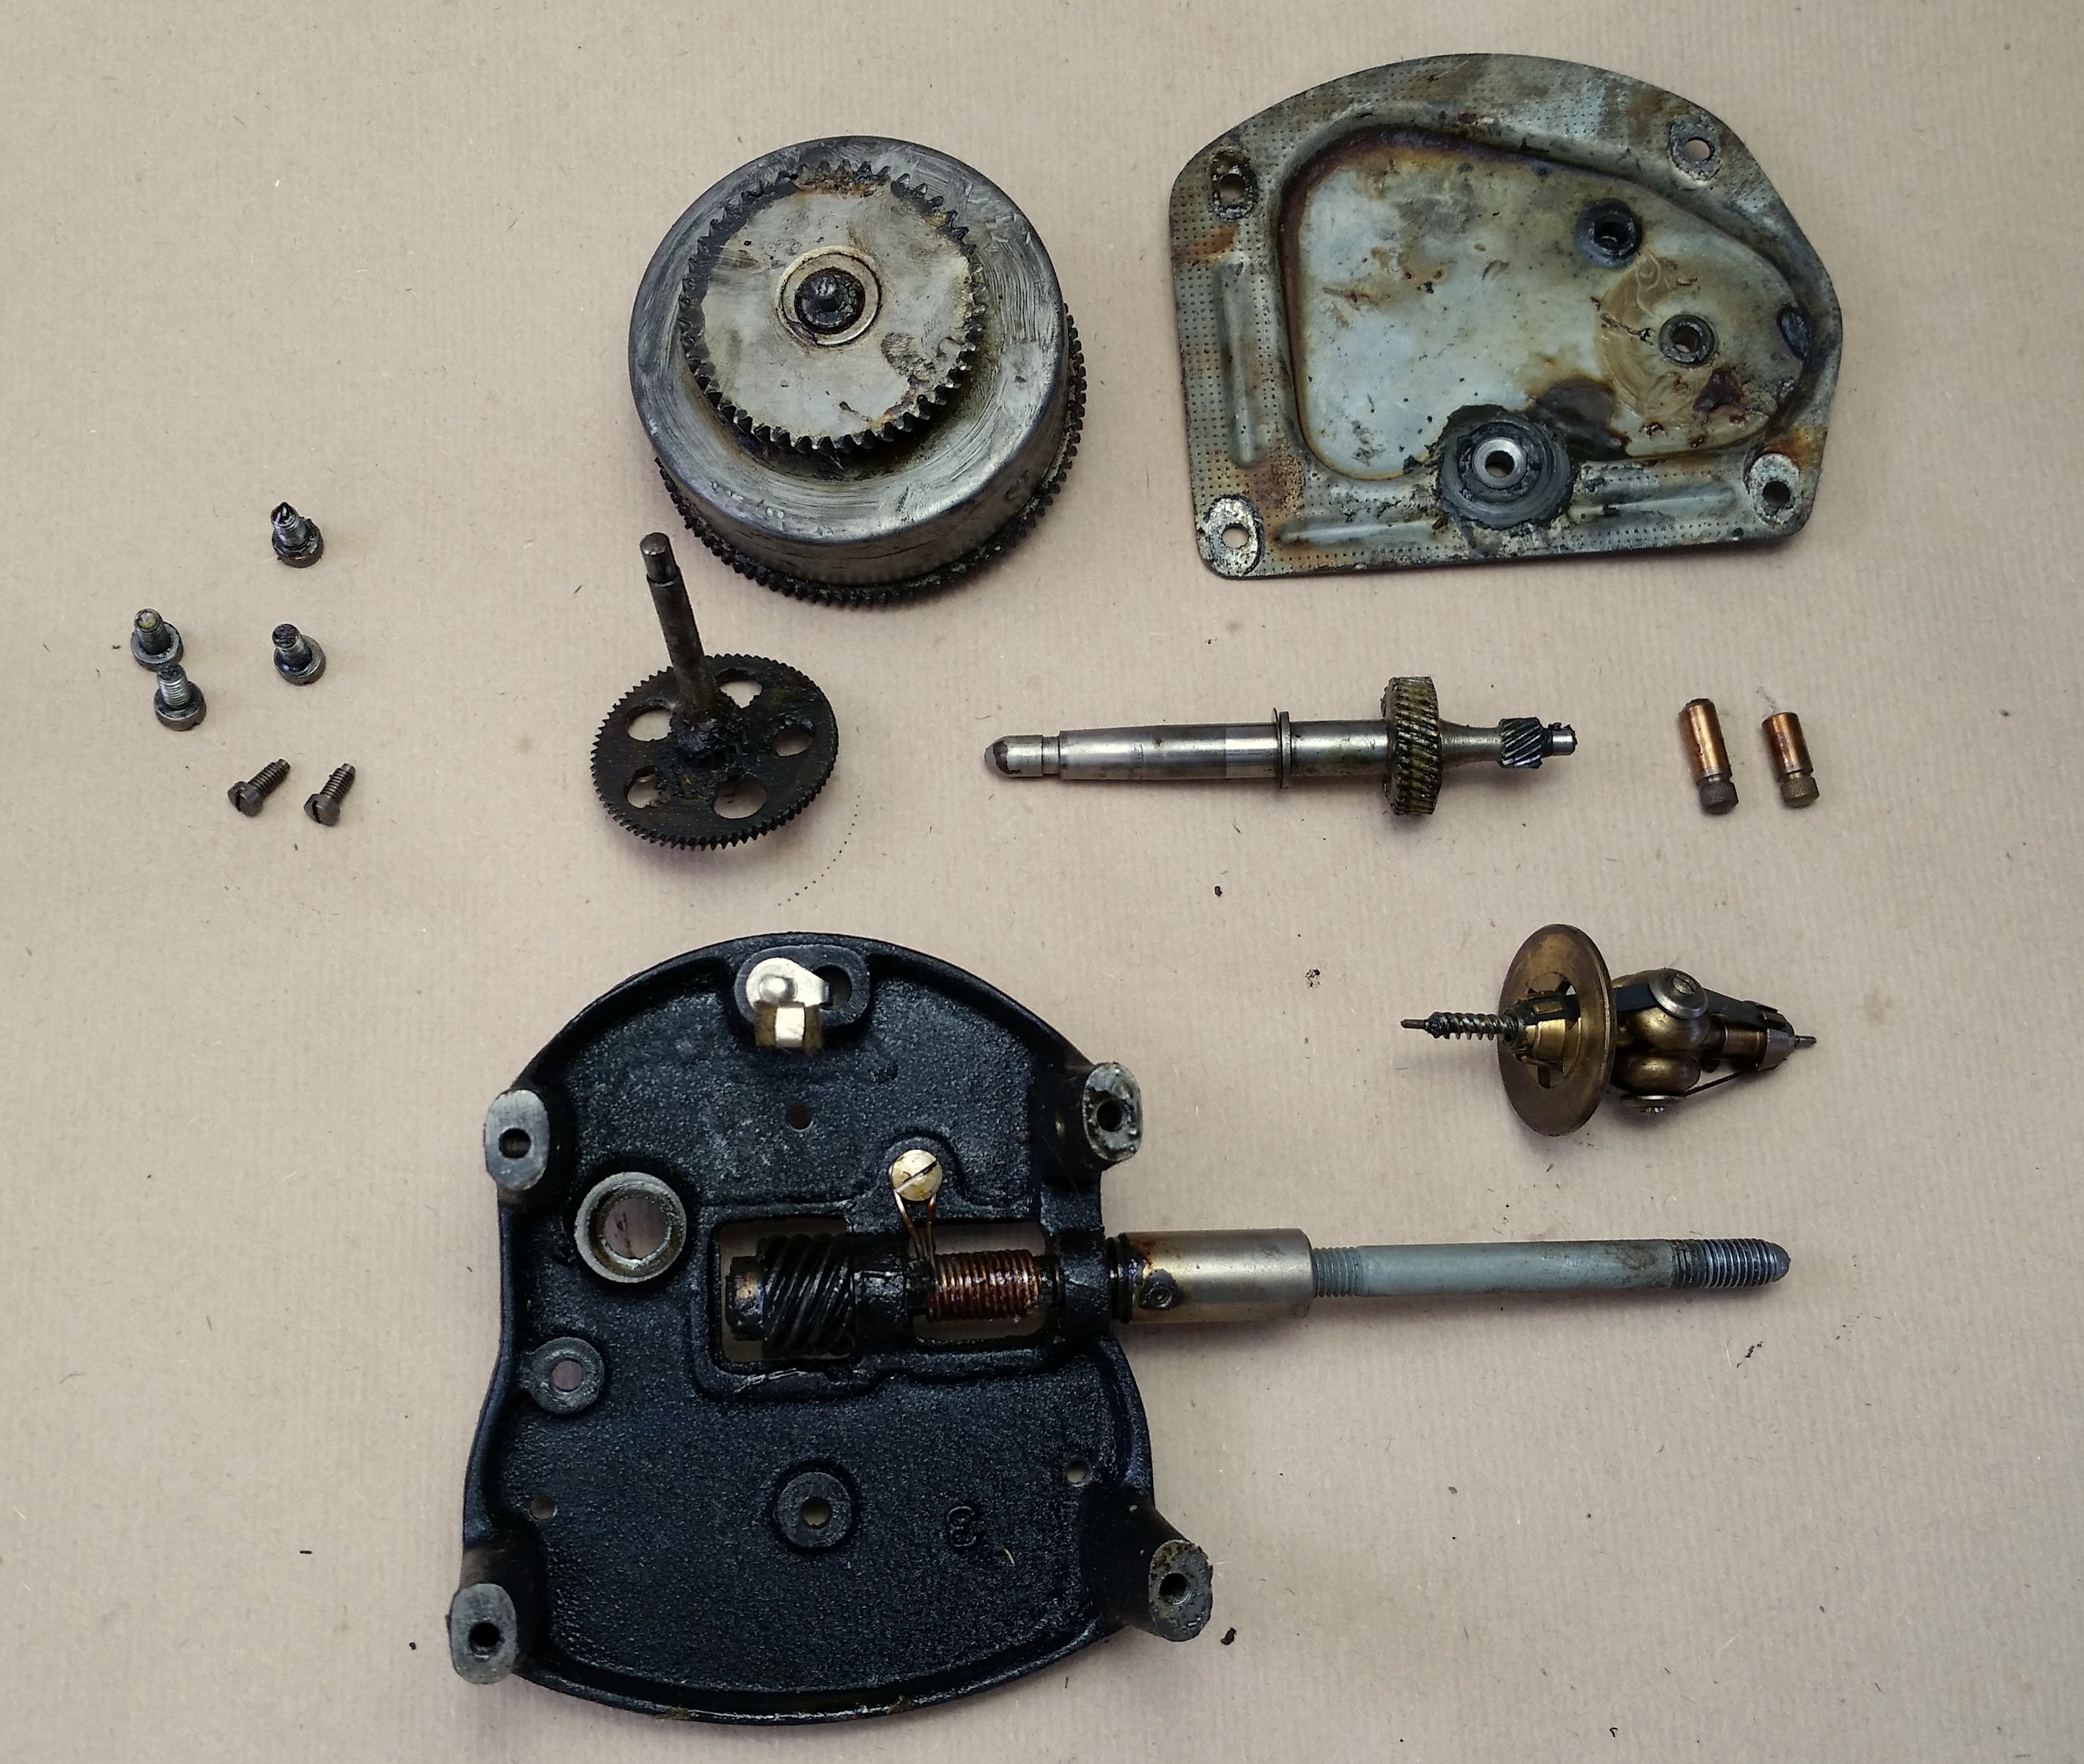
    These old machines are really simple to disassemble, what you see is what you get, there are no tricky clips or flimsy plastic parts just easy to see plain old screws.

    Tip: Organise and mark your screws (or take photos) as you disassemble because although a lot of them might look the same they can be different lengths and this will cause a big headache when you've finished painting your case and drive a long screw through your brand new finish.

    Separate all the components into batches depending on what needs to be done to them:

    • Parts that need to be painted
    • Parts that need to be polished
    • Motor assembly
    • Parts that need to be wrapped
  • 3
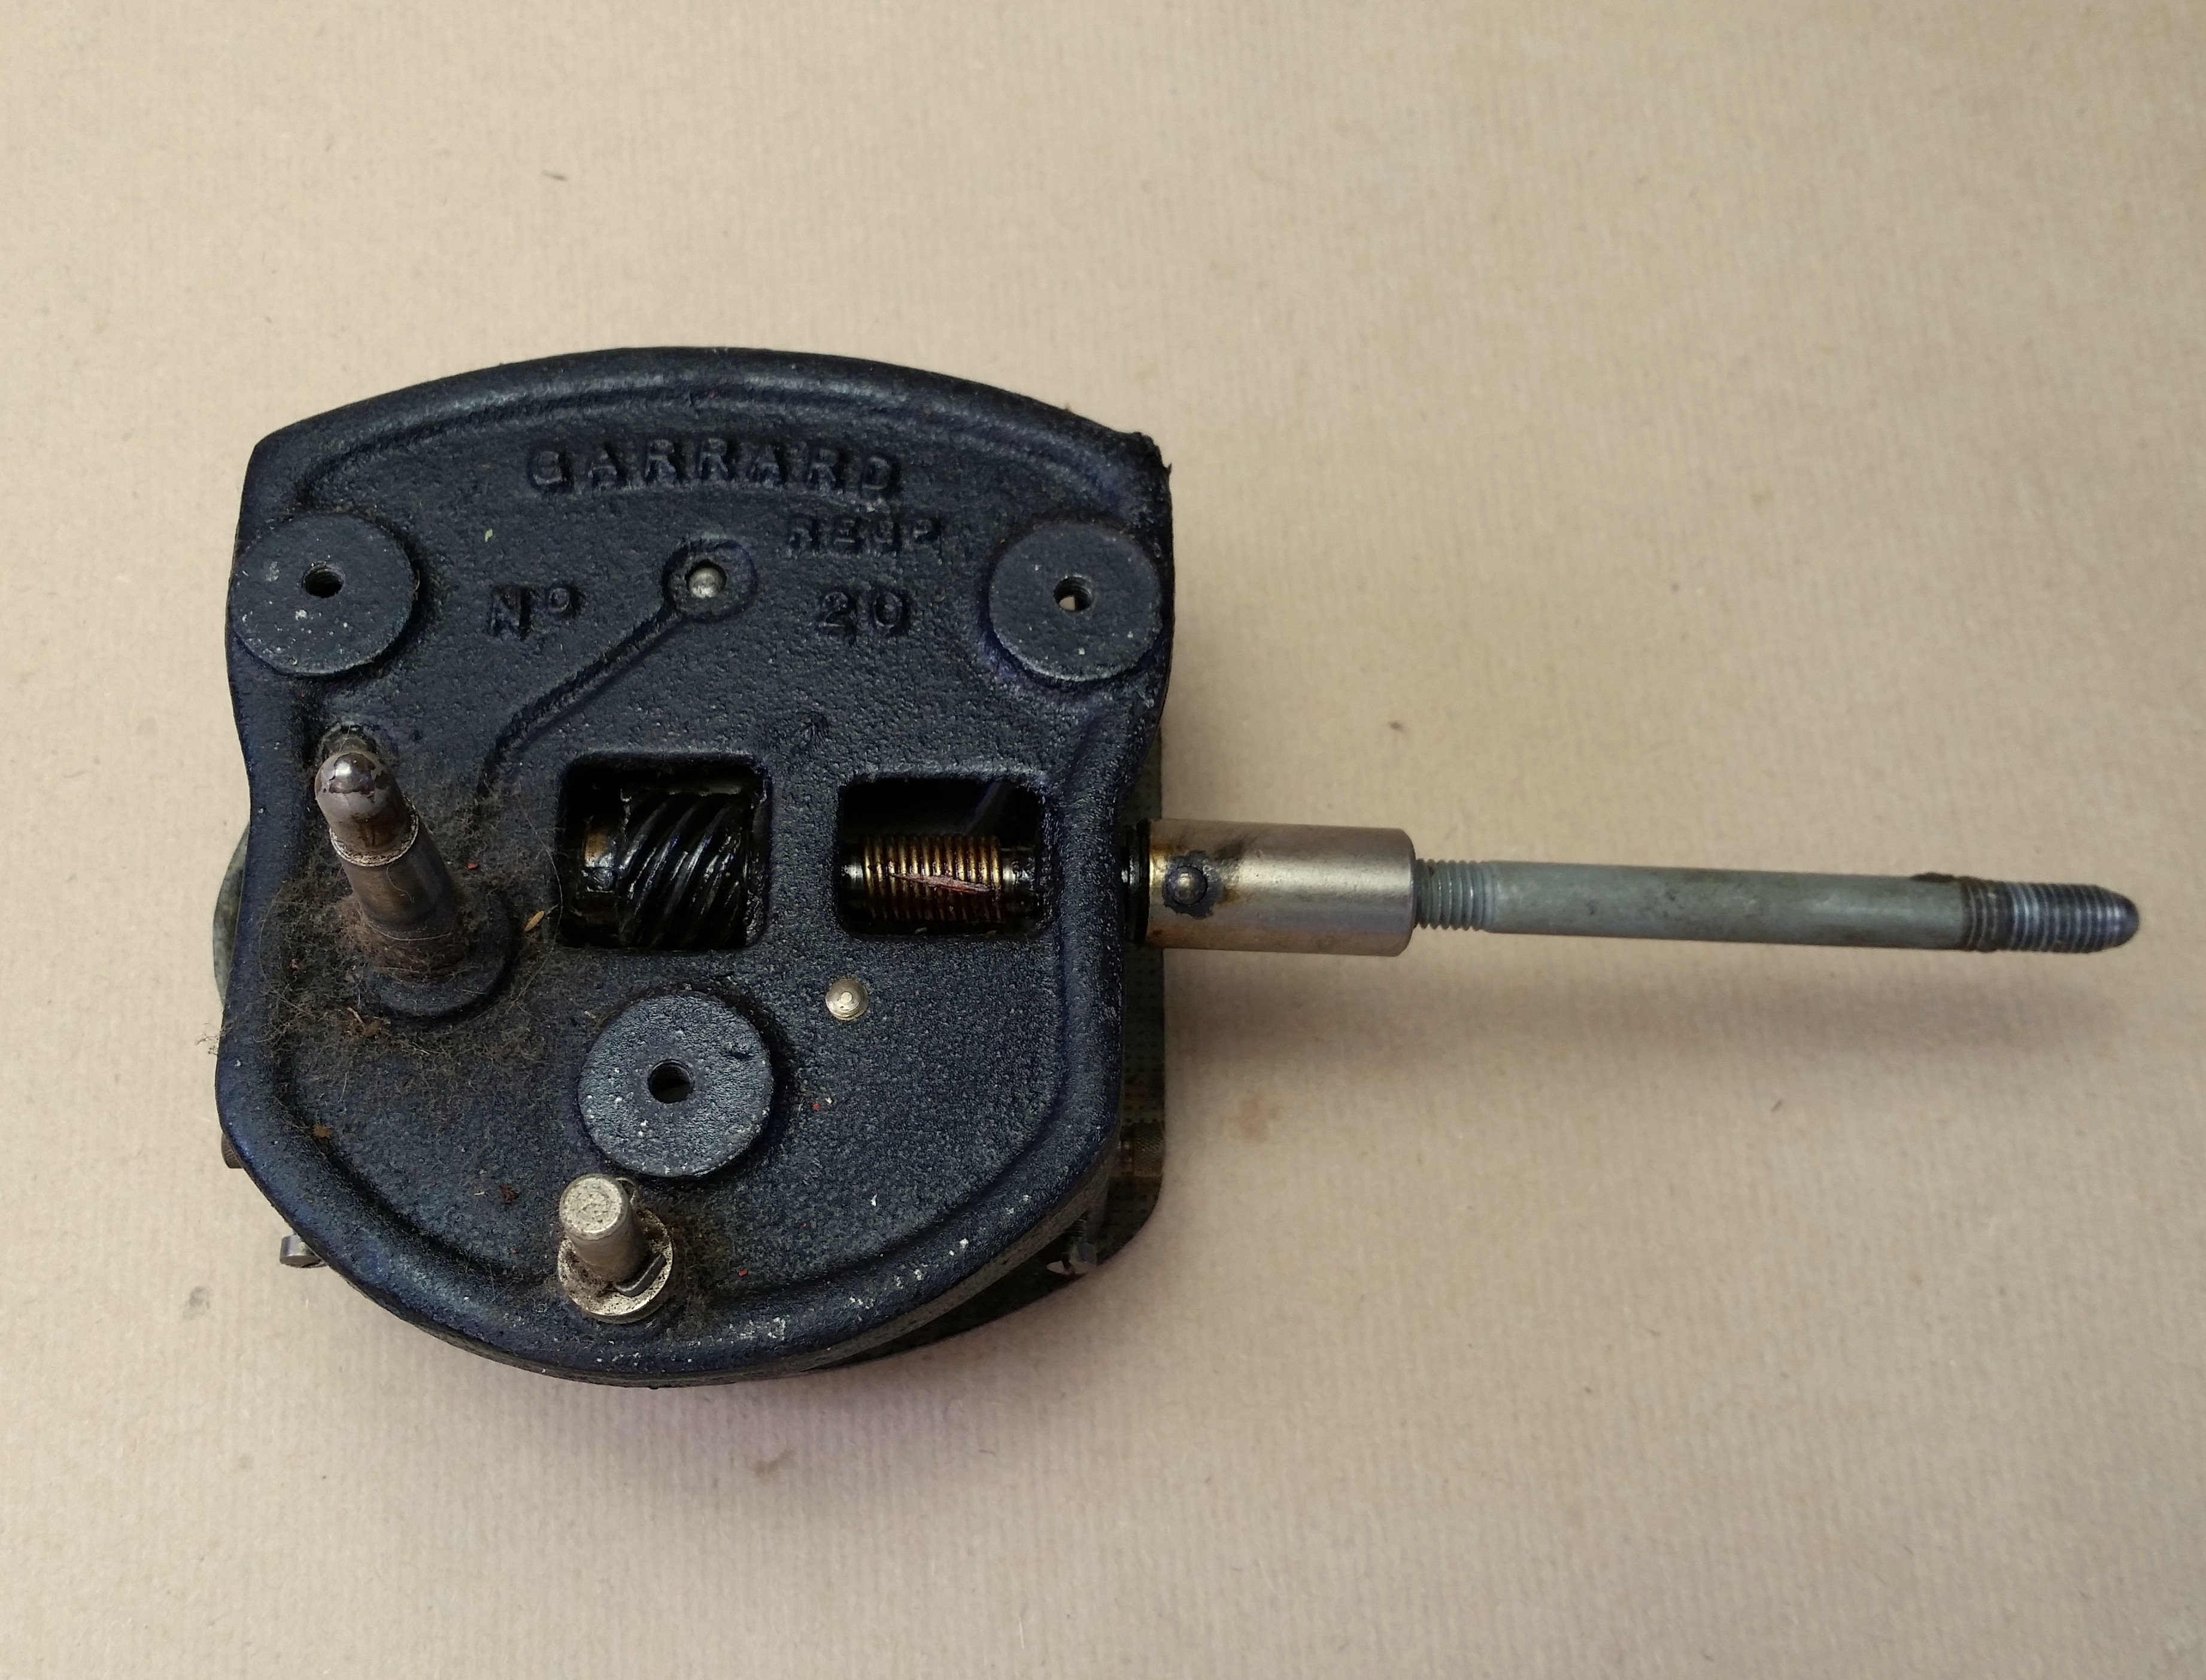
    The Motor Assembly:

    This is the part that will require the most elbow grease, actual grease and concentration.

    Most of the portable gramophones I have repaired share the same basic motor design, some might look a little different but the working principal remains the same. It might seem intimidating at first but once you start taking it apart you'll realize how simple it really is. JUST DOCUMENT THE DISASSEMBLY WELL!

    If you are struggling at any stage you can search for the motor model on Google there are a lot of resources available, also feel free to leave me a message and I will try to help where I can.

    Once all the parts have been disassembled I placed everything in degreaser and left it for a few hours to do it's magic.

    Rinse everything and dry well, to prevent any rust I just sprayed everything with some white lithium grease and wiped it down.

    > Here is an excelent video on YouTube on how to service the main spring <

    Now there are quite a lot of conflict on the internet regarding what to use as lubricants... Do we use modern lubricants or do we stick to Edison's recipe of petroleum jelly mixed with graphite...

    Well personally I think we are miles ahead with lubrication formulations and prefer to used modern lubricants. For my projects I like to use a Moly Lithium Grease for the main spring and gears and then a Fully Synthetic Gearbox Oil for all the bushings.

    Reassemble the motor and then store it in a plastic bag.

View all 16 instructions

Enjoy this project?

Share

Discussions

Similar Projects

Does this project spark your interest?

Become a member to follow this project and never miss any updates