 W. Jason Altice
-
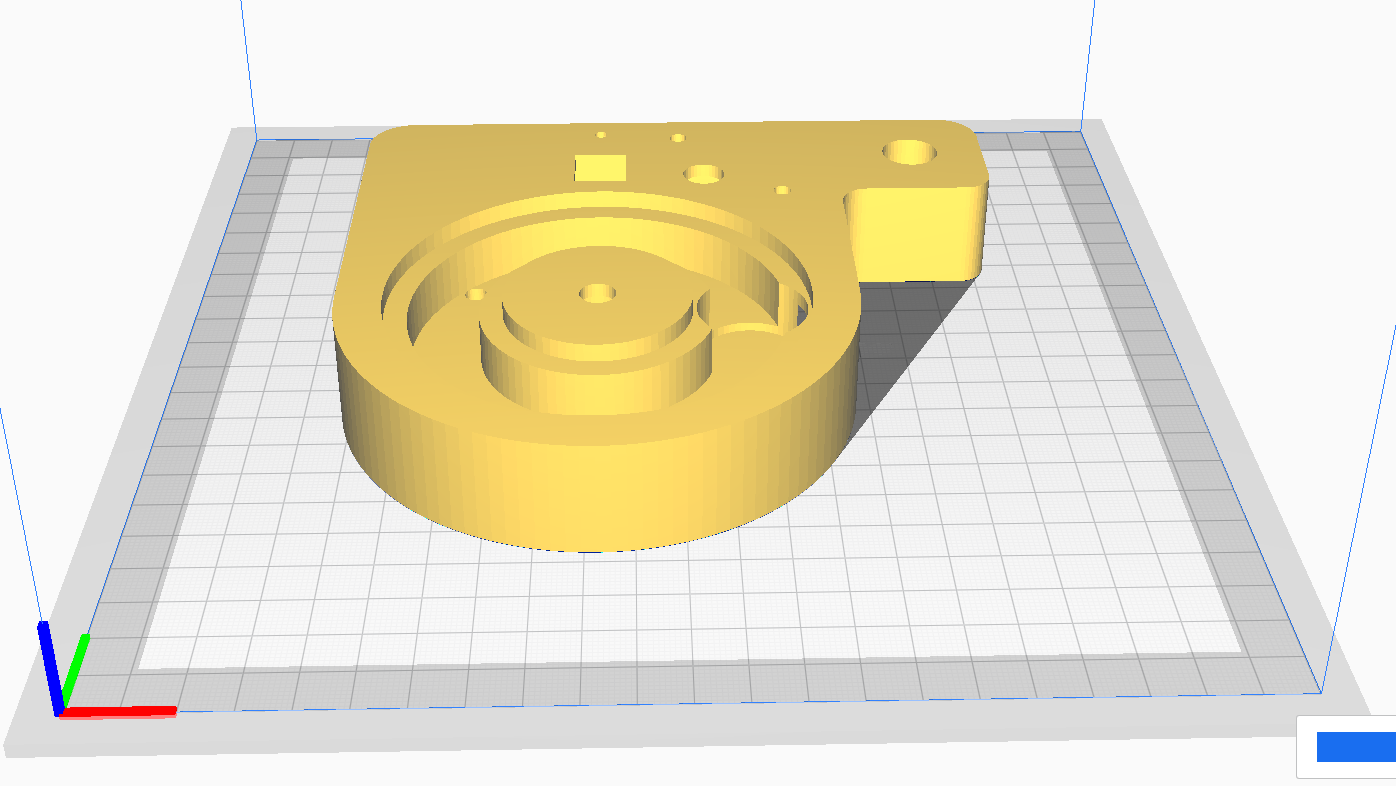
1Print out parts
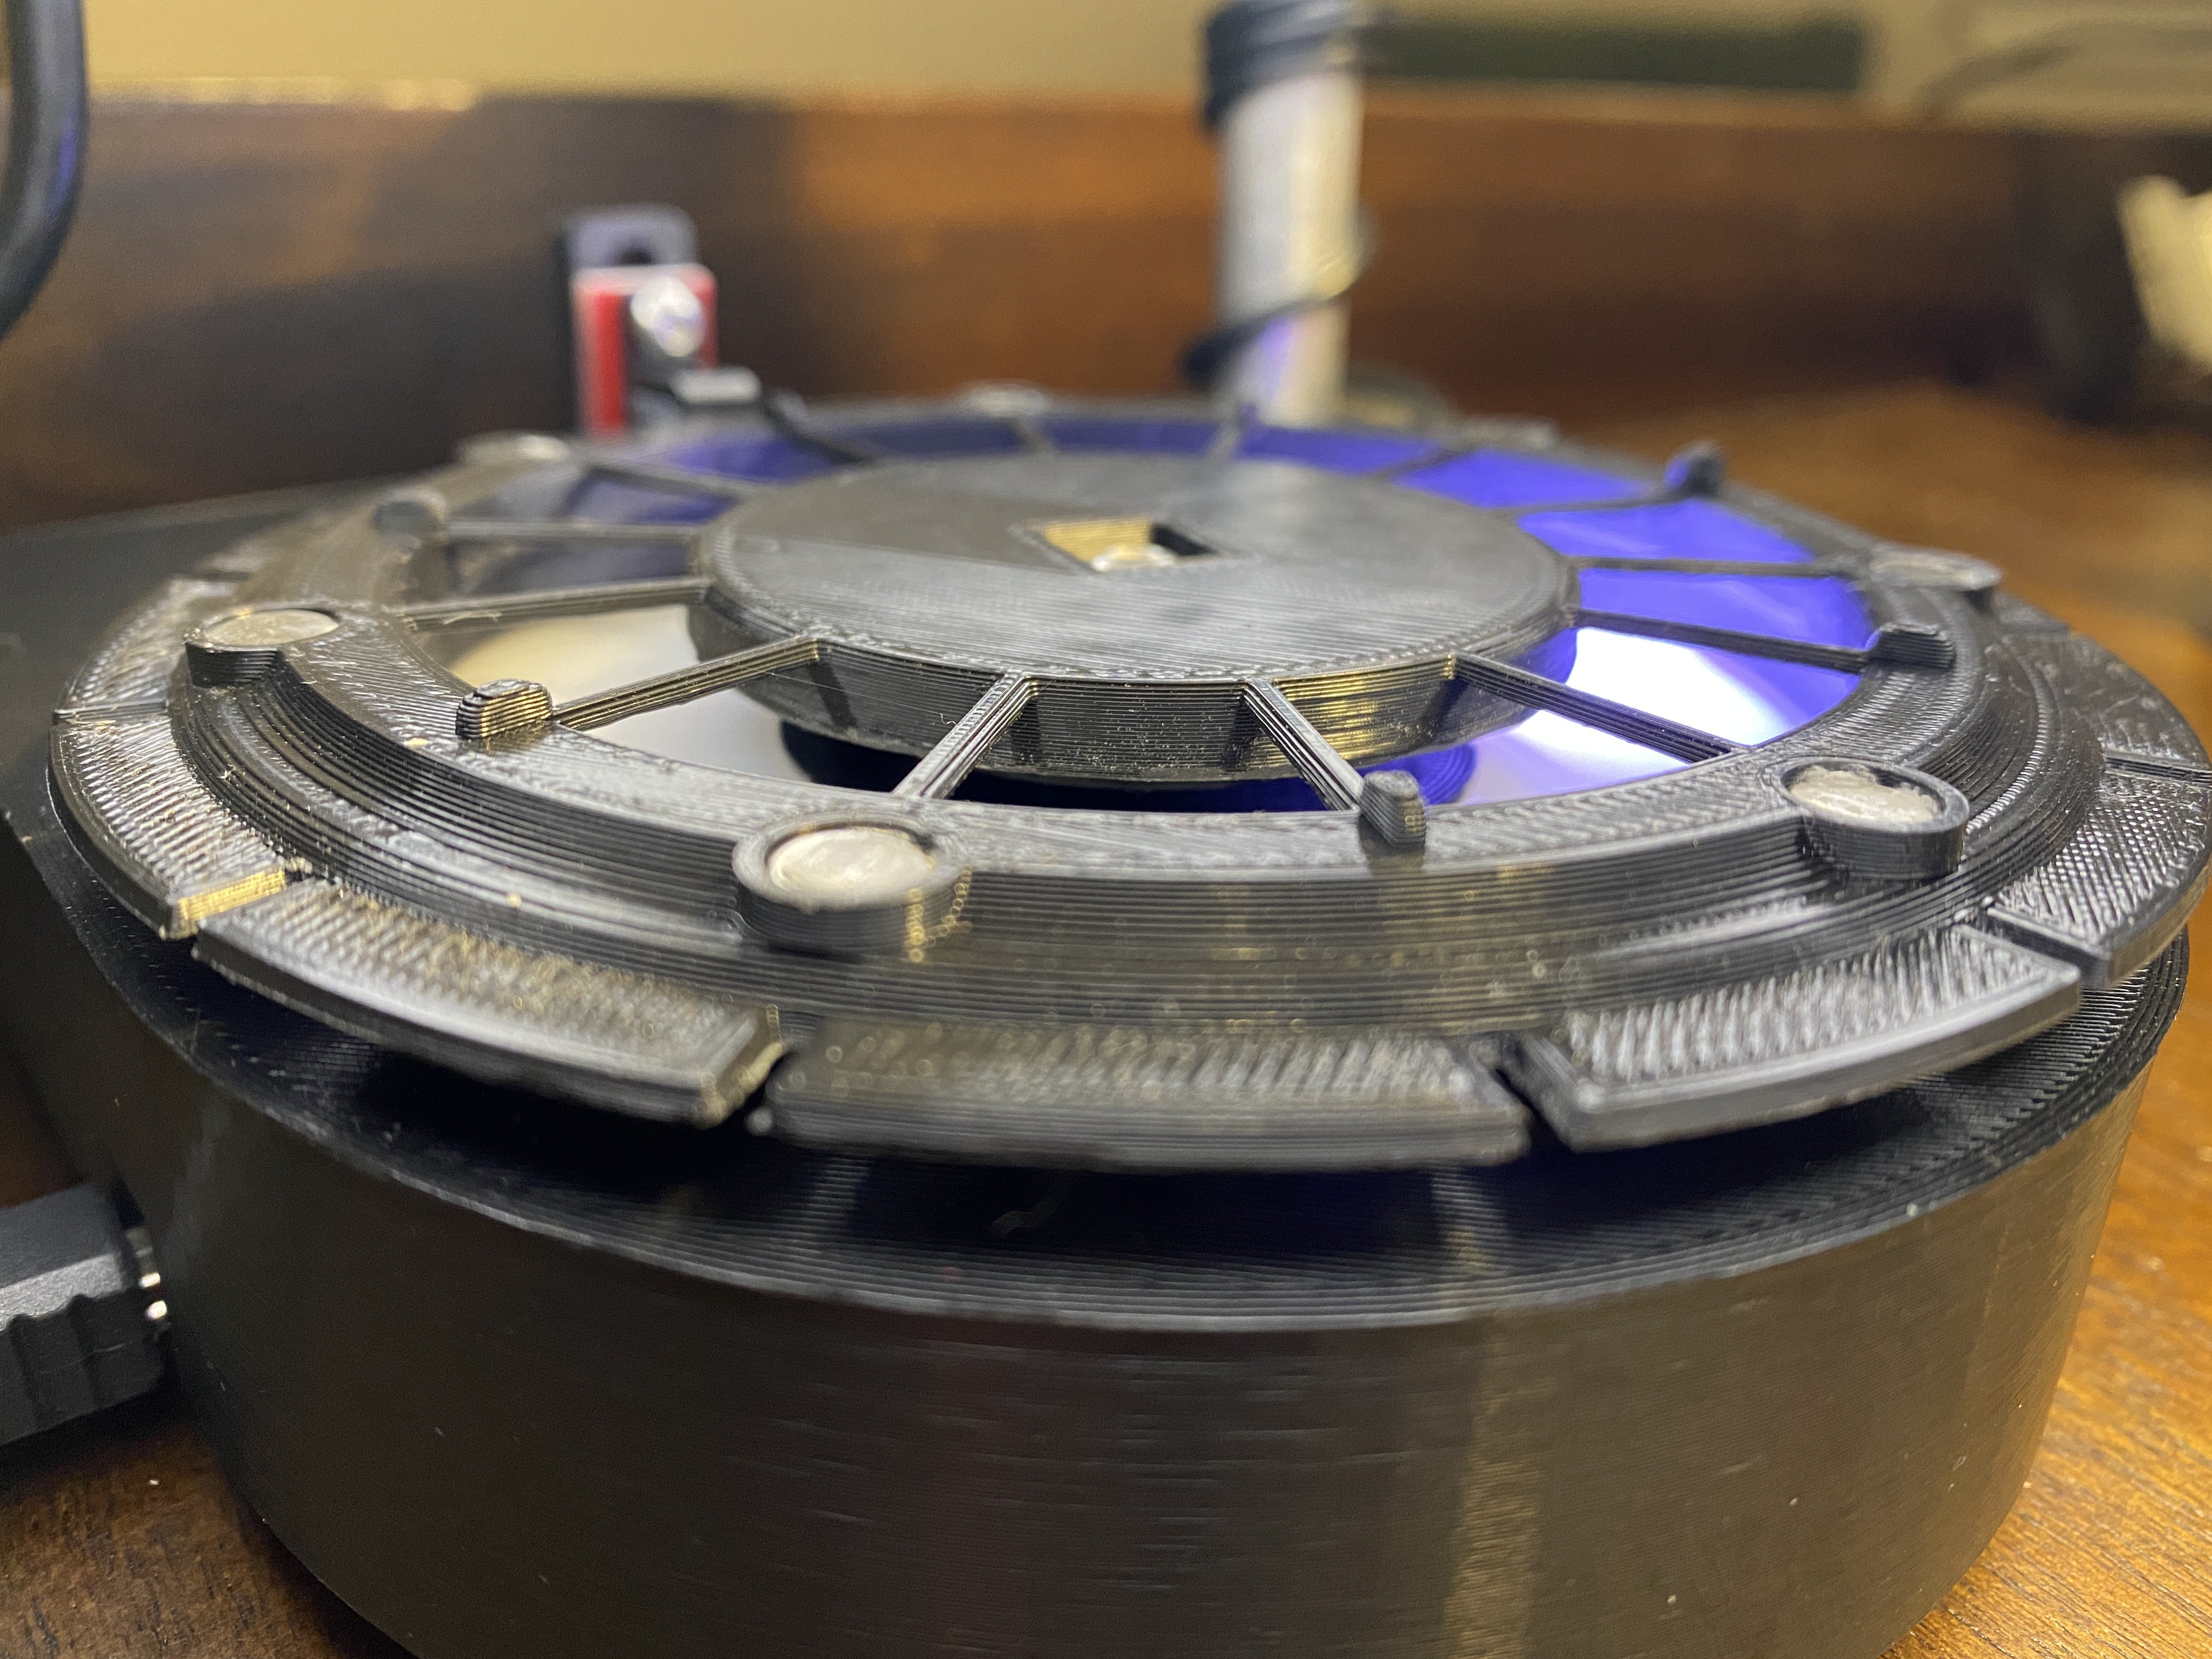
There are several parts that need to be printed. Small screws are also required. All of the parts to print are in the Github link in this project. The platform, pictured below, is ok to use with the JEWEL LED and the ring LED.
-
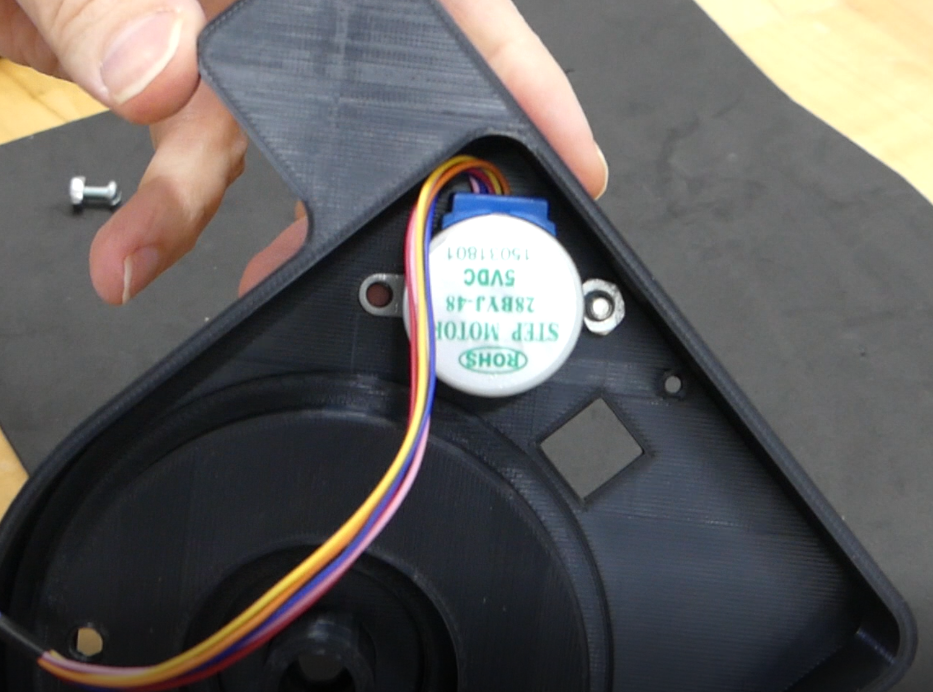
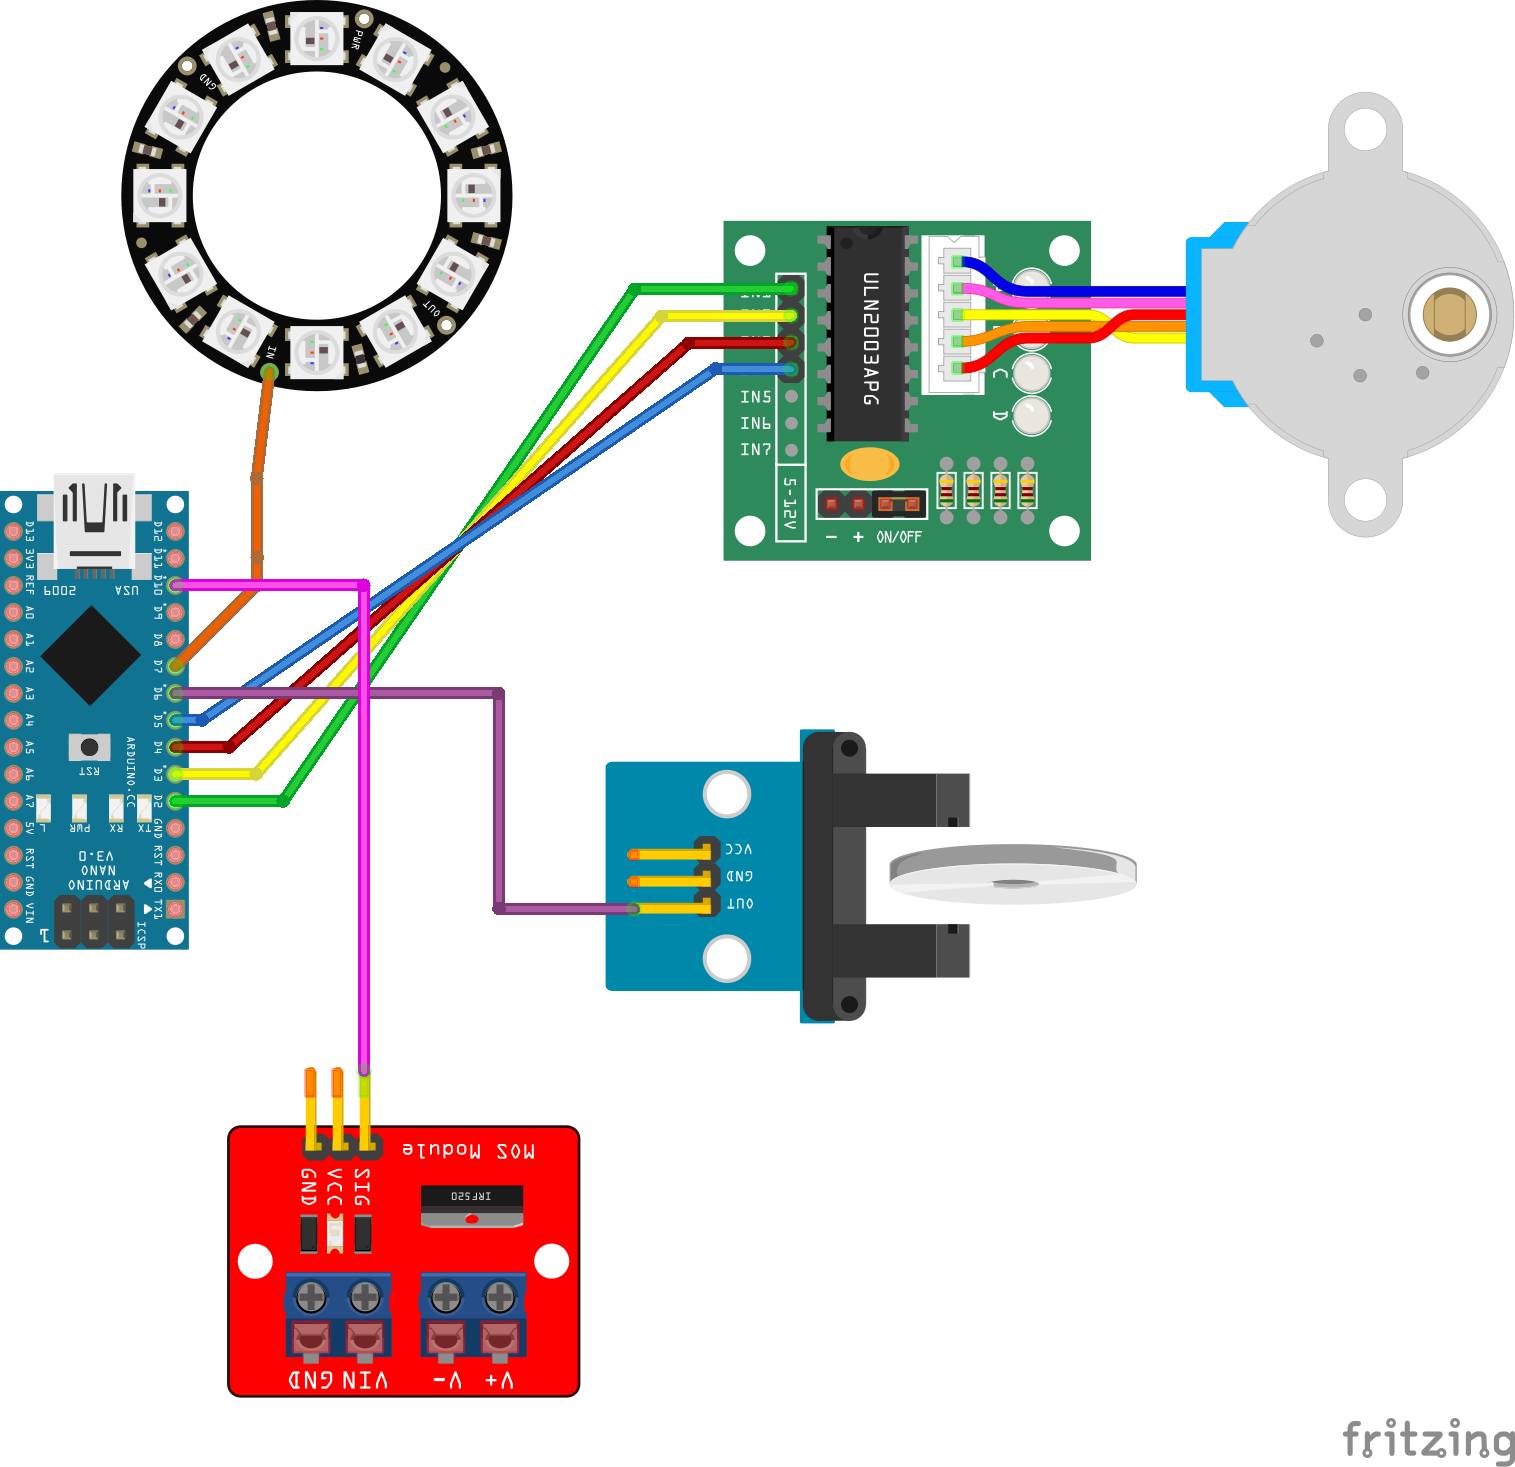
2Install Stepper Motor
Install the stepper motor and attach it with two screws. You will also have to install the stepper motor driver. This can be mounted in the opposite corner.
-
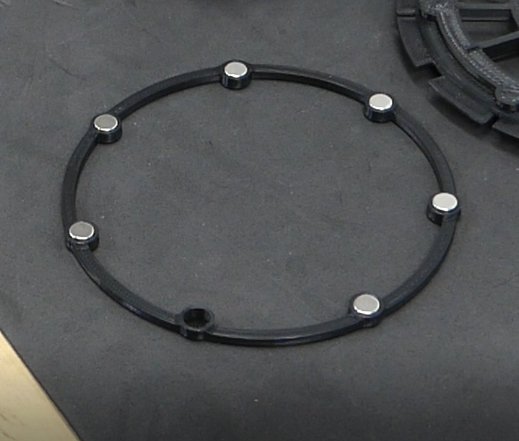
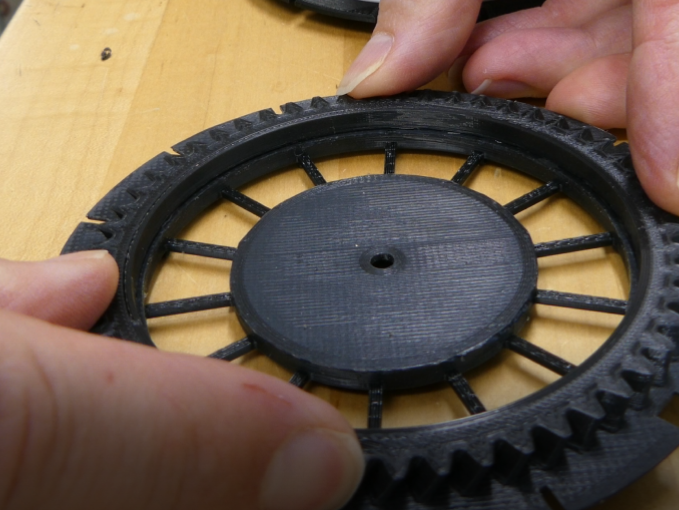
3Add the Magnets to the reel ring and mount
This reel ring will help hold the reel flat. I used a dab of super glue to hold them in place. Be sure they are all positioned in the same orientation so that they will be attracted to the reel mount. Easiest way is to insert all the magnets into the ring, then attach magnets to the underside of the ring. Use this to press the magnets into the reel mount.
-
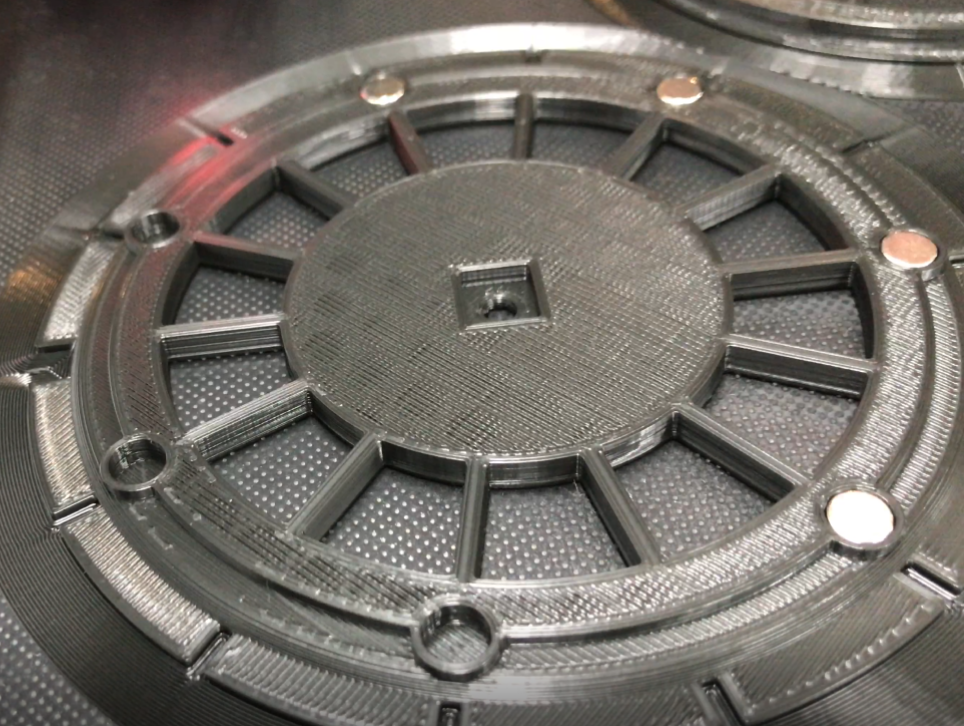
4Helical Gear
Mount the helical gear to the reel mount. Be sure to get it as centered as possible. I printed out a template to center the gear exactly.
-
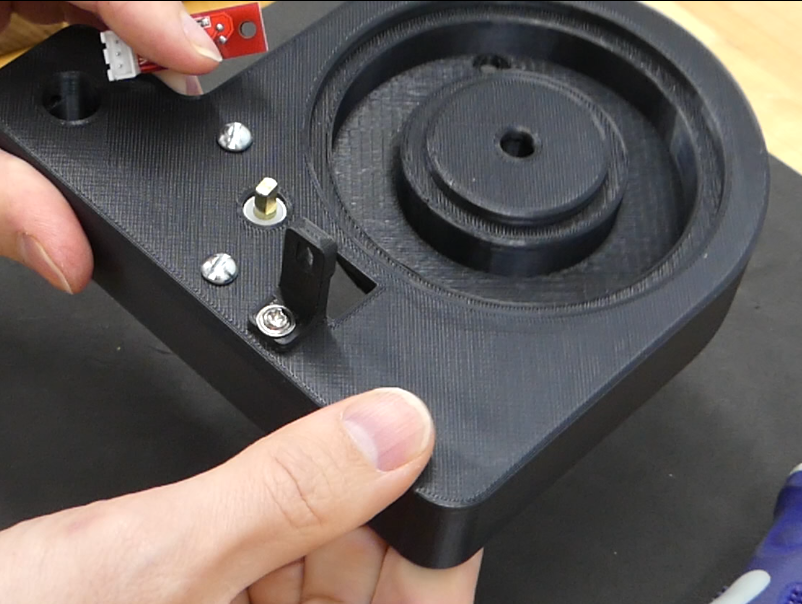
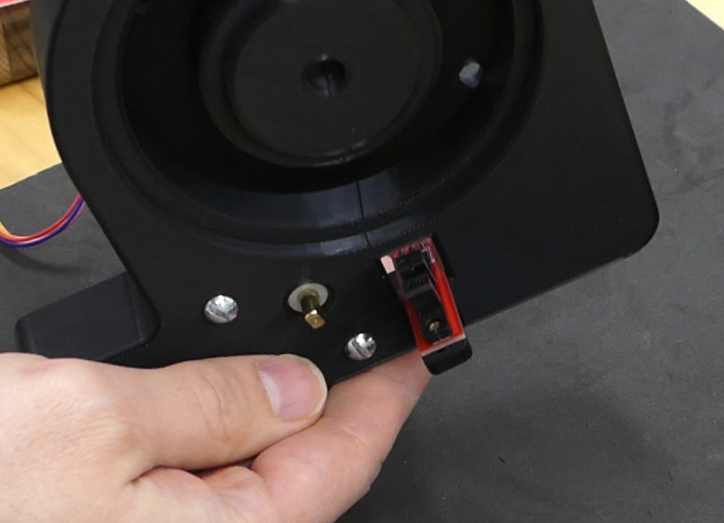
5Install the position sensor
Place and fasten the optical sensor mount onto the platform.
Next install the position sensor to the mount and plug it in. The signal wire will go to pin 6.
-
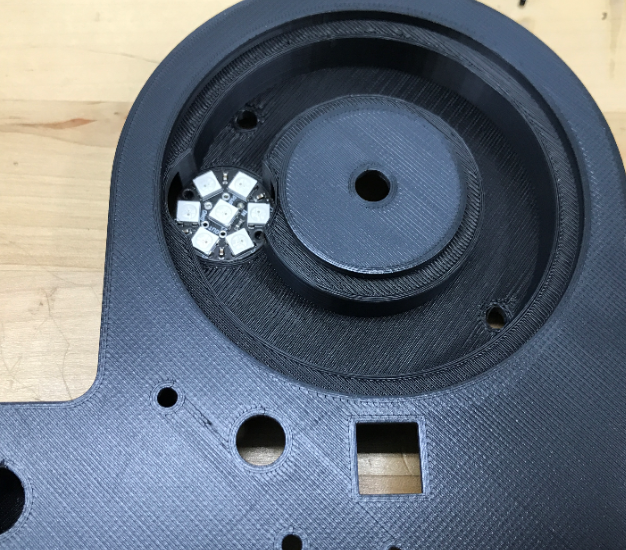
6Install the backlight LED
There should be 3 wires for the backlight LED. Pass these through the platform and secure the LED to the platform. The jewel LED fits very snug in the platform, no glue is necessary to hold it into place. The control wire will connect to pin 7.
-
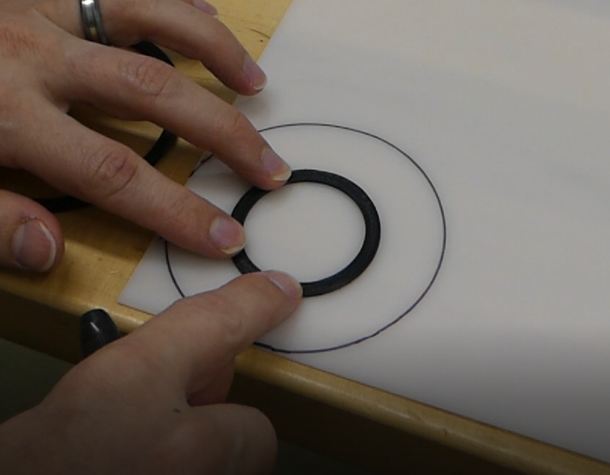
7Cut out diffuser
Using the diffuser trim rings, trace and cut out a diffuser lens. Trace the outside of the larger ring, and the inside of the smaller ring to make the cutout as shown. I used a coping saw and the cut doesn't have to be perfect because these trim pieces will cover small mistakes.
The material in use is called Hi Density Polyethylene.
![]()
Place the diffuser over the Jewel LED module, then glue into place or let gravity hold it for you.
-
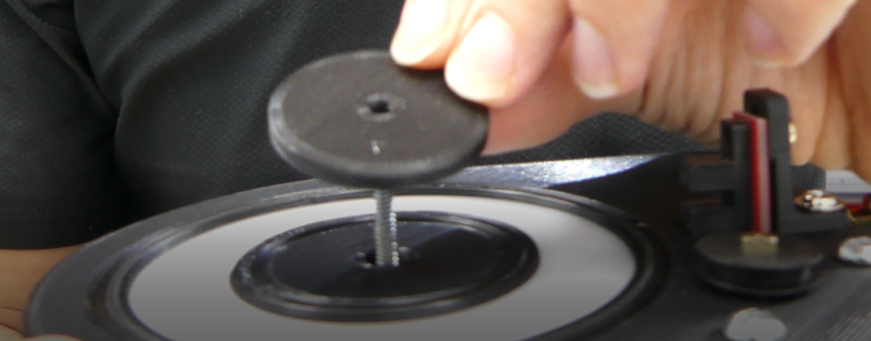
8Install Reel Mount
Press a bearing into the center of the platform and then a longer screw. About 2" in length. I cut the screw to size.
While holding the screw in from the backside, place the reel mount support over the axel.
![]()
-
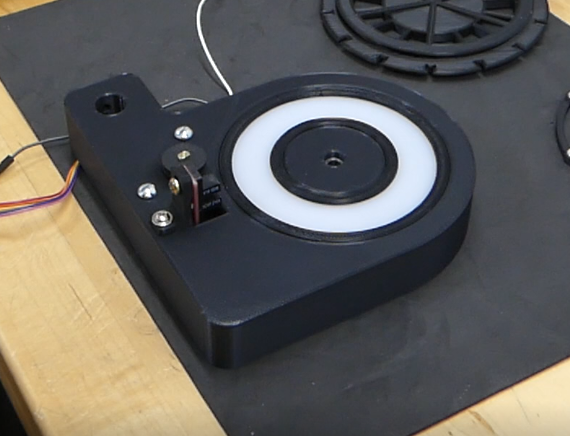
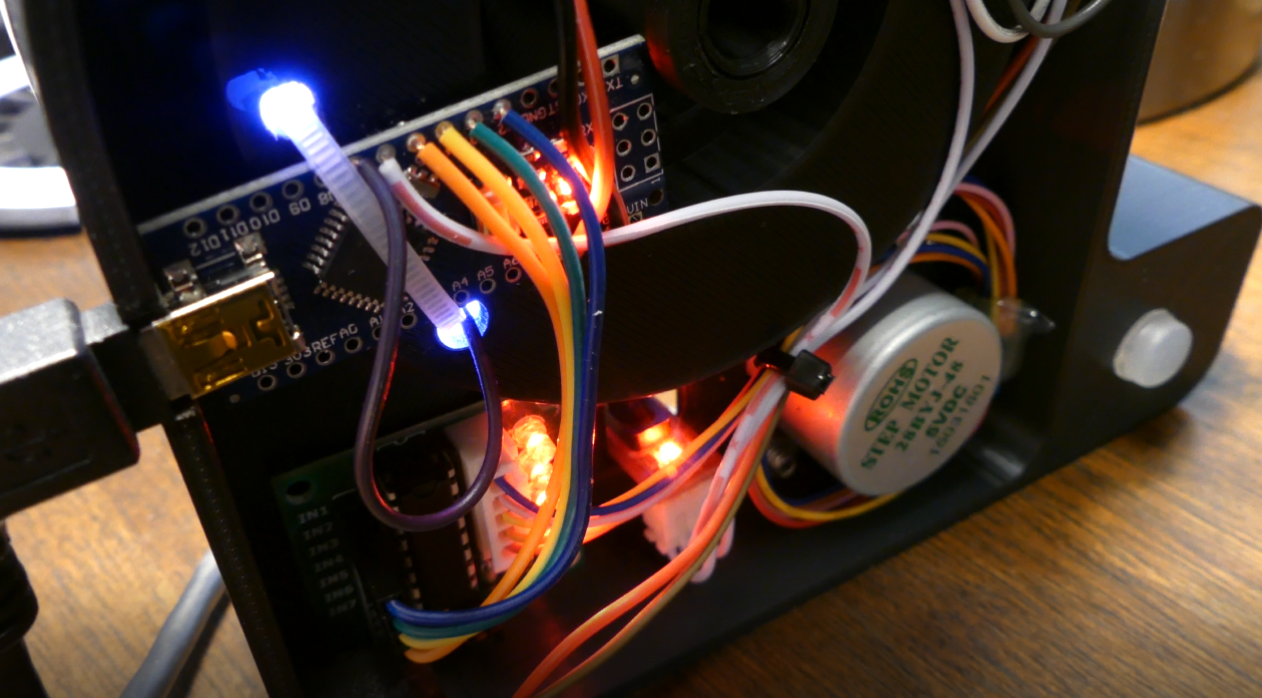
9Install the Arduino Nano
Connect all of the wires and install the Arduino as pictured. There is a little cutout in the platform for the USB port to stick out. The pinouts are as follows:
- Stepper motor 1, Pin 2
- Stepper motor 2, Pin 3
- Stepper motor 3, Pin 4
- Stepper motor 4, Pin 5
- Optical input, Pin 6
- LED Signal, Pin 7
- Spotlight 1, Pin 10
- Spotlight 2, Pin 11
![]()
-
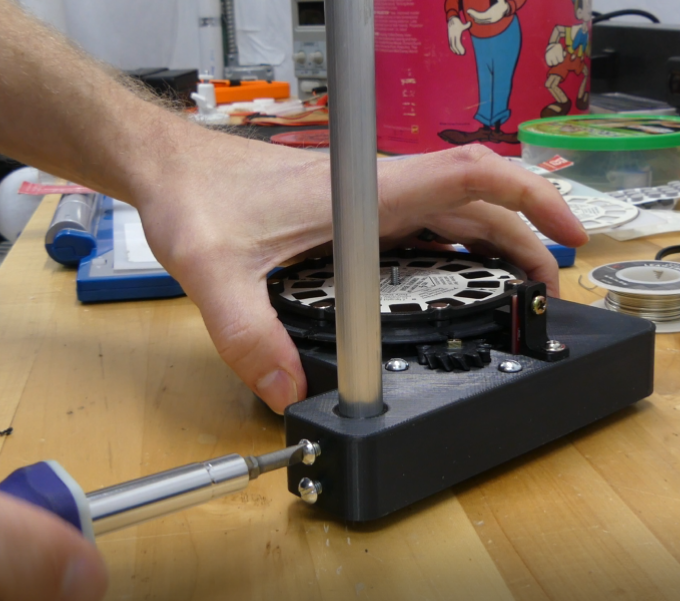
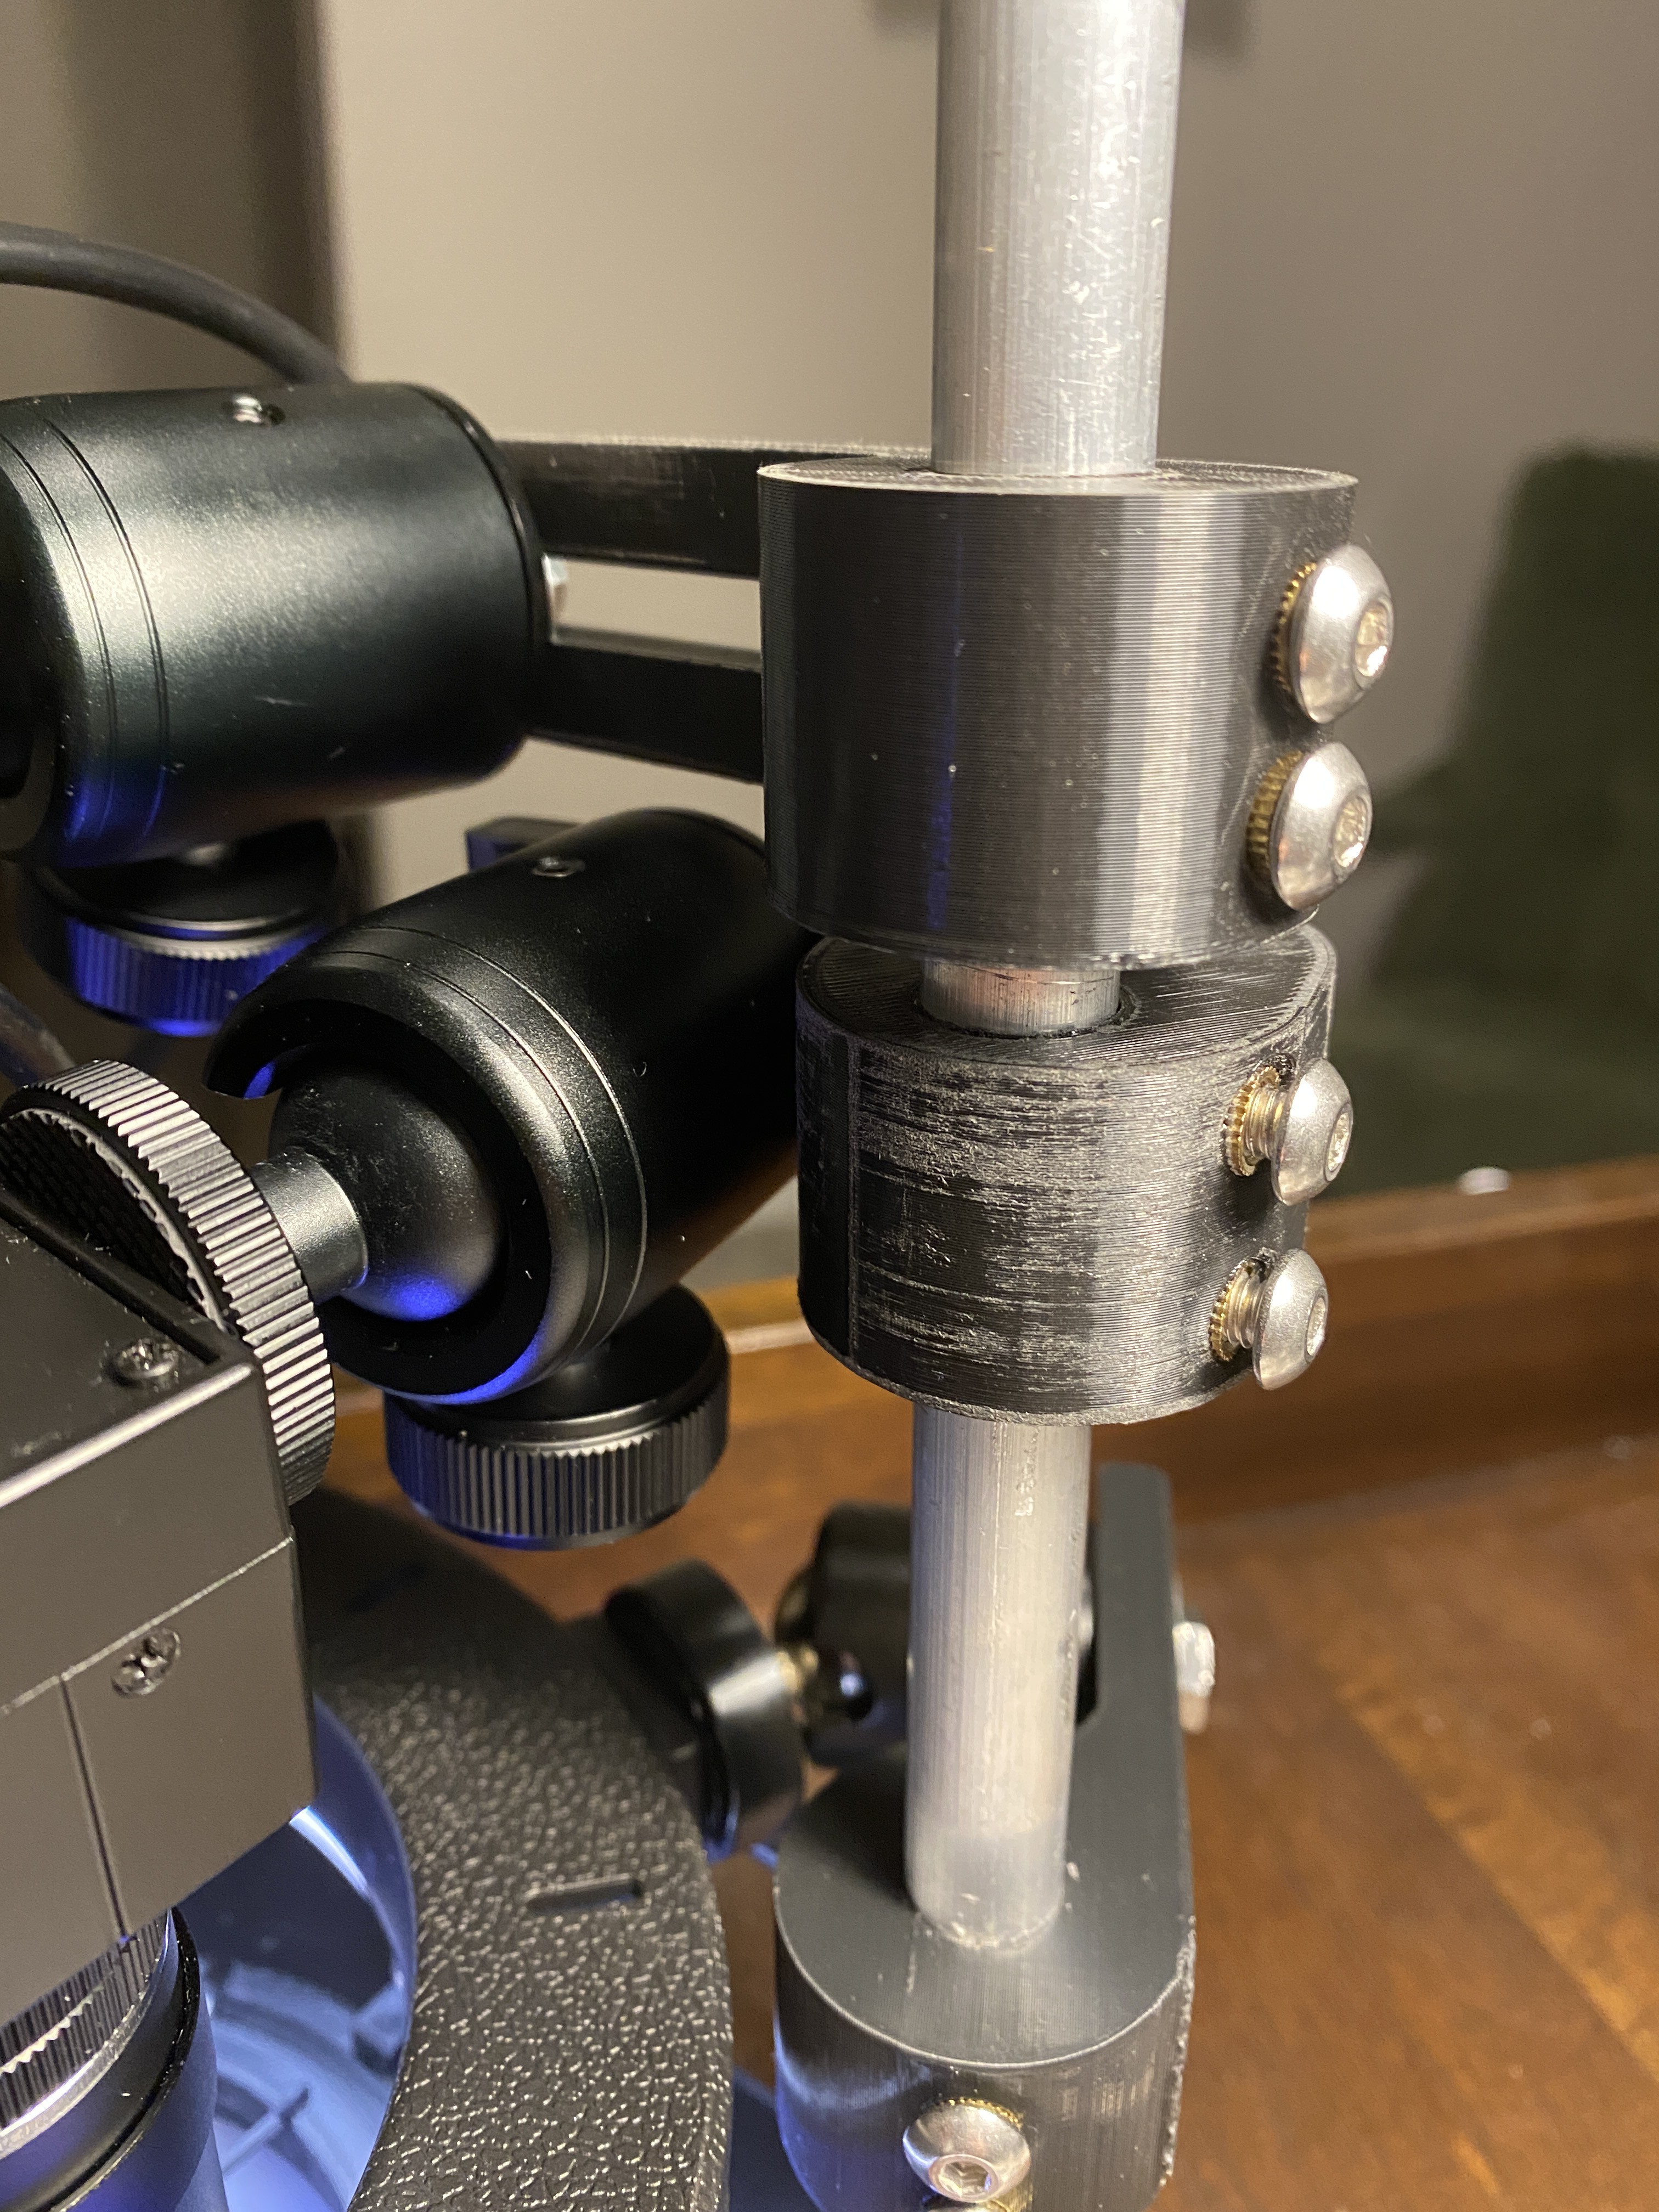
10Camera Mounts
Insert the 12" aluminum rod into the platform and secure with 2 screws. The are 8x32 screws at 1/2" length. You will need 6 of these if you use two camera mounts.
![]()
Hack it Back View-Master
Scanning and sharing old view-master reels with the world.


Discussions
Become a Hackaday.io Member
Create an account to leave a comment. Already have an account? Log In.