Close
0%
0%

Back-to-the-Future Remote Control Build

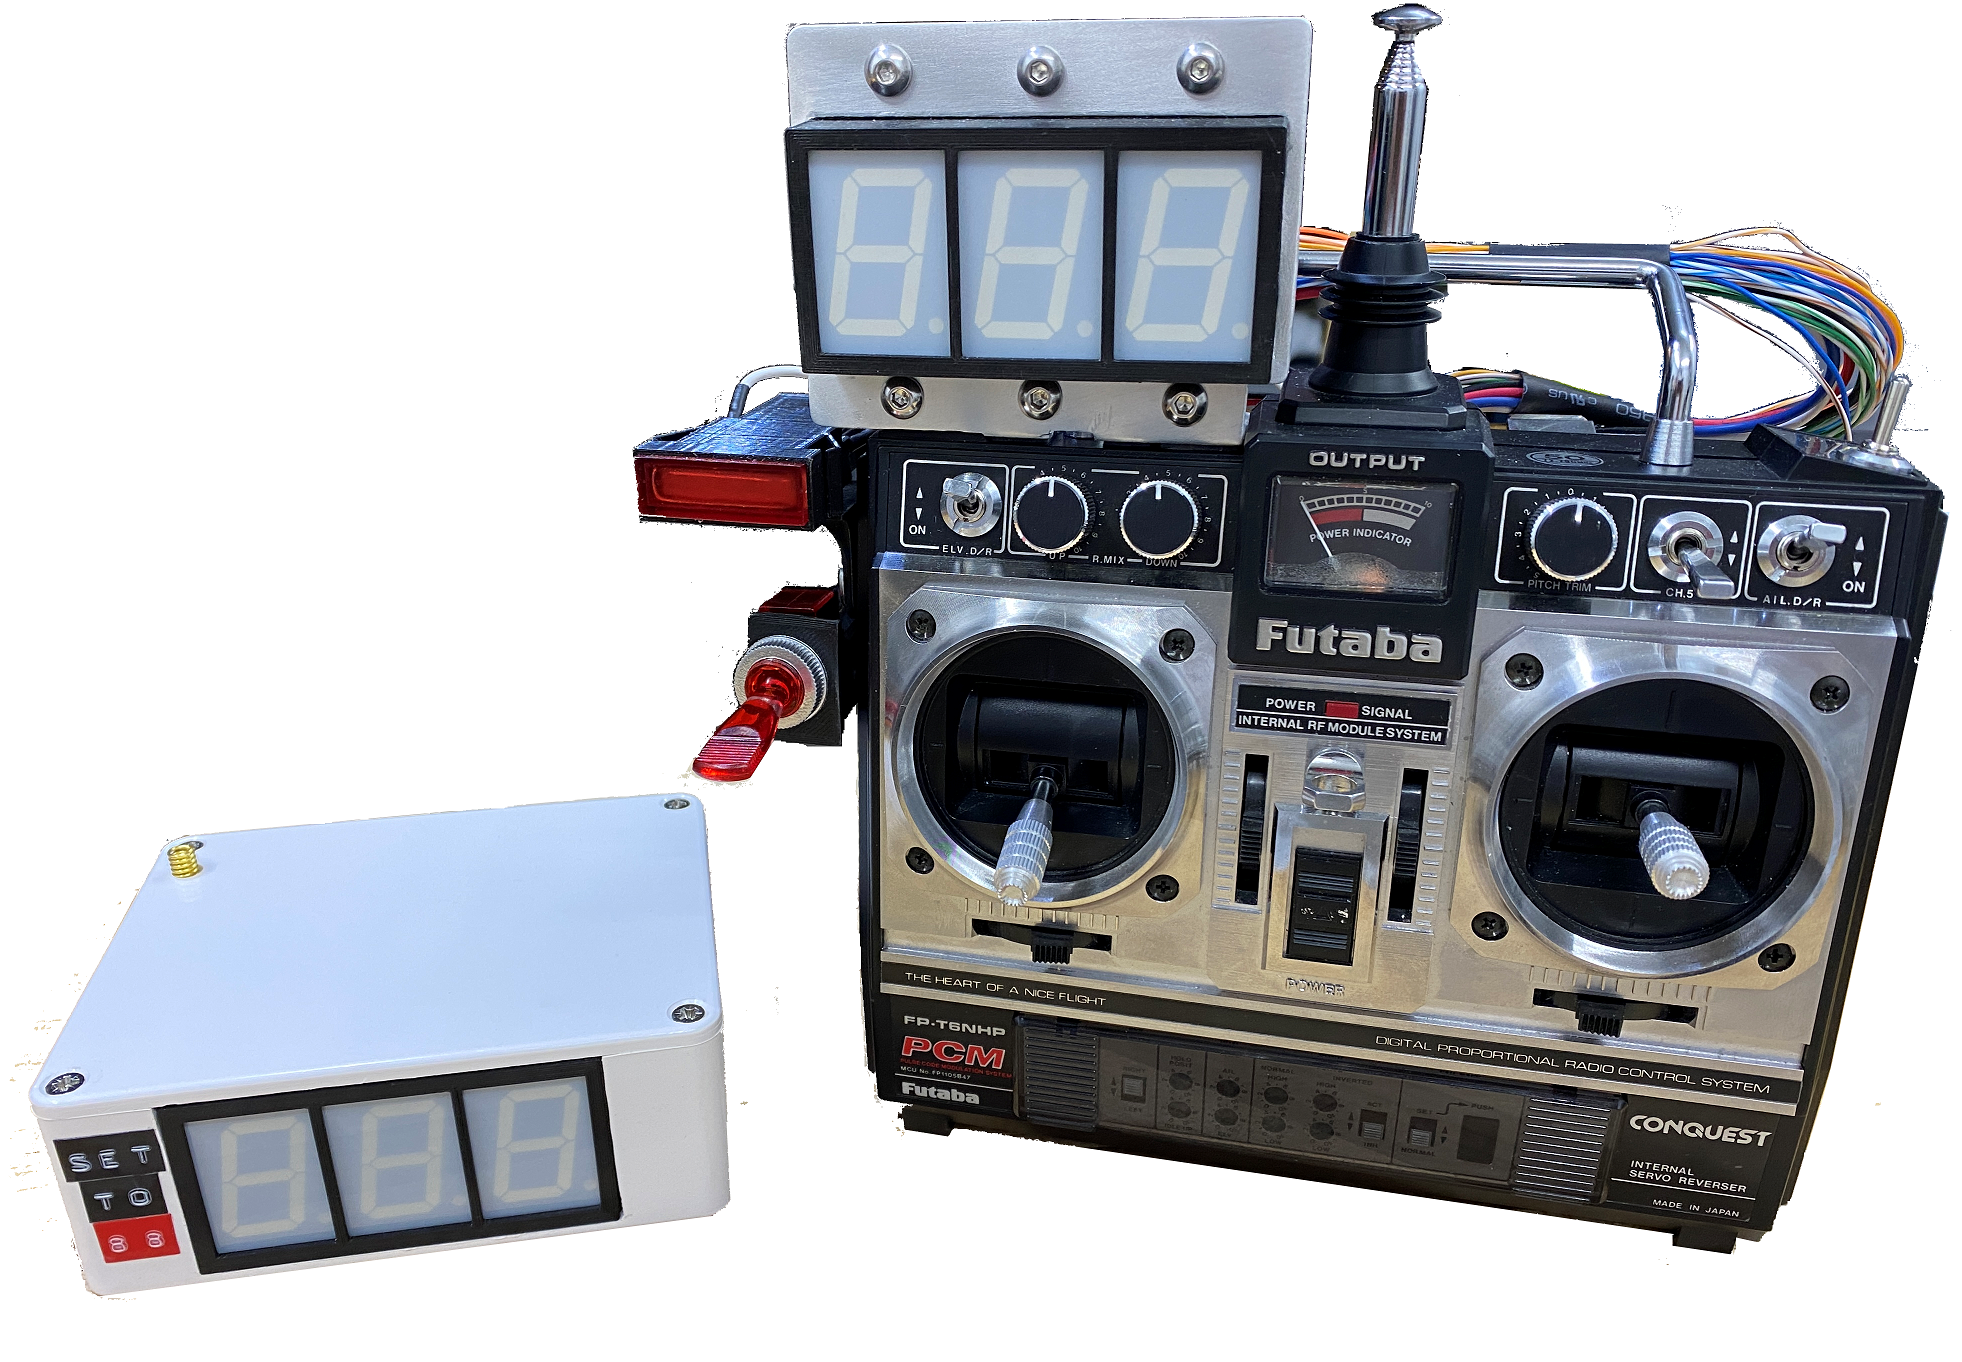
This BTTF remote control has working speed via wireless transmission from the speed box.

Public Chat
Similar projects worth following
Finally! I built a childhood dream of having the Doc's remote control in Back-To-The-Future. Now you can too!

This video took me a long while to create, partly because I rented the DeLorean from a museum and had to have my script all together before I filmed.

It was a lot of work but hopefully worth it for fellow makers like yourself to watch. Please enjoy the video and the build instructions to make your own. 👍

This project I made the Back-To-The-Future remote control with working speed. The speed is transmitted from the speed box in the car using Lora updates from GPS. 

I did my best on the remote control, however still not as good as the "Docs Prop Shop" https://www.docspropshop.org/ If you don't want to build one yourself then check out his site. 

BUT! mine does show the actual speed of the car with its speed box. The speed box was designed as in the movie too, except the 10ths digit works on mine. If you don't know what I'm talking about, the video will shed more light on it. 
I also created a build video and a parody of BTTF movie. I really hope you enjoy, it was a lot of fun to create. 

Schematic_7 Segment Large Display_2022-06-28 (2).pdf

Adobe Portable Document Format - 62.01 kB - 07/26/2022 at 17:07

Preview

TM1650.ino

Demo app to test the display using the TM1650 chip

ino - 728.00 bytes - 07/26/2022 at 17:07

Download

dispay mount v7.3mf

3mf - 28.61 kB - 07/26/2022 at 17:07

Download

switch Mount v2.3mf

3mf - 13.31 kB - 07/26/2022 at 17:06

Download

molex mount v2.3mf

3mf - 12.89 kB - 07/26/2022 at 17:06

Download

View all 8 files

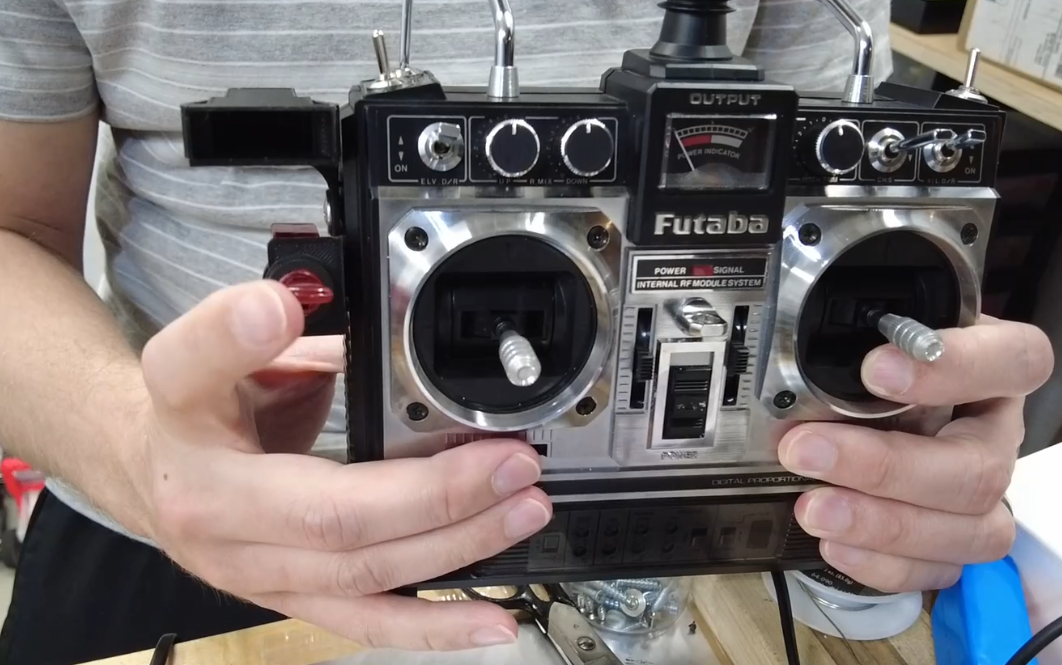
  • 1 × Vintage Style remote control No surprise, you will need a remote. Vintage style is the best because they usually have more shiny pieces on them. But the movie correct one is the Futaba PCM FP-T8SGA-P. (good luck finding that one)
  • 1 × Molex 1820 switch The big button! Molex 1820 switch. I printed mine out because these are hard to find.
  • 1 × Unibox 140 Unibox model 140. Nice little project box and movie correct too!
  • 4 × Buttons and switches for the side of the Unibox 140
  • 2 × Arduino Uno

View all 12 components

  • Audio Fumble

    W. Jason Altice07/26/2022 at 17:04 0 comments

    You will never believe the mistake I made while making this video! I rented the car and recorded for 3 hours. Got the video home and all the audio was garbage. I forgot to plug in the microphone cable into my camera!!!

    I had to rent the DeLorean a second time to get the audio! Hope the kids understand why there will be no Christmas this year.

View project log

  • 1
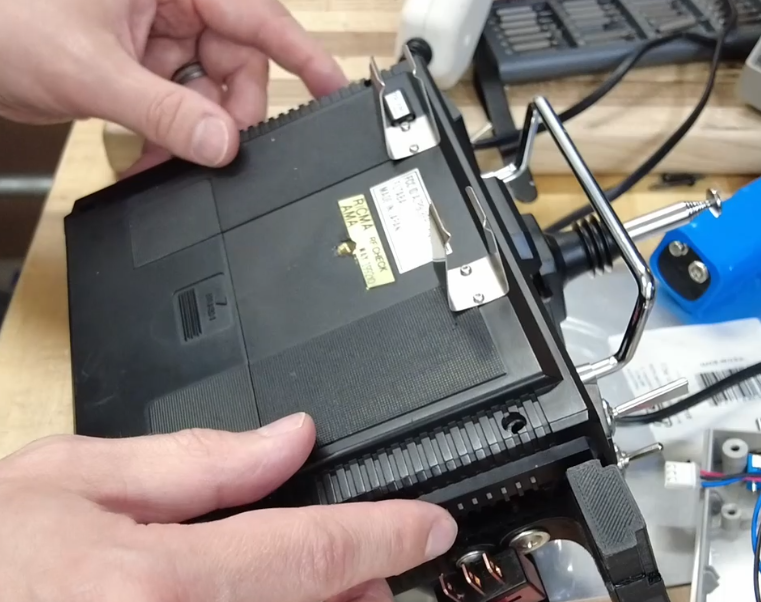
    Add mounts to remote controller housing

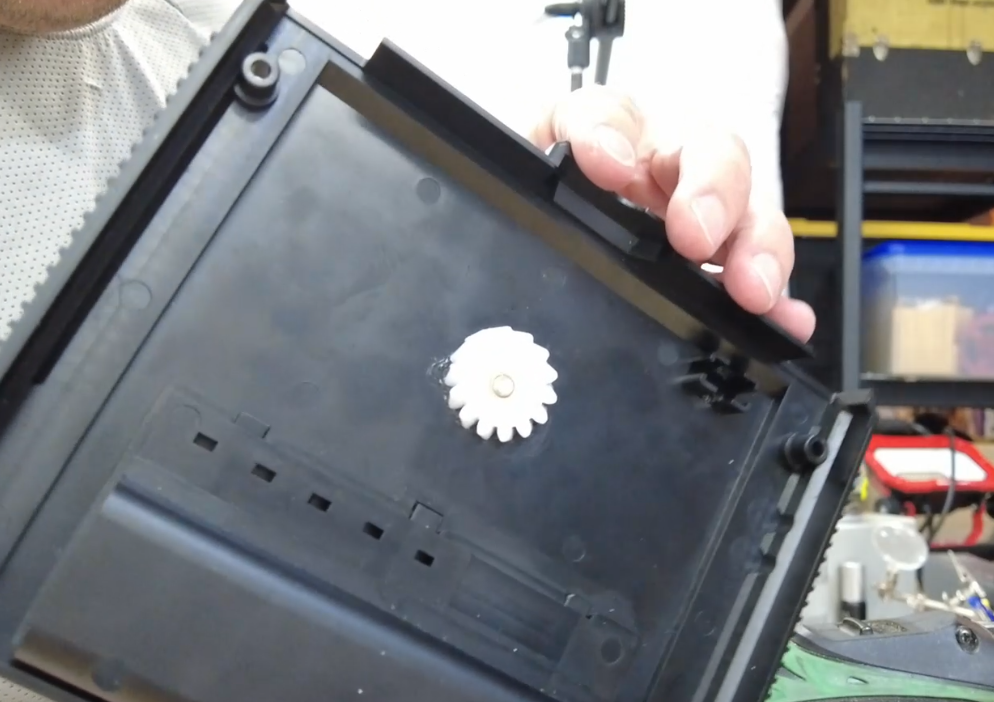
    Remove the back of you controller.

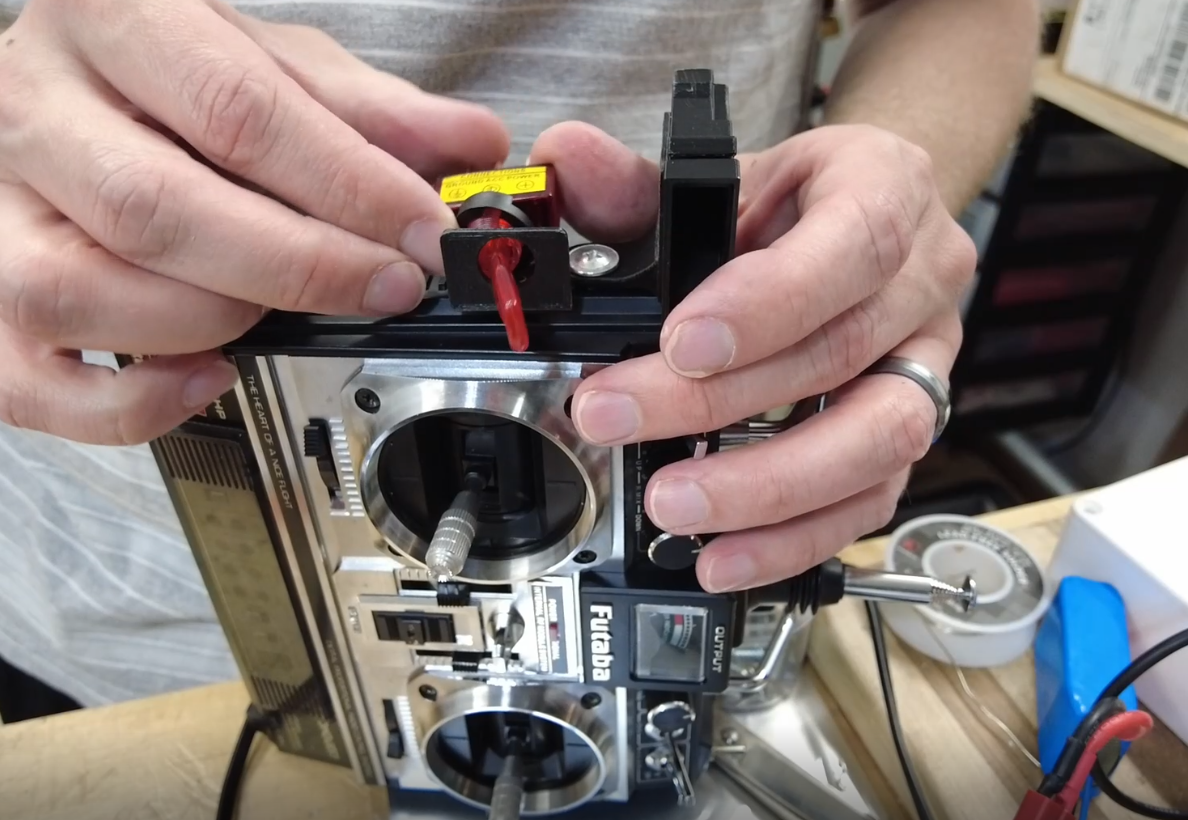
    Then there are some parts for you to print out included below. If you couldn't find the Molex 1820 switch, like me, the file is included to print it out. I printed the lens with an SLA printer in red resin. Also print out the switch and toggle mounts.

    Be sure to mount these at the movie correct location, which is wherever you think it looks good. But has to be left side of the controller near the top. I aligned the top of the Molex 1820 with the top line of the controller. Then used generic screws to fasten it to the side of the controller.

  • 2
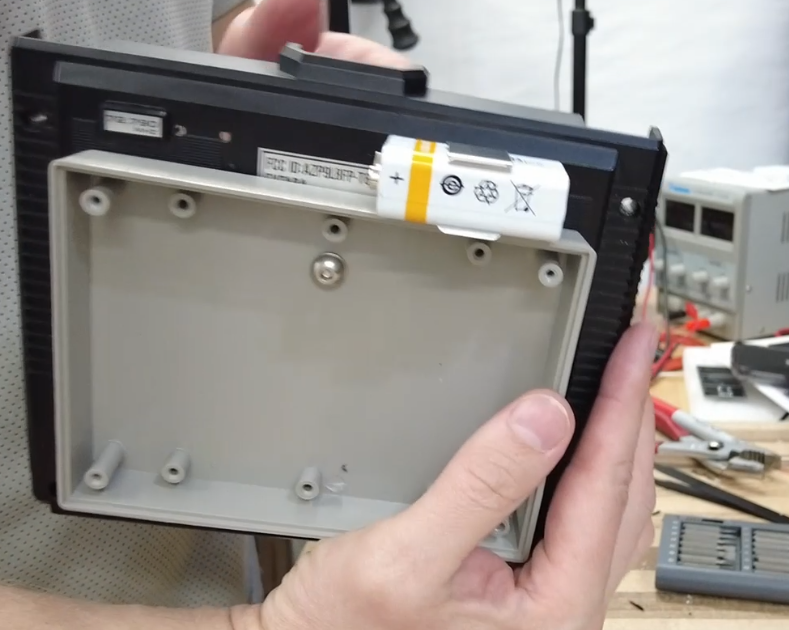
    Mount the Unibox 140

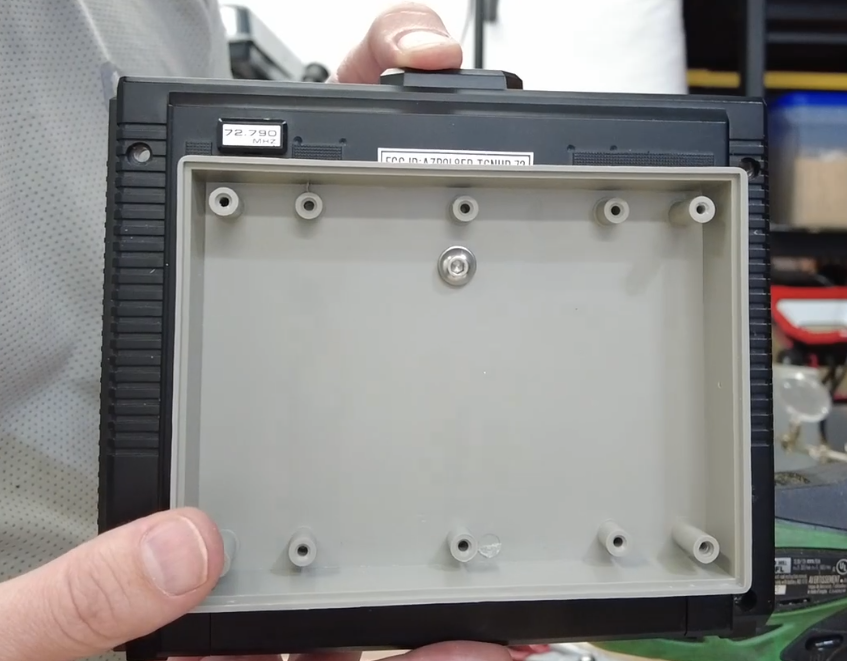
    Since the back of the controller was off, it is a good time to find a mounting location for the Unibox 140. 

    I used a threaded insert so it will be easy to remove later. Be sure there is enough room for the 9V battery clips at the top!

  • 3
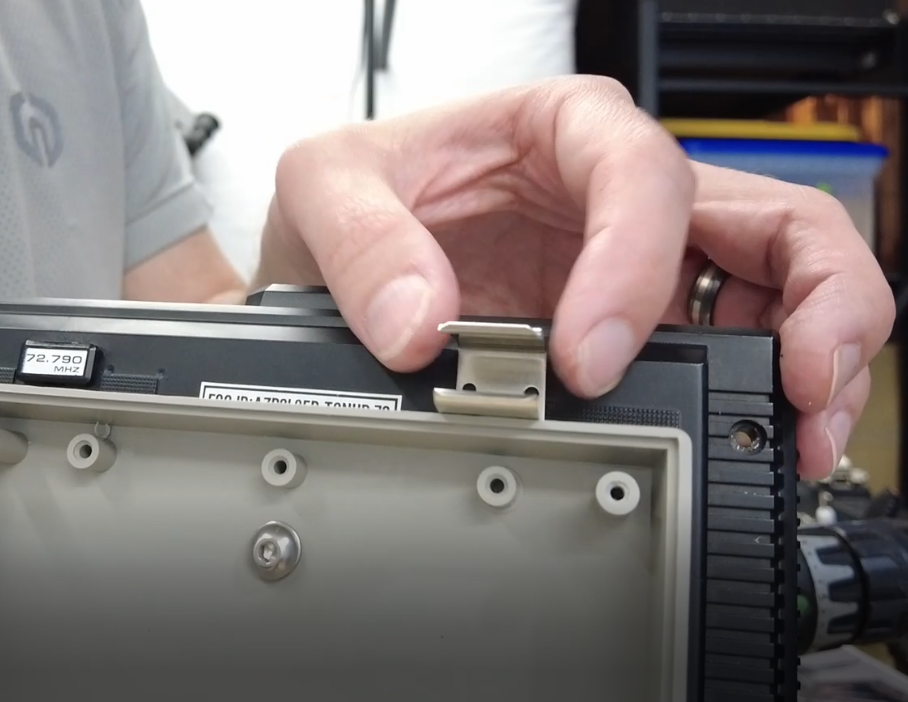
    Mount 9v Clips

    Be sure to position these with a battery in the clip so you have a good idea where they should go. Both should go on top of the UniBox 140. Also you have to use Duracell batteries to be movie correct or bad things will happen.

    Now you can put your controller back together. That should be everything we will be mounting to the controller housing. If you used a threaded insert, then you can attached the Unibox to the controller later.

View all 14 instructions

Enjoy this project?

Share

Discussions

Similar Projects

Does this project spark your interest?

Become a member to follow this project and never miss any updates