 Nikolai Ovesen
Alright, so first log:
woha... documenting stuff... feels weird.
What have I done so far:
- I have some NEMA17 Steppers and controllers that I picked up last time I went nuts on adafruit.
- I have some linear ball bearings and some suitable rods
- I have some various bits and bobs such as belt gears for the steppers and we actually have a really good stock of components at Hackheim at the moment,
- I have designed a good share of parts in Fusion360
- I've already wasted like 2 hours on printing some parts that didn't work out
- I have printed a few parts that do work out and the 3d printers are slaving away right now spewing out ABS in somewhat controlled patterns.
I've heard a picture says more than a thousand words so i'll throw a few thousand words in that way below here as well as some somewhat descriptive text:
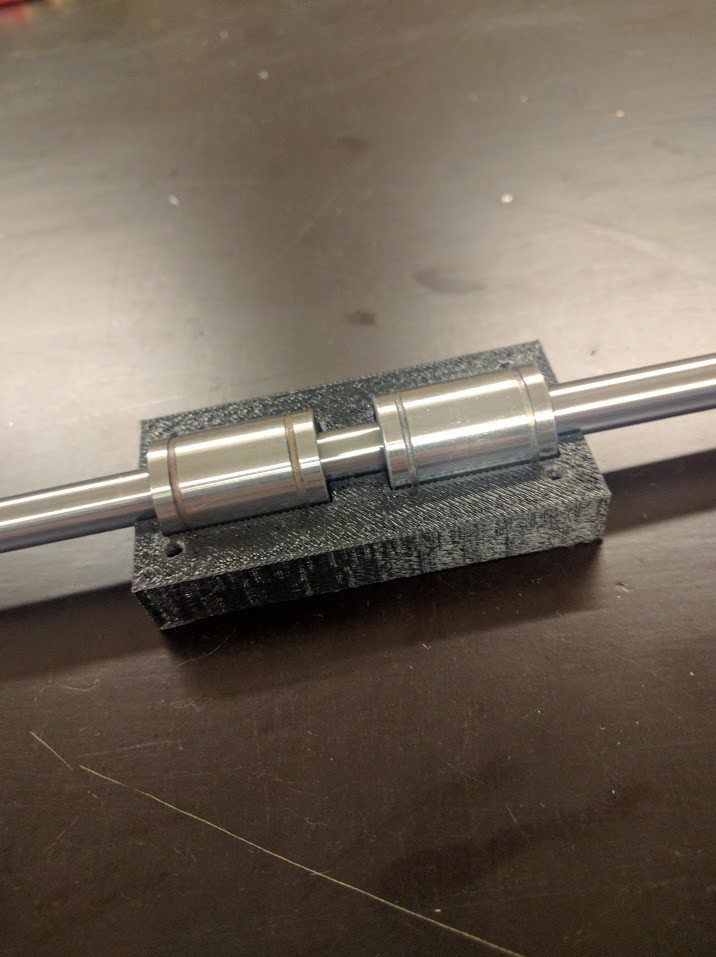
First version of the thingamajiggle that will make the printer move the nozzle in one of the directions, I call it Y but it might be X.

As you might see I didn't make enough room around the rod to make the thing slide, when I tightened it down with m3 bolts it was pretty much the most solid thing I had ever made and wouldn't move even if I used brute force #fail.
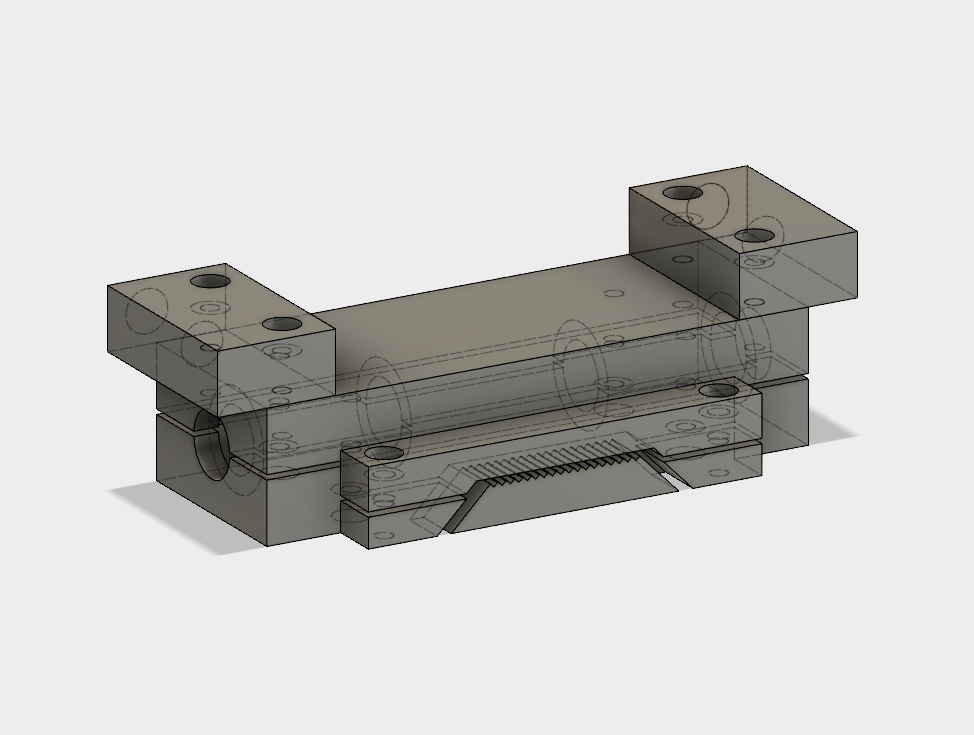 Put some serious thought into my next version of the slidey thingamajiggle with a locking mechanism for the drive belt and enough space for the rod to slide freely, I also lengthened it a fair bit just to make the other axis more stable as it will carry a fair bit of weight, the two blocks on the top are for mounting the rails for the other axis, though I might redesign them as they at least look a bit flimsy.
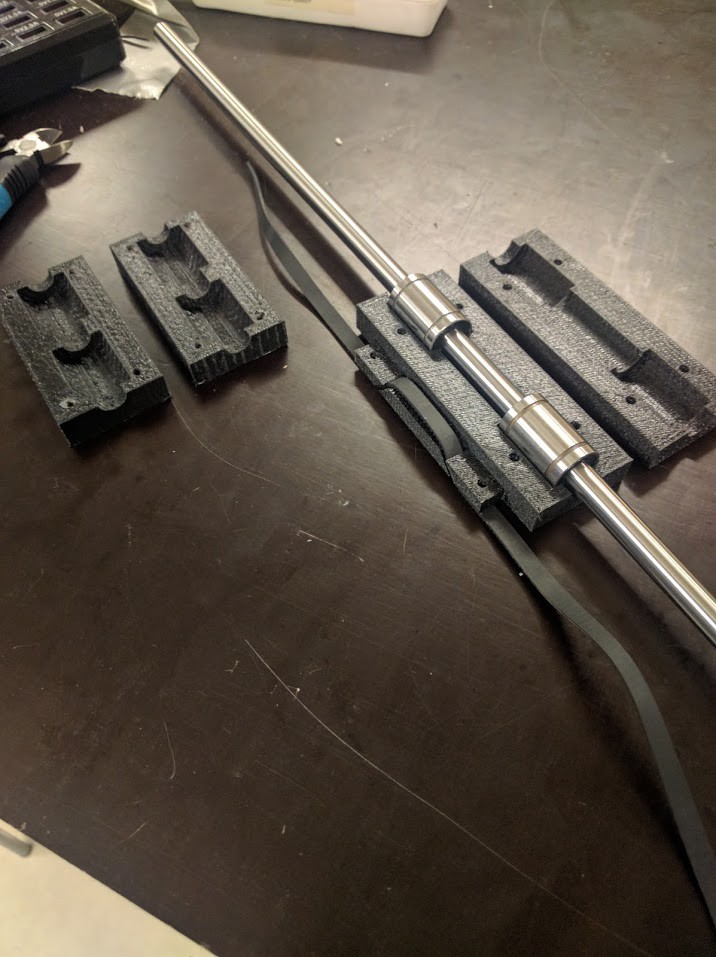 The new slidey thingamajiggle together with the old one, great improvement, this time it slides super smooth and I'm kinda proud of the belt locking mechanism, it does at least so far look well thought through.
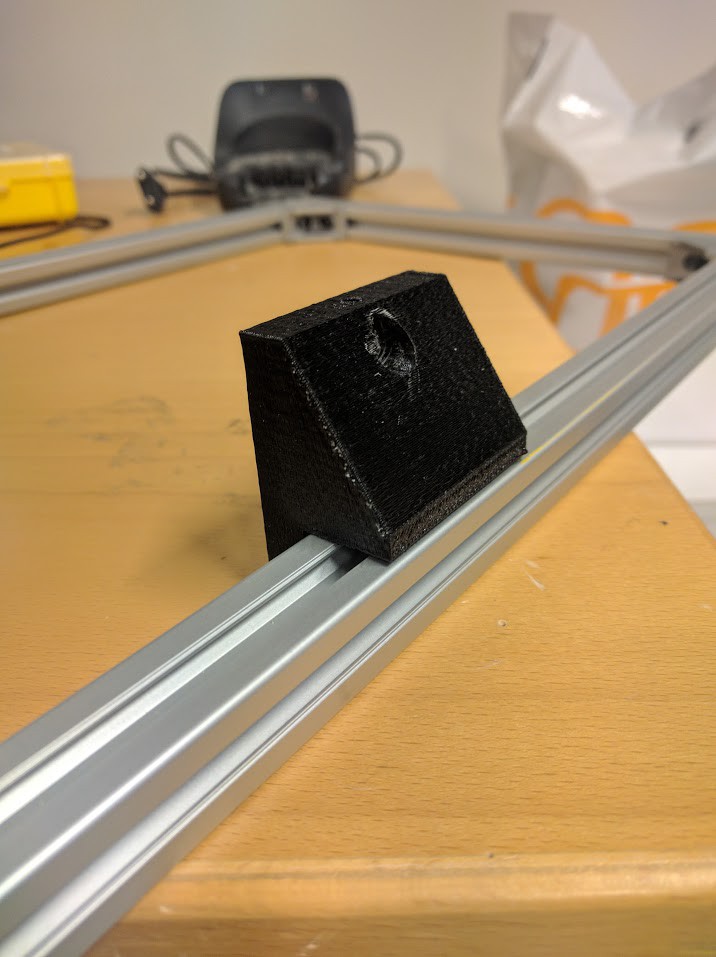
 Mounting bracket for Y axis rails.
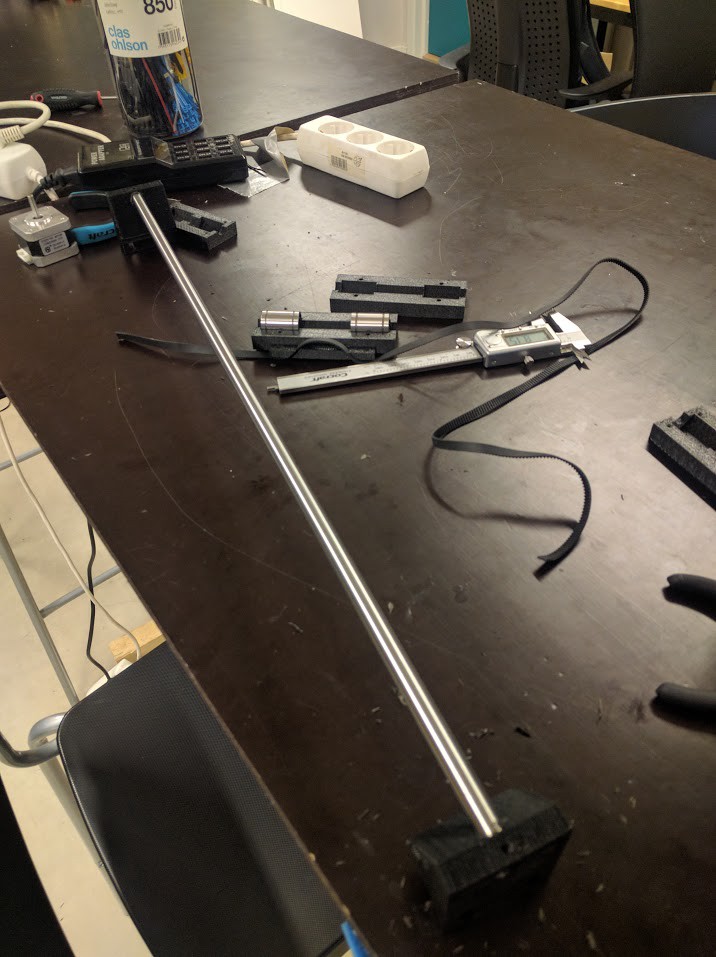
Rail mounted into the brackets, all the plastic shavings are in the picture as I magically assumed the rail was 8mm and for some reason it didn't fit.. (spoiler: it is a 10mm rail), I just drilled out the holes to see how it would work out.
 T
T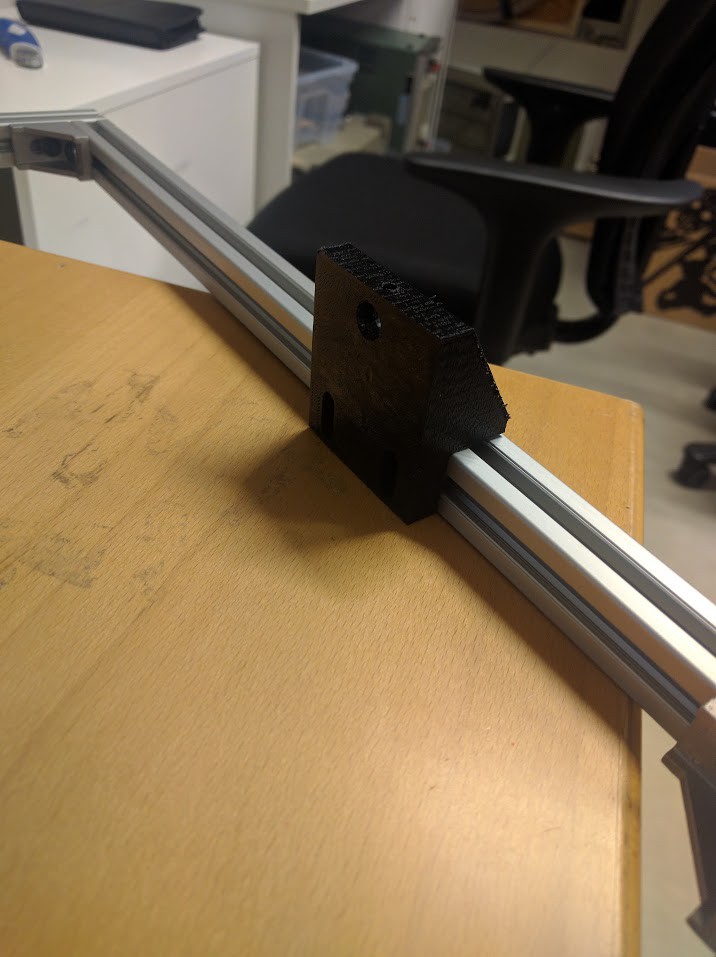
The two pictures above show how the brackets will be mounted on the alu profiles, notice the notches on the back there to put the bolts through, I made notces to prevent aligning the holes perfectly.
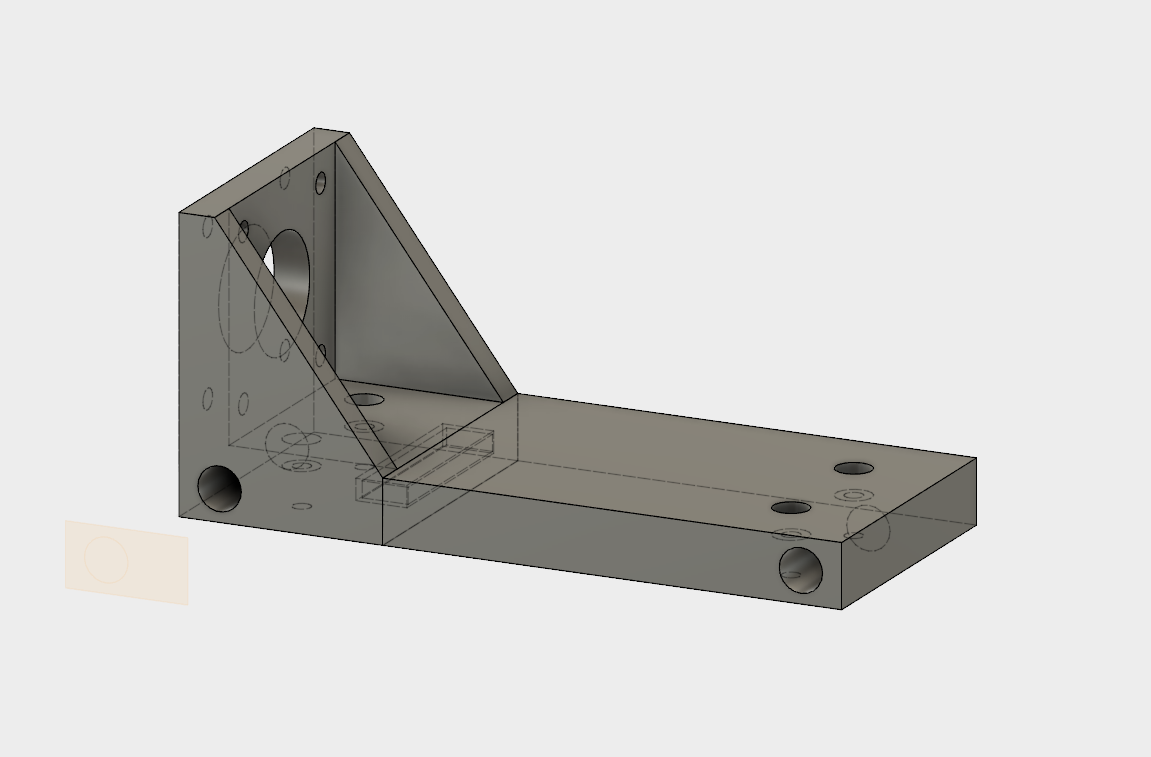
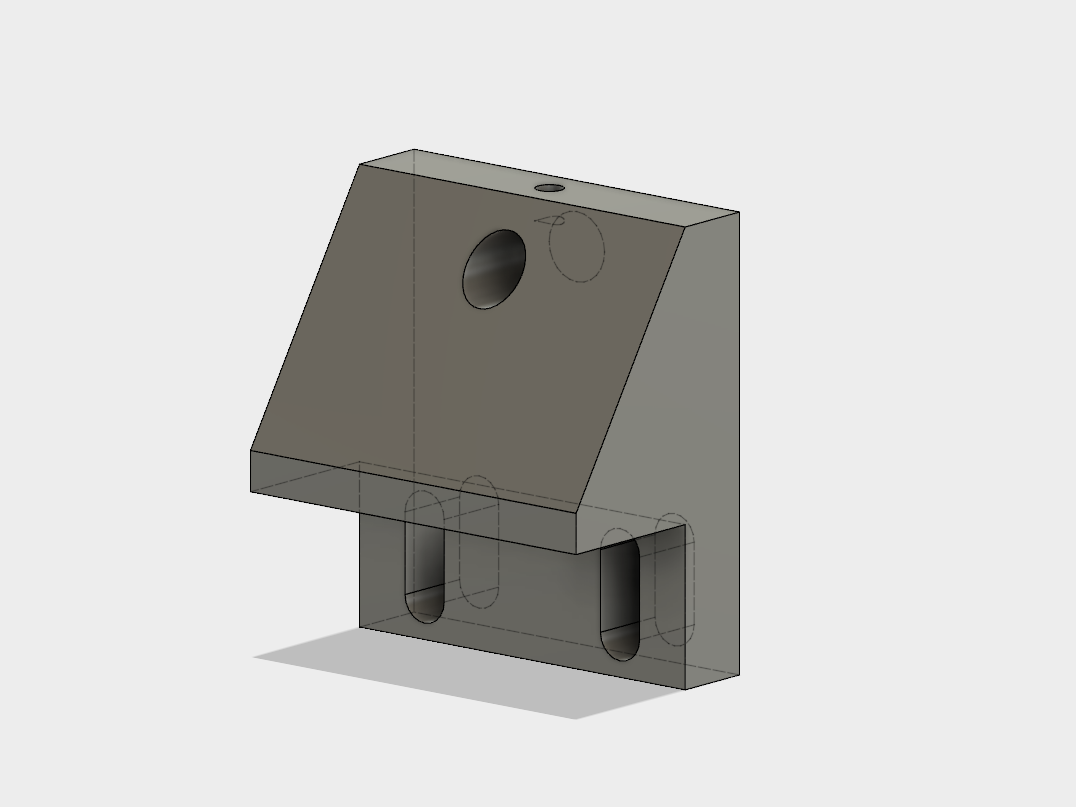
Bracket for mounting the stepper for the X axis as well as the rails, this component fits ontop of the slidey thingamajiggle on the pictures above just like those two under engineered blocks, I've designed this part as two components with a little dowel(?) to slot them together nicely as printing it as one part would have sucked.
Alright, that's all for this time, more 3d printer fails and poor design next time!
Discussions
Become a Hackaday.io Member
Create an account to leave a comment. Already have an account? Log In.