Jacob David C Cunningham
-
Filthy quitter
08/10/2022 at 02:27 • 0 comments![]()
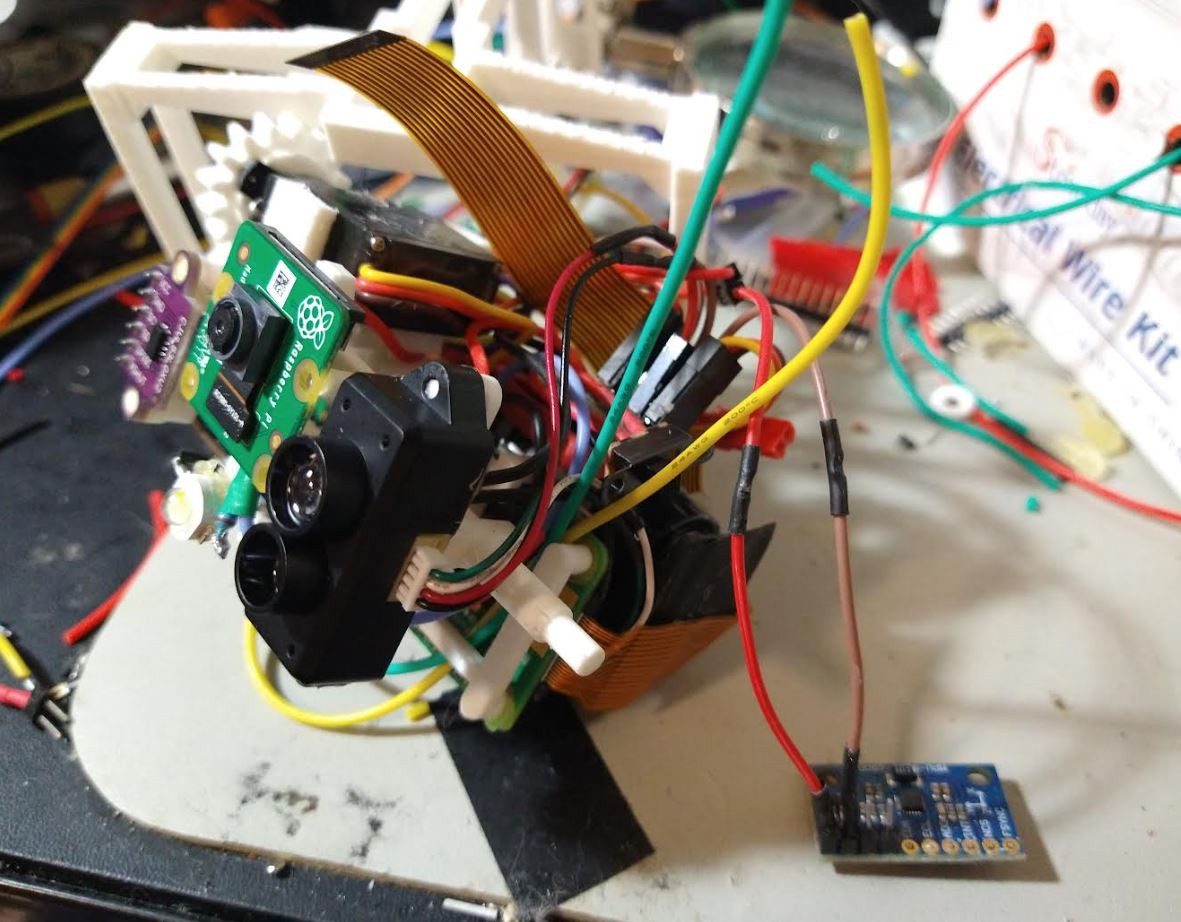
Well... I didn't want to screw around with learning SPI and figuring out how to write one specifically for the Seeeduino... so I massacred my boi... I put an MPU9250 in there. Which didn't quite fit so I had to cut some plastic out. I'll update the STL/designs for this change. This also means the center line of the IMU is not exact... but compounding sources of errors... (shrug). It's still a plane so the tilt should be valid... It's also off for panning. But I can fix all this with software offset. What's not great is the connection is not immediately guaranteed so idk... ugh. It sucks... need to build better hardware.
![]()
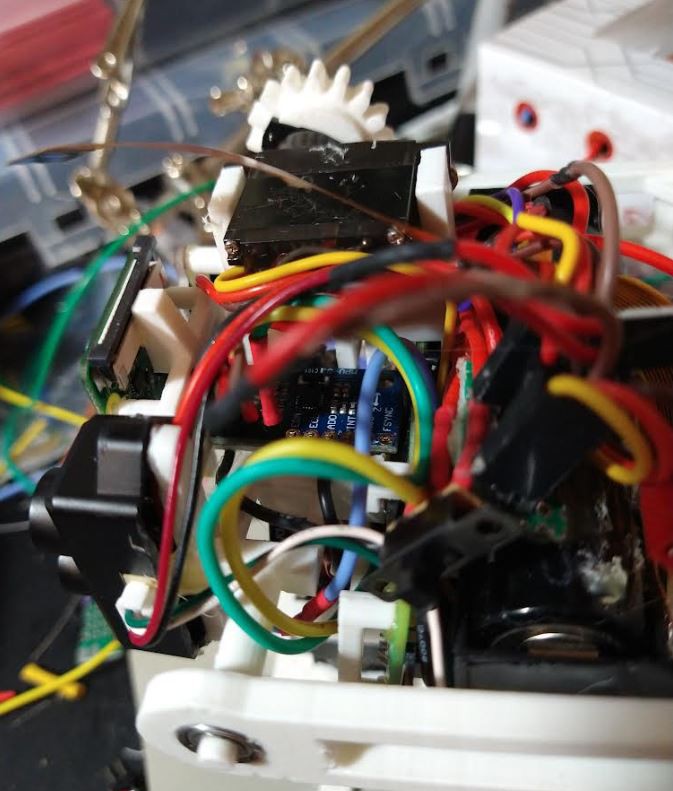
Yeah it's odd... it is not there on boot and takes a few tries but once it gets going it is able to keep running which is the issue I care about the most.
![]()
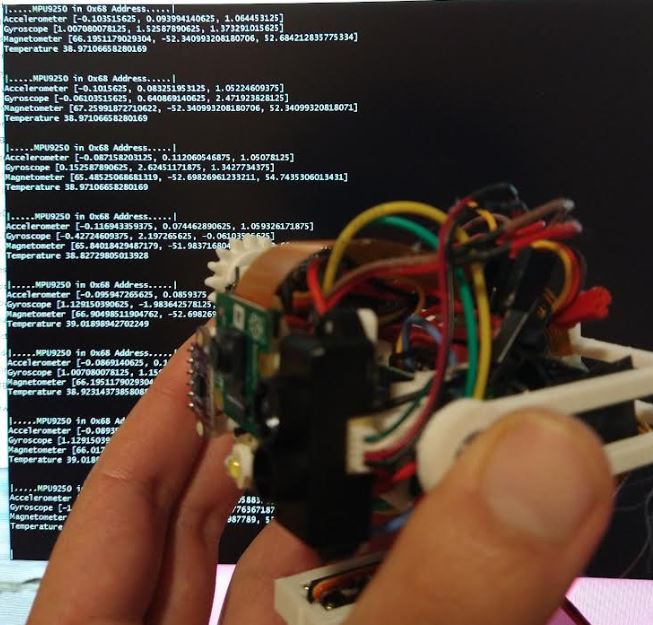
Anyway I can move forward with this. I'll write some start up try catch checks to make sure everything's running.
-
Sadness today
08/07/2022 at 22:26 • 0 commentsFor some reason the MPU6050 is not performing well with my setup. I keep getting I/O error. Unfortunately the Pi Zero 2 W only has 1 hardware serial port. So... what I'm trying to do is have another board (Seeeduino) run the MPU6050 and then by some comm method (ideal serial but now SPI) I will send the data to the Pi...
Using the Seeeduino I can just keep the IMU running perpetually. But I've never used SPI before so it's slow to get it to work... there's hardly any examples for the Seeeduino SAMD21.
I'll get it to work though because I need the IMU to be running.
I also worked on the buggy today regarding how much it moves by some command. It's still not 100% so I'm mostly working with ratios eg. it moved 1" by this command so turn that into a fraction/function.
I also think I killed an MPU6050 by connecting it to an Arduino Nano RIP.
-
Physical build done
08/07/2022 at 01:29 • 0 commentsNow onto the programming/making some state and navigation deal (SLAM attempt).
![]()
Build video part 2
-
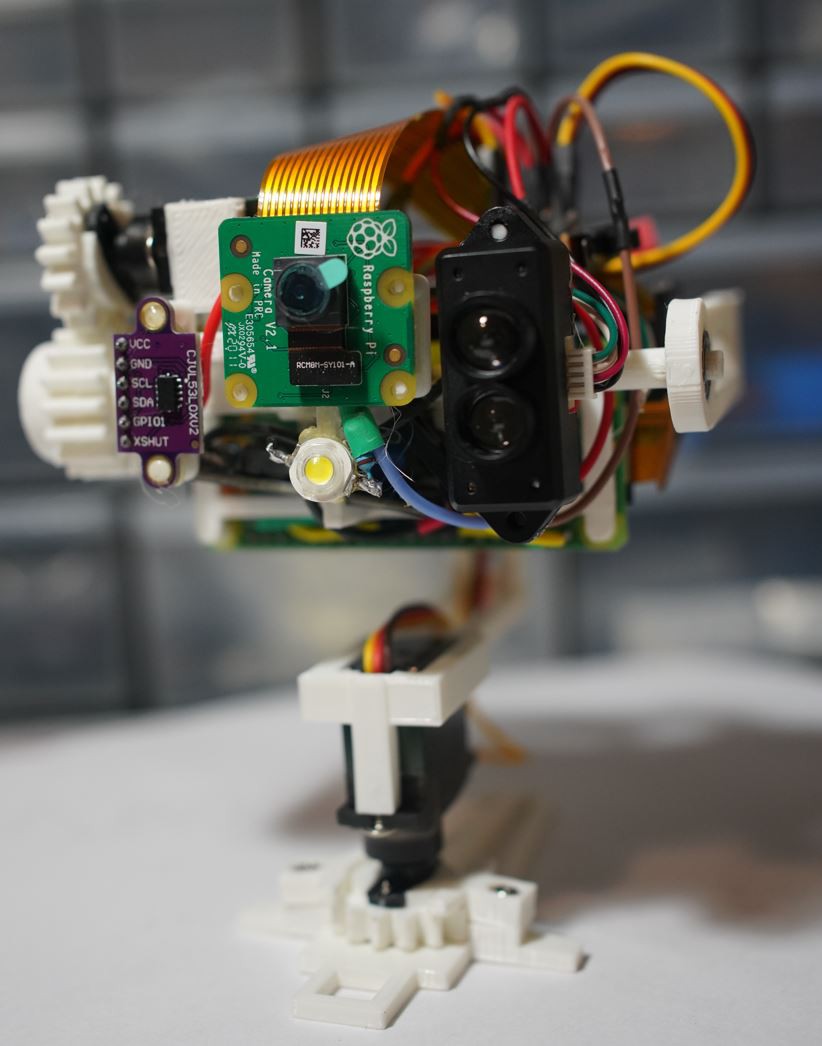
Why why why i2c
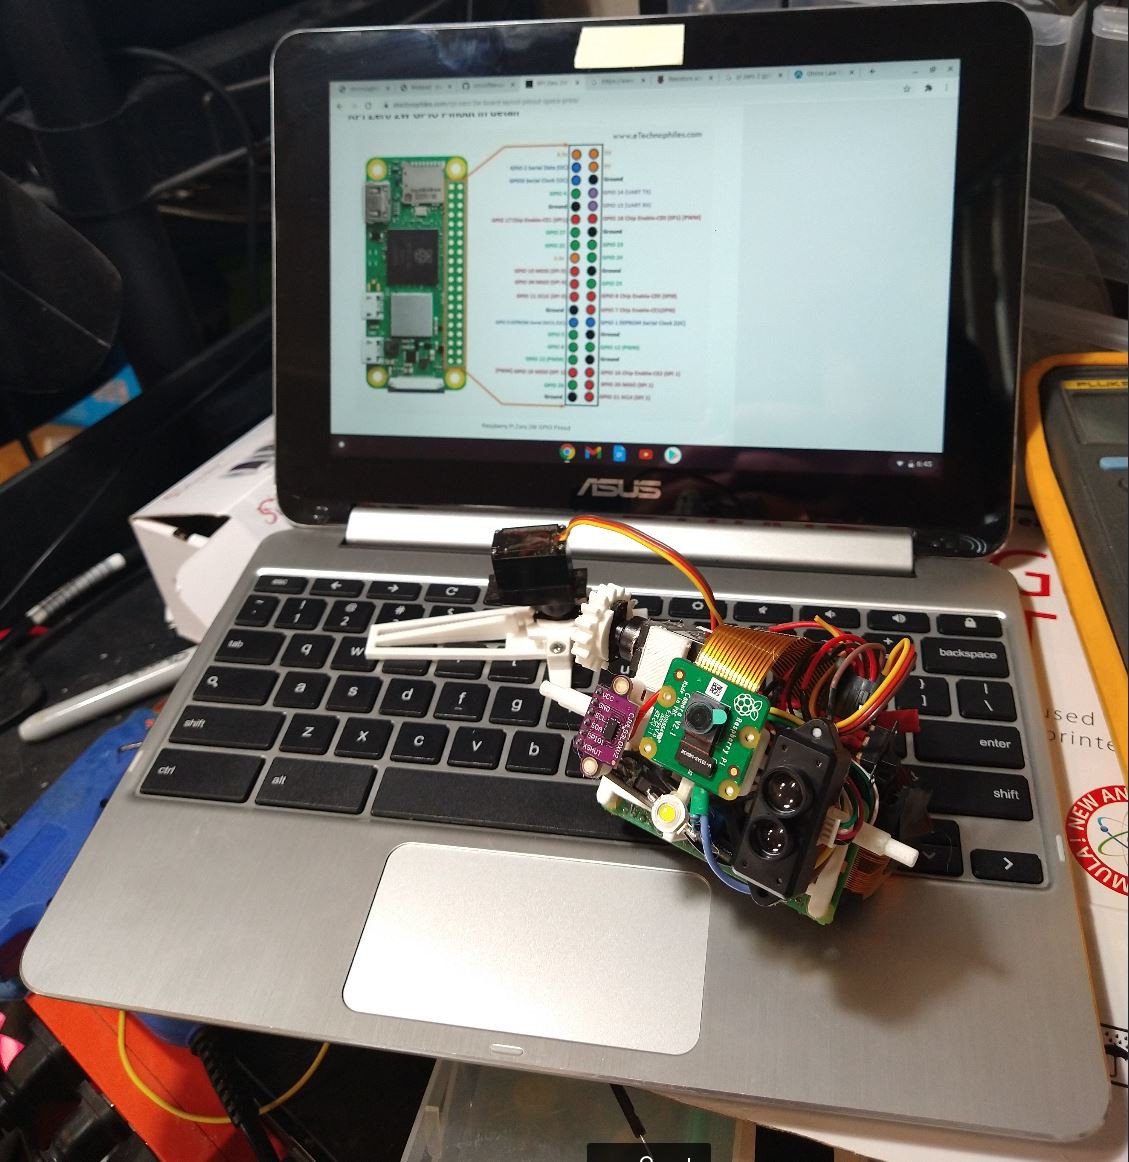
08/06/2022 at 04:00 • 0 commentsI got the body finally assembled. After reprinting the wish bone deal... and also the stand.
I need to learn how to take pictures... I want to set aperture but the coloration is bad.
I cleaned it up though.
![]()
Went from all that to this.
![]()
Ahh... anyway I gotta build the tail dragger robot tomorrow.
I've been enjoying this little Chromebook though I got it for $50
![]()
Oh yeah, the issue with i2c is I only tested it on bus 1 not 0. So when I plugged the MPU6050 into 0, it was not working well. 1 seemed more reliable so I moved it over there. But the MPU is still not reliable... it will work like 20% of the time.... to fully dump the info from it. So idk, I will need to work on that, otherwise the NED feedback loop to keep it upright won't work or at least I need to run it once every so often to level it with the horizon.
-
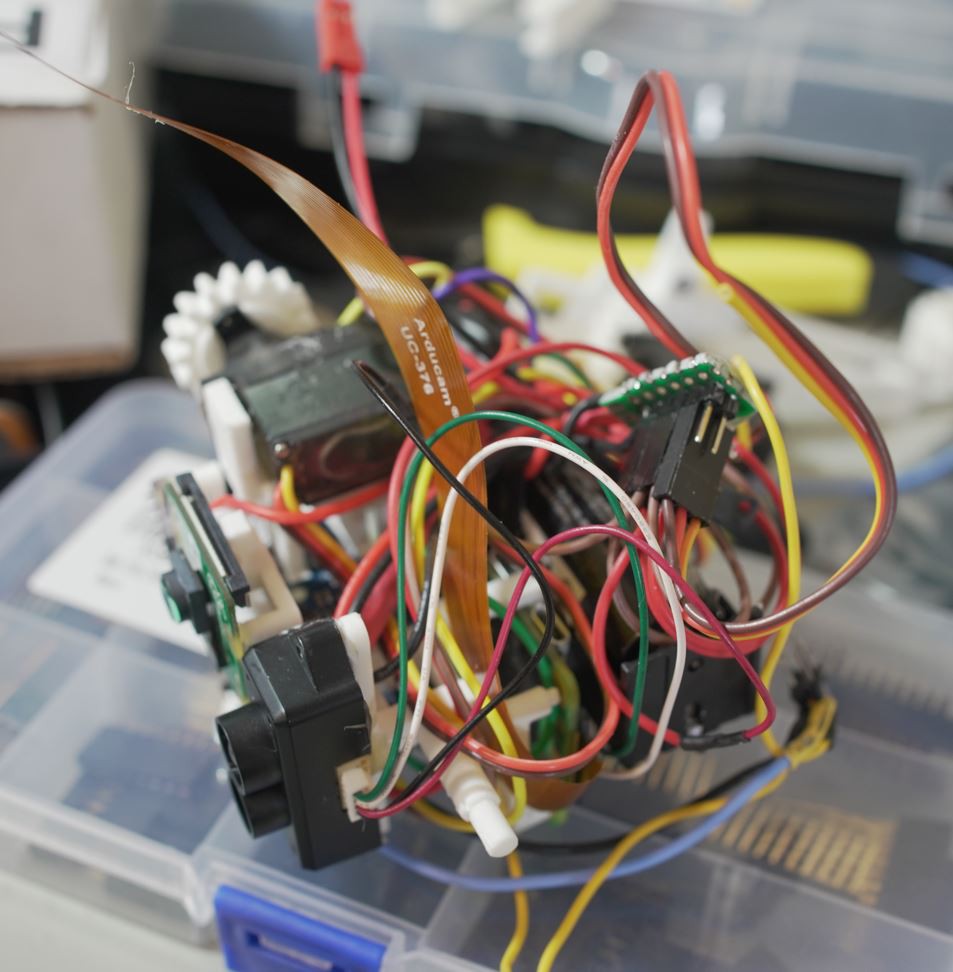
Clean up that rat's nest
08/05/2022 at 06:15 • 0 commentsI ended up reprinting the sensor bed twice. It turns out 3D printing the entire thing with supports, while it will print, it's so hard to get the supports out. So I had to rework the design and split it into three parts.
![]()
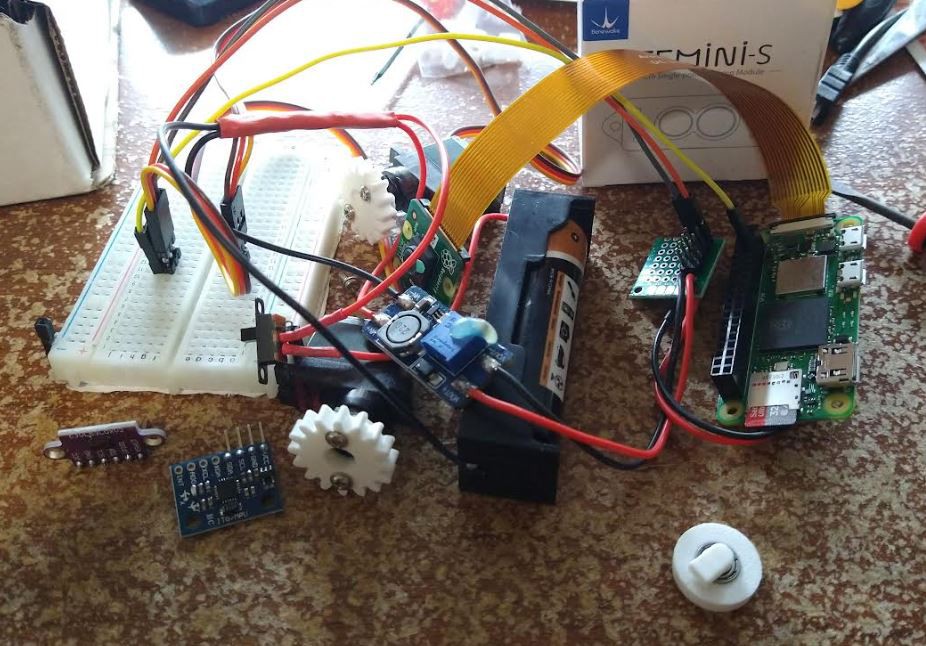
I also interfaced with all the parts so I can pull data from them.
The servo gear unfortunately tilts it to the right slightly due to the gear raising the whole body up slightly.
![]()
So yeah, I'll clean up the wires and then I'll do the programming. I still have to design the outer housing and bottom mount. Then bridge it with the tail dragger robot that has its own separate electronics. I'll get it done (physical part) over the weekend for sure.
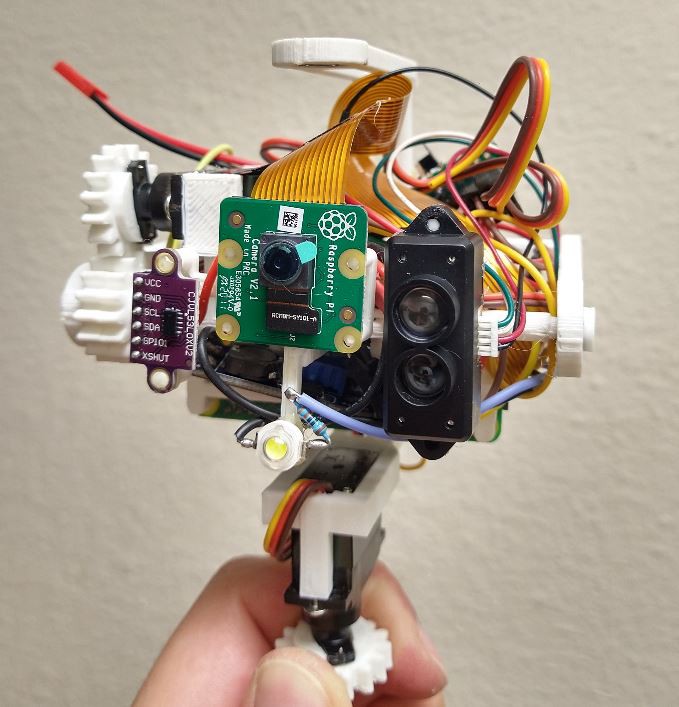
I did make a mistake, that peg that holds the LED blocked the ribbon cable for the camera. So the camera is mounted upside down... the lens is supposed to be centered with the other sensors. There's an IMU that's not visible but it's in the middle of the rotating plane directly behind the camera.
The other thing that's funny is I'm using this TFmini-s library by budryerson and it's so accurate. His library is meant for the TFmini plus but it works with the S too. In the past the TFmini-s was only good for 30cm or farther... now it can scan as close as 1 cm... so the VL53L0X is kind of redundant but it has a wide FOV (25 deg. vs 3.6). So it's still useful.
I'll use the physical measurements to double check the OpenCV blog scanning and then through a web API I'll check if what the robot saw vs. what decision it made was a good or bad and somehow use that to make it better.
-
Lots of work still
07/31/2022 at 22:20 • 0 comments![]()
I was hoping to get the physical build done over the weekend. But the design took me longer than I thought. I honestly did not do that great of a job with the internal sensor bed where all the electronics mount to. So after I've laid everything out, I have to fix it piece by piece because the solid checker is not happy/will probably print poorly.
![]()
After it's built though the rest of it I've already done before in some form or another and working with Raspberry Pi/python is much easier than Arduino/C++. Also faster/multi-threading.
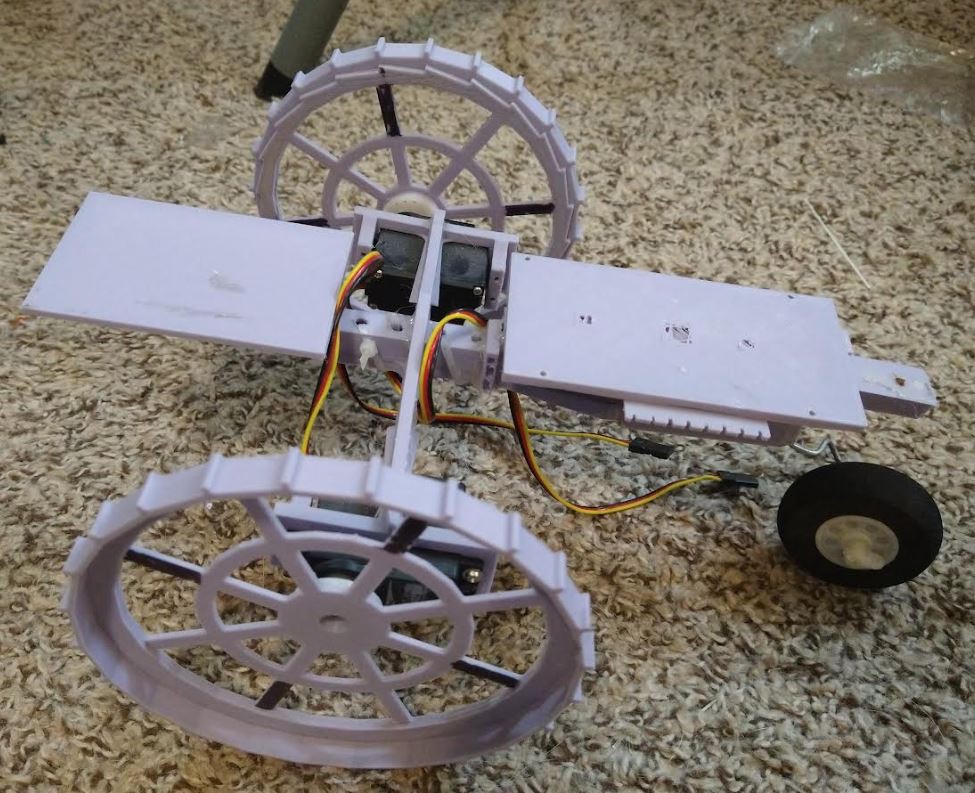
The robot part is easy too, I've already built the body a while back, and just need to throw an EPS8266 on there to steer two servos by a websocket.
The actual navigation thing will be hard, I have to continue what I started before (blob search and probe). It's not using any fancy object recognition yet.
This is the basic 2D buggy, slap a single cell on there, step up to 5V, ESP8266 and have a wifi rc car.
![]()
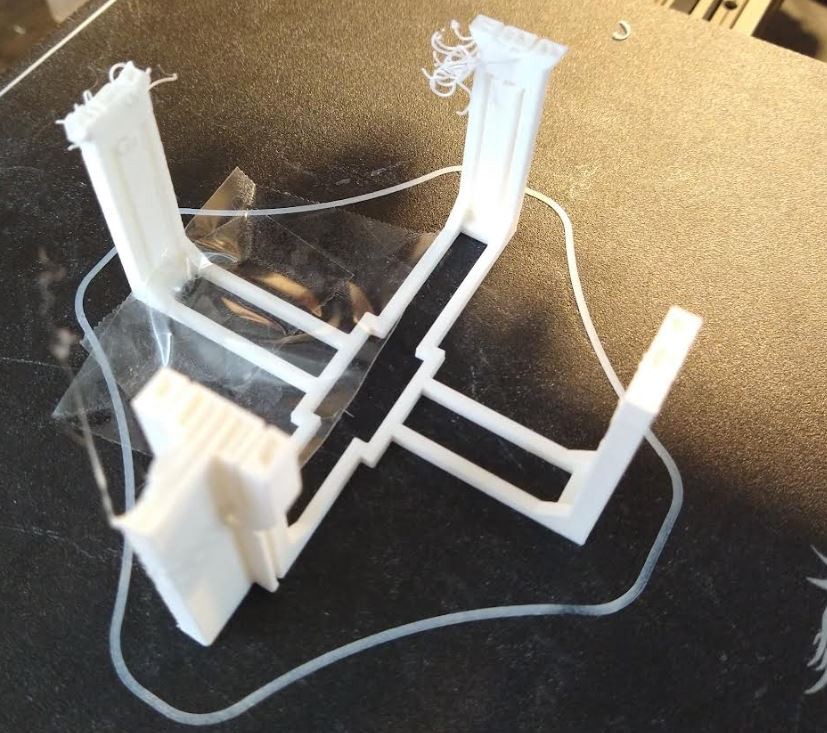
Dang... this print was almost 4 hours wasted, still learned that it's too flimsy.
![]()
This project will be my week's obsession.
Long video, I tried to build this in a weekend but did not succeed.
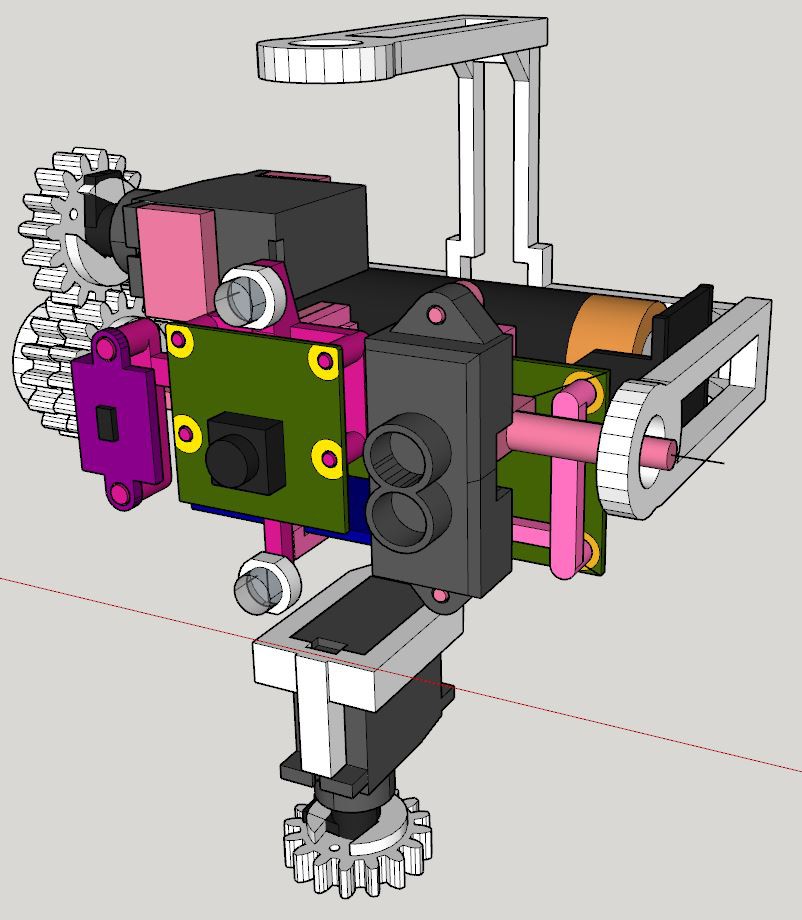
Pi Zero 2 Robot Navigation Head
(it's a gimbal) with OpenCV/range scanning and IMU for navigating wireless robot platforms by API