 kelvinA
I found out that this project just released the CAD files, and one of the things I was interested in was the arm scan. A while ago, I skimmed through GrabCAD and yeggi for an arm model (because I can't "section view" my arm IRL) and found nothing.
Cross section sketch of my arm just after the wrist bump
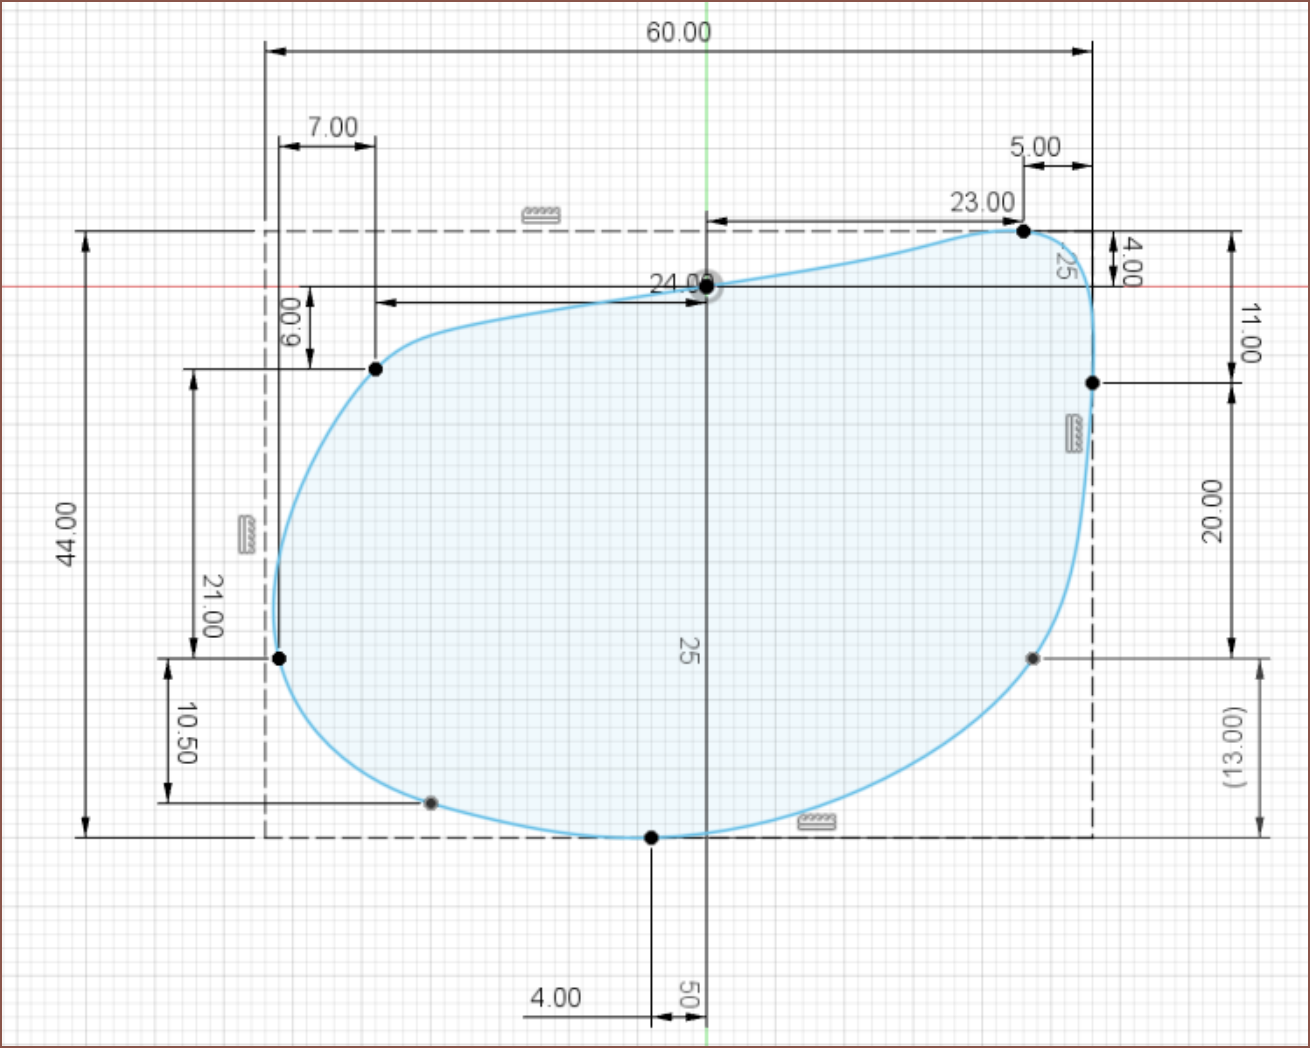 This process would've been easier with something like stickers/masking tape/markers to mark points, but I just tried to memorise the measurement points and rounded to the nearest mm. I'm just going for the general shape as this cross section changes based on wrist angle or finger locations. I eventually settled on a straight fist.
I should've done this earlier, but I measured the max XY of my arm and created a construction bounding rectangle.
This process took about 30 minutes.
Sketch of top and side views
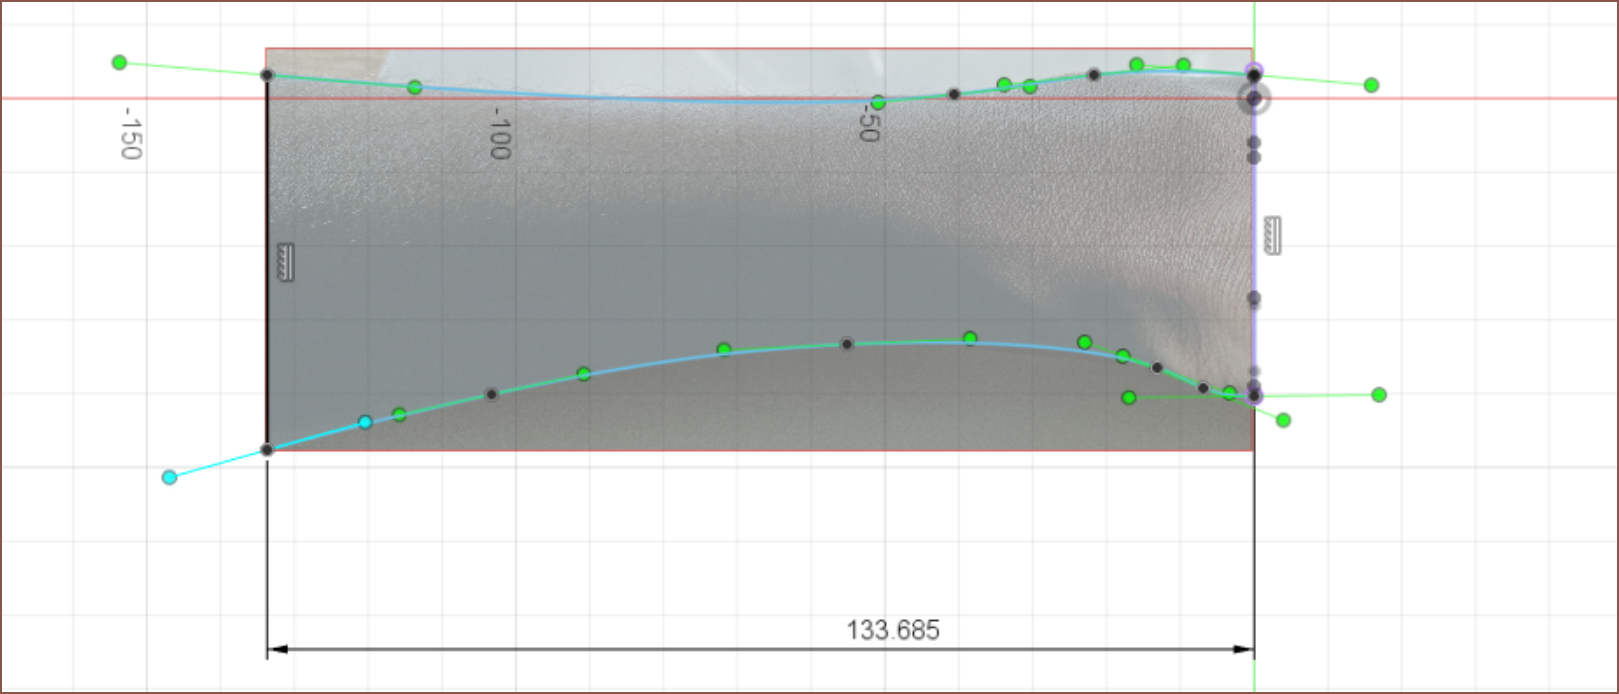
 I took 2 pictures where the images were almost centered where the cross sectional areas were. This is to reduce fiducial error. Then I cropped them, imported into Fusion, scaled them and started sketching. As with all things splines, the fewer splinepoints the better.
Time: 16 mins
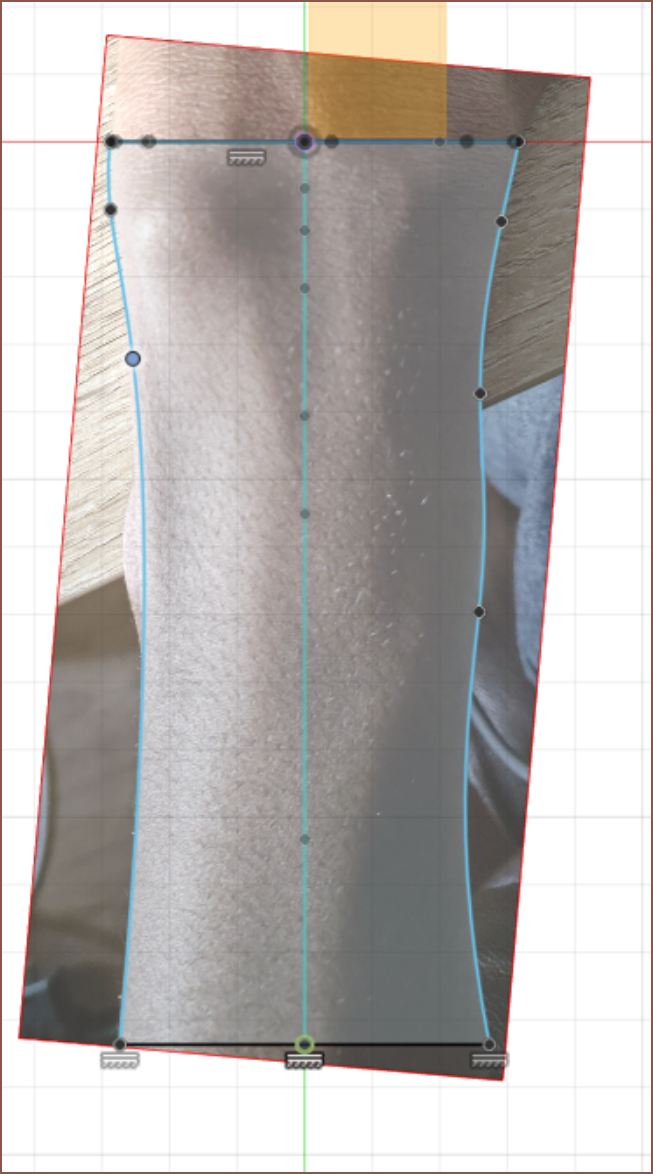
End-side cross section
This side was a lot smoother and so I just got the general shape by eye-balling it. I kept the amount of splinepoints around the same to give the loft a better chance of success.
Time: 15 mins
3D Splines
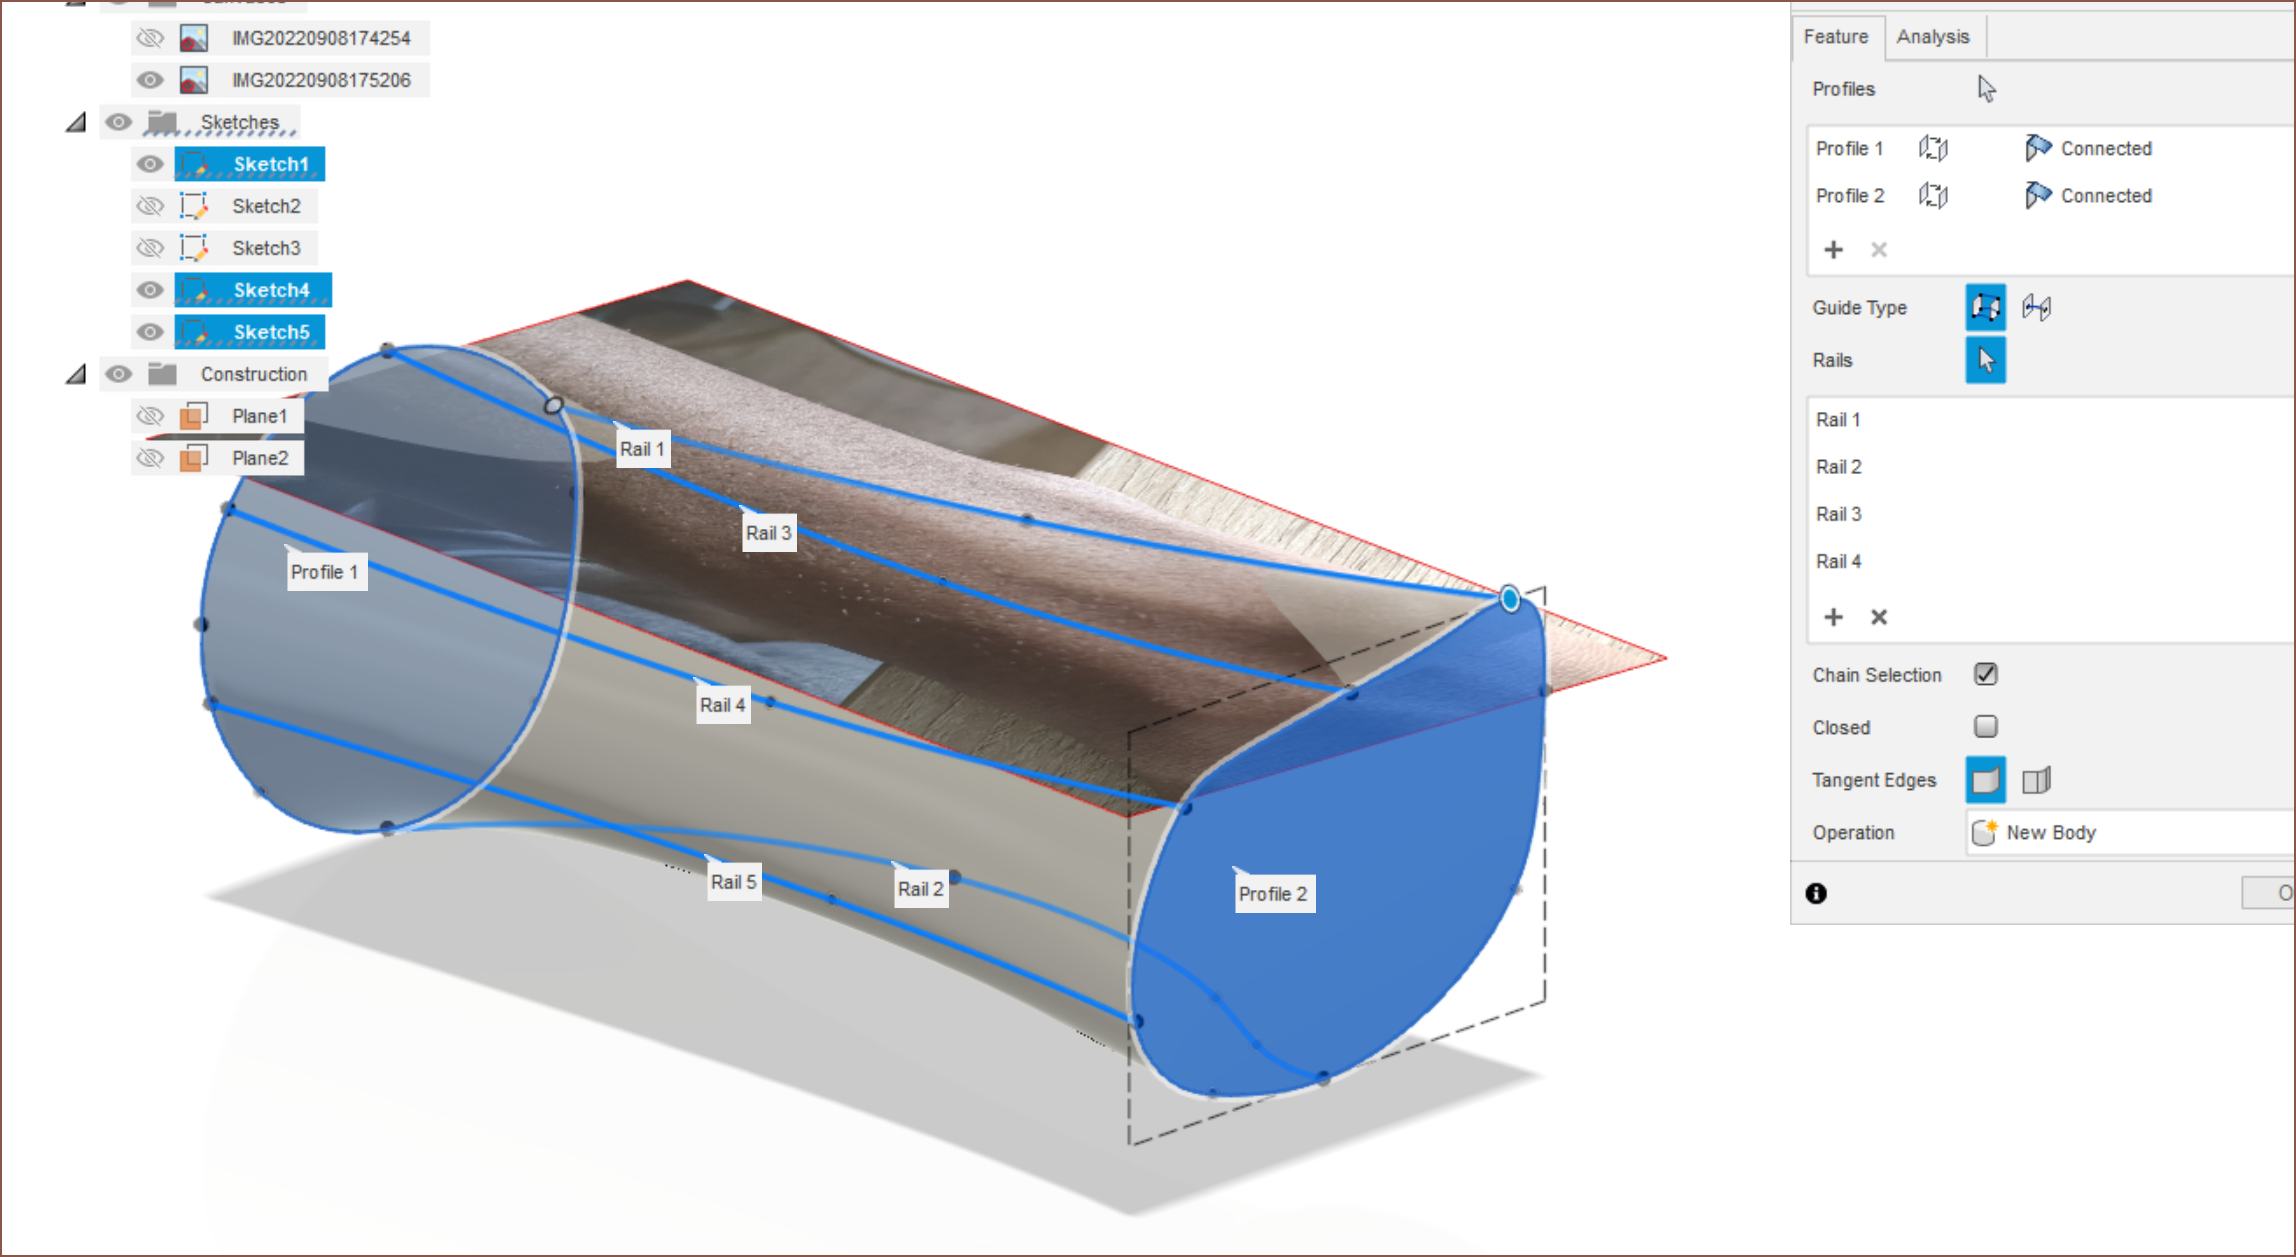
The top/left sketches were so that I had an easier time getting the 3D sketch of splines to look right. Seems to have paid off because I did 5 rails and the loft without any hurdles. Time taken was only 13 minutes.
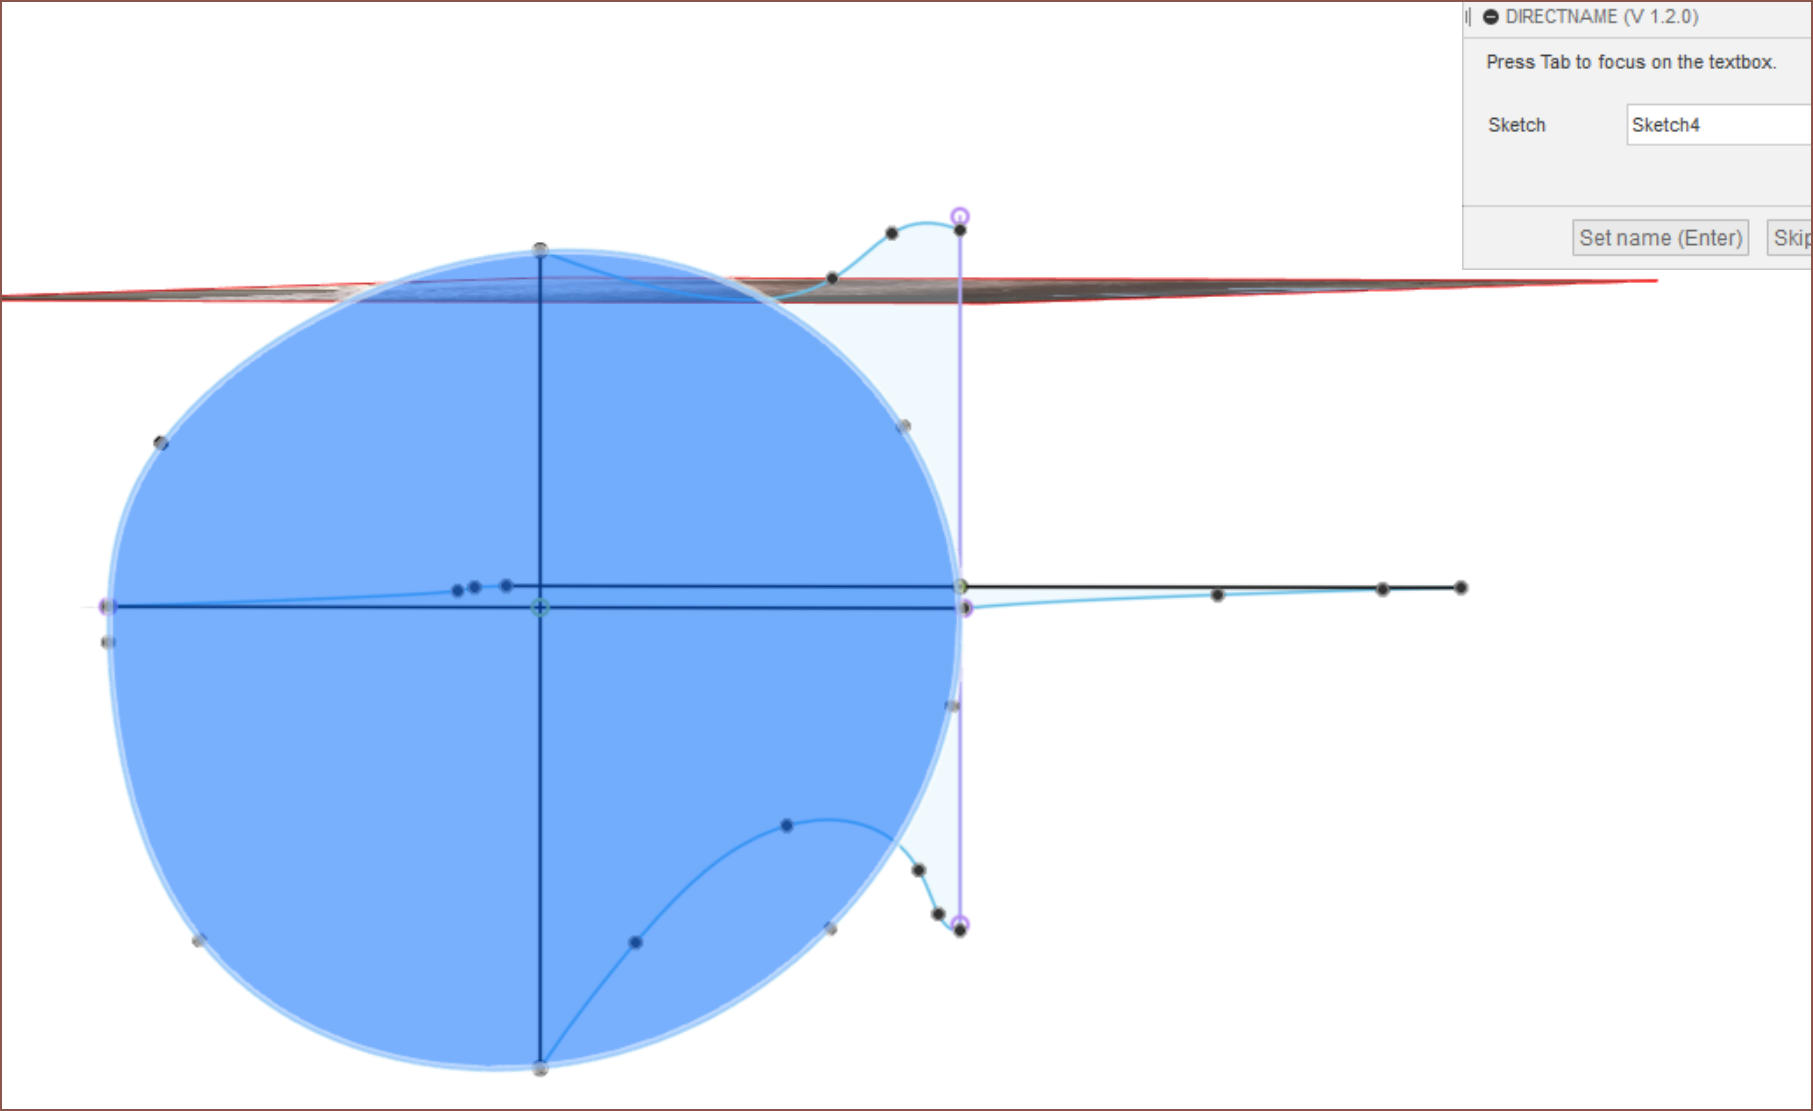
Wrist bone bump thing
Wikipedia says it's called the pisiform bone. Anyway, I just measured the general diameter, made a sphere in that location (as new body, from the XY plane) with the help of the top canvas image, non-uniformally scaled the height down, combined bodies and lastly added a generous fillet.
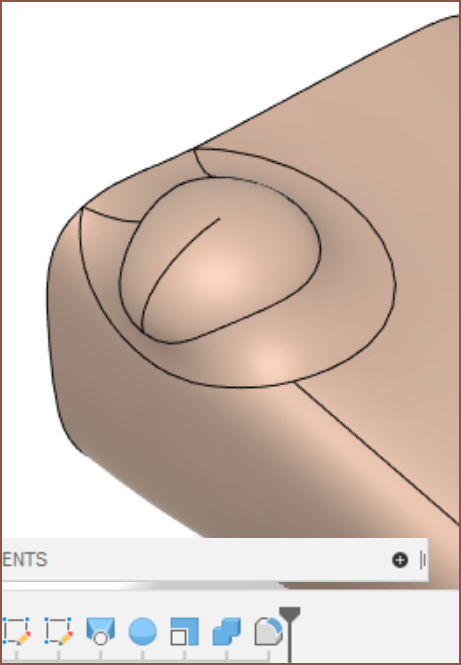
(I didn't time this, but I'd imagine it'll be in the 15 minute ballpark)
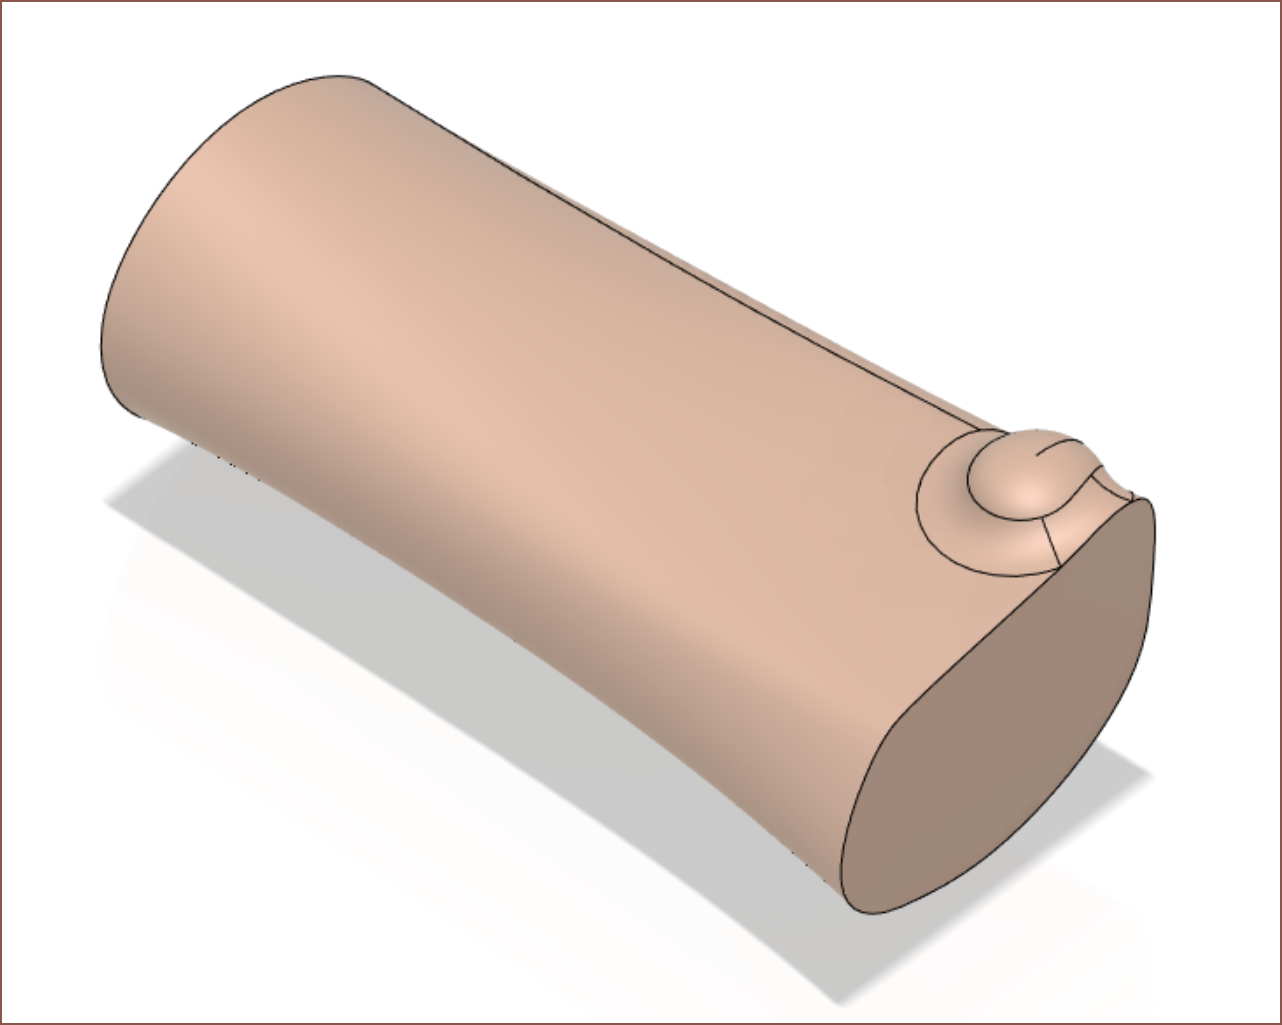
Final result
Copper appearance:
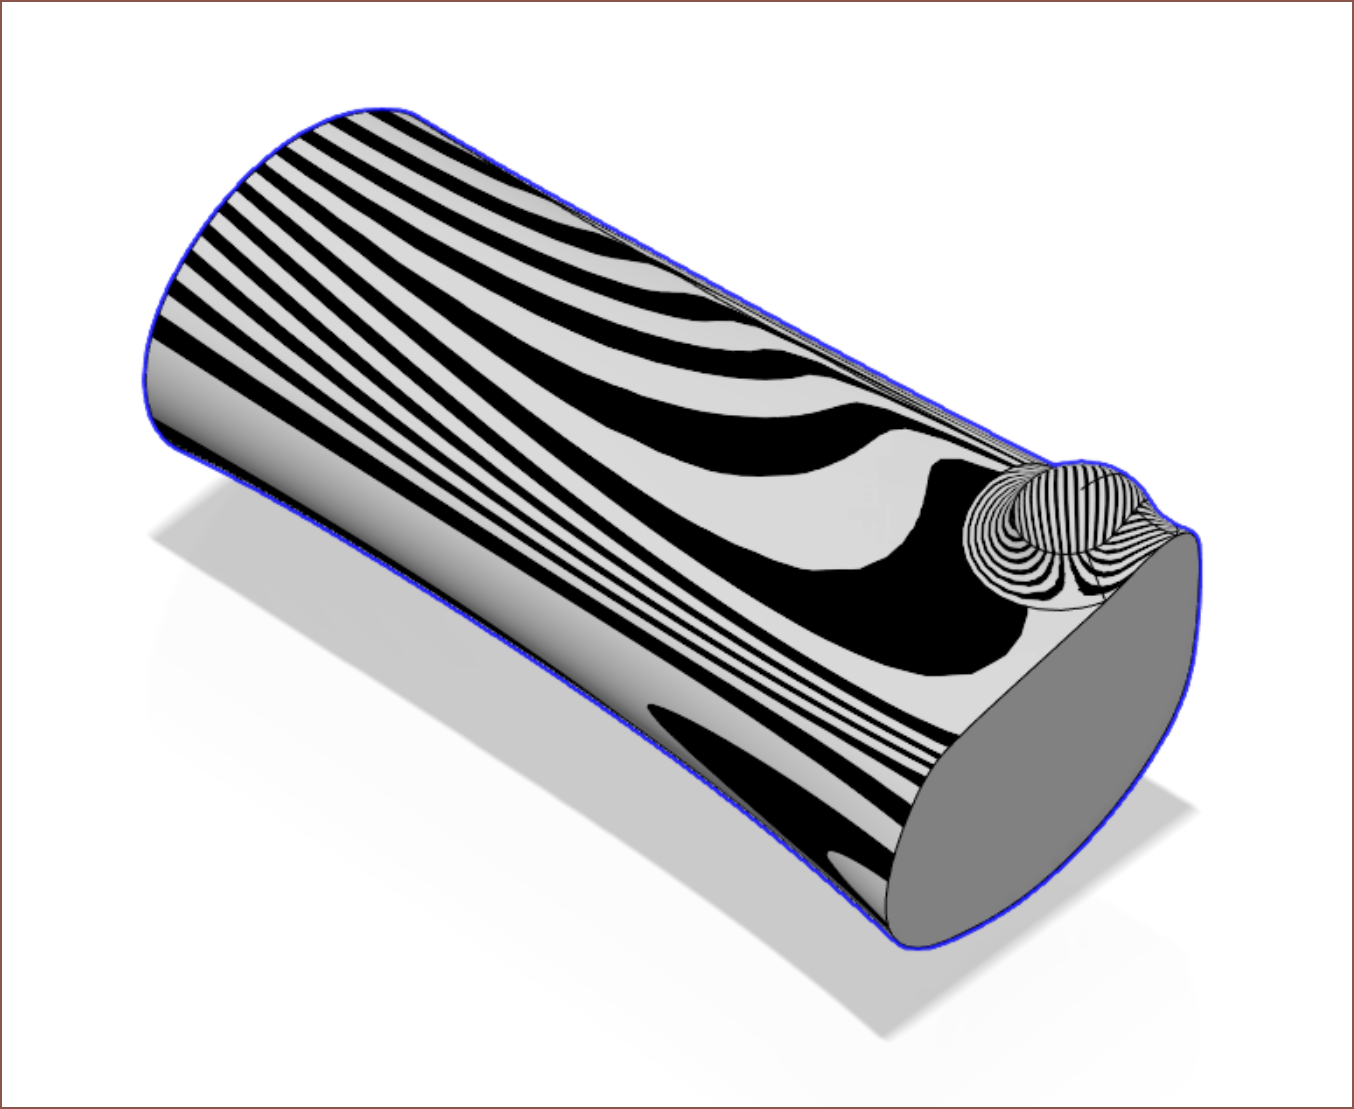
Zebra Appearance:
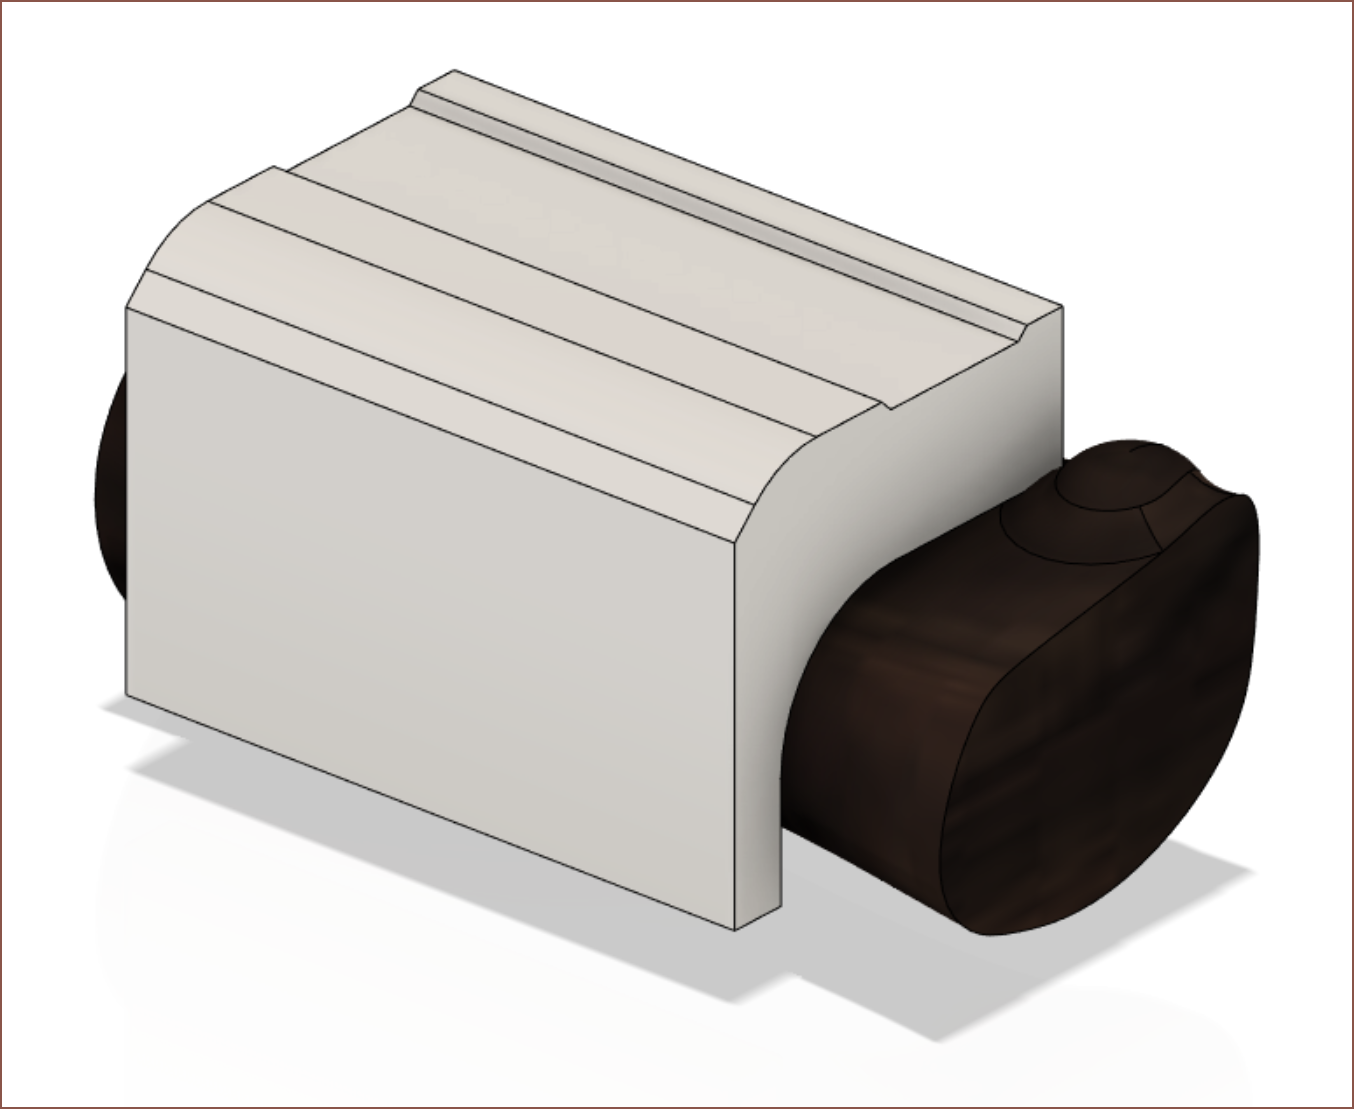
Walnut Appearance to match my skintone, imported into the concept model:

Discussions
Become a Hackaday.io Member
Create an account to leave a comment. Already have an account? Log In.