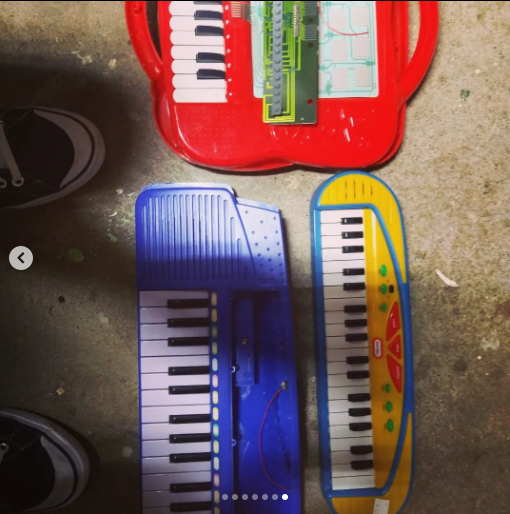
One day, I was scooping up very inexpensive keyboards at thrift stores, and after I got home, I posted about it on Instagram. But, as you can see, I had already removed and disposed of the original "dashboard."

Why, you ask? Why obsessively purchase tou keyboards? Well, the way I see it, it's a very affordable way to get my hands on a 'keybed.' For my beginner-level projects, I am almost always just playing with an Arduino or Arduino-compatible microcontroller, and with the tone() function.
The replacement dashboard is actually made of thin wood.
The premise of this device is, therefore: using a trio of MPR121 devices and an inventr.io Hero board given to me by a friend, I will assign a note to each of 36 keys. This involes the Adafruit_MPR121 and TonePitch libraries in the Arduino IDE.
But what will set this tone keyboard apart from my previous projects (I hope) is a series of fancy filters and some I/O options for connecting to external devices. More on all of this in my next update.
 Bert Jerred
Discussions
Become a Hackaday.io Member
Create an account to leave a comment. Already have an account? Log In.