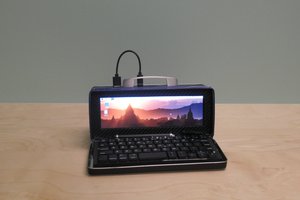
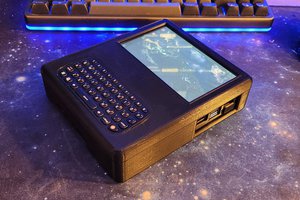
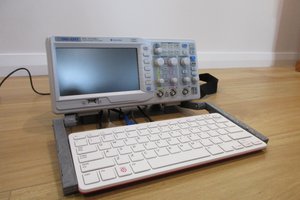
I ordered some 2020 aluminium extrusion and kinda had a rough idea of what I wanted to do with them but I needed to have them in hand before knowing if it would work out. Ive been playing around with this 7″ screen for about a year in different configurations until I settled on this one. I had already added sound via a pam8403 amp with volume knob because the screen doesn’t have its own sound.
Screen mount
So I decided to mount the screen between 2 of the 2020 rails, The screen has 4 mounting points around the screens PCB so I printed a bracket for each of them that would let the screen side into the 2020 rail.
I thought it would be best to have the amp next to the screen, It had to be on the left side because the screens ports were on the right hand side. Instead of using a PCB to tie the amp, speaker, female headphone jack and USB C female port together I just 3d printed an enclosure that slides onto the 2020 rail. I wanted the power to be pass thought so I would only need one power source for the screen and amp and it would convert it to USB C as well. I then used a custom USB micro cable to pass the power from the USB C port/amp to the screen and a male to male 3.5mm headphone cable to take the screens audio out into the amp setup.
For the HDMI I used a HDMI ribbon cable with a right angle HDMI micro on one end (for the raspberry pi 400) that had a full sized male HDMI to go into the screen. I also had to pass the touch inputs from the screen down to the raspberry pi 400, I made up a custom micro USB cable that was just the right length to reach the USB ports.
It was a bit of a mess with all the wires on the back of the screen so I printed a mesh cover that sides over the back, It was made up of hexagons that would hold everything in place but still let me pass the cables and plug them in and out assembling/disassembling the build.
I had to tap the 6mm holes in end of the 2020 so I would bolt printed capping’s to go on the end of the rails to give it more rigidity. I also prints pieces to slide into the rails to fill up the gaps and stop things sliding around. I printed some brackets to go on the front so you can clip a strap onto and be used to carry it around.
The bass
So now its time to mound the raspberry pi 400, What I love about the raspberry pi 400 is that the pi and the keyboard are all as one. I decided to have the raspberry pi 400 to sit on top of 2 2020 rails with the feet seating in the grooves of the rails. I printed some brackets that will hold down the keyboard but wouldn’t get in the way of the keys.
I found a power bank board that would power the pi 400 and the screen and amp without under volting it. I also had an old Samsung tablet battery pack that was thin and would fit between the rails, I connected it to the power board with a battery connector.
Because I wanted this cyber deck to be modular I connected the screen/amp and pi 400 using USB C cables made to length this way you can power it from the power bank or by plugging it in from a wall plug. You can also charge and use the
Hinges
My first design was to have the pi 400 detachable and have a 360 degree hinge on the deck but I then decided to attach the pi 400 to the base so I changed to just having a 180 degree hinge. The hinge is based off GoPro accessory hinges which used a M6 nut and bolt. Its easy to 3d print and very cheap to produce. Using the Gopro hinge it makes it detachable if you like.
 facelessloser


 hsavior

 Thomas
This project inspired me to try and make a cyberdeck. Love it!