 Michael Gardi
So I used the models based on Steve's measurements to create a DXF file to cut out the side panels.
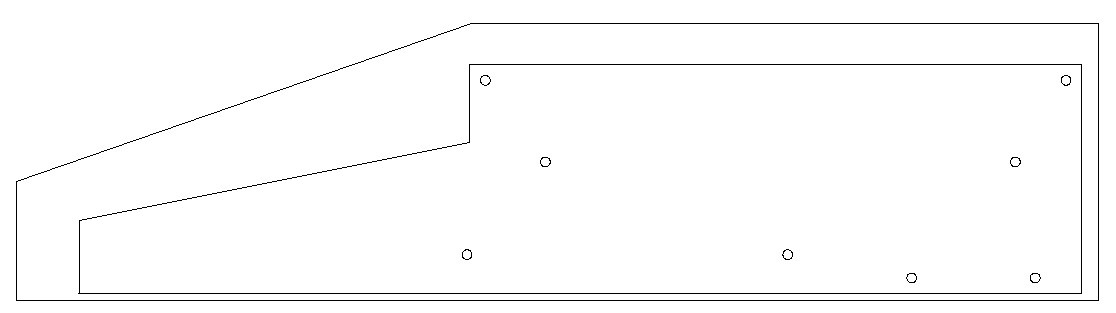
The inside panel has holes defined that will be used to join the inside panels to the cross-bars that will separate them at the correct distance apart, and there are also holes to connect the outside panels to the inside panels. Using 1/8 inch plywood I laser cut one piece exactly as above with the inside panel nested within the outside (thanks kwartzlab), then I cut three more inside panels only.
I glued pairs of inside panels together so I had two 1/4 inch inside panels. I then used the outside cut panel as a template to layout the two outside panels on a nice plank of 1/2 inch walnut. These I cut out with skill and jig saws and used a belt sander to smooth the edges.
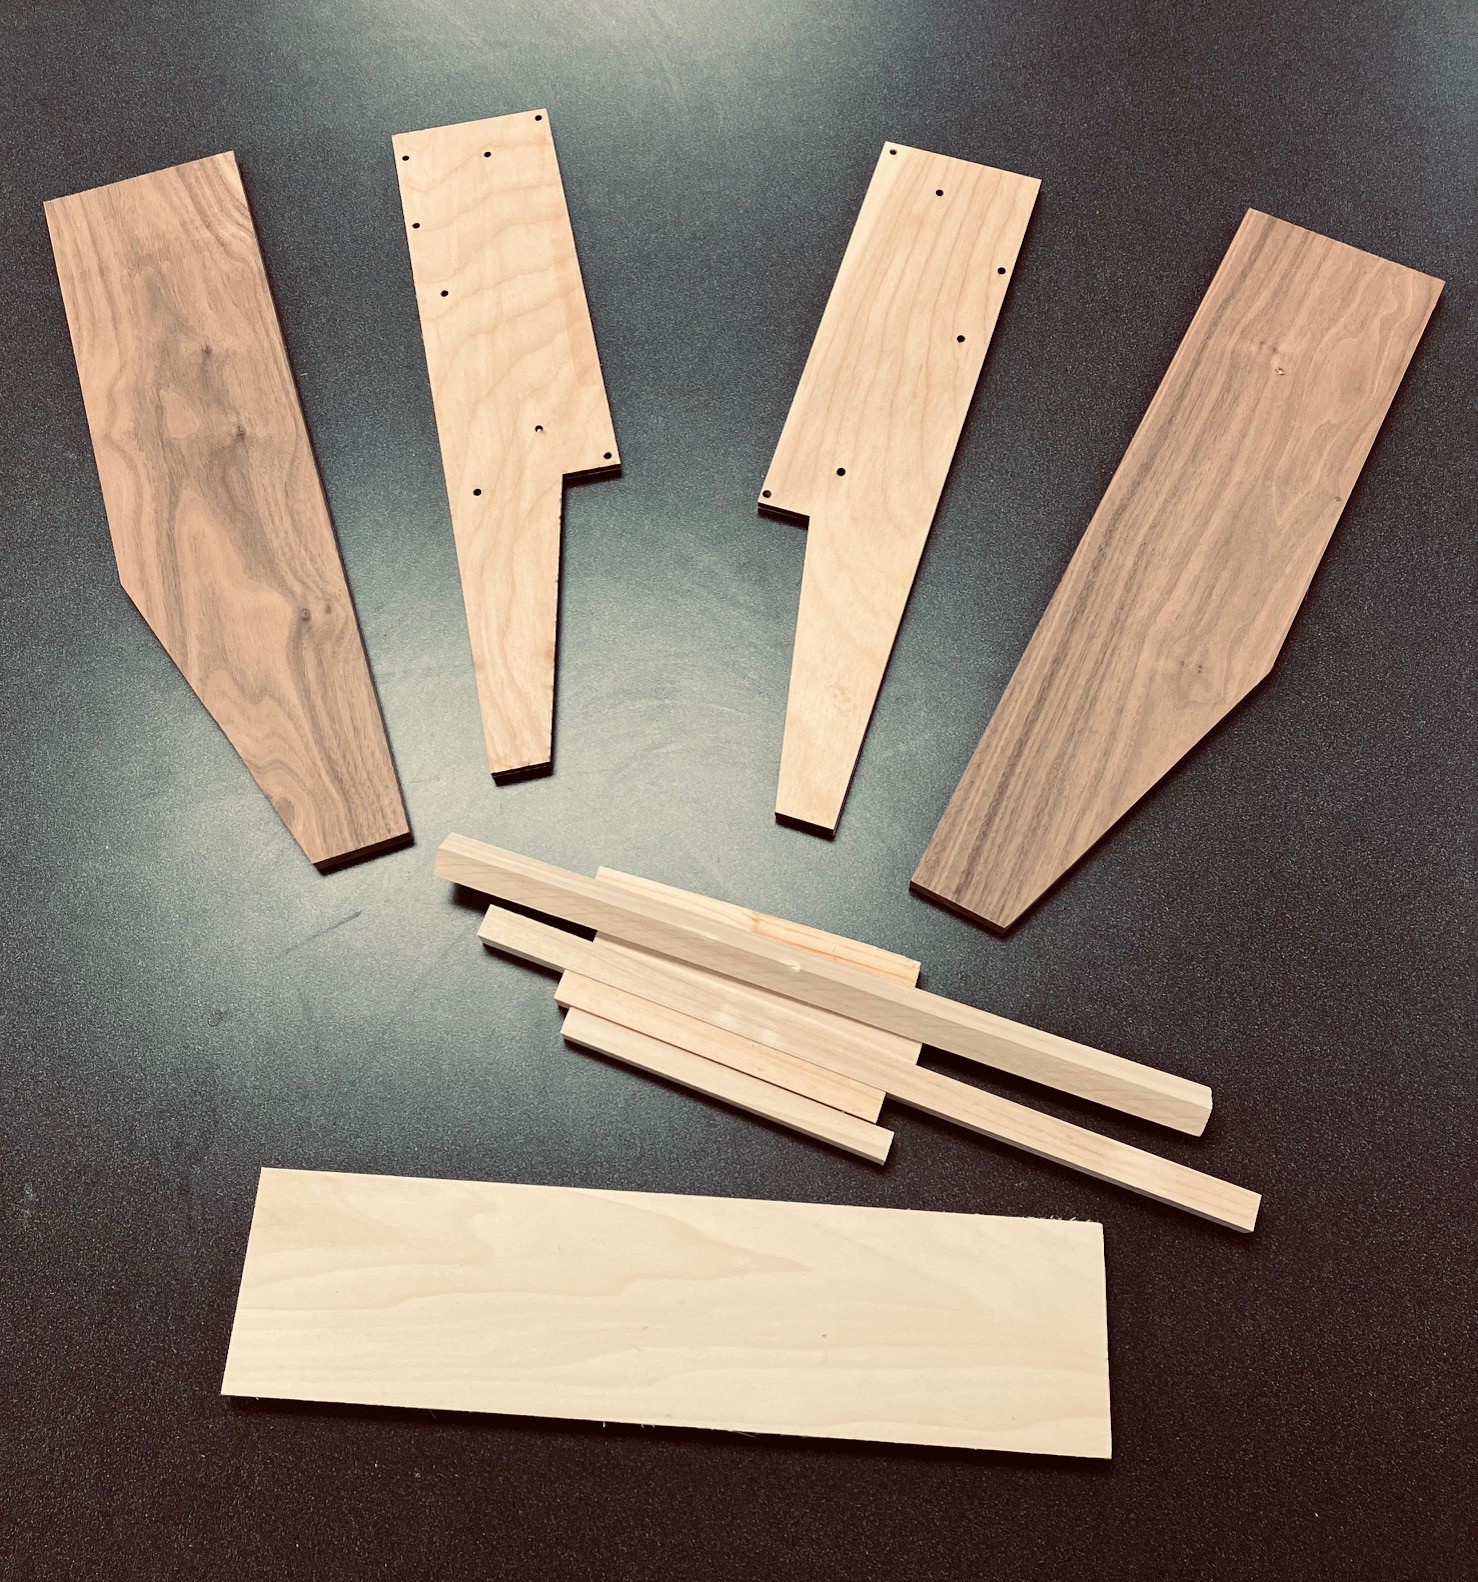
Finally I cut out some cross-pieces 364 mm long. One was 1/2 x 4 inch pine, plus two 5/8 inch square dowels. In addition I cut four 130 mm lengths of 1/2 inch dowel.
So here is was I ended up with.
I attached the cross-pieces to the insides with #6 - 1 inch wood screws making sure the the heads were flush with the panel. The shorter 1/2 inch dowels were doubled up attached to the inside of the side panels at 20 mm below the slanted edge to support the keyboard.
Finally I used the outside template to properly align the inside pieces to the outside and joined them with 5/8 inch wood screws.
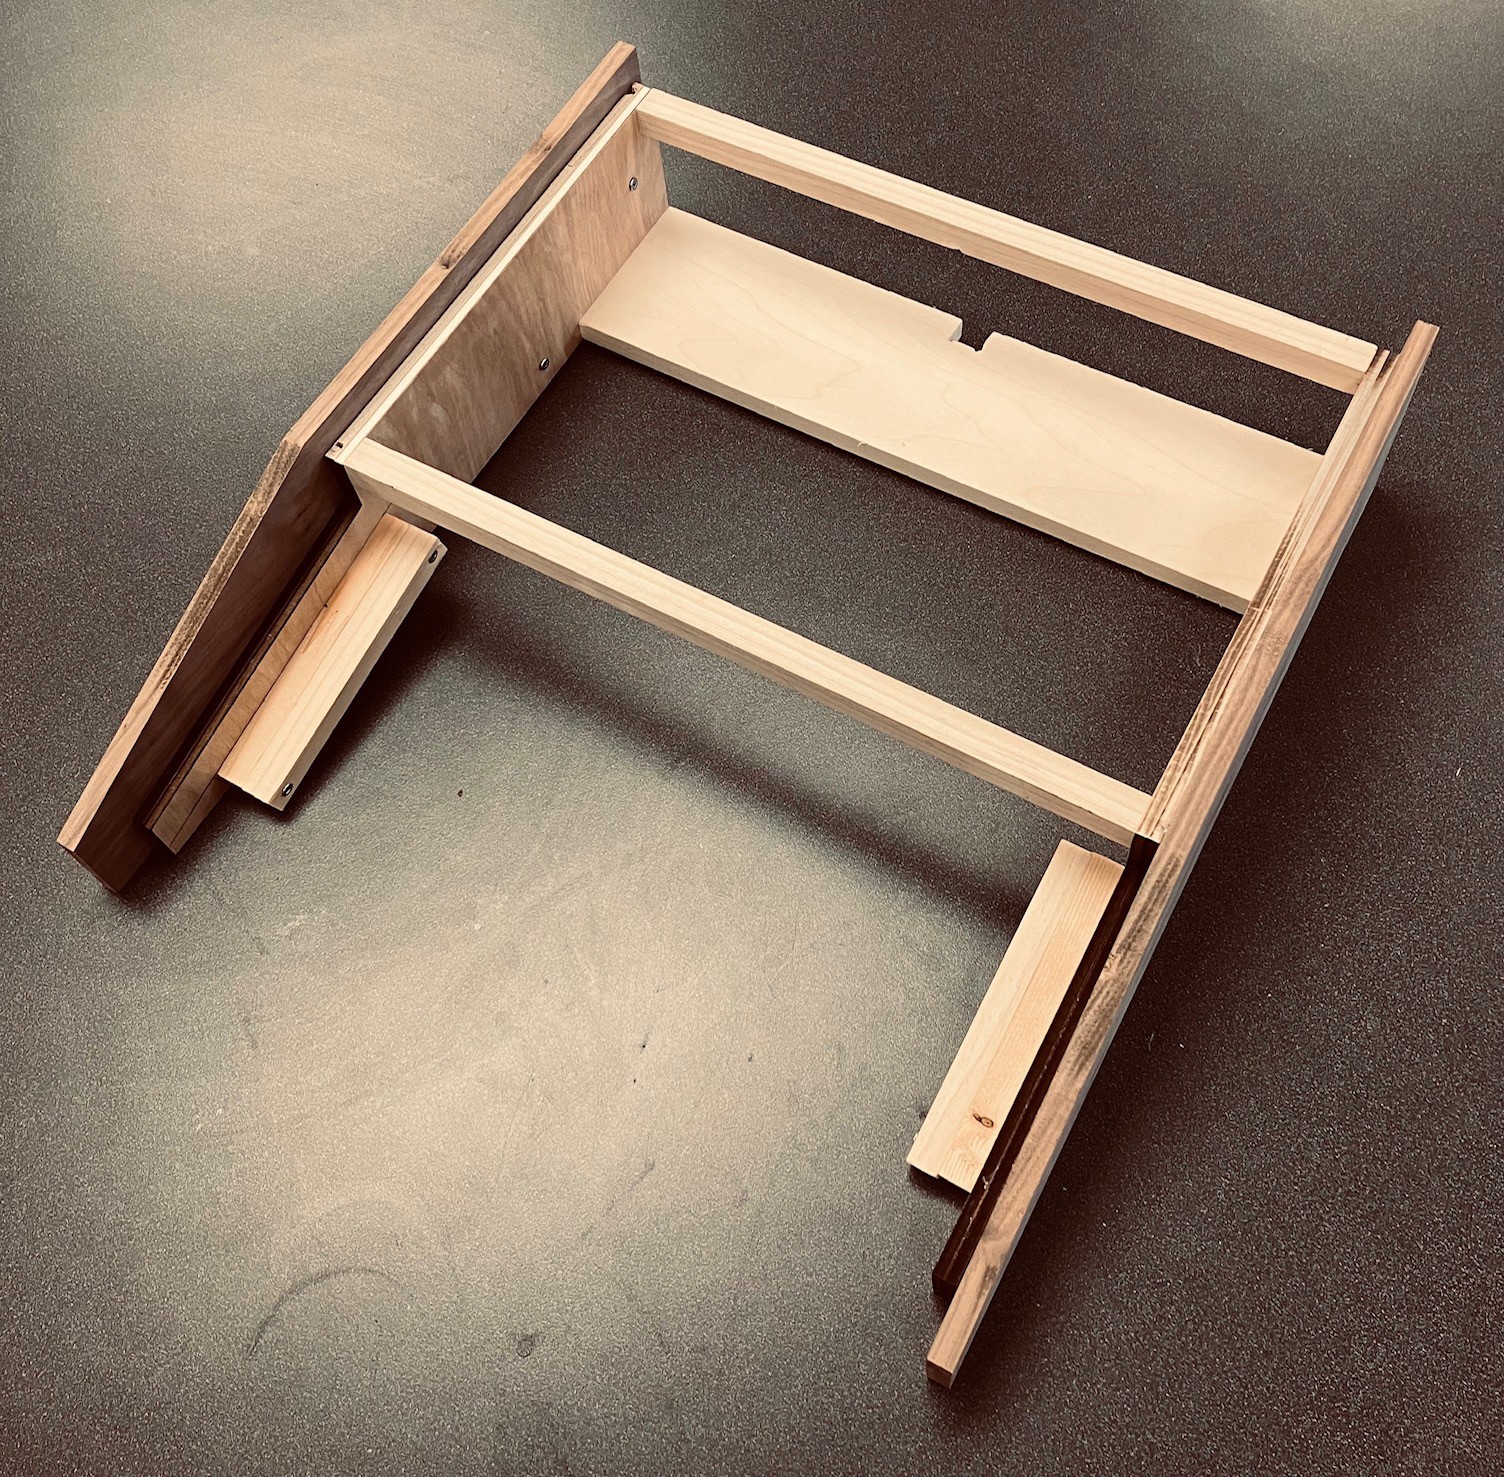
Also notice that I cut a 10 x 10 mm notch into the back of the 1/2 x 4 inch cross-bar to accommodate a support beam on the case.
I've started printing the case pieces. I will have to print six separate pieces that are small enough to fit on my print bed. To facilitate the reconstruction I have added support beams underneath with holes so I can bolt the separate pieces back together again.
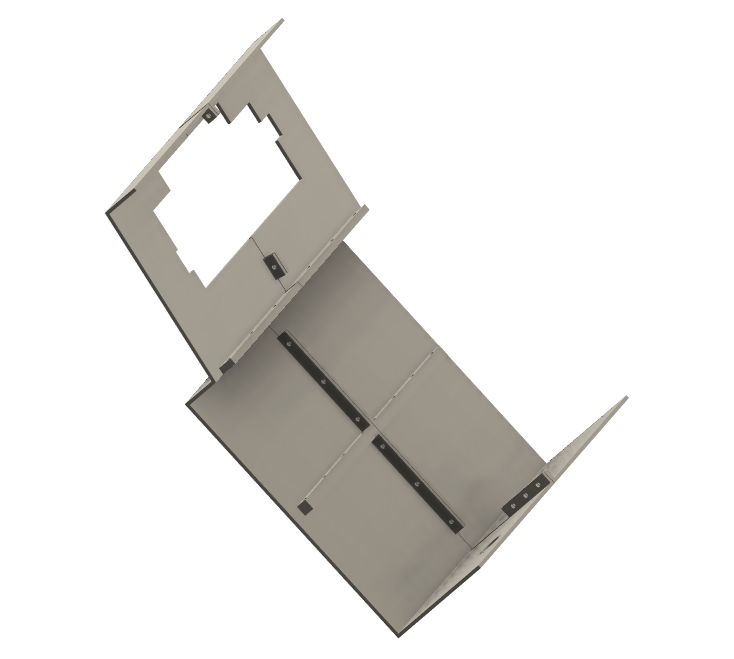
All together there is about 50 hours of printing ahead of me.
Discussions
Become a Hackaday.io Member
Create an account to leave a comment. Already have an account? Log In.