Operation
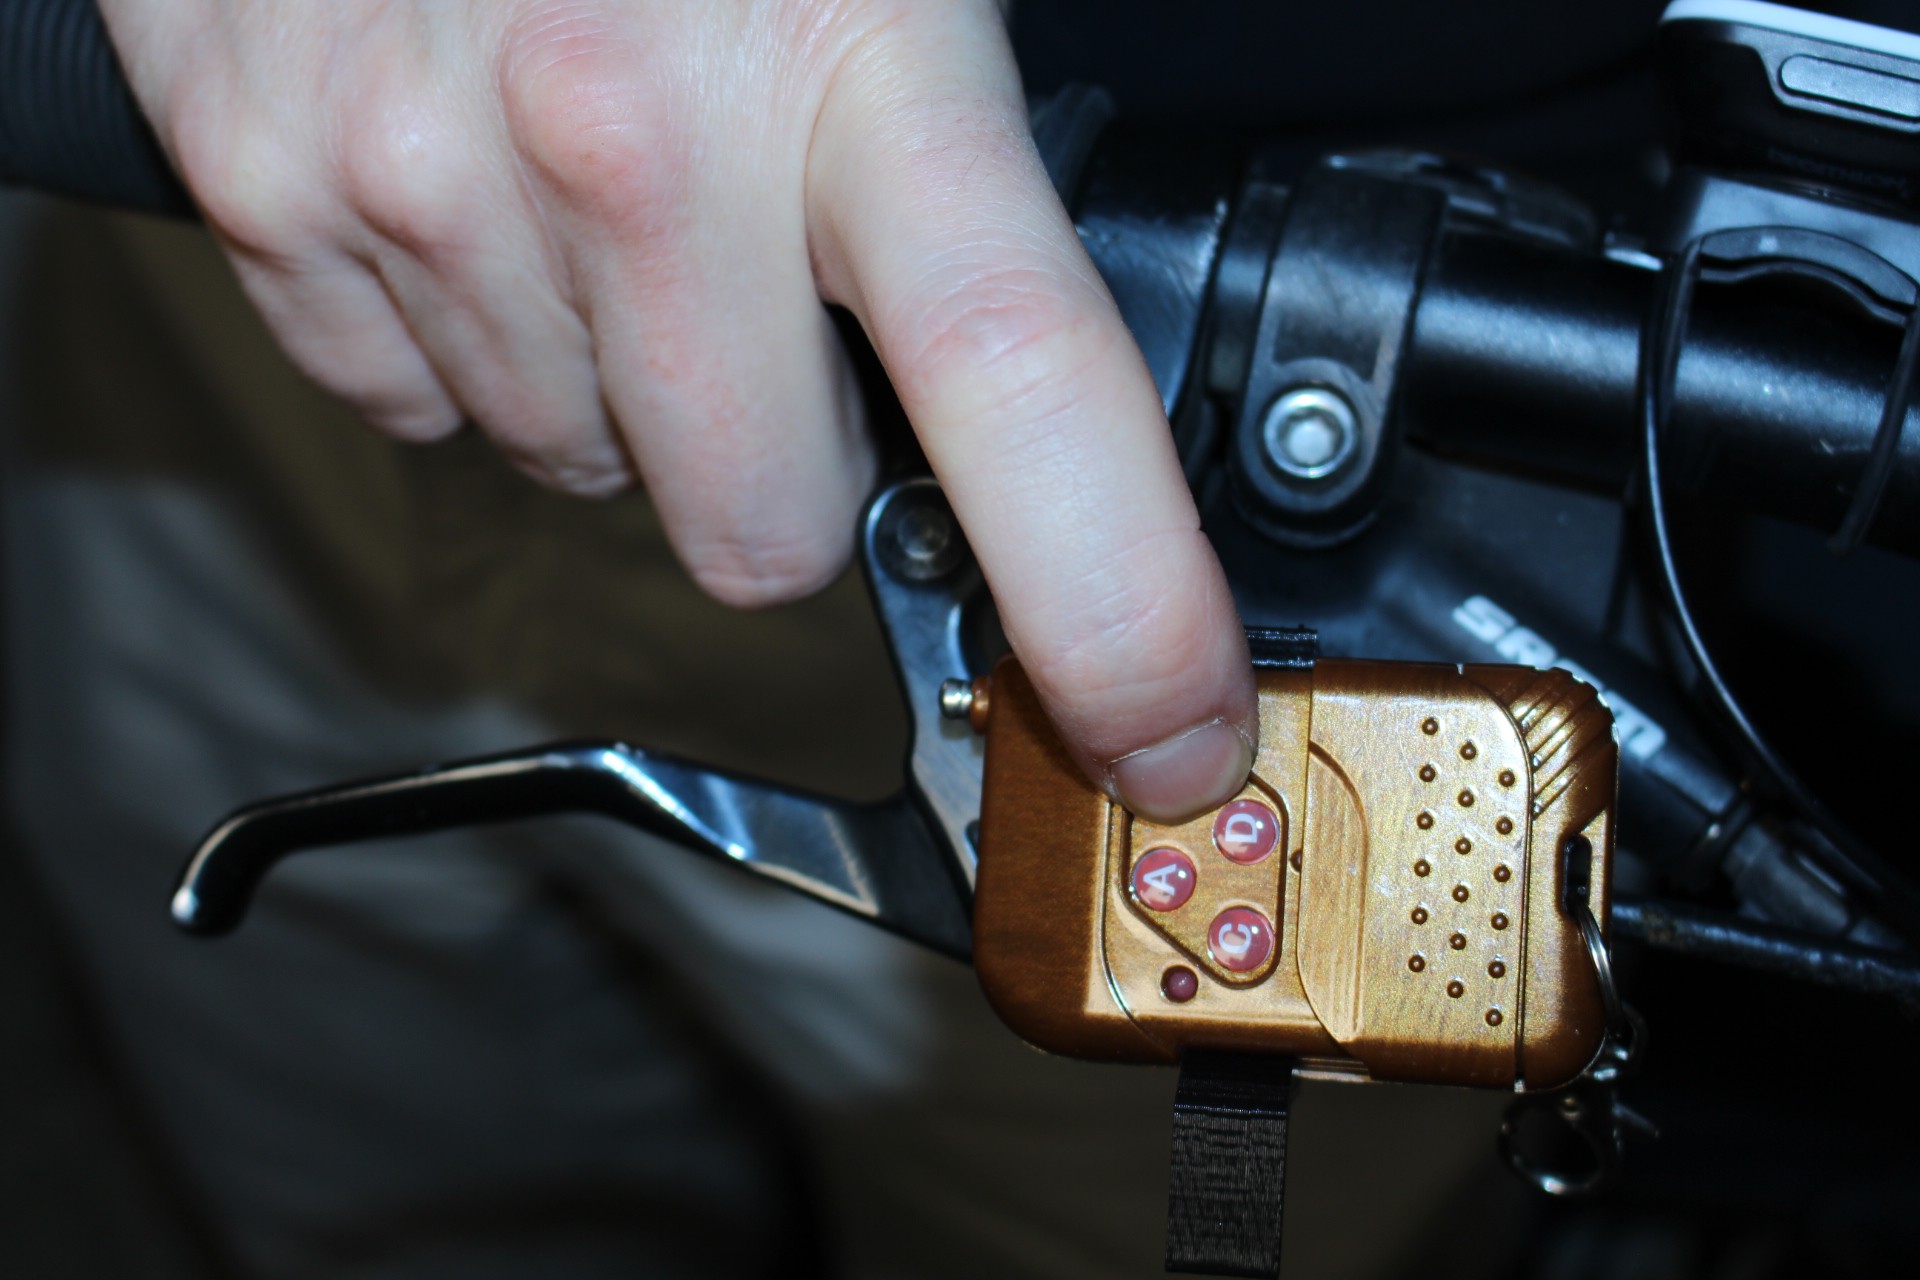
The remote of the radiolink is installed on the handlebar. By pressing buttons of one side or another, the turn signals are light up. They remains blinking as you keep the button pressed and 3 seconds after you released it.
An accelerometer autodetects the braking and change the default blue light by the red during half a second.
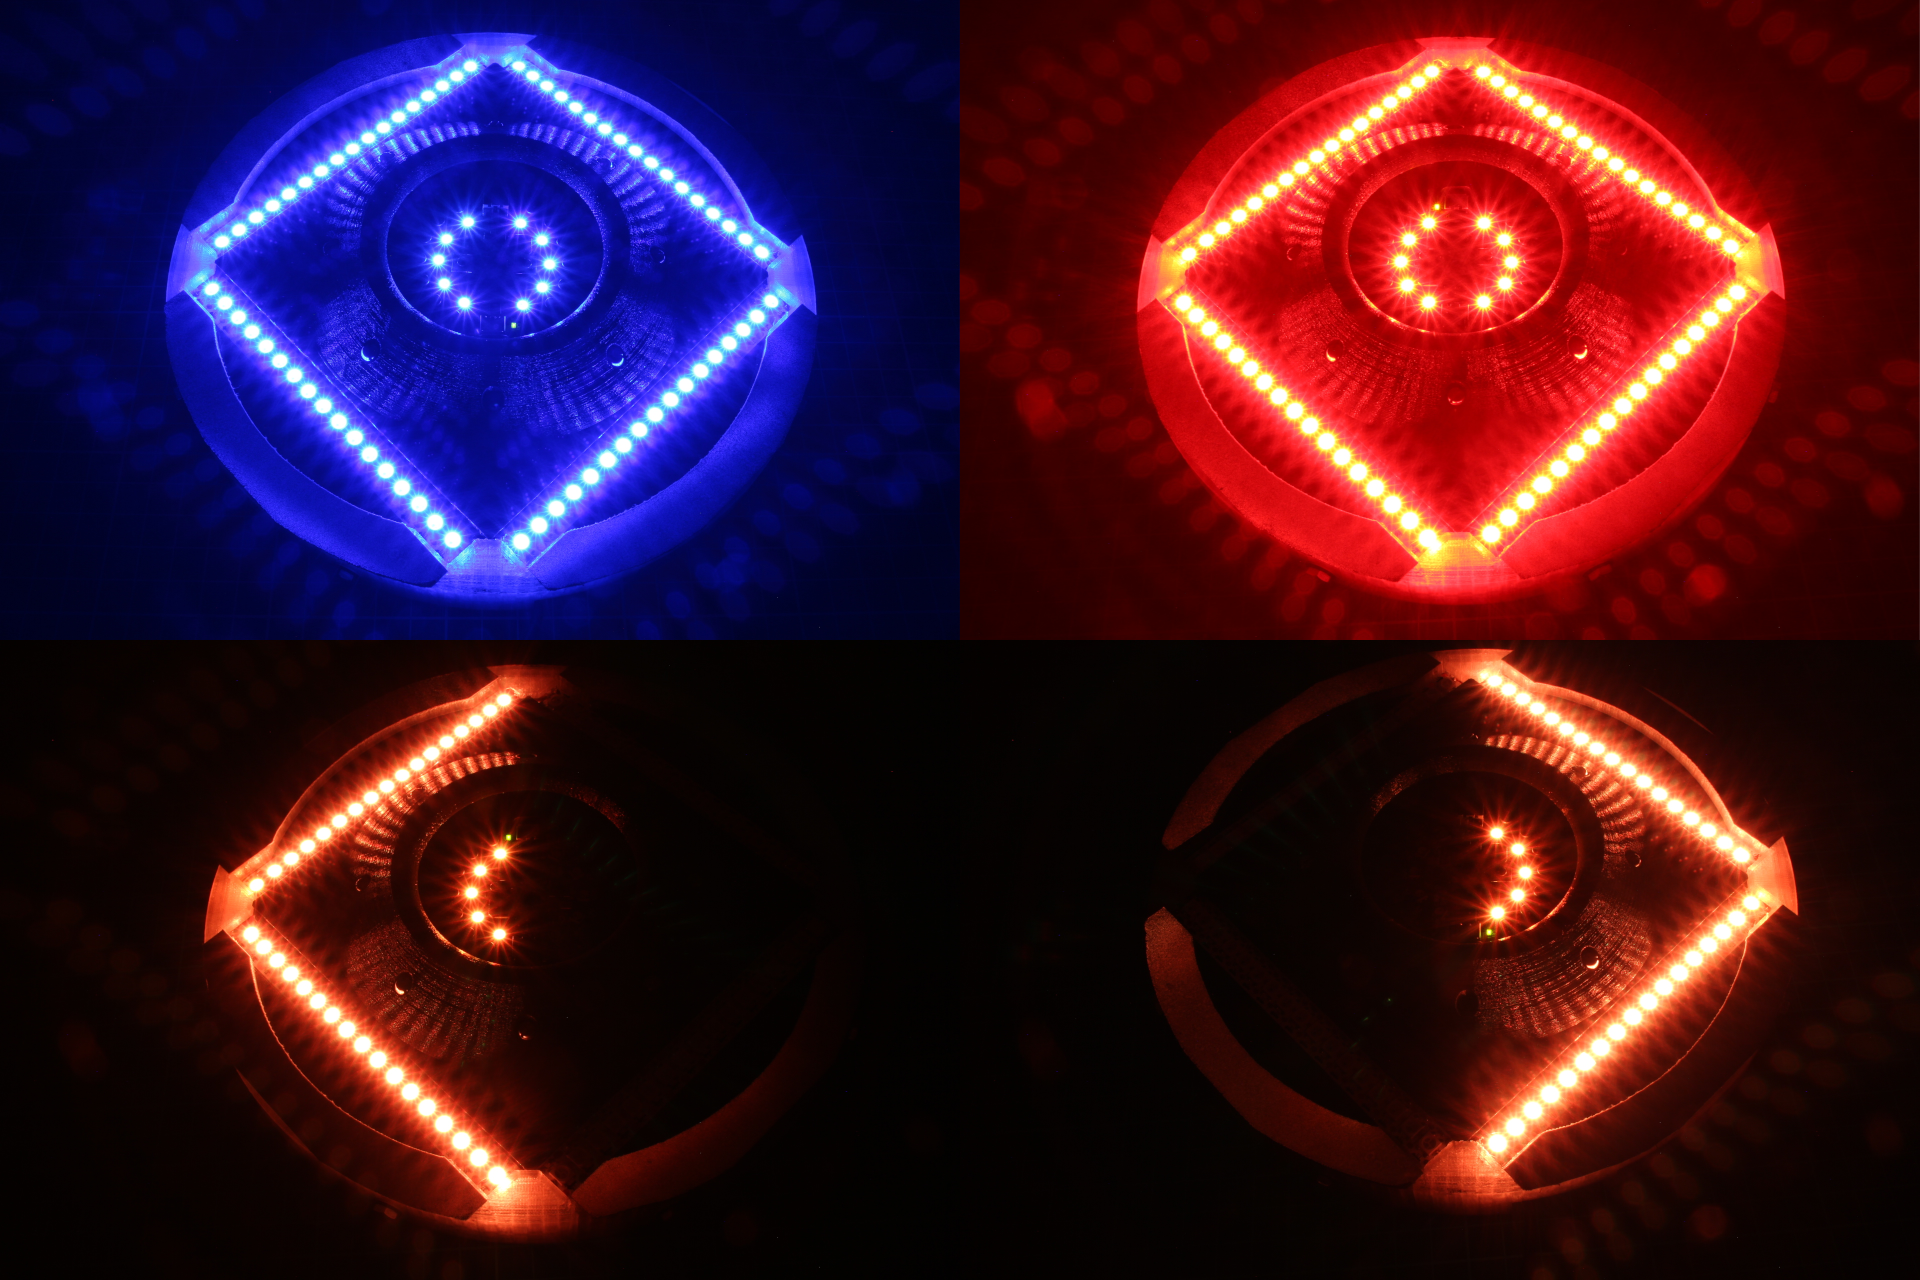
Built
The whole enclosure is 3D printed. The freeCAD format (https://www.freecadweb.org/) and .stl files can be found below.
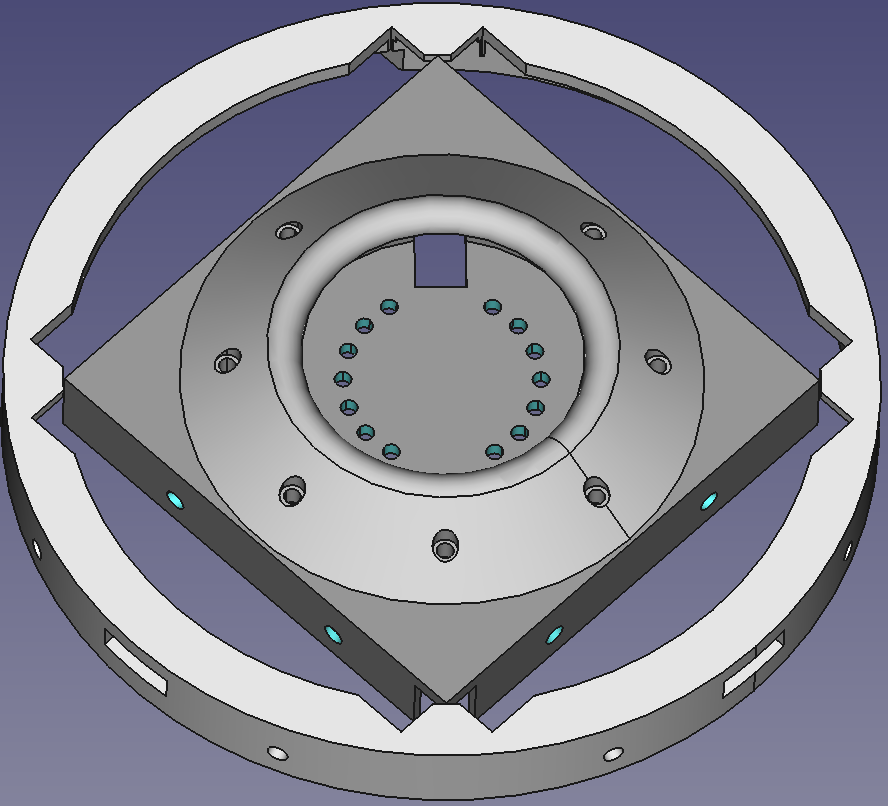

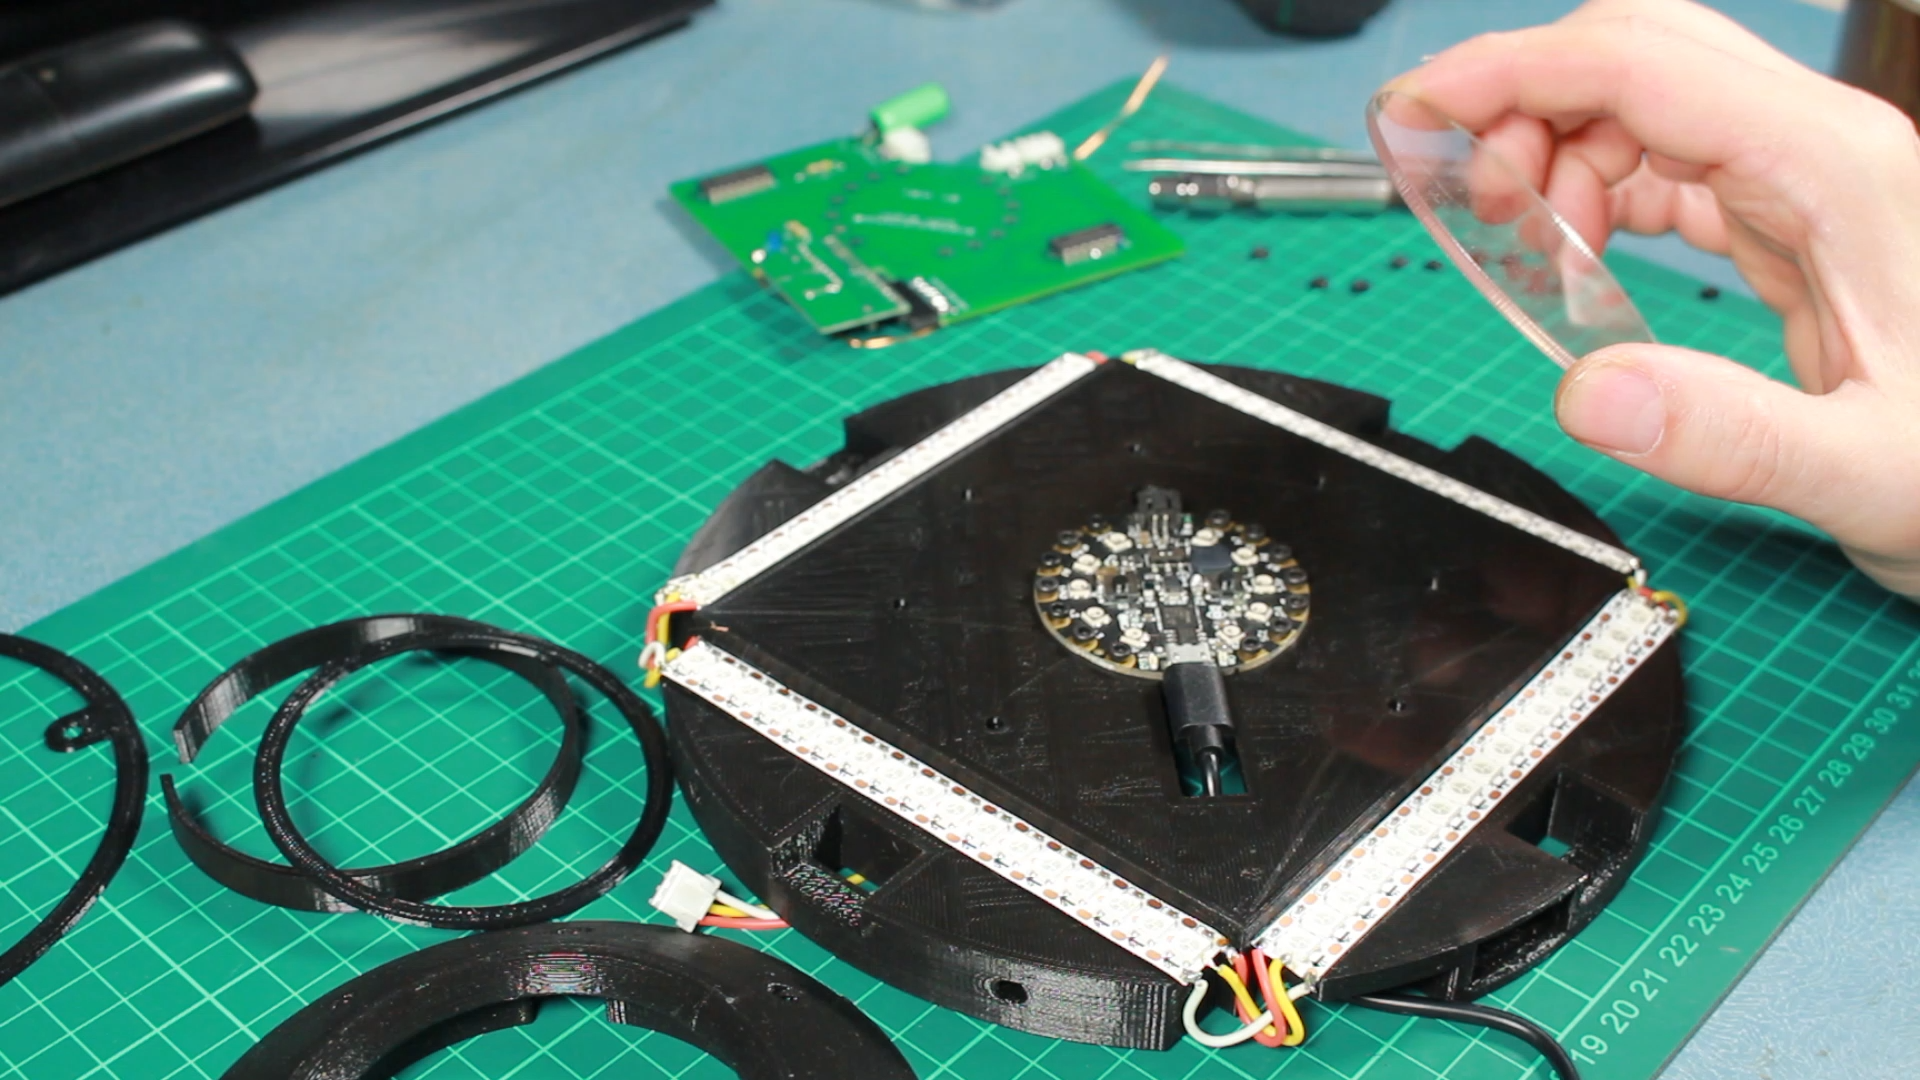
The adafruit's Circuit Playground Express [CPX] (https://learn.adafruit.com/adafruit-circuit-playground-express) is installed in the front side and fixed with 14 screws that serve as connection to the PCB in the inside. It is protected with a 3" transparent acrylic part in a bullseye style.
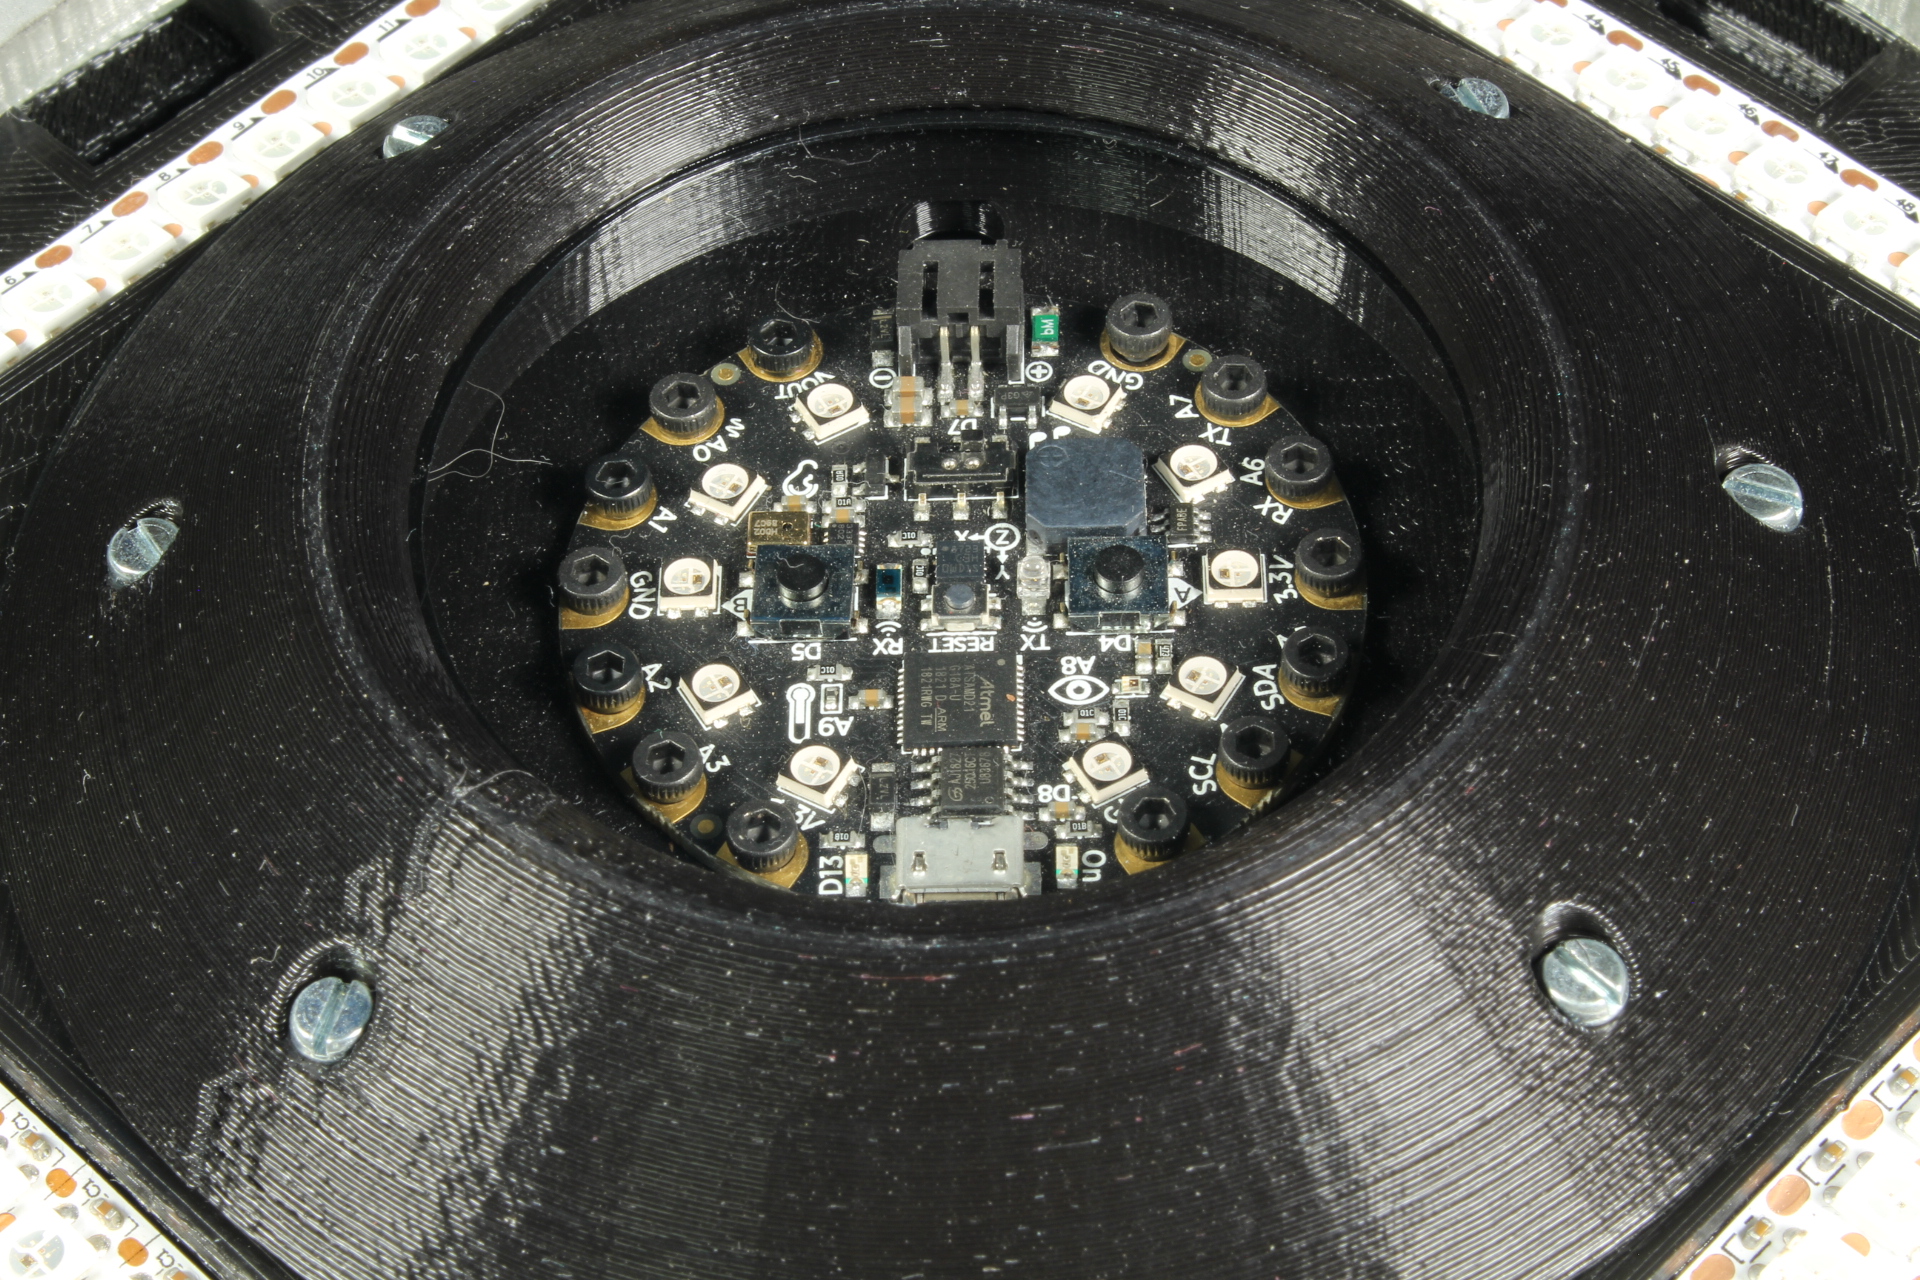
The neopixels are wet protected with nails coat. There is 17 of them in each side. Added to the 10 of the CPX sums 78 neopixel ultrabright light.
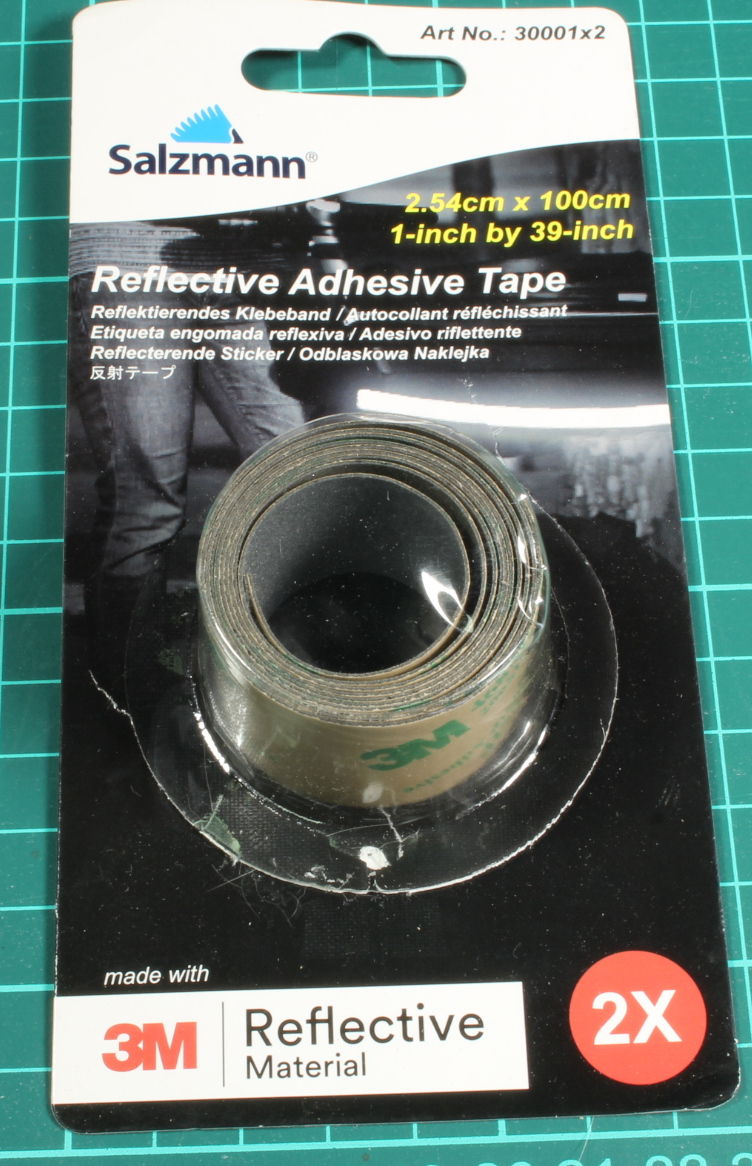
The outer ring is covered with "3M™ Scotchlite™ Reflective Material" which adds an extravisibility at night.

Hardware
Circuit Playground Express [CPX]
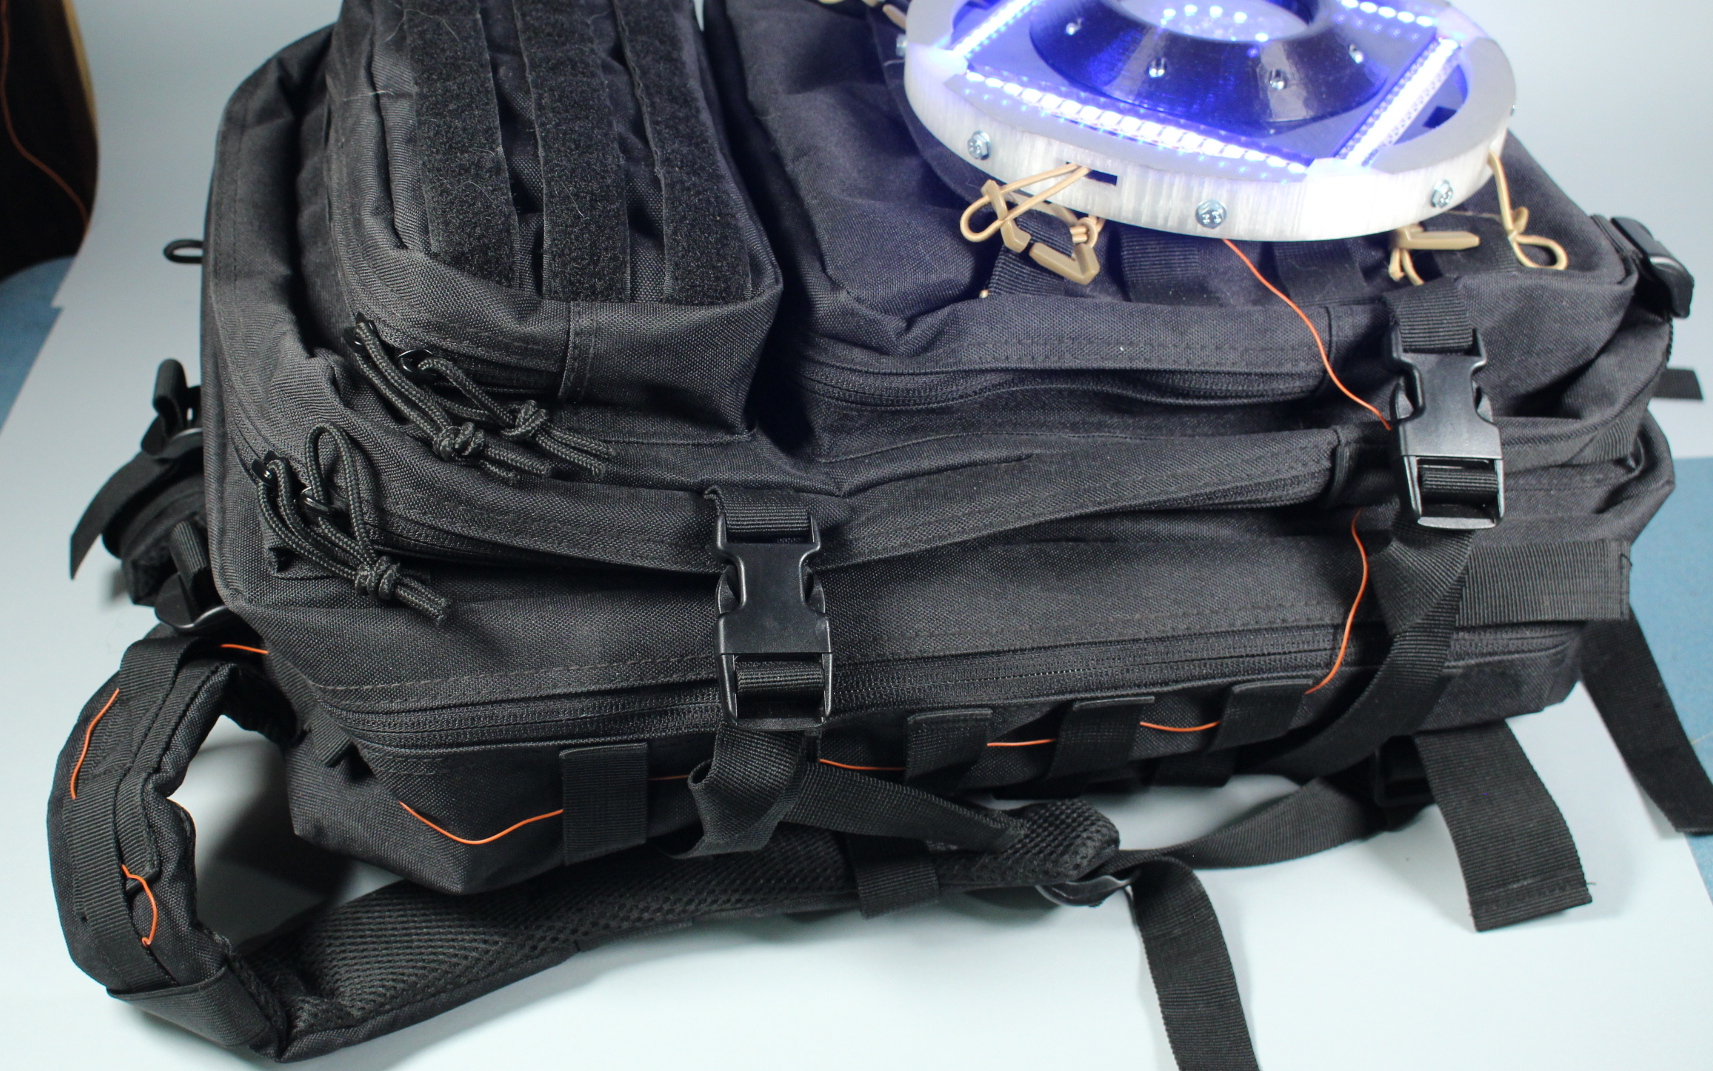
The heart of the system is the CPX. It is powered by the USB wire that has been modified to interleave a power switch. The power is supplied by a power bank located in the inside of the backpack.
PCB
Proudly manufactured by https://www.pcbway.com/
KiCad (https://www.kicad.org/) files are provided below.
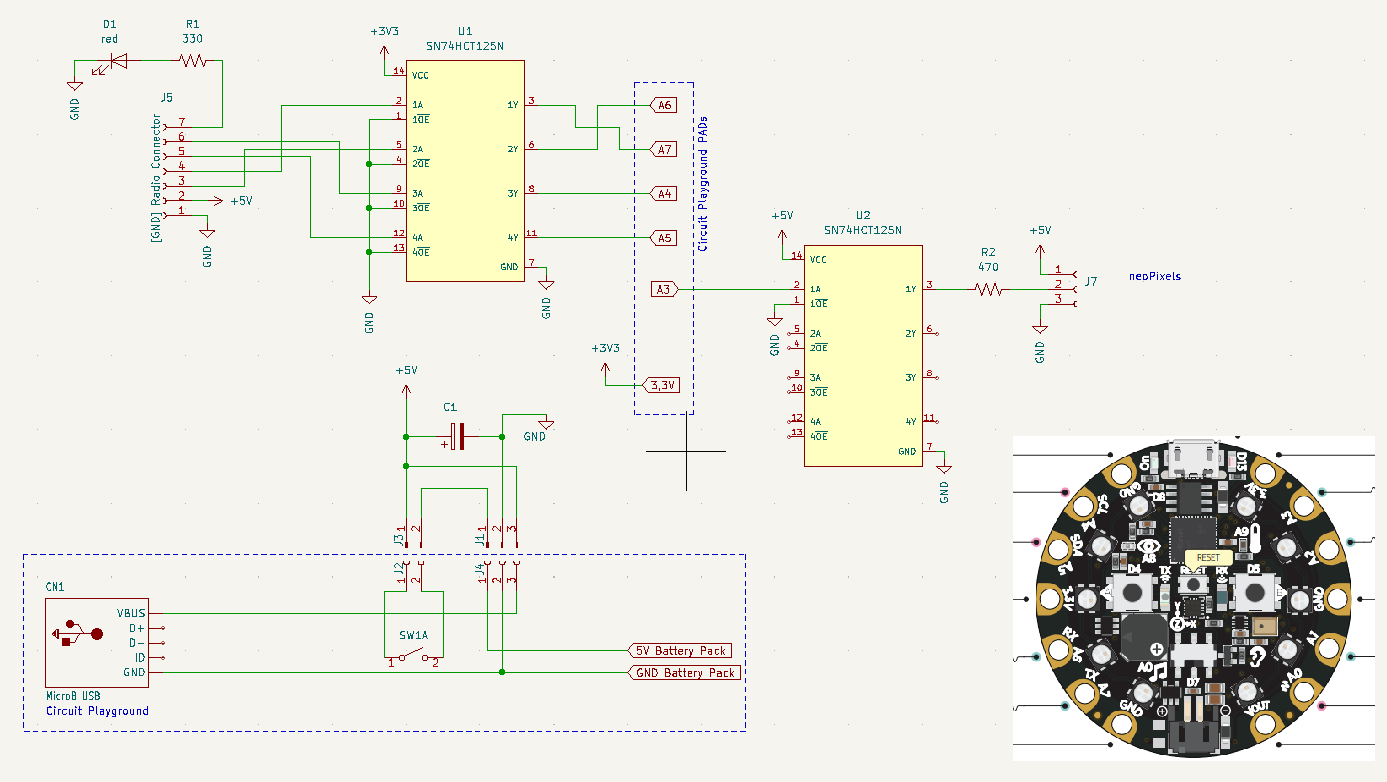
The 10x10cm custom PCB receives the pads of the CPX through 14 screws in a screw - CPX - 3D part - nut - PCB - nut form. Interface the miniPCB radio receptor with a 7 pin connector. Shows when radio signal has been received lighting up a led. Contains the 470 ohm resistor and a fat cap to buffer sudden changes in the current drawn by the neopixel strip.
Radio and neopixels are at 5V level whereas the CPX logic is 3V3. Two 74AHCT125 are added to interface.

The antenna wire is long enough (95 cm: An entire 315 MHz wave) to reach the front part of the bakcpack. The city is surprisingly RF noisy!
Software

The CPX runs CircuitPython, the adafruit's implementation of MicroPython. The code structure is a State Machine:
while RUN:
    while mST == 0:
From acceleration data to brake light
We can access the LIS3DH triple-axis accelerometer data easily simply:
    x, y, z = cp.acceleration
    acceleration = z
We will use the z-axis only which, the most significant when braking.
As usual, we have some work to do in order to convert the noisy accelerometer raw data in something useful.
We are going to follow the aproach shared by Eva Herrada (https://github.com/evaherrada) at https://learn.adafruit.com/circuit-playground-bluefruit-brake-light
We will swap the lists for the moving average with kalman filters. One fast, other slow:
k_alman_fast = 0.3
k_alman_slow = 0.1
    acc_fast = k_alman_fast * acceleration + (1 - k_alman_fast) * acc_fast
    acc_slow= k_alman_slow * acceleration + (1 - k_alman_slow) * acc_slow

    shakiness =  acc_slow - acc_fast
We further filter the shakiness, as Eva does, waiting to 3 consecutive_triggers, and the lack of "shake signal" from the accelerometer. This signal directly from the LIS3DH use to mean a bump in the road.
        if shakiness  > 0.8:
            if consecutive_triggers > 3:
                if not cp.shake(shake_threshold=10):
                    start_brake = time.monotonic()
                    mST = 3
                    rojo()
                    cp.start_tone(800)
            consecutive_triggers += 1
Reaching the cut value of the shakiness has been the tricky part of this project. Too high (less sensitive) and only works with the harder braking. Too low (more sensitive) and it will be light up with each bump of the road. I am quite happy with the value of '0.8' having the kalman constants fast and slow at 0.3 and 0.1.
 Estudio Roble
 Hena Chernov
 Arno Moonen

 electronicsworkshops
 mircemk