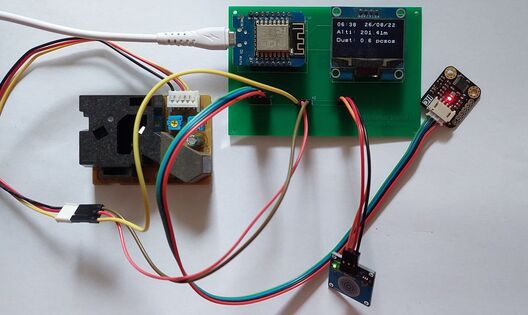
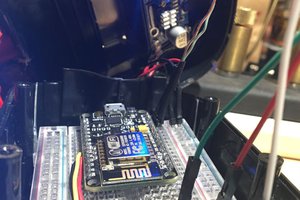
One of the projects that I have been working on and constantly improving for quite a while now is my ESP8266 Weather Station. The project essentially uses the WiFi capabilities from a Wemos D1 Mini board (ESP8266) alongside the readings from a Grove dust sensor as well as a BME280 to then display real-time information onto an OLED display. In essence, a project like this can be used for weather forecasting, data collection, and real-time monitoring of our environment, particularly because of its compact form and wireless capabilities. During the research & development stages of this project, there were various sensor readings that I wanted to incorporate, and with a compact form to keep in mind, I had to choose wisely what sensors I wanted to feature. With the BME280 sensor, it can detect and output three environmental readings: humidity, temperature & pressure. In addition, the dust sensor added a unique touch to this project where I can have the ability to go beyond just the basic weather station data. Similar to many other projects, I started simple and used a breadboard as the main base of this project where I can test things out, experiment around and if possible, make any changes to the code before finalizing the project. Please refer to the following videos for some of the stages in the development of this project back from when it was just a simple ESP8266 Clock all the way to a featured weather station with a touch sensor:
Although the project was solidly built onto a breadboard, I wanted to level it up even more and decided that fabricating and ordering custom PCBs for the project would be my next step. After designing the Gerber files for my project, I used the Seeed Fusion PCB service to order my PCBs as I have had previous experience using their service for other projects before. The ten boards that I ordered arrived in around a week and I was pretty impressed by the quality of the boards as it was perfect to suit the project's needs. From here, I simply soldered on male and female header pins into the pin holes on the PCB that I have customized for each sensor/module on the project, making it easy for me to hook everything up.
Seeed Fusion PCB: https://www.seeedstudio.com/fusion_pcb.html
Seeed Fusion PCB Assembly: https://www.seeedstudio.com/pcb-assembly.html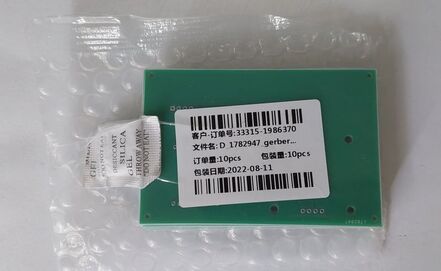
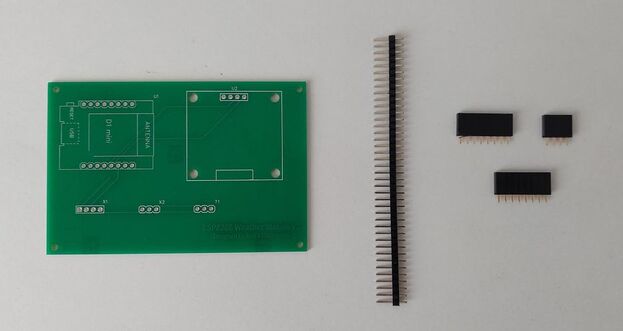
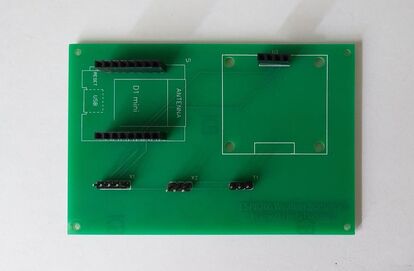 After assembling the boards, fitting all the components into the assigned pin headers was a breeze and as soon as I uploaded the code from the Arduino IDE to the Wemos D1 board, the weather station was functioning as expected. This meant that the sensor readings were all being correctly displayed on the OLED display, the time was correct as taken from the ESP board and the touch sensor worked to switch between the pages on the display. Essentially, it meant that my PCB was working correctly!
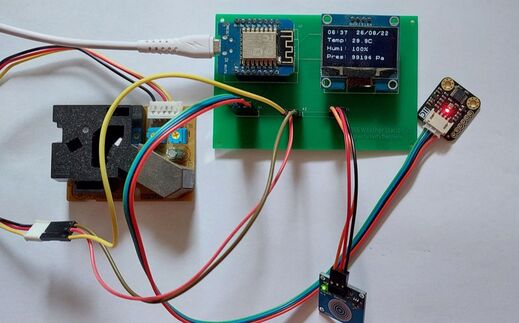
 Feel free to check out this video I made showcasing the project with the finished PCB:
Moving forward, this definitely isn't the end of the project and I think that there is still a fair bit that can be done to improve upon the overall weather station. In addition to many other sensors possibly being added such as a CO2 sensor, a 3D printed case would be a fine complement to increase the compactness of the project. Of course, since an ESP8266 board is being used that has the ability to run without it being plugged into a computer at all times, a portable lithium battery would certainly accompany the project well in its case. Once again, this project is still a work in progress and there will be constant updates to this project as it develops.
FS Technology is the best electronics manufacturing company in China. The company covers an area of 3,000 square meters and has a total number of more than 1,300 people. Currently mainly engaged in turnkey PCB assembly services, services include - component procurement, bare board production, PCB assembly, home delivery, etc.
Our philosophy:
1. Customer is God
2. Mutual benefit and win-win
3. Service and quality above...
 Joel Lewis
 John Baichtal
 Peter
Peter