 Peter Lyons
Today I'm moving forward with assembly now that I have the custom PCBs in hand and have already 3D printed a full set of parts.
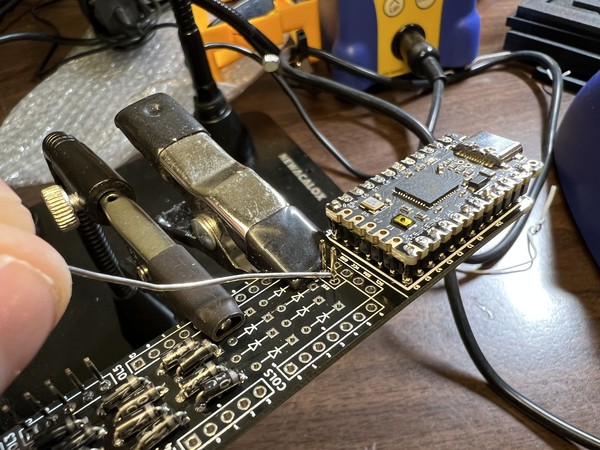
I soldered all of the pin header sets onto the PCB. These are now ready to accept DuPont connections running wires out to each key column (finger)
I later realized I should have done that 4-pin one closer to the MCU first.
I'm ready to glue switches into the keywells, but before I can do that I need to "chop" the Kailh Choc Mini switches to be even smaller footprint. It requires a steady hand and high accuracy but it's otherwise a controlled process and you get a cleaner cut. My approach is to slice through them with a circular cutting bit on a rotary tool. This can be done with a pair of flush cutters but it's a bit dodgy. Each choc switch has about 1/3 of its size allocated to housing and wiring for an LED. We don't need this and it takes up space, so we slice it off.
Once I have a few chopped chocs ready, I'll glue them into the keywells with some DAP rapid fuse with the brush applicator.
I was able to get 2 1x4 keywells chopped and glued today. I also glued the magnets into the case that snap the case top and bottom together. Glue is still a very messy business for me. There are ways the CAD for the magnets could be done to better limit glue to only below a magnet and not making a mess everywhere, but in this spot I've just got circular holes for the magnets and it'll look a bit messy.
I'm now headed to the wood shop to try to find a suitable scrap to cut, sand, and paint for the center divider/base.
Discussions
Become a Hackaday.io Member
Create an account to leave a comment. Already have an account? Log In.