 Peter Lyons
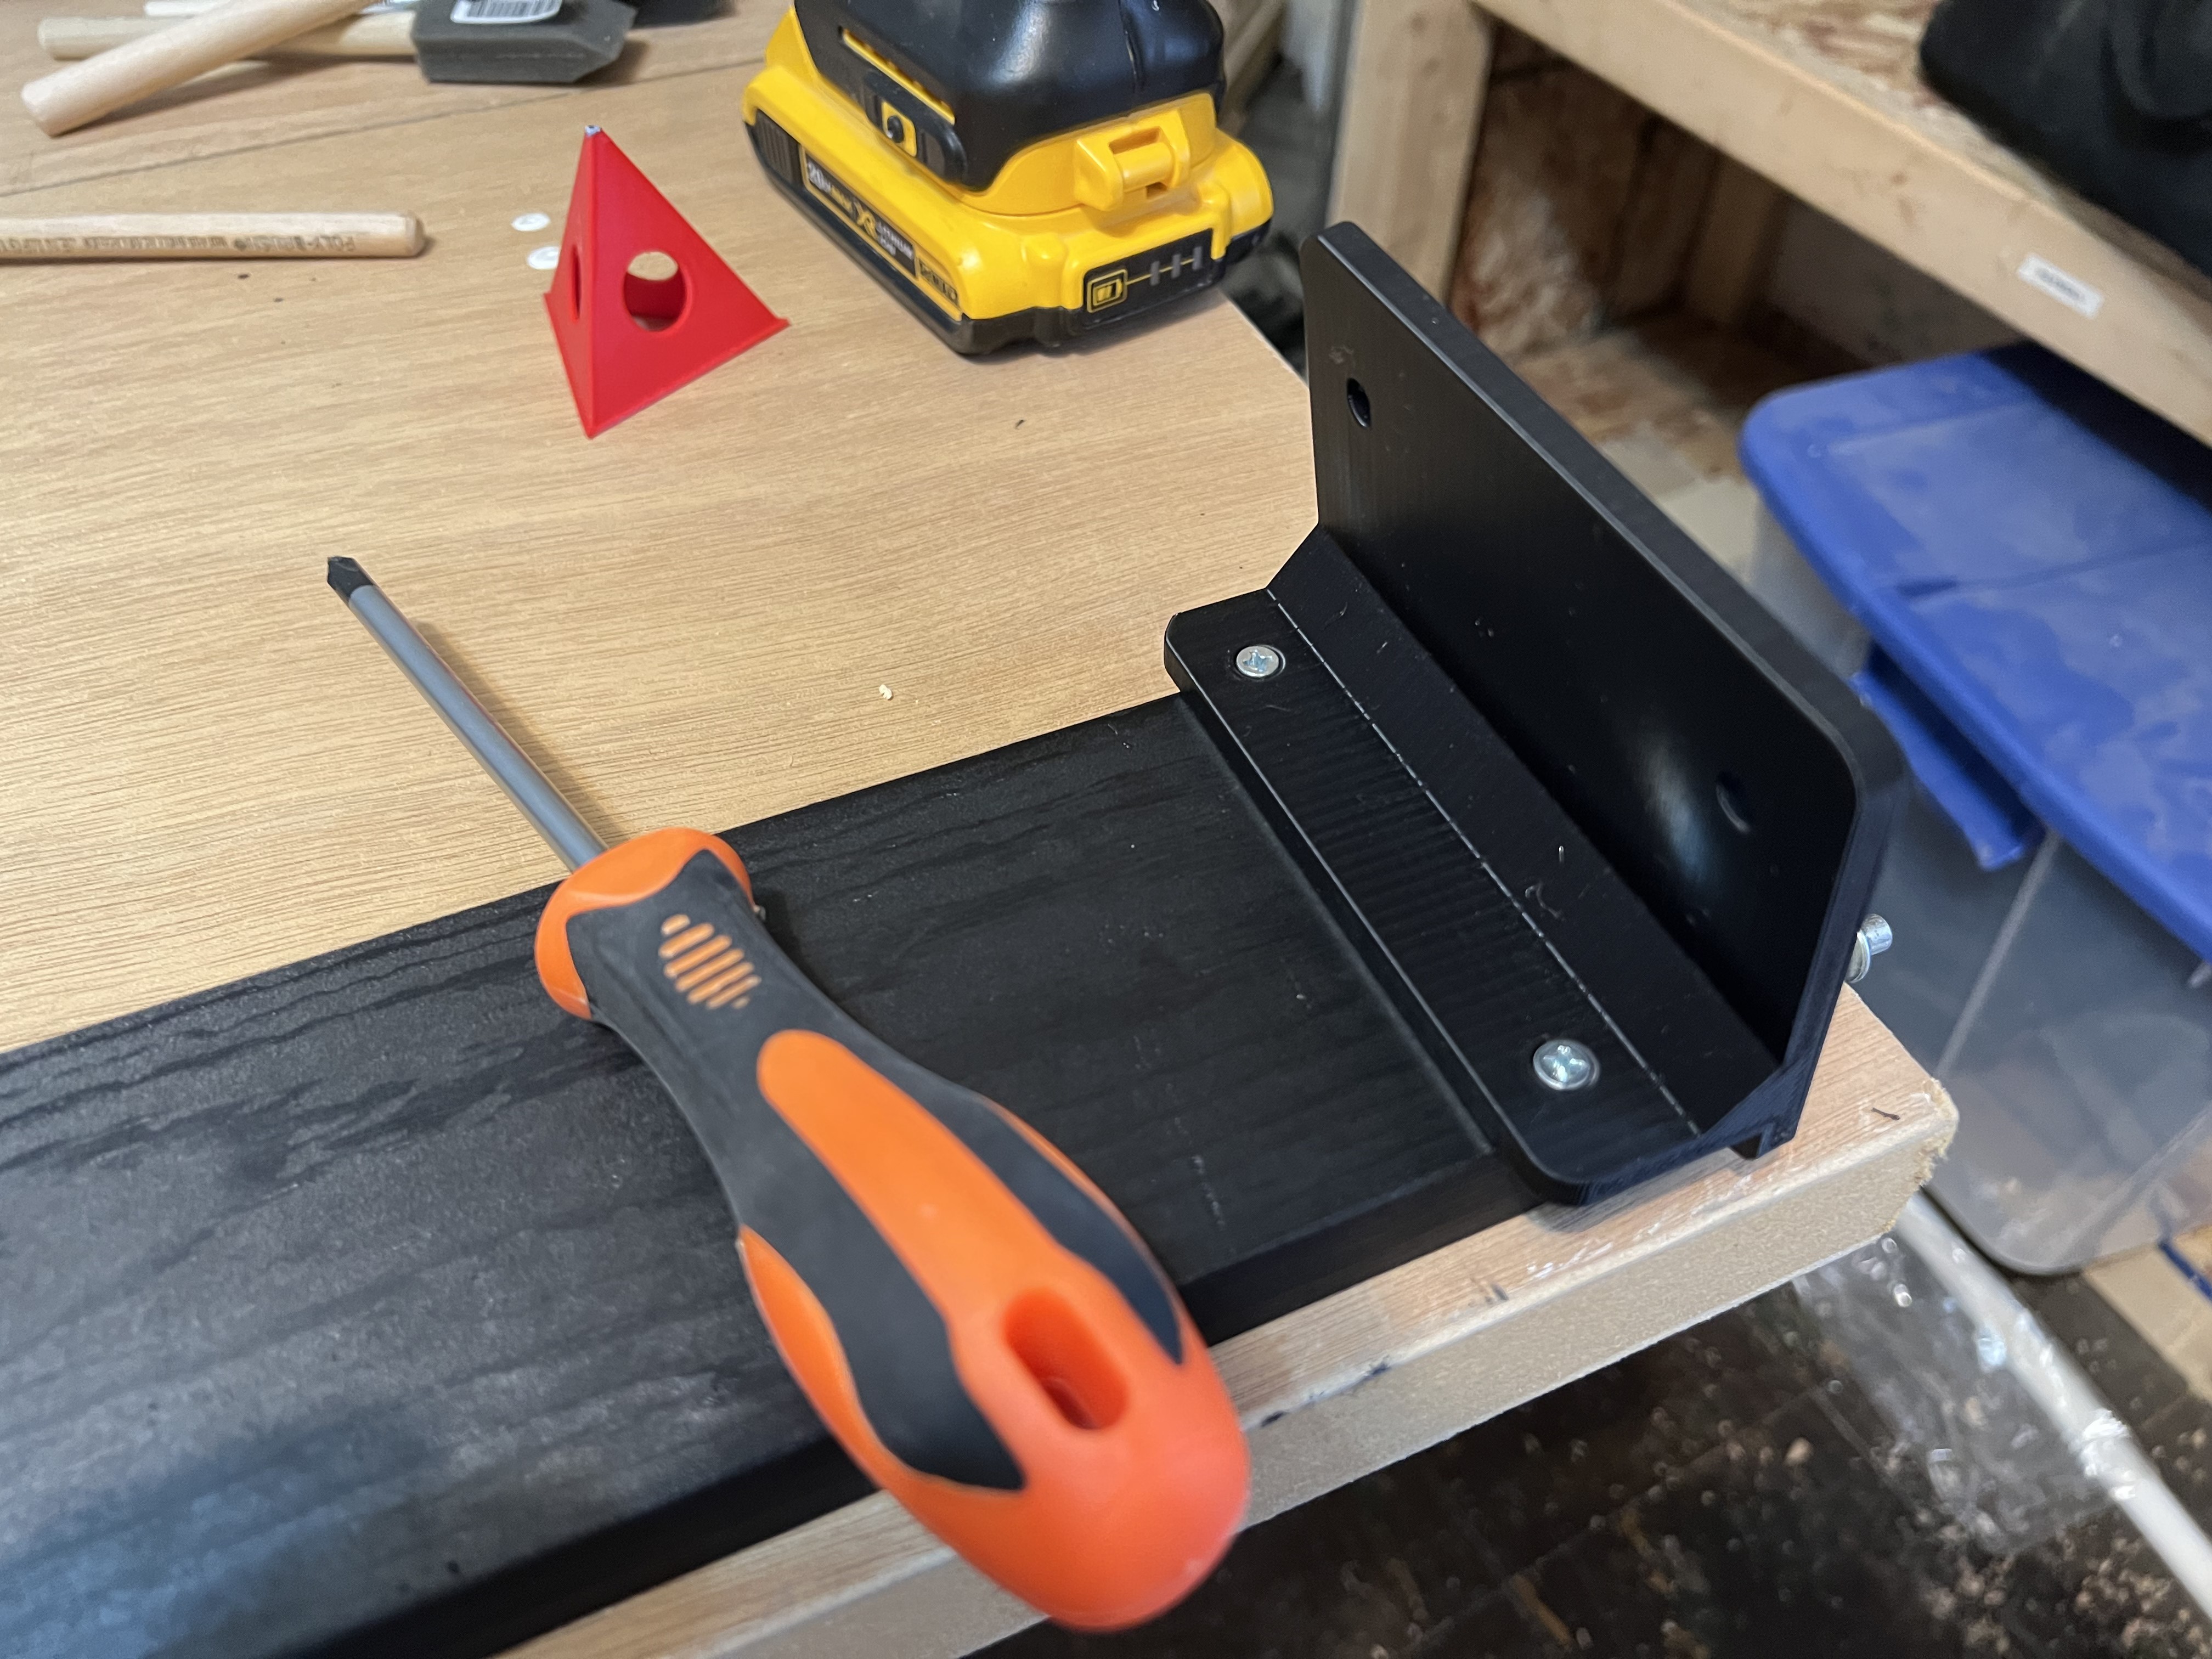
Today the paint on the base board was dry so I was able to drill pilot holes and screw the tenting plates to the base.
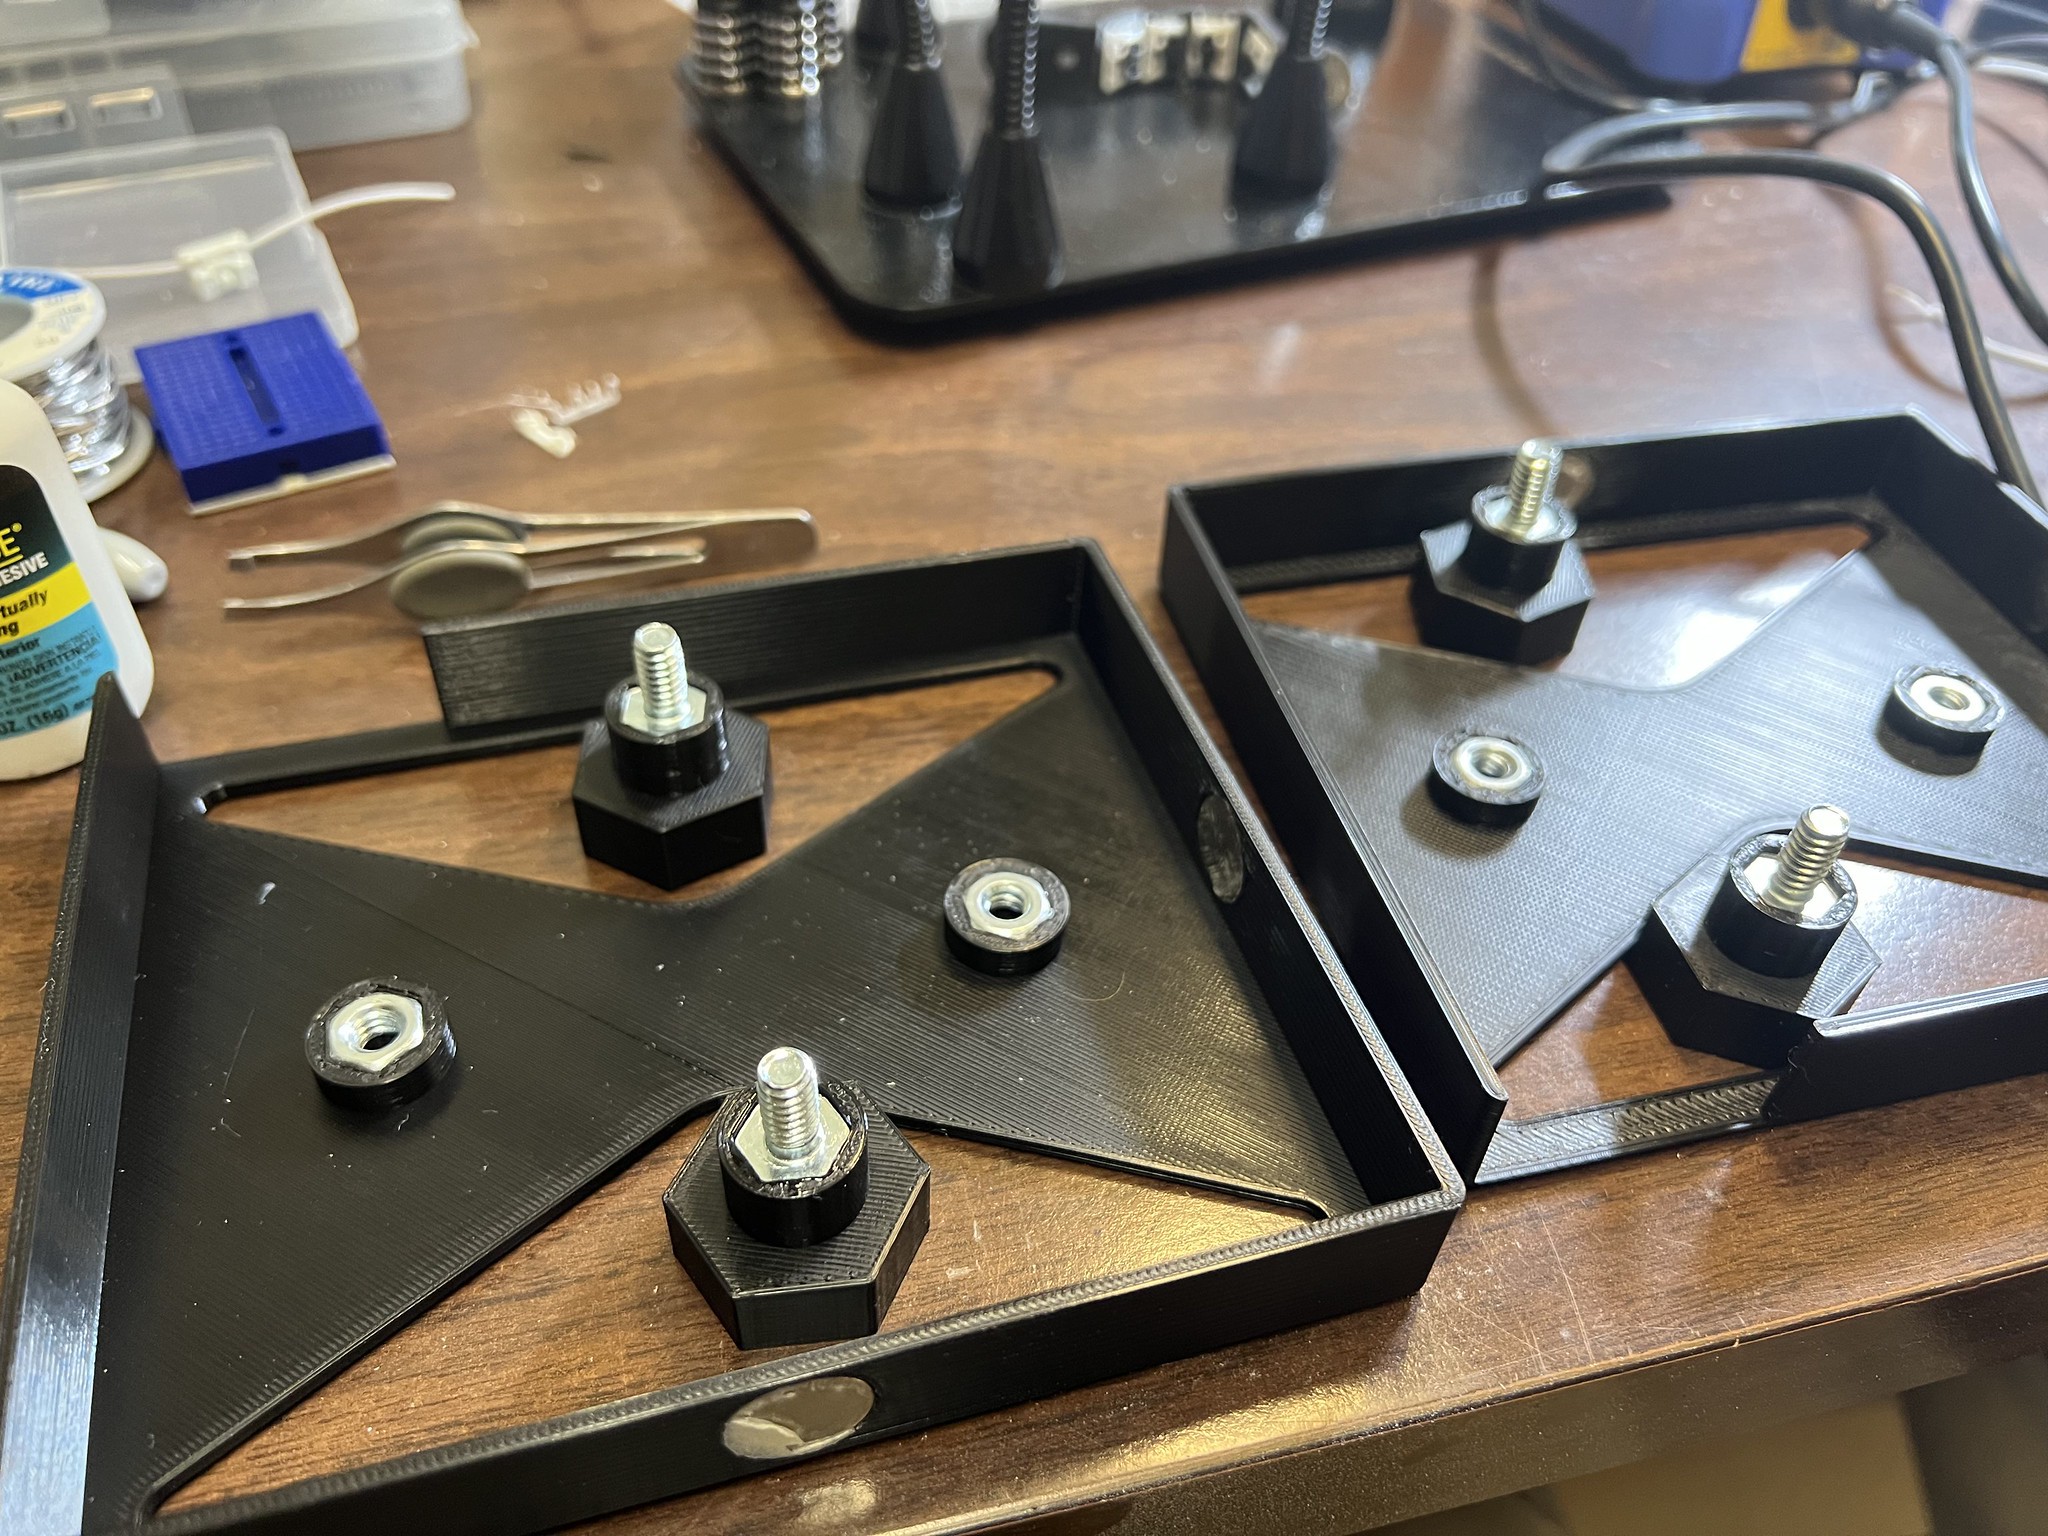
I glued the captured hex nuts and bolts into place for the mounting hardware.
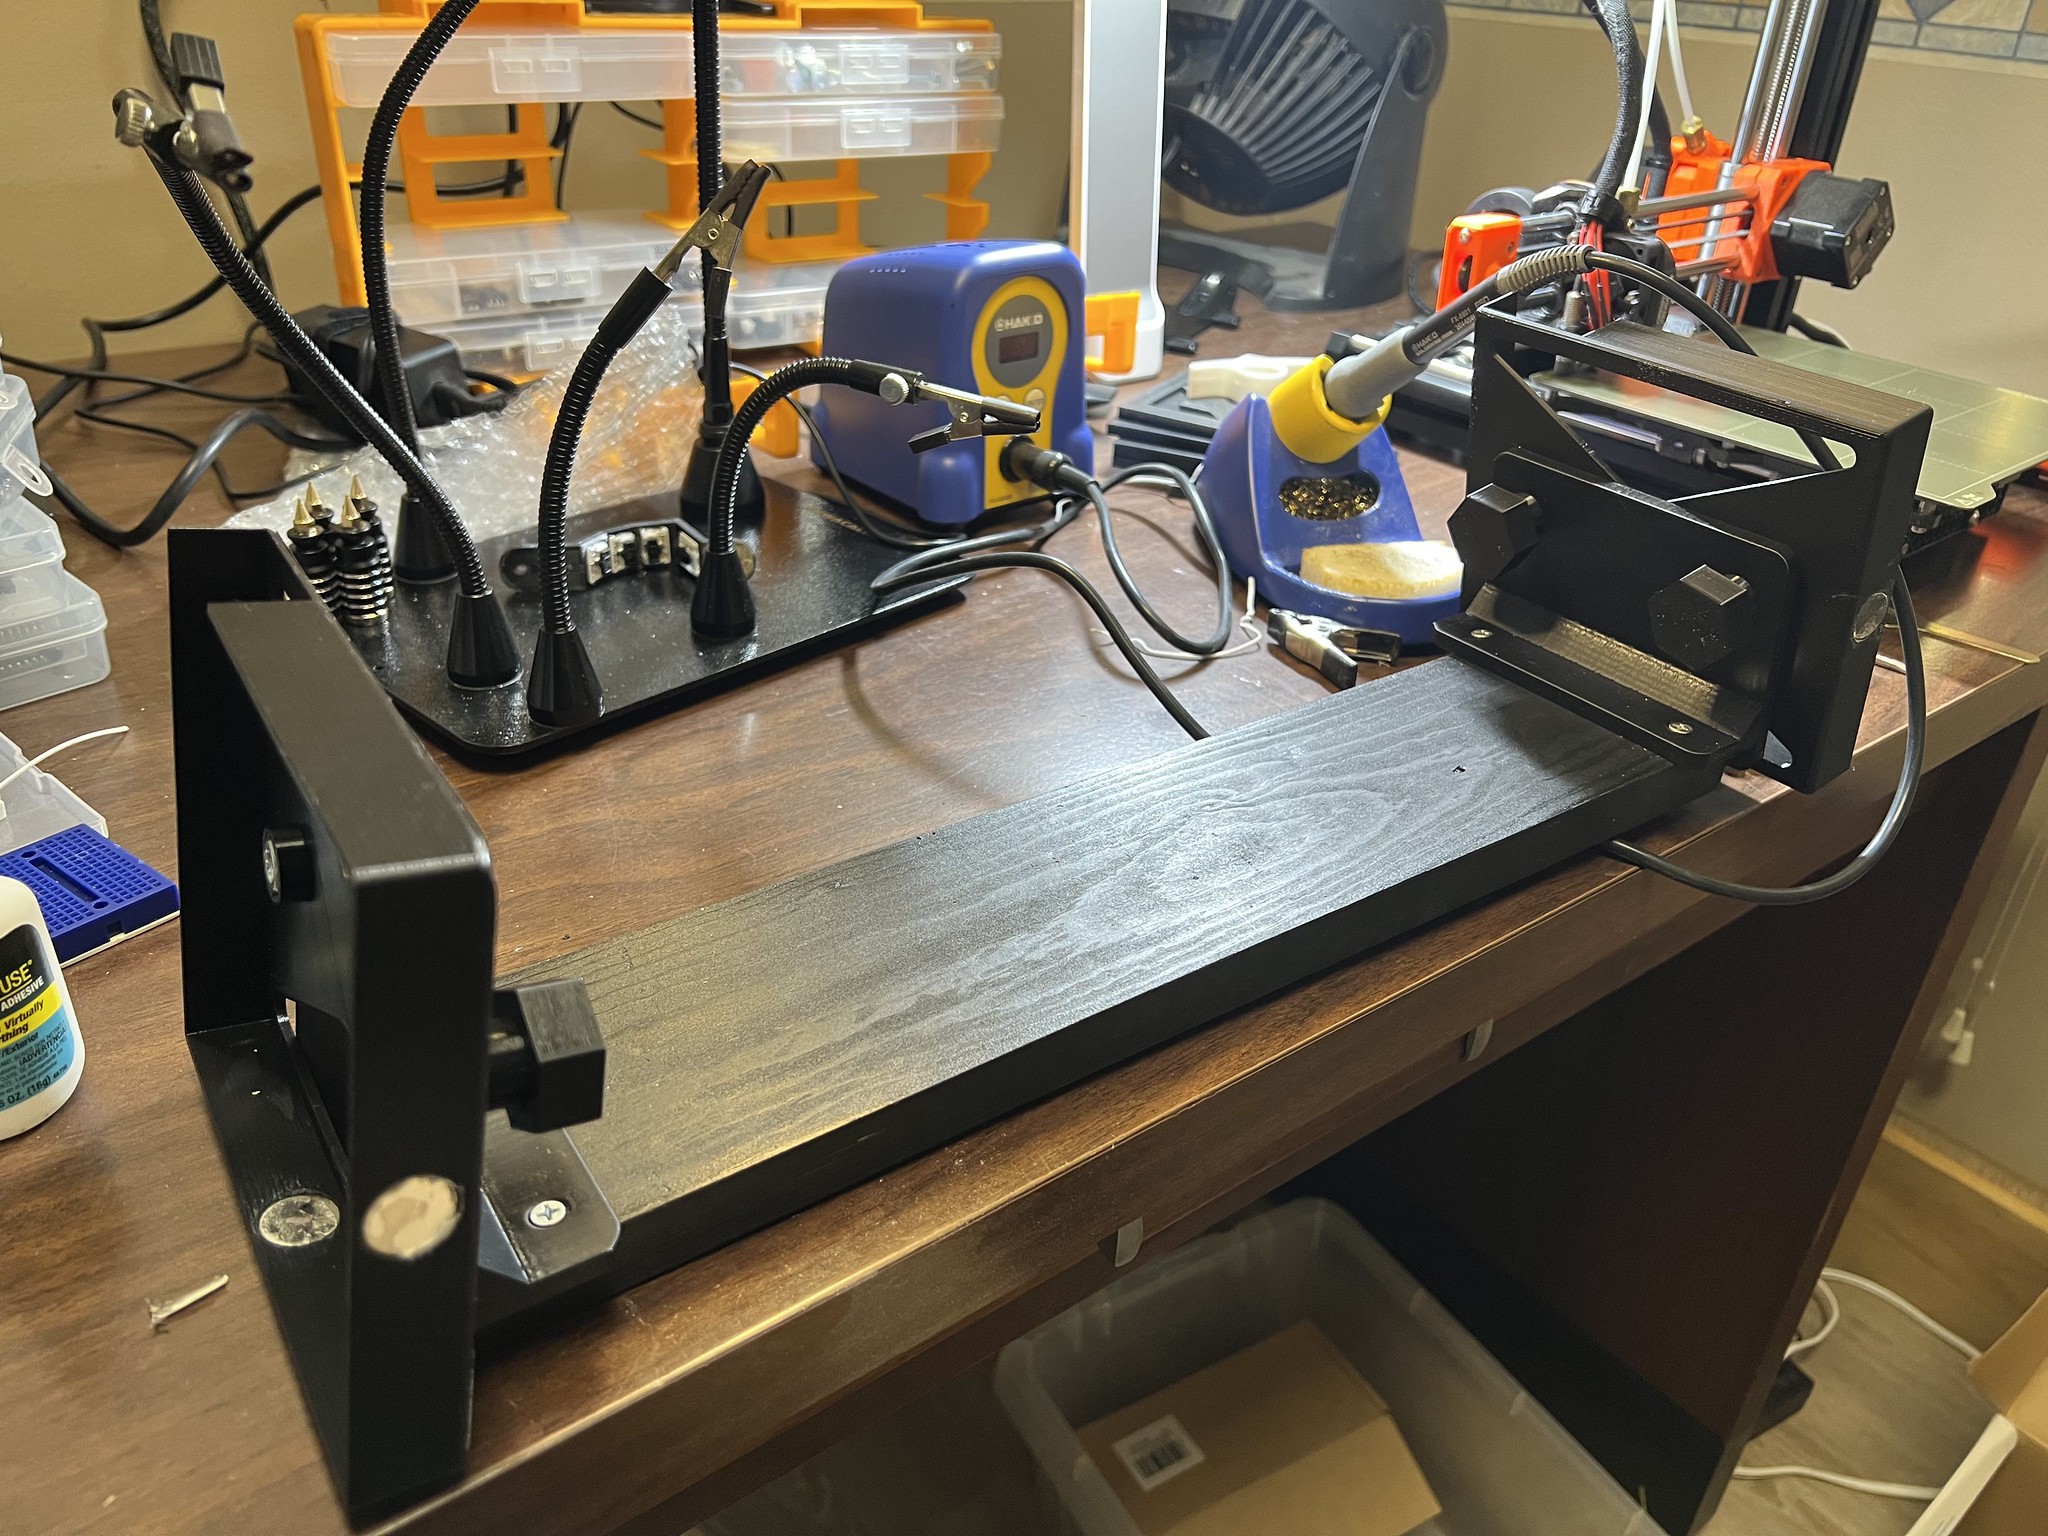
Here's the cross bar, tents, and bottom cases all assembled
I installed all the M3 threaded inserts into the keywell standoffs.

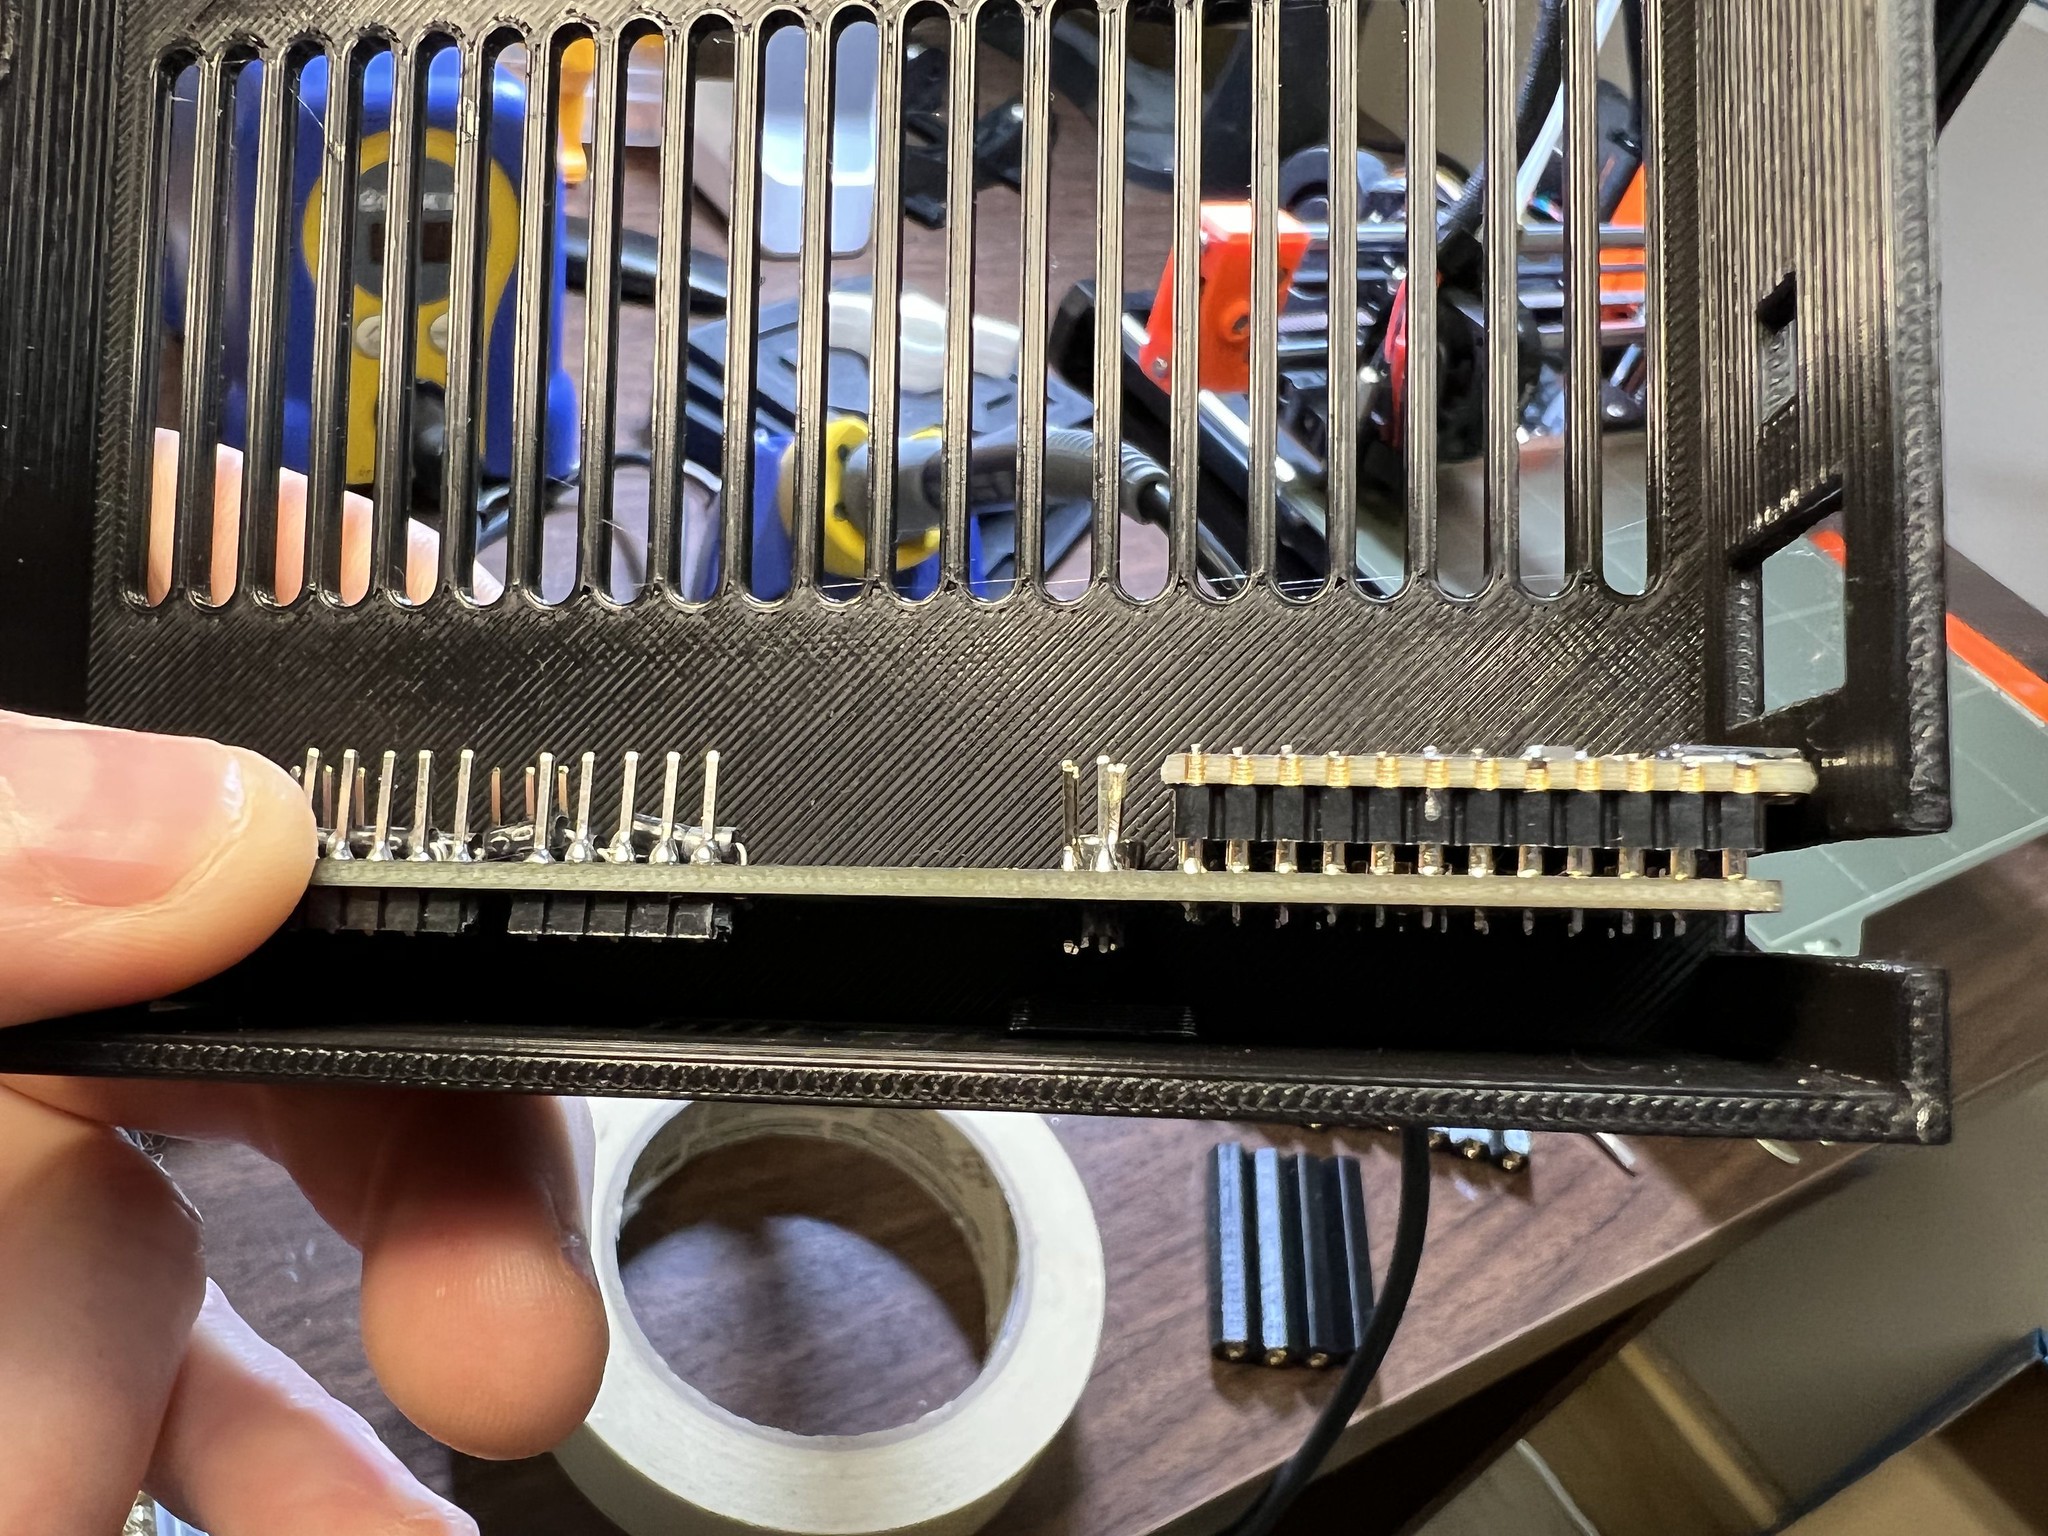
I also put the threaded inserts into the PCB standoffs and test fit the PCB. That revealed that I hadn't accounted for socketing the MCU in my dimensions so the whole for the USB-C connector doesn't at the moment line up. There's a number of mistakes like that which may necessitate reprinting a bunch of parts, or at the very least some cutting/sawing which is always disappointing.
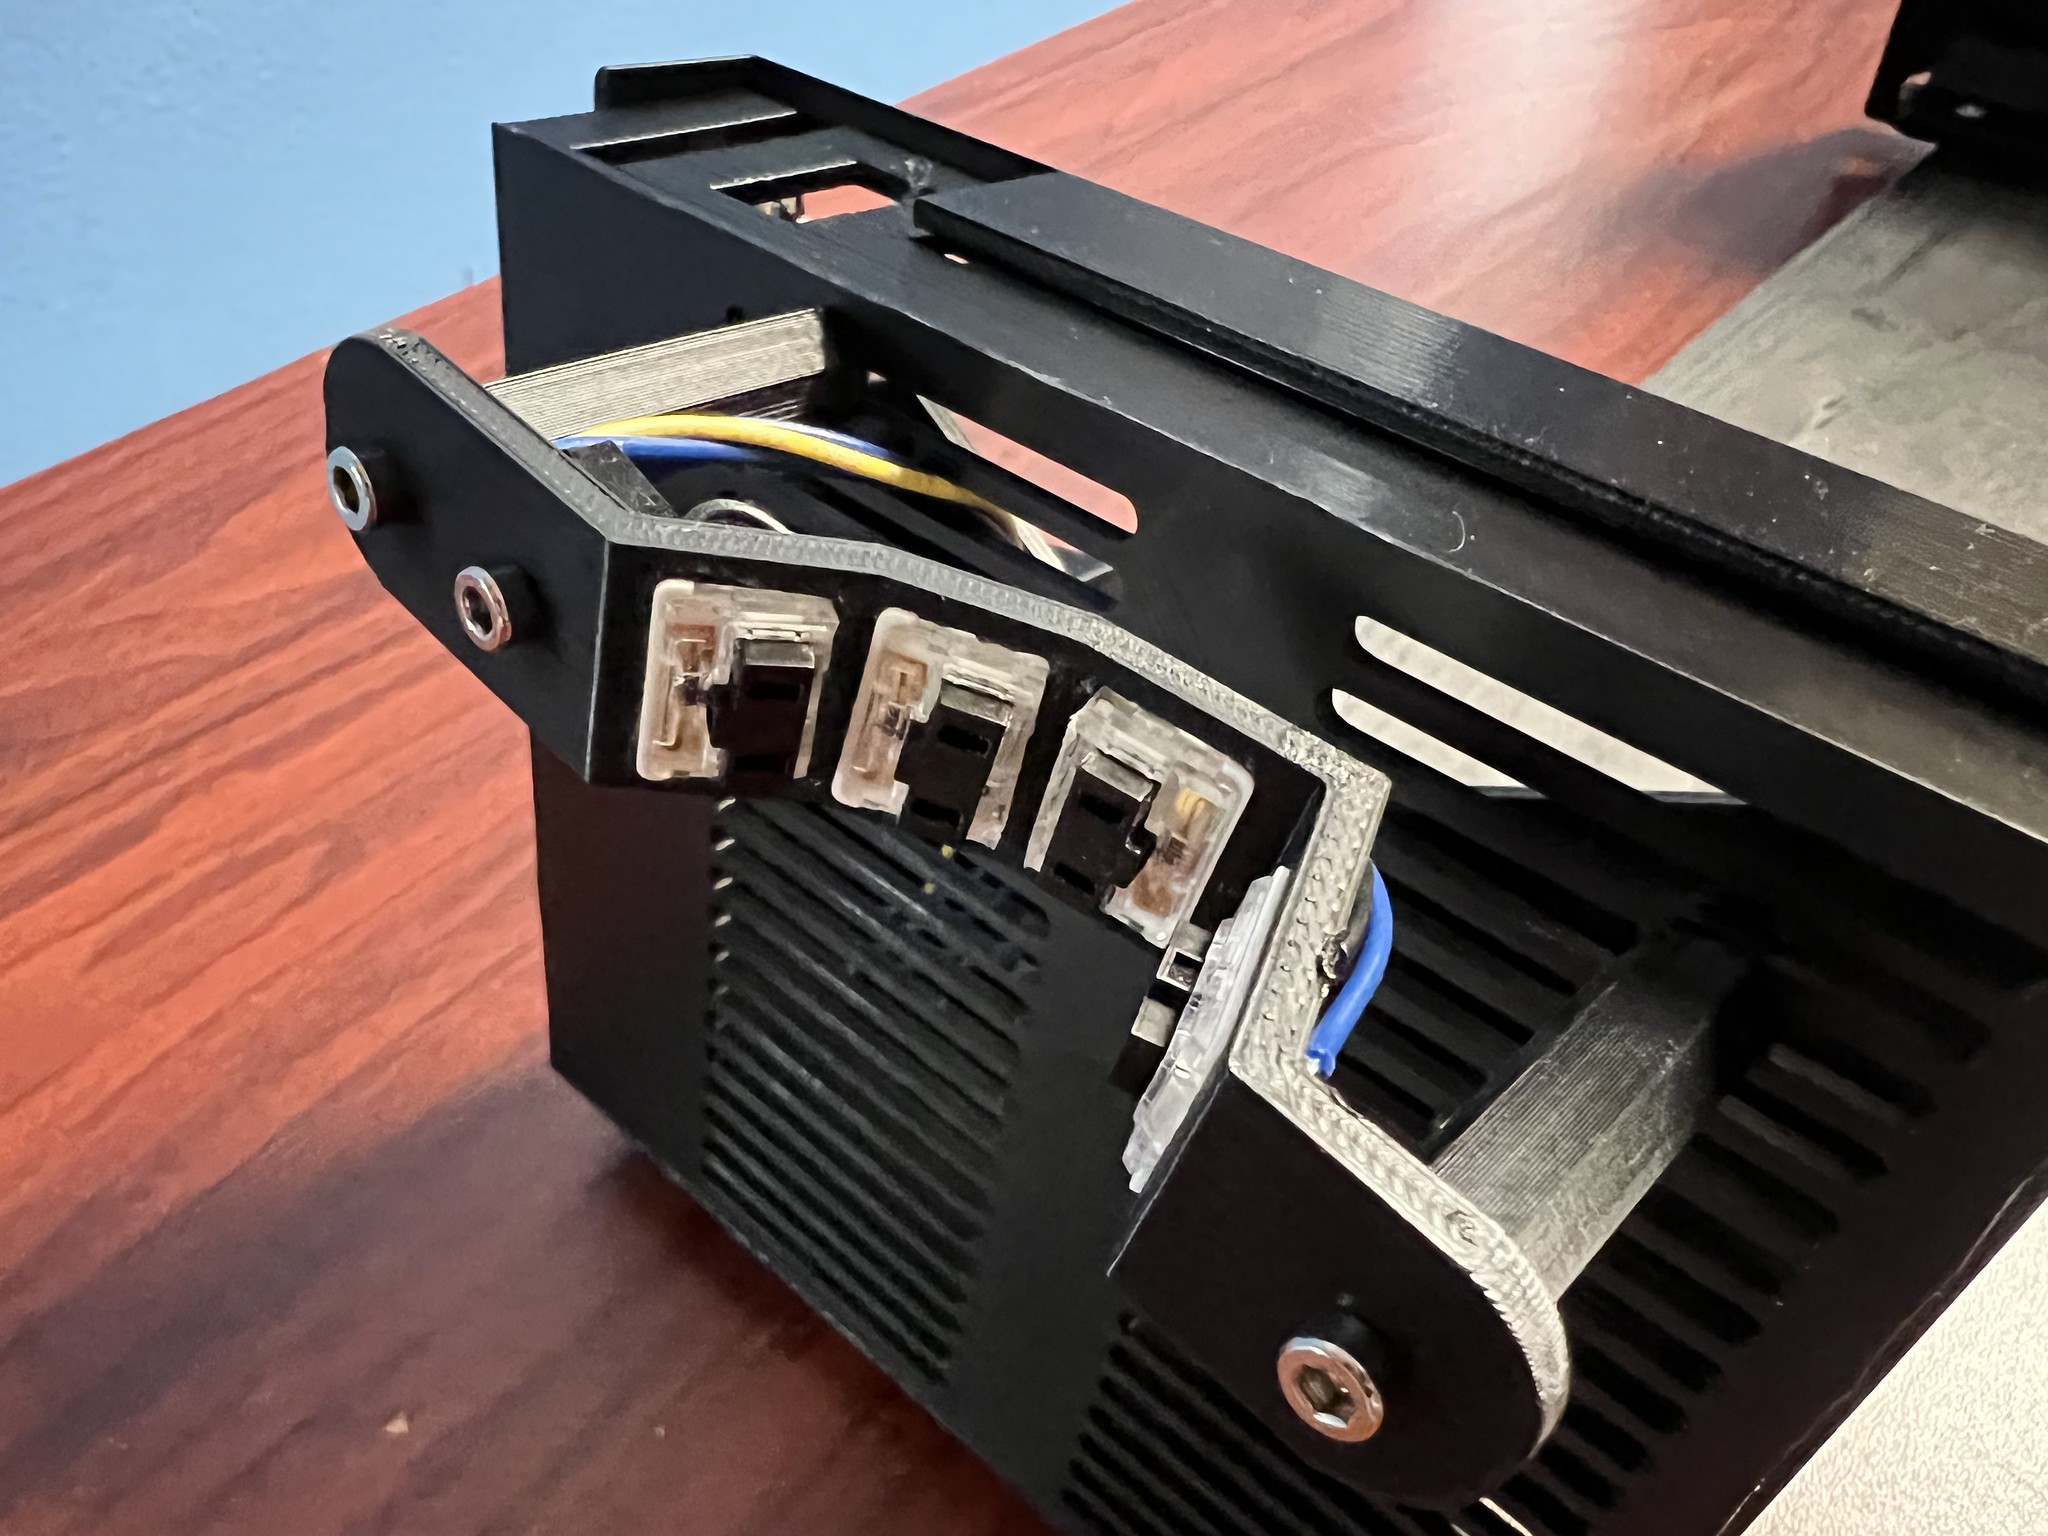
The main accomplishment today was I did the hand wiring for a single column. It's extra fiddly because the chopped chocs have almost no clearance between the switch pin and the housing, and also the pins do not protrude very far at all beyond the keywell. It's fiddly, but I got it all done.
New to this design is a very basic strain relief that works by clamping down on the wires between the keywell and a little clip. Thus any pulling force is handled there and the solder joints are spared. Despite being very basic, it does seem effective.
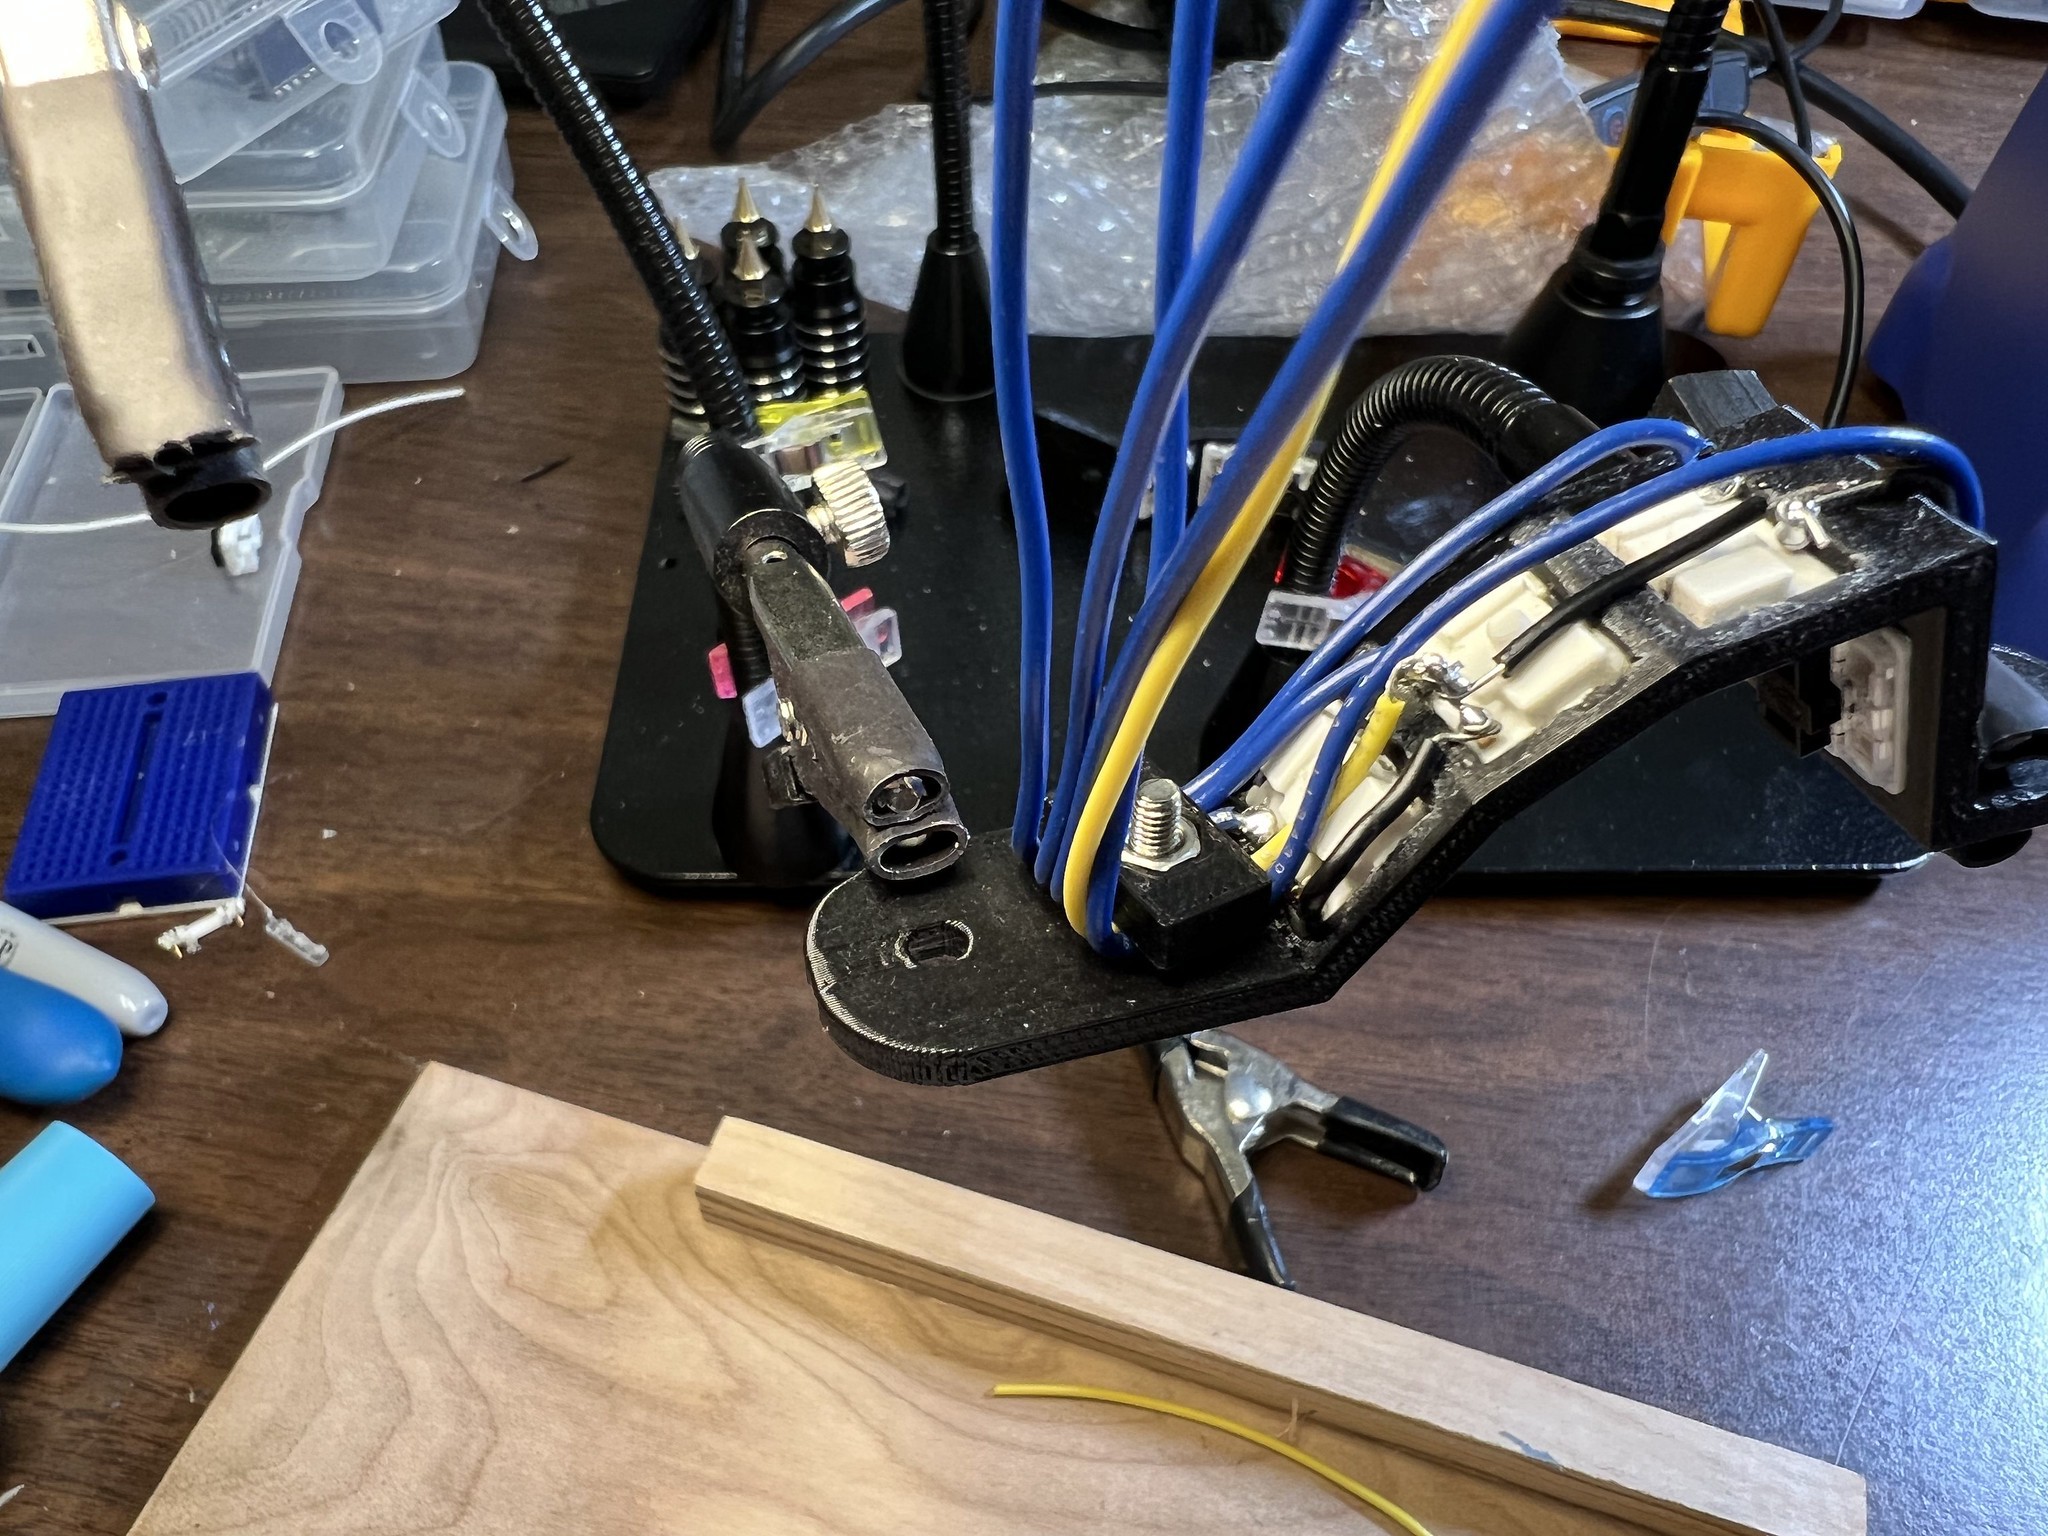
The custom made cables ending in DuPont connectors I assembled way back in July on some rainy days during family vacation. I estimated how long they needed to be and at least in this case it's like 1 or 2 inches short. I think I might still be able to salvage this but we'll see.
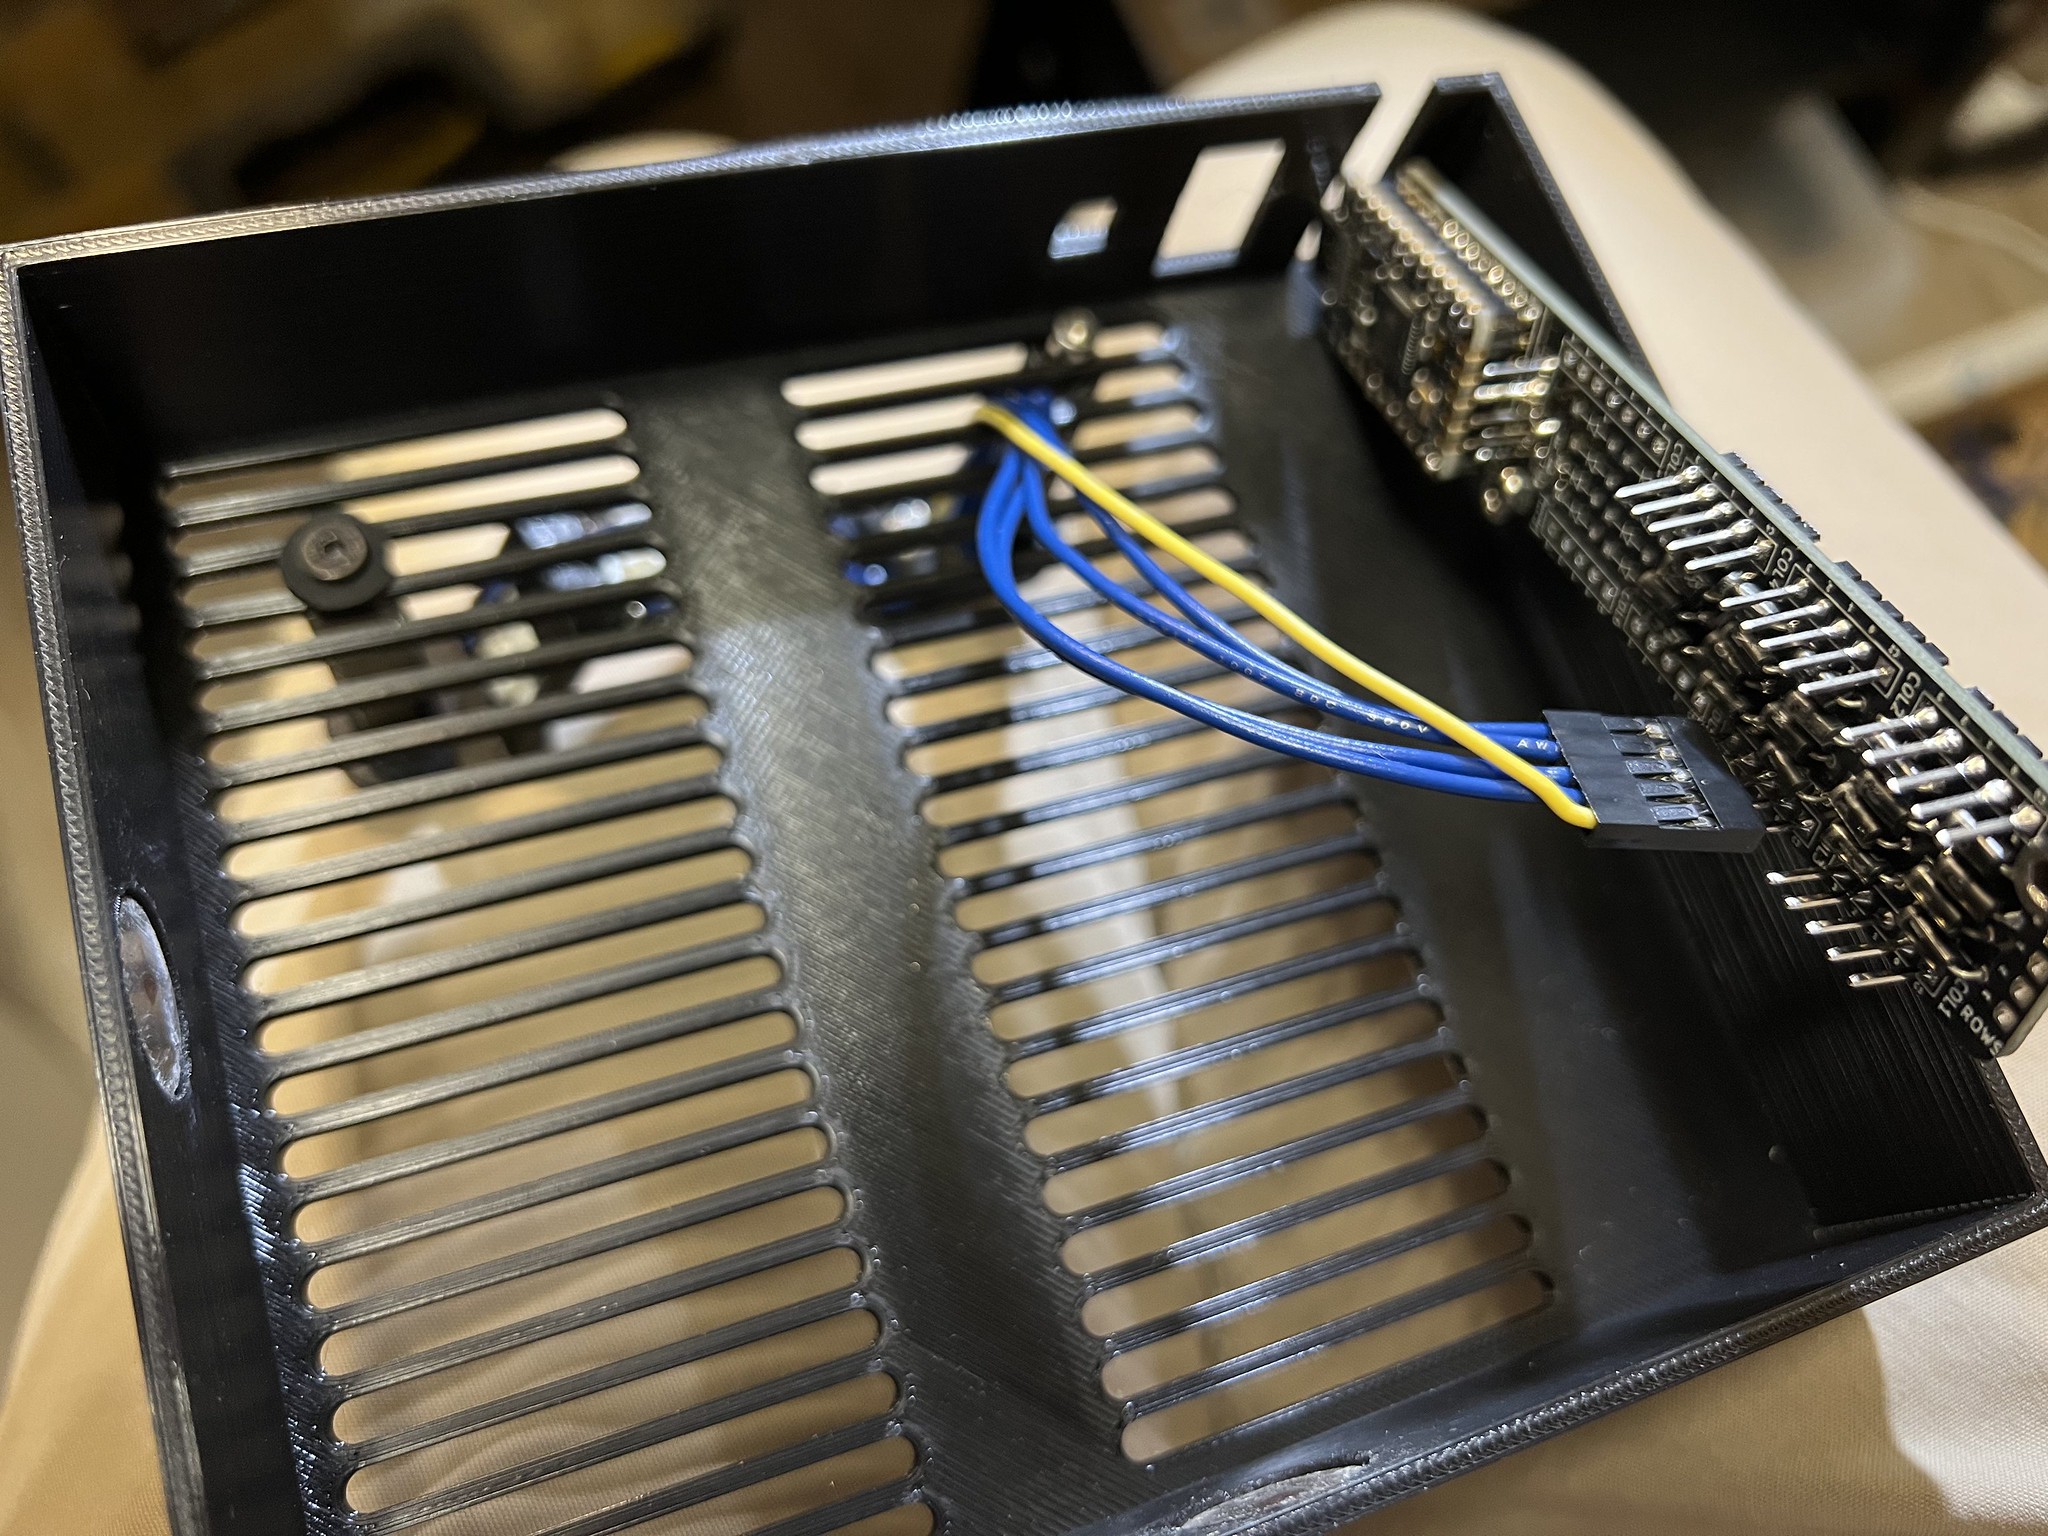
I got a new special debug/test firmware flashed for this which makes it very obvious which keys are which as well as left/right stuff. At this point I have one working key column. The choc mini blacks are silent which is great and feel good but I won't know for sure how they are until I have a complete working keyboard.
Discussions
Become a Hackaday.io Member
Create an account to leave a comment. Already have an account? Log In.