So I FINALLY have an update on the progress of things over at my side! While there is a bit of bad news, there is a lot of good!
Let's get over the bad aspects. Sadly, I was not able to get the PsuedoPancakes v2 to test because the company I brought from temporarily shut down. No problem, I already had a replacement ready! The only difference is it will take longer since I have to buy them again. Now that that's out of the way, let's get to the good.
First off, SPONSORSHIP!!! PCBWay has helped me by allowing me to test out my 3D models with higher quality materials and processes. Before we continue, it's important to know that there is a new project coming soon; an open source VR headset for $270! There are permutations of this headset as well which can do even PCVR in a standalone fashion but that's for later!
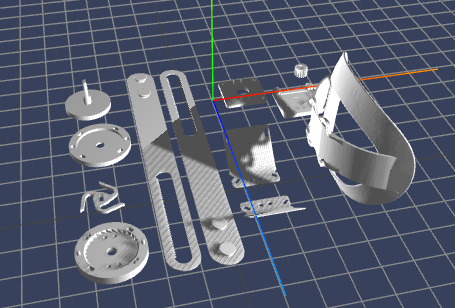
The headset design below was made by me! Now being honest, this needs a LOT of cleaning, but more on that for later! For now happy thoughts.
Being serious, there are a few things to keep in mind when looking at this:
- This uses dual 2160x2160 displays
- The eye module uses the psuedopancake design, keeping the lens and display the perfect distance away to work. In another revision I might make something for focal distance but this is honestly unlikely
- The outside of the headset would use a padded piece to both act as a shadowbox and comfort
- There is a simple IPD system in there designed based off of the Valve Index, using two threaded rods at opposing directions to the bottom and a third smooth one at the top. The top acts as a guide whereas the ones to the bottom ensure the display will move the lens without the rod actually going in or out.
- The front layer was the most unknown aspect, given I had much hardware to put within.
- There is a headstrap and headphones as well, edited.
- Headstrap: https://www.thingiverse.com/thing:5337076
- Headphones: https://dedesigned.com/project/3d-printed-headphones/
- The eye module looks like it would go into the nose but because of proportions and the nose curve it doesn't.
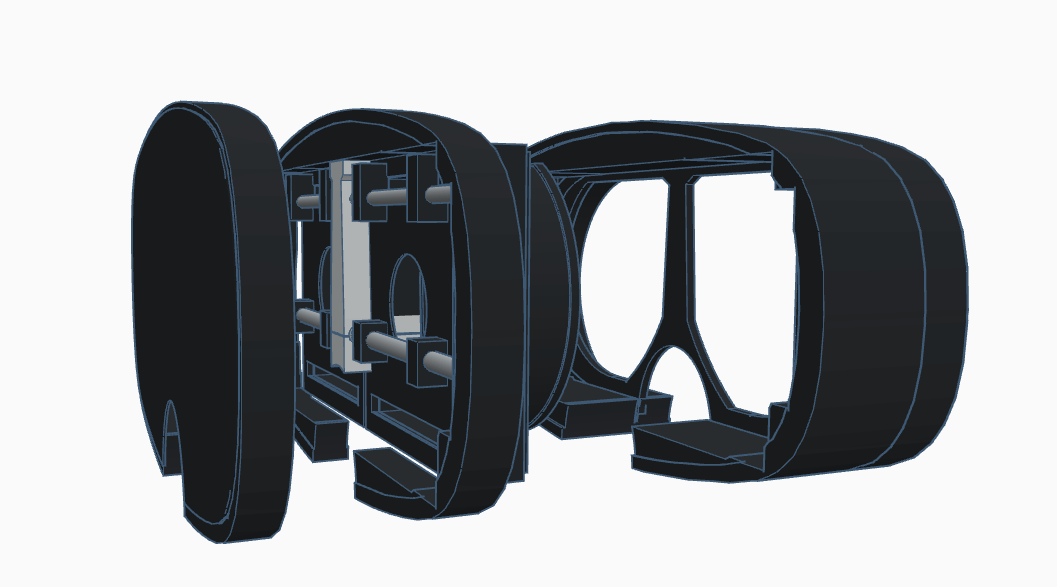
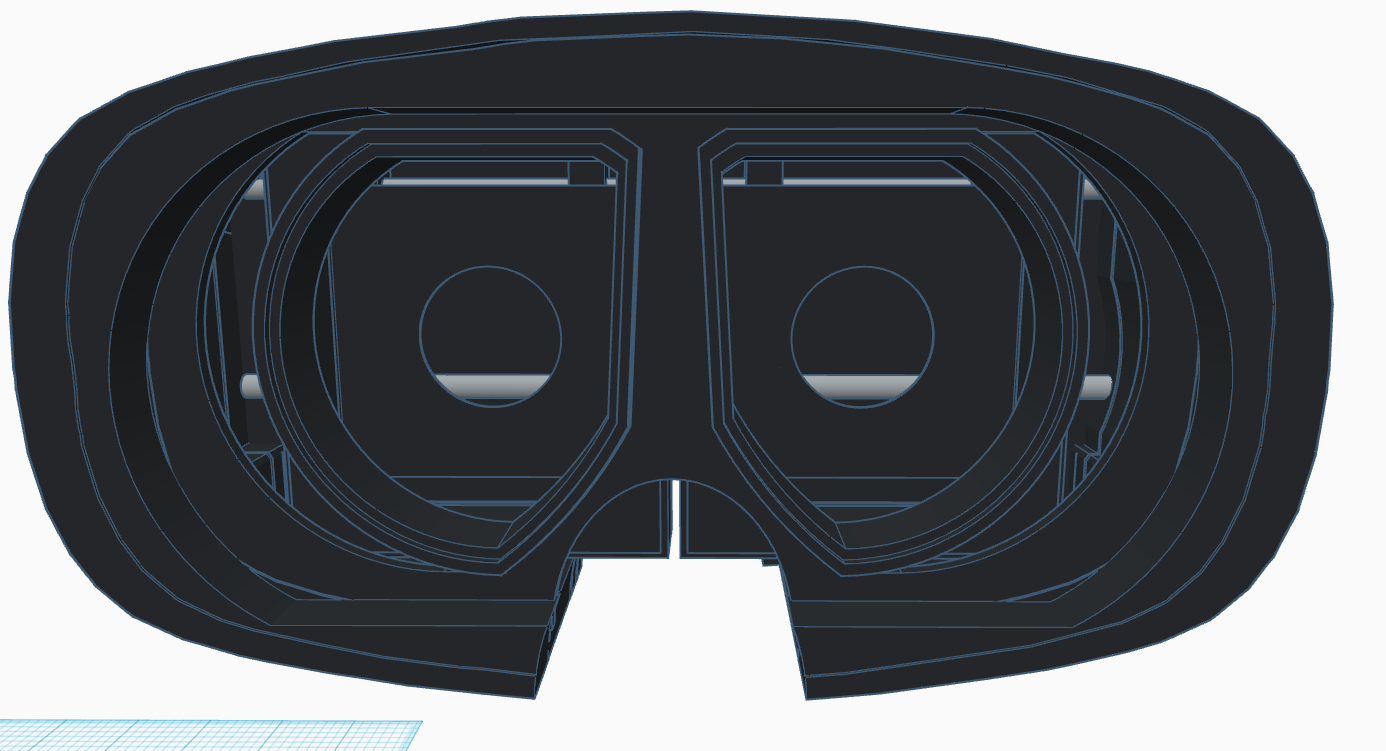
Now to get it working, I went to PCBWay and uploaded my model! From there, I spoke to an engineer who helped me by notifying me of errors in the model and some small fixes I could take structurally. Be sure to know how many parts you want to have printed! I was also able to work on my puck model too.
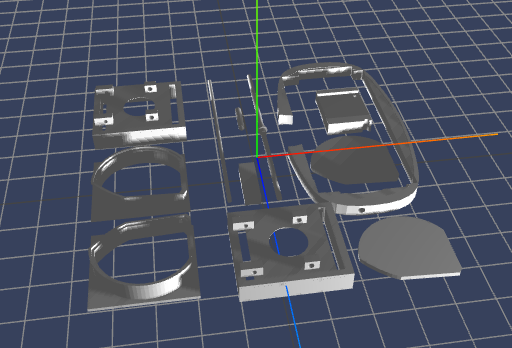
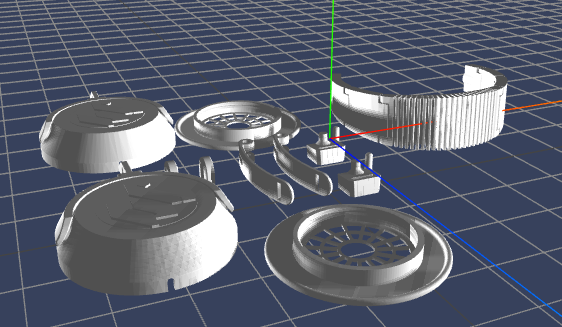
Now, the parts arrives and PCBWay did a great job! There are blemishes and the like but those are from me messing up with an adhesive lol. Let's take a look at what has been done with the IPD and eye module system before dealing with the rest!
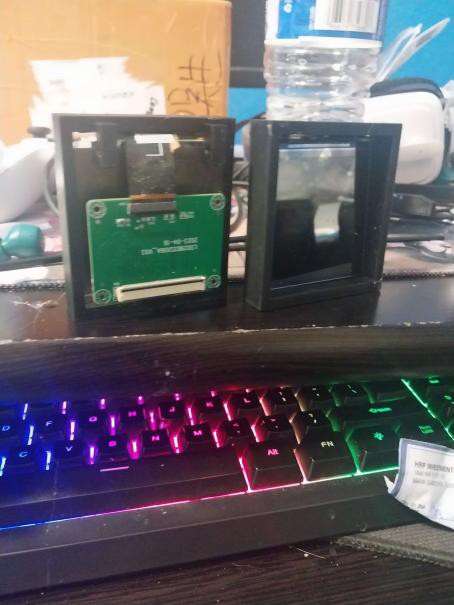
As you can see, the eye module requires pretty simple setting up! I am going to increase the thickness of the material the plate is on and make two snapped together so you can easily replace screens instead of permanently putting it there! I didn't realize it while modeling but it turns out the first board for the system fits nicely! I will likely add a smaller extra part for wires to go through for cameras, peripheral LED, etc.
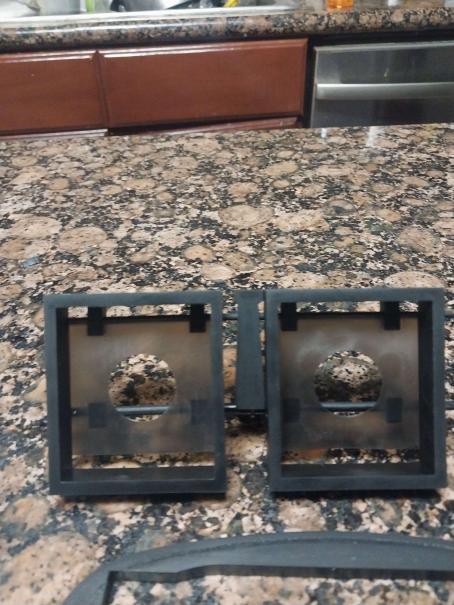
The IPD system still needs some work but it functions! I ended up making the holes too small for the top and realized it's best to use threads which can be set for the lower area! Thankfully made a 3D model of the estimated size so I could put in without effort! It looks like it works without needing a fancy gear system so this will be my default!
Overall, I am going to make changes to these systems and ensure the v2 works before I put the files here!
First up is the headset! Let's take a good look at how the system looks
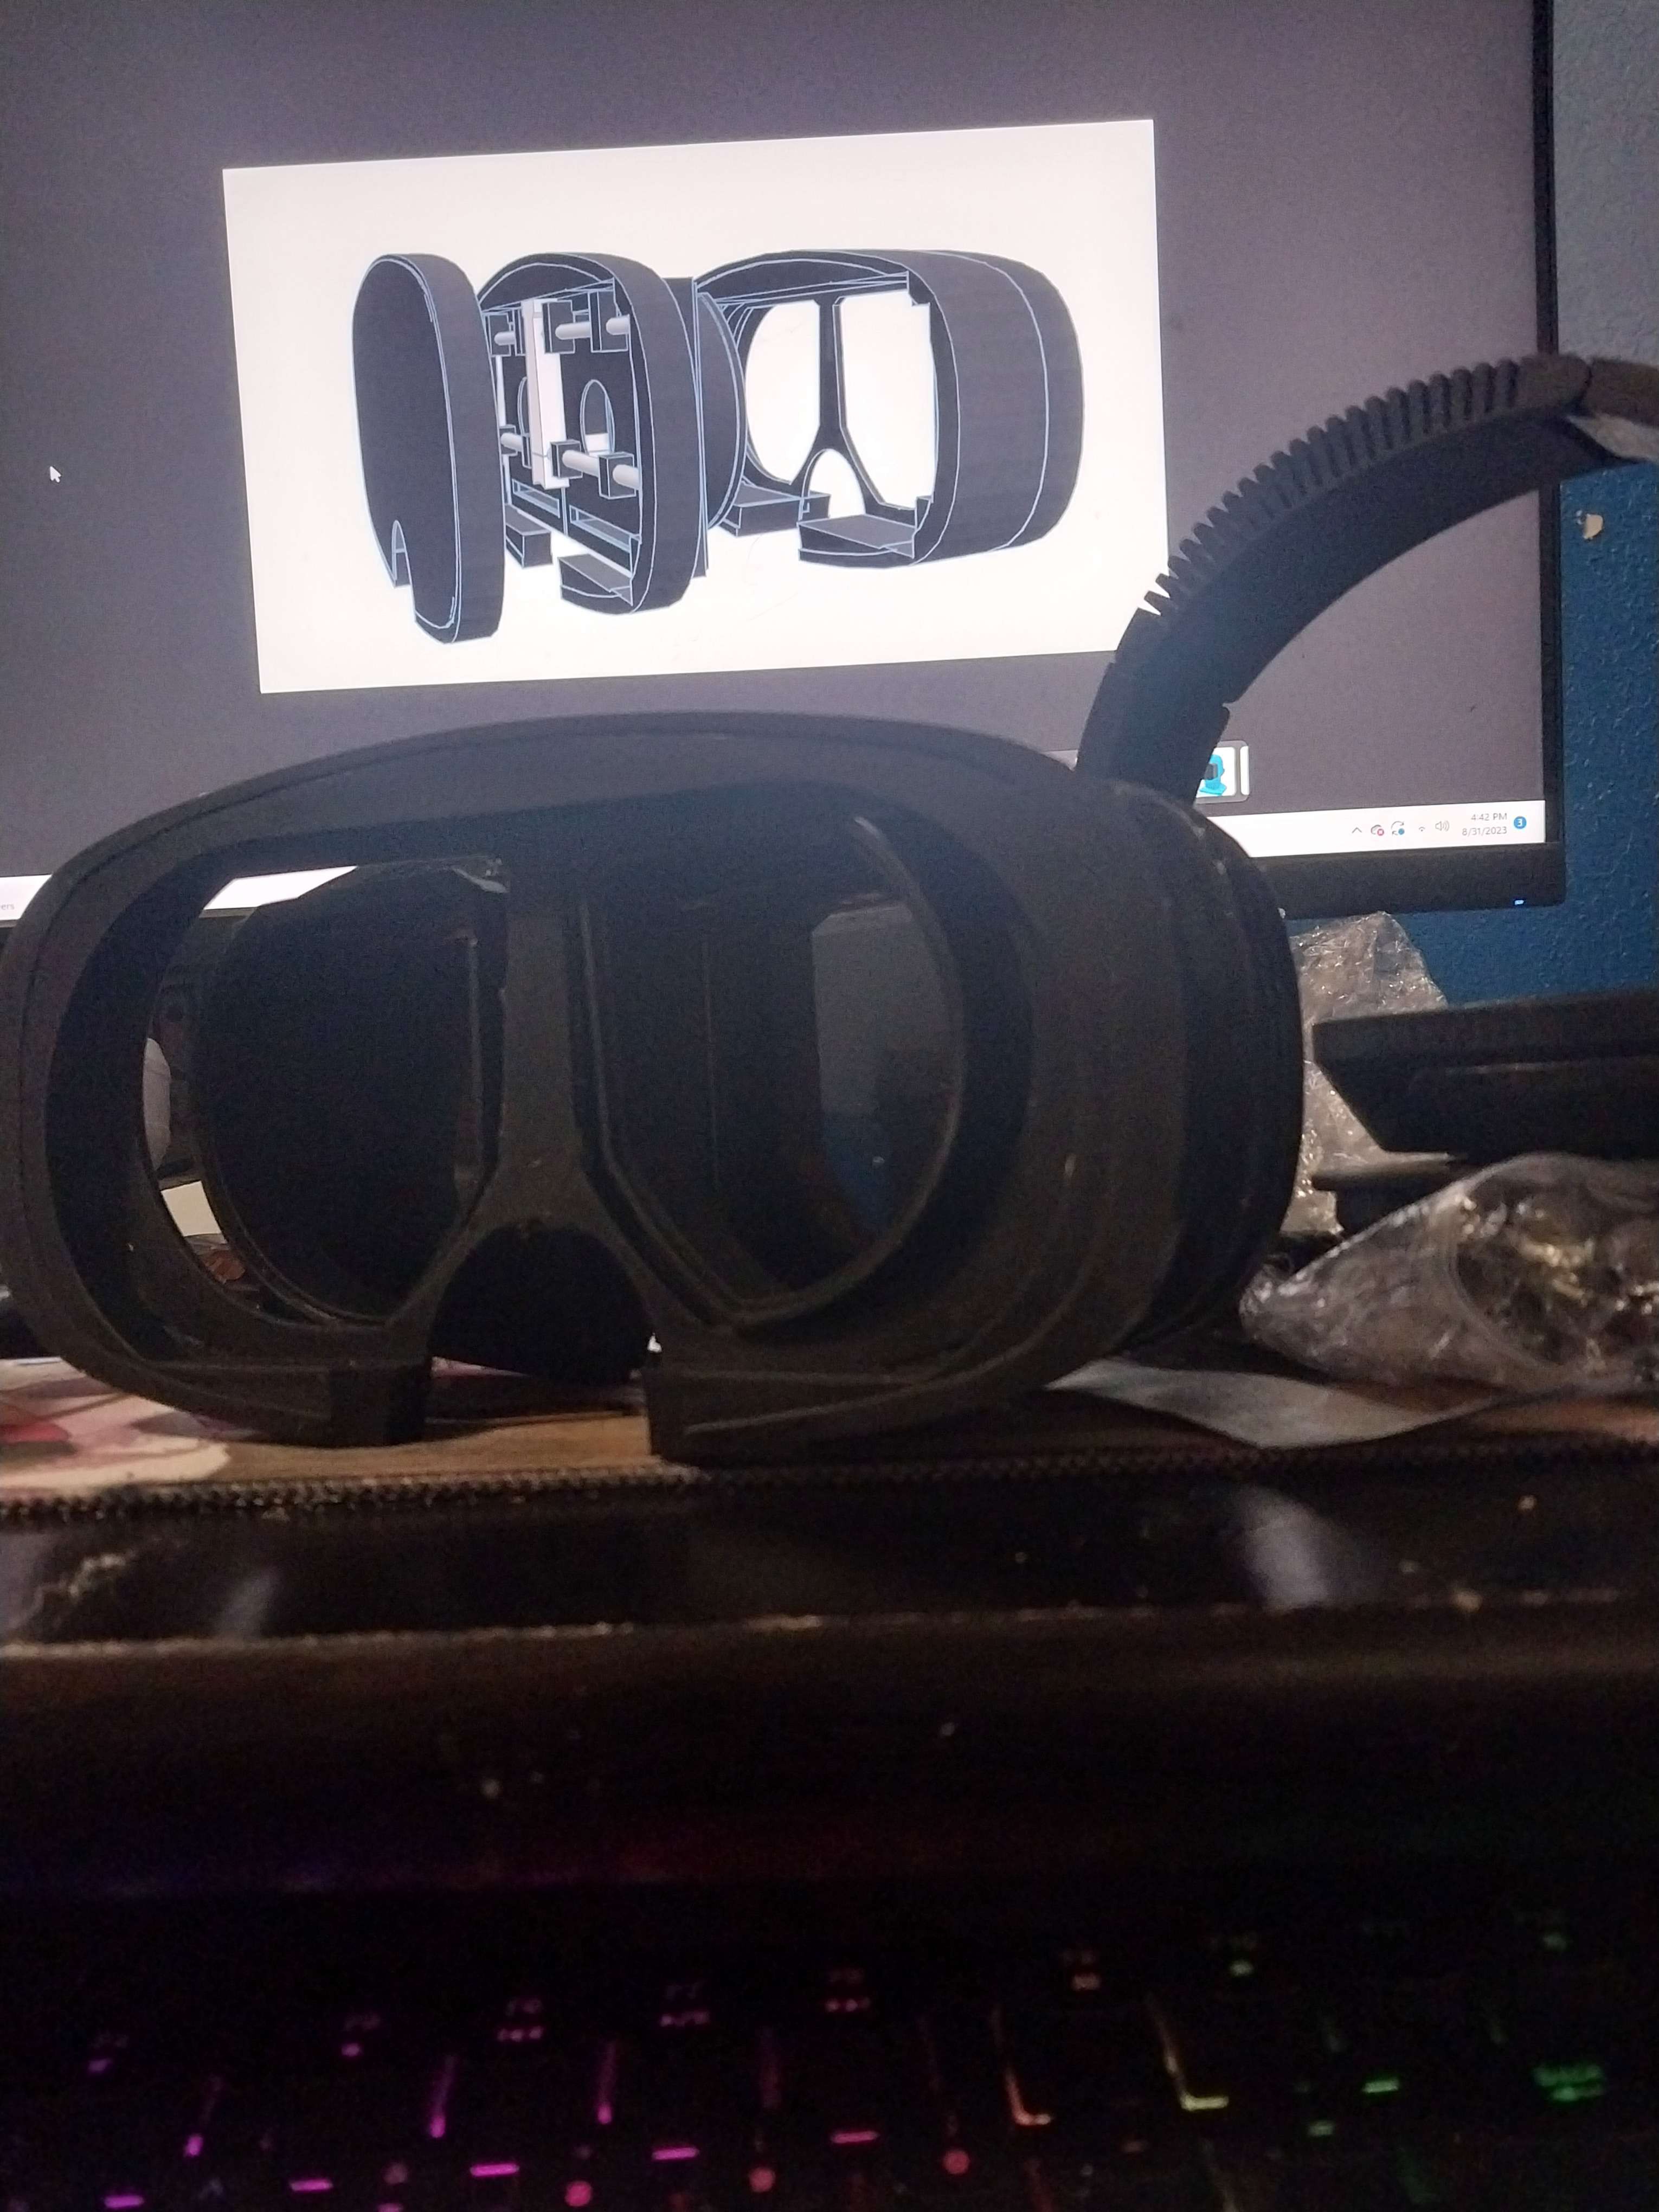
*My favorite shot, I will overuse it in the future
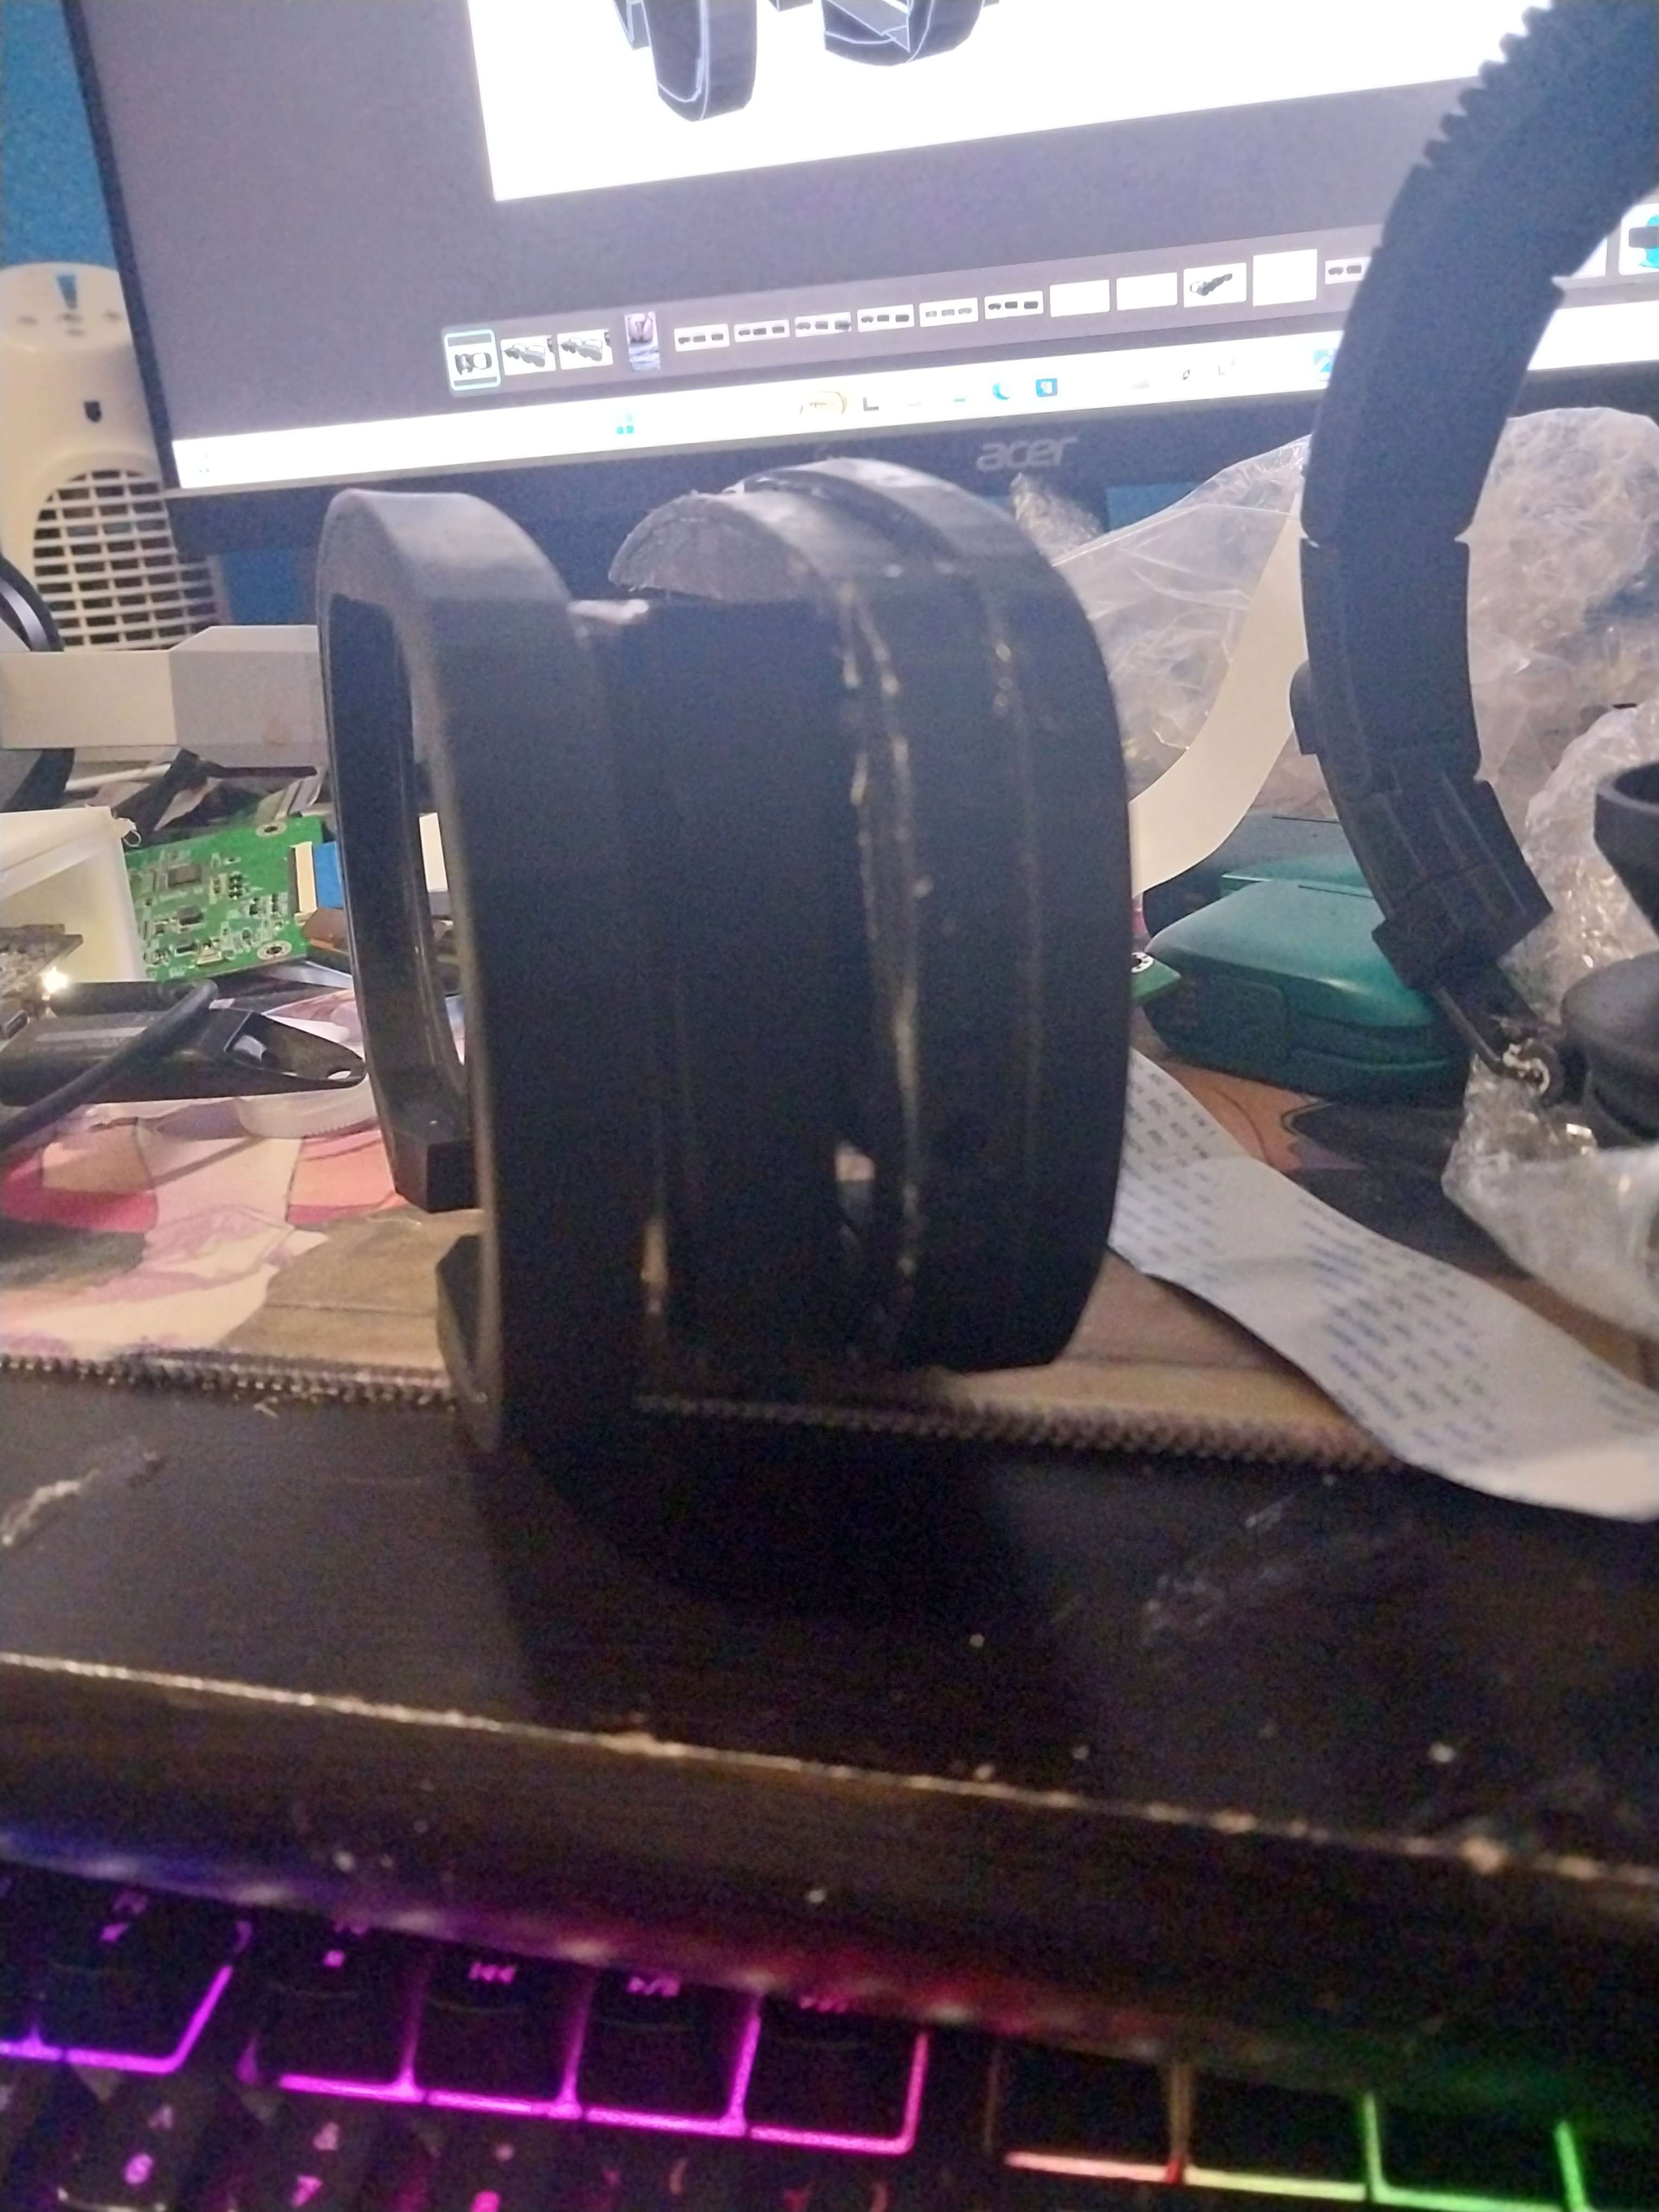
*Headset from the side
*A closer look at
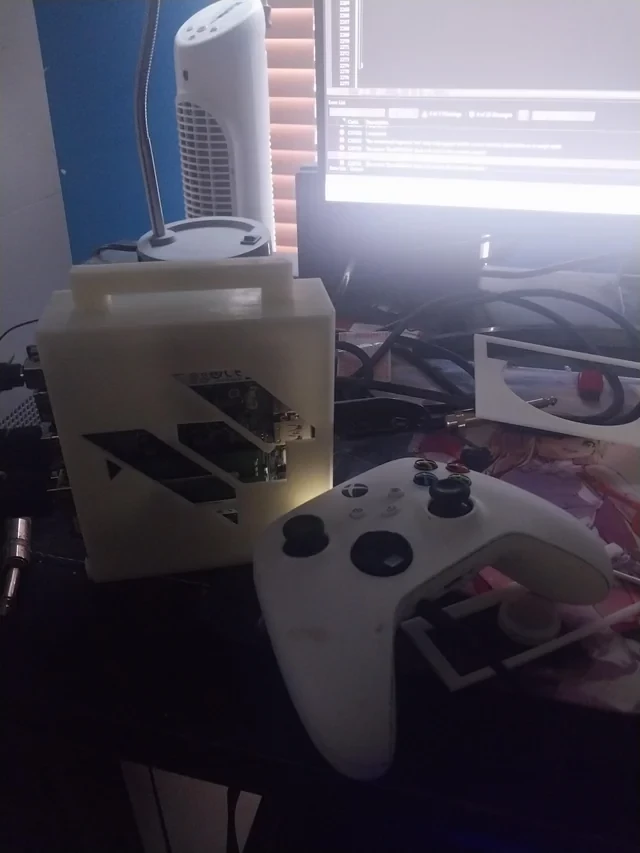
*The puck, housing a Ryzen system. More work to do here! Someone said it was like a little Gman suit
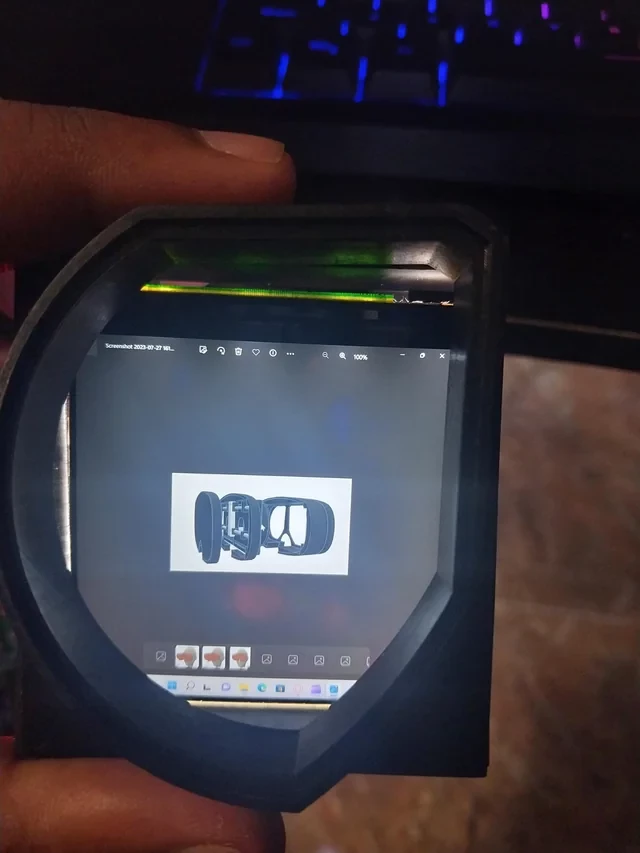
*Where the psuedopancake should be and the display, with the increased focal distance it should be all good
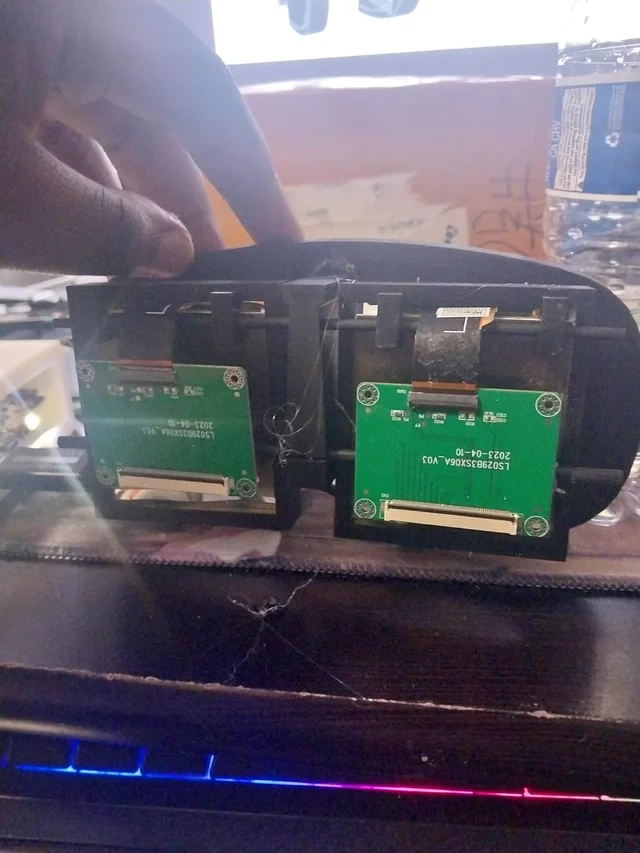
*Found out I can hold this together and make it a singular part of the eye module instead of needing to take care of it specially
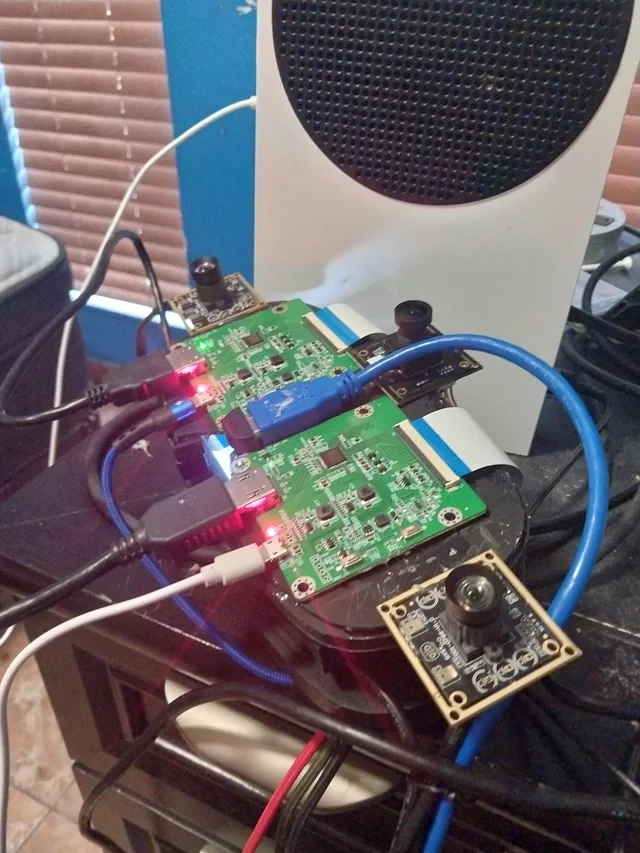
*Here the hardware is hotglued so I can know where everything will generally go, in the next version it will be part of the headset
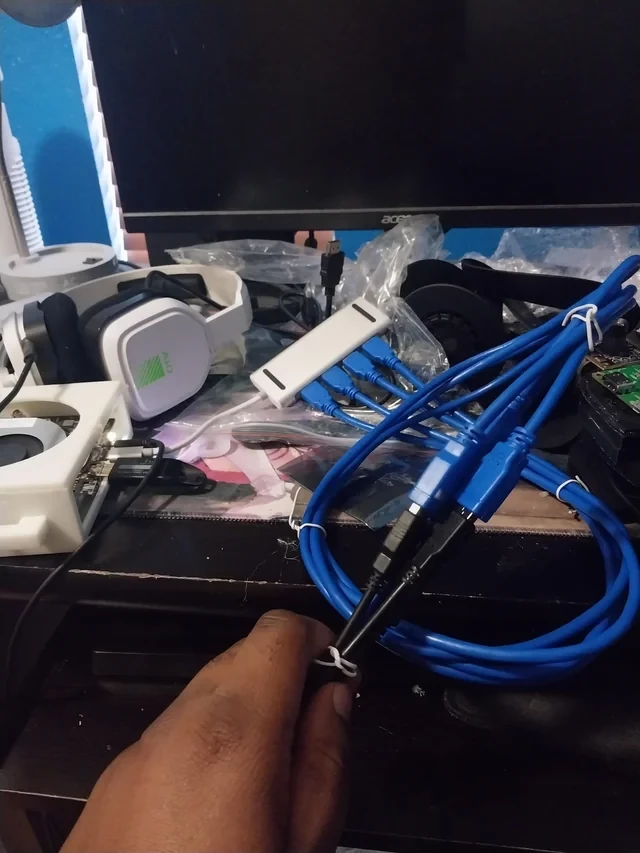
*The cabling needed for this to work, I will turn it into a singular larger one after the end and make a 3D printed part so the USB part can't easily be disconnected.
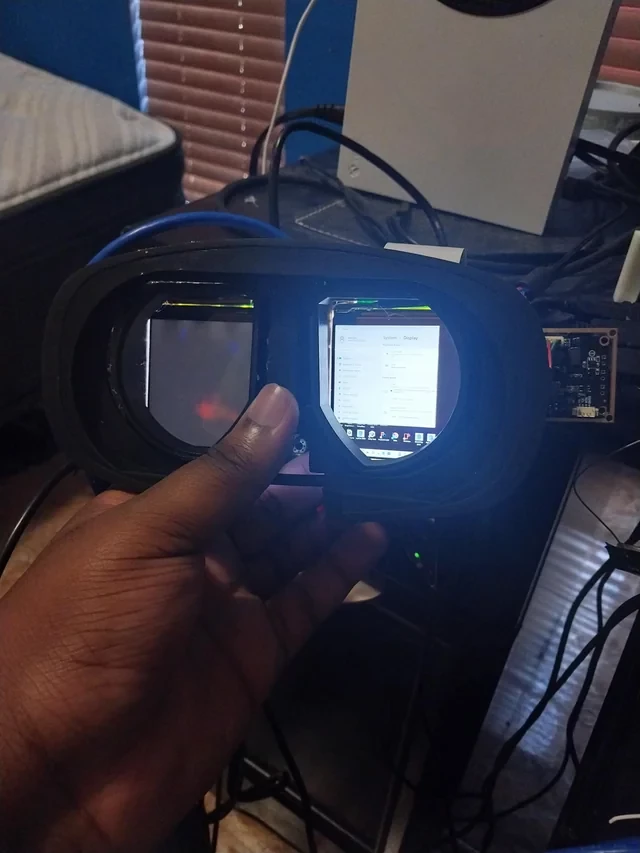
*The headset turned on, however I ended up messing up the cable to the left display and need to replace it. It's fine, i'll keep it here though and take care of it in the next permutation
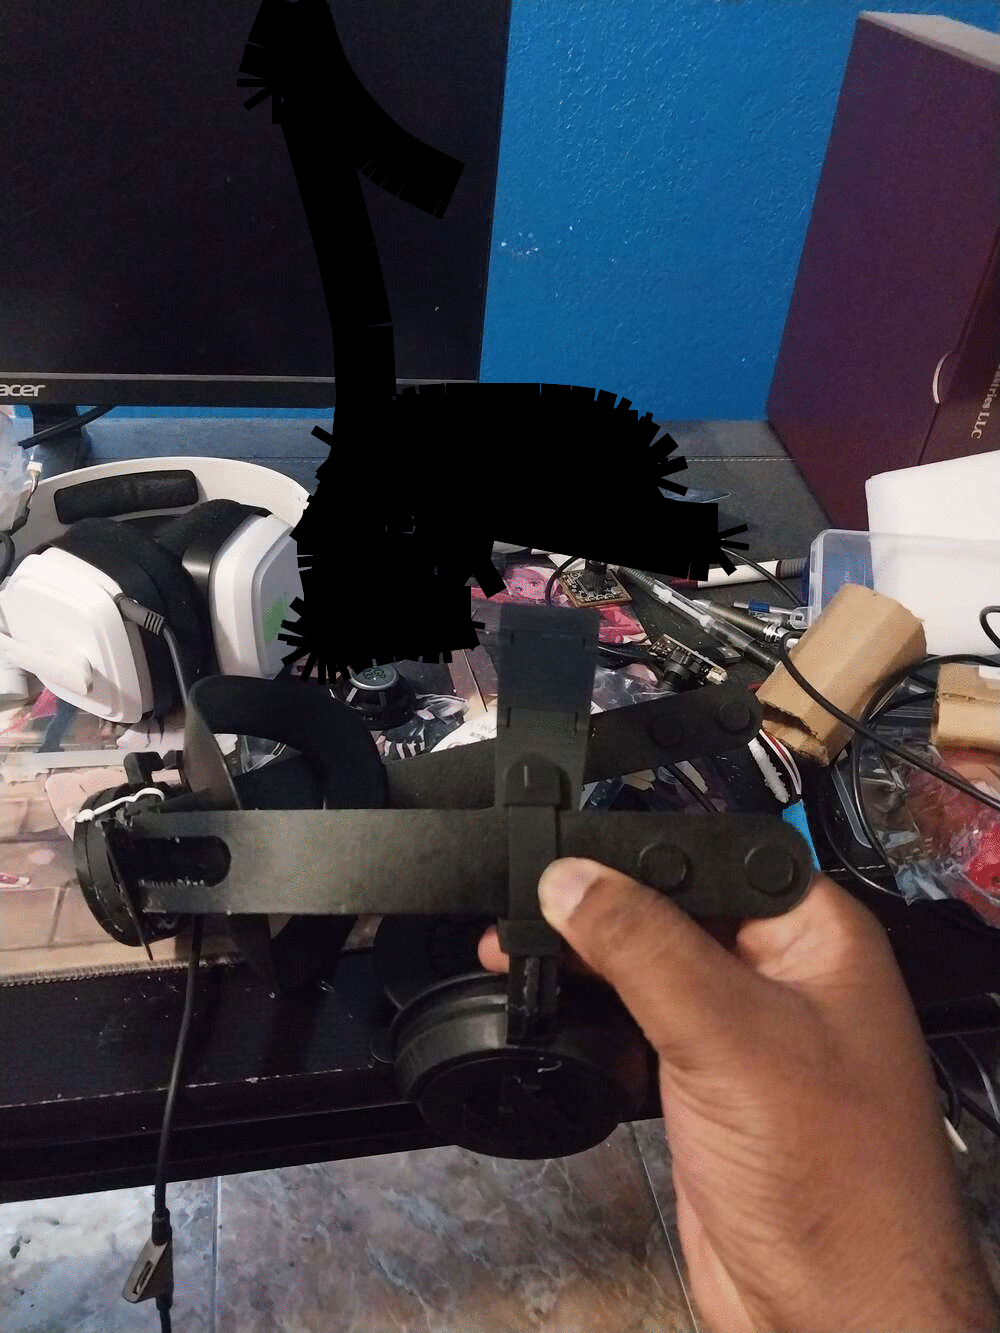
*The headstrap, when finished it will look like you're wearing headphones but you can remove the lower part for your own headphones! Had to black out some parts because I had personal documents out like an idiot.
Results from testing:
- There are some gaps which must be filled, as an example at the lower sides of the front of the headset. I might use this to my advantage however and have two foam pieces cushioned together, so there is minimal light going through while wires for the camera can easily be added and removed.
- The nosegap works perfectly , I will add more curvature to the nose bridge but the eye module going through is no problem.
- I can better optimize how parts are connected. Instead of having it in layers like above, I can have layers interact with each other to increase structural rigidity.
- I NEED to redo the outer side of the headset, one piece failed because it wasn't connected and I didn't notice.
- I can add a wiremesh over the parts of the puck to look better, and use a layer within it for the battery power.
- The side needs to be increased by the face, so the peripheral LEDs will fit better! I can add a grove to make it fit better!
- The left side of the headset needs a hole at the side so the cables can go out of there. However, all cables will move through the top side.
- I need to add space for the cameras while adding them in a way which doesn't make it feel like there are cameras constantly looking at you
Overall pretty good, I can make the next model with all electronics inside and a lot of changes in mind! The next model will be easier to put together and likely have things screwed instead of simply being there!
I will also be making a second project for the entire headset instead of just the IPD system, going more indepth with the electronics and sourcing side. I hope to make most of everything easily able to be snapped and screwed together instead of having to use any type of epoxy but at the same time ensuring that the headset is easily able to be put together.
Until next time
-Walker Dev
 WalkerDev
Discussions
Become a Hackaday.io Member
Create an account to leave a comment. Already have an account? Log In.