 Martin Goodwell
This one comes as a surprise to myself, as I never even remotely thought about doing what I finally ended up doing :-D
I added an FM-Radio to the Cyberdeck
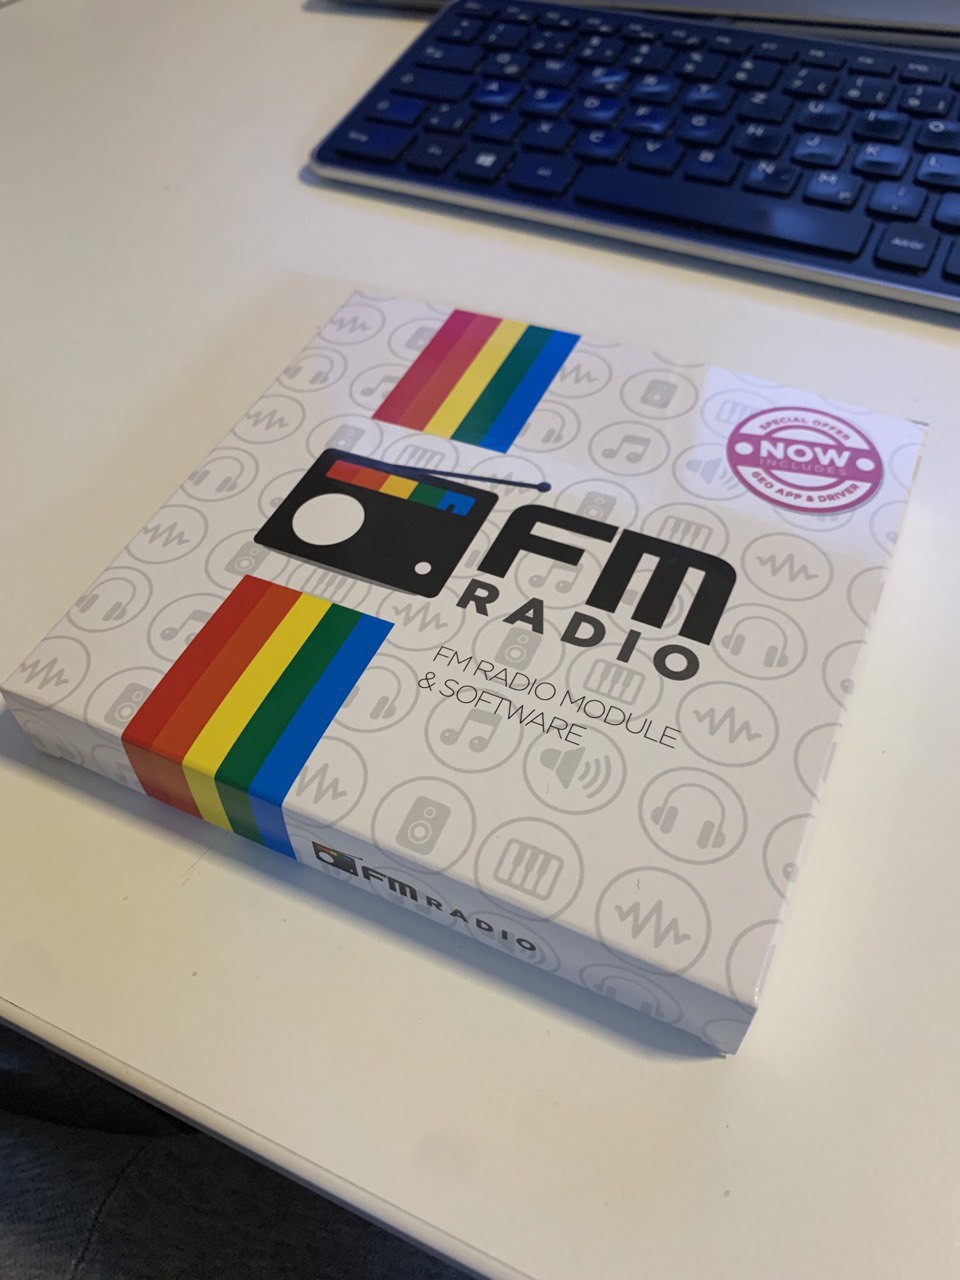

This is actually based on a common chip, the RDA5807. Connection goes to the userport, which is pretty easy with the Ultimate64, as it features internal Userport headers
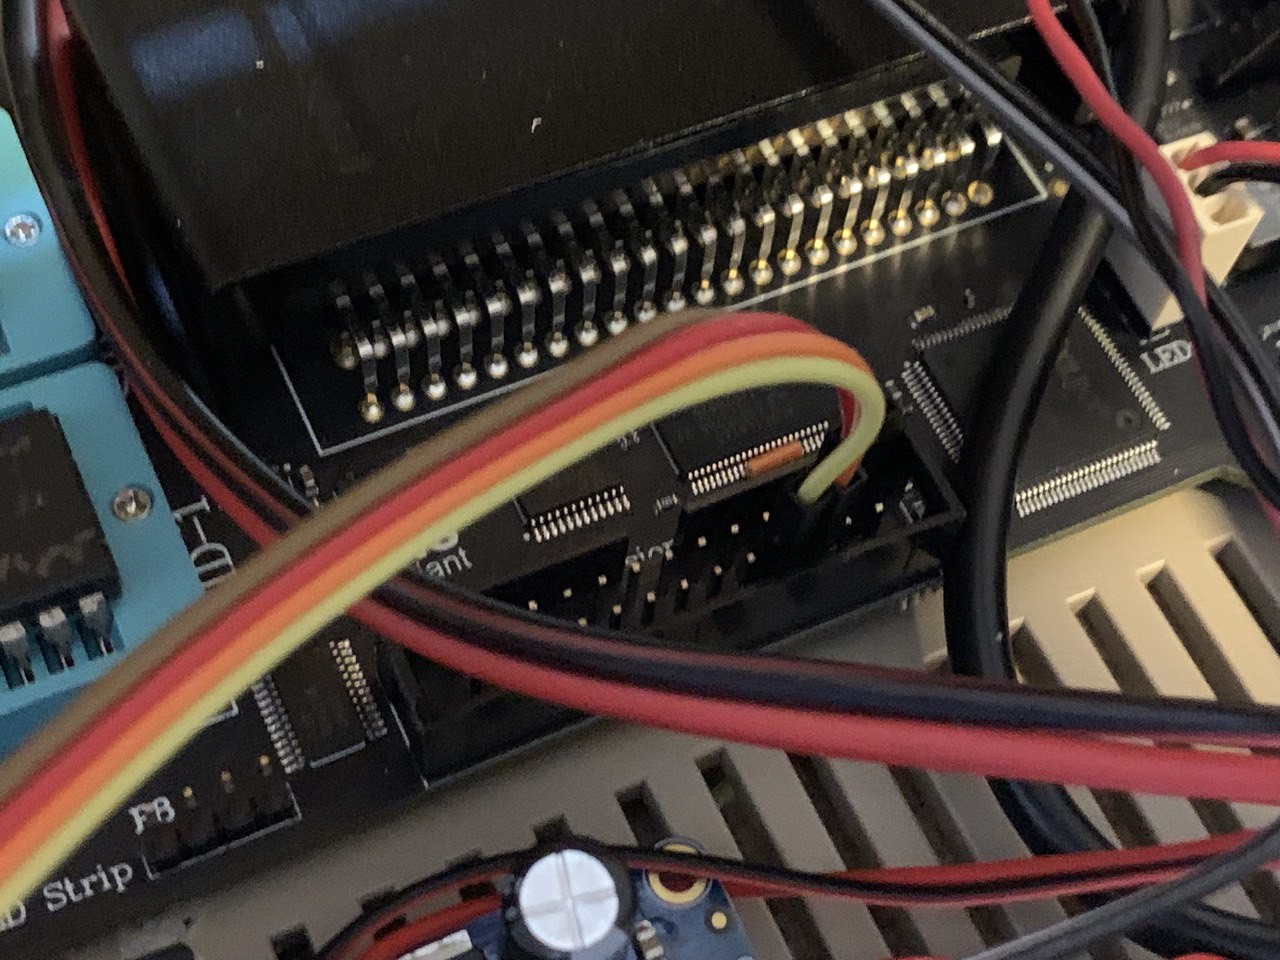
The userport only provides 5V, but the radio module actually requires 3.3V. As part of the original packaging, the userport connector of the radio came with a diode and a resistor built-in.
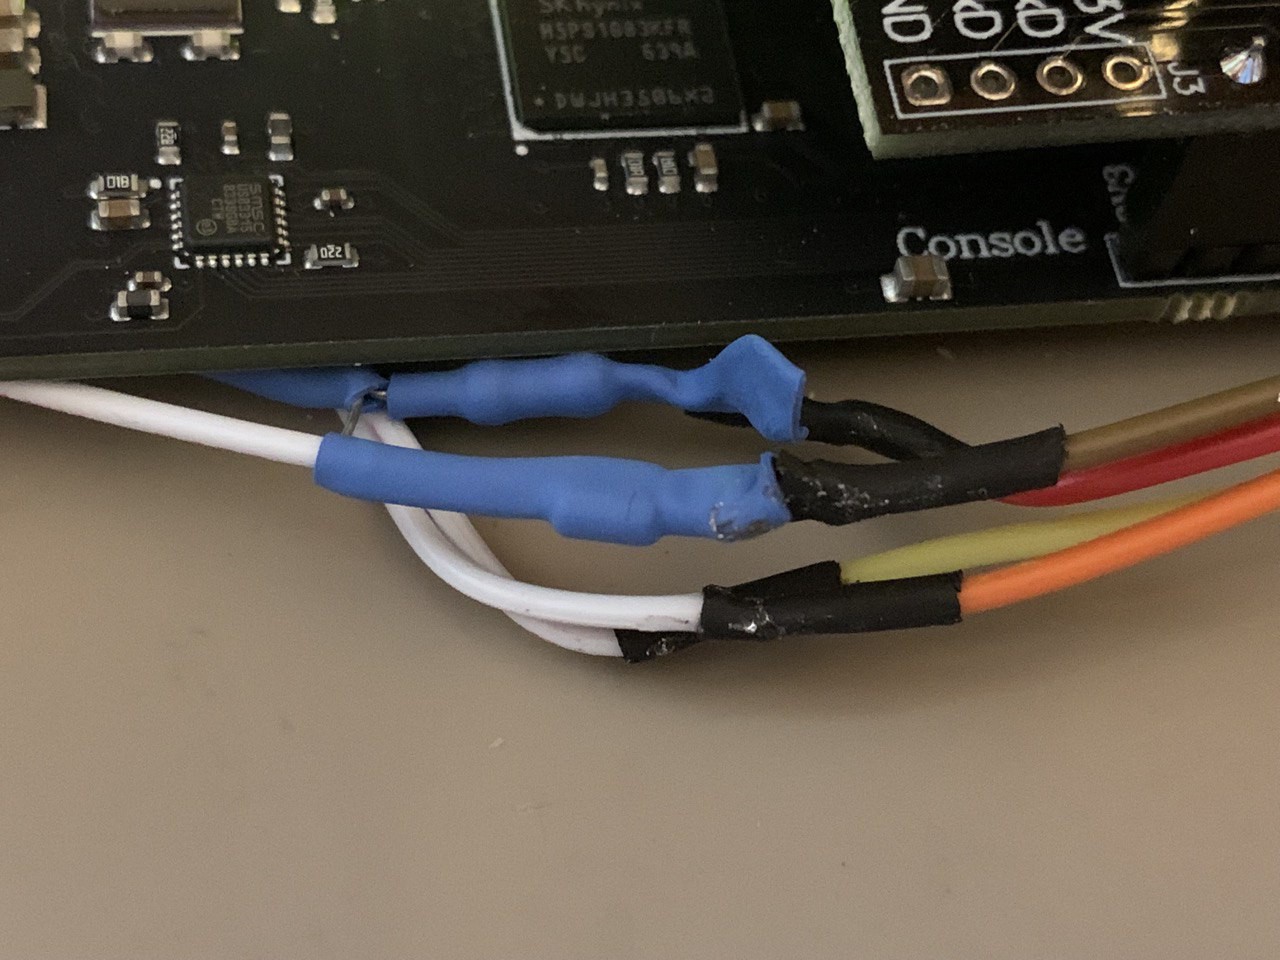
I only removed the userport connector (because I'm connecting to the internal headers), but kept the "voltage correction appliance" in place.
Power-on and run the provided application... TADAAAA
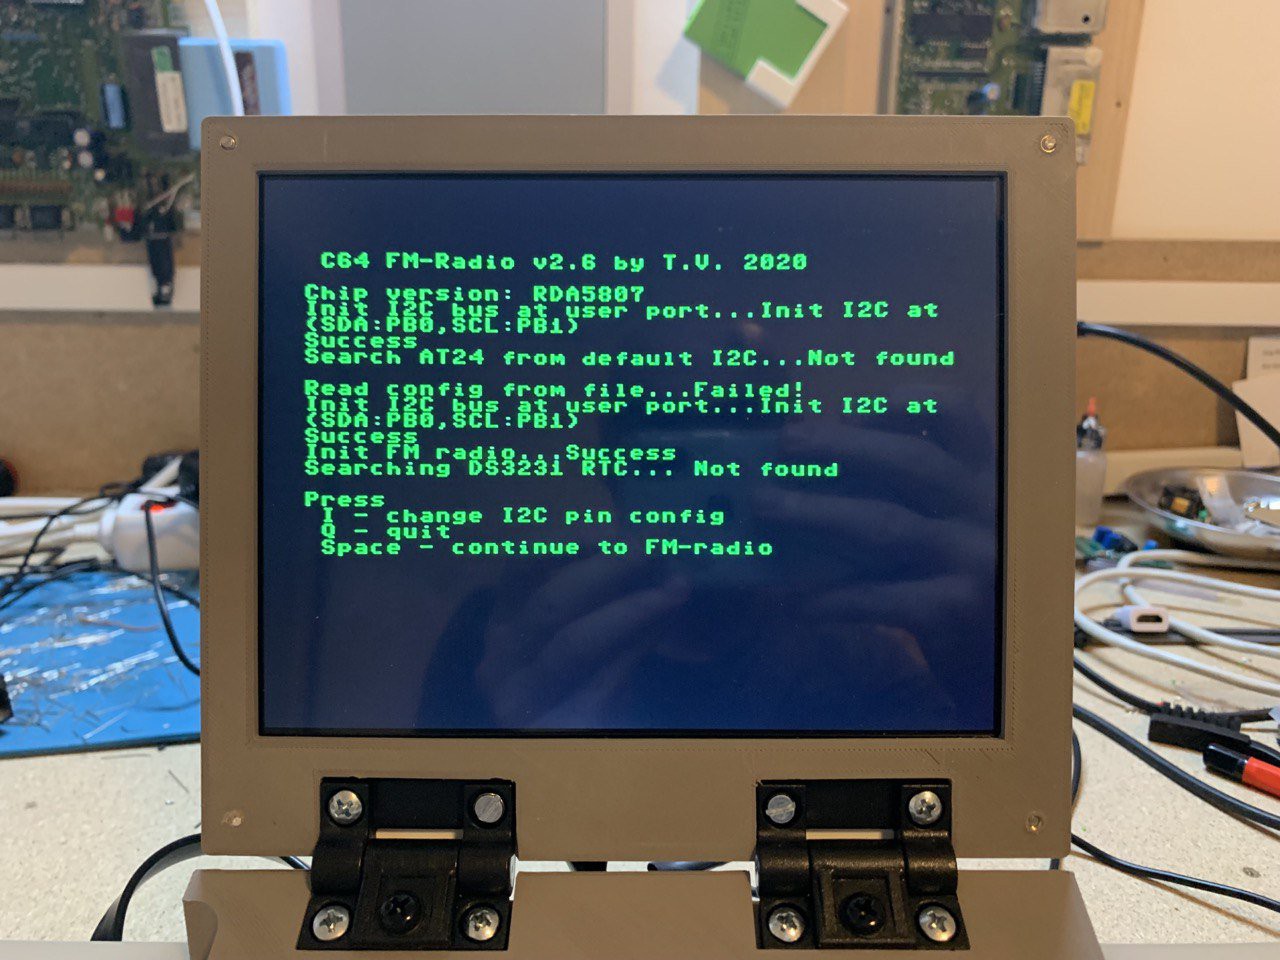
The connection to the FM radio was established successfully.
Next comes the channel scan: check
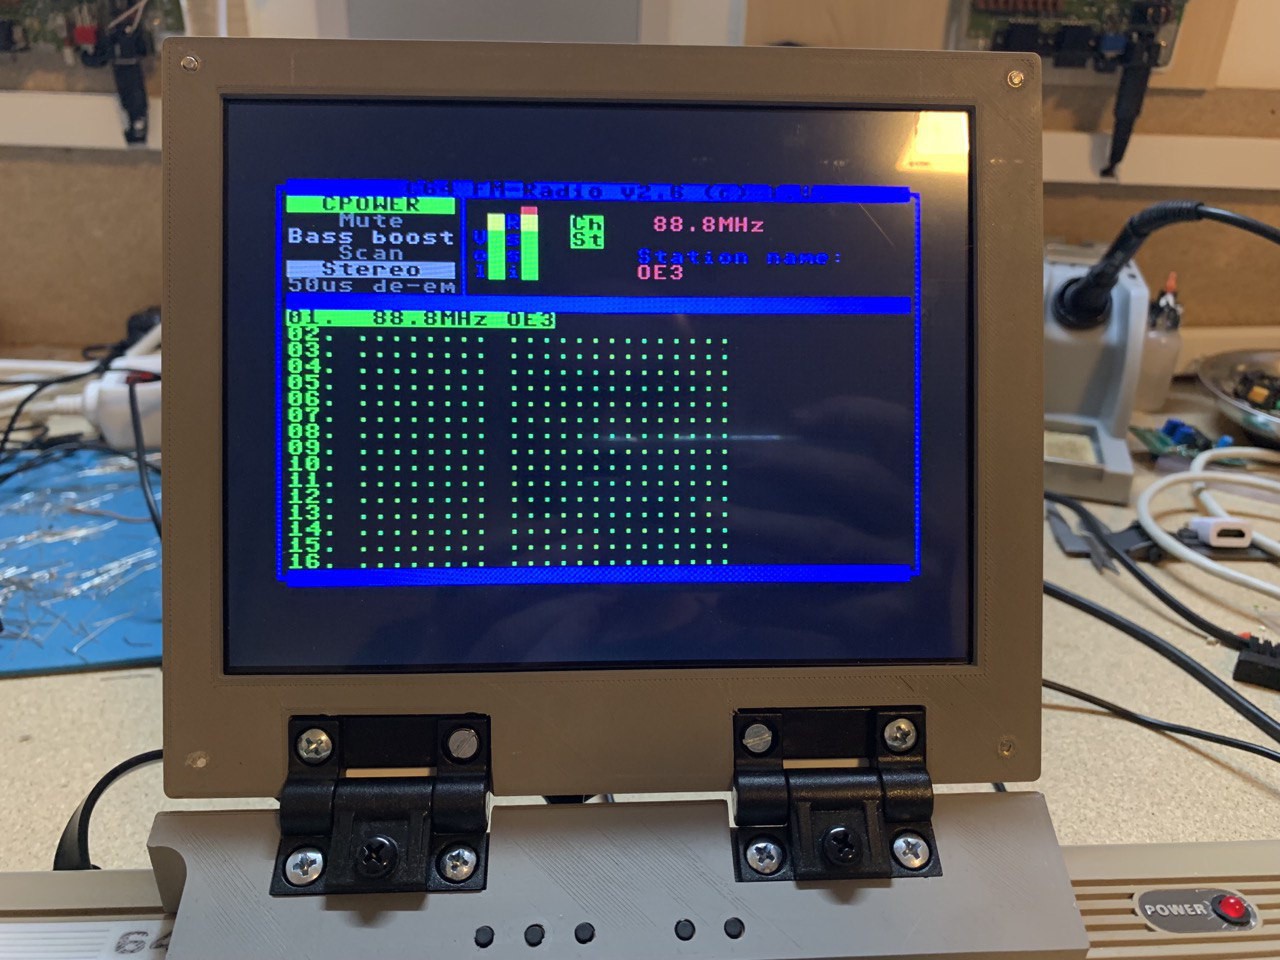
Reception quality is actually really good. Much better than on my living-room amplifier, for example.
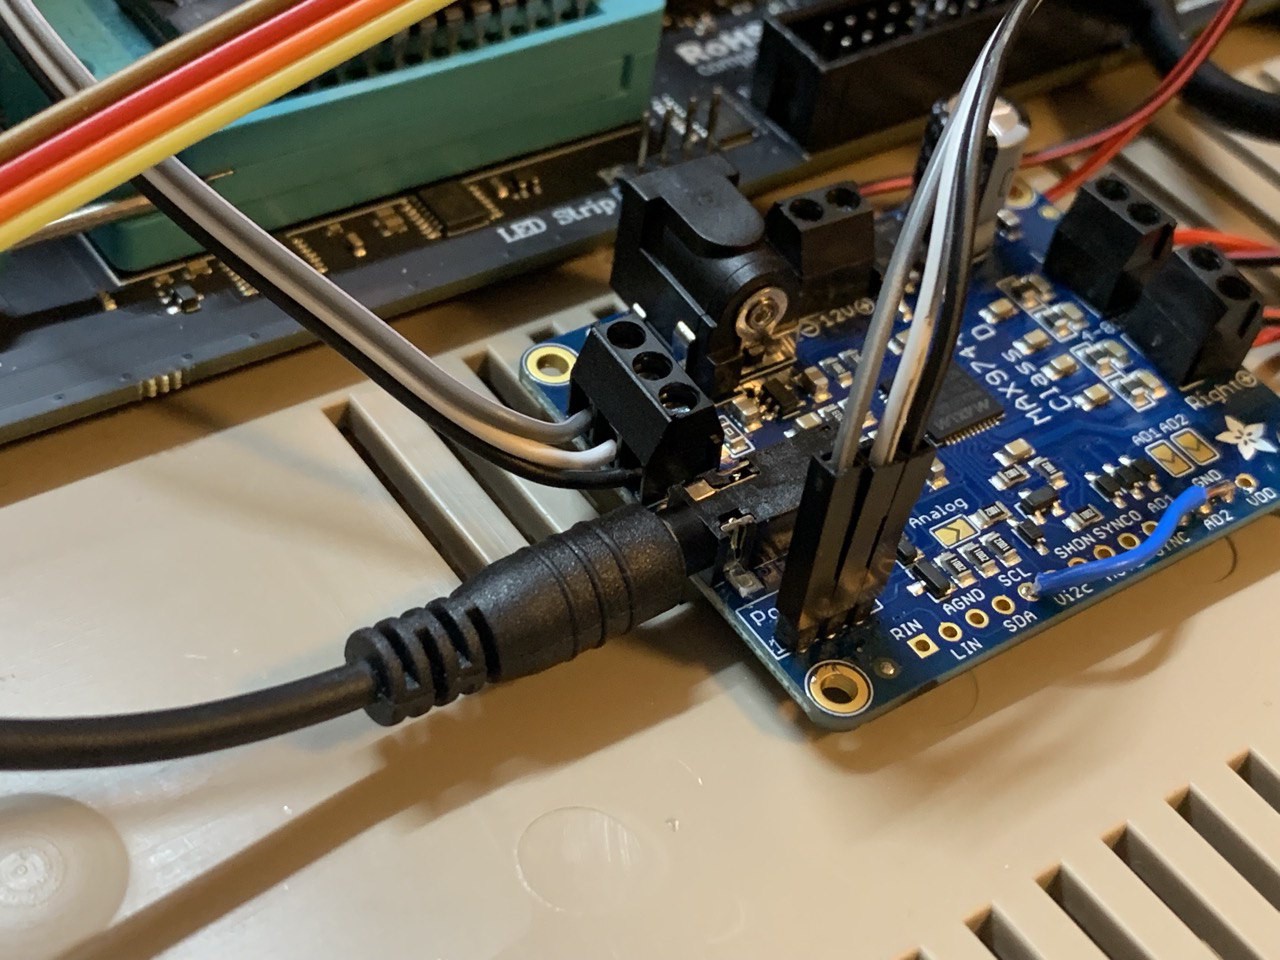
Also, the amplifier that I added earler today already proves itself again to be the right choice: it offers two audio inputs. One coming from the SID chips, the other one coming from the FM radio module.
Finally, a picture of the wire that acts as antenna
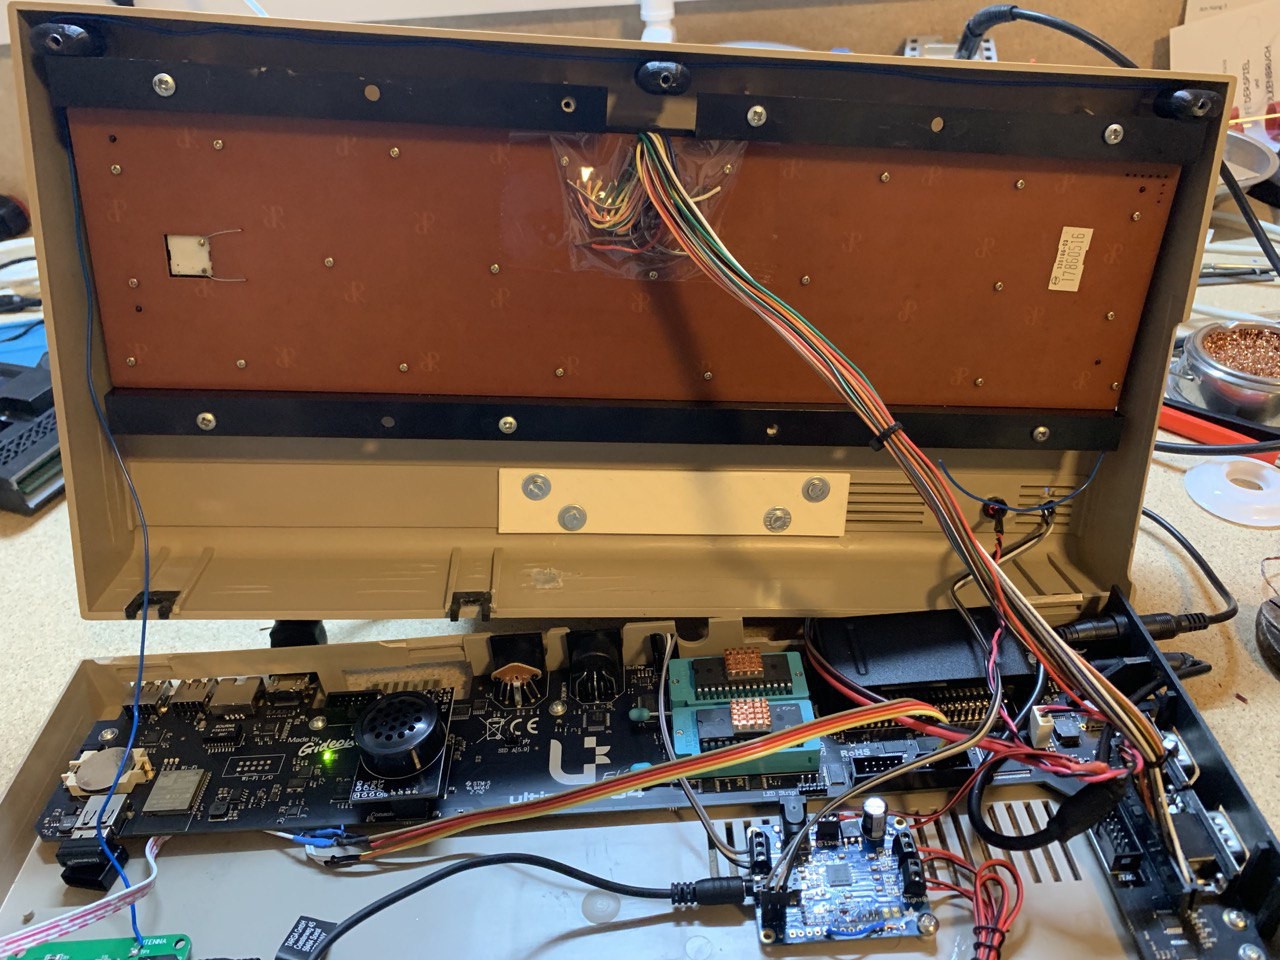
I decided to put it between the keyboard and the top shell. This keeps it in place just fine and if I need to remove the top shell, I can easily remove the antenna without too much hassle (which is always an important thing for me - disassembly of the machine still needs to be easy, no matter how much stuff you put into it).
Find more information about this awesome radio here: https://sites.google.com/site/dividedbit/home/c64-projects/fm-radio-for-c64
Discussions
Become a Hackaday.io Member
Create an account to leave a comment. Already have an account? Log In.