 Greg Leo
This build proceeds in 4 steps.
- Print the case.
- Make the keyboard.
- Make the usb cables.
- Connect it up!
The most difficult part of this build is making the usb cables. This does not require special soldering skills, but you should be comfortable soldering. A third hand is highly recommended.
The USB Cables
You need to make 3 cables. The first is a usb micro to usb micro OTG cable that connects the keyboard to the Banana Pi. The second is a usb c to usb micro power-only cable that connects the Banana Pi to the Ampripper 3000 usb c output. The third is a half cable with two bare wires on one end and a usb micro on the other to connect the 5v and ground pads of the amp ripper to the usb micro in port of the screen.
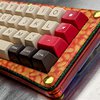
Keyboard Build
The QAZ build is no different than building a QAZ as a normal keyboard. So, you can follow the steps available here: CBKBD
Keyboard Firmware
https://github.com/gleorepo/QAZ_Keymap_Bears
BOM
- QAZ Keyboard PCB
- 34-37 MX Switches
- Any will work. Try these!
- MX Keycaps
- Any will work if they fit the layout.
- I use these lower profile ones: Nuphy air 75 Keycaps
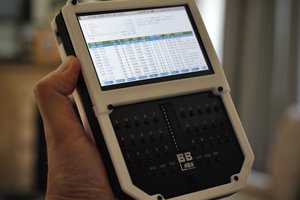
- Banana Pi M2 Zero
- Ameridroid or Amazon or Amazon
- Waveshare 7.9 Screen
- Ampripper 3000
- Lipo Battery
- Wire
- Usb-C Ends
- Usb-Micro Ends
- Hdmi Cable
- Hdmi Right-Angle Connector
- 4x m2 screws- 6mm (Keyboard to Case) + 6x m2.5 screws- 8mm (Screen to Case)
- Wifi Antenna (Optional).
- Amazon
- The antenna goes under the keyboard. There is a hole in the case for the cable to pass through.
- 3d Printed Parts
- See Files Section


 Richard
 inaforeignsky
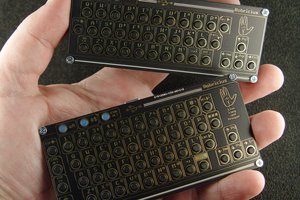
 bobricius
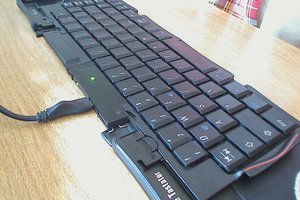
 JohSchneider
Is there any issue with using the integrated QAZ? would just need to swich the OTG cable to usb-c > usb-micro but I think that's the only other change needed.