In the last tutorial we made an image to OLED displayer. Image files are converted into Arduino compatible file and send to display on OLED. But today we are going to work with sound files. We will convert the audio files to Arduino compatible files and then drive a speaker directly using the PWM feature inside Arduino. In this way no DAC is needed anymore, whatever is the quality it is coming directly from the microcontroller’s heart. Basically, Pulse code modulation is working here, we are sampling the sound in a manner every step is recorded.
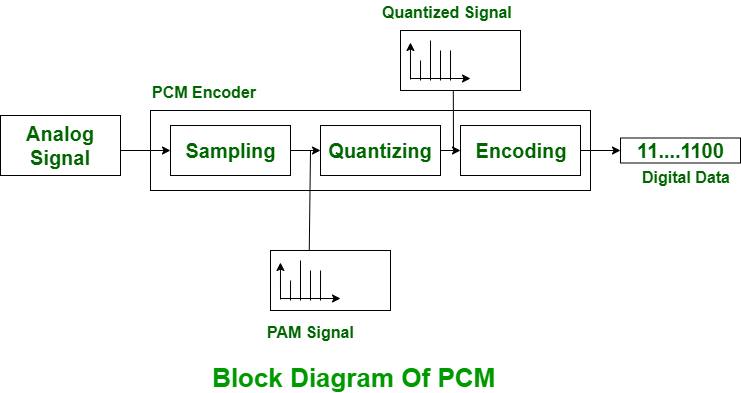
This will create a huge file for the small audio. So, keep the Arduino’s flash memory in mind. We can convert 2-3 lines only into the speech which is to be send one after the another. In this tutorial I will let you how to make Arduino compatible file from simple audio file. Even you can also your own voice and then play it using Arduino. We can use this projects which need sound interaction. Arduino commands can be arranged to any specific task and then to play the respective audio.
Components required:
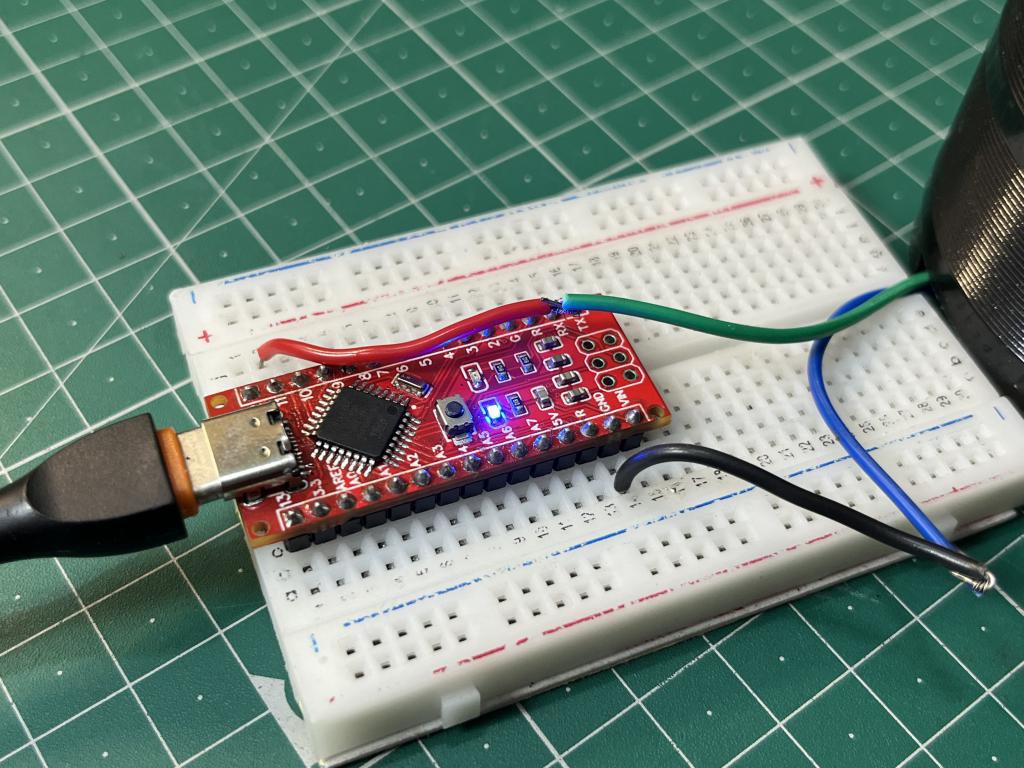
Arduino Nano
Speaker with amplifier
Battery and wires
PCM convertor software: Audacity
Wav to Arduino convertor: Arduino MP3 tool download from here
Win exciting rewards from PCBWAY:
PCBWAY is hosting a PCB design competition 5th time and now there are rewards for everybody. Just register on the website and get your hands on raspberry pi Pico board.

You can share your projects and thoughts there to win more prices. Just upload the full working of your best project using PCBWAY service. Want to know more about contest then click here.
Making the audio files compatible to Arduino:
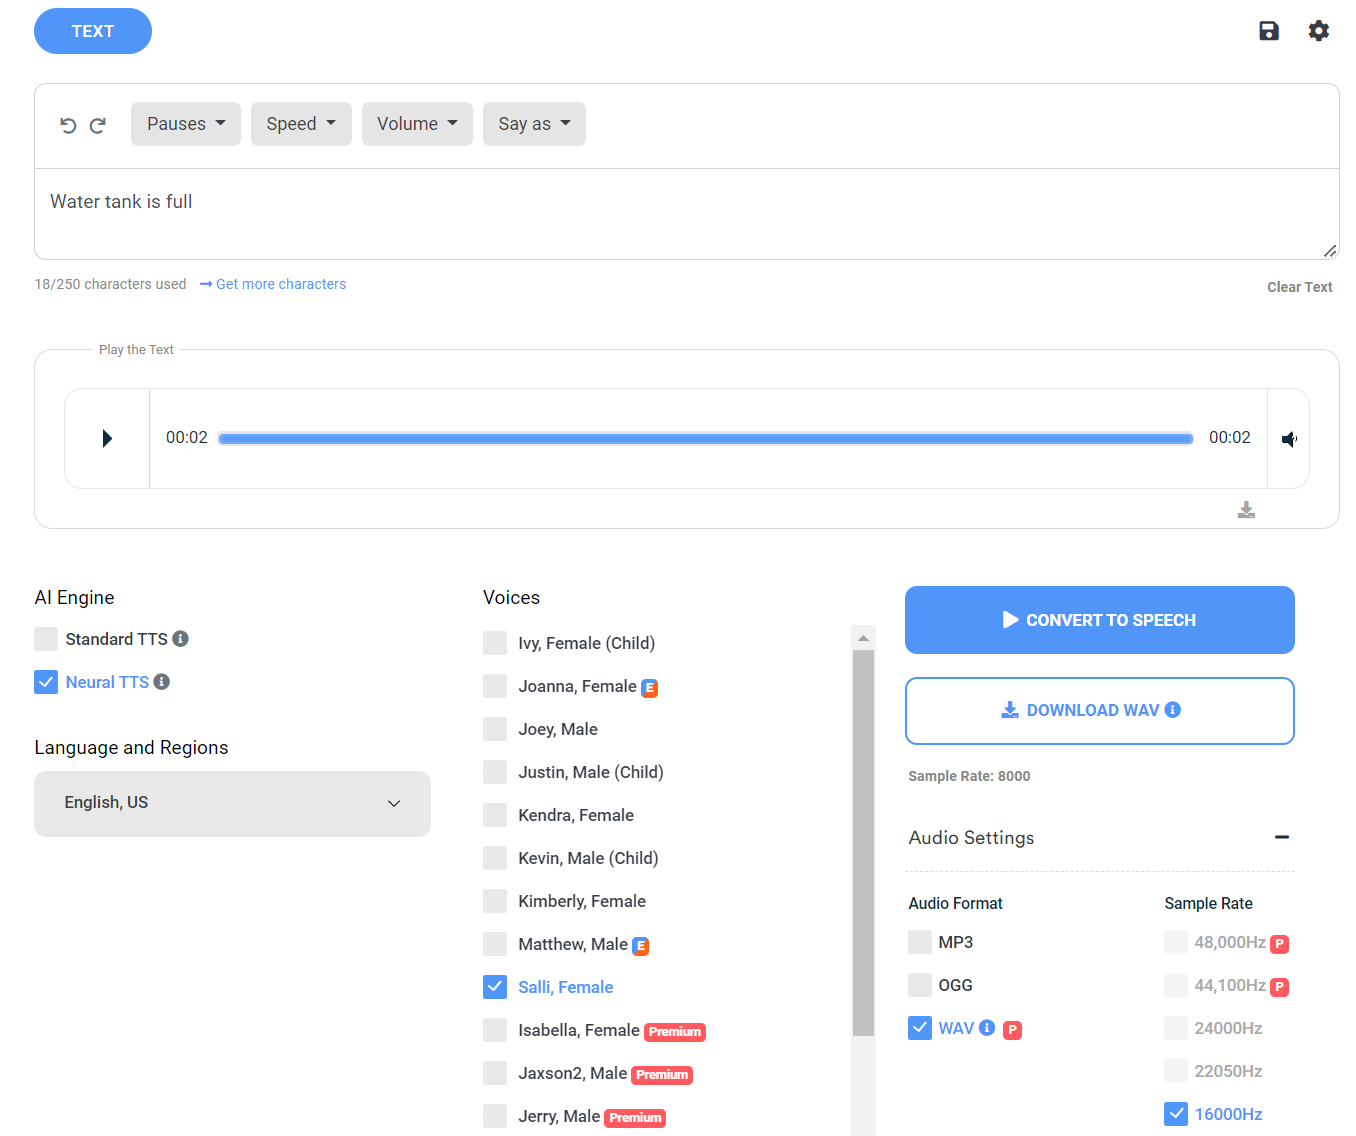
First: Go to online text to speech convertor and download the audio file in wav format using smallest possible sampling rate.
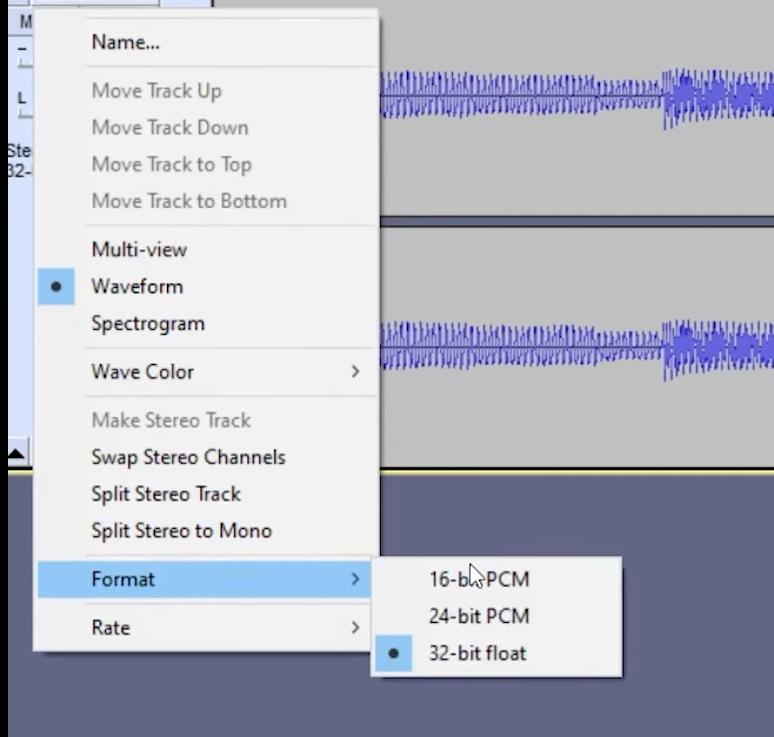
Second: Then open this file into Audacity, keep the sampling rate to 8000 and export in 16-bit PCM format.

This will convert the audio into 16bit codec but Arduino is compatible to 8-bit data, which required more conversion.
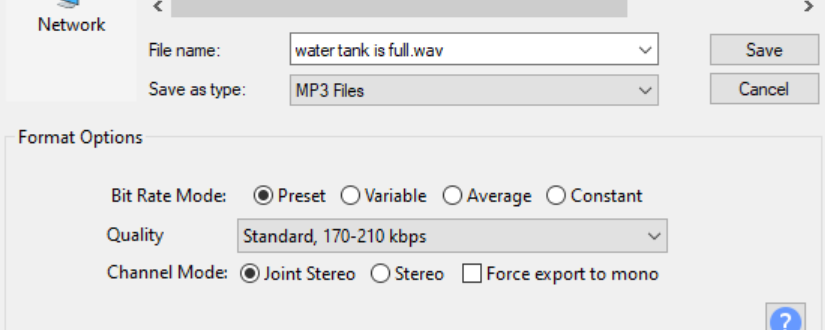
Third: Download this Arduino convertor tool from here. Extract all the files. Then go to Arduino MP3 folder and then to encode audio. Which has an exe tool file.
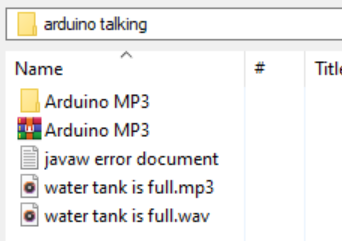
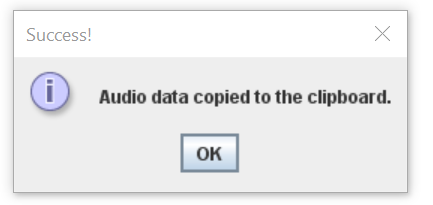
Now run that file and it will redirect you to choose audio file, choose the previously exported audacity file. Tool will copy the Arduino compatible to code directly to the clipboard of your laptop.

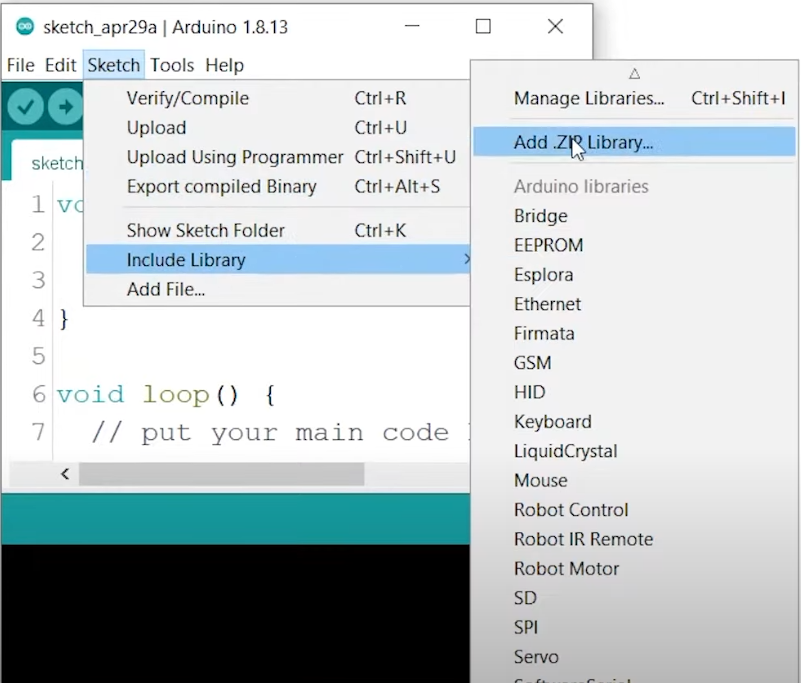
Fourth: Now go to downloaded Arduino MP3 folder again, you will find an Arduino library named as PCM. Include this file into Arduino IDE.
Fifth: Open the library examples, which is shown as playback. This file contains an audio string already, now replace that line with your code. Just delete that file and paste your data which is already on copied to your clipboard.

See this video from one of my friend for proper visual instructions.
Arduino programming & connections:
Now the interface is clean, connect your Arduino. Choose the right com port and board settings and then click to upload the file. This will upload the recorded file.
Arduino D11 pin is chosen by default for the output by PCM library. Connect the positive of speaker to Arduino D11 pin and negative to GND of Arduino. This will repeat the code on every reset and play the audio file. A small speaker can be directly derived using Arduino pin but to use the big speaker an audio amplifier is needed to make powerful sound output. I am not recommended to use Class D amplifier with this setup.
Audio Quality:
Because we are playing the files directly on PWM of Arduino. Which is just a misbehaving to the Arduino. Because there is no digital to analog convert on Arduino and this audio playback is only done for maximum 2-3 lines. If you want to play this using amplifier then it is worst idea to make an Arduino speech convertor. The quality is really low, which is just recognizable.
Troubleshooting and errors:
While using the Arduino MP3 encoder audio tool, I faced an error which is from javaw.exe. Here is the...
Read more » Lithium ION
 Open Technology
 Alexander