Jefferson Bueno
This project has the purpose of encouraging and educating the use of electronics carried out by the Jefferson Bueno channel in partnership with the JCLPCB. A simple but interesting project for you to assemble in your home.
____________________________________________________________________________
Assembling the Circuit
Analyzing the operation of an Arduino Uno, I mapped all the pinouts and functions, thus ensuring that the replica has all the features of an Arduino.
After that, I created the electronic diagram to then design the PCB. Analyzing the operation of an Arduino Uno, I mapped all the pinouts and functions, thus ensuring that the replica has all the features of an Arduino.
To make your assembly easier, I looked for components that provide the same function and that are easier to find in the electronic components market.
After that, I created the electronic diagram to then design the PCB.

PCB Design
After completing the electronic diagram, it was time to design the board.
For this I took all the measurements of an Arduino Uno with its connectors and terminals and also with its holes, ensuring that it stays the same.

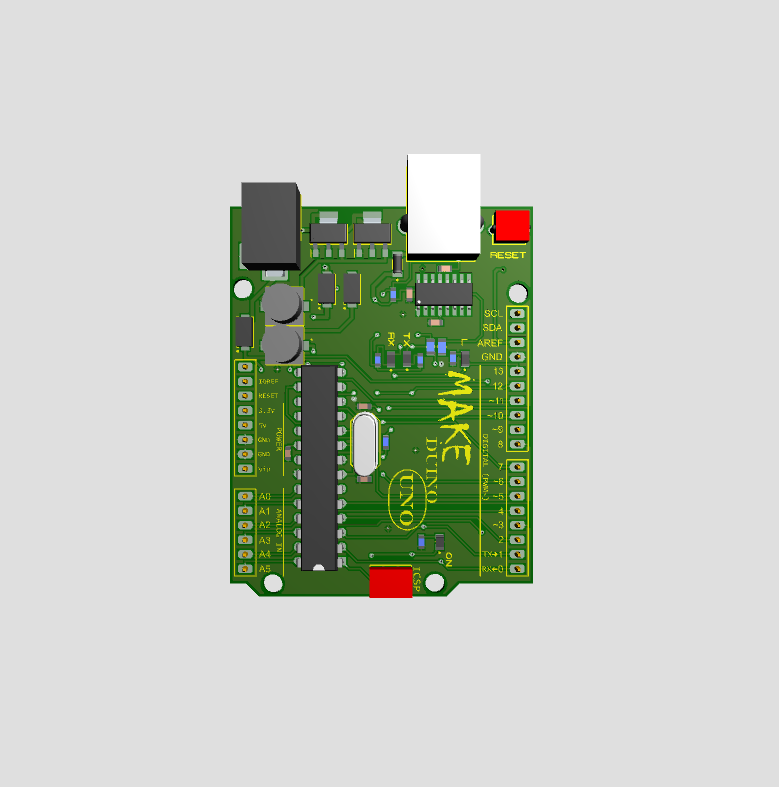
3D Model
Here in the 3D viewer we can check how our replica of MAKE Duino will look where the result is given to our created design.
How to Make PCB
The PCB's I sent my GERBER file to JLCPCB which has an excellent finish and extreme quality.

If you don't know JLCPCB's services yet, you can click here.
In addition to all the qualities already mentioned, they have a very good price where PBC's with a size of up to 100x100mm you can get the best boards paying $2 for 5 units
Final Assembly and Testing
In addition to a simple circuit, its assembly is also.
In order not to have a very long article, I recorded everything on video on my channel.
And even if you don't have the necessary equipment, I showed you that with an iron you can assemble this project and get a professional finish.
Final Considerations
+
I hope you liked the project and I would like your comments and if you have assembled this project, let me know about your experience.
You can also follow all projects on my channel.