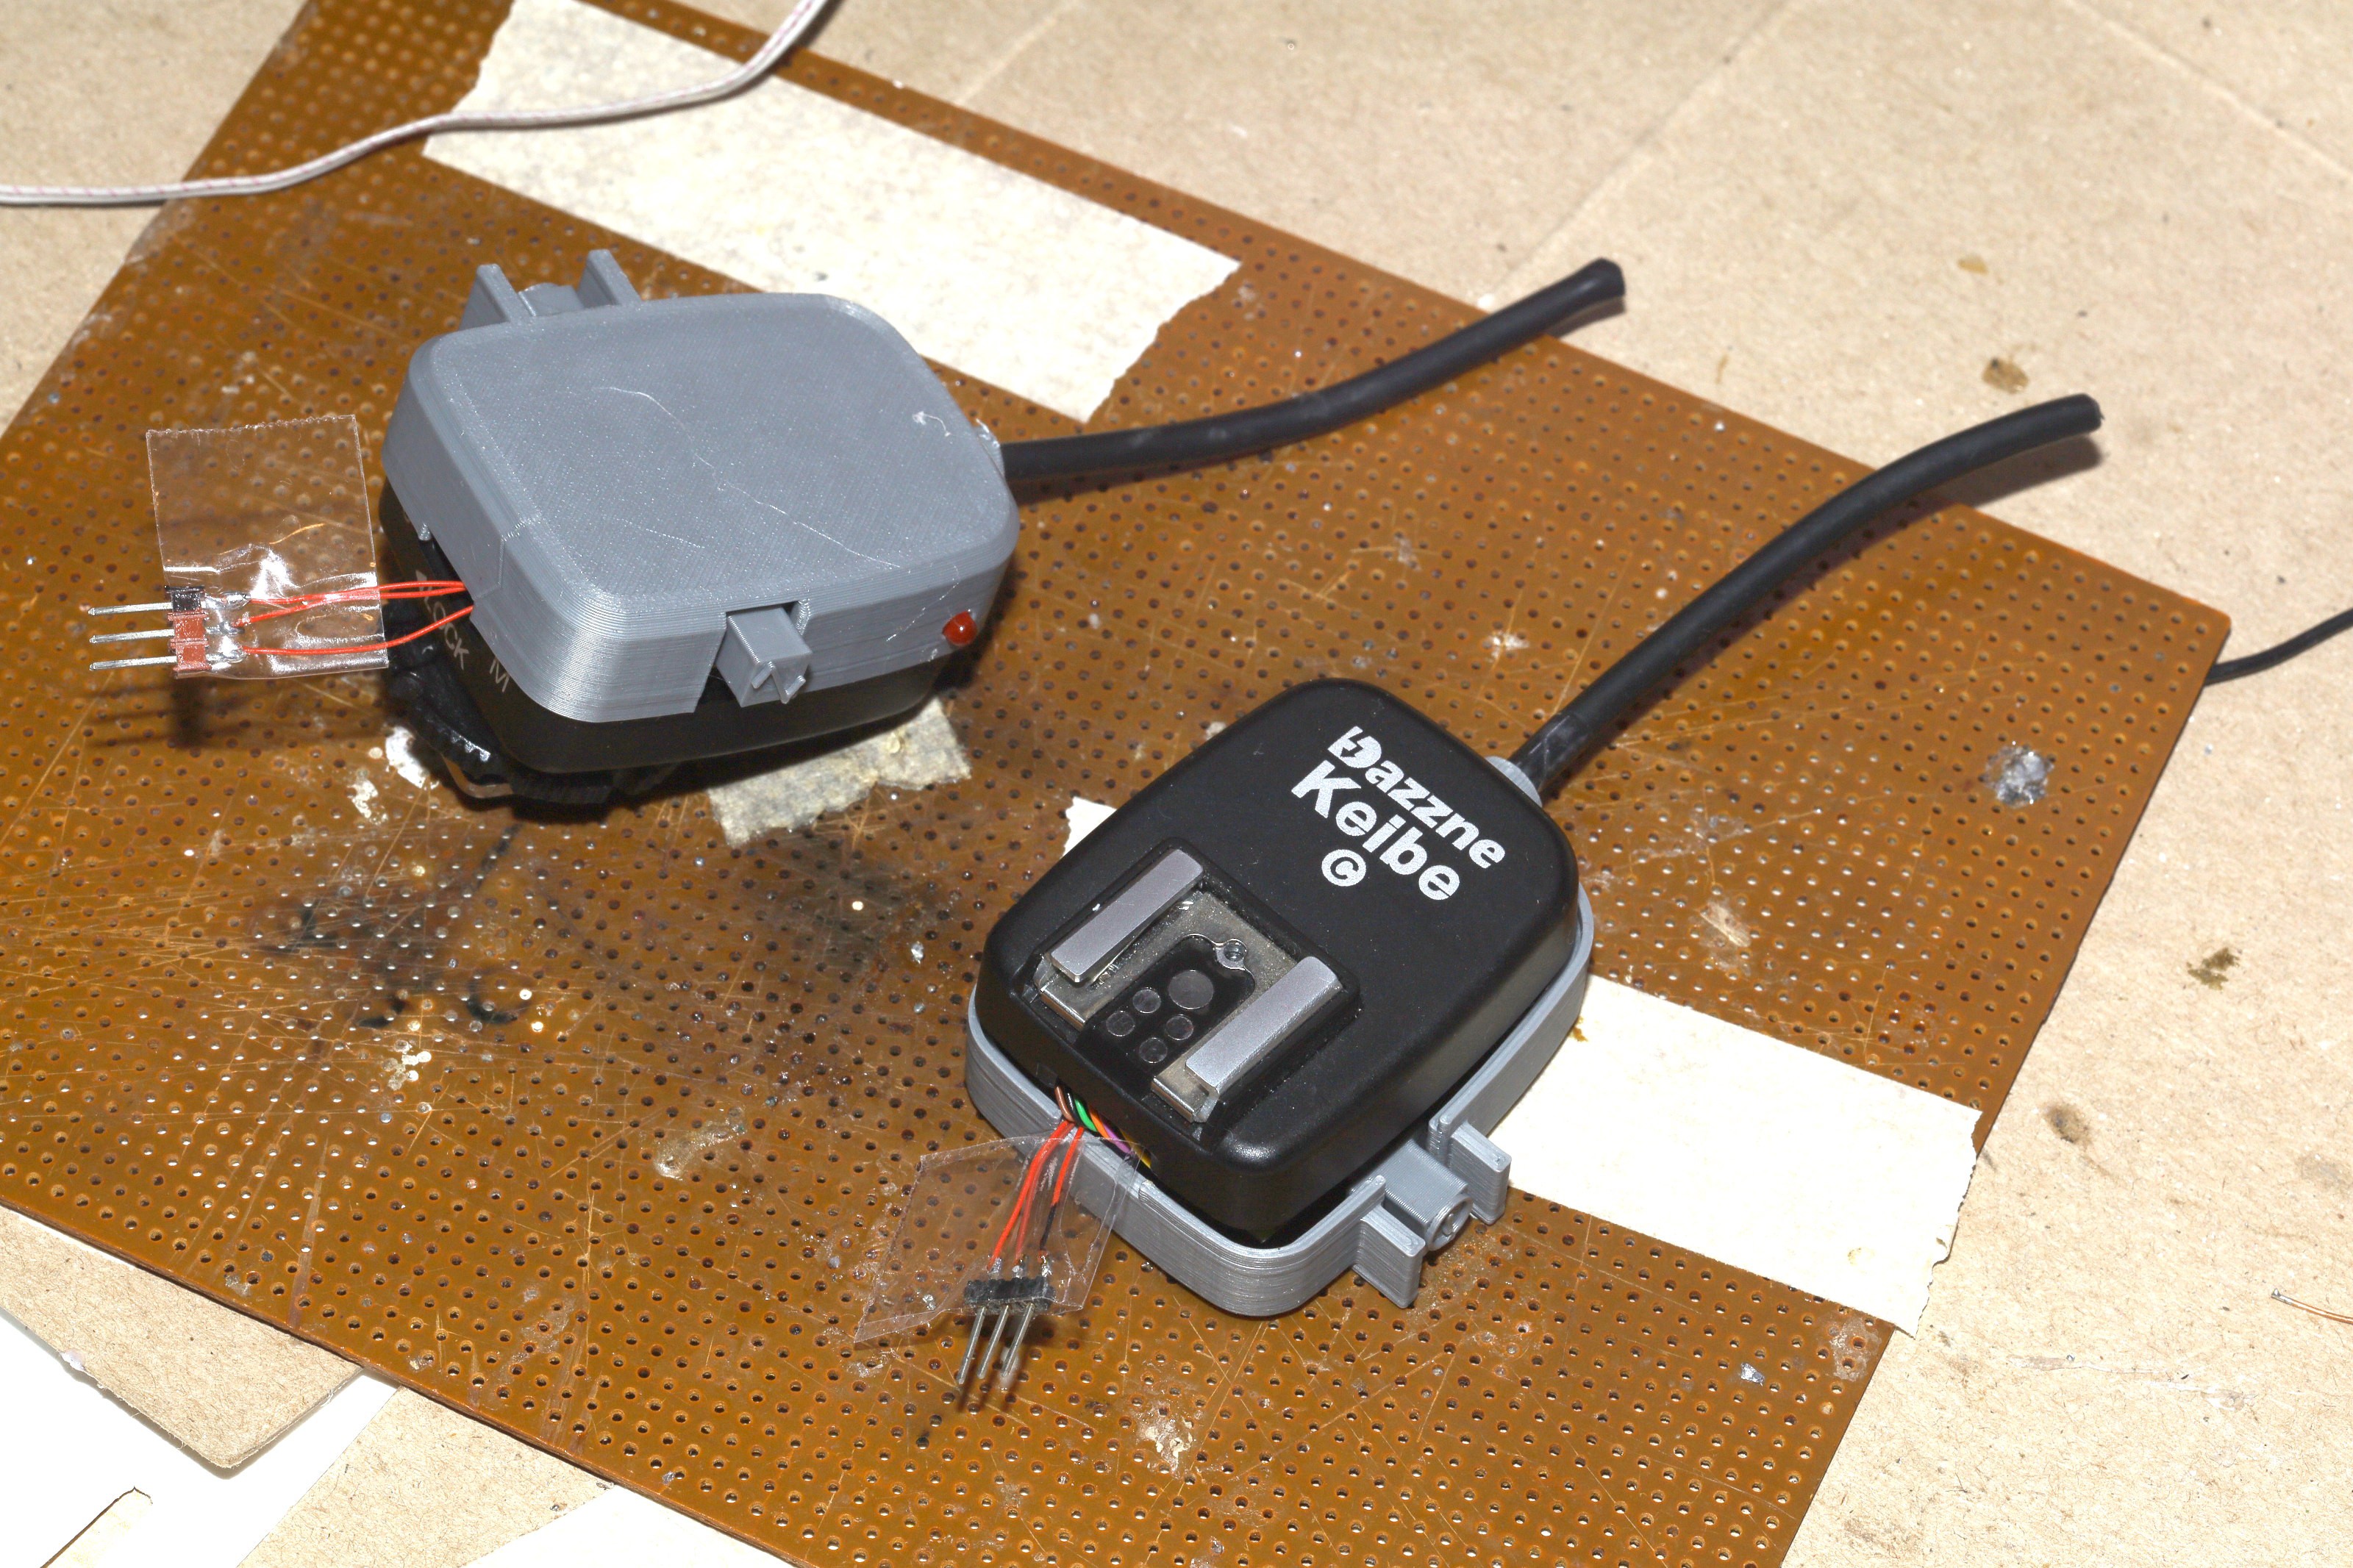
It was a pretty slick, flat thing the same size as the wired adapter.

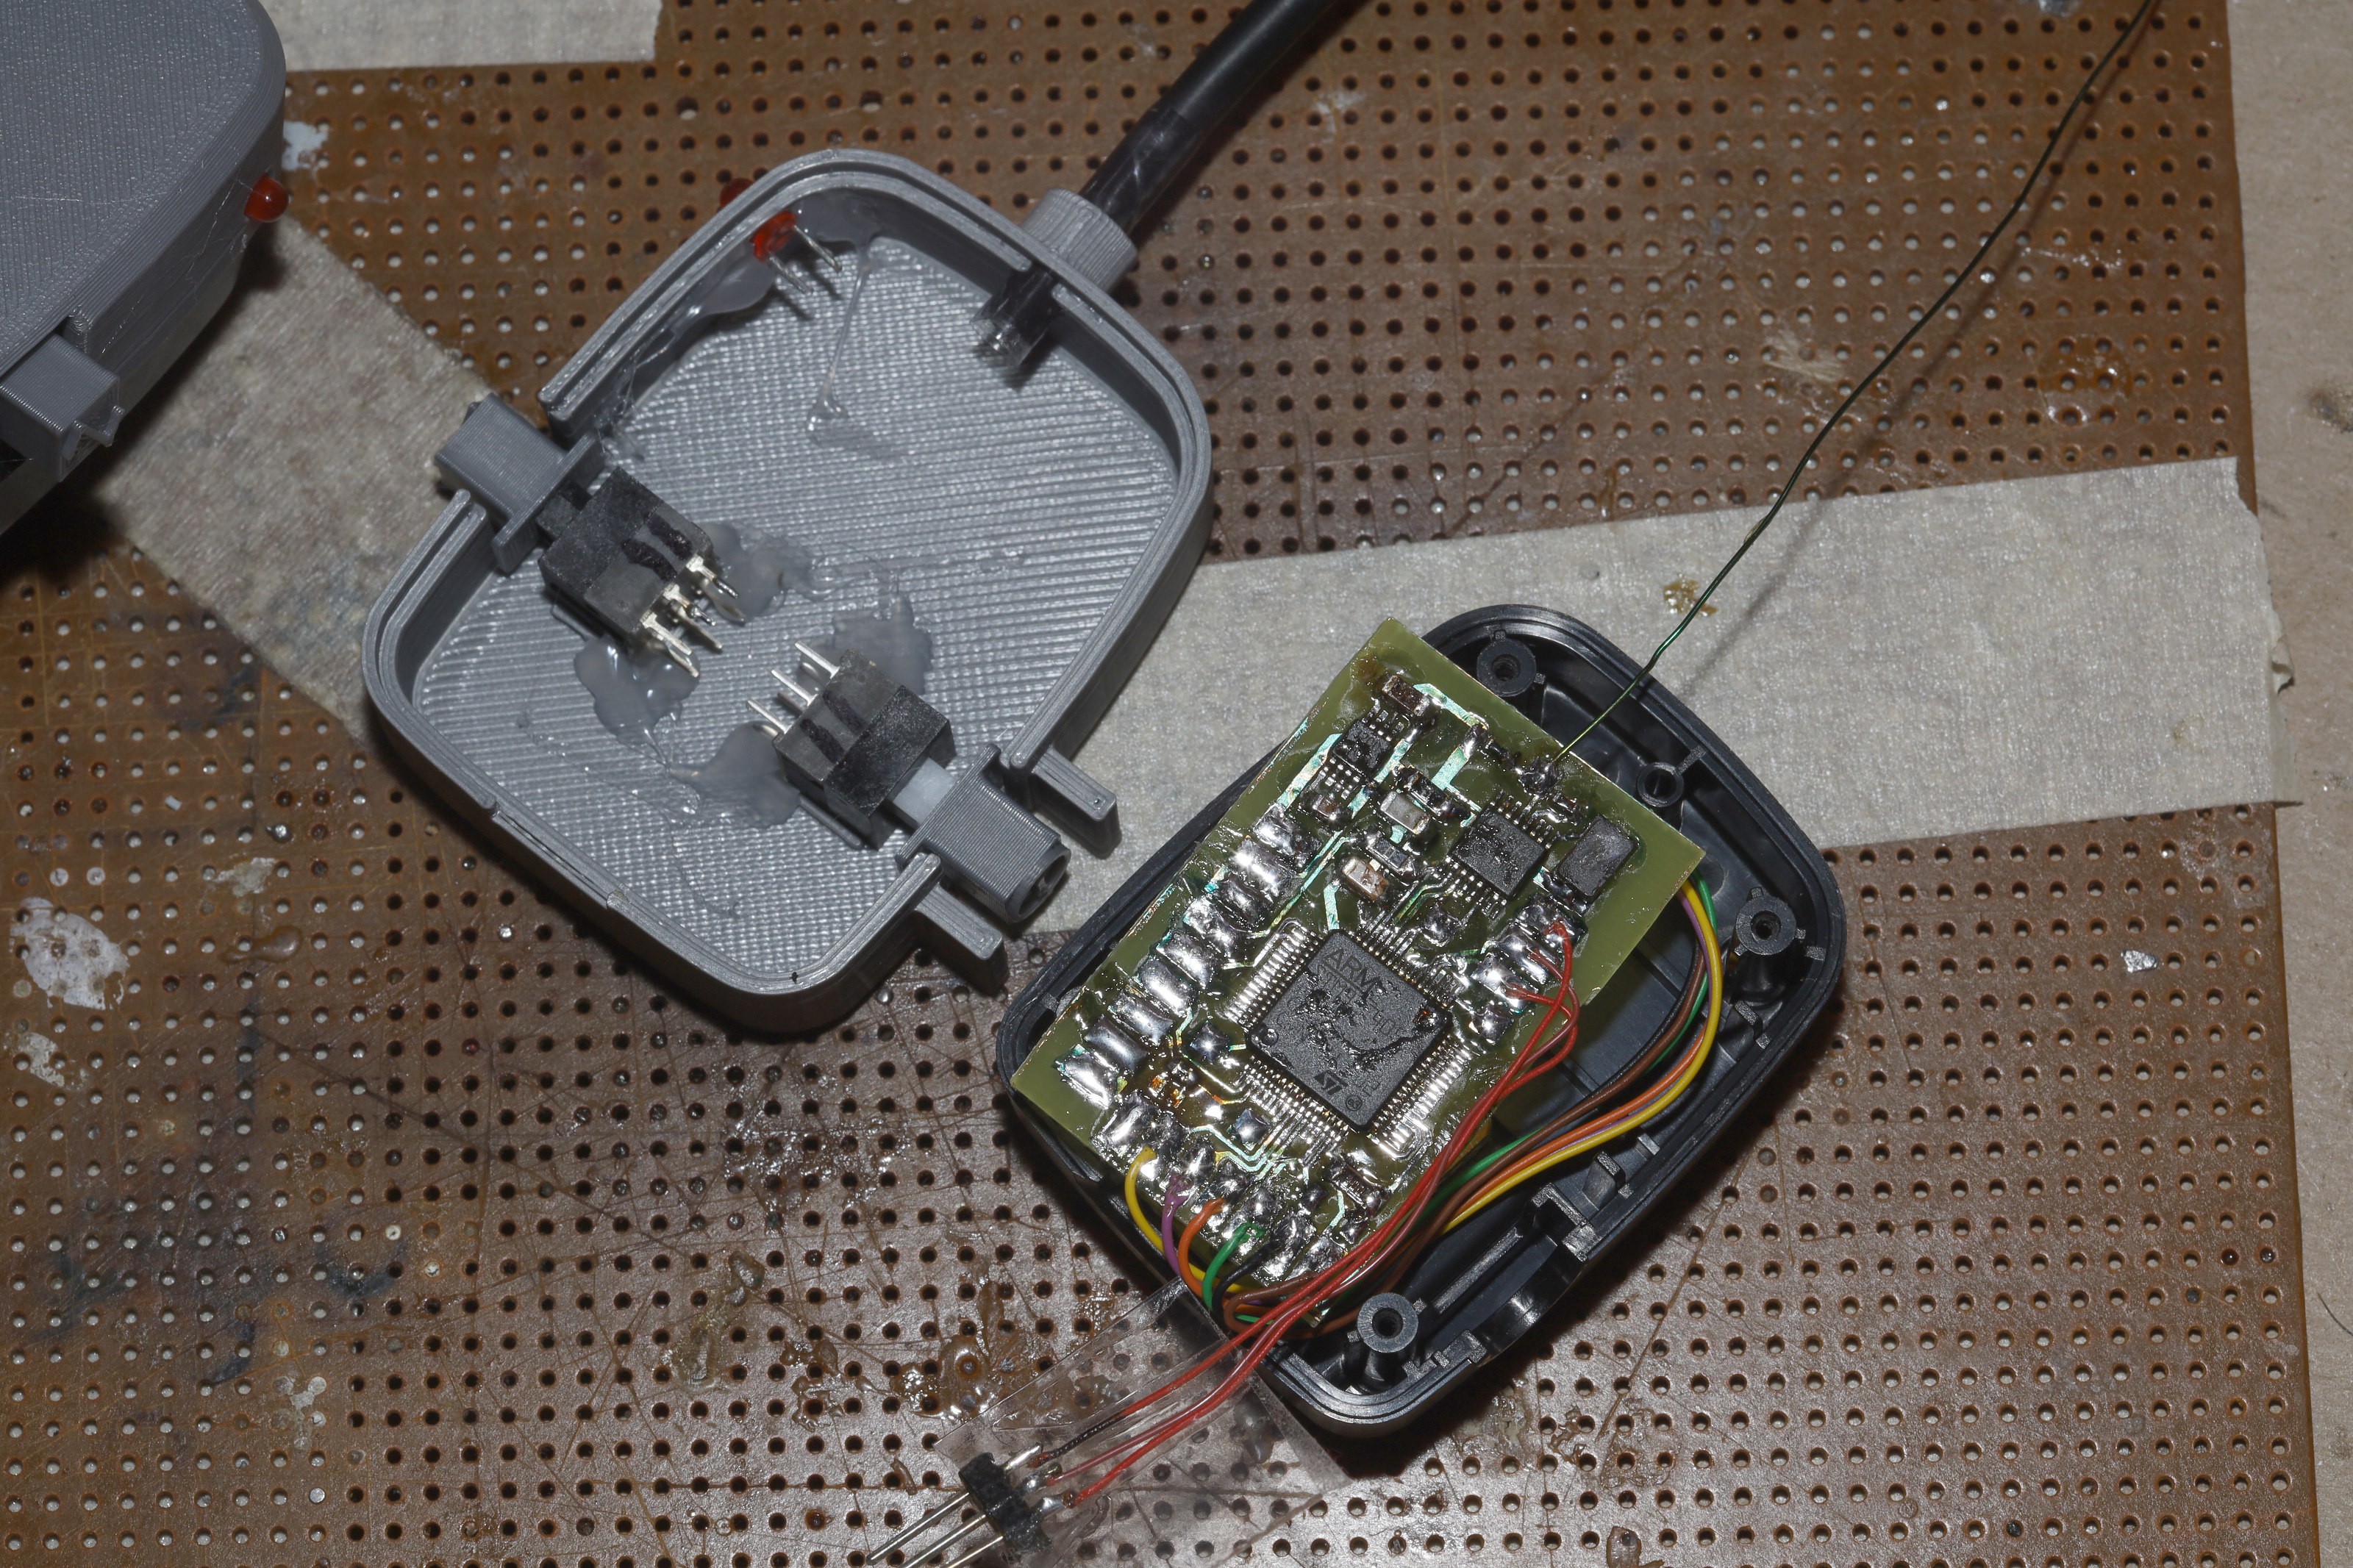
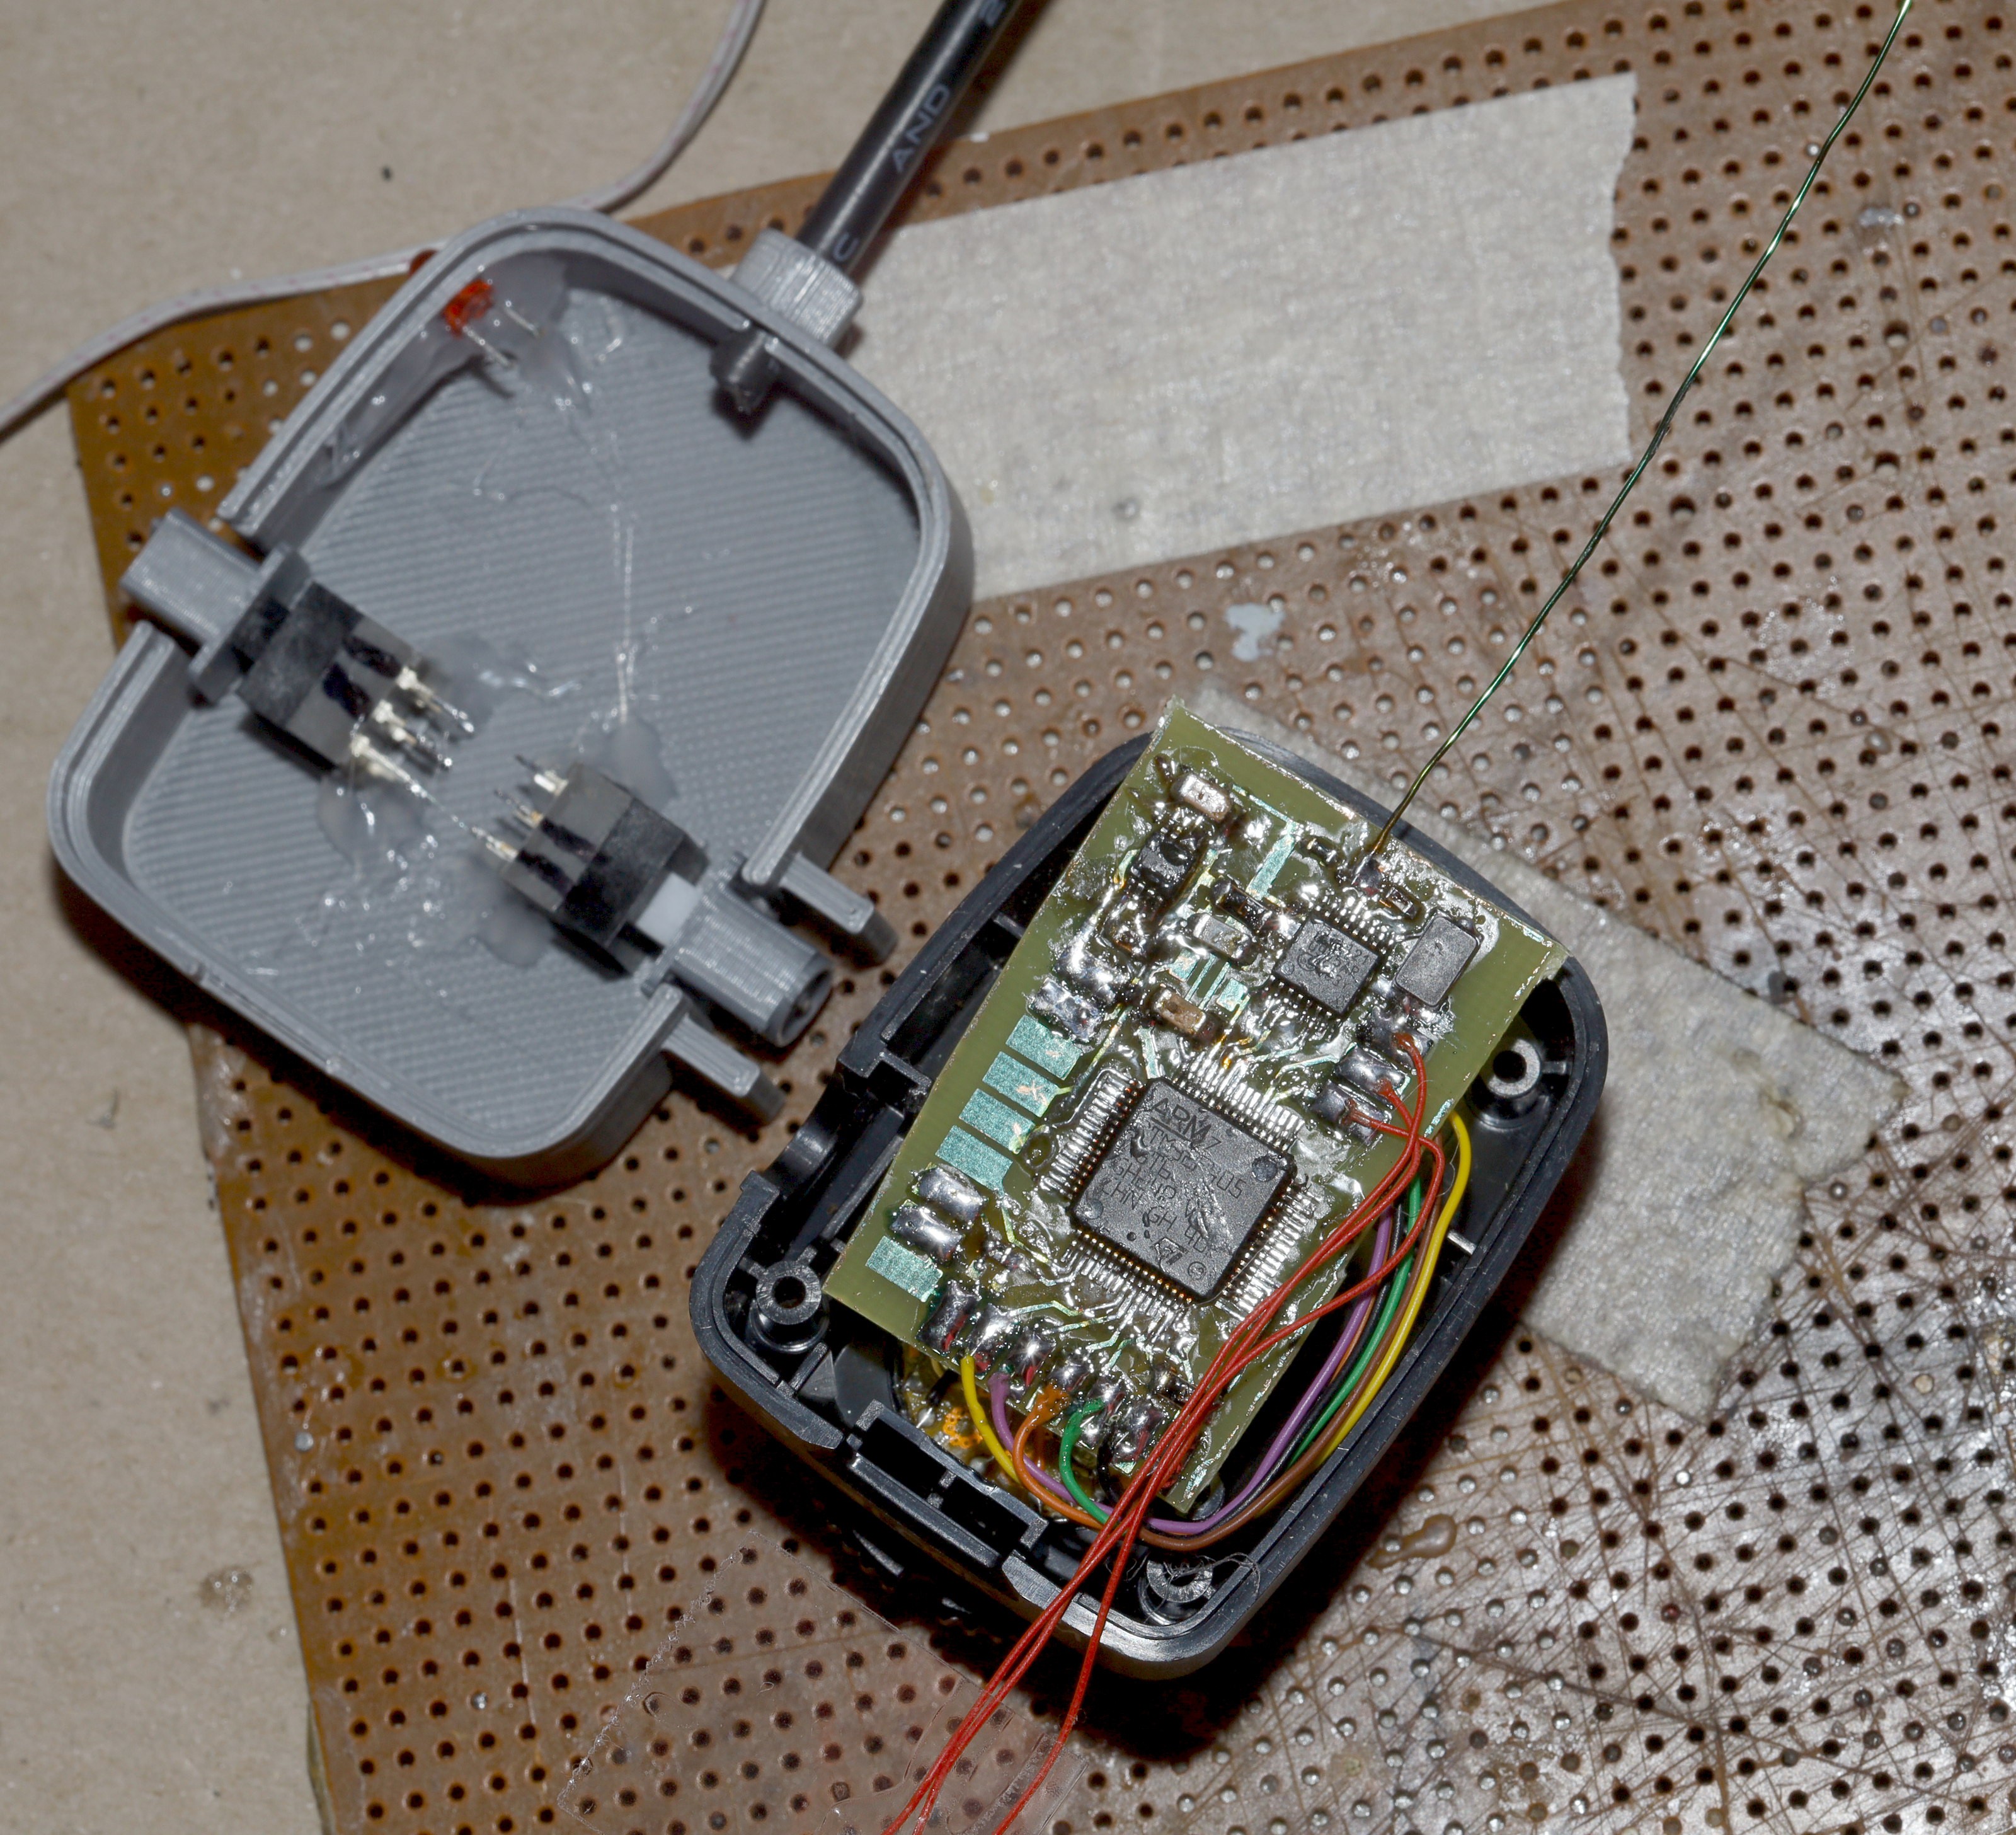
Standoffs in the flash side prevented the board from going low enough to fit under the switches. The object of the game is to remove the least amount of material from the wired adapter.
The flash side could be taller. It could also be wider so the switches straddle the board. The board could be rotated to fit between the standoffs & the antenna would stick out sideways.
Another problem with the flash side is attaching it to a tripod. Scotching it together isn't strong enough. It might need a clamshell which wraps around the stock adapter. It could also use the stock self tappers to screw together.

The camera side had a bit more room. The problem is getting the antenna into the tube while it's connected to the buttons. It's going to need to pack really long wires into the enclosure. It might require a bigger enclosure just to pack enough wire to service it.
The antenna tube could be on a separate sliding thing after the board is installed. There could be a small slit in the tube mount to slide the antenna in, then the tube could be inserted after the antenna.
The antenna needs to be slightly off center because of interference with a nub in the adapter.

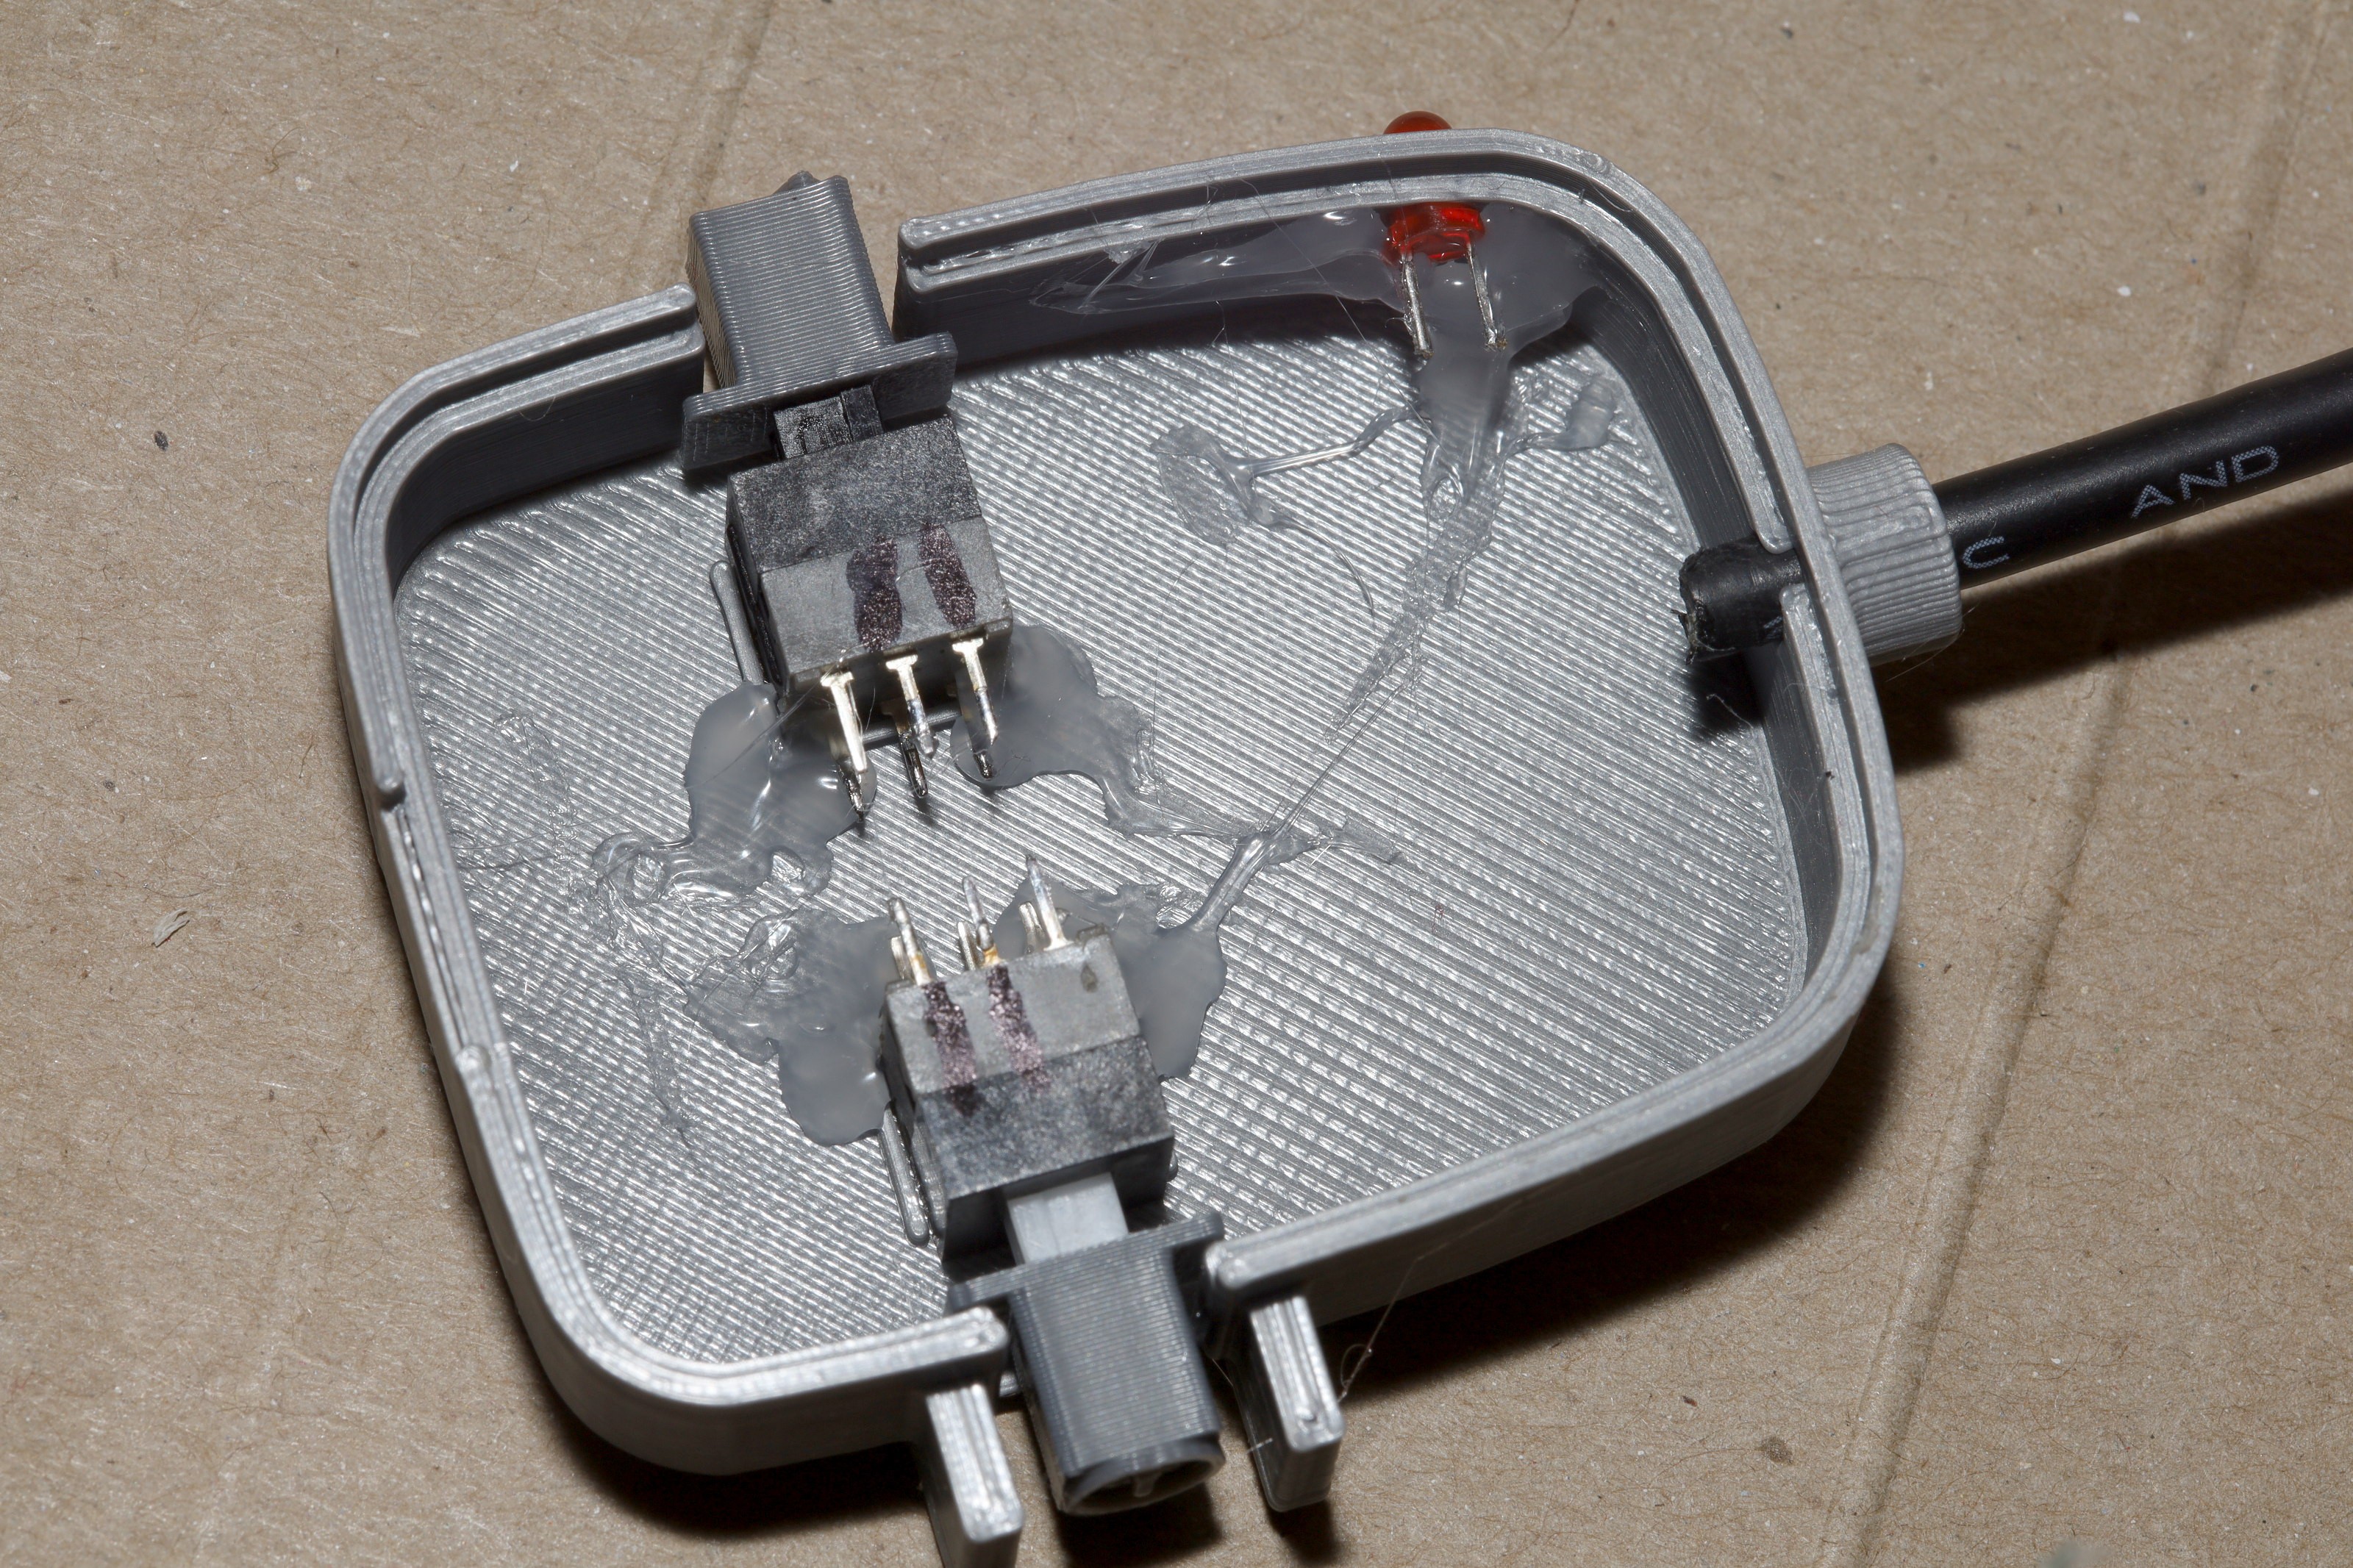
The switches aren't securely farstened. They really need something clamping from above or the sides. The LED is barely farstened because there's no way to get glue on the biggest surface. The LED needs a horizontal surface on 1 side to glue on to.
The camera enclosure probably doesn't need to grow. The flash enclosure definitely needs to grow.
The camera side burns 75mA & the flash side burns 60mA so a 200mAh might be enough. The transmitter desperately needs a power saving timeout to save on 15mA & to free up the airwaves. The problem is starting the radio takes 5ms in which it can't do anything. It would have to start after METERING1 & drop METERING2. There is a way to use a timer to delay the radio UART in the background & get it to return to detecting packets faster.
A similar timeout is needed to manage the ID pin, but ID pin is absolutely not used for anything. It might make the debugging easier if it conforms some flash responses. The limiting factor for size is not the battery but the switches.
A hard lesson learned is when using MHPS switches as power buttons, you need to have a guard to prevent them from turning on by accident & destroying the battery. Unfortunately, this isn't possible when the power button is expected to be quickly toggled during normal use. MHPS switches have still done better than sliding switches because they're resistant to dirt.
 lion mclionhead
Discussions
Become a Hackaday.io Member
Create an account to leave a comment. Already have an account? Log In.