Light sensors are used to measure the value of light intensity. What if I say you can also measure Colour with accurate readings and lux value with an IR filter. Here TCS3472 comes into play, this is the smallest sensor which is used to detect the colour and LUX simultaneously. TCS3472 works on a two wire I2C address. Visible light also has some content of IR which is blocked by the IR filter inside the sensor and thus give the readings of light intensity. It also has two on board led’s which is used at the time of measuring colours. Using this we can control the brightness of led lights, make a weather station and also used in industry standard LUX meters.
This project is brough to you by PCBWAY- China's leading PCB manufacturer deals in PCB related services like- Prototyping, SMD assembly, PCBA, Stencil service, 3D printing, Flexible PCB and Metal CNC. Sign-up now to PCBWAY using this link and get free new user coupons.
TCS3472:
The TCS3472 device provides a digital return of red, green, blue (RGB), and clear light sensing values. An IR blocking filter, integrated on-chip and localized to the colour sensing photodiodes, minimizes the IR spectral component of the incoming light and allows colour measurements to be made accurately. The high sensitivity, wide dynamic range, and IR blocking filter make the TCS3472 an ideal colour sensor solution for use under varying lighting conditions and through attenuating materials.
The TCS3472 colour sensor has a wide range of applications including RGB LED backlight control, solid-state lighting, health/fitness products, industrial process controls and medical diagnostic equipment. In addition, the IR blocking filter enables the TCS3472 to perform ambient light sensing (ALS). Ambient light sensing is widely used in display-based products such as cell phones, notebooks, and TVs to sense the lighting environment and enable automatic display brightness for optimal viewing and power savings.
Features:
I2C Fast Mode Compatible Interface
Data Rates up to 400 kbit/s
Input Voltage Levels Compatible with VDD or 1.8 V Bus
Very low current consumption 250uA
3, 800, 000:1 Dynamic Range
Very High Sensitivity
The sensor works on an address 0x29 which can be detected through the I2C scanner example under the WIRE library.
Components required:
TCS3472 Sensor module
Arduino Nano
0.96-inch SSH1306 12C OLED
5v power supply
Custom PCB from PCBWAY
Circuit Diagram:
I made the circuit using the diagram given above, you can also see the graphical representation of the components below. I got this TCS3472 colour sensor from PCBWAY gift store through the beans collected from previous order.
Here both sensor and OLED work on same I2C bus but with different address. This bus can go up to 127 devices and here we are using only two. SDA and SCL pin is connected to A4 and A5 of the Arduino respectively. This sensor module has onboard 3v voltage regulator that’s why VCC is supplied with 5V and GND is common to all.
PCB shield design:
Just plug your components into the shield and we are ready to go, this PCB has battery connection at bottom layer. It can be directly supplied using 9v battery. If you want to use the same shied for your project then download the Gerber files from here or design your Own using the schematics given above.
PCBway has a very wide network in the industry, you can share your designs and avail the gifts through beans. PCBway also offer a lot more standard industry service including Flexible PCB. You can know more about the services and capabilities by visiting the official page PCBWAY.COM.
Code:
Install all the required libraries directly from the library manager section under the tools section. You can also try more examples given in the TCS3472 library.
#include <Wire.h>
#include "Adafruit_TCS34725.h"
#include <Adafruit_GFX.h>
#include <Adafruit_SSD1306.h>

/* Example code for the Adafruit TCS34725 breakout library */

/* Connect SCL    to analog 5
   Connect SDA    to analog 4
   Connect VDD    to 3.3V DC
   Connect GROUND to common ground */

/* Initialise with default values (int time = 2.4ms, gain = 1x) */
// Adafruit_TCS34725 tcs = Adafruit_TCS34725();

/* Initialise with specific int time and gain values */
Adafruit_TCS34725 tcs = Adafruit_TCS34725(TCS34725_INTEGRATIONTIME_614MS, TCS34725_GAIN_1X);

#define OLED_RESET 1
Adafruit_SSD1306 display(128, 64, &Wire, OLED_RESET);

void setup(void) {
  Serial.begin(9600);

  if (tcs.begin()) {
    Serial.println("Found sense");
  } else {
    Serial.println("No TCS34725 found ... check your connections");
    while (1);
  }

  display.begin(SSD1306_SWITCHCAPVCC, 0x3C); // try 0x3D also if OLED is not working
  display.clearDisplay();

  // Now we're ready to get readings!
}

void loop(void) {
  uint16_t r, g, b, c, colorTemp, lux;

  tcs.getRawData(&r, &g, &b, &c);
  // colorTemp = tcs.calculateColorTemperature(r, g, b);
  colorTemp = tcs.calculateColorTemperature_dn40(r, g, b, c);
  lux = tcs.calculateLux(r, g, b);

  display.clearDisplay();
  display.setTextSize(2);  // Set the text size
  display.setTextColor(WHITE);
  display.setCursor(0,0);
  display.print("ColorSense");

  display.setTextSize(1);
  display.setCursor(0,20);
  display.print("Lux:");
  display.setCursor(40,20);
  display.print(lux, DEC);

  display.setCursor(0,30);
  display.print("RED: ");
  display.setCursor(40,30);
  display.print(r, DEC);

  display.setCursor(0,40);
  display.print("GREEN: ");
  display.setCursor(40,40);
  display.print(g, DEC);

  display.setCursor(0,50);
  display.print("BLUE: ");
  display.setCursor(40,50);
  display.print(b, DEC);
  display.display();
  }
Lux measuring:
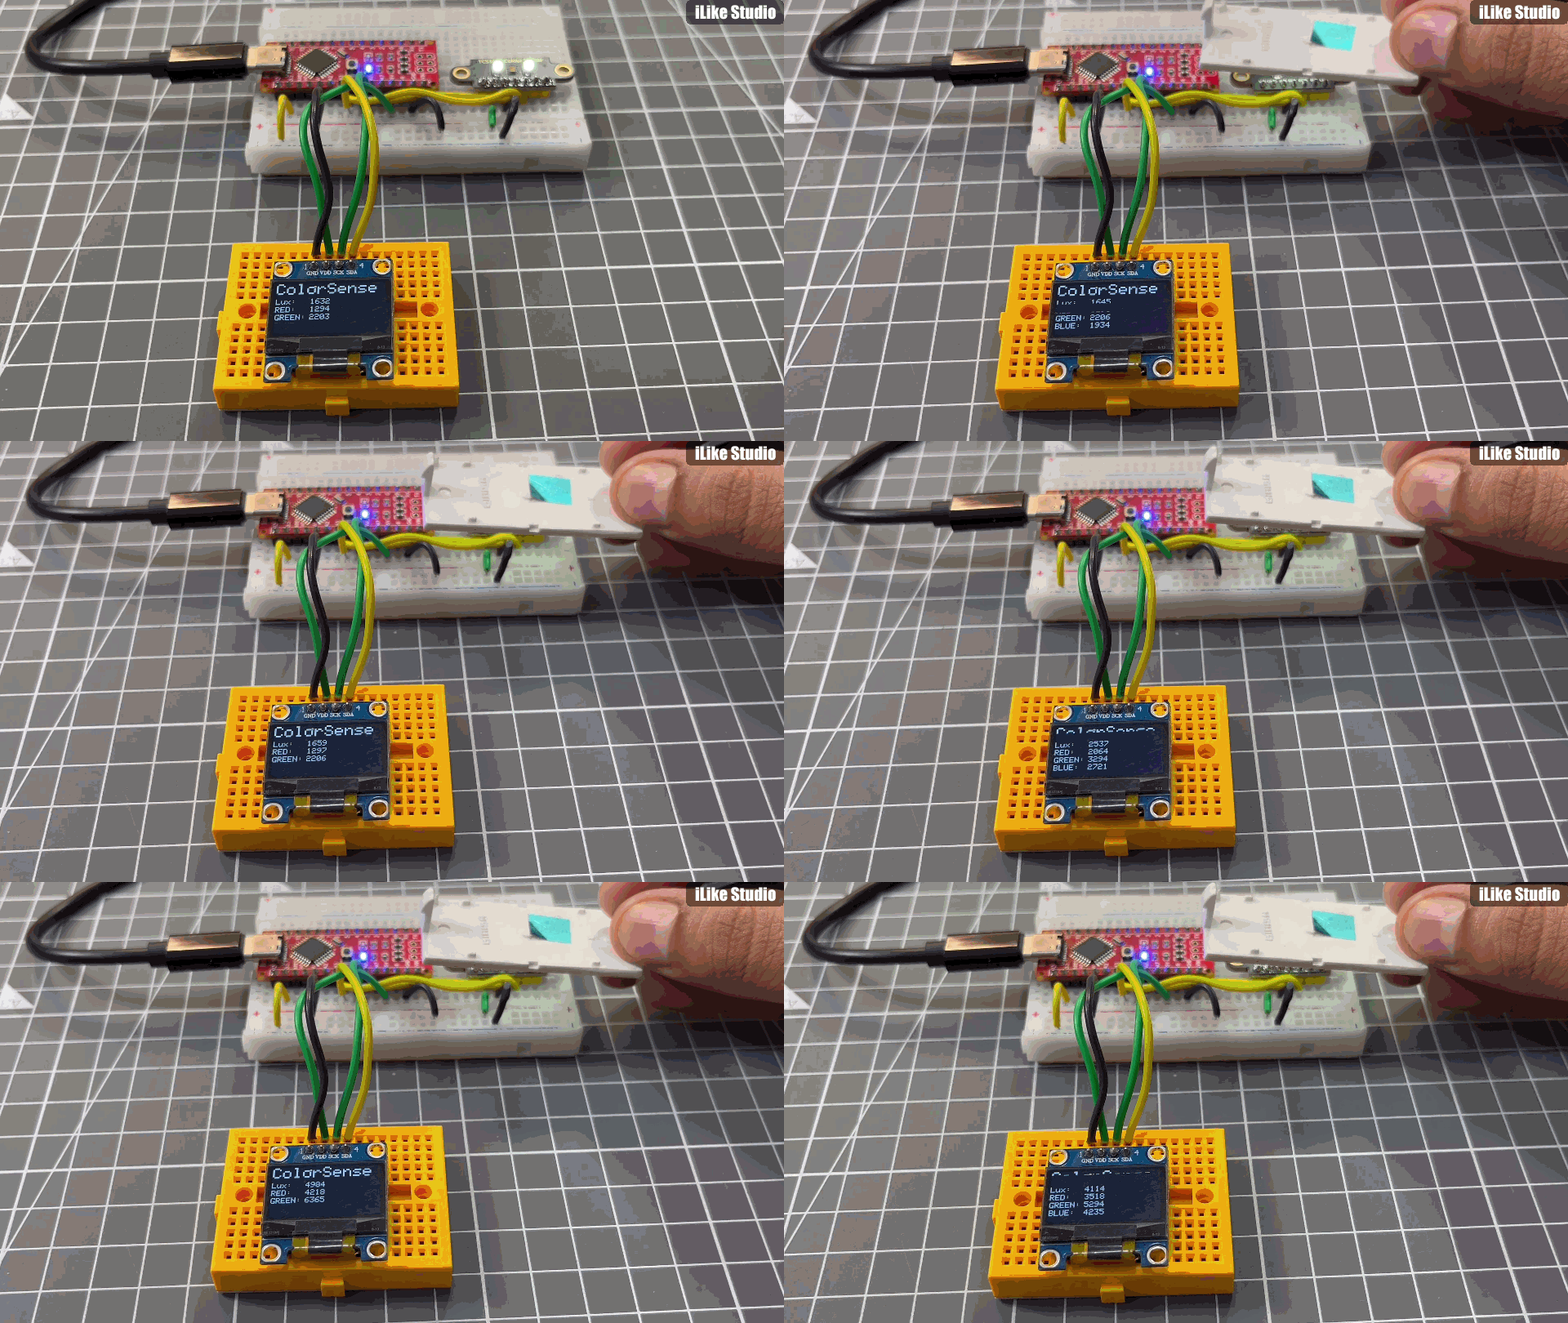
We can measure all the values in real time and this lux meter is integrated with colour sensor, you can see the readings from OLED.

Colour recognition:
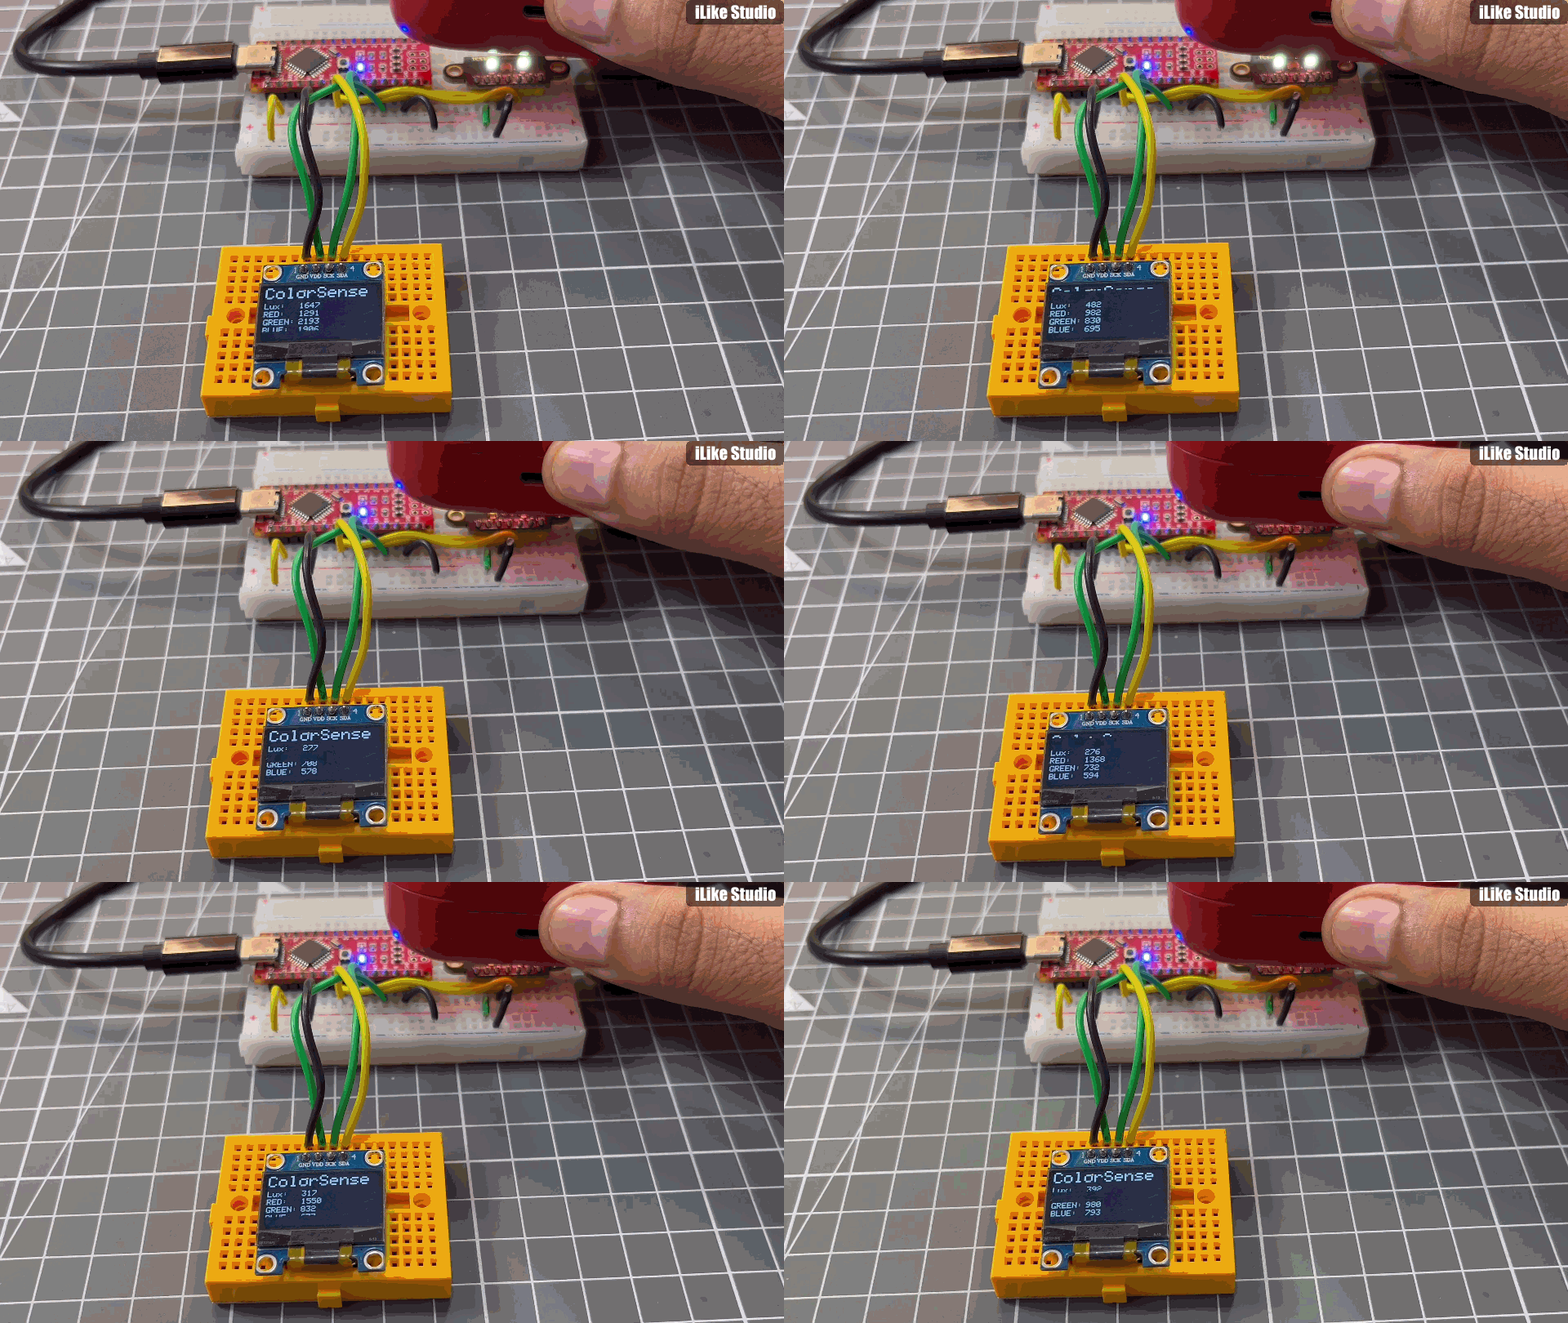
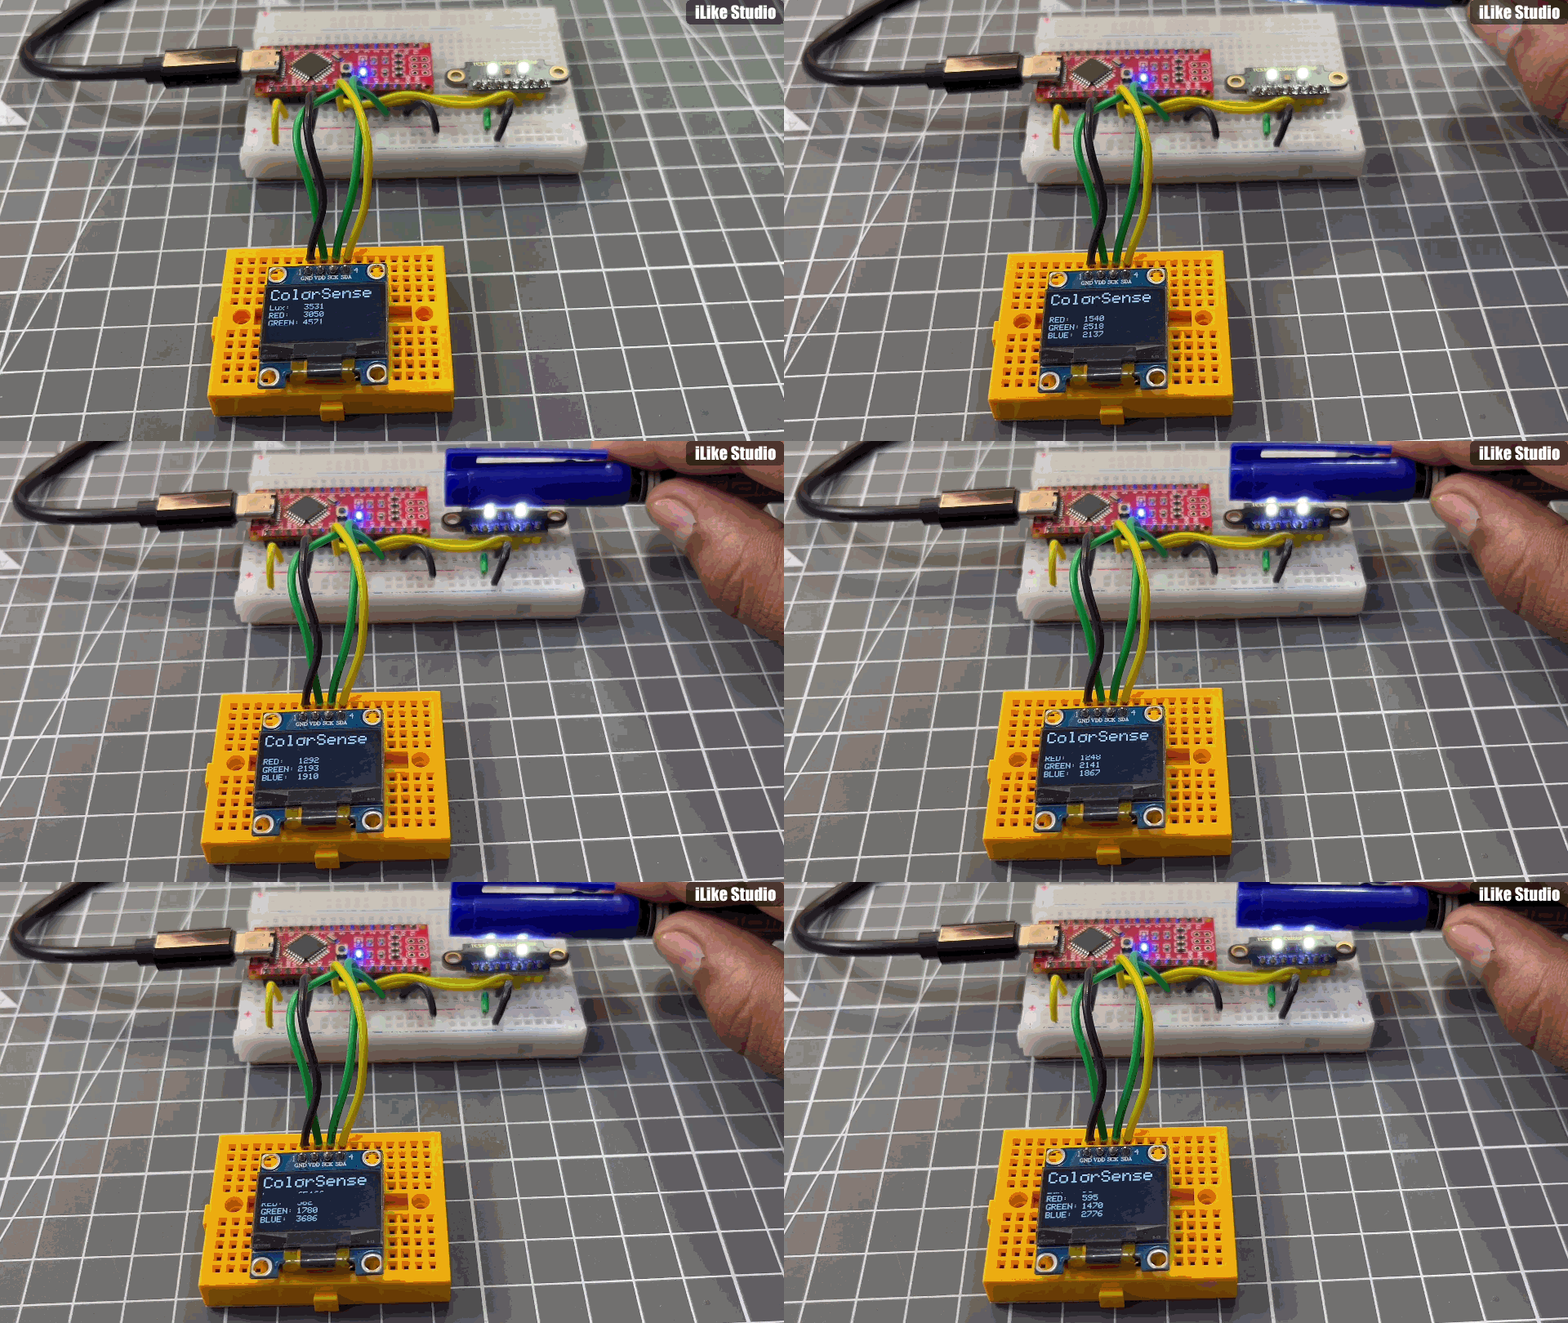
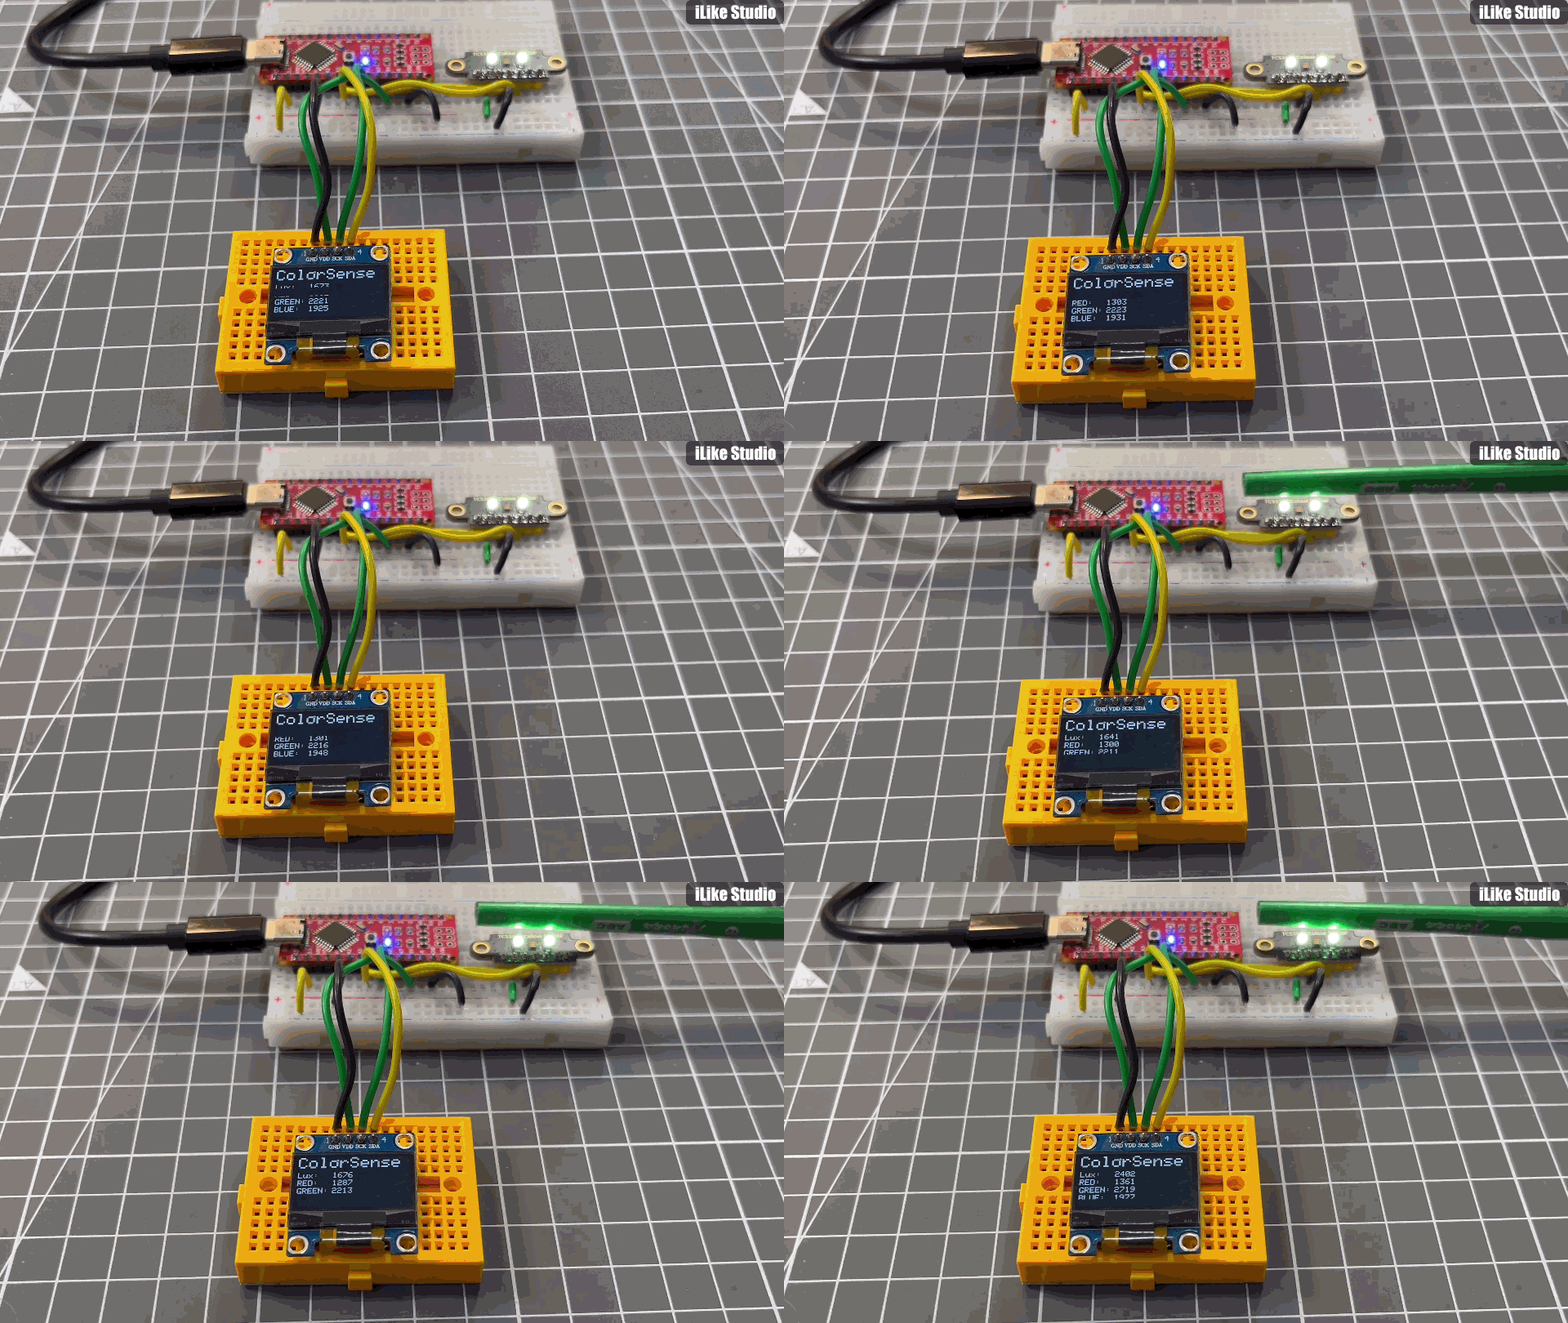
When any coloured object is placed on the sensor then it gives high digital value to that colour, through the RGB ratio original colour can be predicted.
Red measurements:

Blue measurements:

Green measurements:

In the white colour all the RGB decimal values goes high (order of 5000) and black colour give all the values very low in order of 100. Practical values may differ in your case because of the variation in sensor and light.
 Lithium ION


