Circles are hard to measure, and hard to cut. I have specific tools just to measure circles telescoping gauge and tools to help cut them on the CNC boring bar . But cutting them out as circles from GODE is a good measure of how well the CNC performs since it tests lots of things at once, how smoothly its moving during a cut as any poor motion will show up in the surface finish., backlash shows up as flat/high spots which will appear at the point an axis changes direction, or when a tool cuts since any cutting movement will take up any backlash before it begins to cut, just as a direction change won't actually happen til the mechanism for moving is in the right place.
Our first circles with the FlashCUT conversion kit, were frankly terrible they were more of a teardrop shape than a circle., since their kit relies on the stock lead screws.
We built the new parts to hold the ballscrews and switched to a belt drive instead of direct drive as a lot of the G0704 conversions have. Then finally got around to reinstalling and tramming the head and table.
Next step was to reconfig the software for the new movement, belt, pulleys and ballscrews.
Then finally able to actually do a circle cut.
And here it is. The middle one was an aborted cut. Take a look at the finish quality.
and a shaky video of it doing the cut, a healthy amount and size of chips coming off it, cutting at 3200 RPM at 20IPM. The machine is considerably quieter and more rigid (mostly to do with the resetup and rebuild of the gibs)
There is some recutting going on , thats where the chips aren't cleared away and they end up under the surface of the cutting edge again, it marrs the surface a little bit. Also doing one spring/finishing pass , this accounts for any bend in the tool when its cutting a lot of material, it does a very small skim pass removing none to a very small amount of material.
We're still about 0.0019" backlash so a little bit to go, but its a lot better than it used to be.
here's an older video of it cutting with lead screws in a circle/diamond square test, you can see that part in the above video we used it inside the machine to stop the ballscrew nuts going to far, so wasn't wasted, but the flat spots are much more obvious
it can move at 150IPM now.
neato. now to just chase down that last bit of backlash and then attack the Z, convert that to ballscrews and add spacers to increase the Y , hoping to get 200mm / 8" of travel.
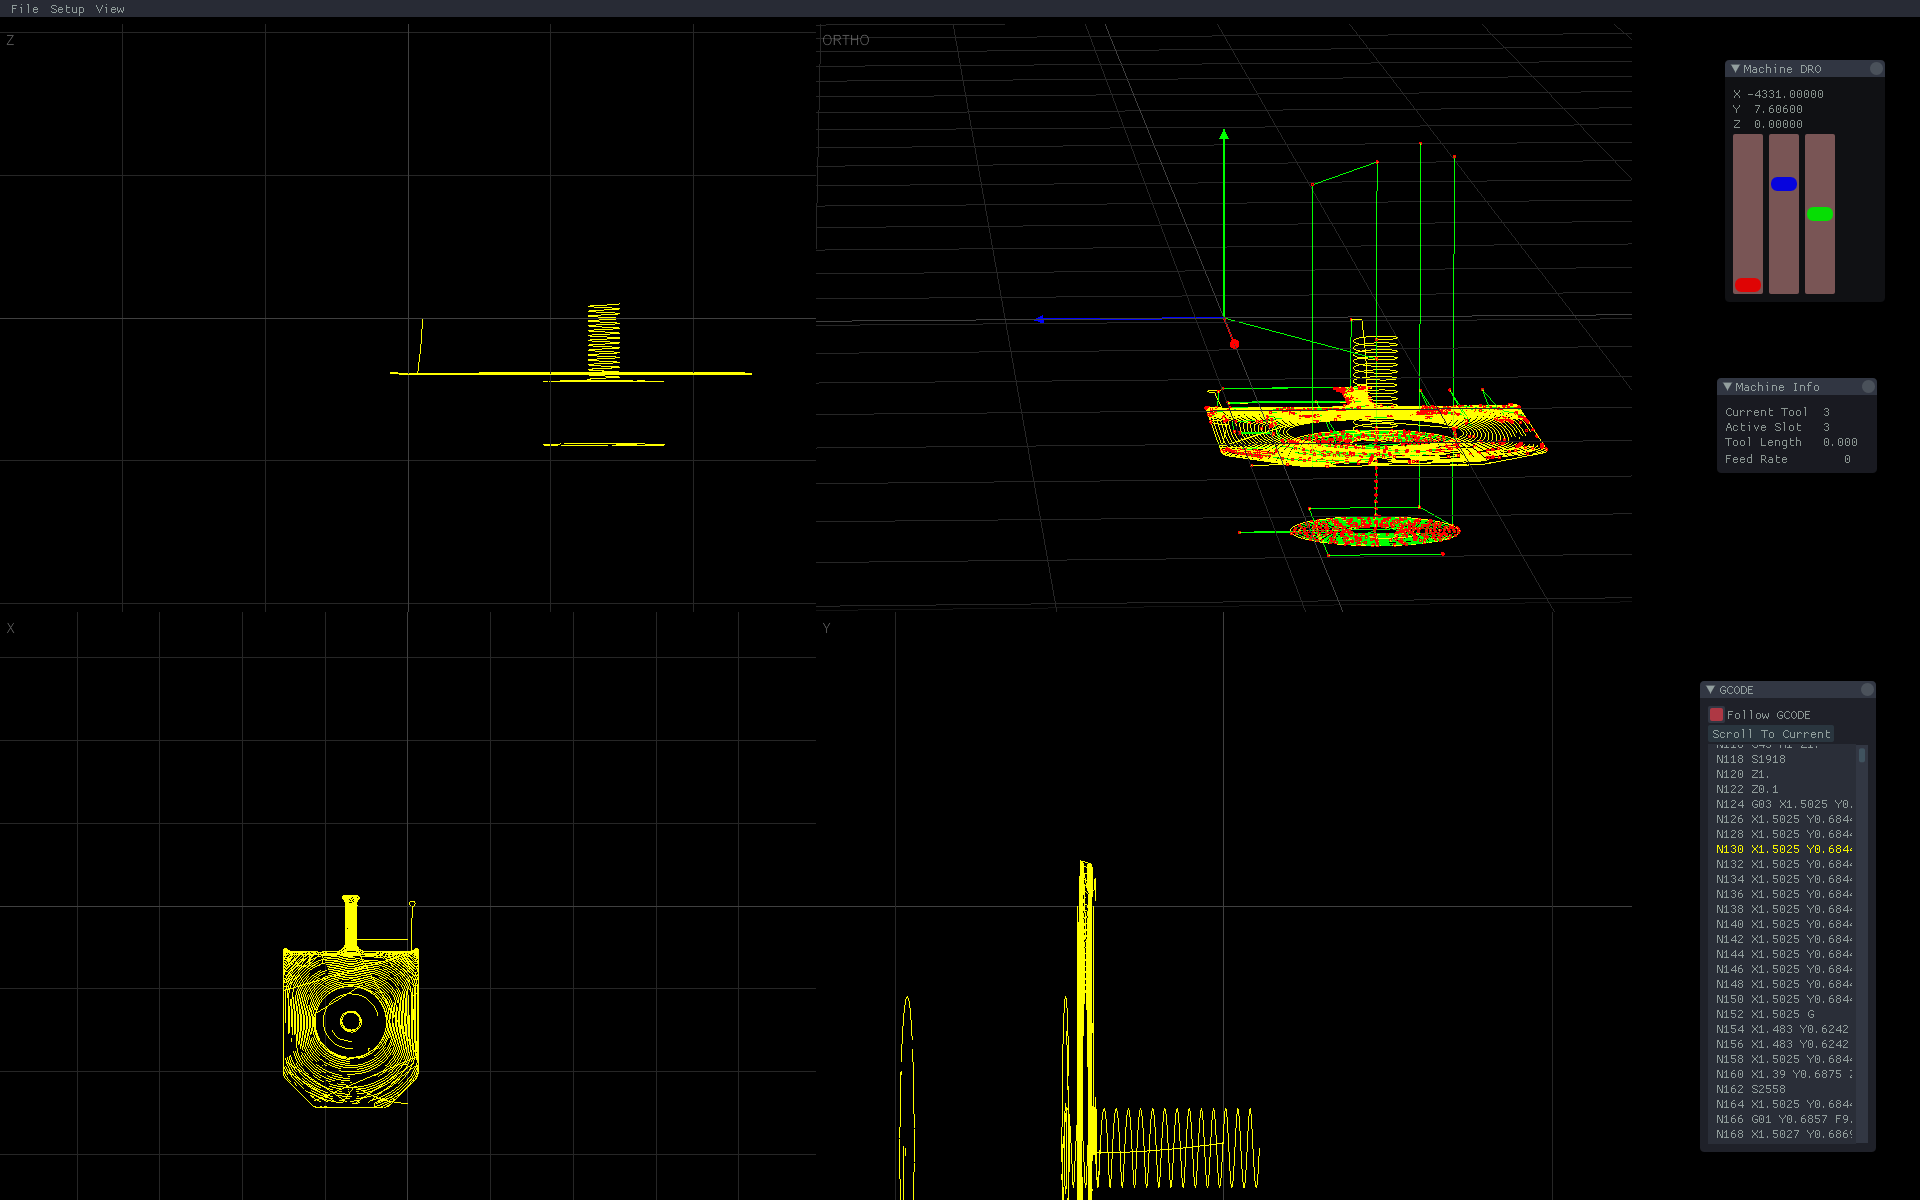
oh and is usual, i also got fed up with the flashcut host software, so i did what any of us would do and started to write my own.
Using Cinder + imgui for the UI. It's coming along.

 charliex
Discussions
Become a Hackaday.io Member
Create an account to leave a comment. Already have an account? Log In.