Many years ago, my wife and I produced a series of Phil and Freddy apps. The market for apps involving roller skating frogs isn't very large, so they disappeared from the app store.
Just for fun, we wanted to turn one of the stories into a video short. I converted the original story into screenplay format (scene locations, descriptions, noises, character's words, etc.).
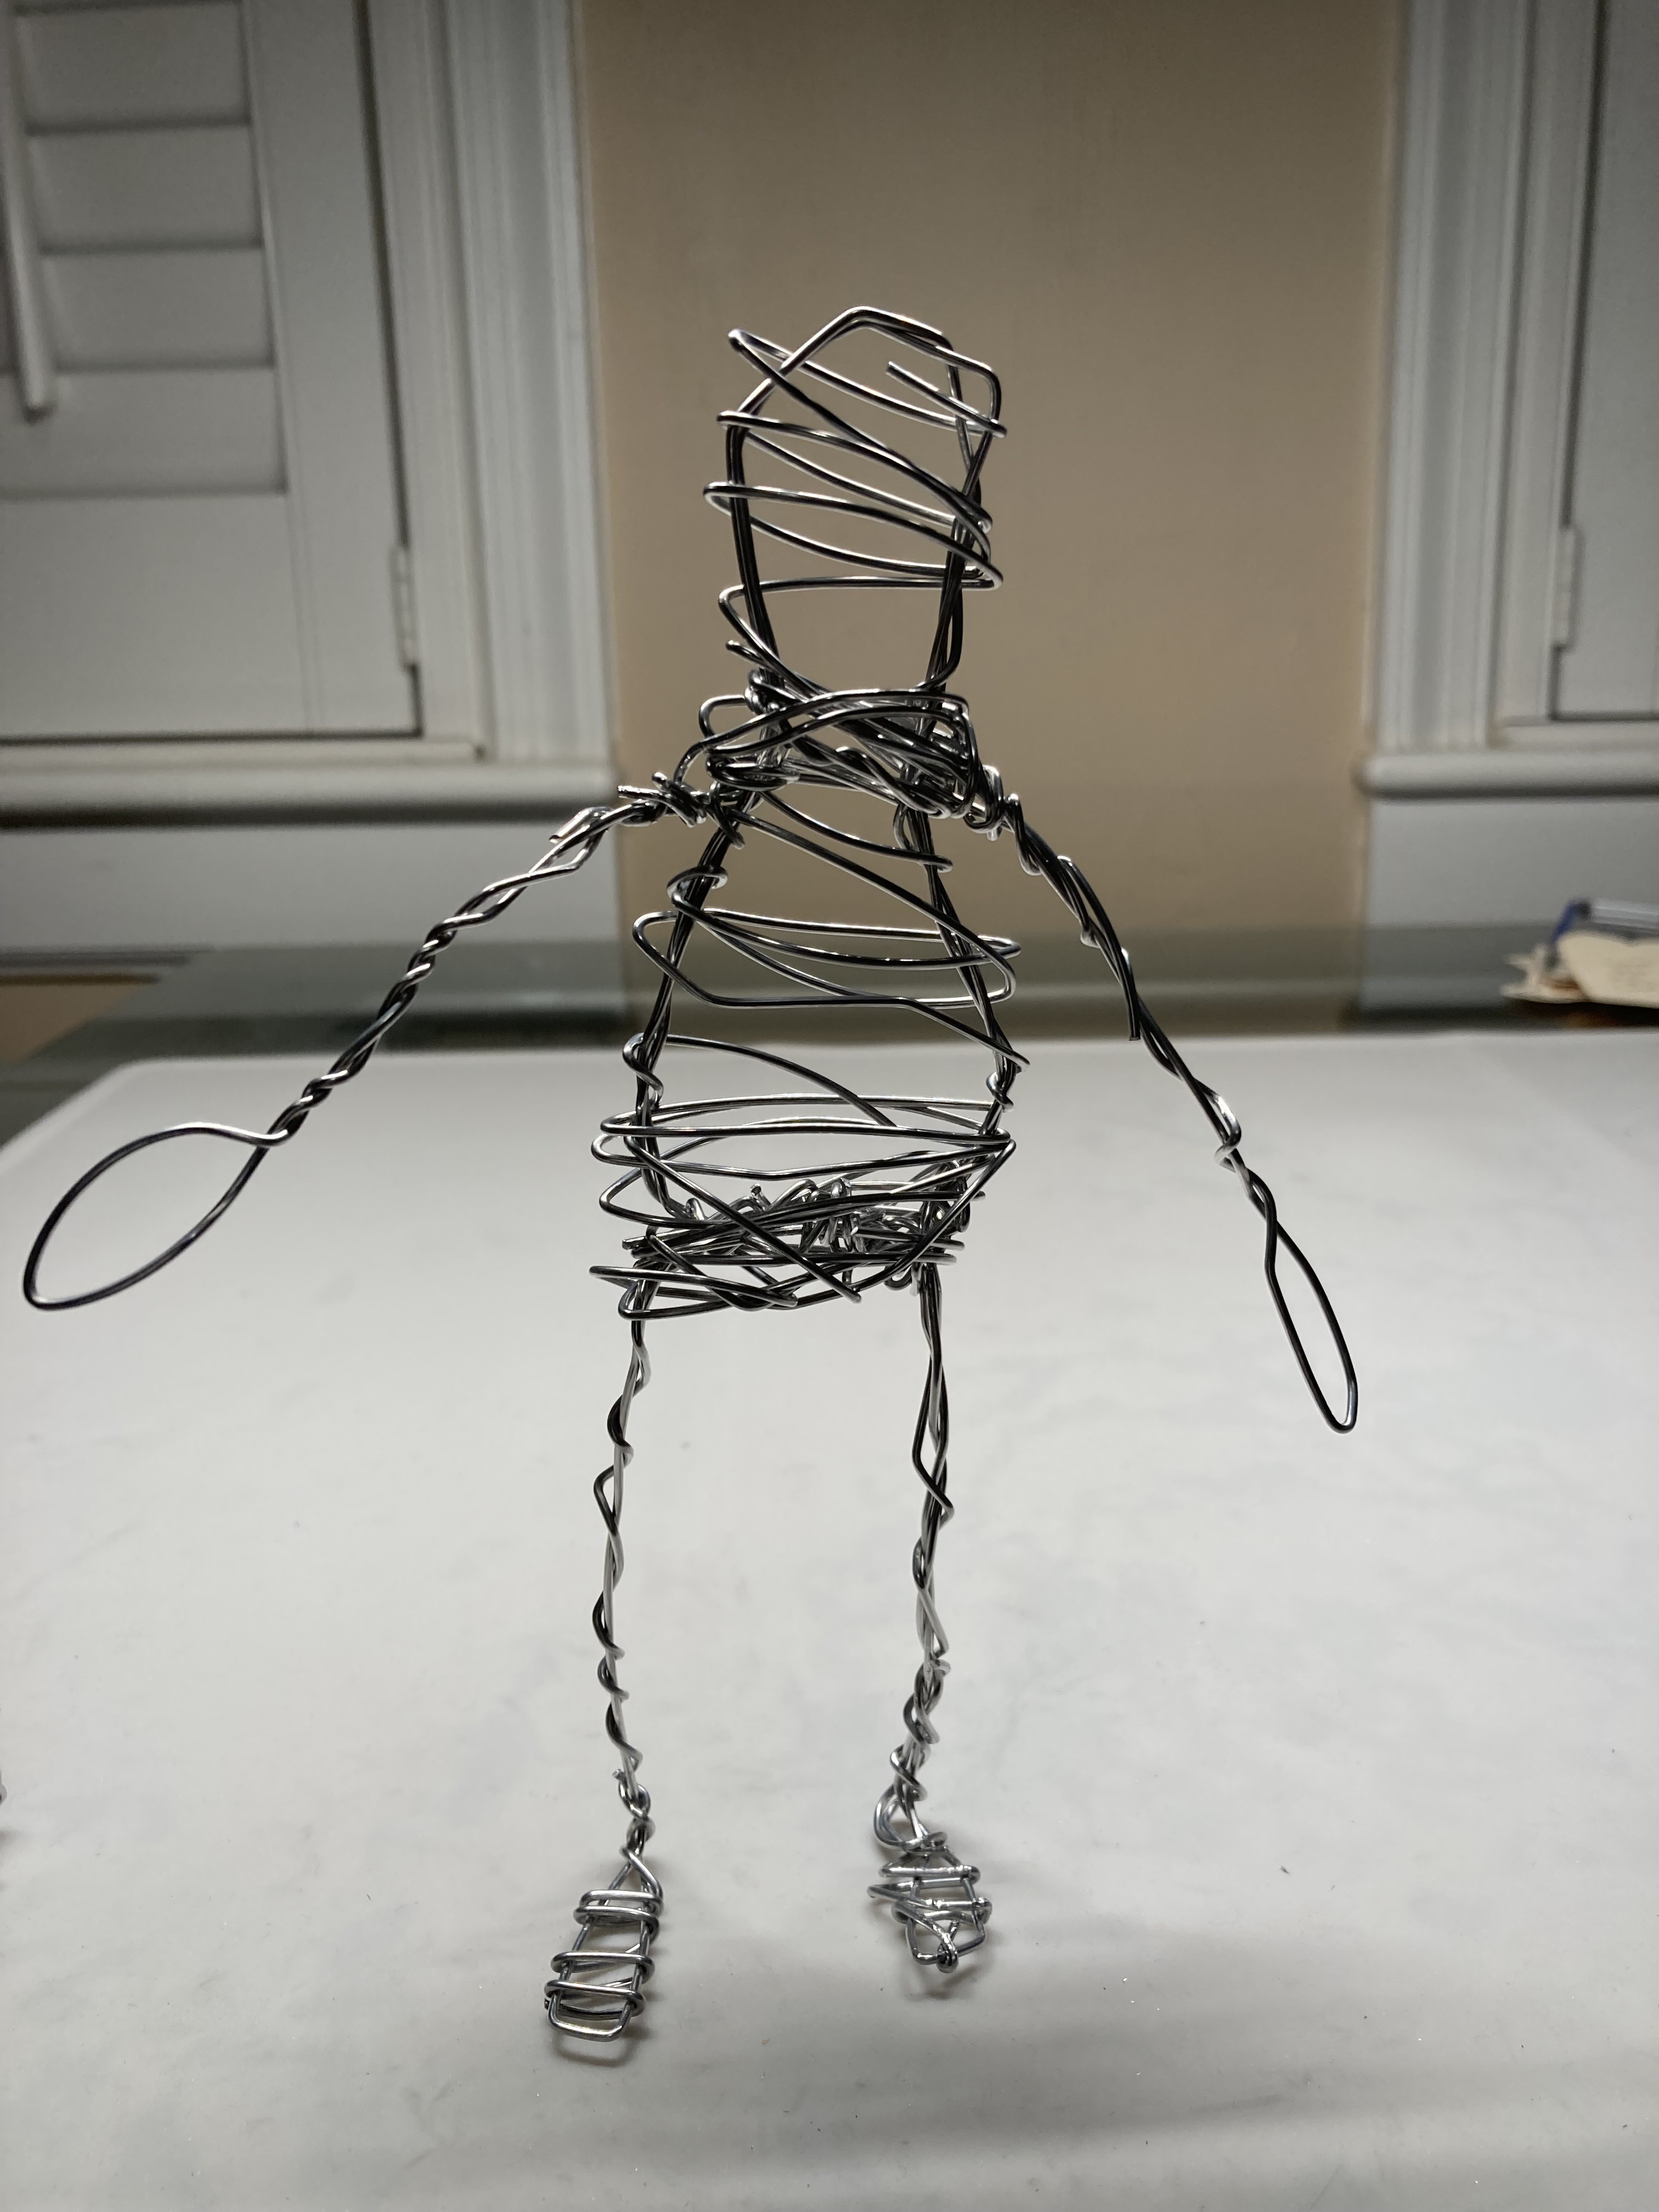
The body structure of the frogs was made using aluminum wire--not the best idea since it breaks after a few bends. Steel is better, but tougher to work with. I need to come up with a better joint solution.
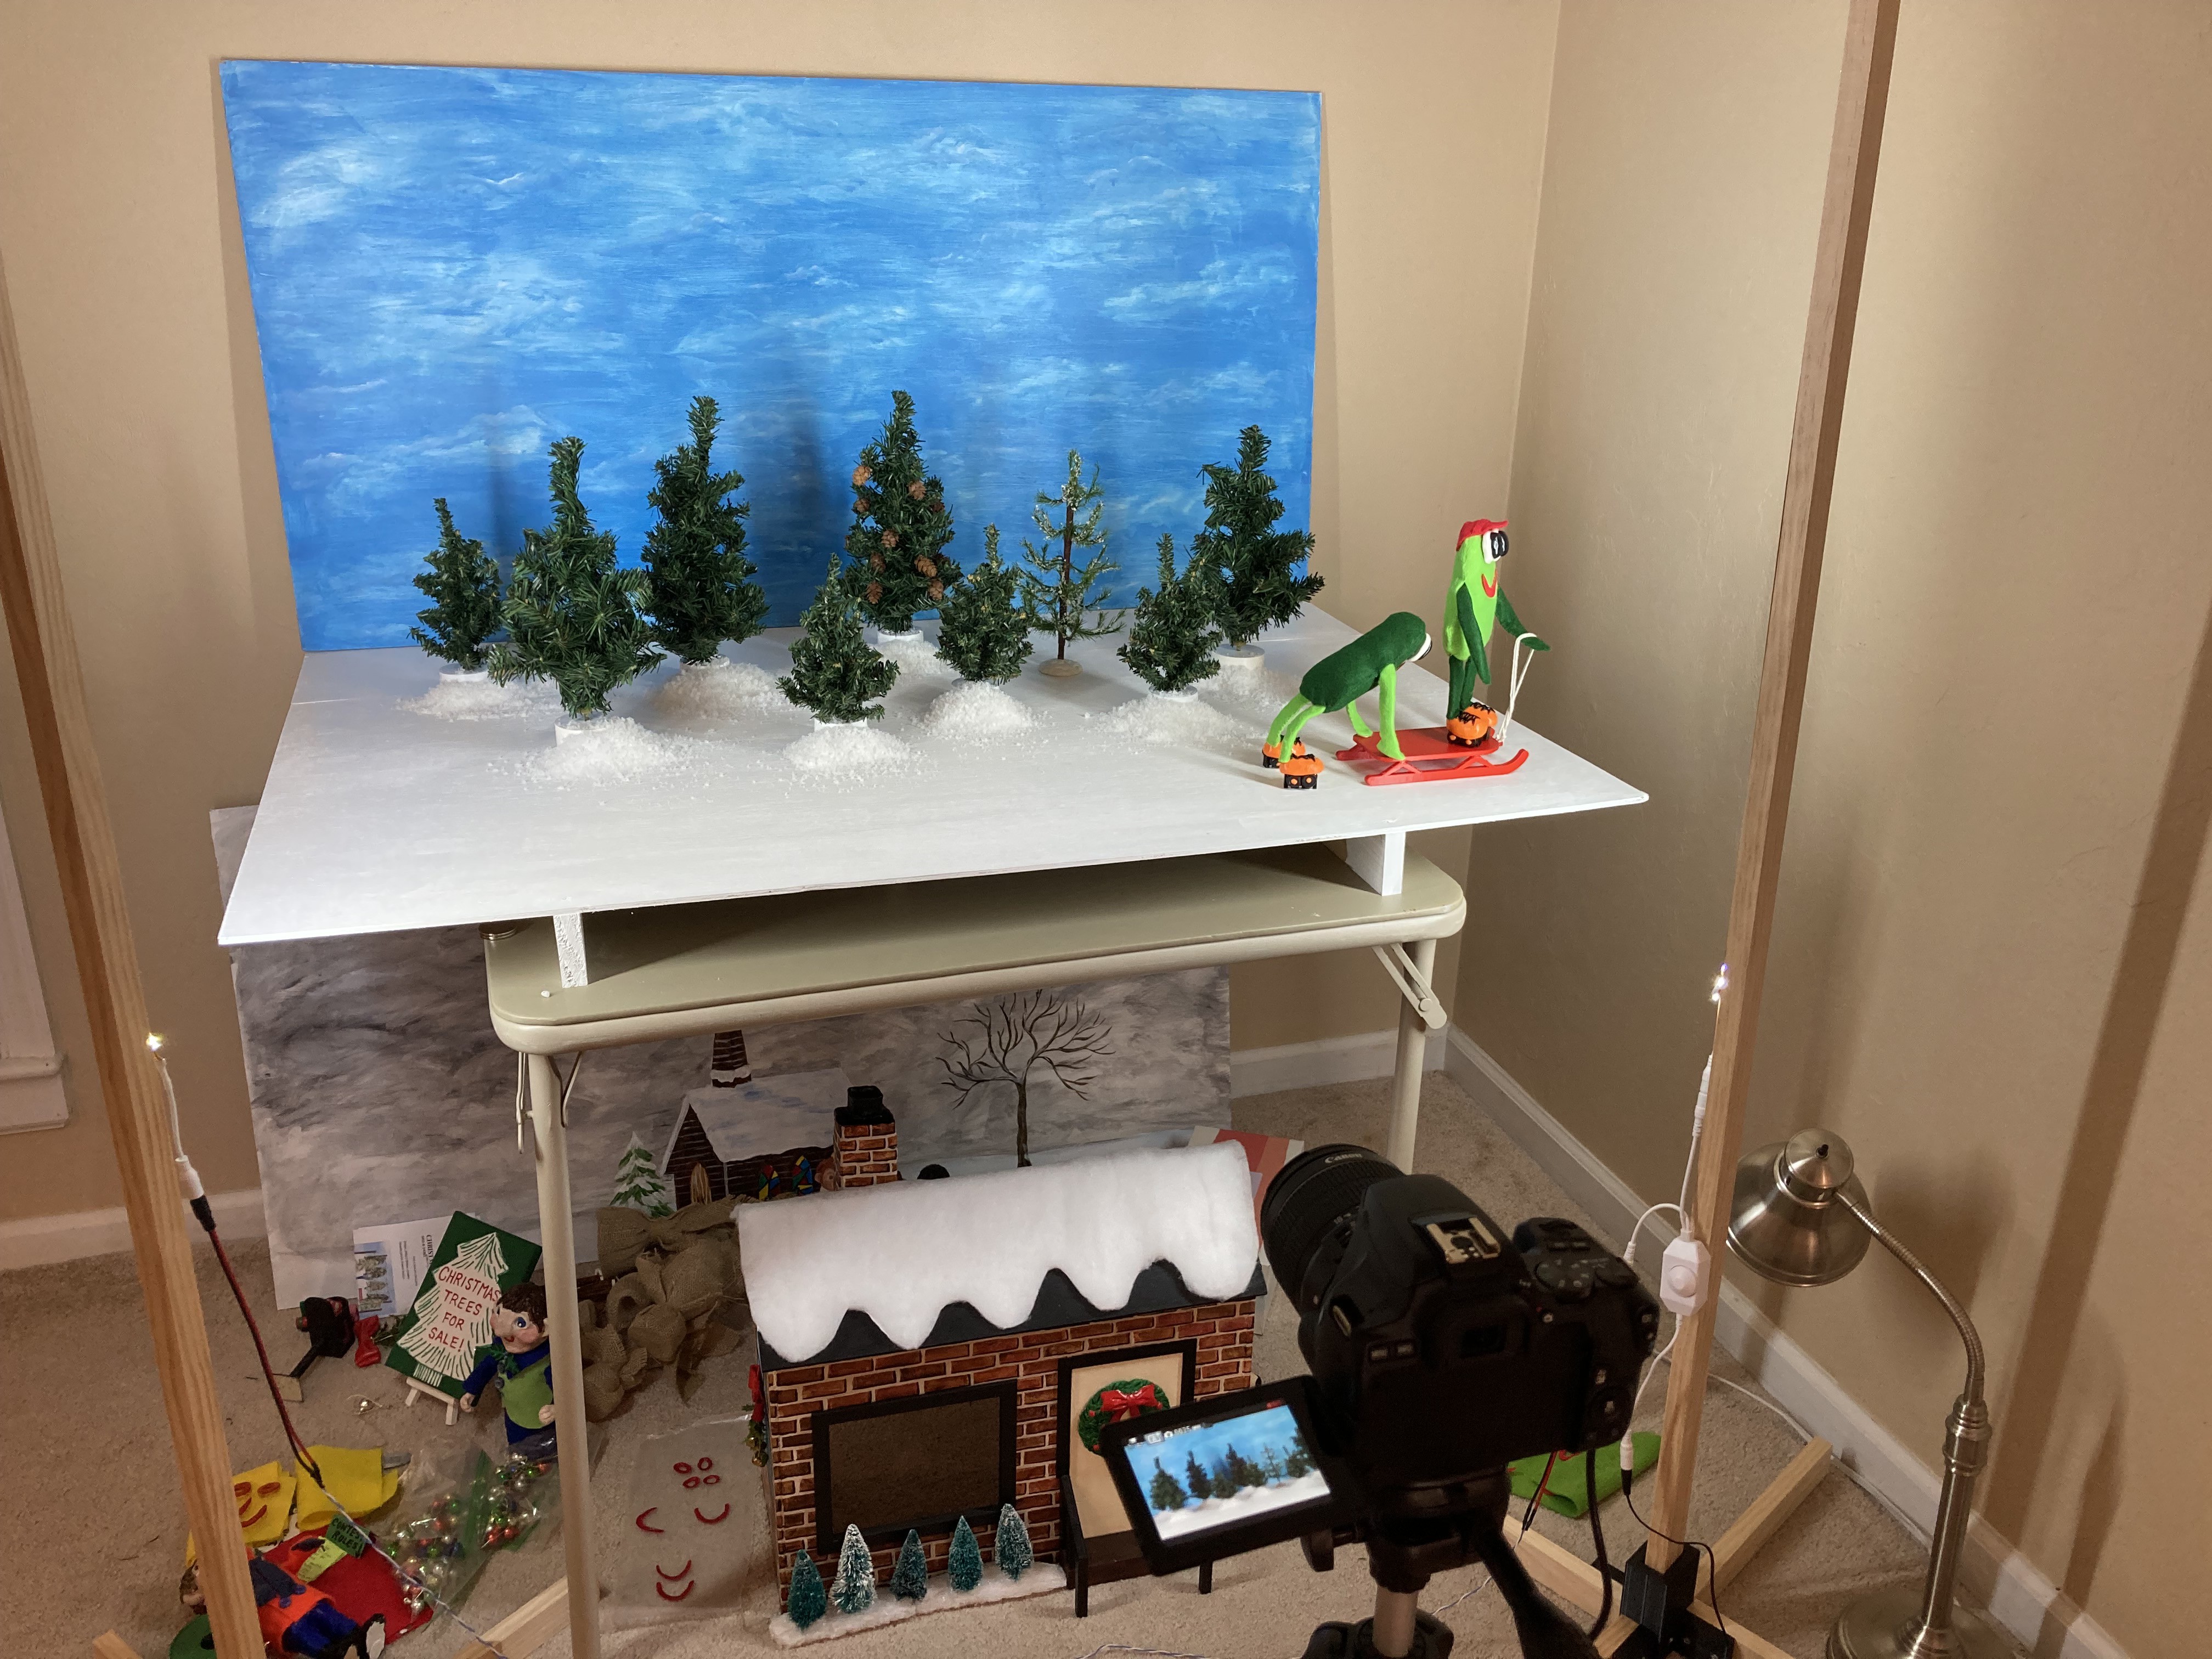
To get a fix on size relationship of objects, we used cardboard structures and simple painted backdrops.
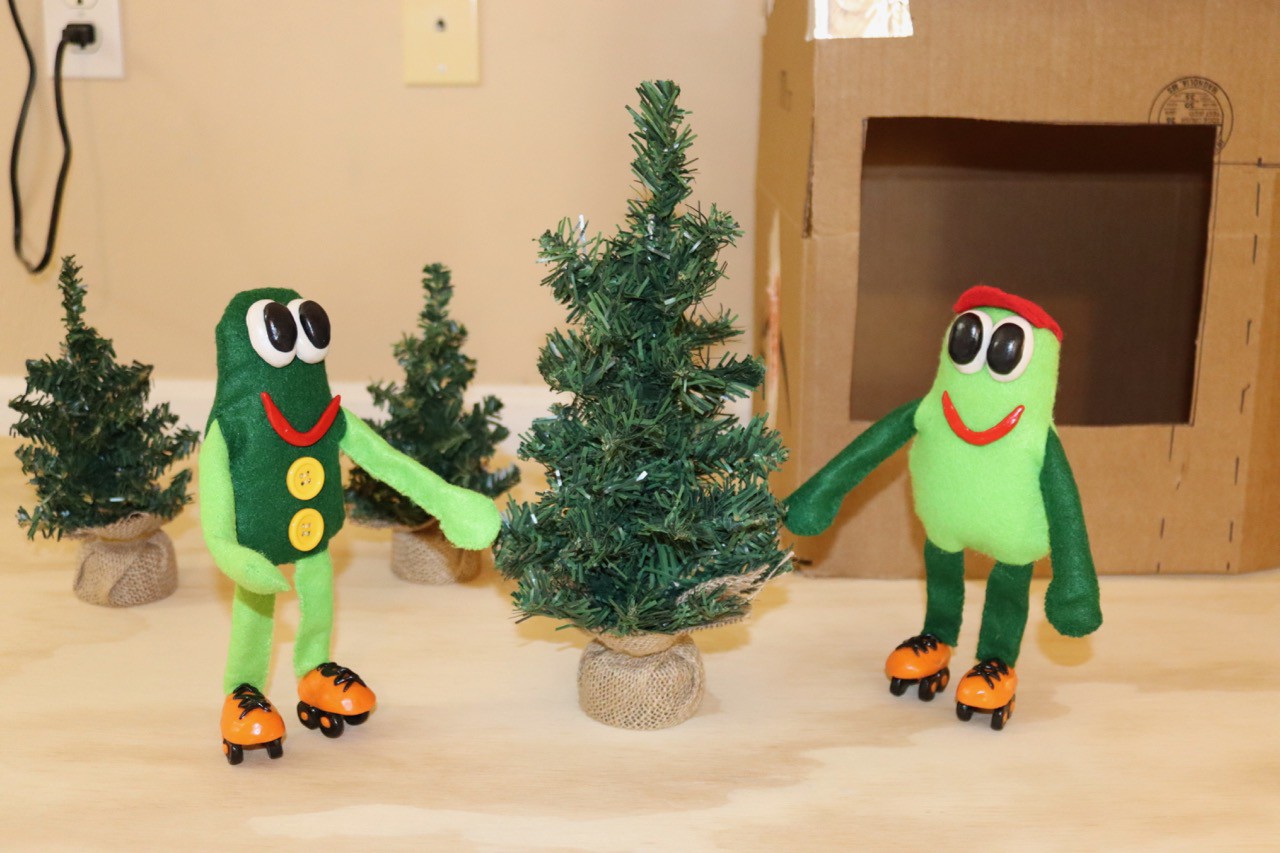
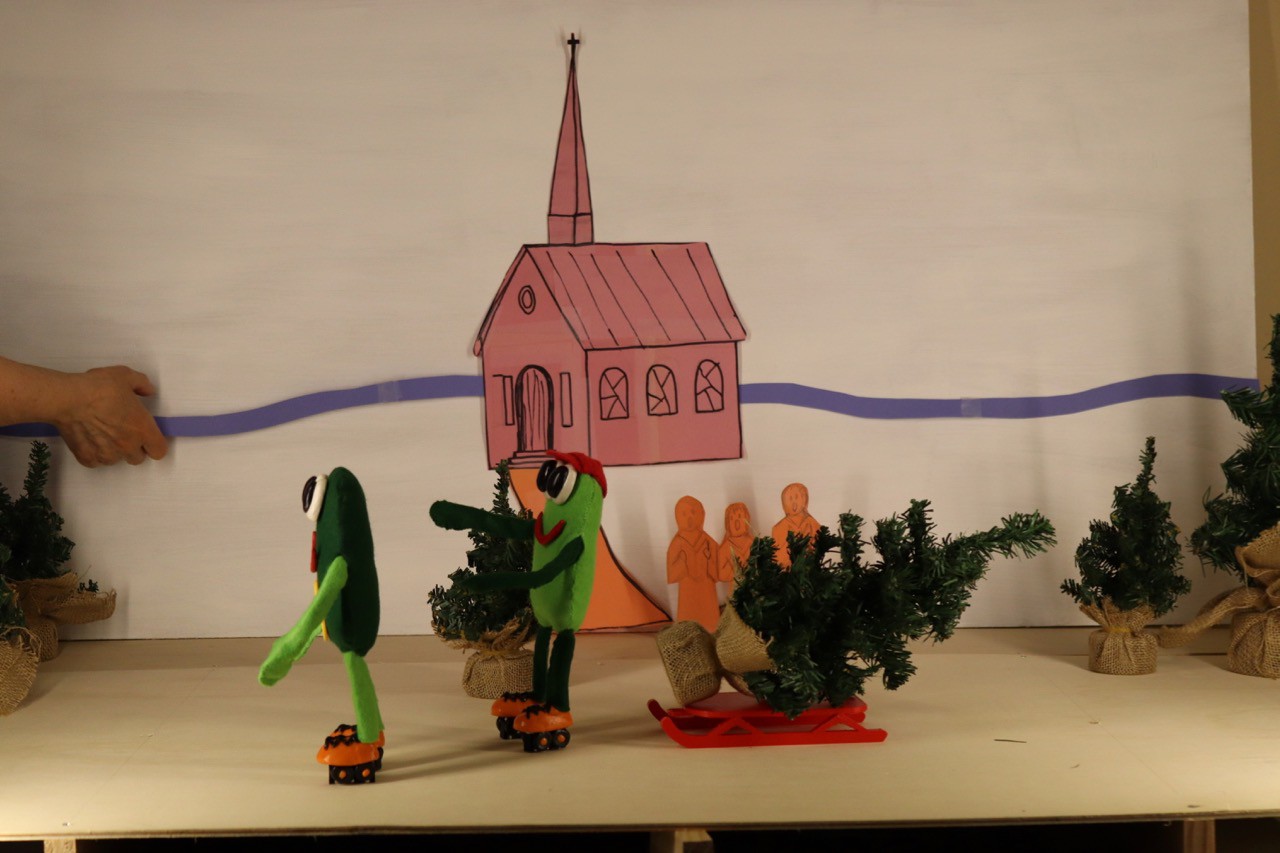
Objects were constructed using plywood, polymer clay and 3d printing. The exterior of the frogs is made using felt.
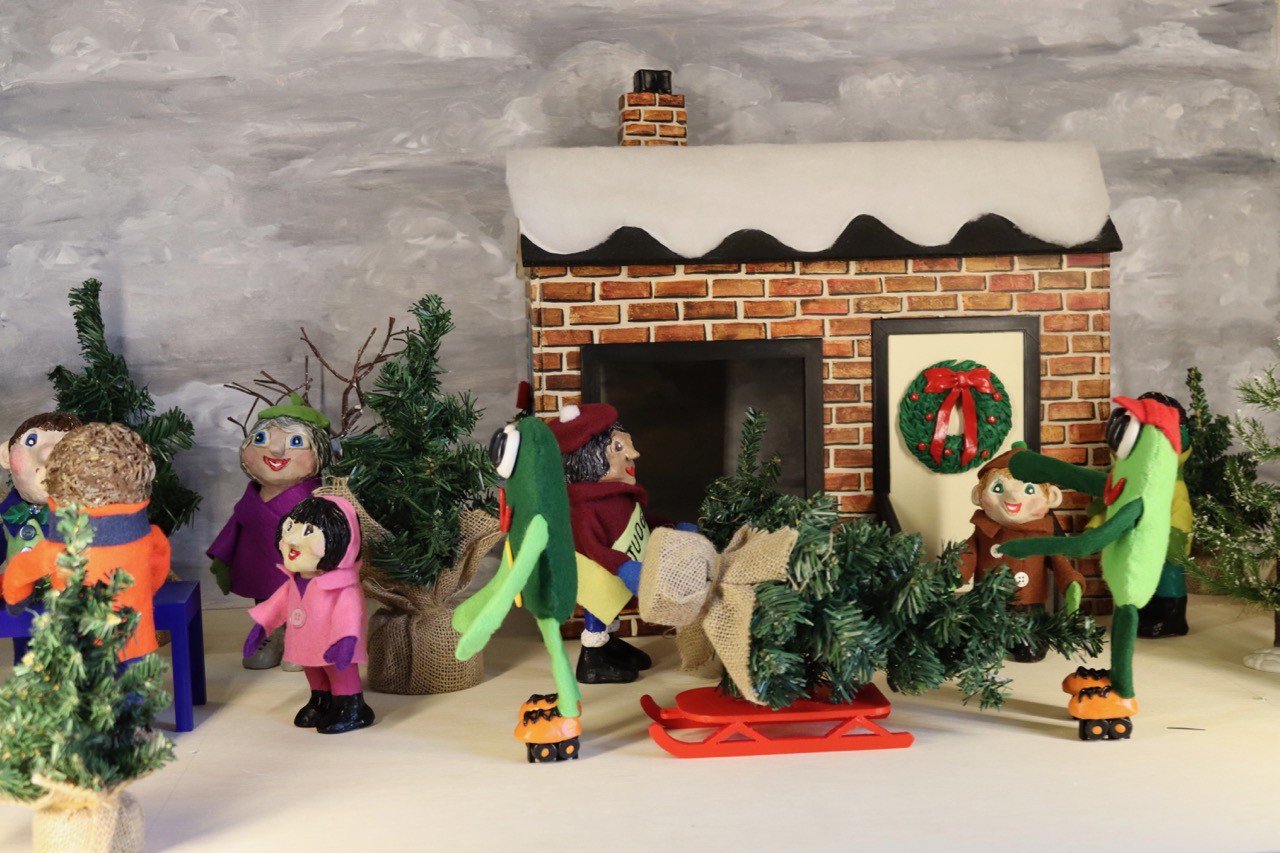
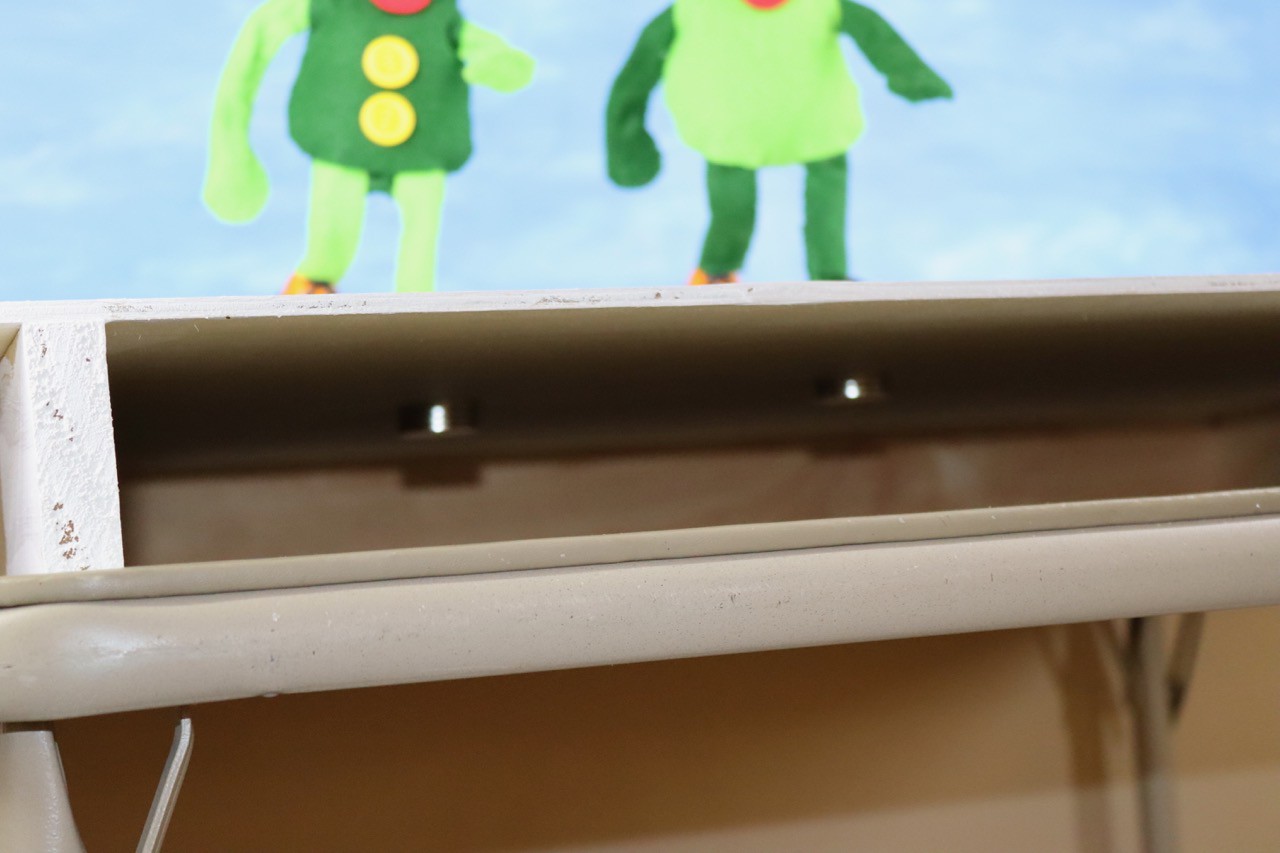
The stage floor (and sky) were constructed using 1/4 inch plywood. The floor is supported with 1" x 4" boards. Magnets on the frogs' skates are attracted to very powerful magnets below the stage floor.
Caution: The powerful 1.25" magnets (from Amazon.com) below the stage floor (stacks of two to four magnets) CAN pinch fingers and draw blood (experience speaking here). Use gloves or extreme care when these magnets approach each other or anything magnetic. I suggest keeping these magnets more than six inches away from objects you value.
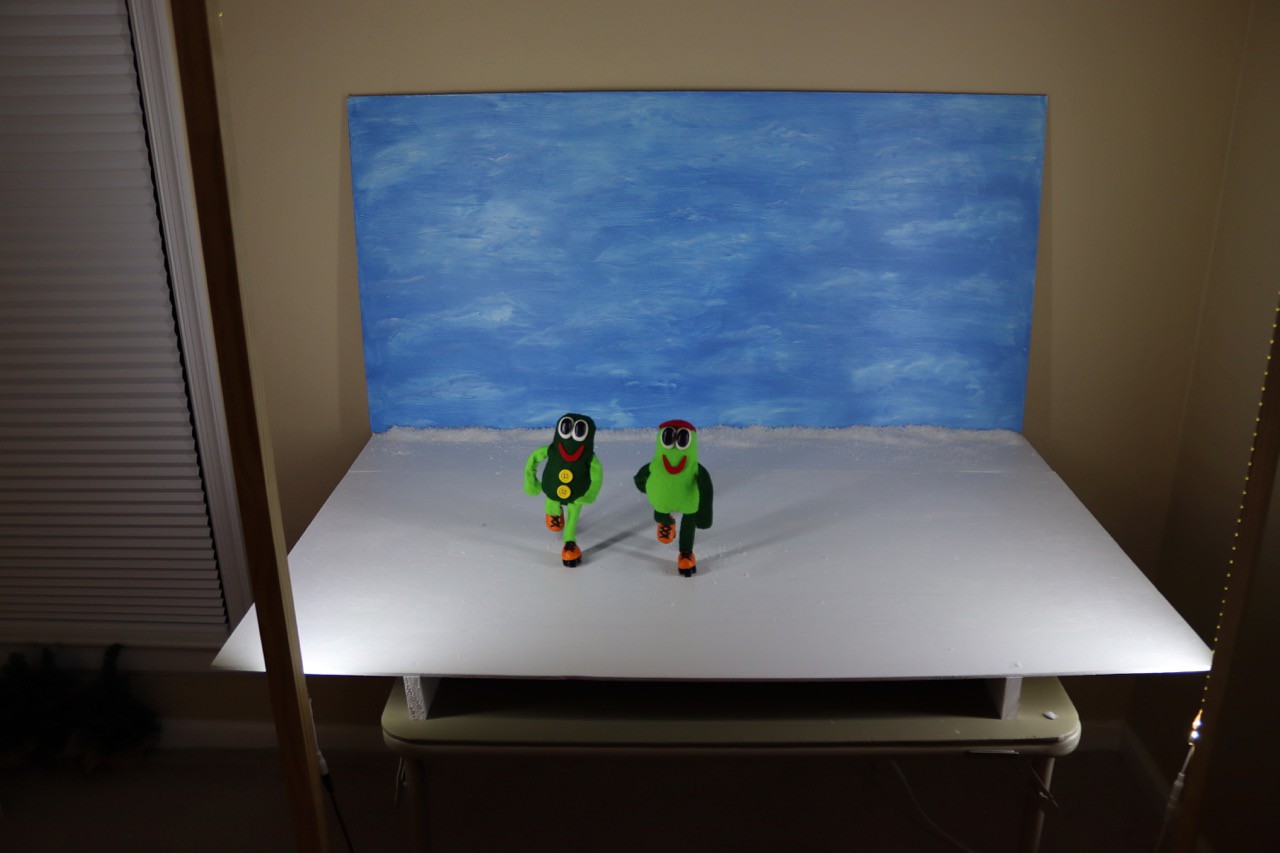
On the positive side, the characters can stand on one leg and do other tricks as their feet stay firmly planted to the floor.
Things I used:
Digital camera capable of taking time lapse video (Canon EOS 250D)
Video editing software (I used Movavi Video Editor Plus)
Tripod
Very strong 1.25" magnets
Lights (I made my own using led strips and 1" x 2" boards)
1/4" plywood
(Update 12/16/22)
I have discovered (it was always there) a method using my video editing software to avoid the necessity of shooting in "time lapse movie" mode. In other words, a camera capable of taking time lapse video is NOT required. See this article. This will allow variable time between shots (instead of a fixed "15 second" gap). This means I can move characters or lips at will (a minute or a few seconds)--then press a button and move on. A remote shutter release is necessary--touching the camera is almost certain to cause vibration.
(end of 12/16/22 update)
I set the camera on a tripod. Turn auto focus "off." We don't want the camera adjusting itself during the session. Set the camera for "time lapse movie." I used 15 seconds delay (camera takes a shot every 15 seconds) with a 150 shot sequence. This will produce 6 seconds of video (25 frames per second); but you will spend nearly 40 minutes making tiny moves to accomplish this. The camera "beeps" each time a frame is taken, so you have 15 seconds to get onto the stage and move things.
Moving lips is a challenge. I mainly used felt lips (an oval) that can be quickly rearranged during my 15 second intervals. Before shooting a "moving lips" sequence, I stand in front of a mirror and see what my mouth does and for how long. Most syllables take around .4 second (about 10 frames). My camera counts down from shot #150 to shot #0, so I create a chart showing which mouth movement needs to be in place at each step in the sequence.
For music and special sounds, I purchased "royalty free" sound clips (kind of like clip art).
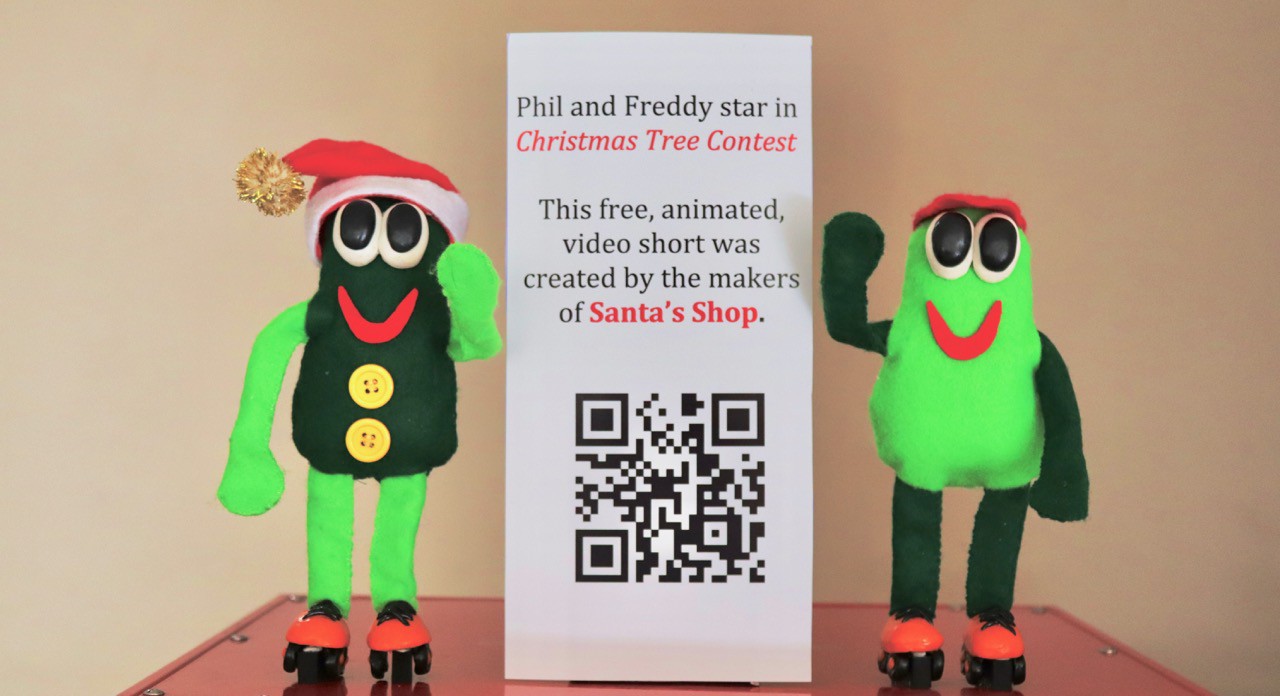
These guys will be standing in our Santa's Shop window, so the QR code will allow people passing by the window to watch the little video.
 Mike Rigsby
 Absolutelyautomation
 Neil K. Sheridan
 Mark Gilliland
Thank you so much for sharing your stop-motion video project with us! It sounds like a fantastic endeavor, bringing your roller-skating frog characters to life on the big screen. We appreciate your creativity and the effort you've put into this unique project. Keep up the great work! PikaShow Firestick 2023,
#PikaShowAndroid #StopMotionVideo