Ishan
Ishan-
UPDATE 4: 3D printed enclosure V1 modified
01/09/2023 at 15:09 • 0 commentsHey Innovators,
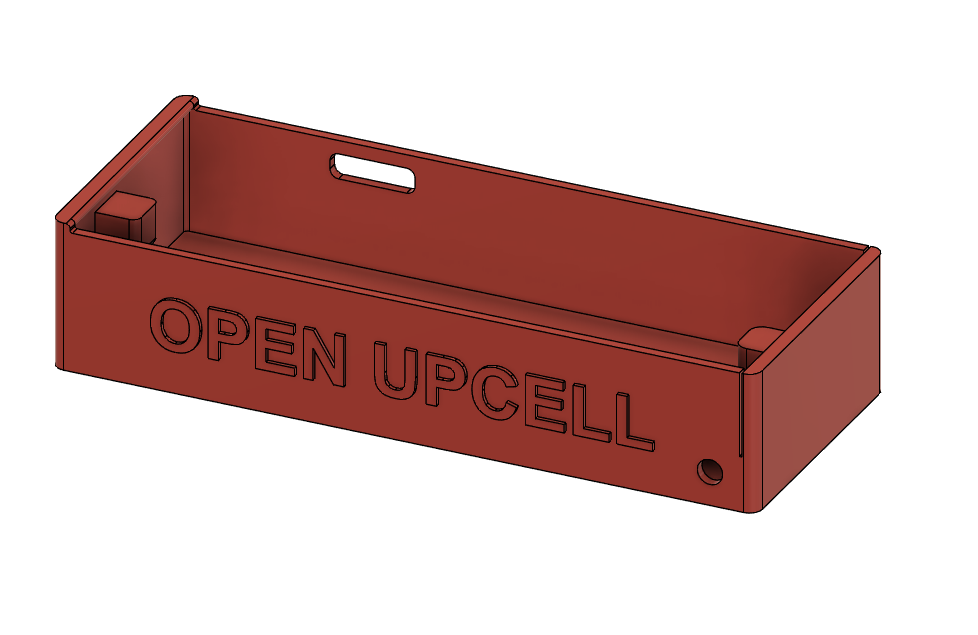
Before printing the latest version of our 3D model, we modified the previous version a bit and re-printed it to compare it with the first printed version. It works as it should but it makes the placement of board a bit wobbly. So, we have sent the latest CAD file printing too. Below is the modified version of V1.
We would love to know your suggestions about the same. Btw, have you checked out the CROWD SUPPLY campaign yet for which we are building this enclosure?Follow the project for upcoming updates. Keep innovating :)
![]()
-
UPDATE 3: 3D model of enclosure V2
01/08/2023 at 13:03 • 0 commentsHey Hackers,
After breaking our previous version of the 3D model, we designed our new version and have done a lot of changes by keeping in mind the mistakes we have done in our last model which were not able to 3D print well. But this time we have kept in mind that it will be 3D printed in one piece and w/o any support material.
Sending it for 3D printing soon. Stay tuned for more updates and don't forget to check out our CROWD SUPPLY campaign for more info about the project :)![]()
-
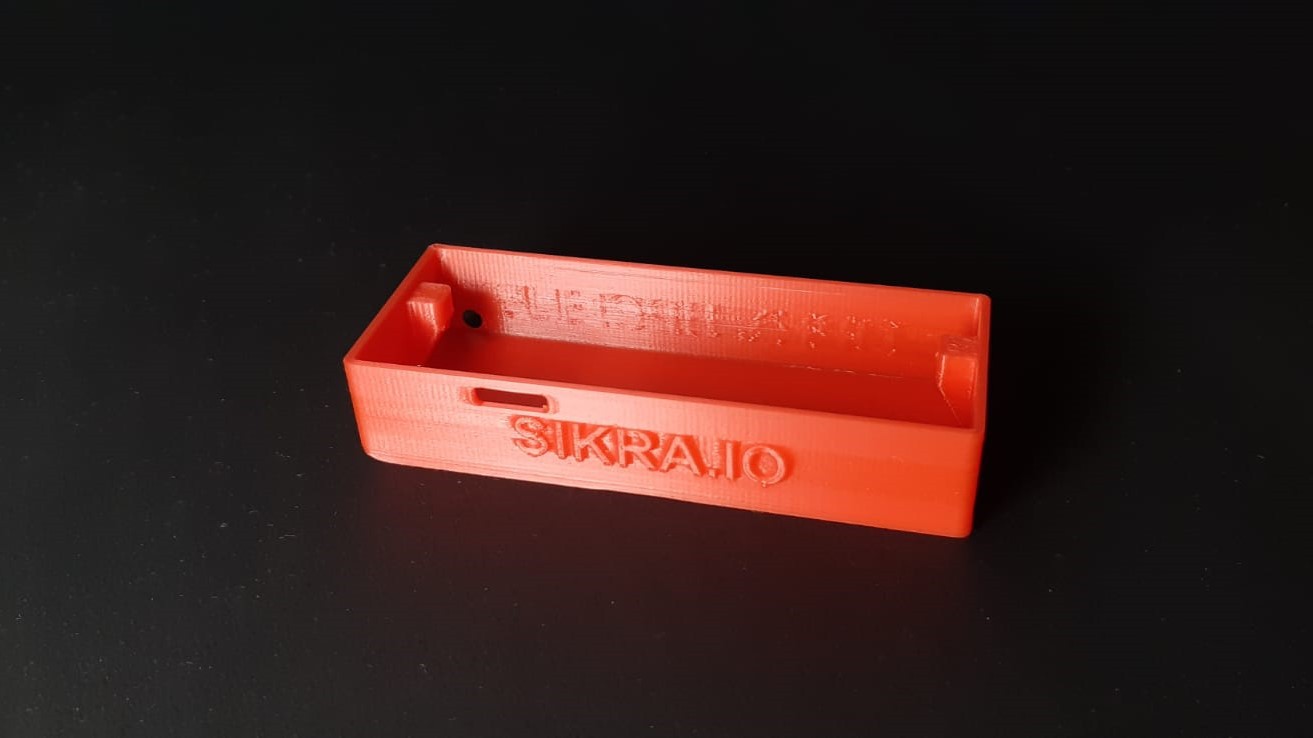
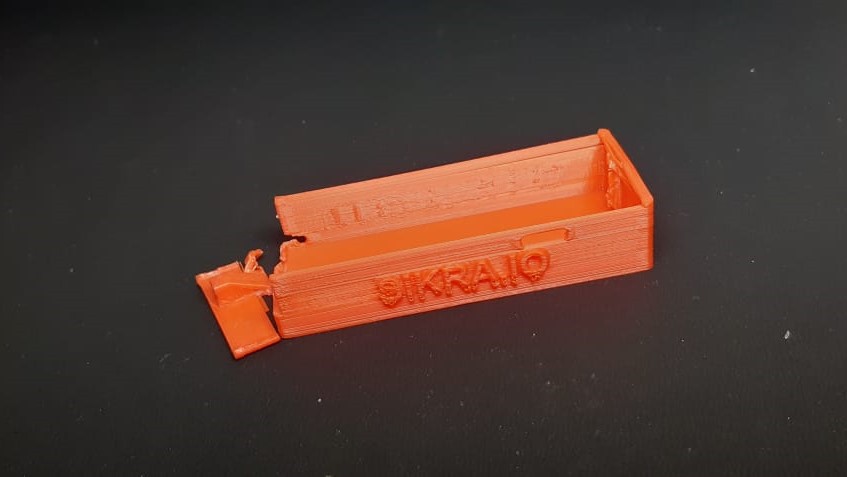
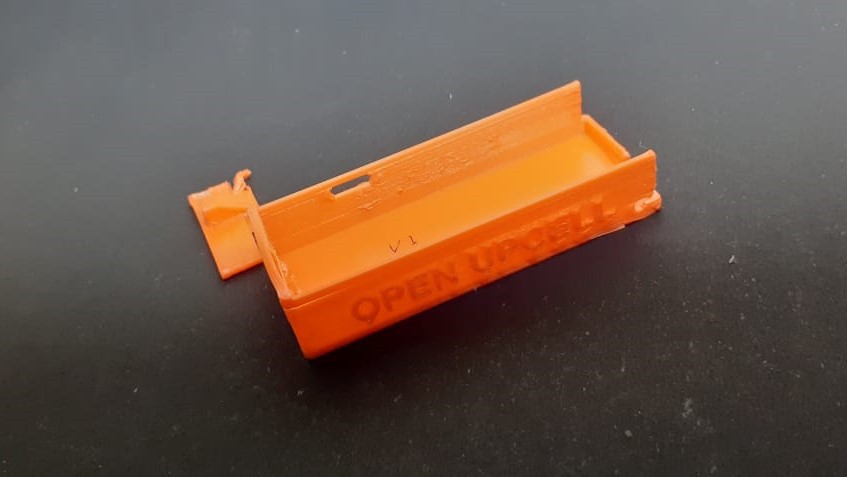
UPDATE 2: 3D Printed Enclosure V1
01/07/2023 at 11:07 • 0 commentsHey hackers,
Here is our first 3D-printed model of the enclosure, the design of which we have posted yesterday. It's not that bad, we have tried something different. But this 3D print gets broken due to improper handling😅.
RIP Version 1
![]()
![]()
We have already started working on Version 2 of it and it will be ready soon :)
Stay Tuned with us & don't forget to join our Crowd Supply Campaign.
-
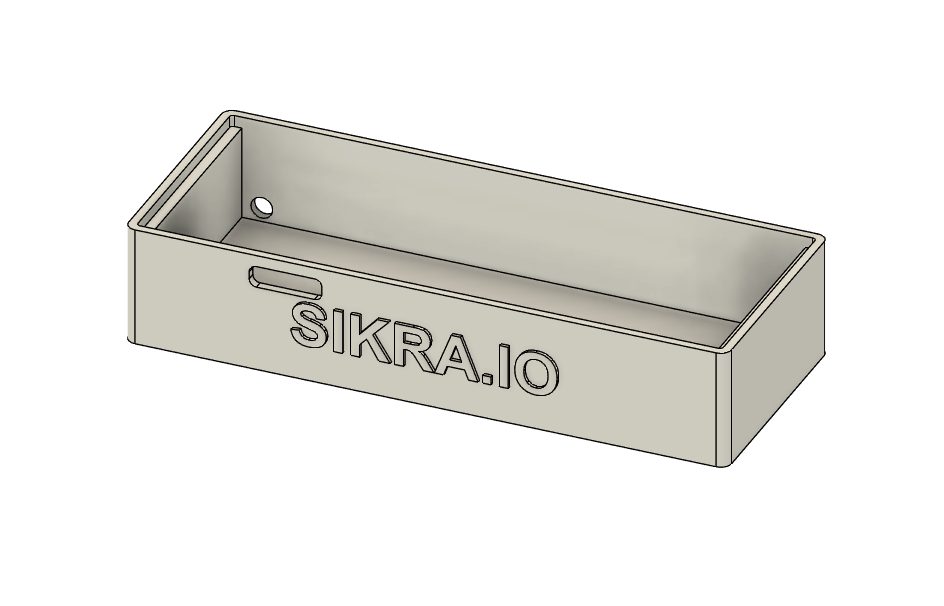
UPDATE 1: 3D model of enclosure
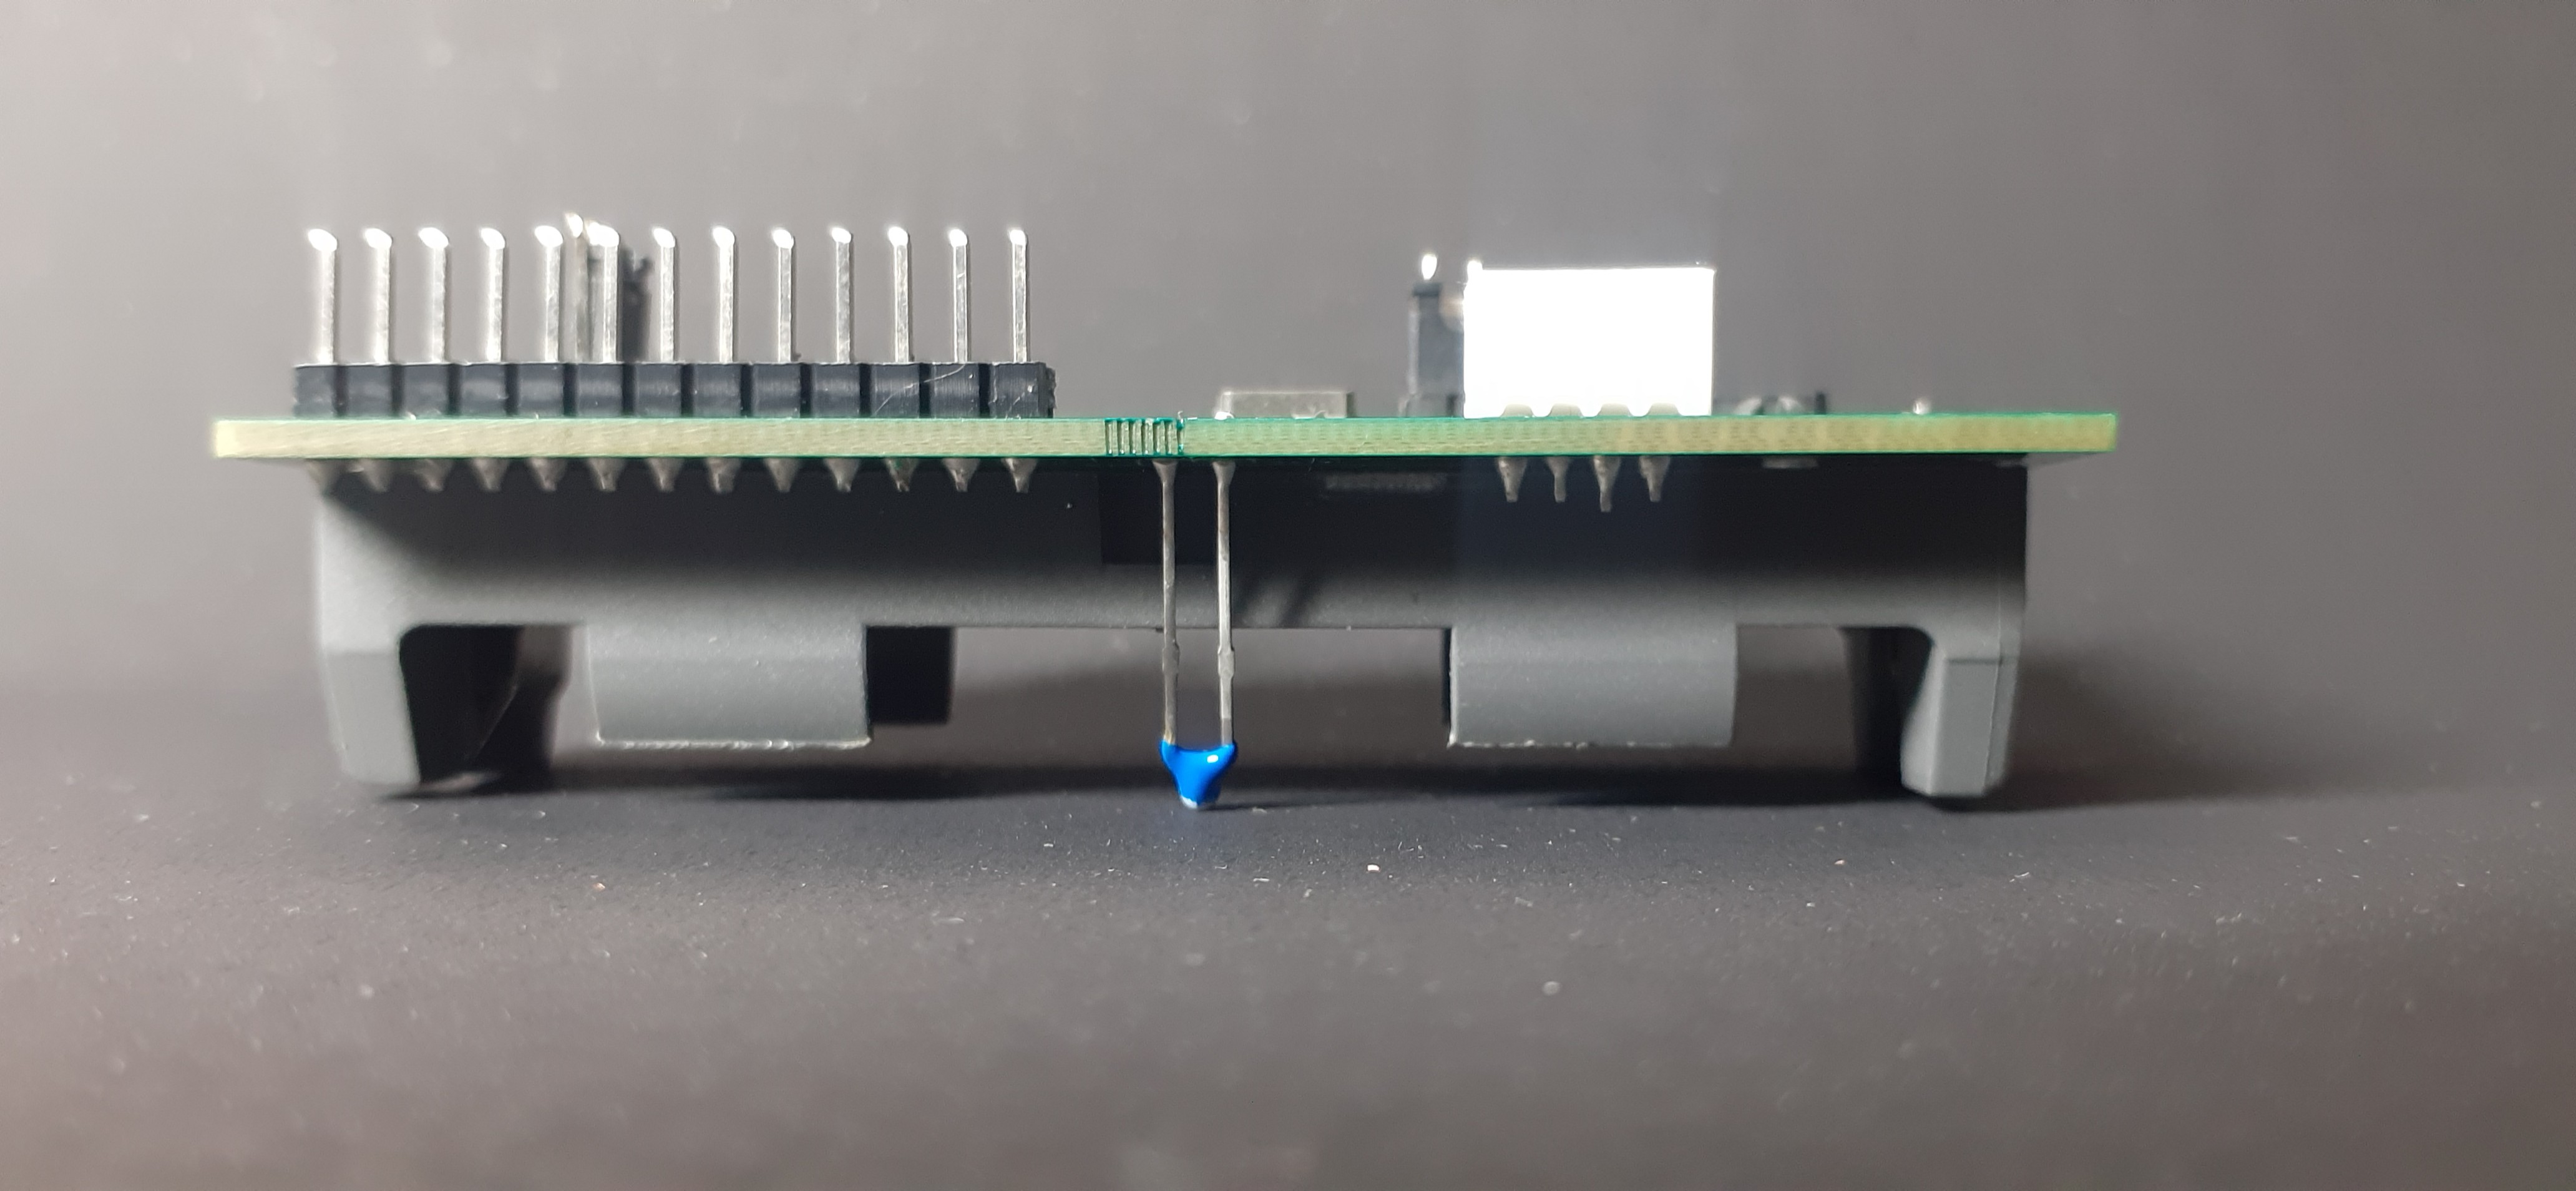
01/06/2023 at 10:37 • 0 commentsToday, we have 3D modeled the first version of the enclosure for our project to make its usage and storage much easier without damaging the components and connectors on the bottom side. As it can be seen in the image there exists a lot of delicate components on the bottom side which may get damaged if not taken care of while handling.
![]()
As we haven't included the mounting holes on the PCB to save some space and make it difficult to hold it in the enclosure. But we have almost at least 1-2mm of extra space on both sides and we tried to use that space to hold it in the enclosure. One side of the enclosure has a slot to make that section a bit flexible to hold the PCB firmly in place.
![]()
We are sending the files for 3D printing, we will update the picture soon.
We would love to hear your valuable suggestions :)
Open UpCell
An open source, USB Type C PD, single-cell BMS for Lithium batteries