 Johannes
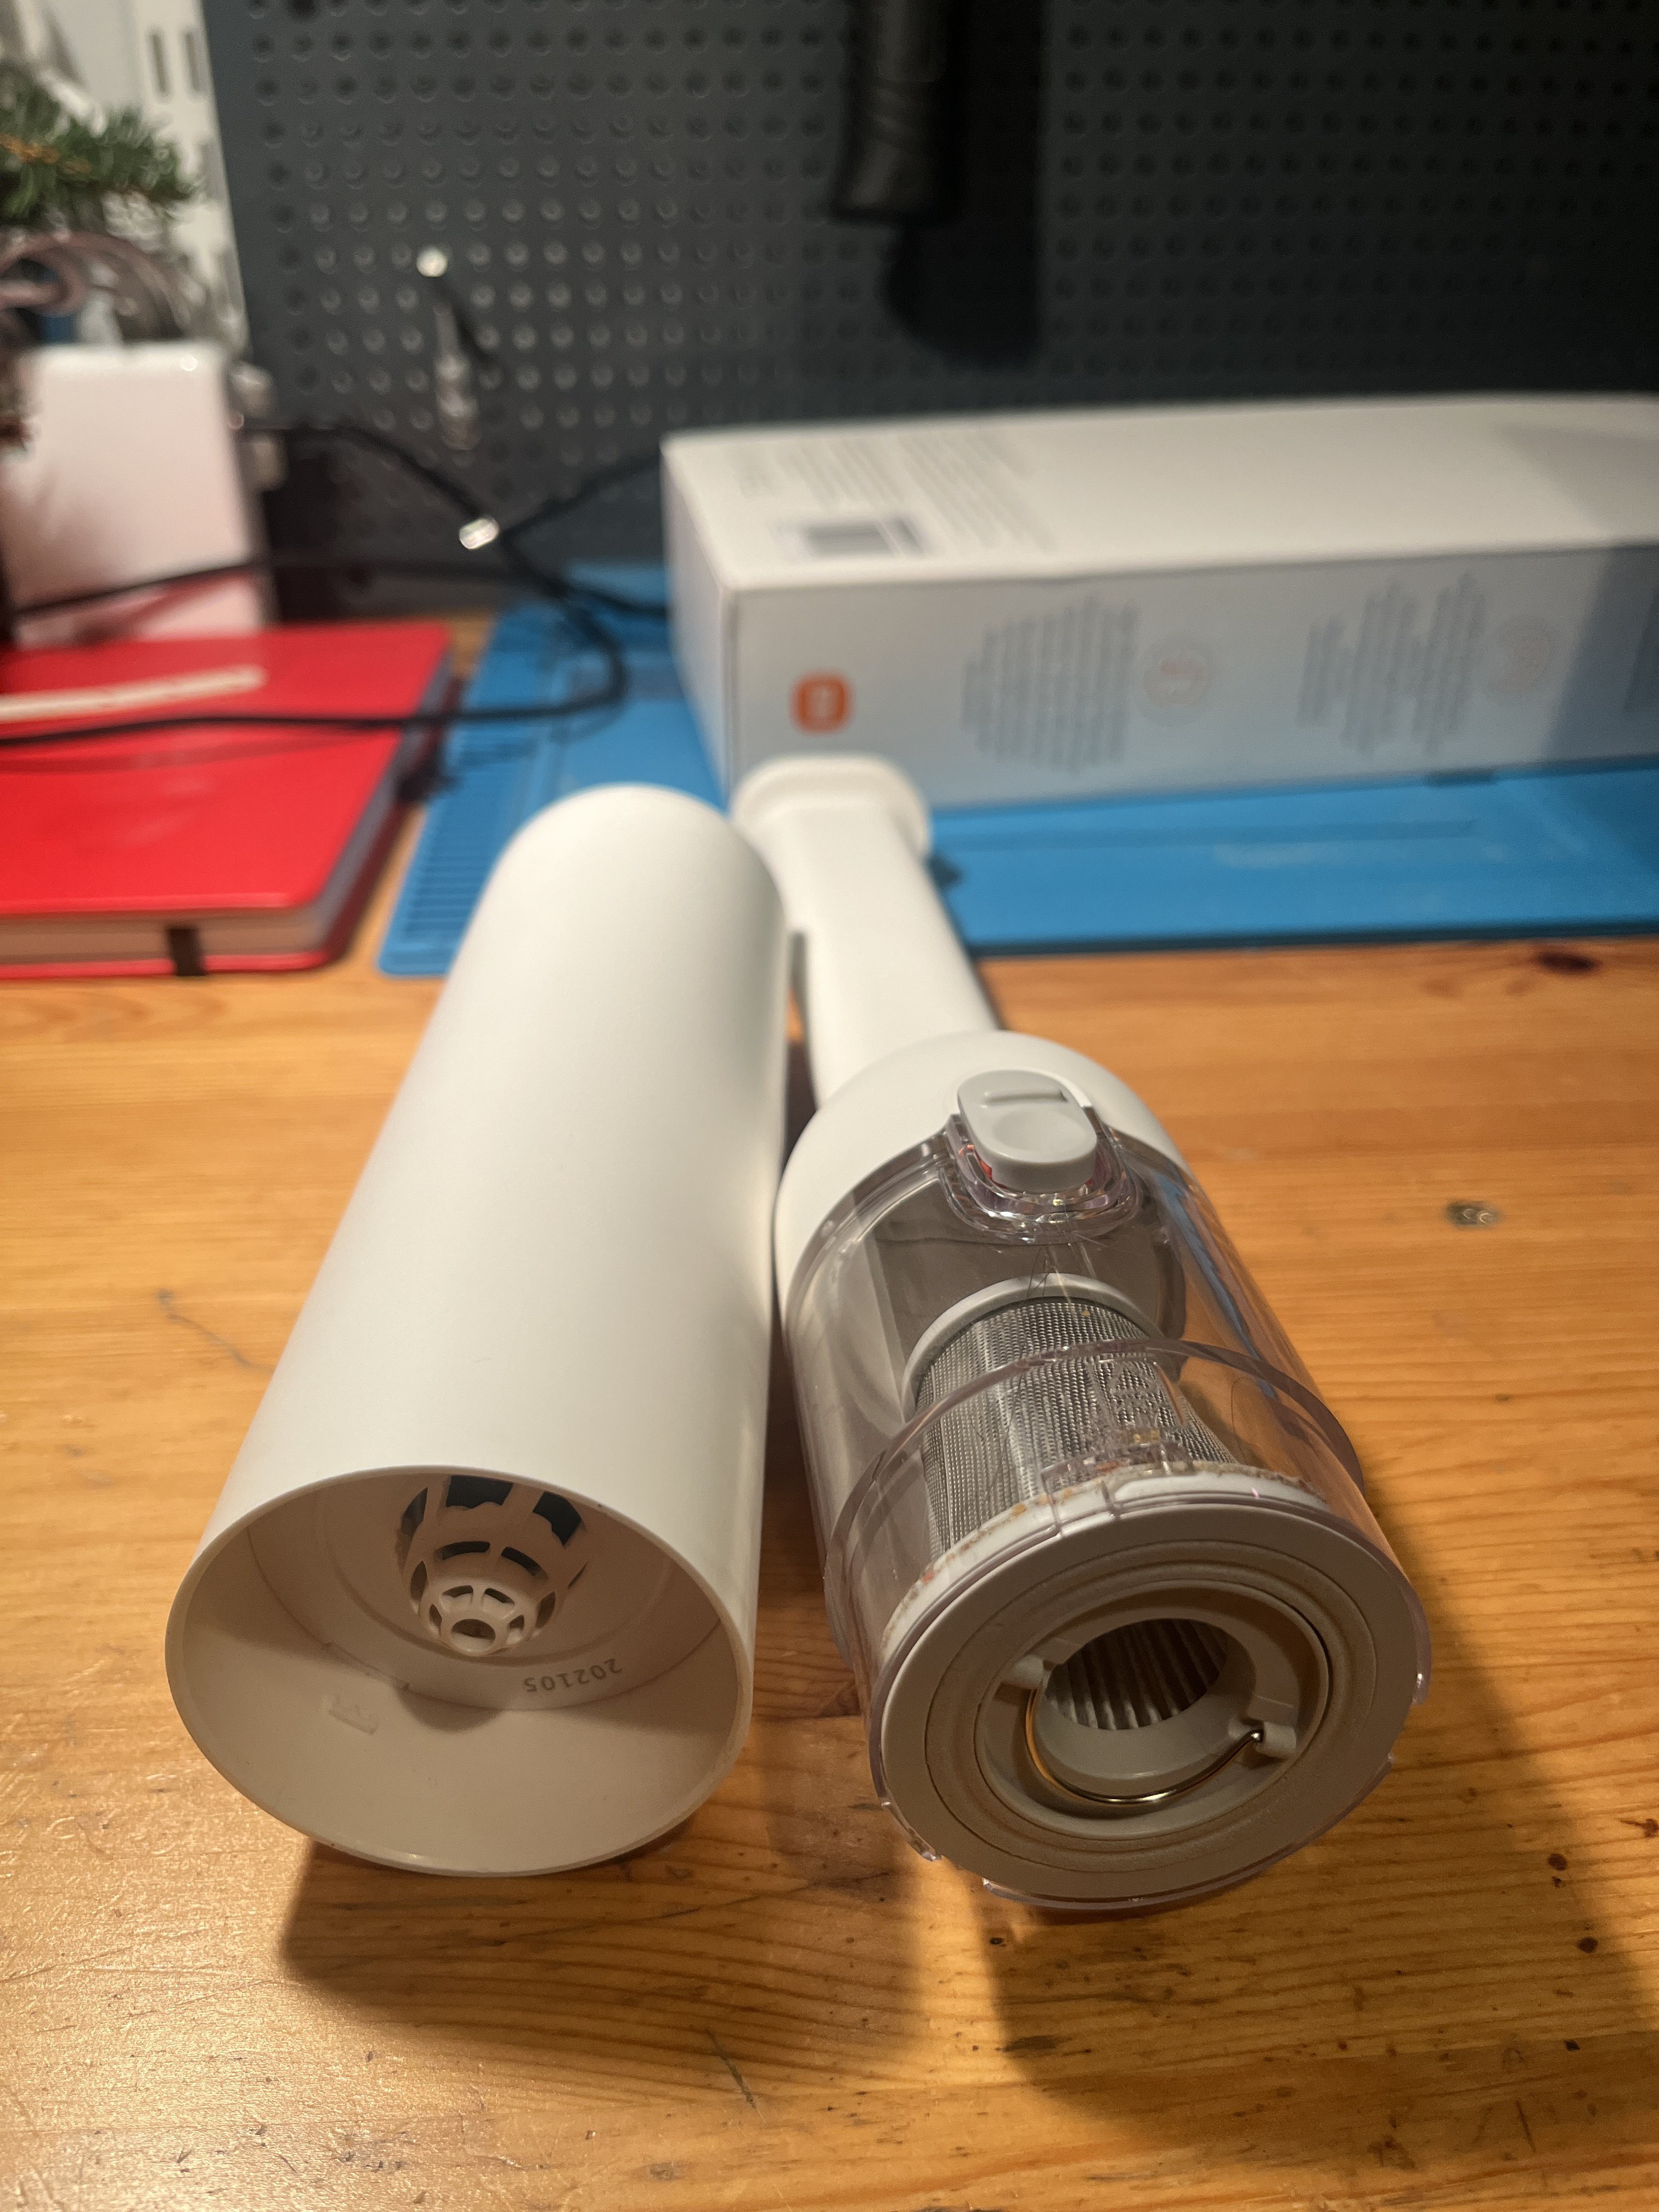
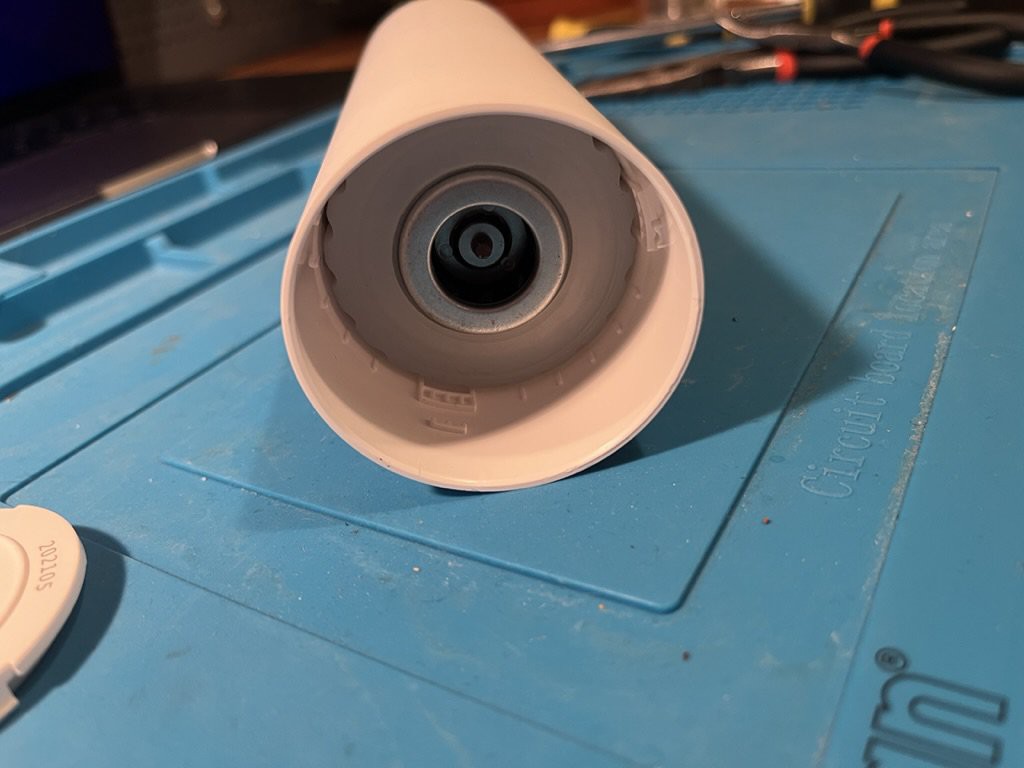
In the top of the device, there is a plastic cap holding the motor in place. I undid the three clips by squeezing the device to allow for a bit more wiggle room, then prying with a flathead screwdriver.
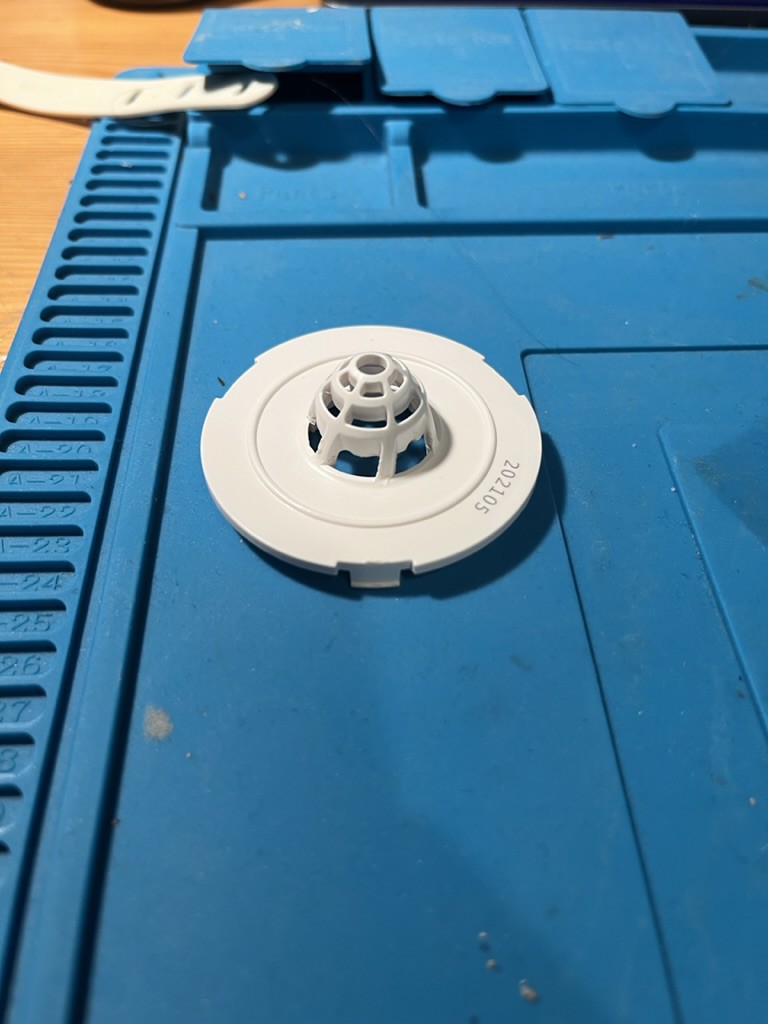
Under the plastic cap there is a rubber thingy, presumably there to reduce vibrations of the motor.
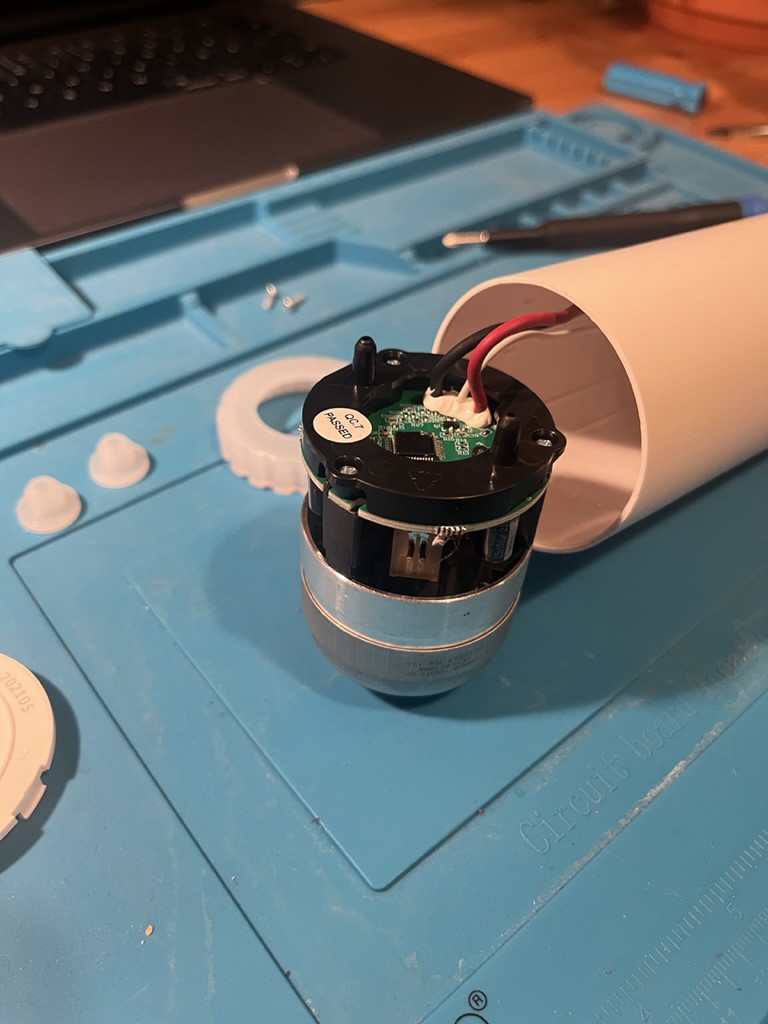

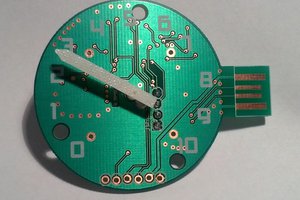
The chip on the motor PCB is a Fortior FU6831L "MCU Embedded and Configurable 3-Phase BLDC Motor Controller" according to the datasheet.
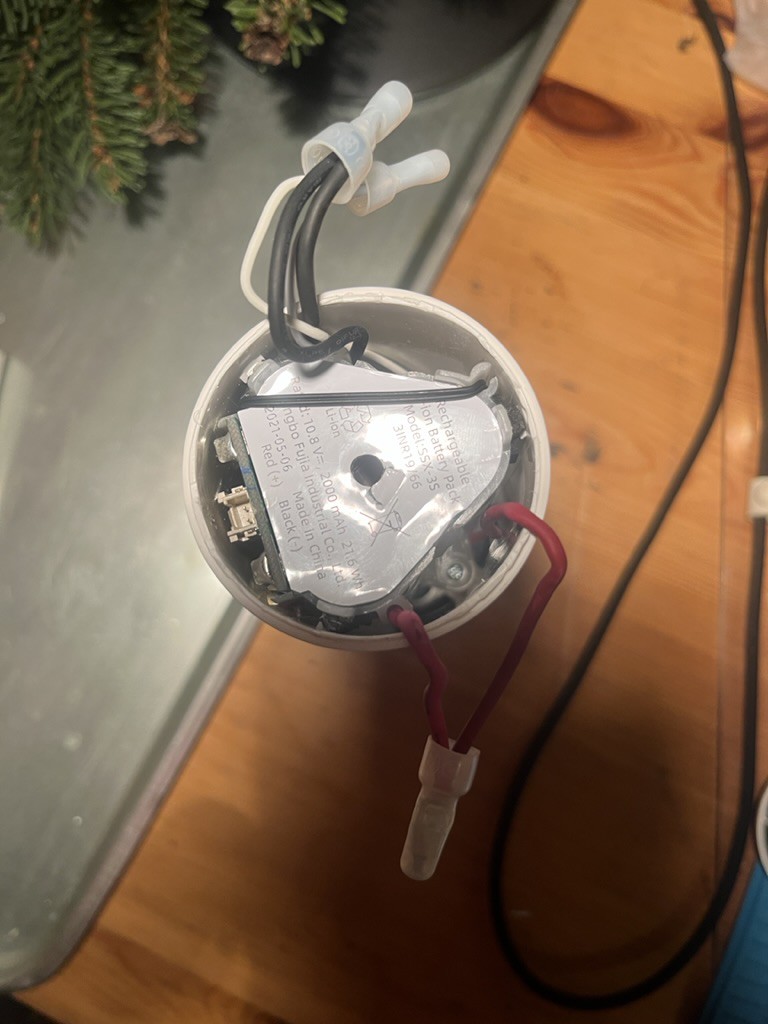
In the bottom of the unit, holding the USB-C charging port, there is another plastic cap. This one is also held in place by three clips. They were a bit more tricky to loosen, but a little brute force with a kitchen knife did the deed without damaging the plastic too much.
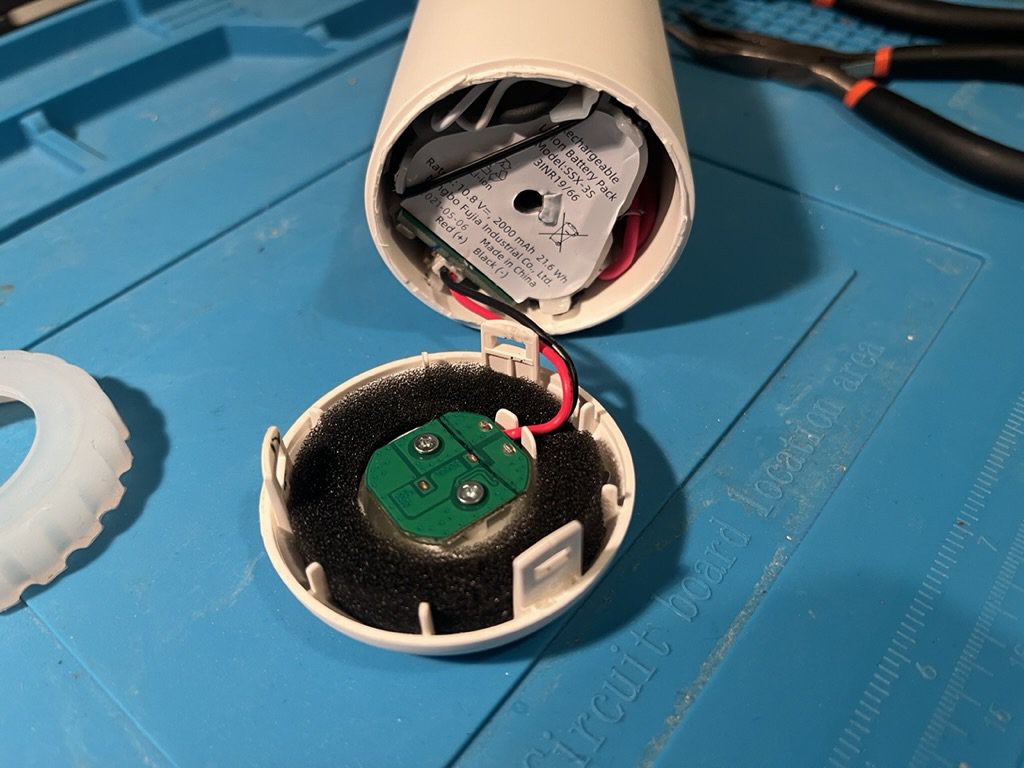
By pulling out the nest of wires, two Phillips screws are revealed, fixing the battery and main board assembly to the casing. One of them is visible in this photo:
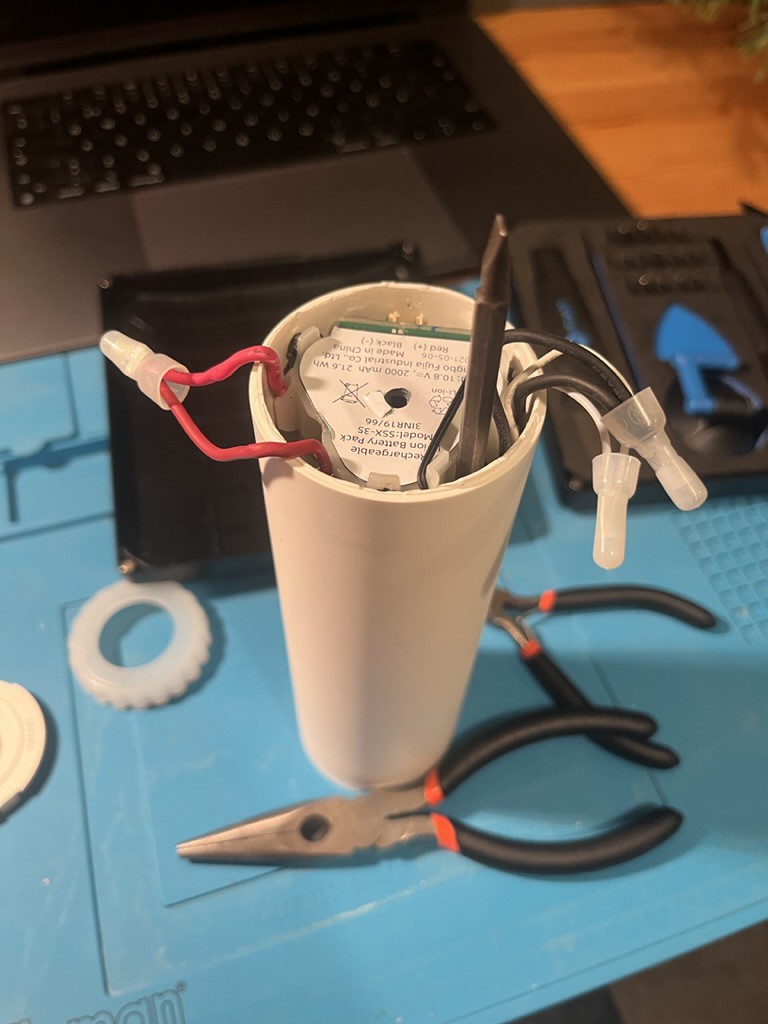
Now we can pull the assembly out.
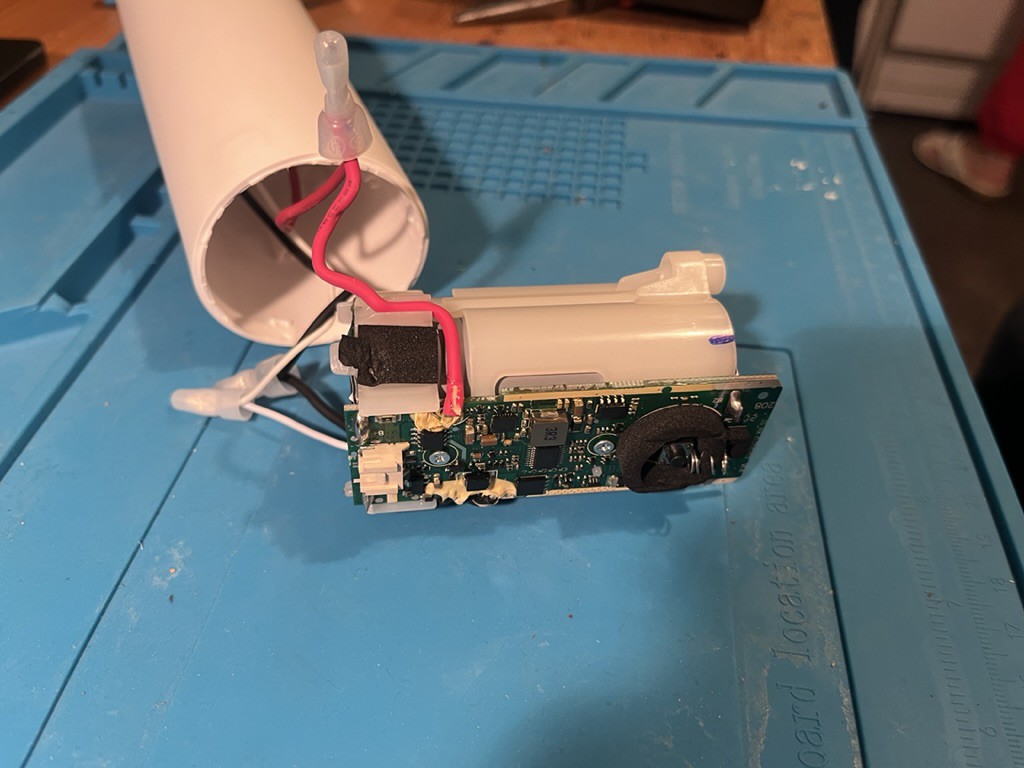
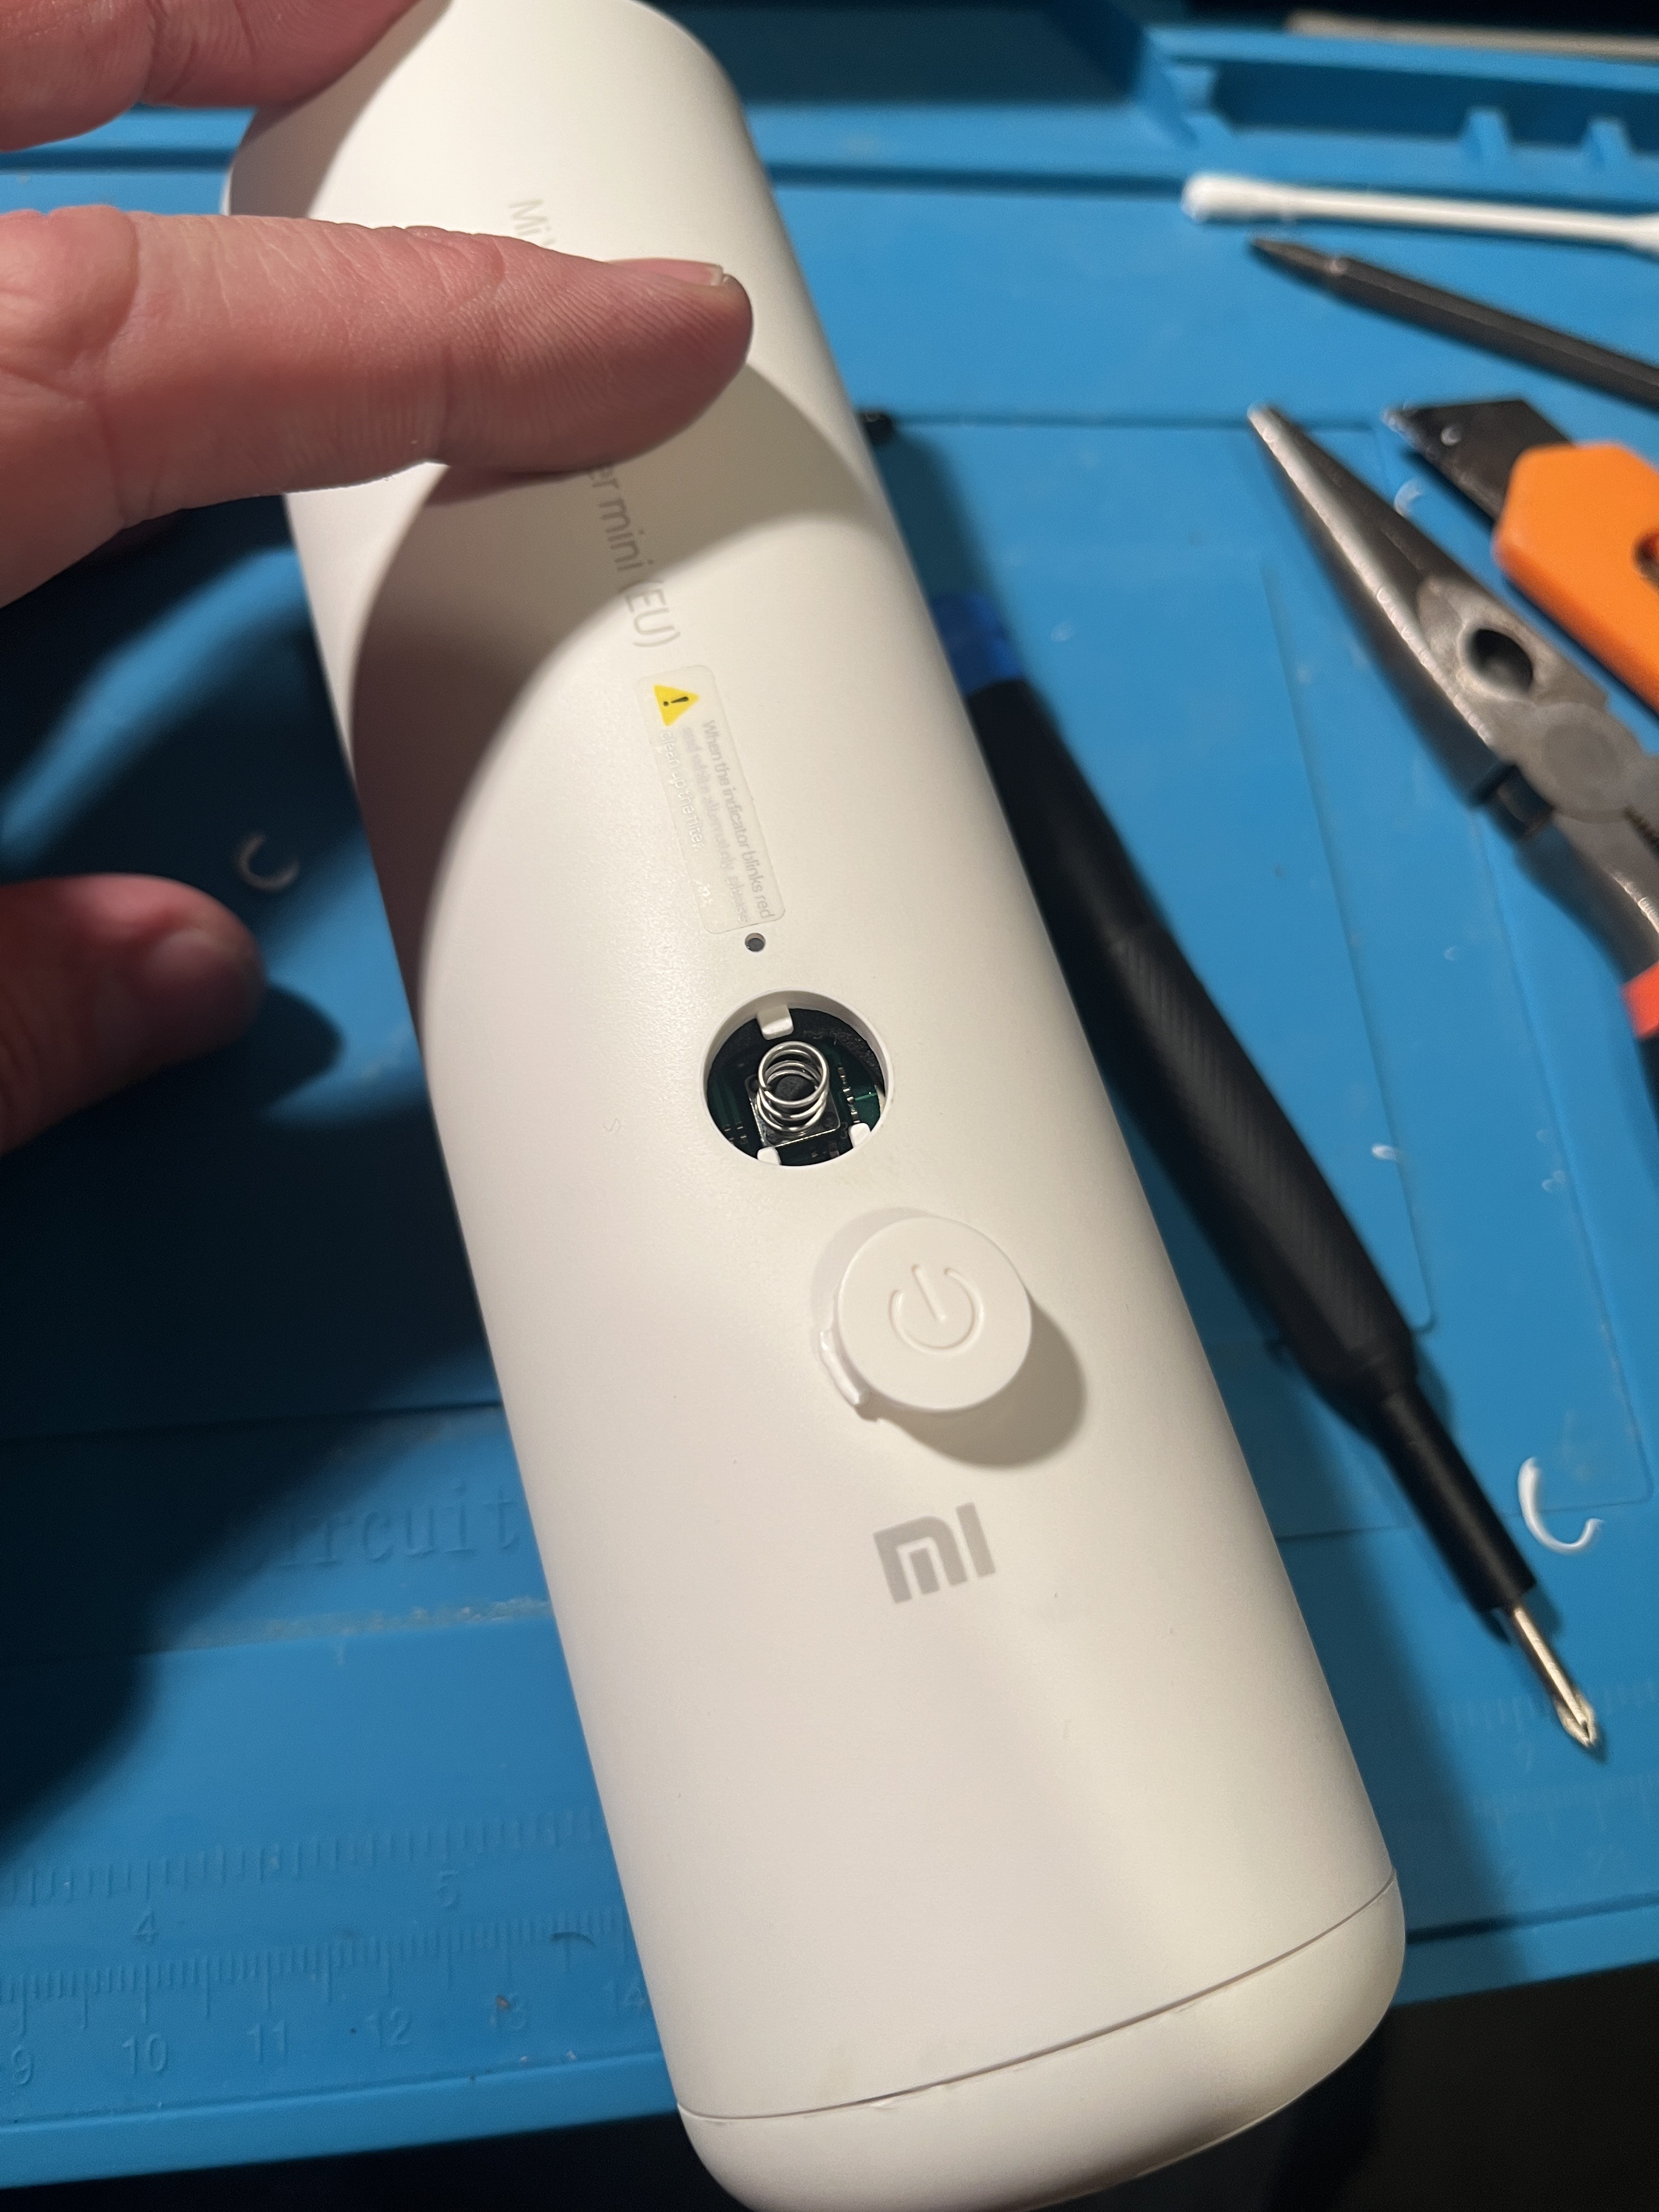
Unfortunately I forgot to take a good picture of the board before reassembly, but the main MCU is a Nuvoton N76E003AT20. If you zoom in you might see five exposed pads in a row, which I traced to the following pins on the MCU:

Which according to the datasheet does the following:
| Pin 8 | [SDA] / TXD_1 / ICPDA / OCDDA / P1.6 |
| Pin 18 | P0.2 / ICPCK / OCDCK / RXD_1 / [SCL] |
| Pin 4 | RST / P2.0 |
| Pin 7 | GND |
| Pin 9 | VDD |
And this is about how far I got before my fiancée "encouraged" me to re-assemble "her" new portable vacuum cleaner.
Re-assembly went pretty smooth, except that I had to remove the plastic push-button to seat the battery assembly correctly. After this was done, it was easy to click the button in place (with the spring in between).
Conclusion
I have no idea whether the exposed serial port can be used to read the built-in flash or not, and I'm clueless to whether the chip would let me flash a modified firmware to it, even if I knew what bits to change to enable the second speed mode...
If someone would like to experiment with their non-throttled version and manages to dump the firmware, please get in touch!


 lukasz.iwaszkiewicz

 Timo Birnschein
Details on the EU version's power increase:
Just like many of you I was unaware of the differences and bought the EU version at a store near my home. Thanks to the disassembly instructions and photo by Johannes who guided me in the right way and allowed me to carefully disassemble the vacuum cleaner.
I used a logic analyzer which I connected to the black and blue/white wires and got the information that the motor is controlled by a simple PWM signal with a wellness of 40%:
https://prnt.sc/eJNA6NrmvBAW
The signal is one millisecond long and of that 0.4 milliseconds the voltage is 5V
I did some experiments with generating PWM signals with different duty cycle (I used a simple Arduino for 3$) and got full power control from 0 to 100%.
https://prnt.sc/12_bhd_ZSWCW
Since I didn't need modes other than maximum, I realized that I needed duty cycle = 100%, which is just supplying 5V to the control wire when the power button is pressed. And it was very lucky that Johannes in his post showed the VDD pin pad (Pin 9), where 4.9V appears when the button is pressed.
I cut the blue wire from the controller and soldered a new wire to the pad, and then fixed everything with hot glue.
https://prnt.sc/ZYiX0Zf-IvbF
Because of constant experimentation, the white caps fell apart and I just soldered all the wires and replaced them with heat shrink.
https://prnt.sc/k31fm66FyPQ3
I assembled the vacuum cleaner and discharged it twice while cleaning to make sure the hack works. No problems at all, in max power mode the vacuum cleaner runs for 9-10 minutes on a new battery, keep this in mind if you expect it to run longer.
Thanks to all the participants in this discussion, hope this helps you get your Mi Vaccum Mini power back.
P.S. This is my first post here and if I did something wrong when posting the solution - I am willing to fix it