An RFID or radio frequency identification system consists of two main components, a tag attached to the object to be identified, and a reader that reads the tag.
A reader consists of a radio frequency module and an antenna that generates a high frequency electromagnetic field. Whereas the tag is usually a passive device (it does not have a battery). It consists of a microchip that stores and processes information, and an antenna for receiving and transmitting a signal.
Let’s take a look at the getID() custom function. First it checks whether there is a new tag placed near the reader and if so we will continue to the “for” loop which will get the UID of the tag. The tags that we are using have 4 byte UID number so that’s why we need to do 4 iterations with this loop, and using the concat() function we add the 4 bytes into a single String variable. We also set all characters of the string to upper cases and the end we stop the reading.
uint8_t getID() { // Getting ready for Reading PICCs if ( ! mfrc522.PICC_IsNewCardPresent()) { //If a new PICC placed to RFID reader continue return 0; } if ( ! mfrc522.PICC_ReadCardSerial()) { //Since a PICC placed get Serial and continue return 0; } tagID = ""; for ( uint8_t i = 0; i < 4; i++) { // The MIFARE PICCs that we use have 4 byte UID readCard[i] = mfrc522.uid.uidByte[i]; tagID.concat(String(mfrc522.uid.uidByte[i], HEX)); // Adds the 4 bytes in a single String variable } tagID.toUpperCase(); mfrc522.PICC_HaltA(); // Stop reading return 1;}
efore we enter the main loop, at the end of the setup section, we also call the printNormalModeMessage() custom function which prints the “Access Control” message on the display.
void printNormalModeMessage() { delay(1500); lcd.clear(); lcd.print("-Access Control-"); lcd.setCursor(0, 1); lcd.print(" Scan Your Tag!");}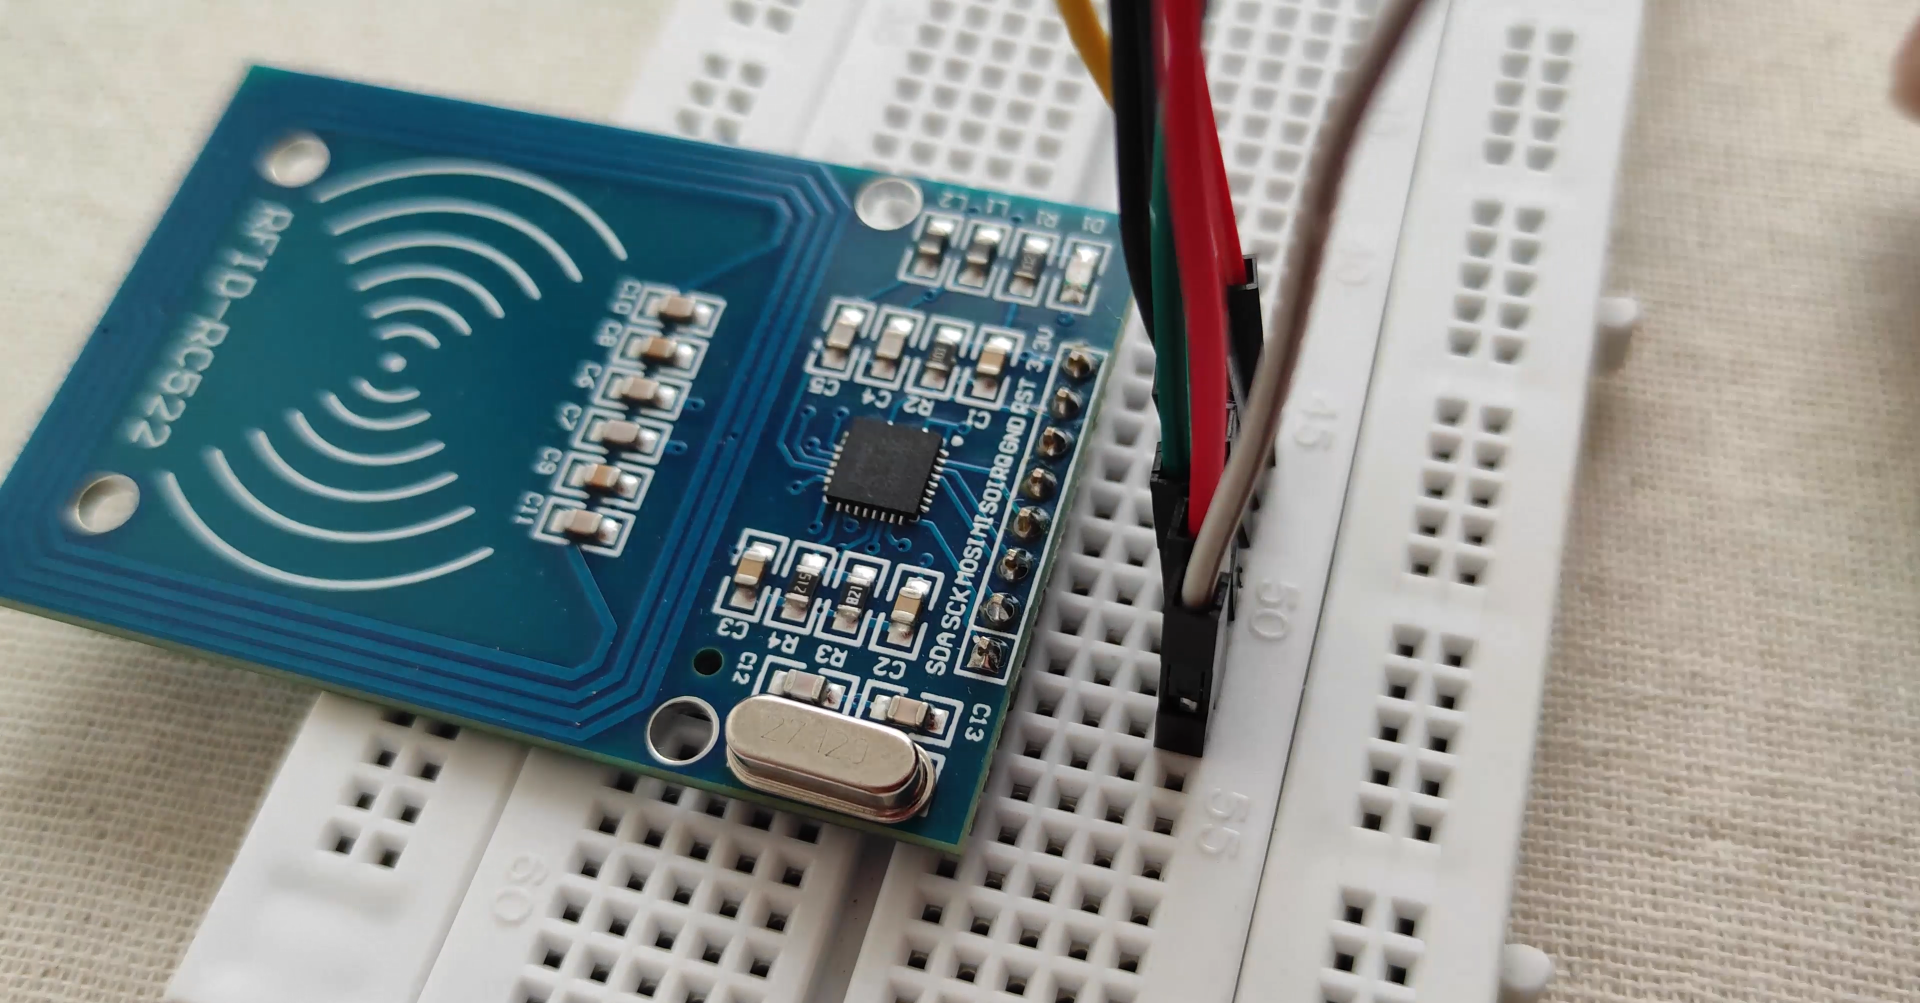
Now, before typing out the necessary code, you need to download the necessary library for this sensor from this repository.
Extract the contents from the zip folder "rfid-master" and add this library folder under the existing libraries of Arduino.
After doing so, restart your ArduinoIDE.
Now, our Arduino is ready to take commands and execute accordingly.
The Arduino Code has been uploaded at the end of this tutorial. Compile the code and eliminate "typo" errors (if any).
Now, its time to connect our Arduino with the RFID reader. Refer to the PIN wiring below,as well as the Connection schematic diagram for easy reference.
This is the information that you can read from the card, including the card UID that is highlighted in yellow. The information is stored in the memory that is divided into segments and blocks as you can see in the previous picture.
You have 1024 bytes of data storage divided into 16 sectors and each sector is protected by two different keys, A and B.
Write down your UID card because you’ll need it later.
Upload the Arduino code that has been suffixed here.
Demonstration
Approximate the card you’ve chosen to give access and you’ll see:
The RFID reader consist of a radio frequency module, a control unit and an antenna coil which generates high frequency electromagnetic field. On the other hand, the tag is usually a passive component, which consist of just an antenna and an electronic microchip, so when it gets near the electromagnetic field of the transceiver, due to induction, a voltage is generated in its antenna coil and this voltage serves as power for the microchip.
Now as the tag is powered it can extract the transmitted message from the reader, and for sending message back to the reader, it uses a technique called load manipulation. Switching on and off a load at the antenna of the tag will affect the power consumption of the reader’s antenna which can be measured as voltage drop. This changes in the voltage will be captured as ones and zeros and that’s the way the data is transferred from the tag to the reader.
There’s also another way of data transfer between the reader and the tag, called backscattered coupling. In this case, the tag uses part of the received power for generating another electromagnetic field which will be picked up by the reader’s antenna.
Once we connect the module we need to download the MFRC522 library from GitHub. The library comes with several good examples from which we can learn how to use the module.
First we can upload the “DumpInfo” example and test whether our system works properly. Now if we run the Serial Monitor and bring the tag near the module, the reader will start reading the tag and all information from the tag will be displayed on the serial monitor.
The project has the following workflow: First we have to set a master tag and then the system goes into normal mode. If we scan an unknown tag the access will be denied, but if we scan the master we will enter a program mode from where we can add and authorize the unknown tag. So now if we scan the tag again the access will be granted so we can open the door.
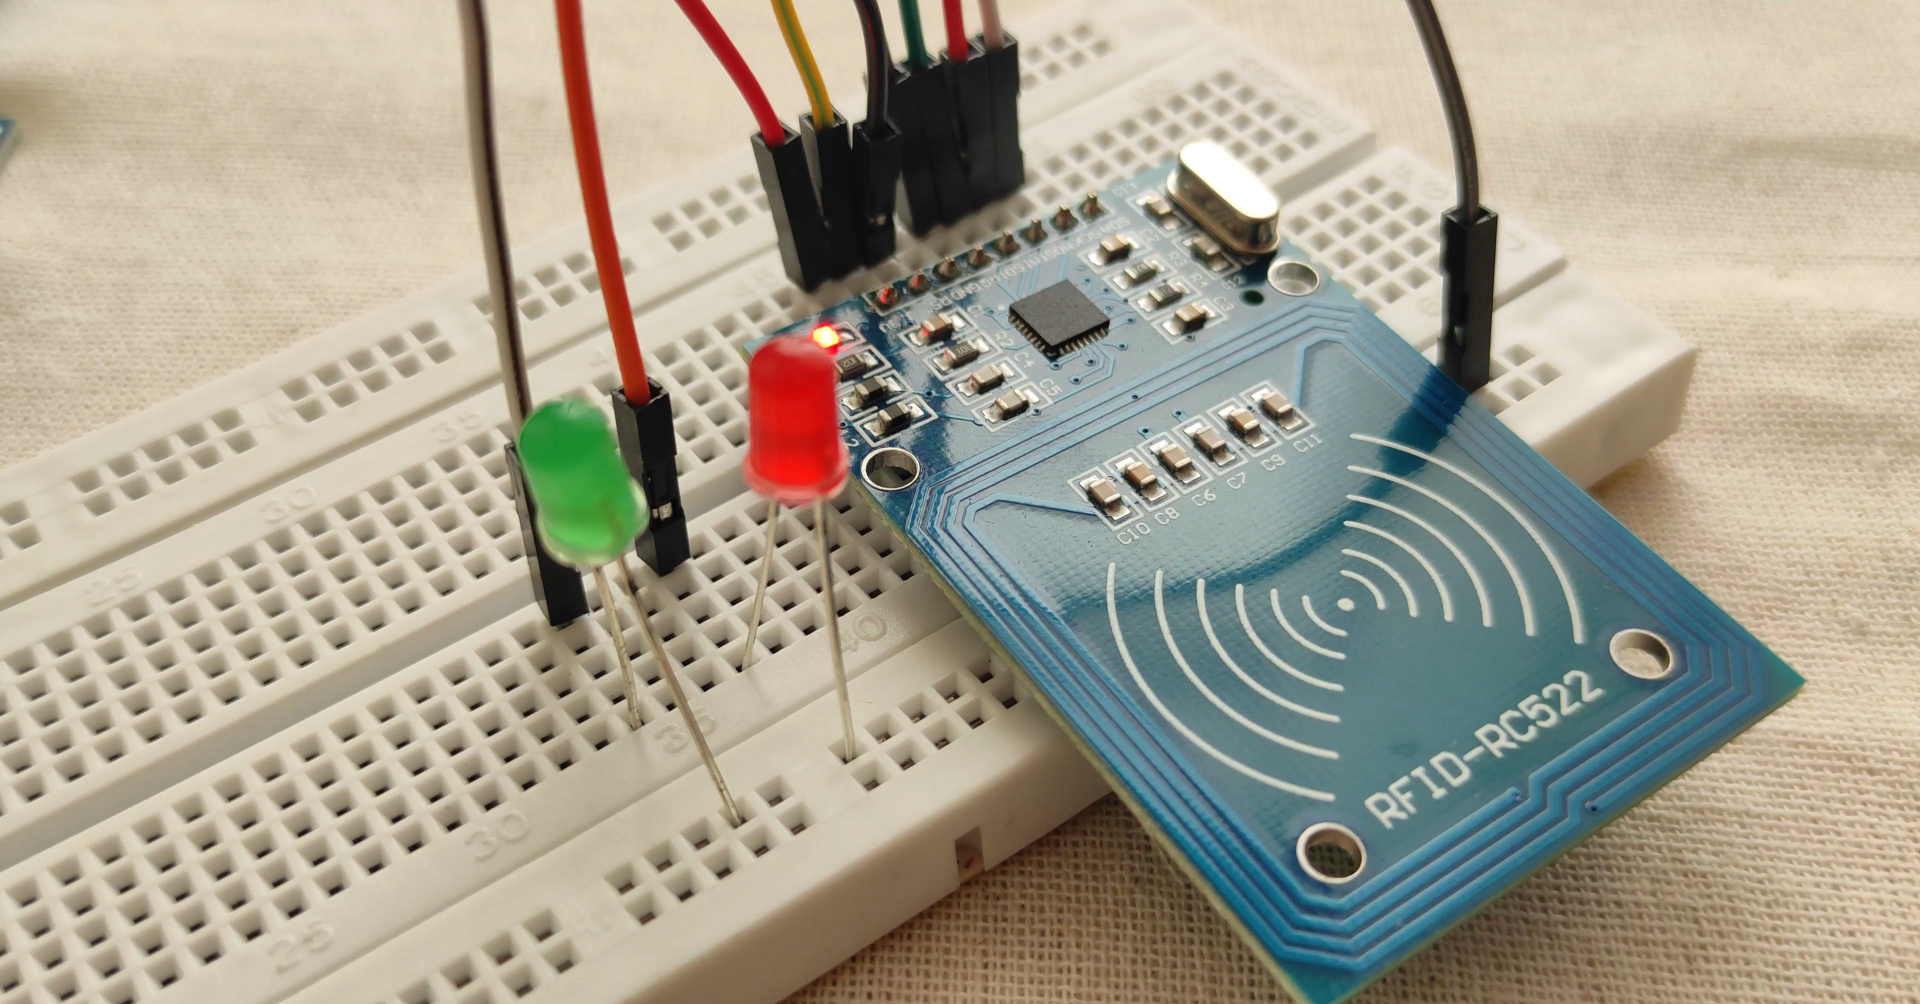
Upload the code above and you should now see the RFID tag serial number on the serial monitor every time you tap the RFID tag.
And then I want to make a sample code if a serial tag with a certain number will make a buzzer blink three times and if the wrong tag is tapped it will trigger the long sound of the buzzer. This will simulate if we want to make for example RFID door lock or another project.
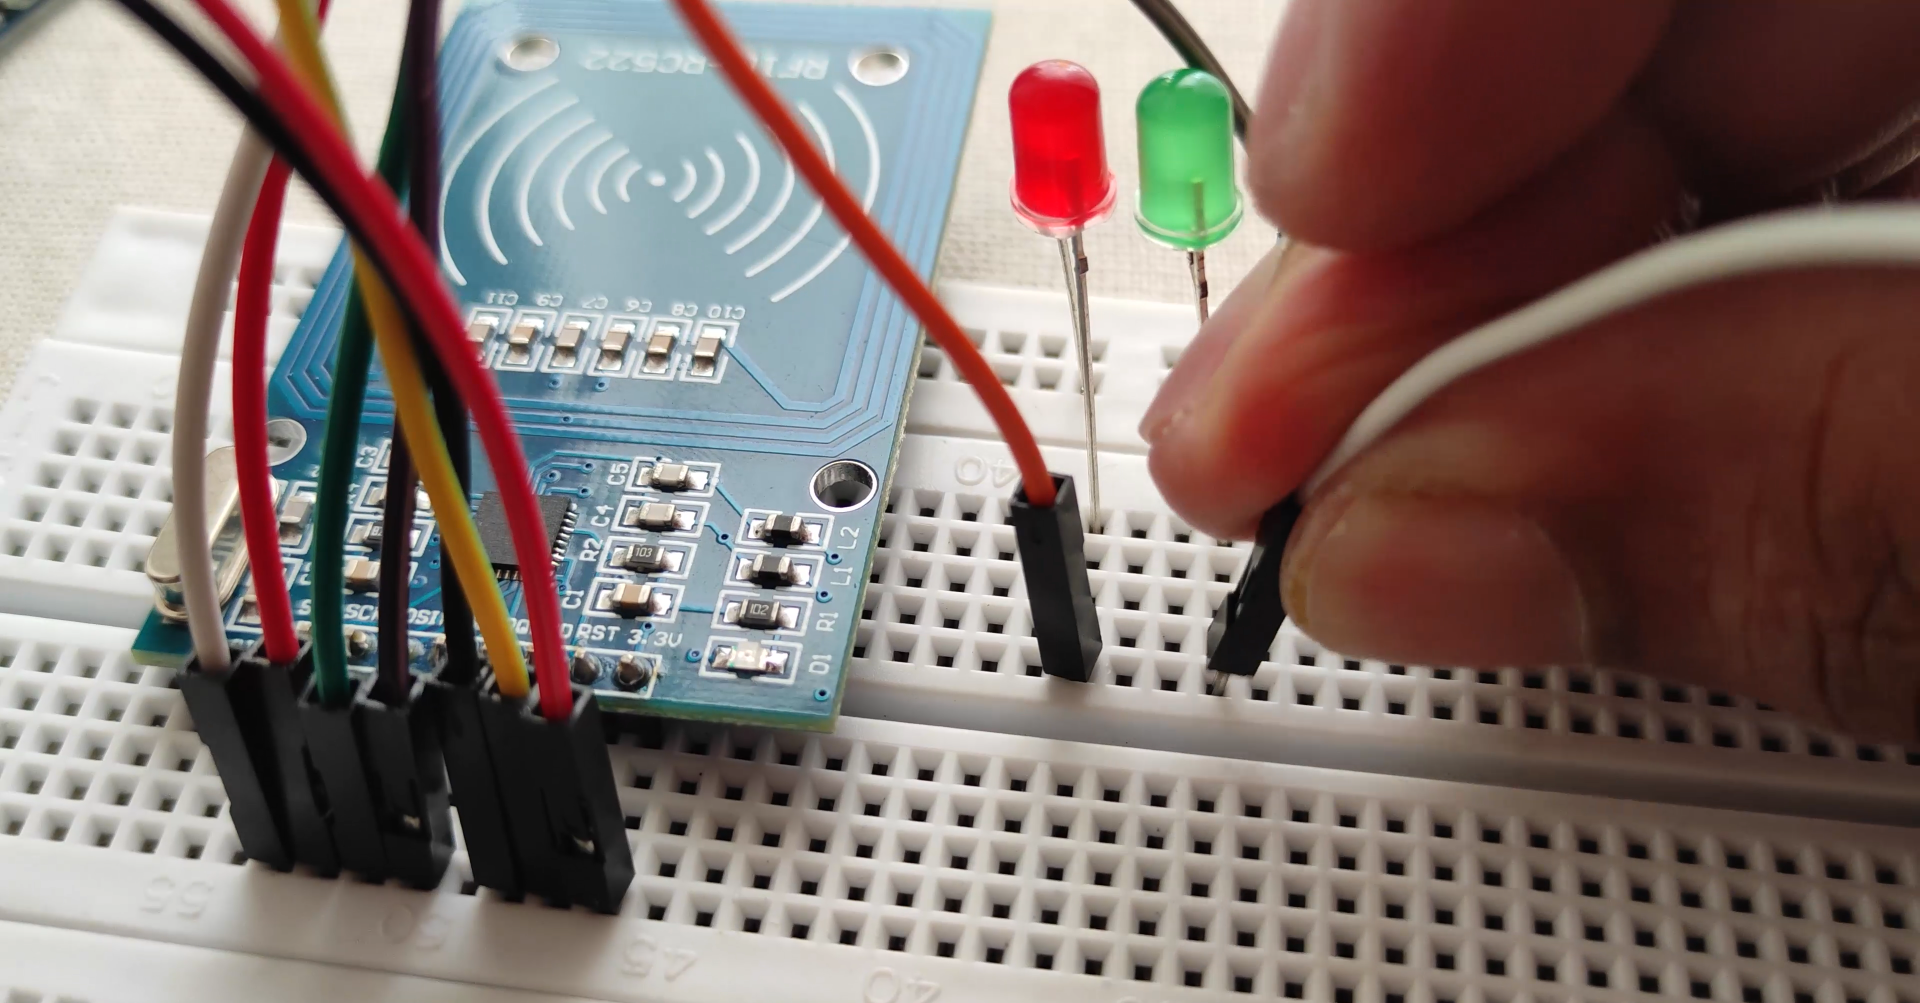
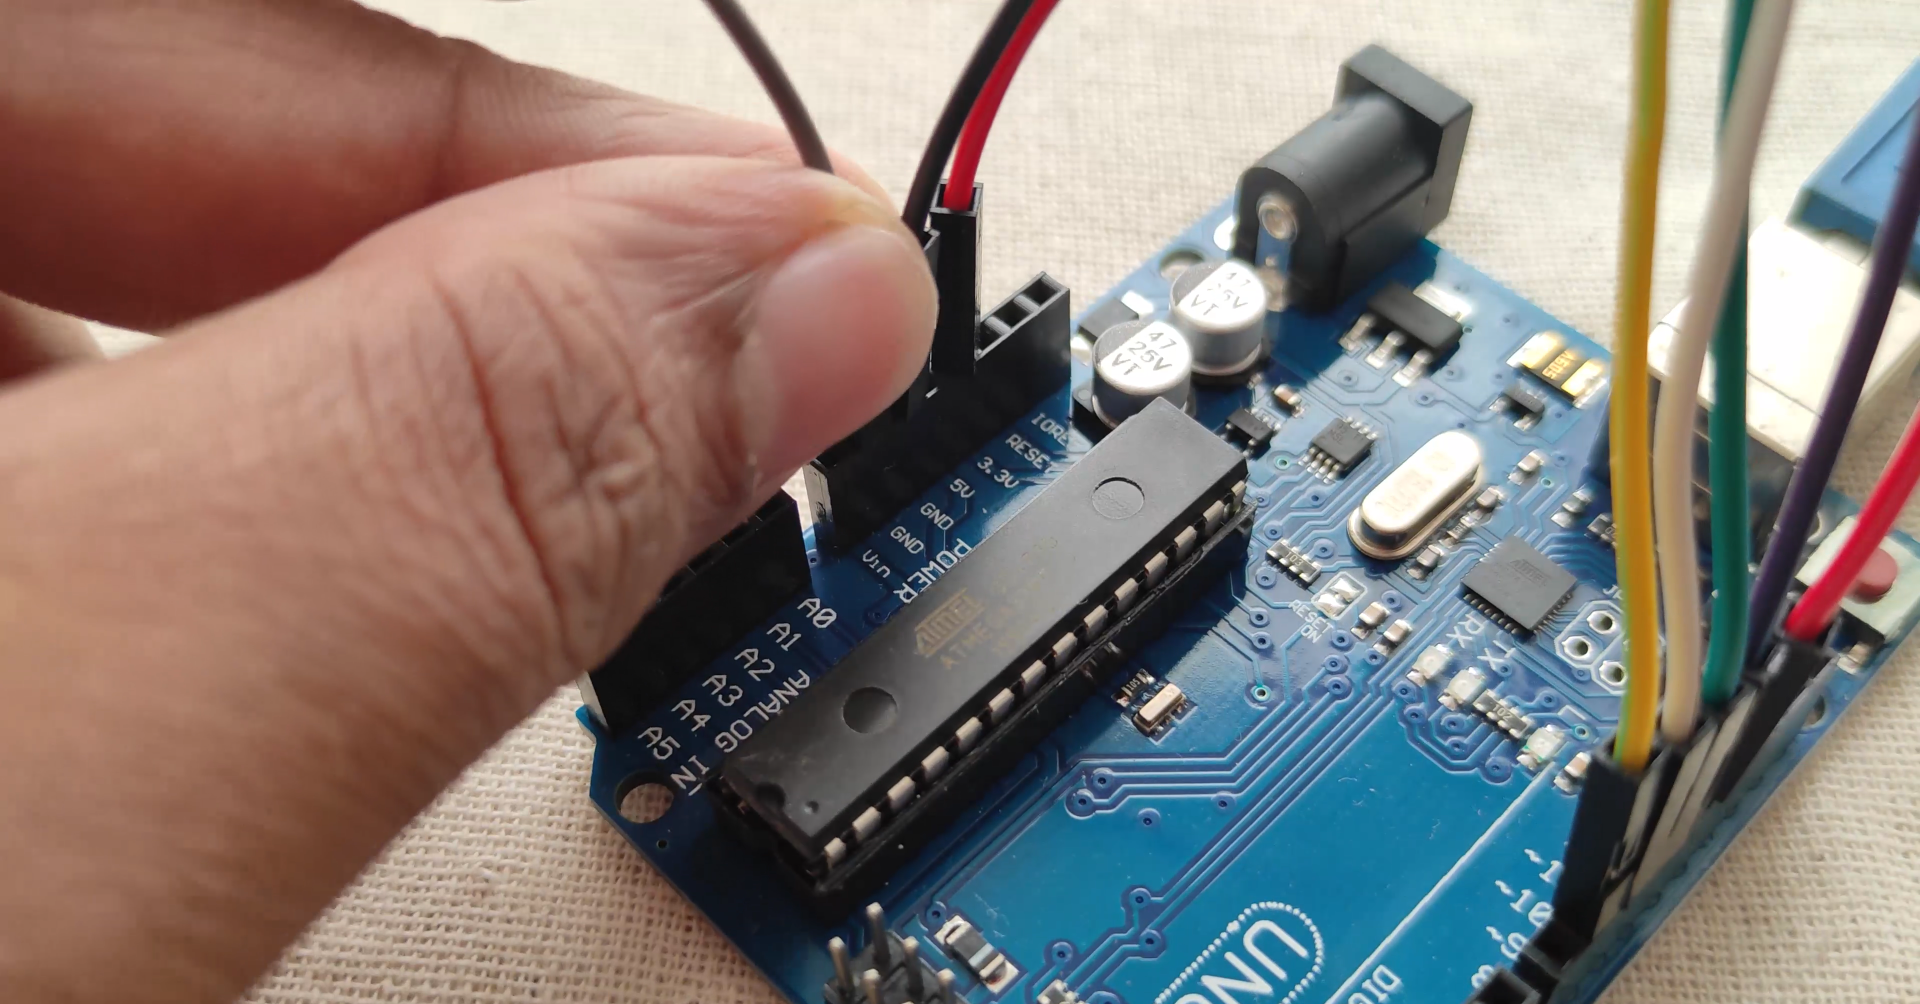
Add a 5V buzzer and connect the positive to pin 8 of Arduino and the ground pin to the ground of Arduino.
In this example, we will use a tag with the serial number “119 38 185 95” as the right tag. Or the key. You can edit this serial number in the code below.
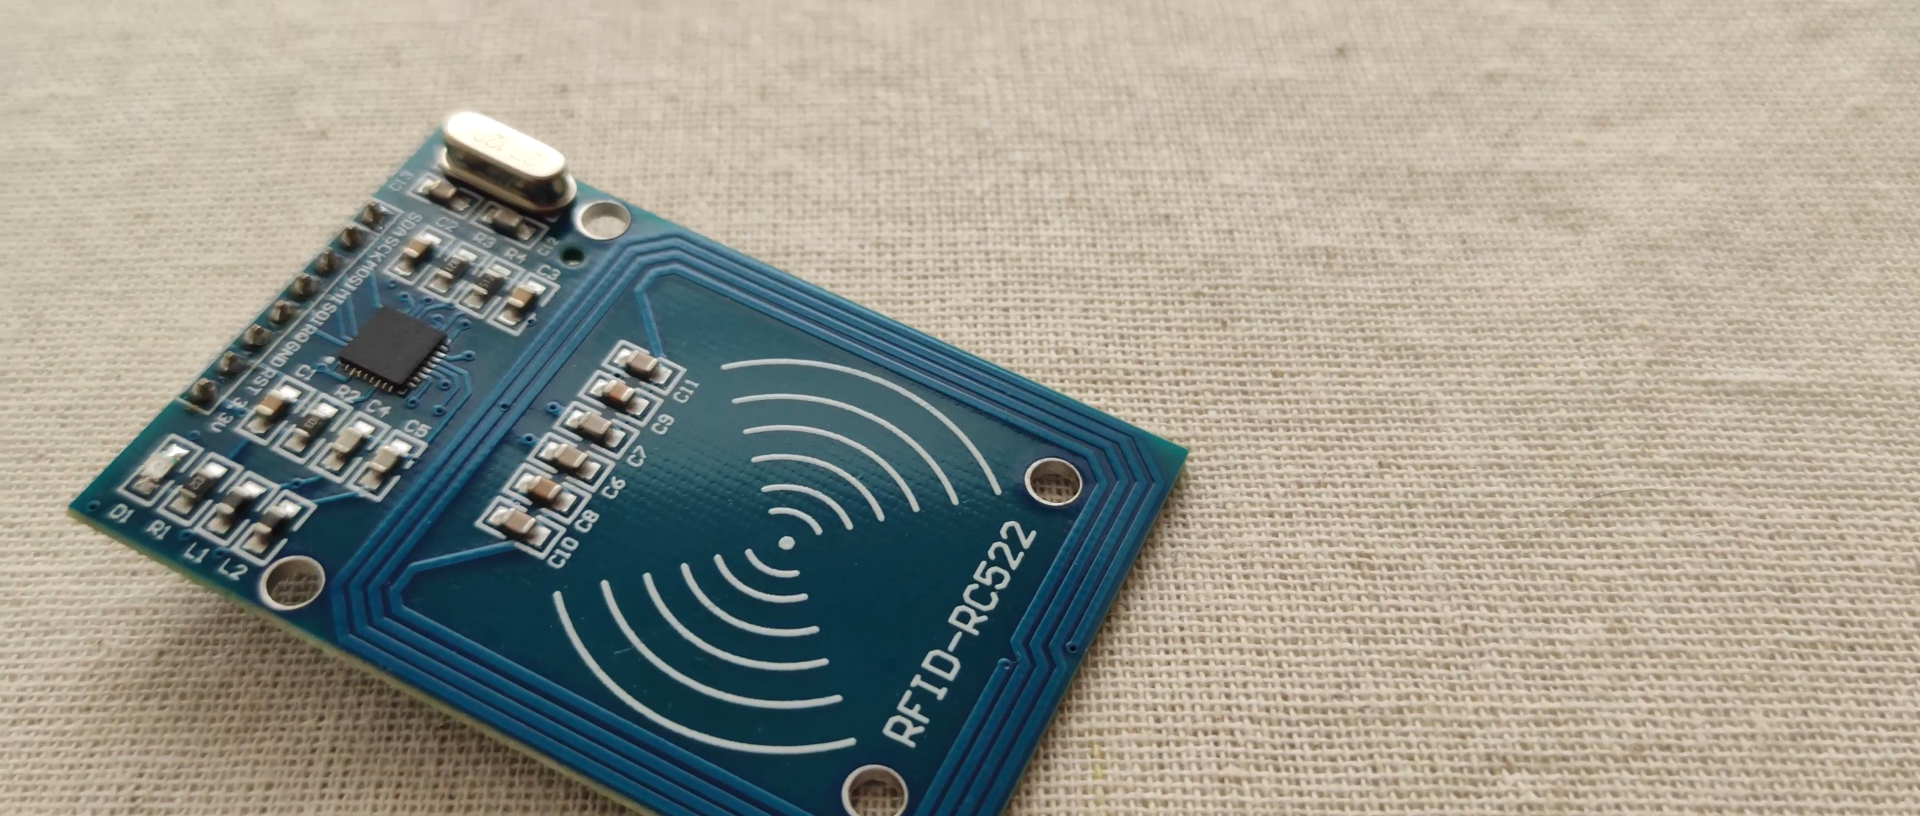
The RC522 RFID module based on the MFRC522 IC from NXP is one of the cheapest RFID options you can get online for less than four dollars. It usually comes with an RFID card tag and a key fob tag with 1KB of memory. And the best part is that it can write a tag that means you can store any message in it.
The RC522 RFID reader module is designed to create a 13.56MHz electromagnetic field and communicate with RFID tags (ISO 14443A standard tags).
The reader can communicate with a microcontroller over a 4-pin SPI with a maximum data rate of 10 Mbps. It also supports communication over I2C and UART protocols.
The RC522 RFID module can be programmed to generate an interrupt, allowing the module to alert us when a tag approaches it, instead of constantly asking the module “Is there a card nearby?”.
The module’s operating voltage ranges from 2.5 to 3.3V, but the good news is that the logic pins are 5-volt tolerant, so we can easily connect it to an Arduino or any 5V logic microcontroller without using a logic level converter.
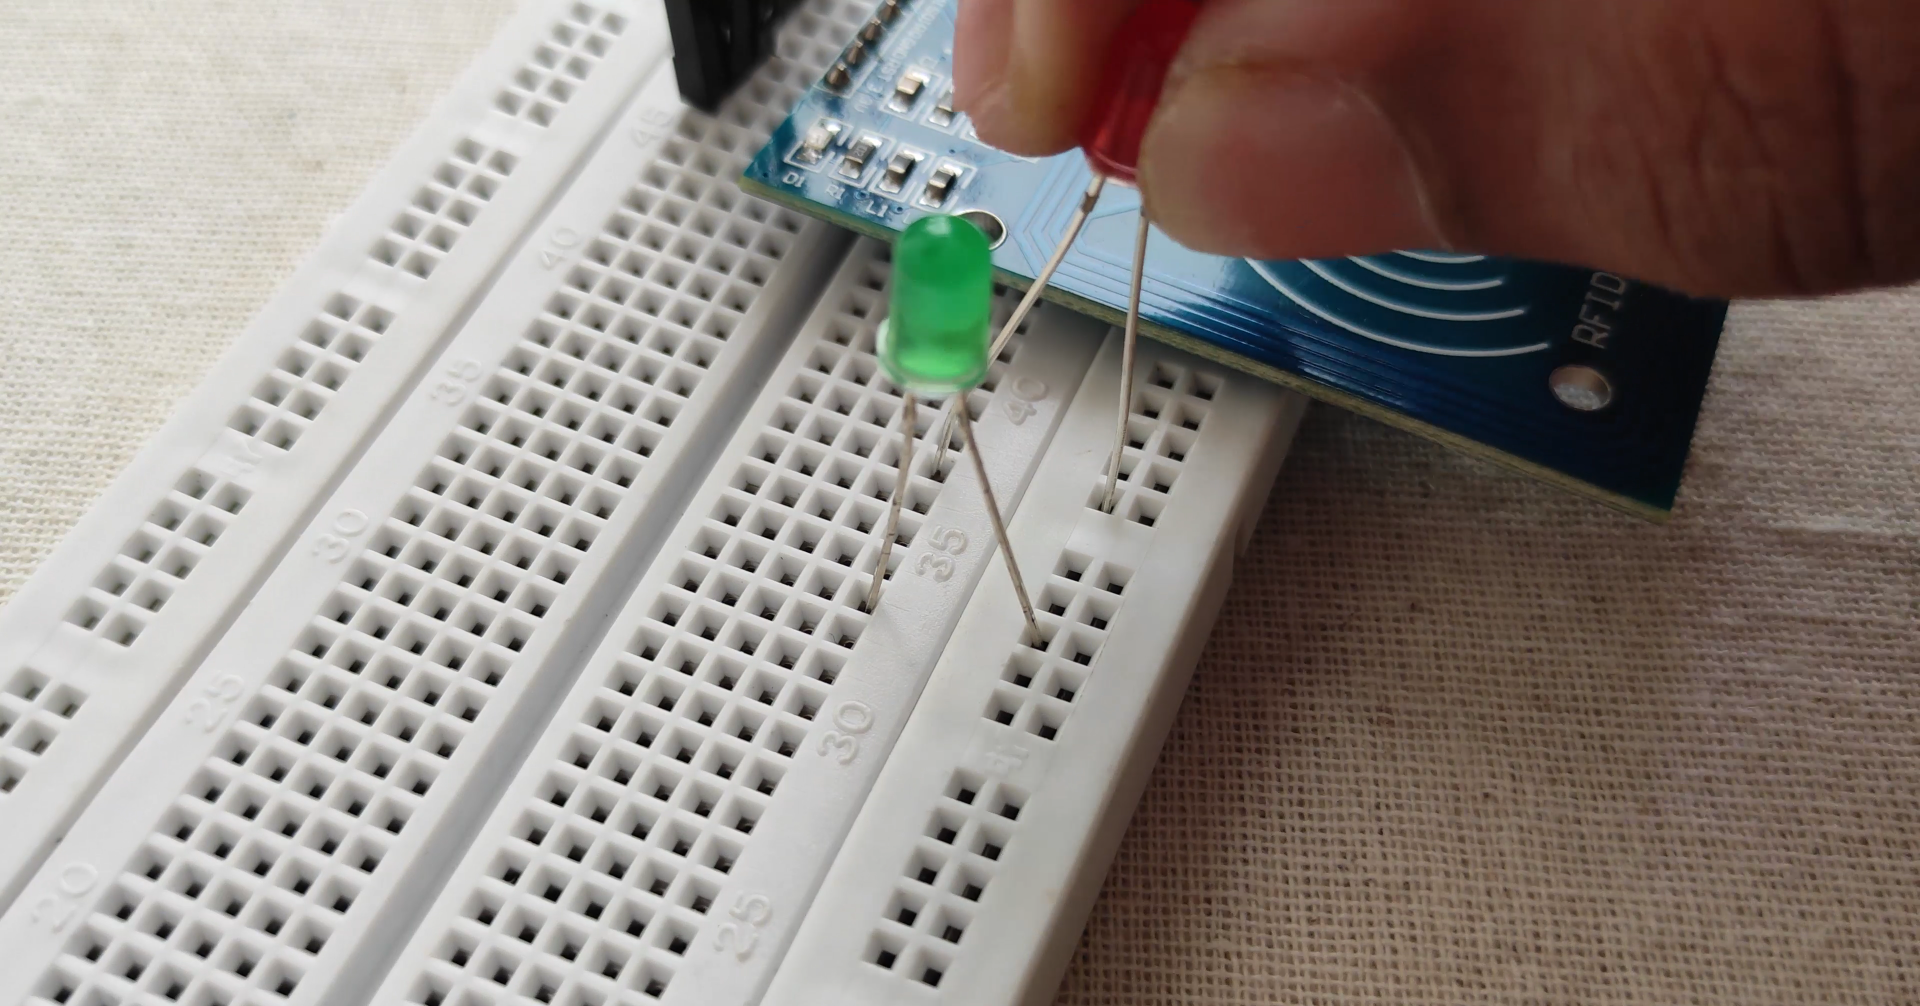
Now that we know everything about the module, let’s start connecting it to our Arduino!
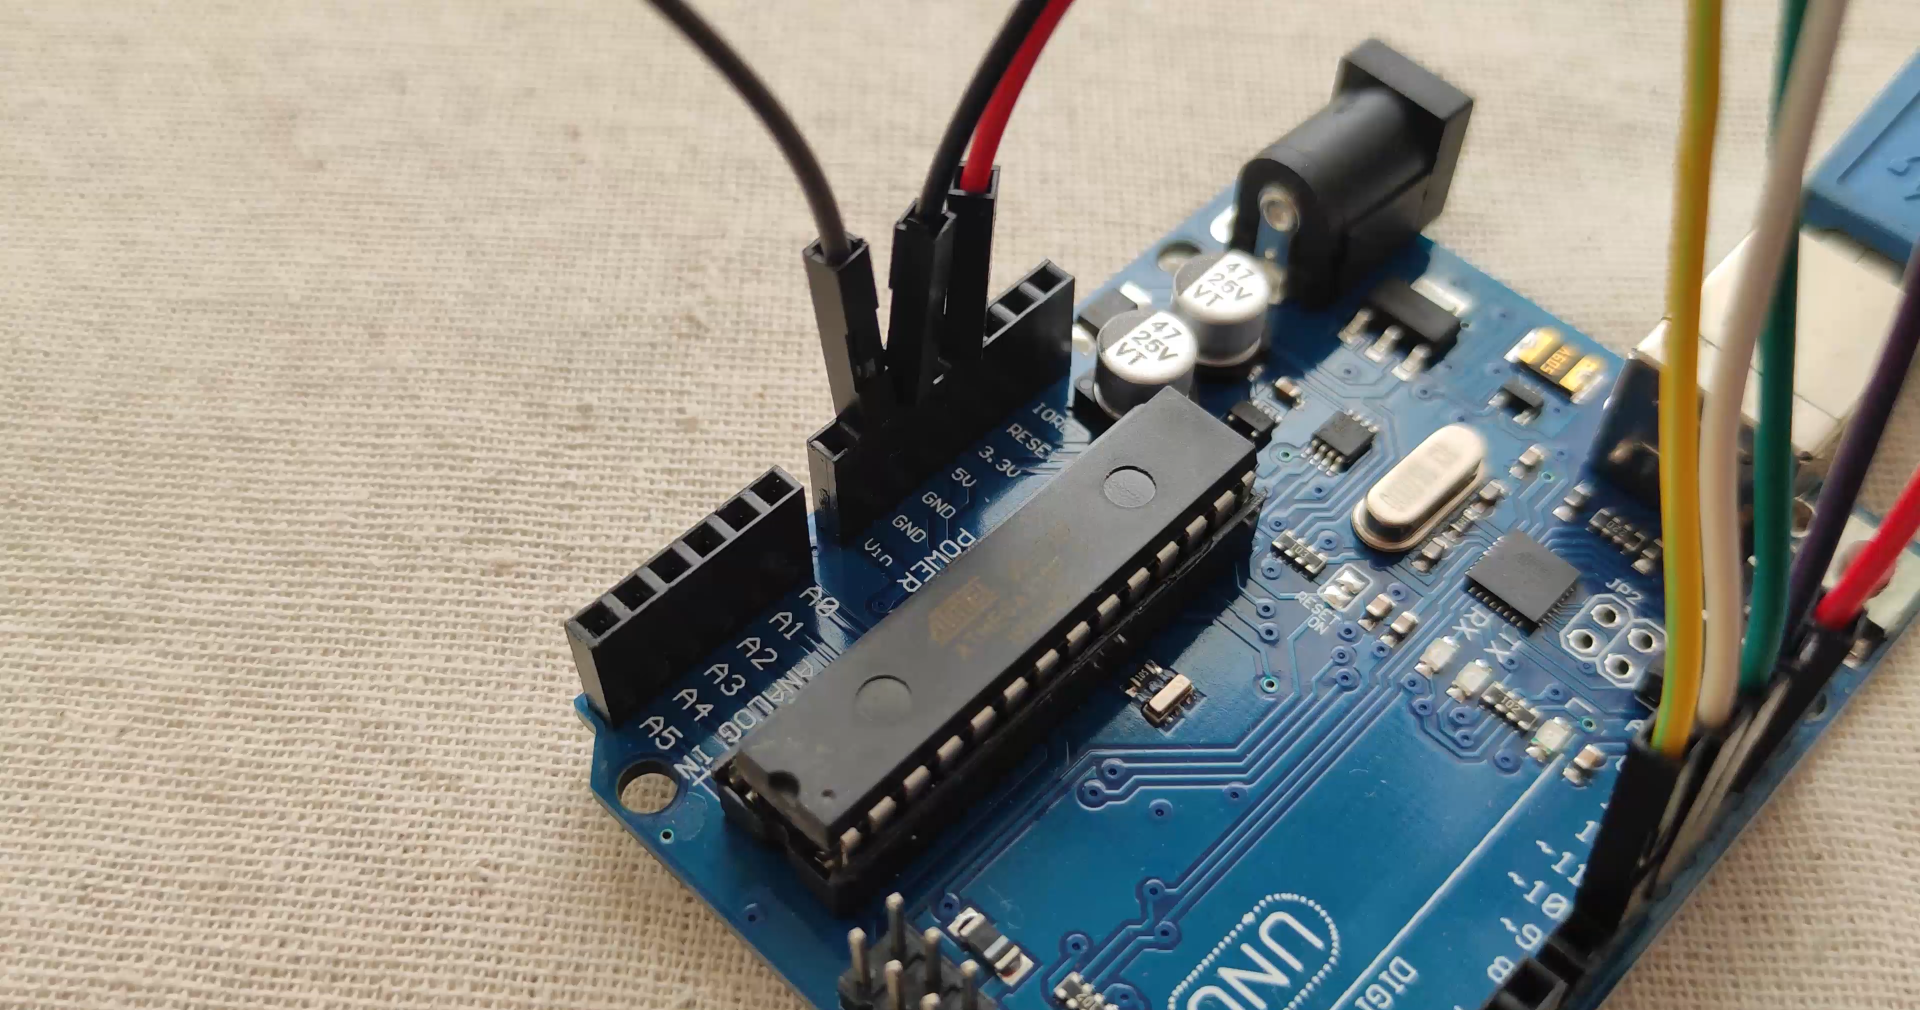
First connect the VCC pin on the module to 3.3V and the GND pin to ground on the Arduino. Pin RST can be connected to any digital pin on the Arduino. In our case, it is connected to digital pin #5. The IRQ pin is left unconnected because the Arduino library we are going to use does not support it.
Now we are left with the pins that are used for SPI communication. Since RC522 modules require a lot of data transfer, they will give the best performance when connected to the hardware SPI pins on the microcontroller.
Note that each Arduino board has different SPI pins that must be connected accordingly. Check the table below for quick understanding.

Communicating with an RC522 RFID module is a lot of work, but luckily for us there is a library called the MFRC522 library that makes reading and writing RFID tags simple.
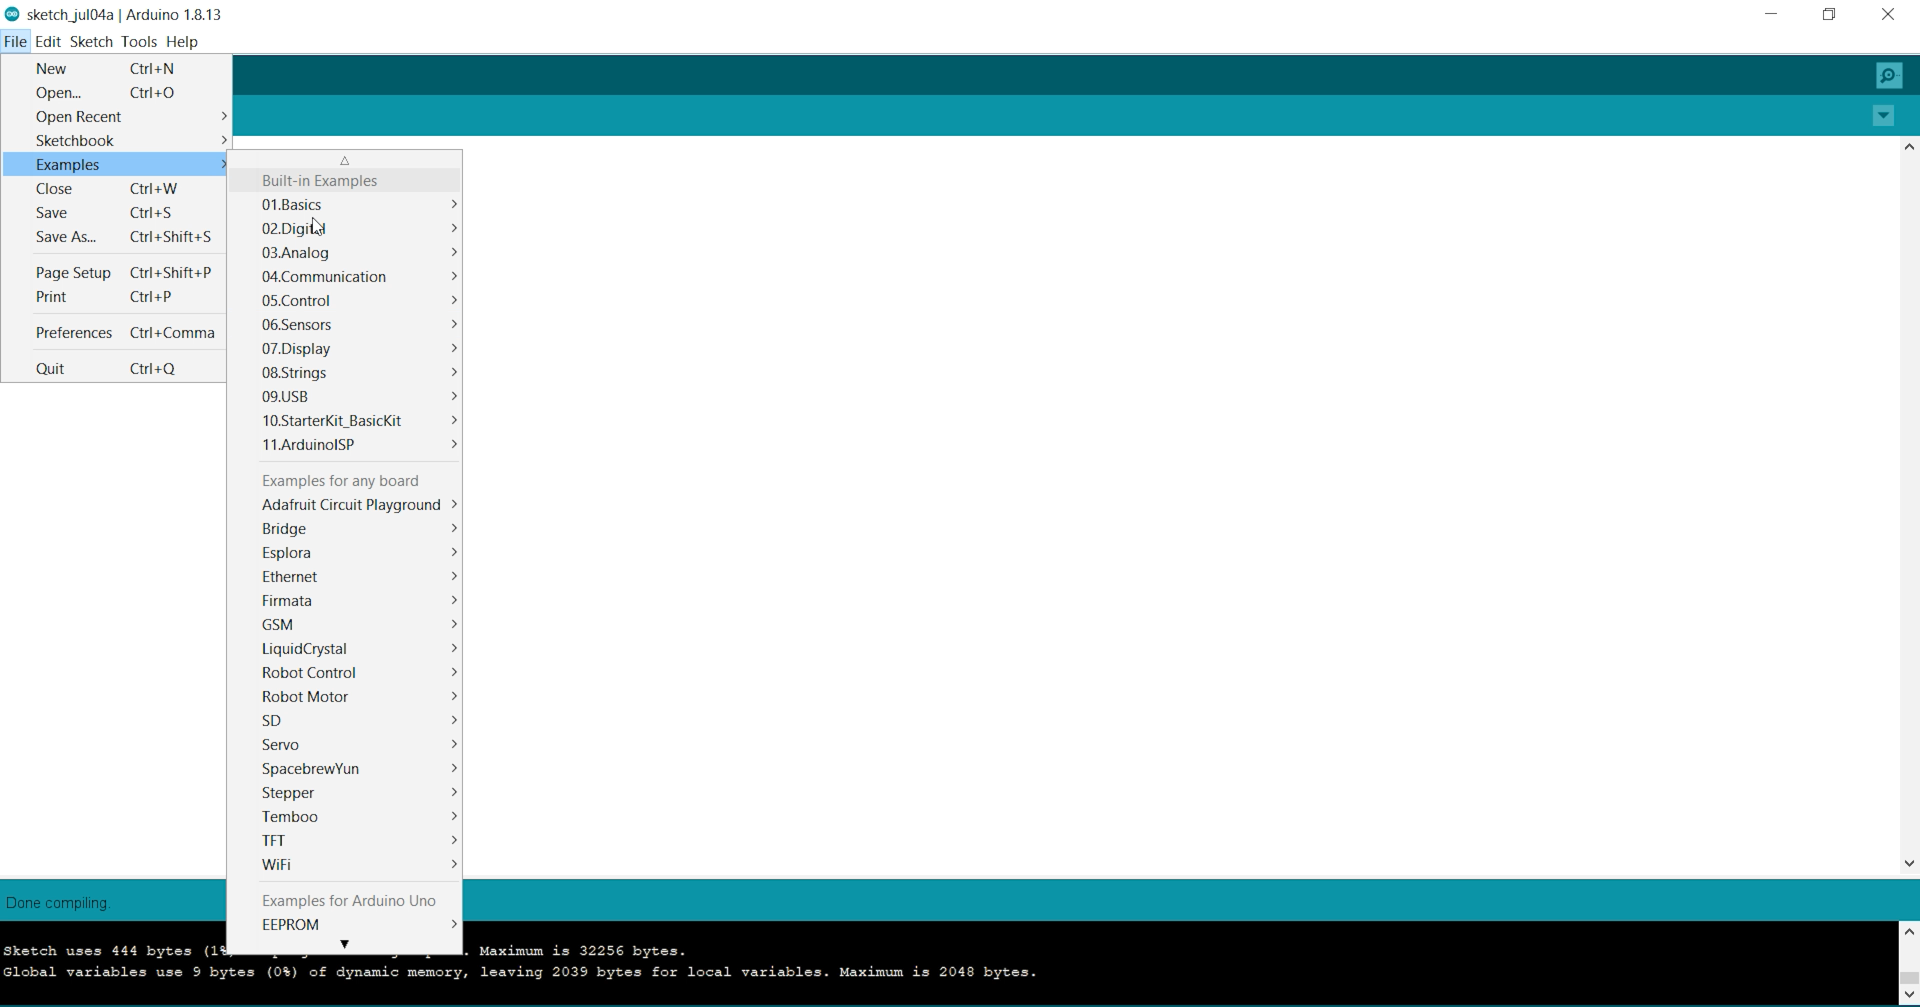
This library is not included in the Arduino IDE, so you will need to install it first.
To install the library navigate to Sketch > Include Libraries > Manage Libraries… Wait for Library Manager to download the library index and update the list of installed libraries.