(Log written by River Burgess, edited & posted by Michael)
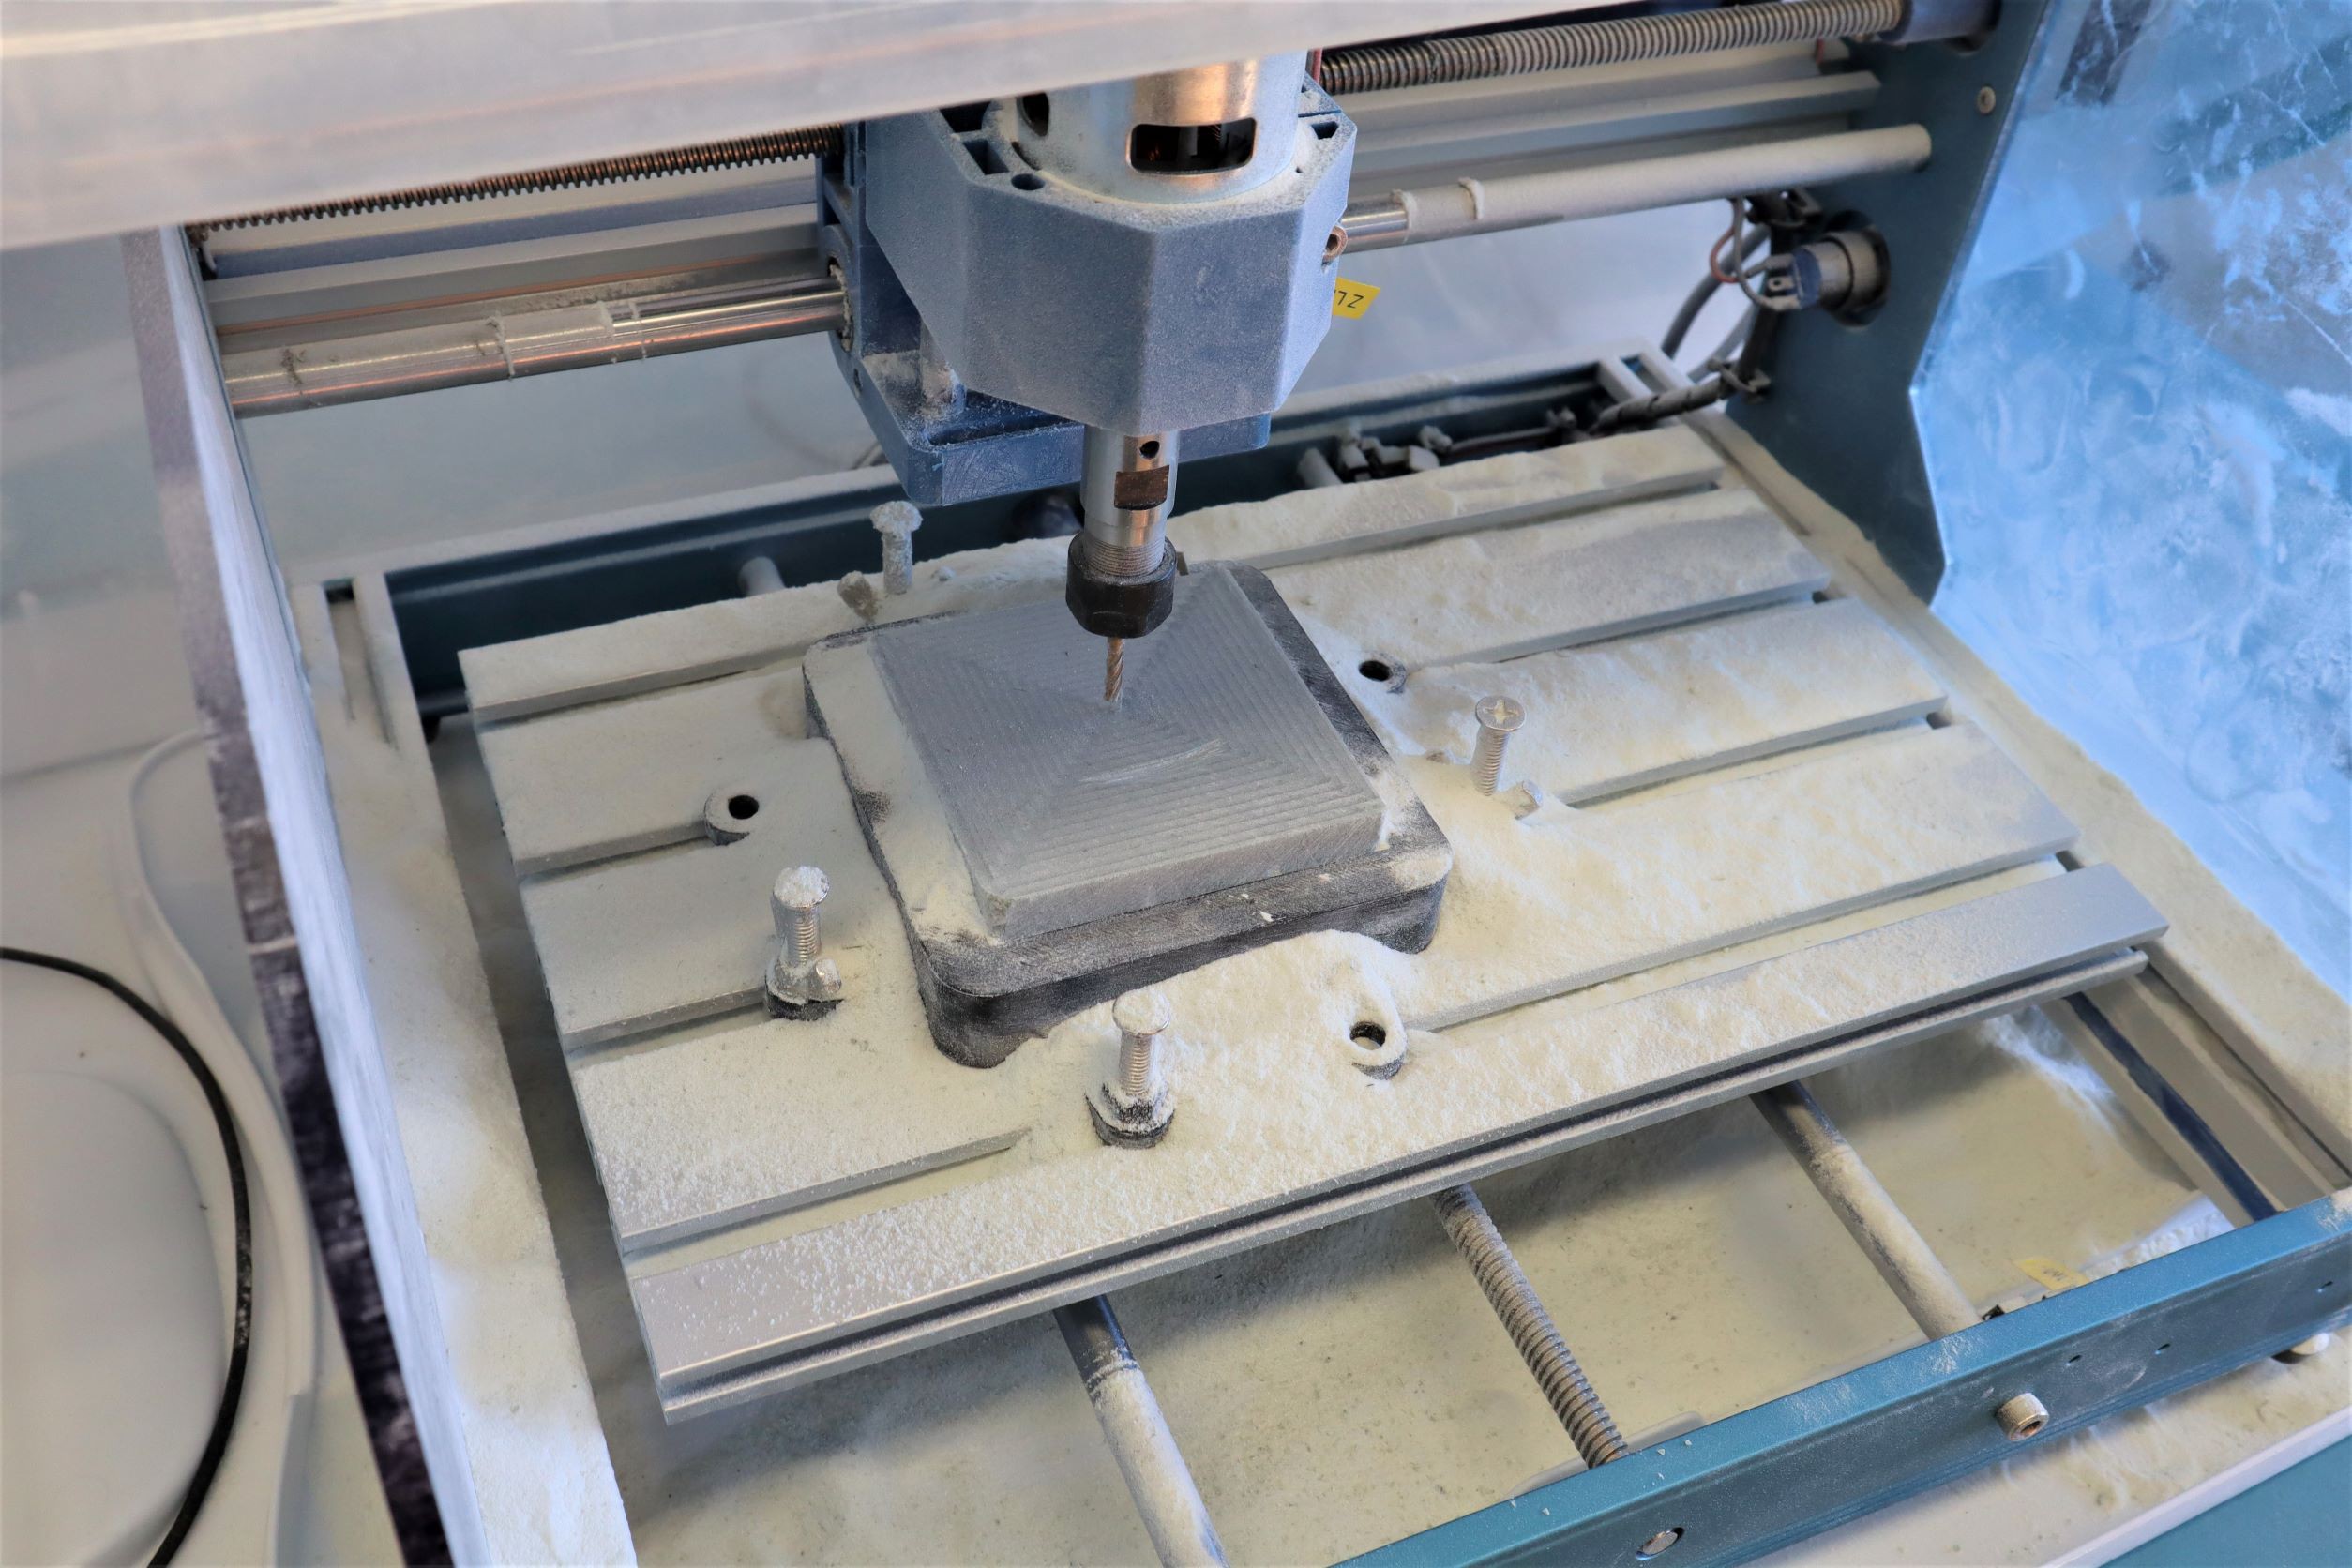
We began with setting up the CNC inside a plastic bin in order to reduce airborne dust. It helped to keep the entire area cleaner and is just generally a good idea, dust from soapstone is not great to breathe in.

It really was as simple as finding a big enough plastic bin to fit
our CNC machine. There was still a lot of exposure, so one of the
next experiments we’re planning involves adapting the machine for
wet use.


Here you can see a few images of the machining process for the
soapstone. Aside from a comparatively high spindle speed and low feed
rate, there were no major differences between machining the soapstone
and using other stock like wood.
[To be added]
Here you can see a short clip of the machining in process. It was rather slow, each part taking a few hours due to the conservative feed rate and having a step down of 1. The entire part was machined using a 1/8” end mill bit, which caused the CNC to struggle with through holes in the part. For additional parts, we used the CNC to mark the placement and a drill press to drill through. This was far more likely to cause fracturing of the soapstone though, so switching to a drill bit on the CNC for holes will be the next step in improving the machining process.


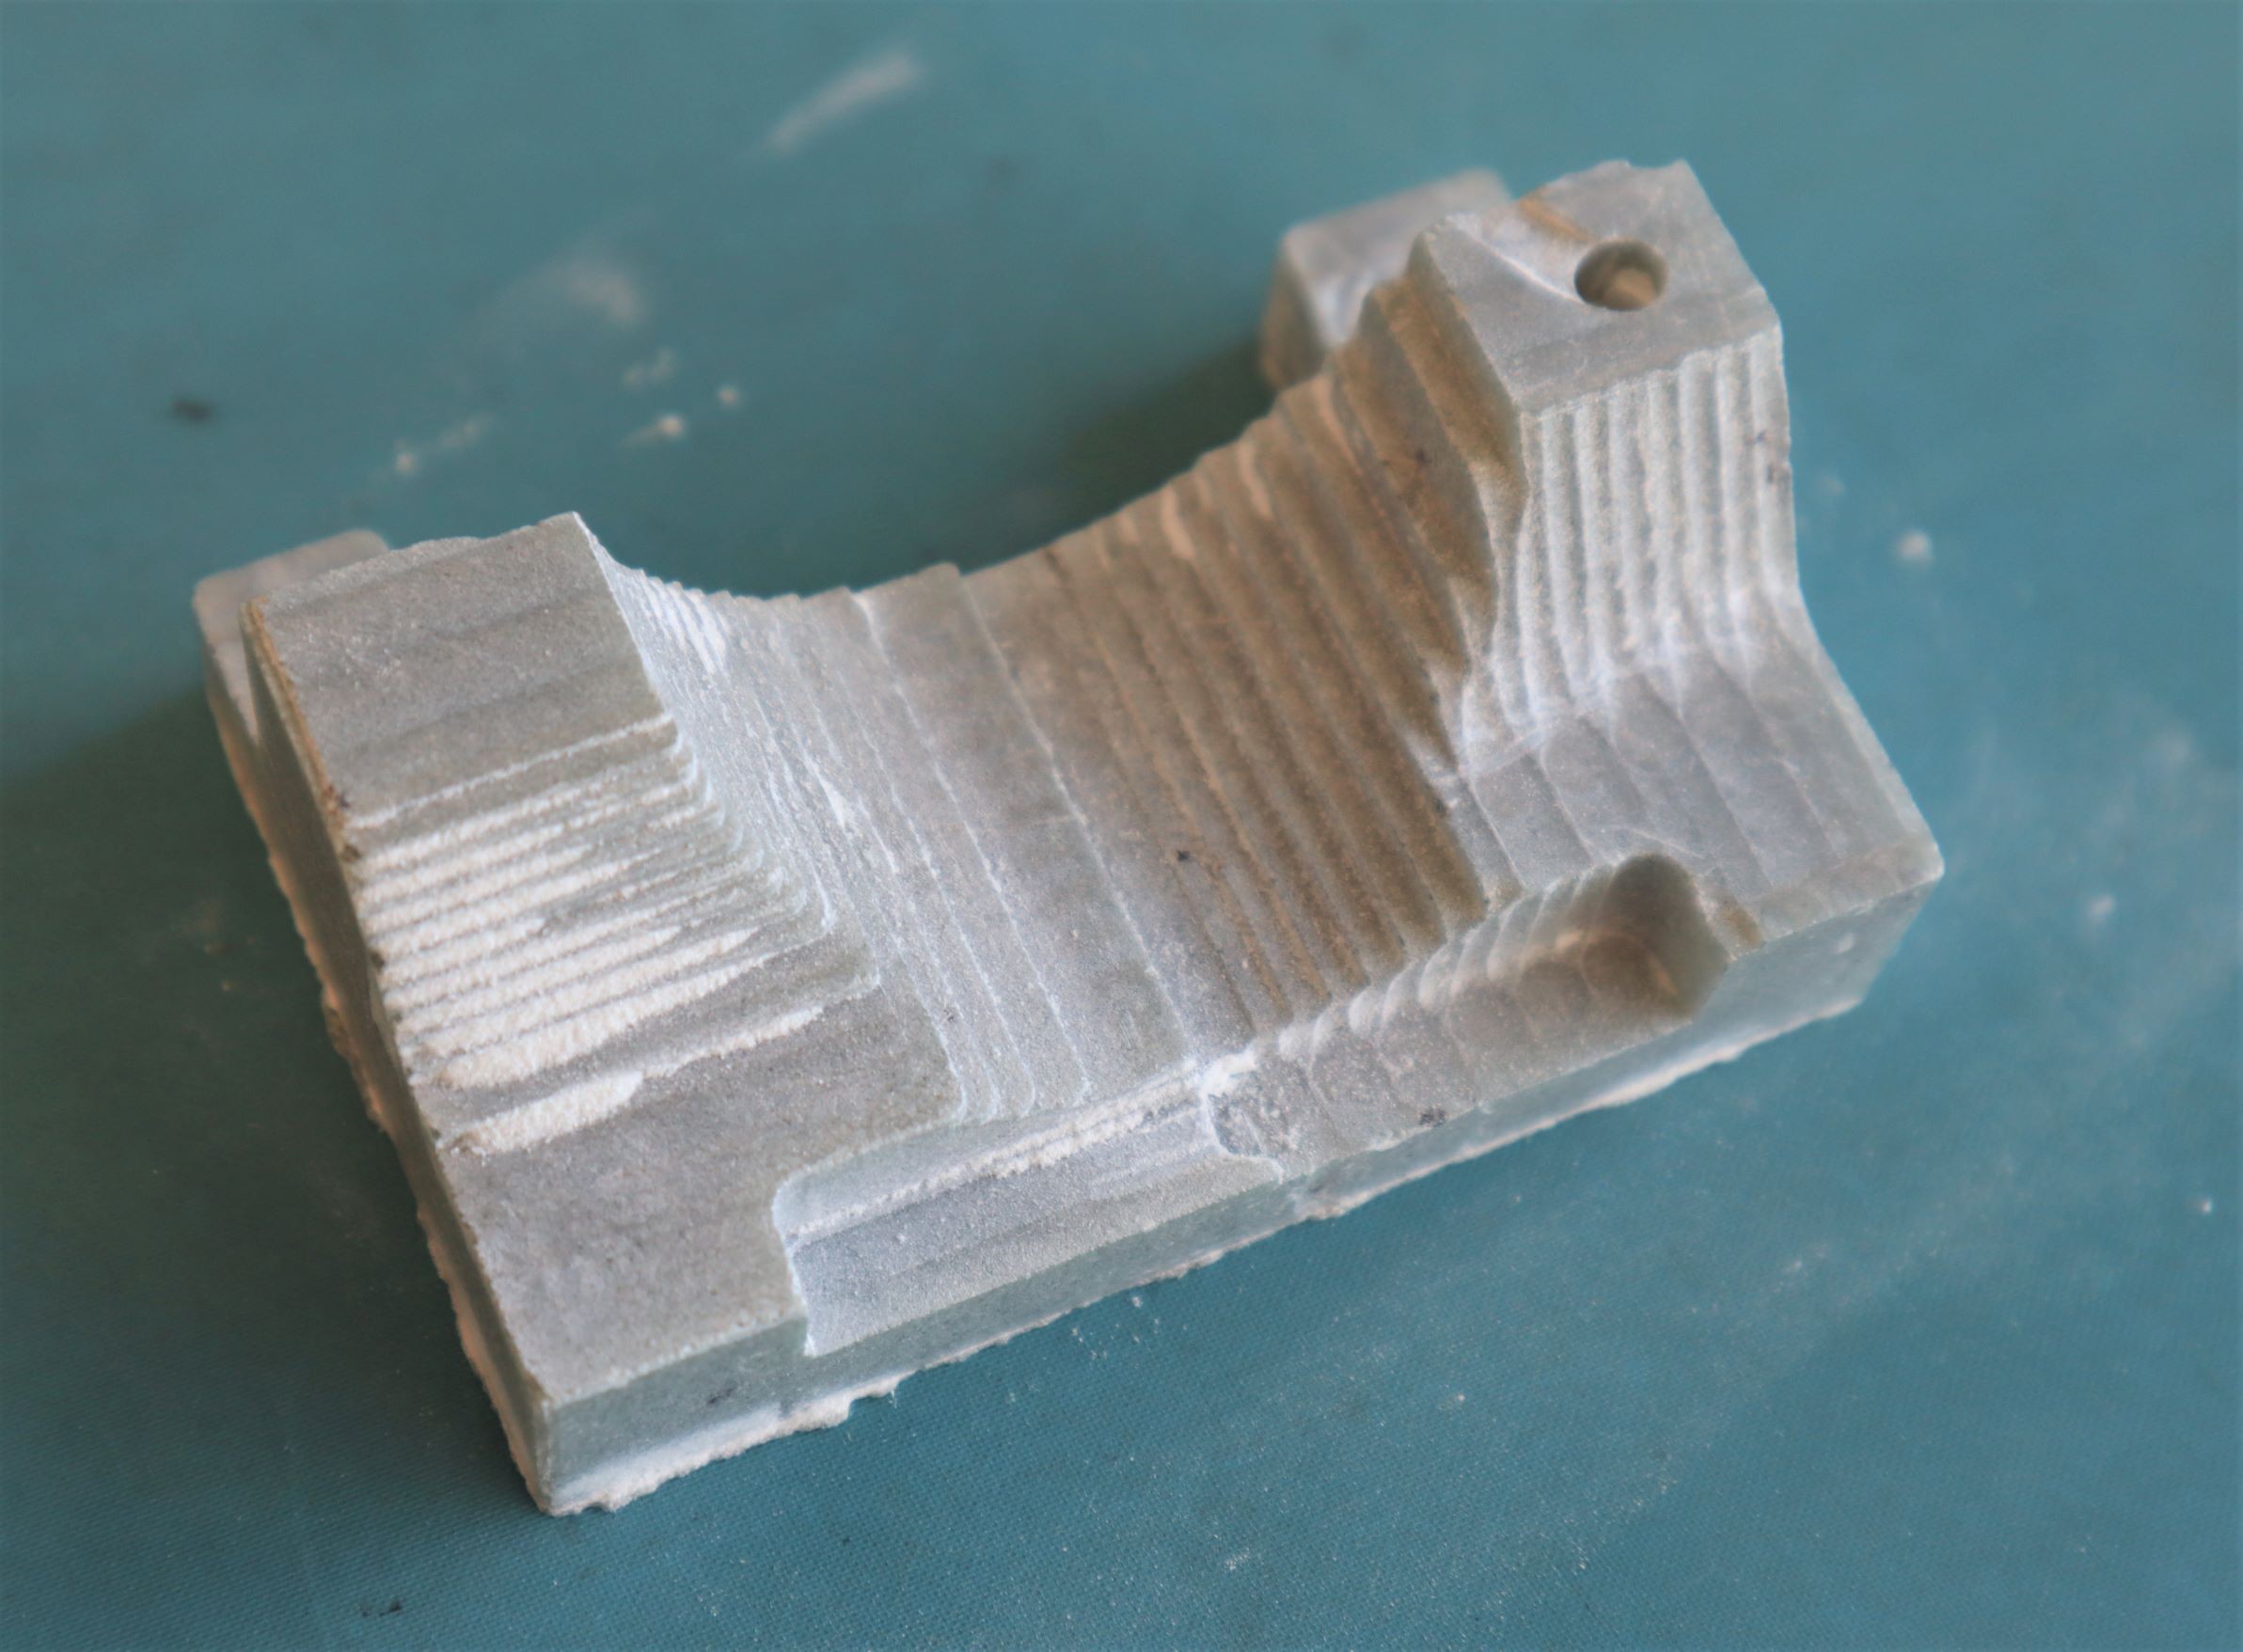
Here you can see our first attempt at machining a full part from soapstone. Some mid-process adjustments were needed as we figured out the best settings for machining the soapstone. While it wasn’t useable as a part, we did use it for experimenting with the firing process.


Here you can see the fired stone, along with pieces of the original stock. You can see in the second picture the part and the piece of stock we broke off to test did not change in size significantly during the firing process.
The changes in dimensions were as follows:
1.2% change in length (60.95 mm to 61.7 mm)
.71% change in width (40.35 mm to 40.64 mm)
-.08% change in height (23.09 mm to23.07 mm)
This is a
significantly smaller change than the 4-15% shrinkage seen in most
clays during firing. It does seem like the grain of the stone plays a
role in the shrinkage rates. In this case, the original stock had
minimal veining visible, and the grain fell roughly parallel to the
height of the finished piece. This indicates that natural soapstone
is more likely to expand along a plane perpendicular to the grain.
After firing, it did take significantly more force to break the
piece.
We tried some destructive testing, and the ceramic breaks along the original grain of the soapstone.


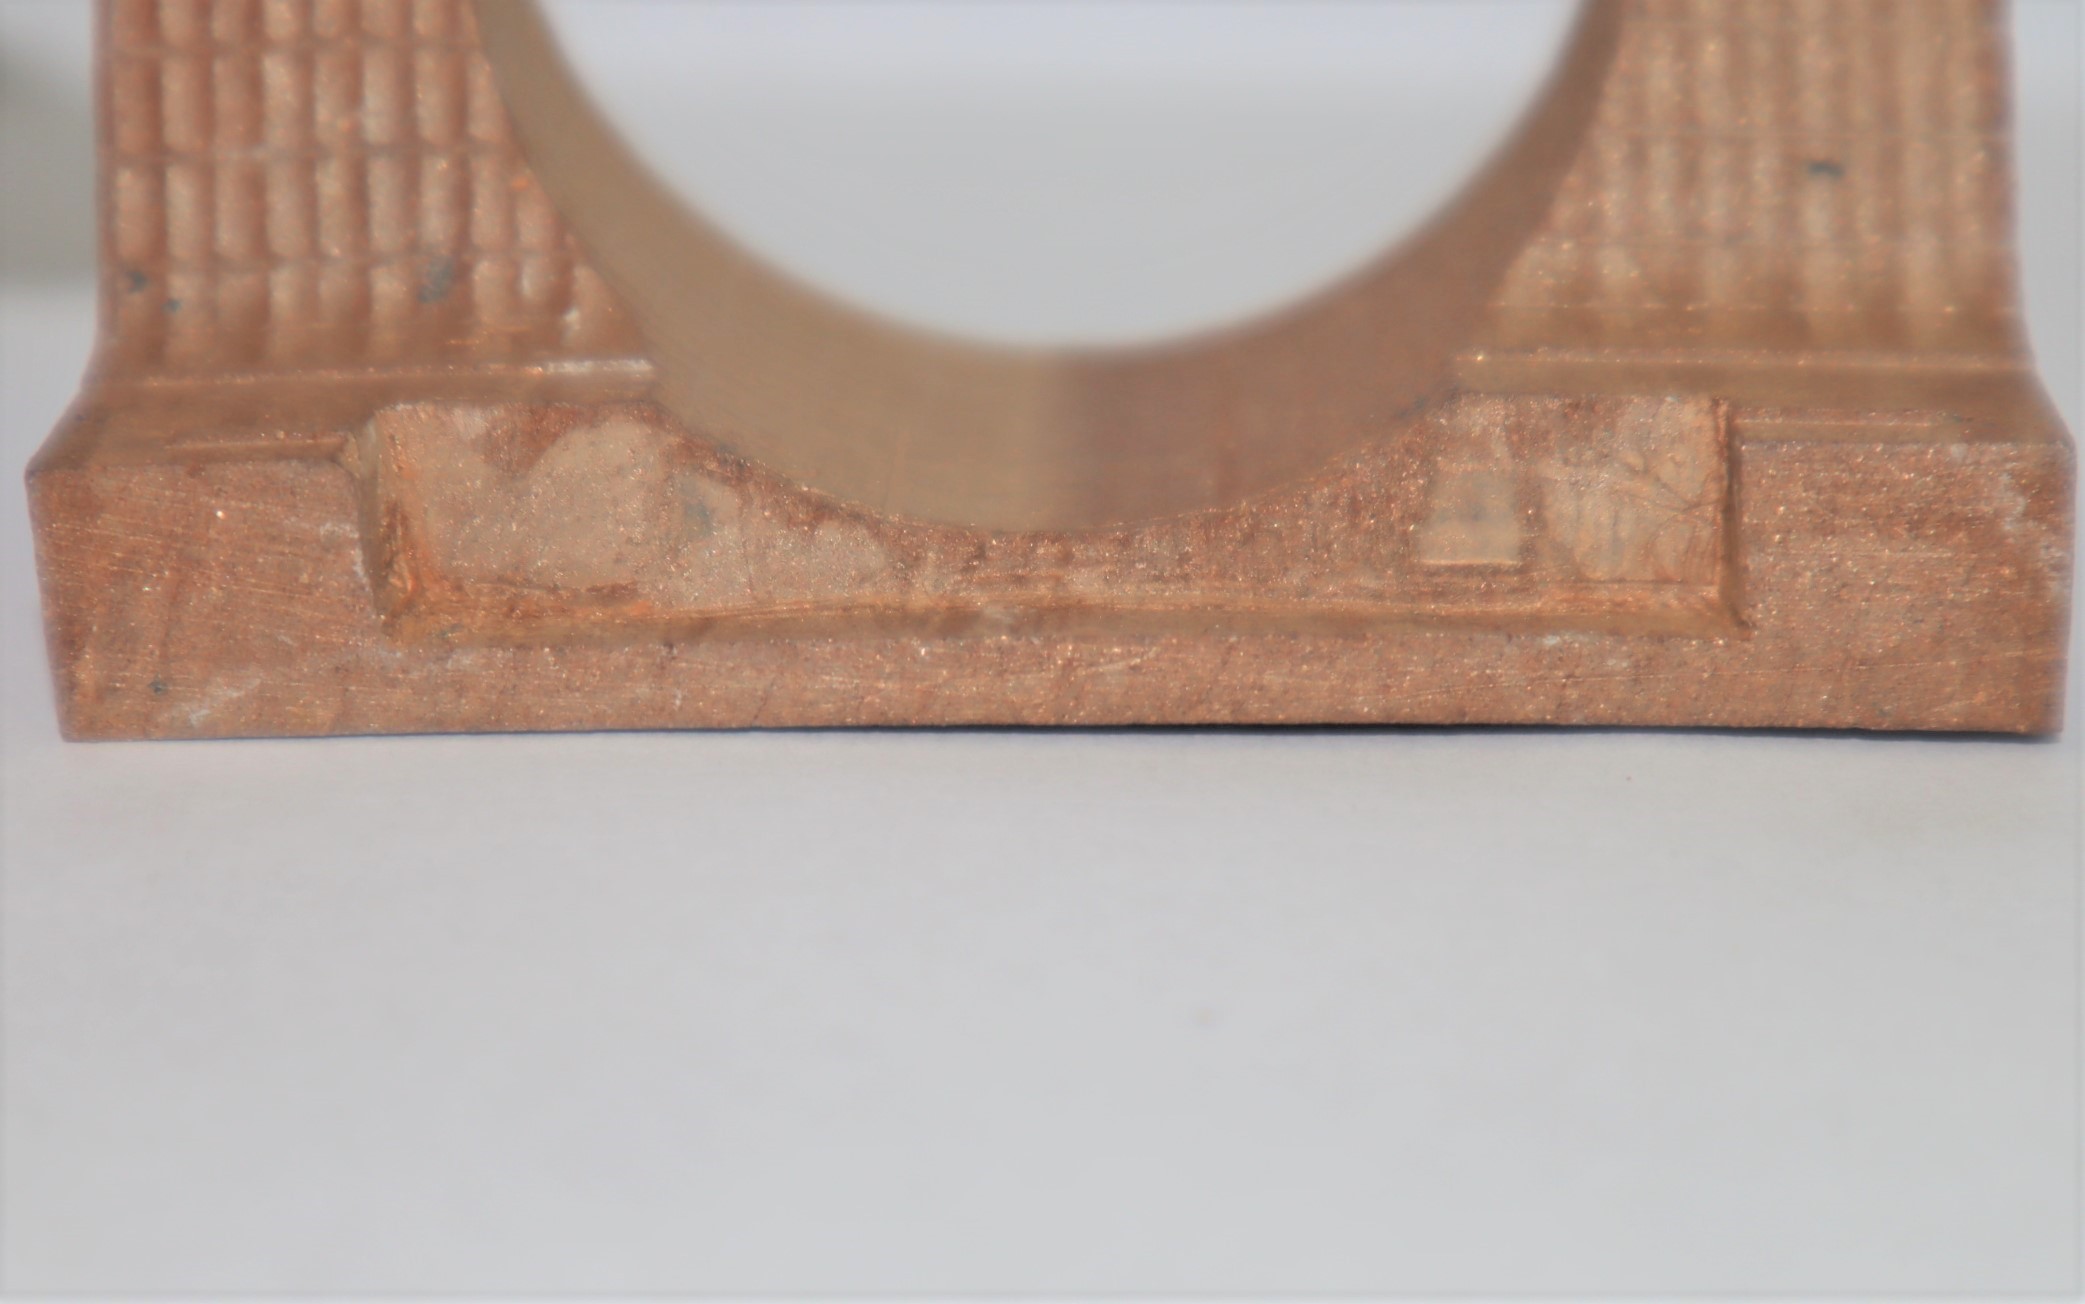
Here you can see the next version of the piece we did. Having the machining settings figured out gave us a significantly more refined piece. Aside from shaving off the tabs used to secure the piece to the stock while machining, no processing was needed for this result. The tabs could be easily removed by hand with sandpaper. We do recommend wet sanding though, as the dust (mostly talc) gets everywhere. As it stands the surface finish after firing has a slightly reflective gold/orange hue and lacks the “soapy” feel that gives soapstone its name.
It should be noted that this piece suffered some slight warping and cracking during


Here you can see the crack, which formed along a weak point in the
stone. There was visible veining in the area before firing, which is
something to look for when making your part. You can also see how the
final part no longer sits flat after being fired. We are looking into
ways to combat this, mainly making our own soapstone (entirely
artificially or using the dust from the machining process) to ensure
a homogenous stock. We are also considering changing the firing
parameters for more gradual changes in temperature, and a support
structure for the parts during firing.
We do want to
note that the soapstone can be carved with very fine details. Thus
far we were able to machine the stone down to a .33 mm thickness.
Pieces this thin are very prone to crumbling and need to be handled
very carefully. We have yet to send these pieces through the firing
process, we’ll be sure to update when we do.

 Michael Perrone
Discussions
Become a Hackaday.io Member
Create an account to leave a comment. Already have an account? Log In.