Designing the case is probably the hardest part of this project. There are a lot of parts: PCBs, plates, solar panels, displays, tenting feet, ... which need to fit in a fairly small form factor, while keeping a nice and clean look. Some of the parts were so close to each other that a clearance of 0.2mm was sometimes needed.
The case
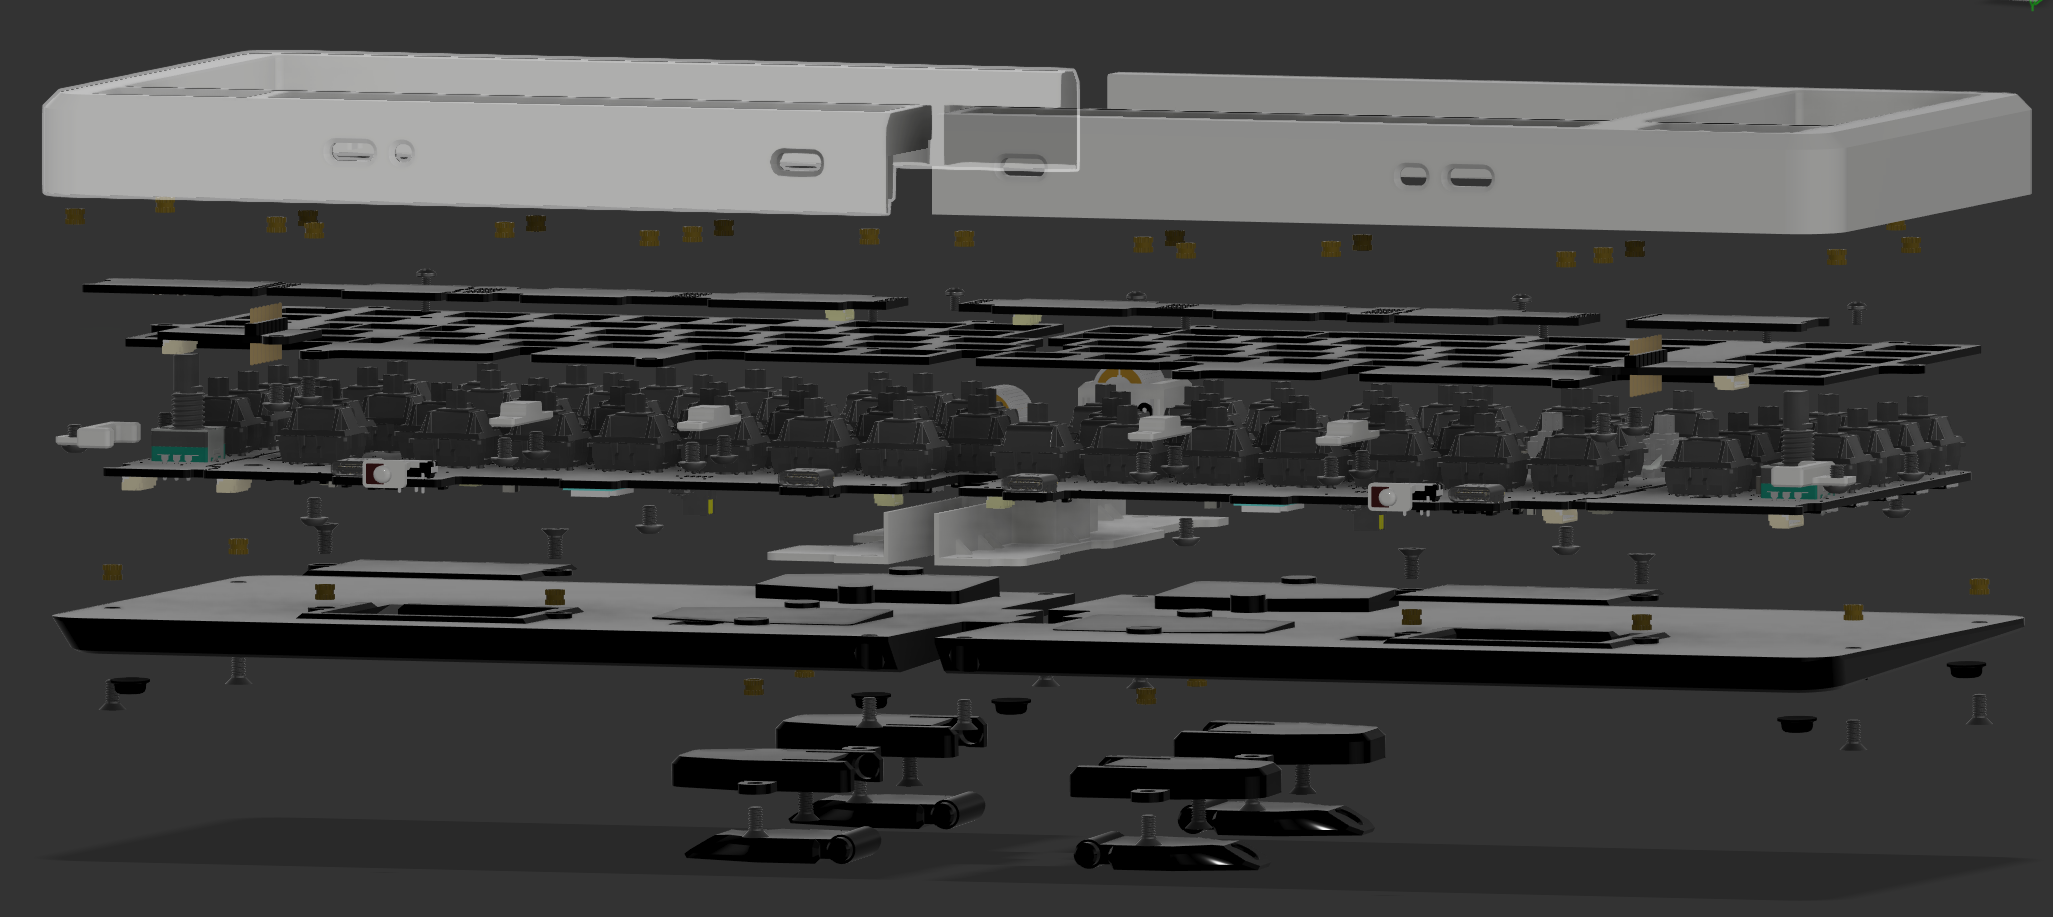
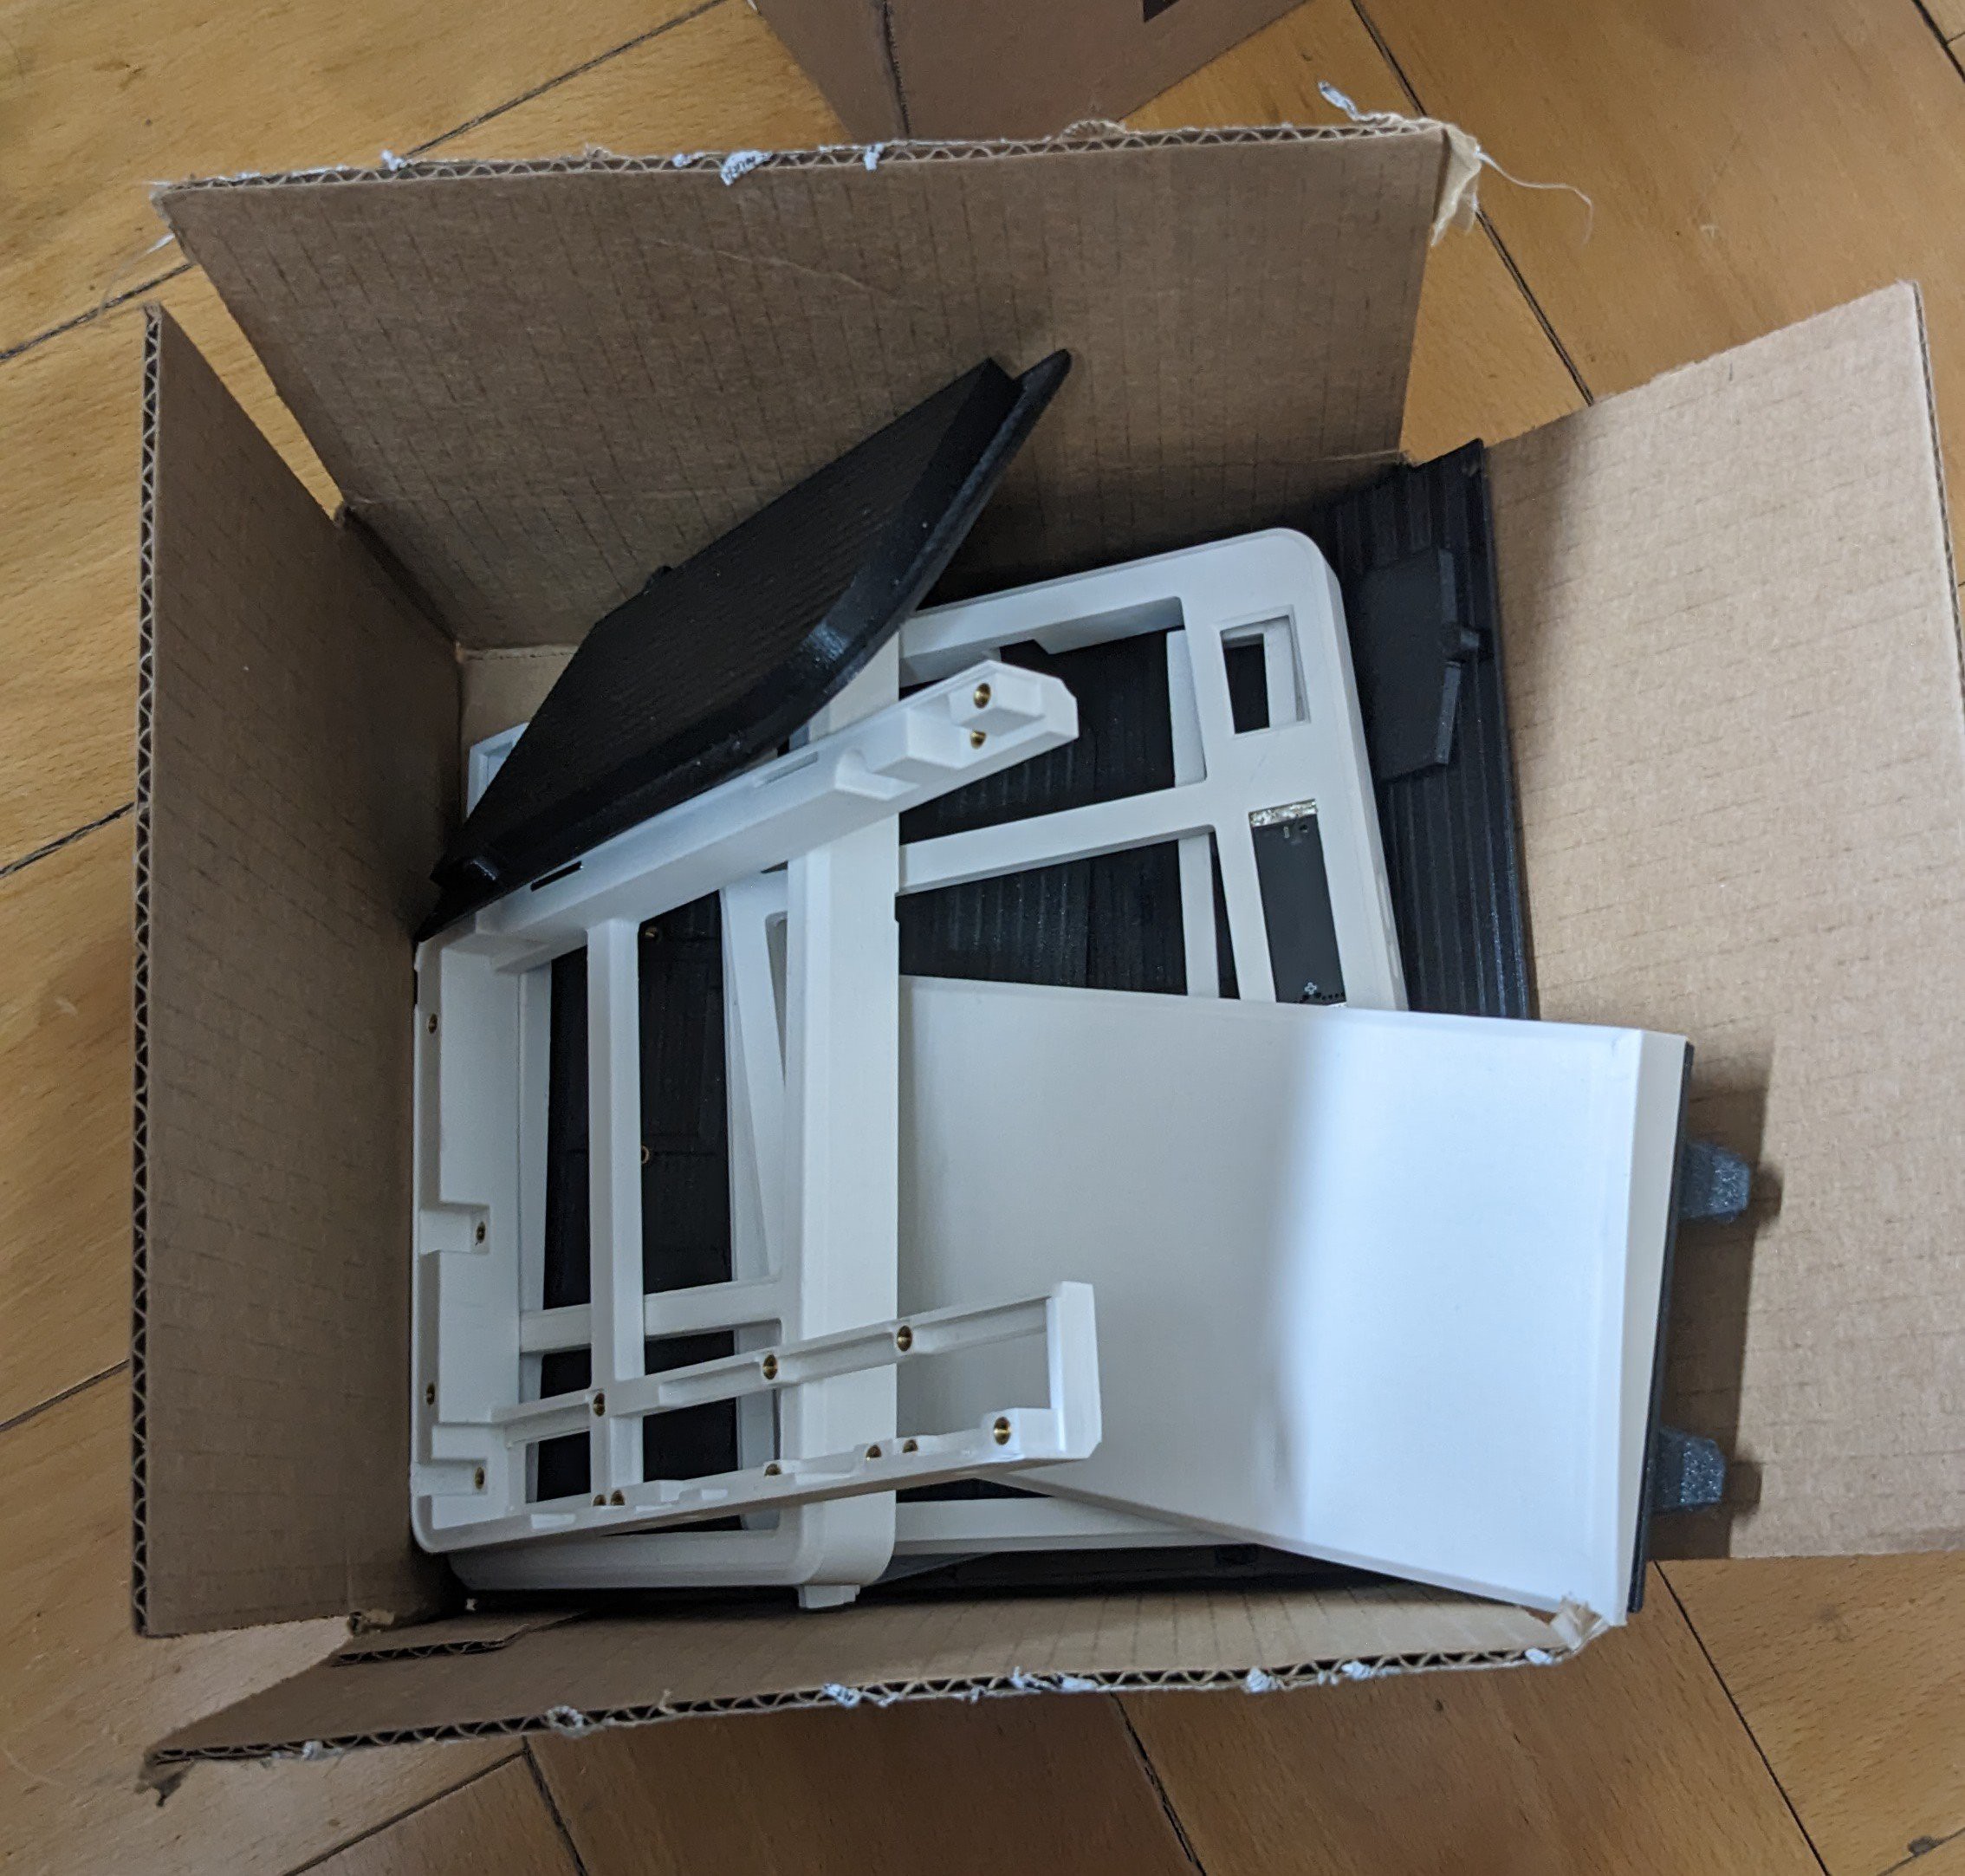
The whole case can be 3D printed. Some interesting numbers:
- 10 PCBs
- 60 M3 screws/heat inserts
- 20 M2 screws
- 10 spacers
- more than 20 unique 3D printed parts.
In total around 150 parts need to be assembled (without counting the switches).
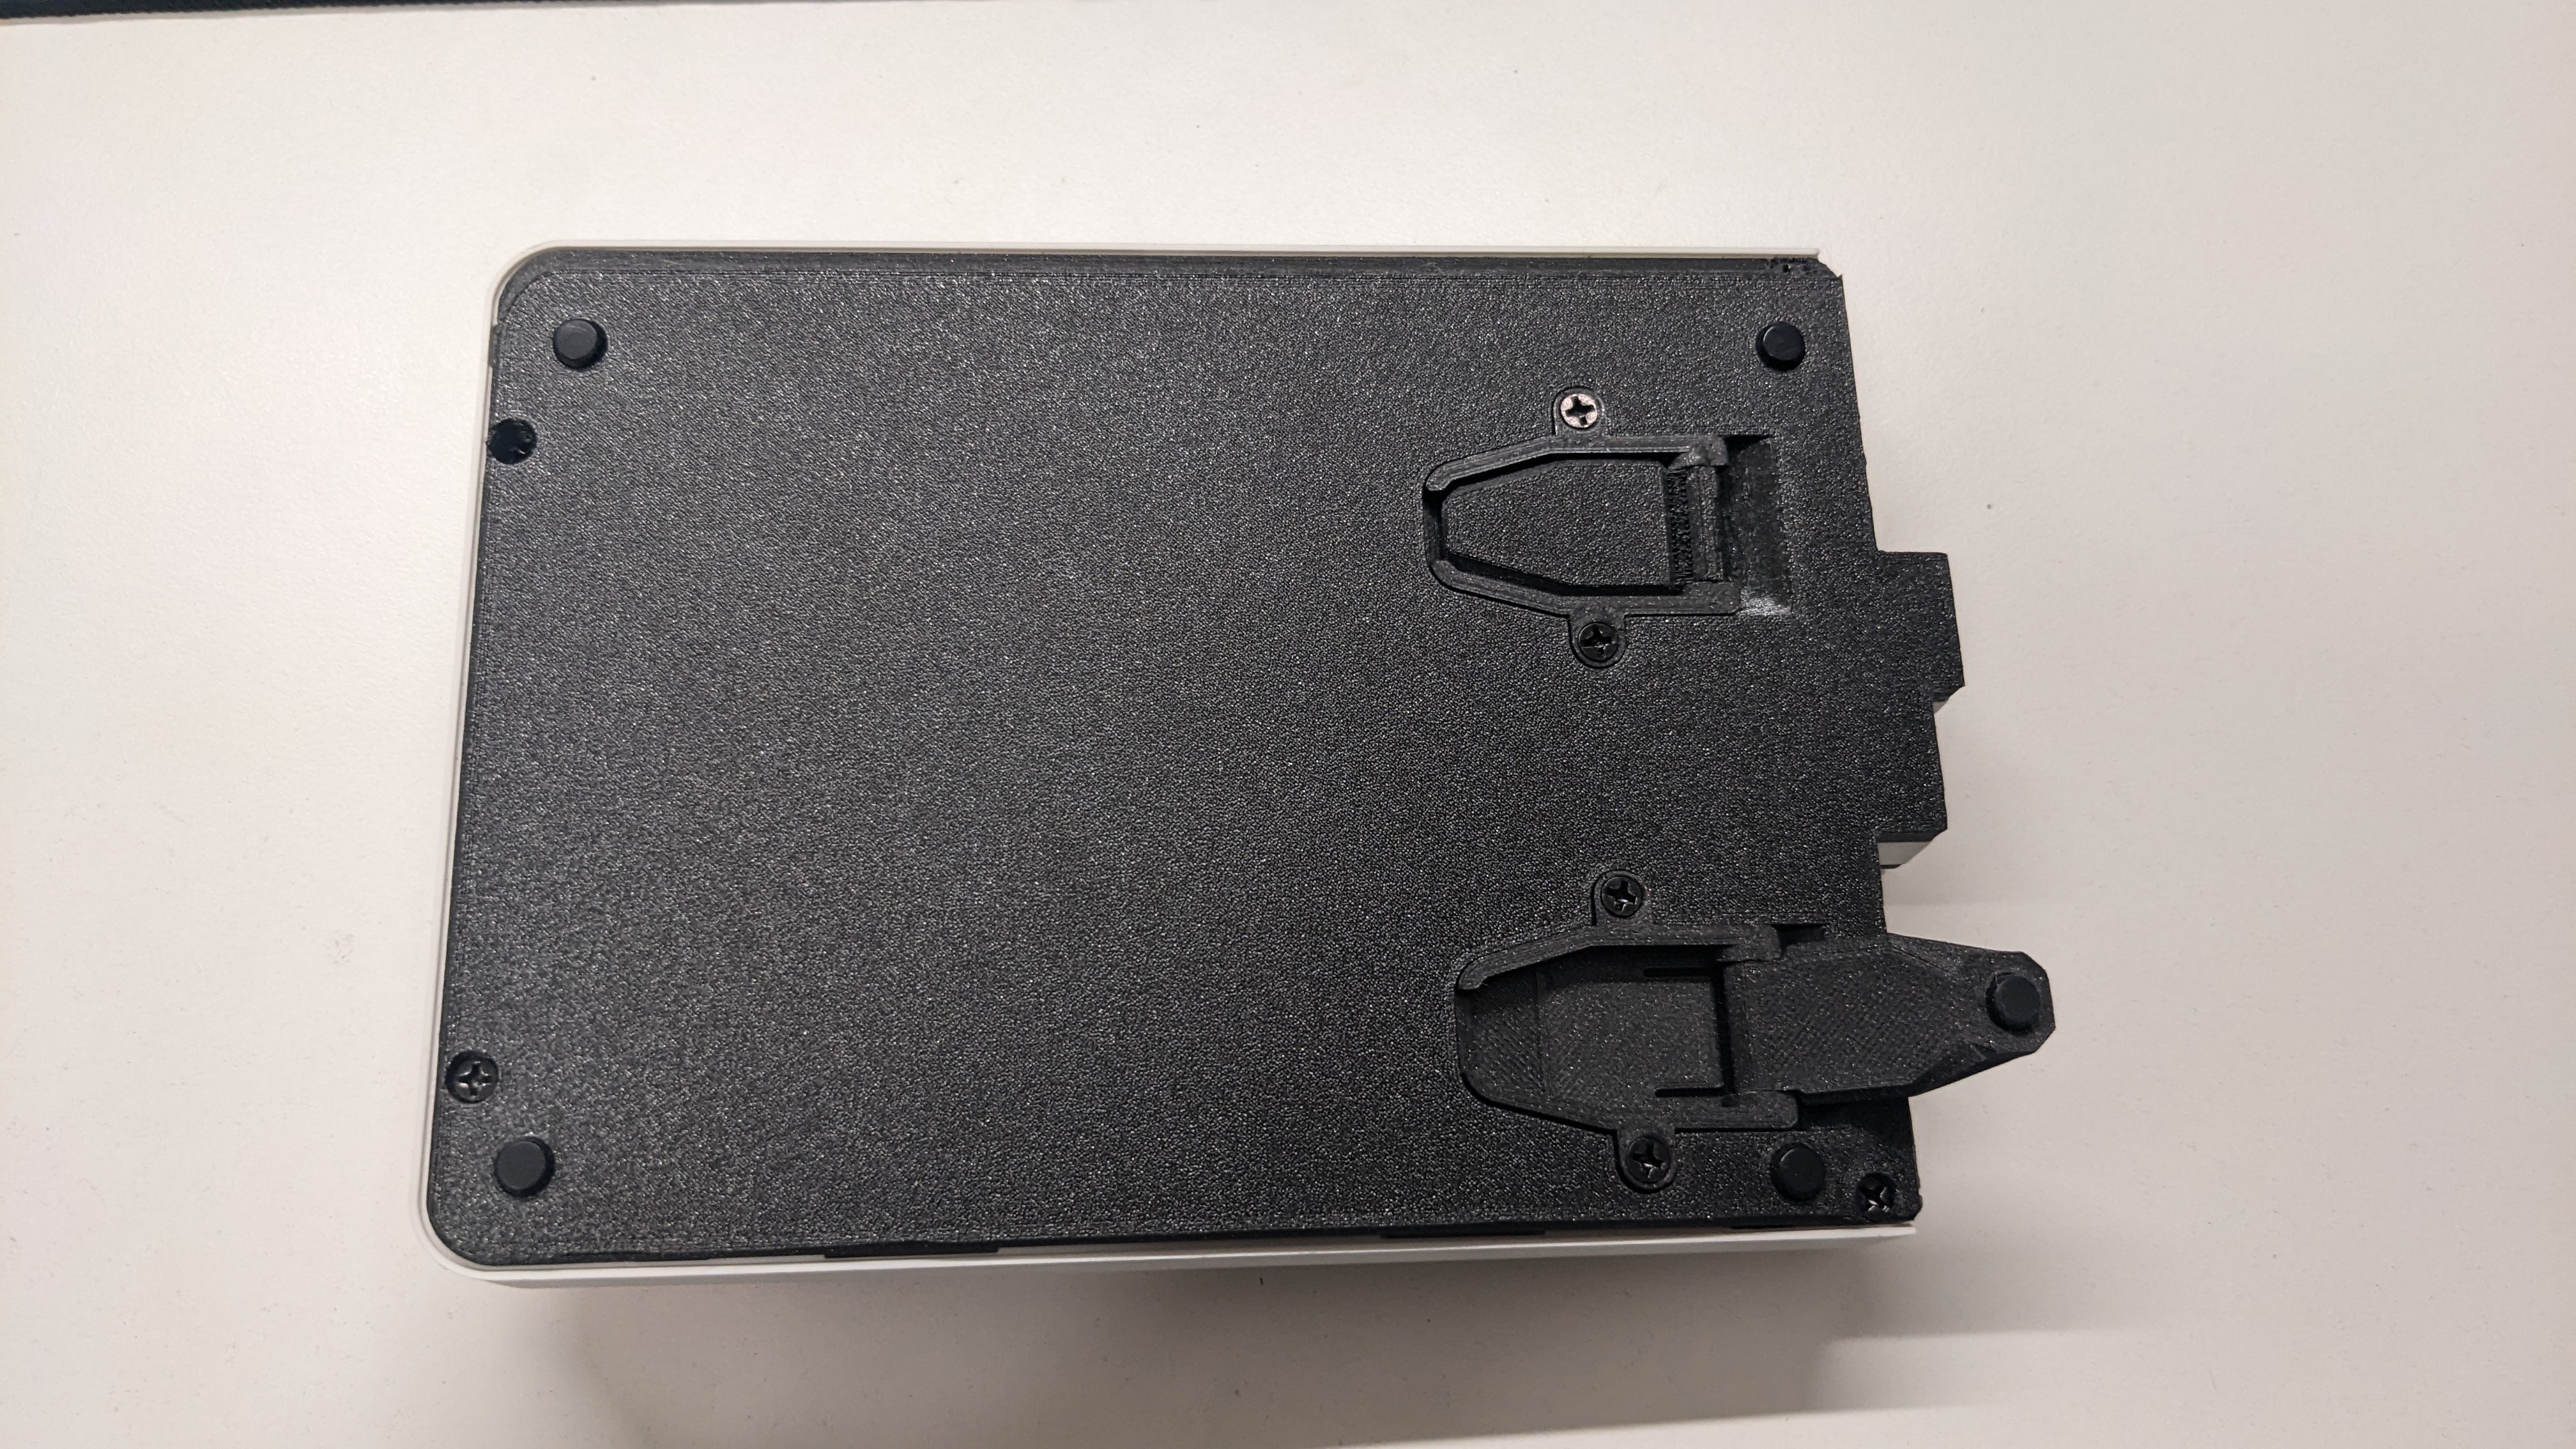
Tenting feet
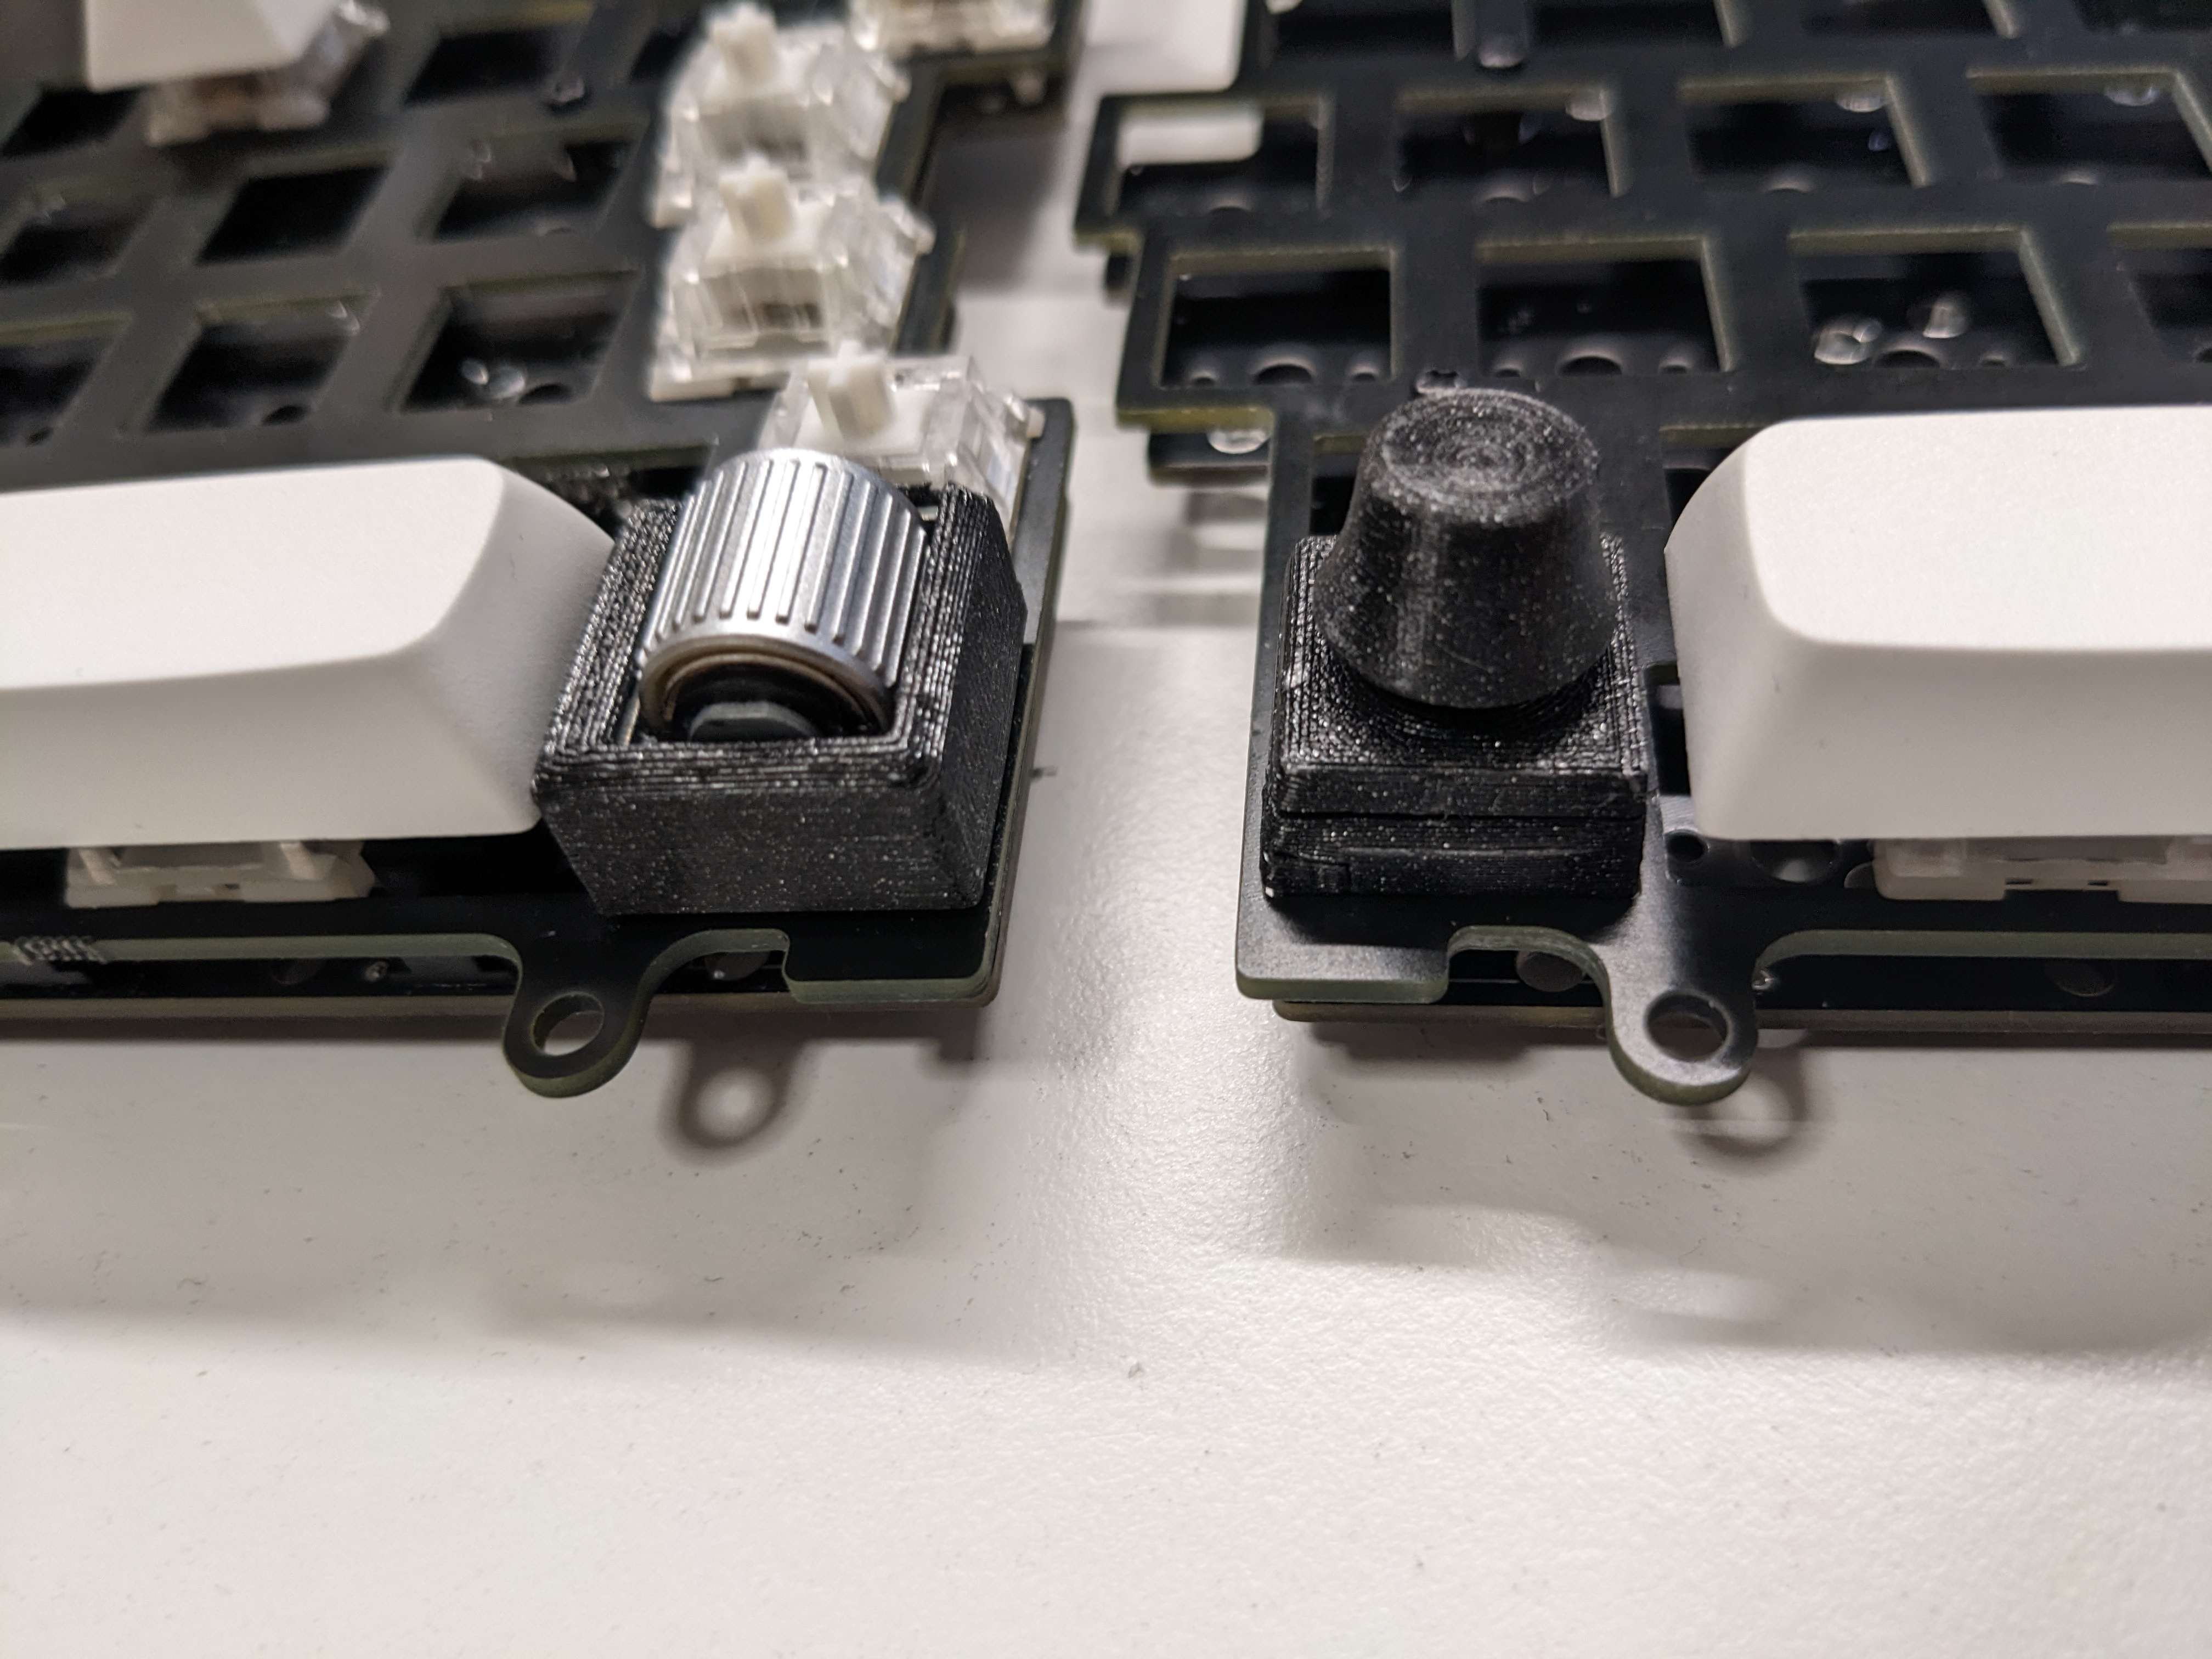
Hotswap encoders/navigation switches
One of the unique features of this keyboard is to give the user the choice to optionally use a navigation switch (right) or a horizontal encoder. Both are 3-parts assemblies which were quite complex to design given the small footprint that it takes on the board, and the precise fit that is required to fit inside of the mx switch footprint.
Palm rests
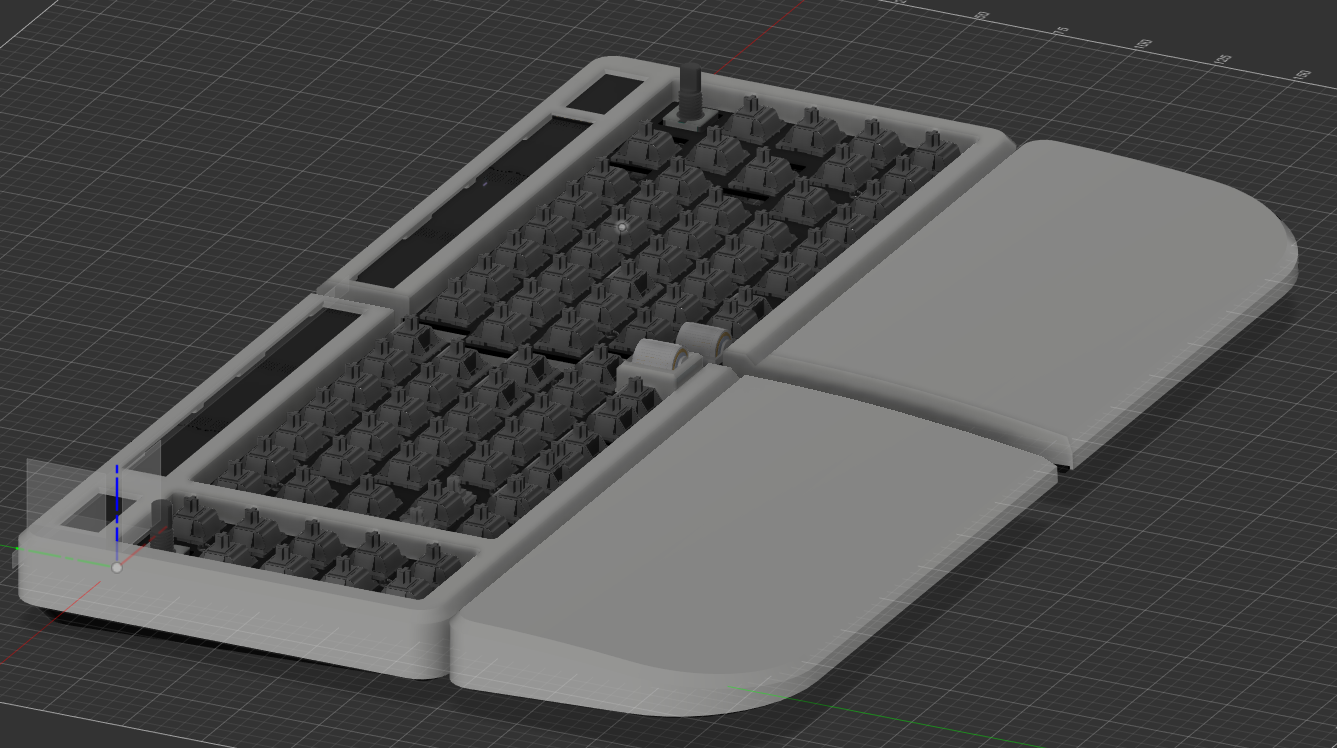
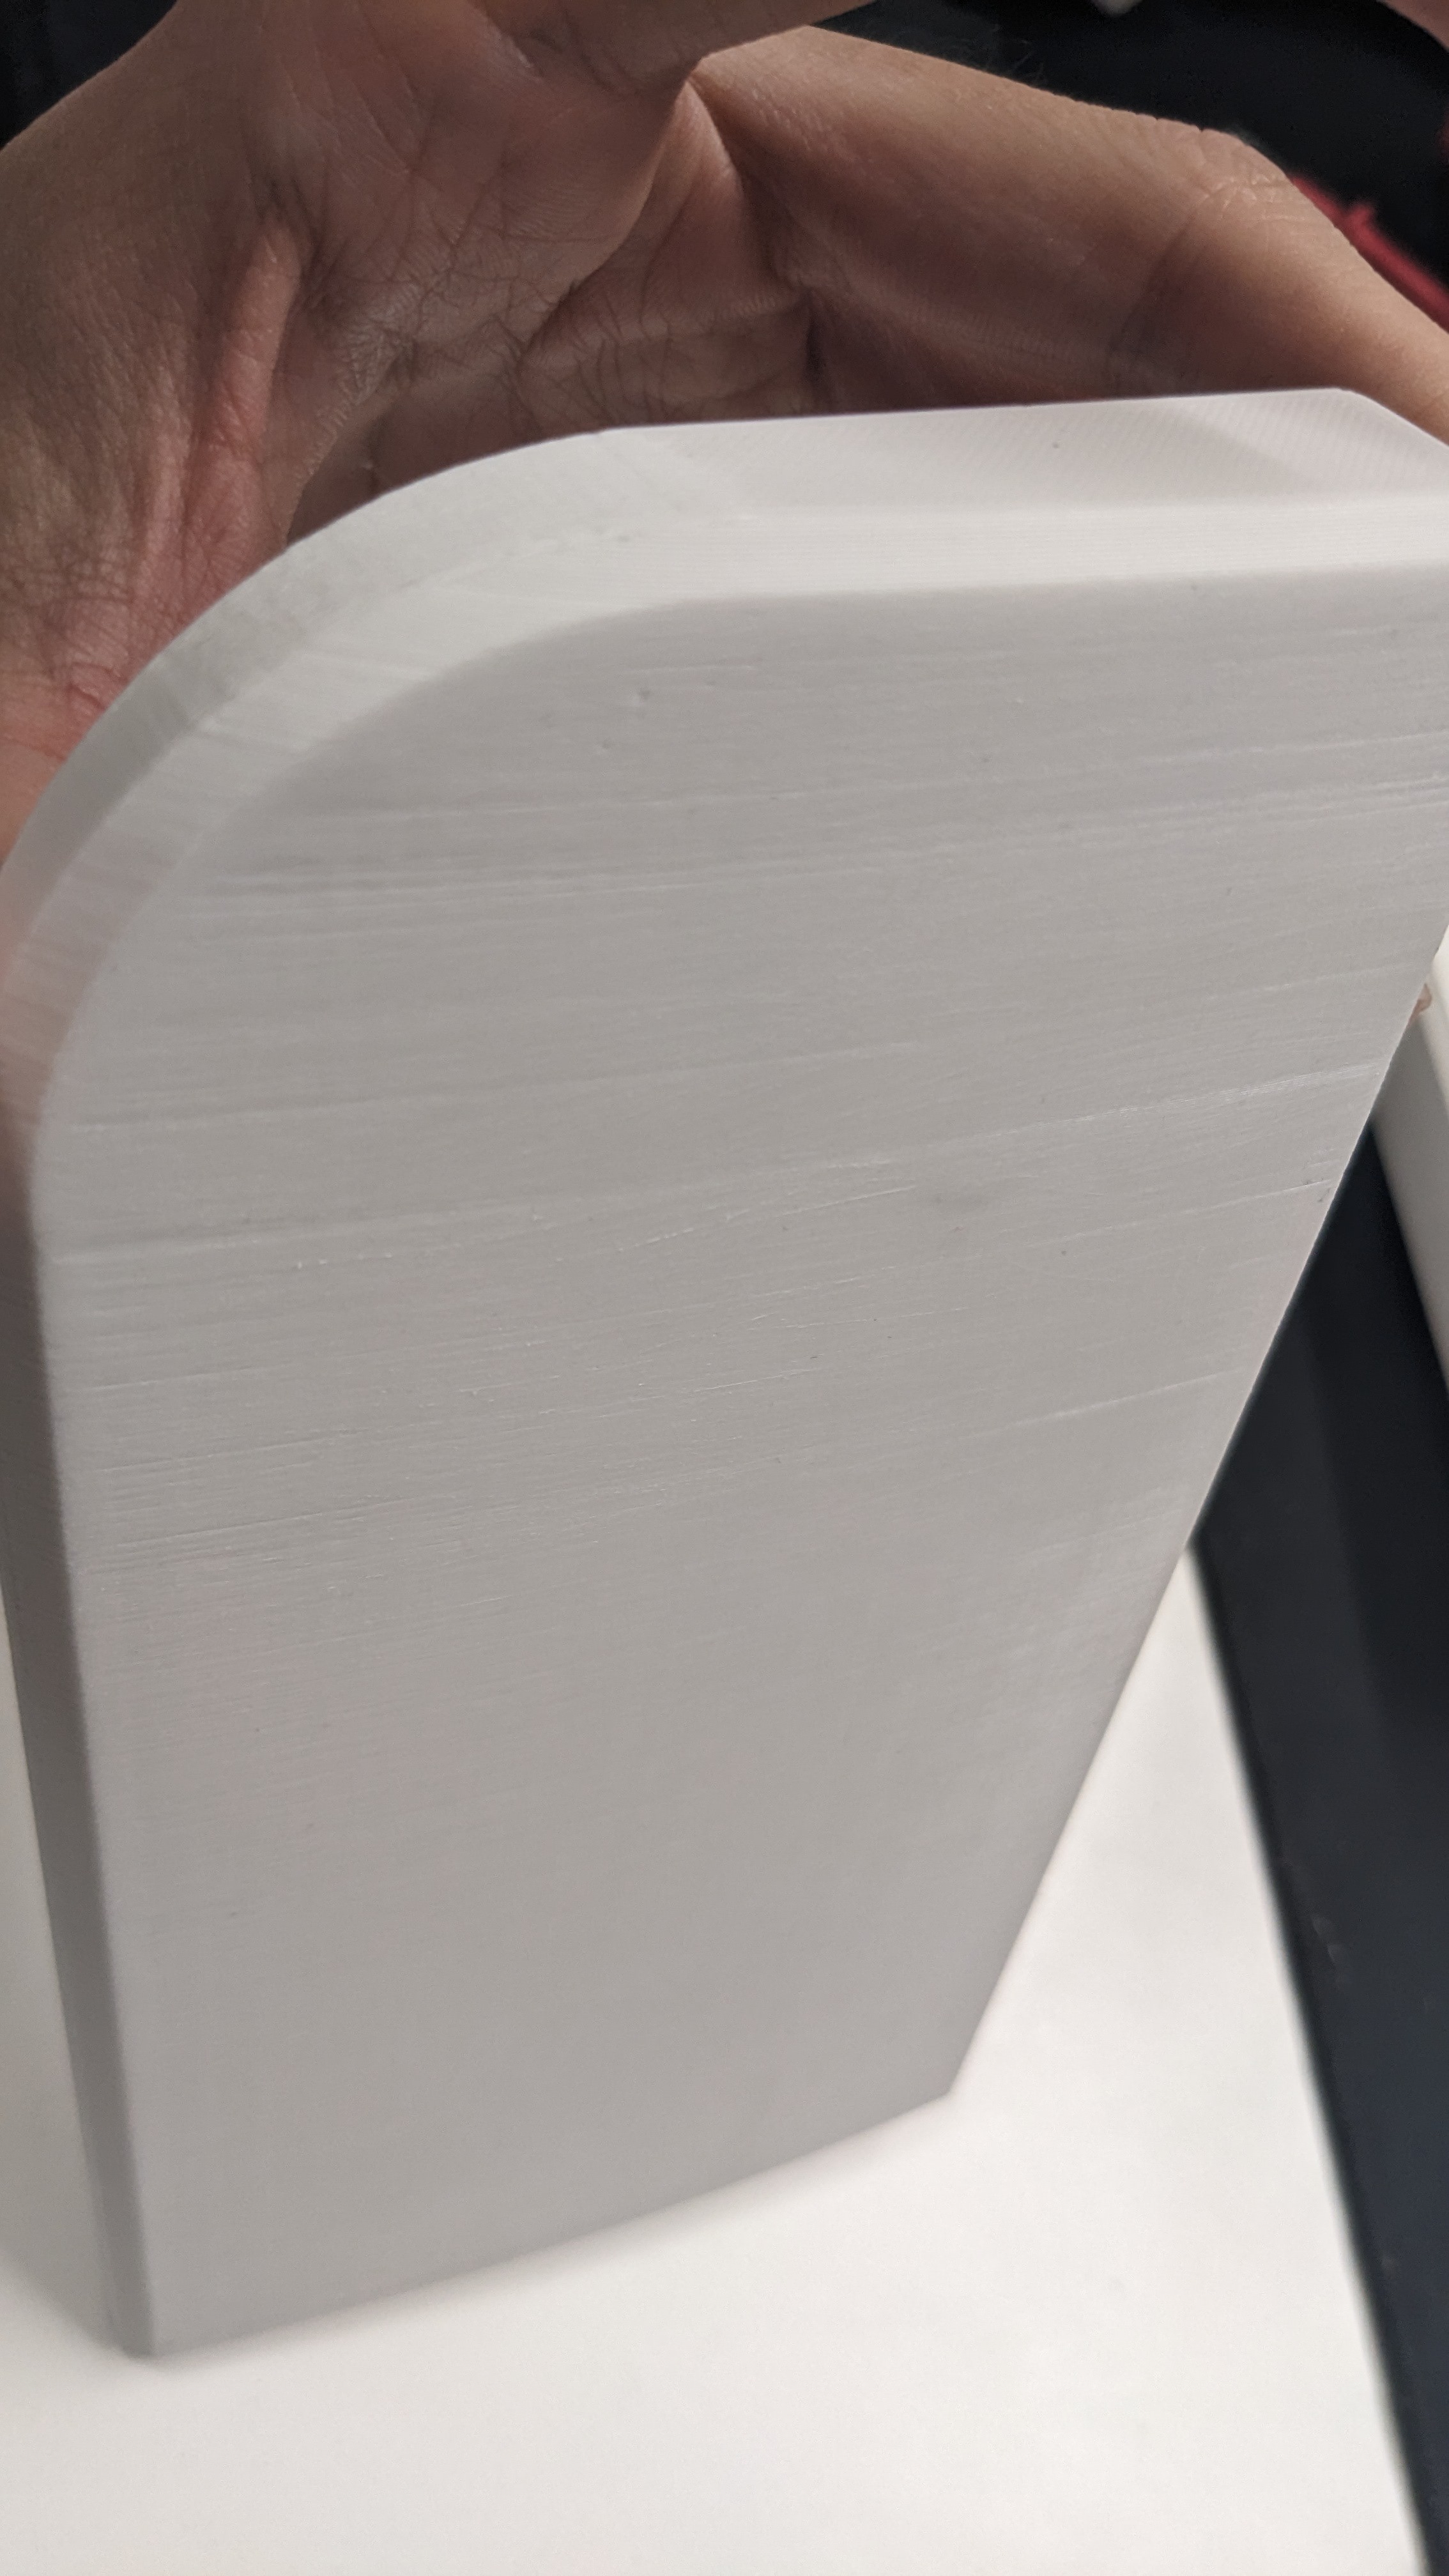
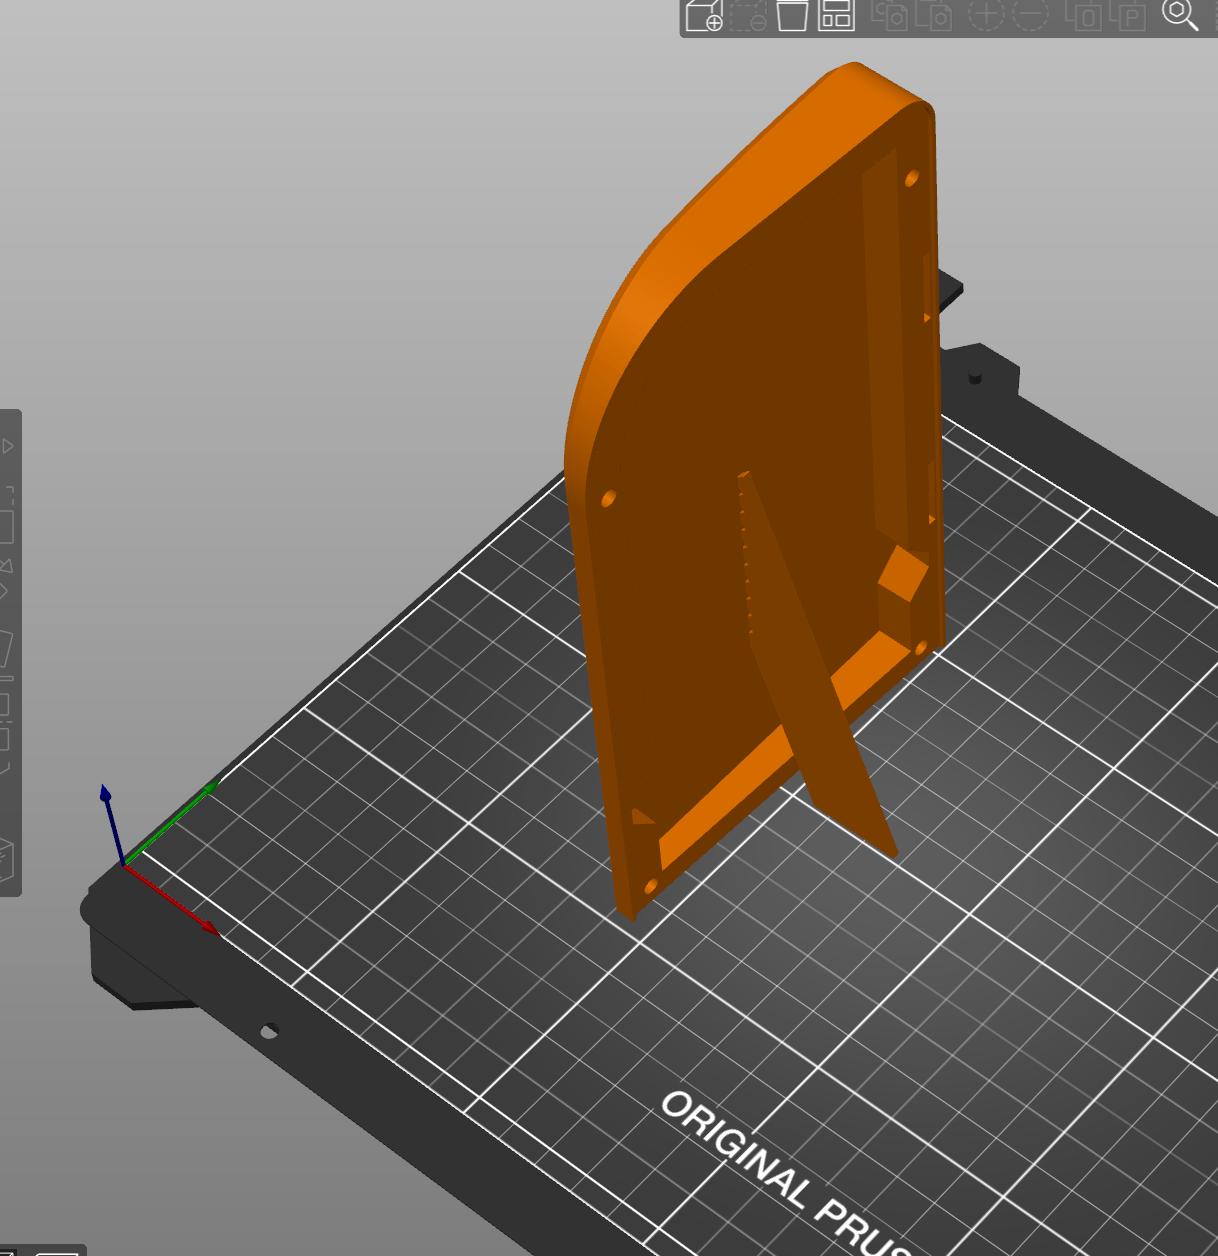
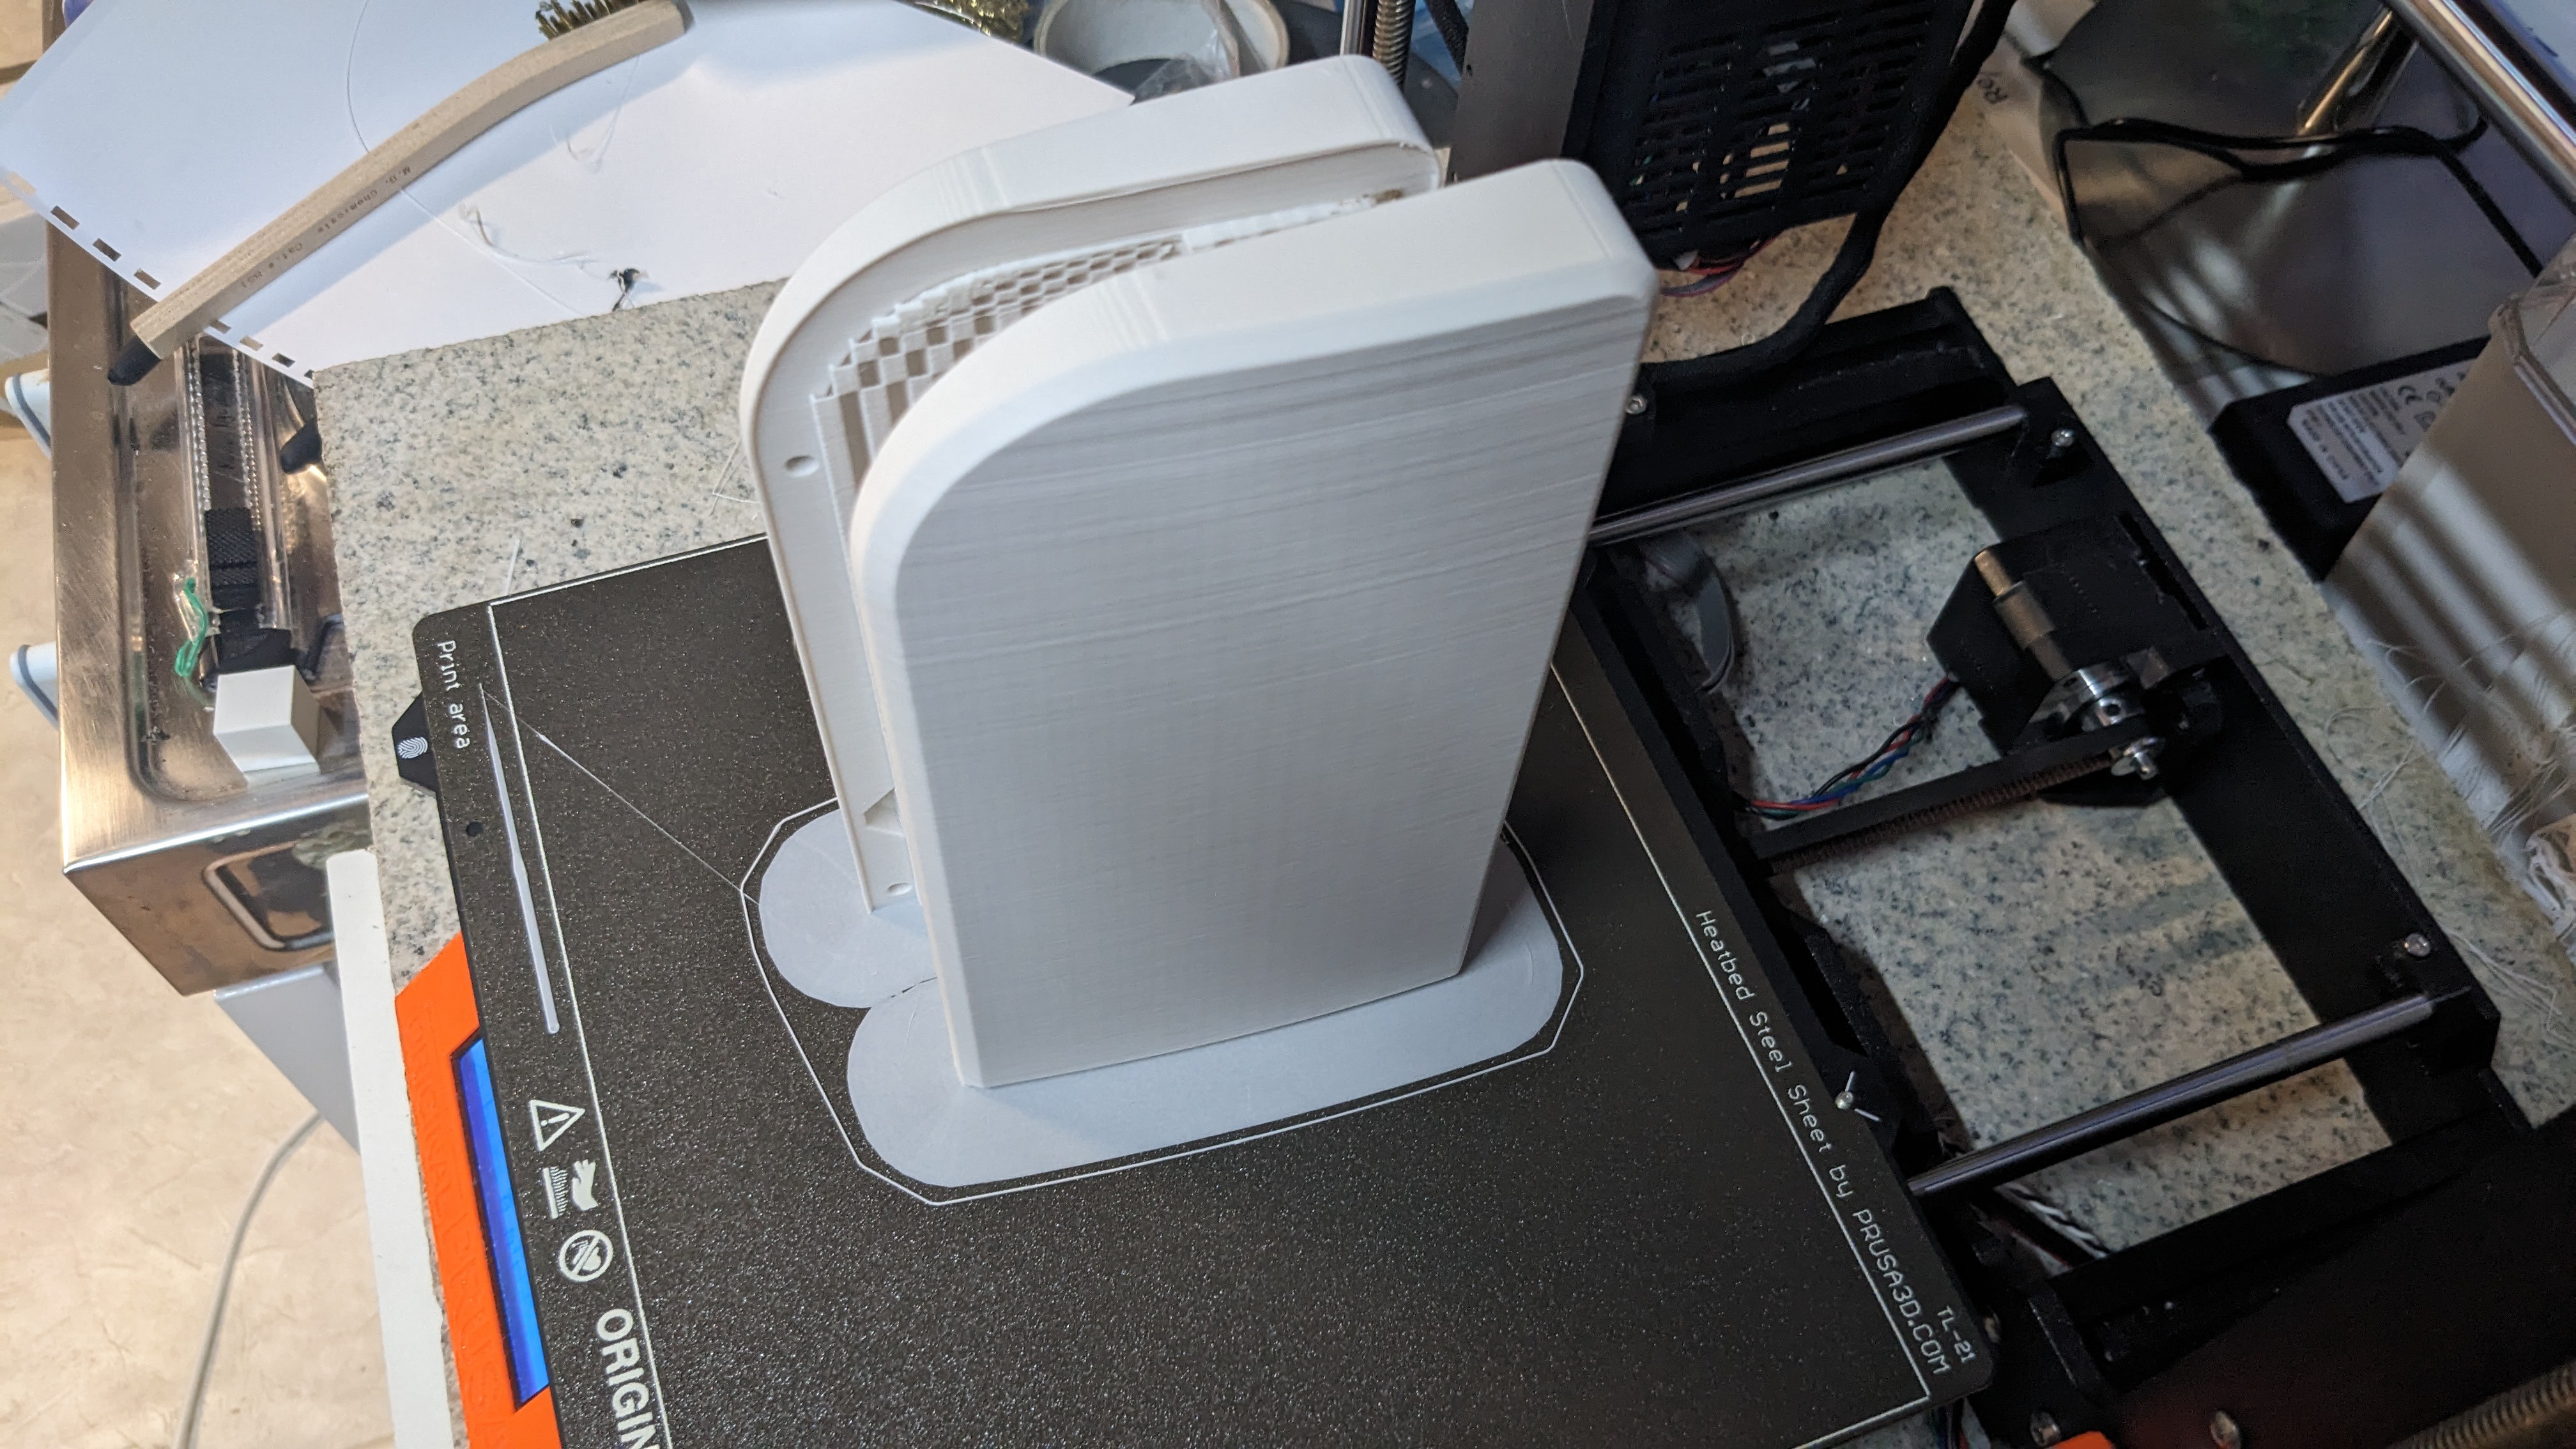
Printing the palm rests is quite tricky, as they need to be printed vertically to have good surface finish with no layer lines on the top. As they are quite thin and tall, this results in z-wobble at higher layers even after sanding. This issue is even more exacerbated because it is printed on a bed slinger type of printer (MK3S+). A core XY would likely result in less wobble as the part stays static while printing.
A solution is to add manually generated supports and large brims:
Failed prototypes
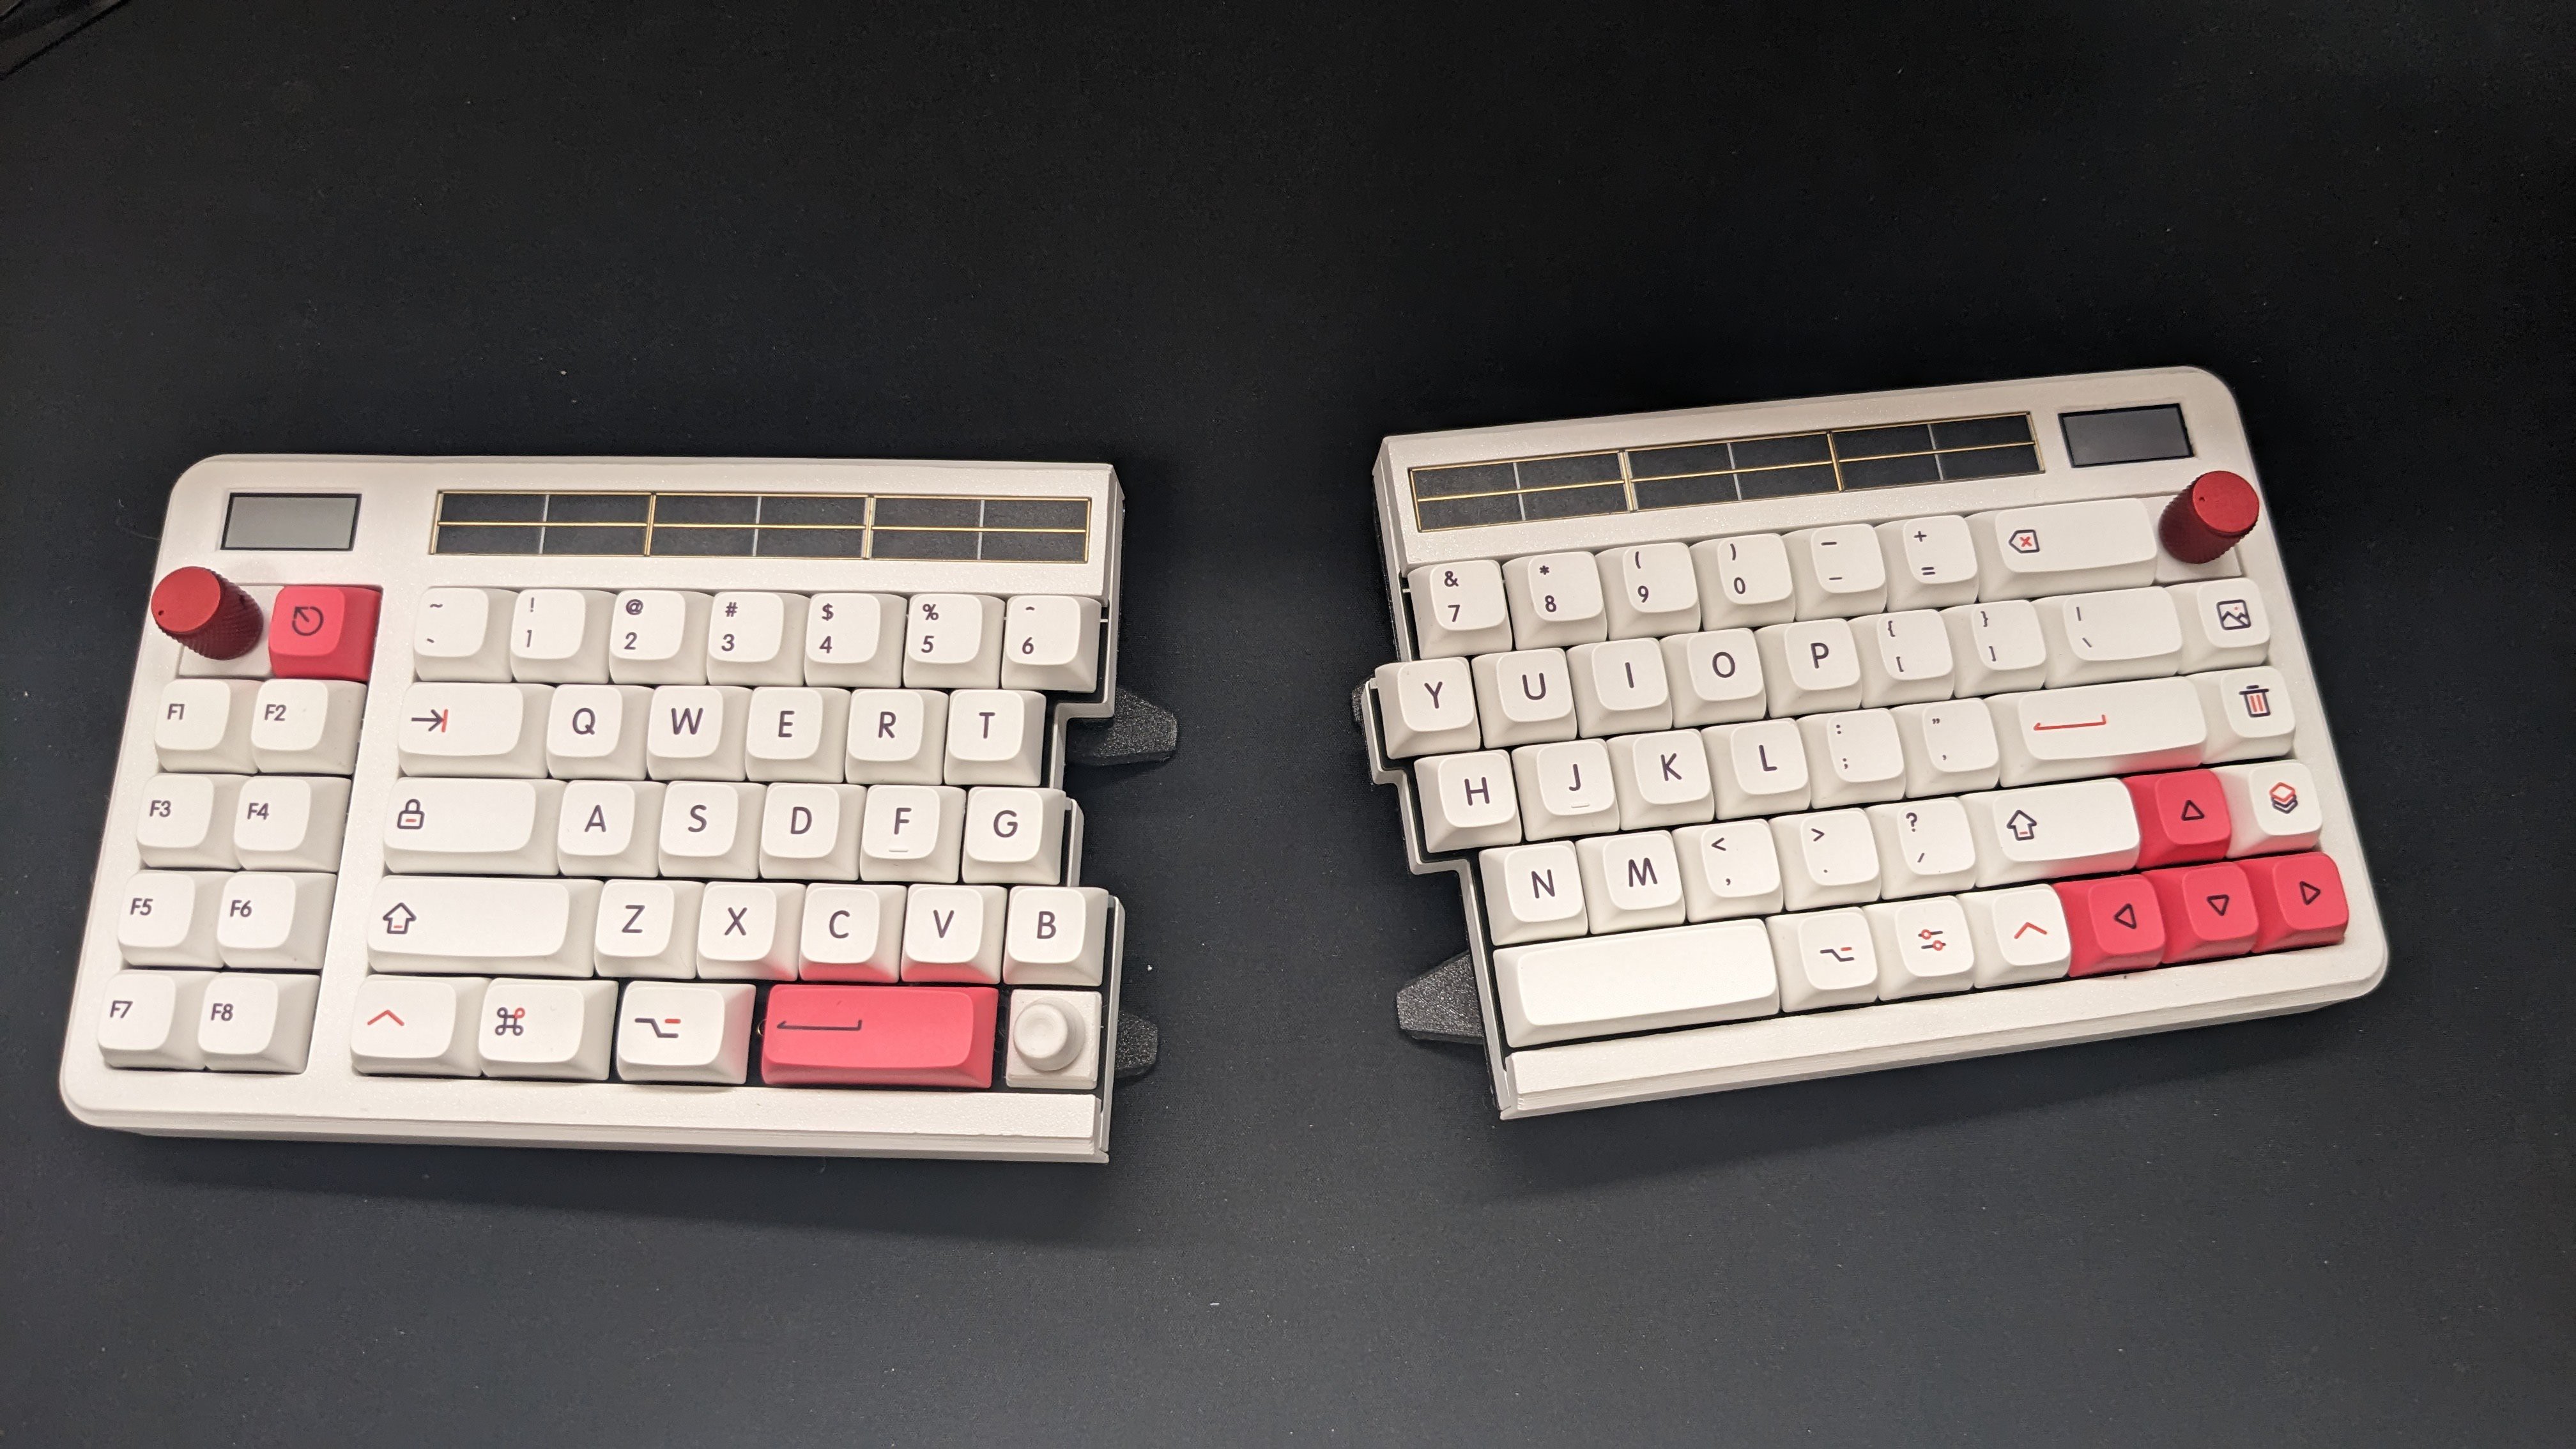
After assembly:
 Nguyen Vincent
Discussions
Become a Hackaday.io Member
Create an account to leave a comment. Already have an account? Log In.