Aaed Musa
Step-by-step instructions are found here
Design
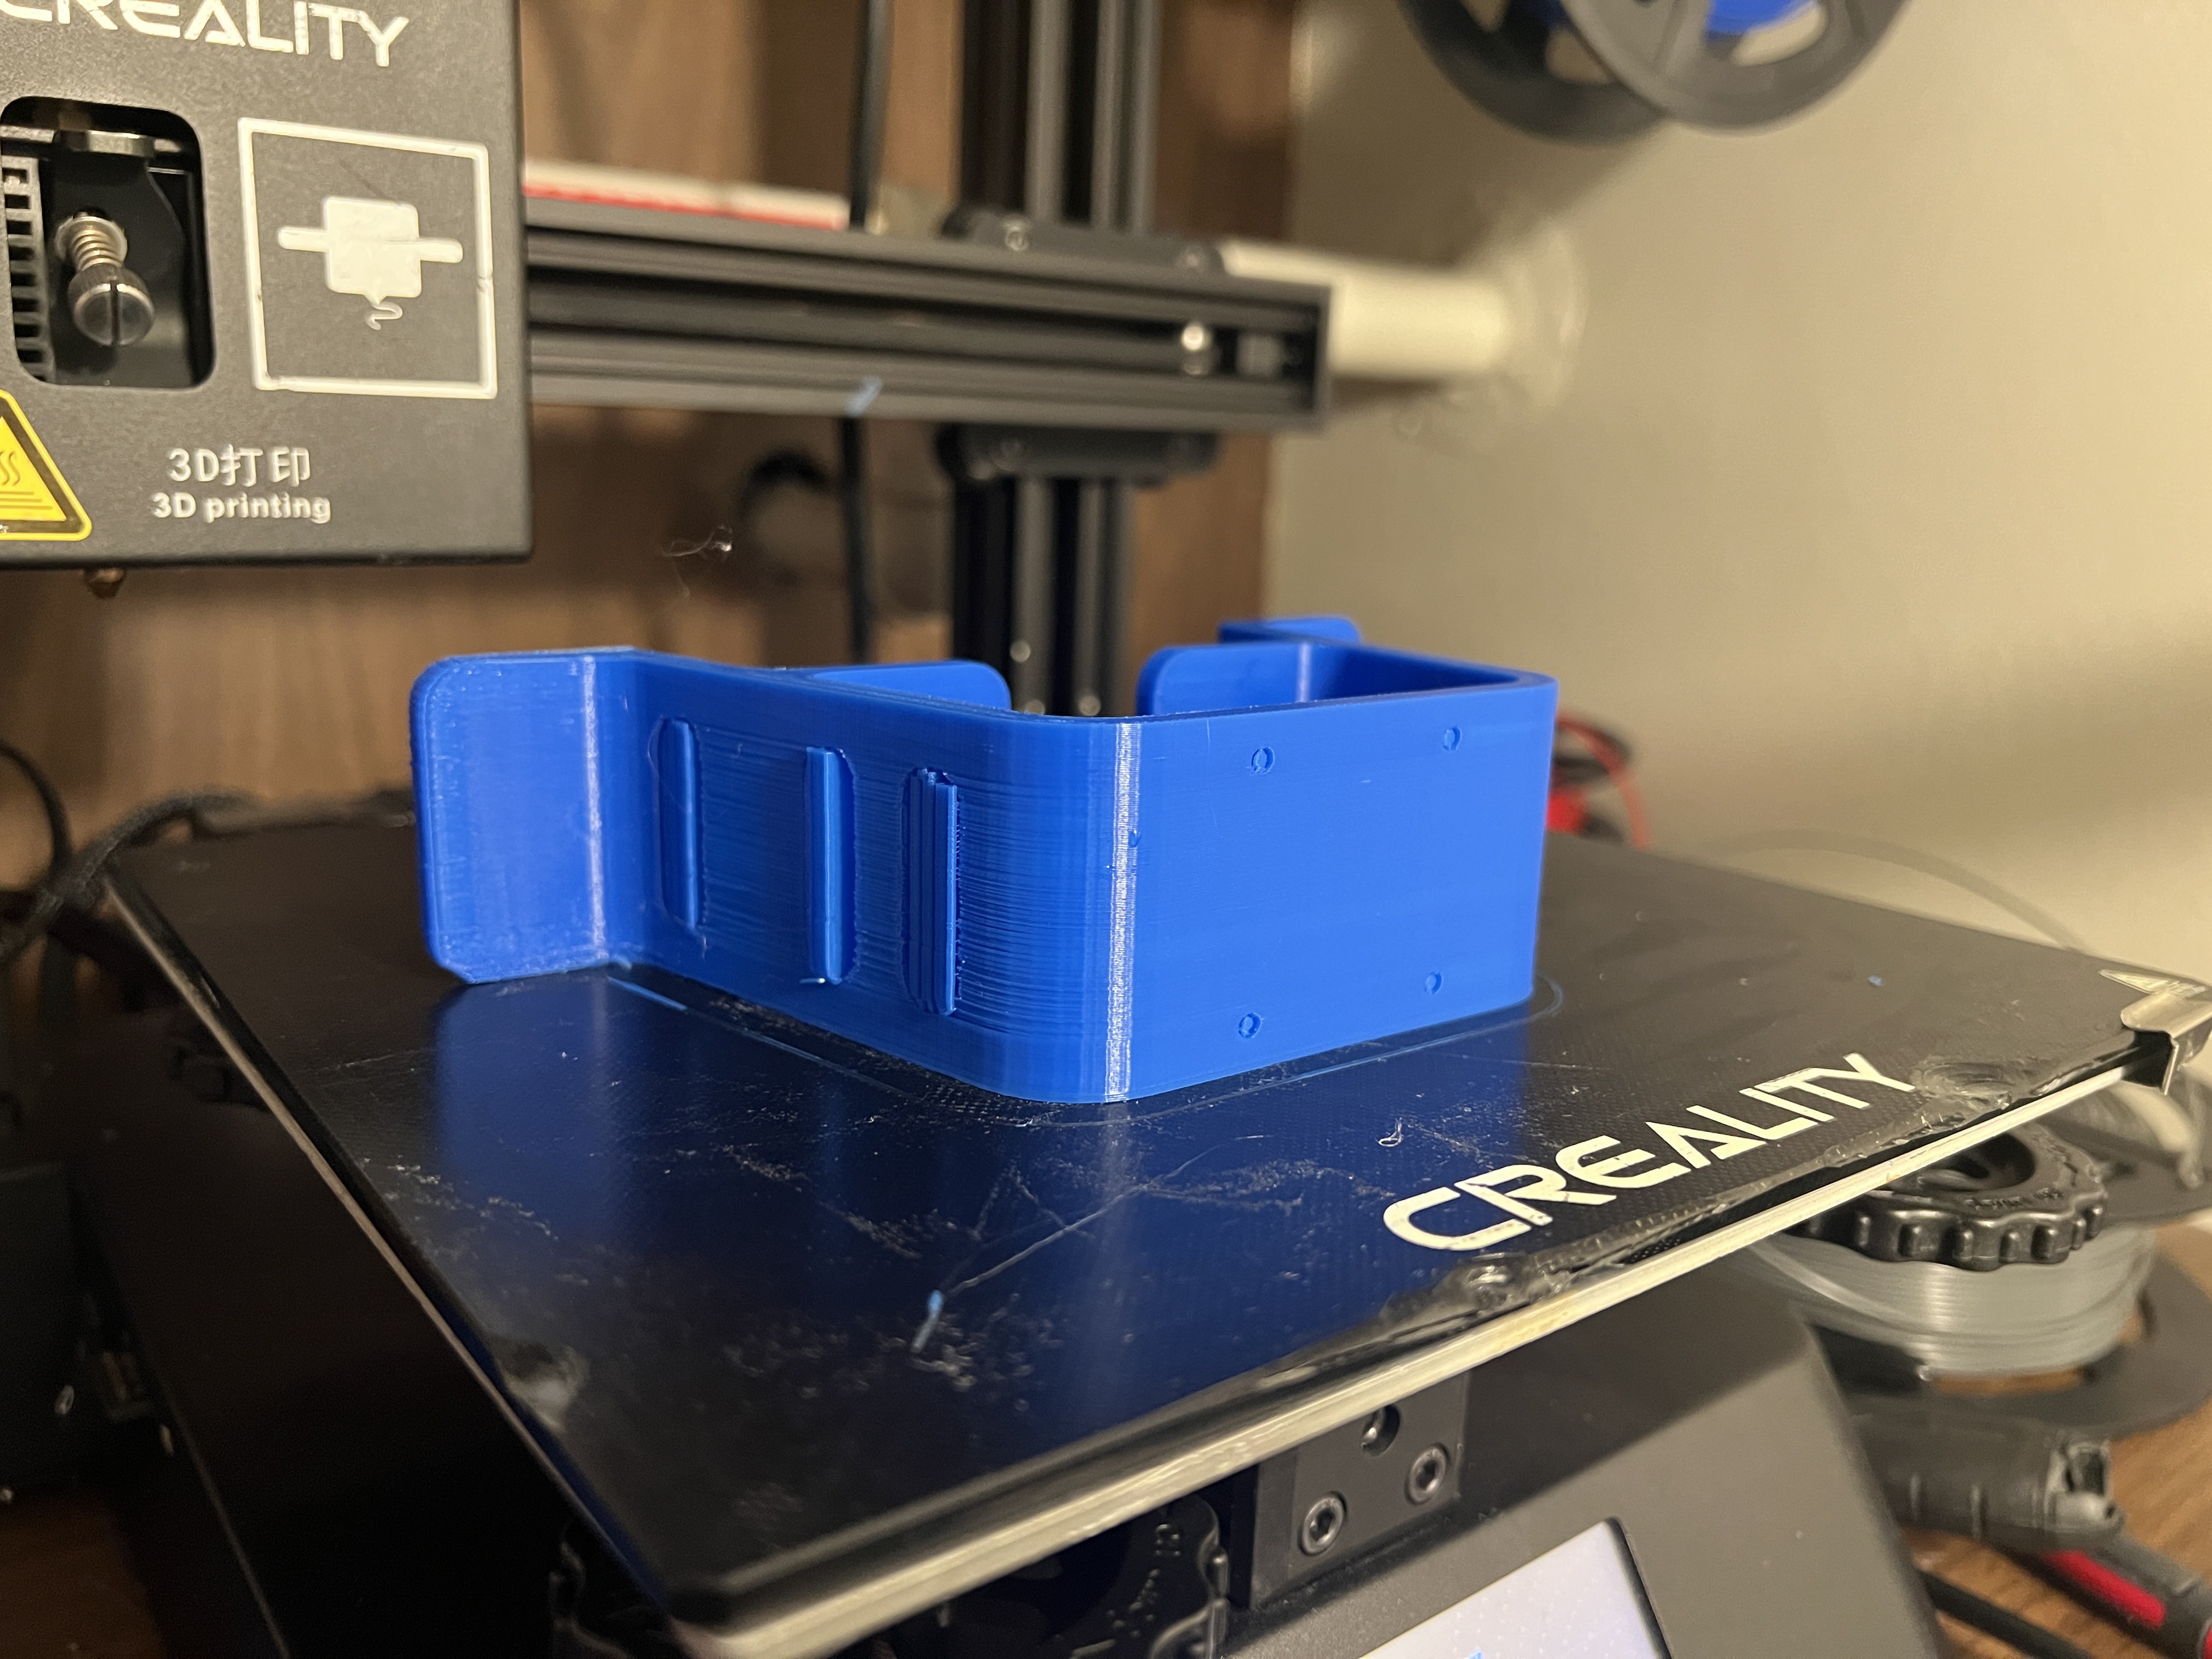
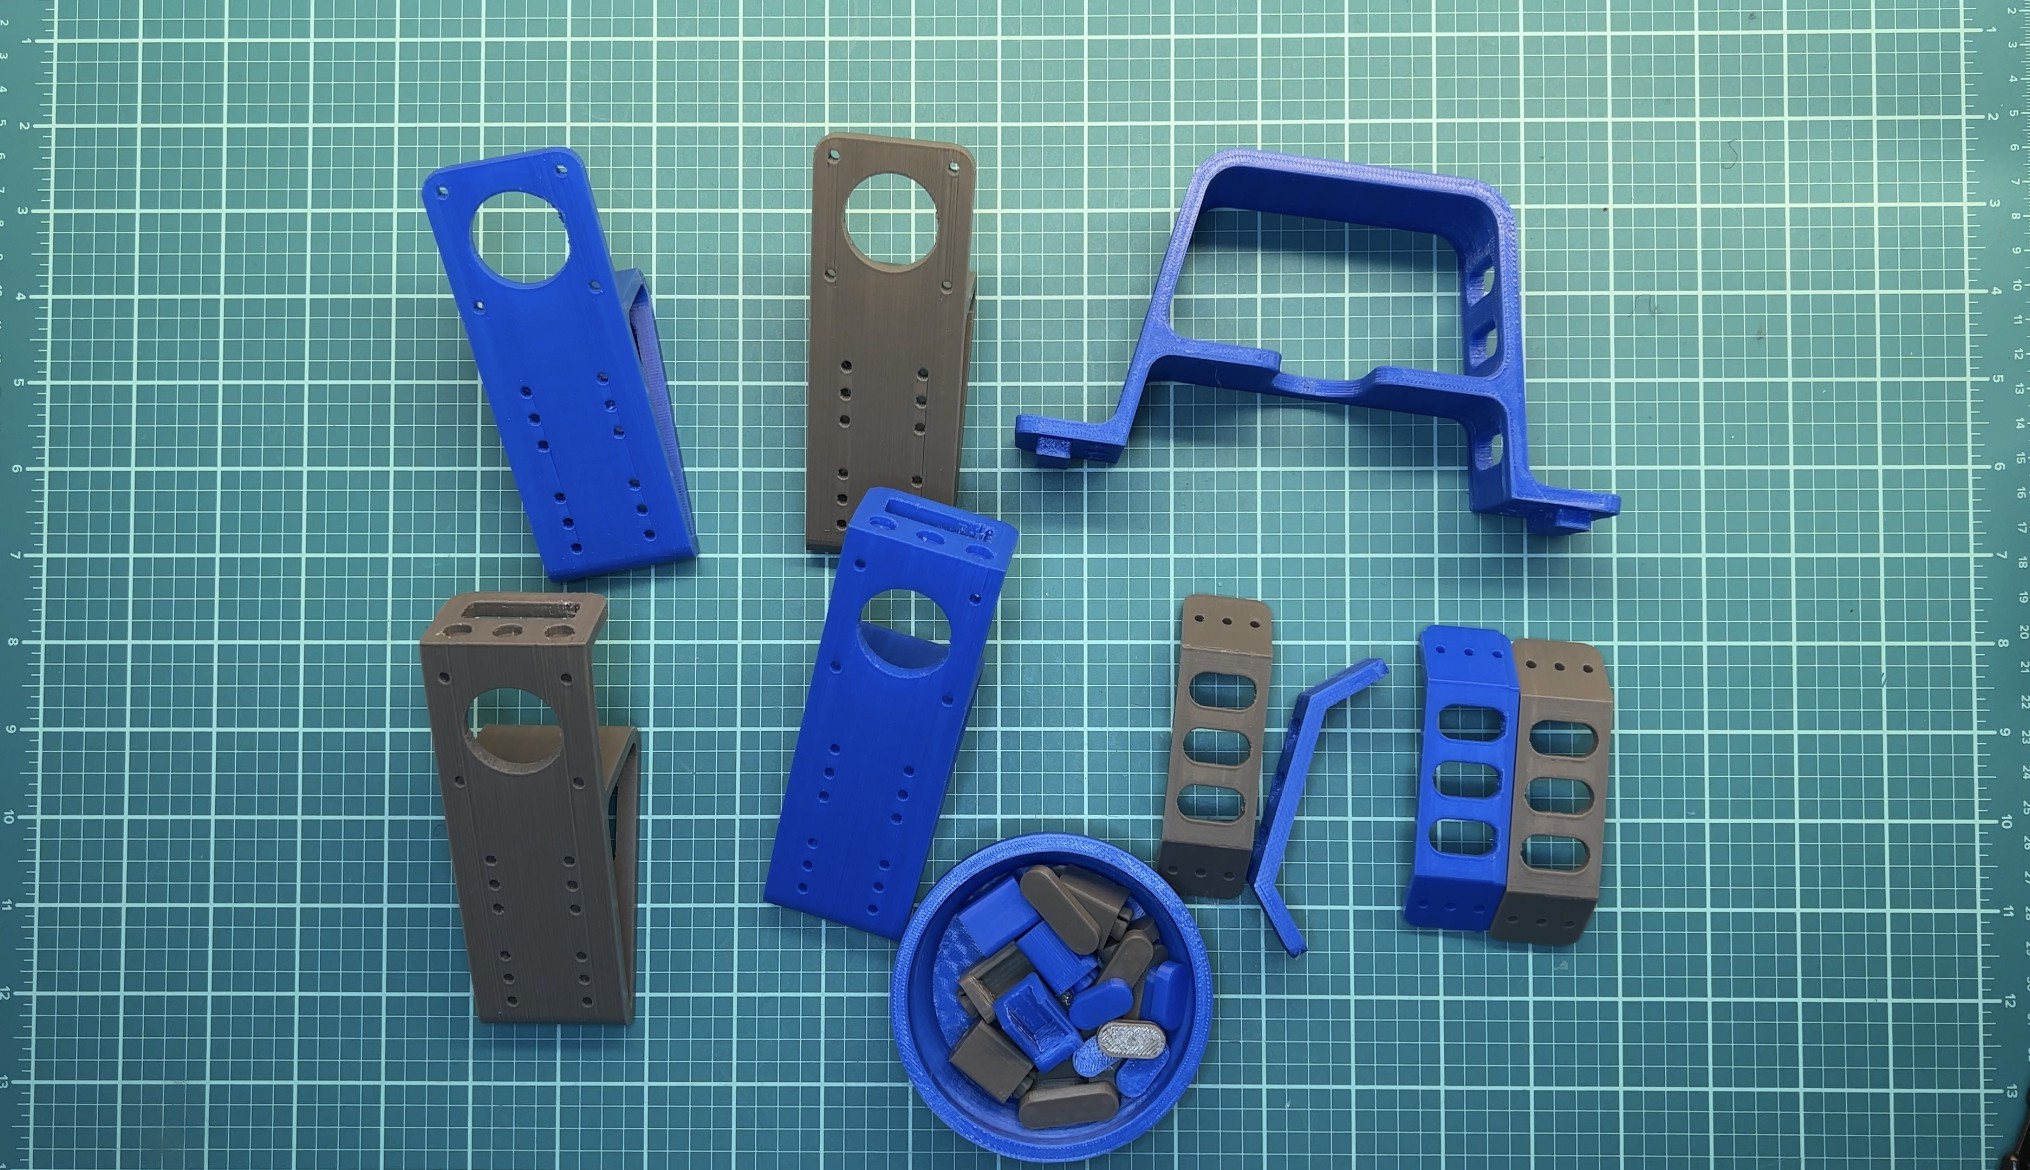
All of the parts were printed in PLA filament at 210°C at 20% infill on my Creality CP-01. The cumulative print time was about 30 hours. Total filament usage was about 316g.
Cube Adapters
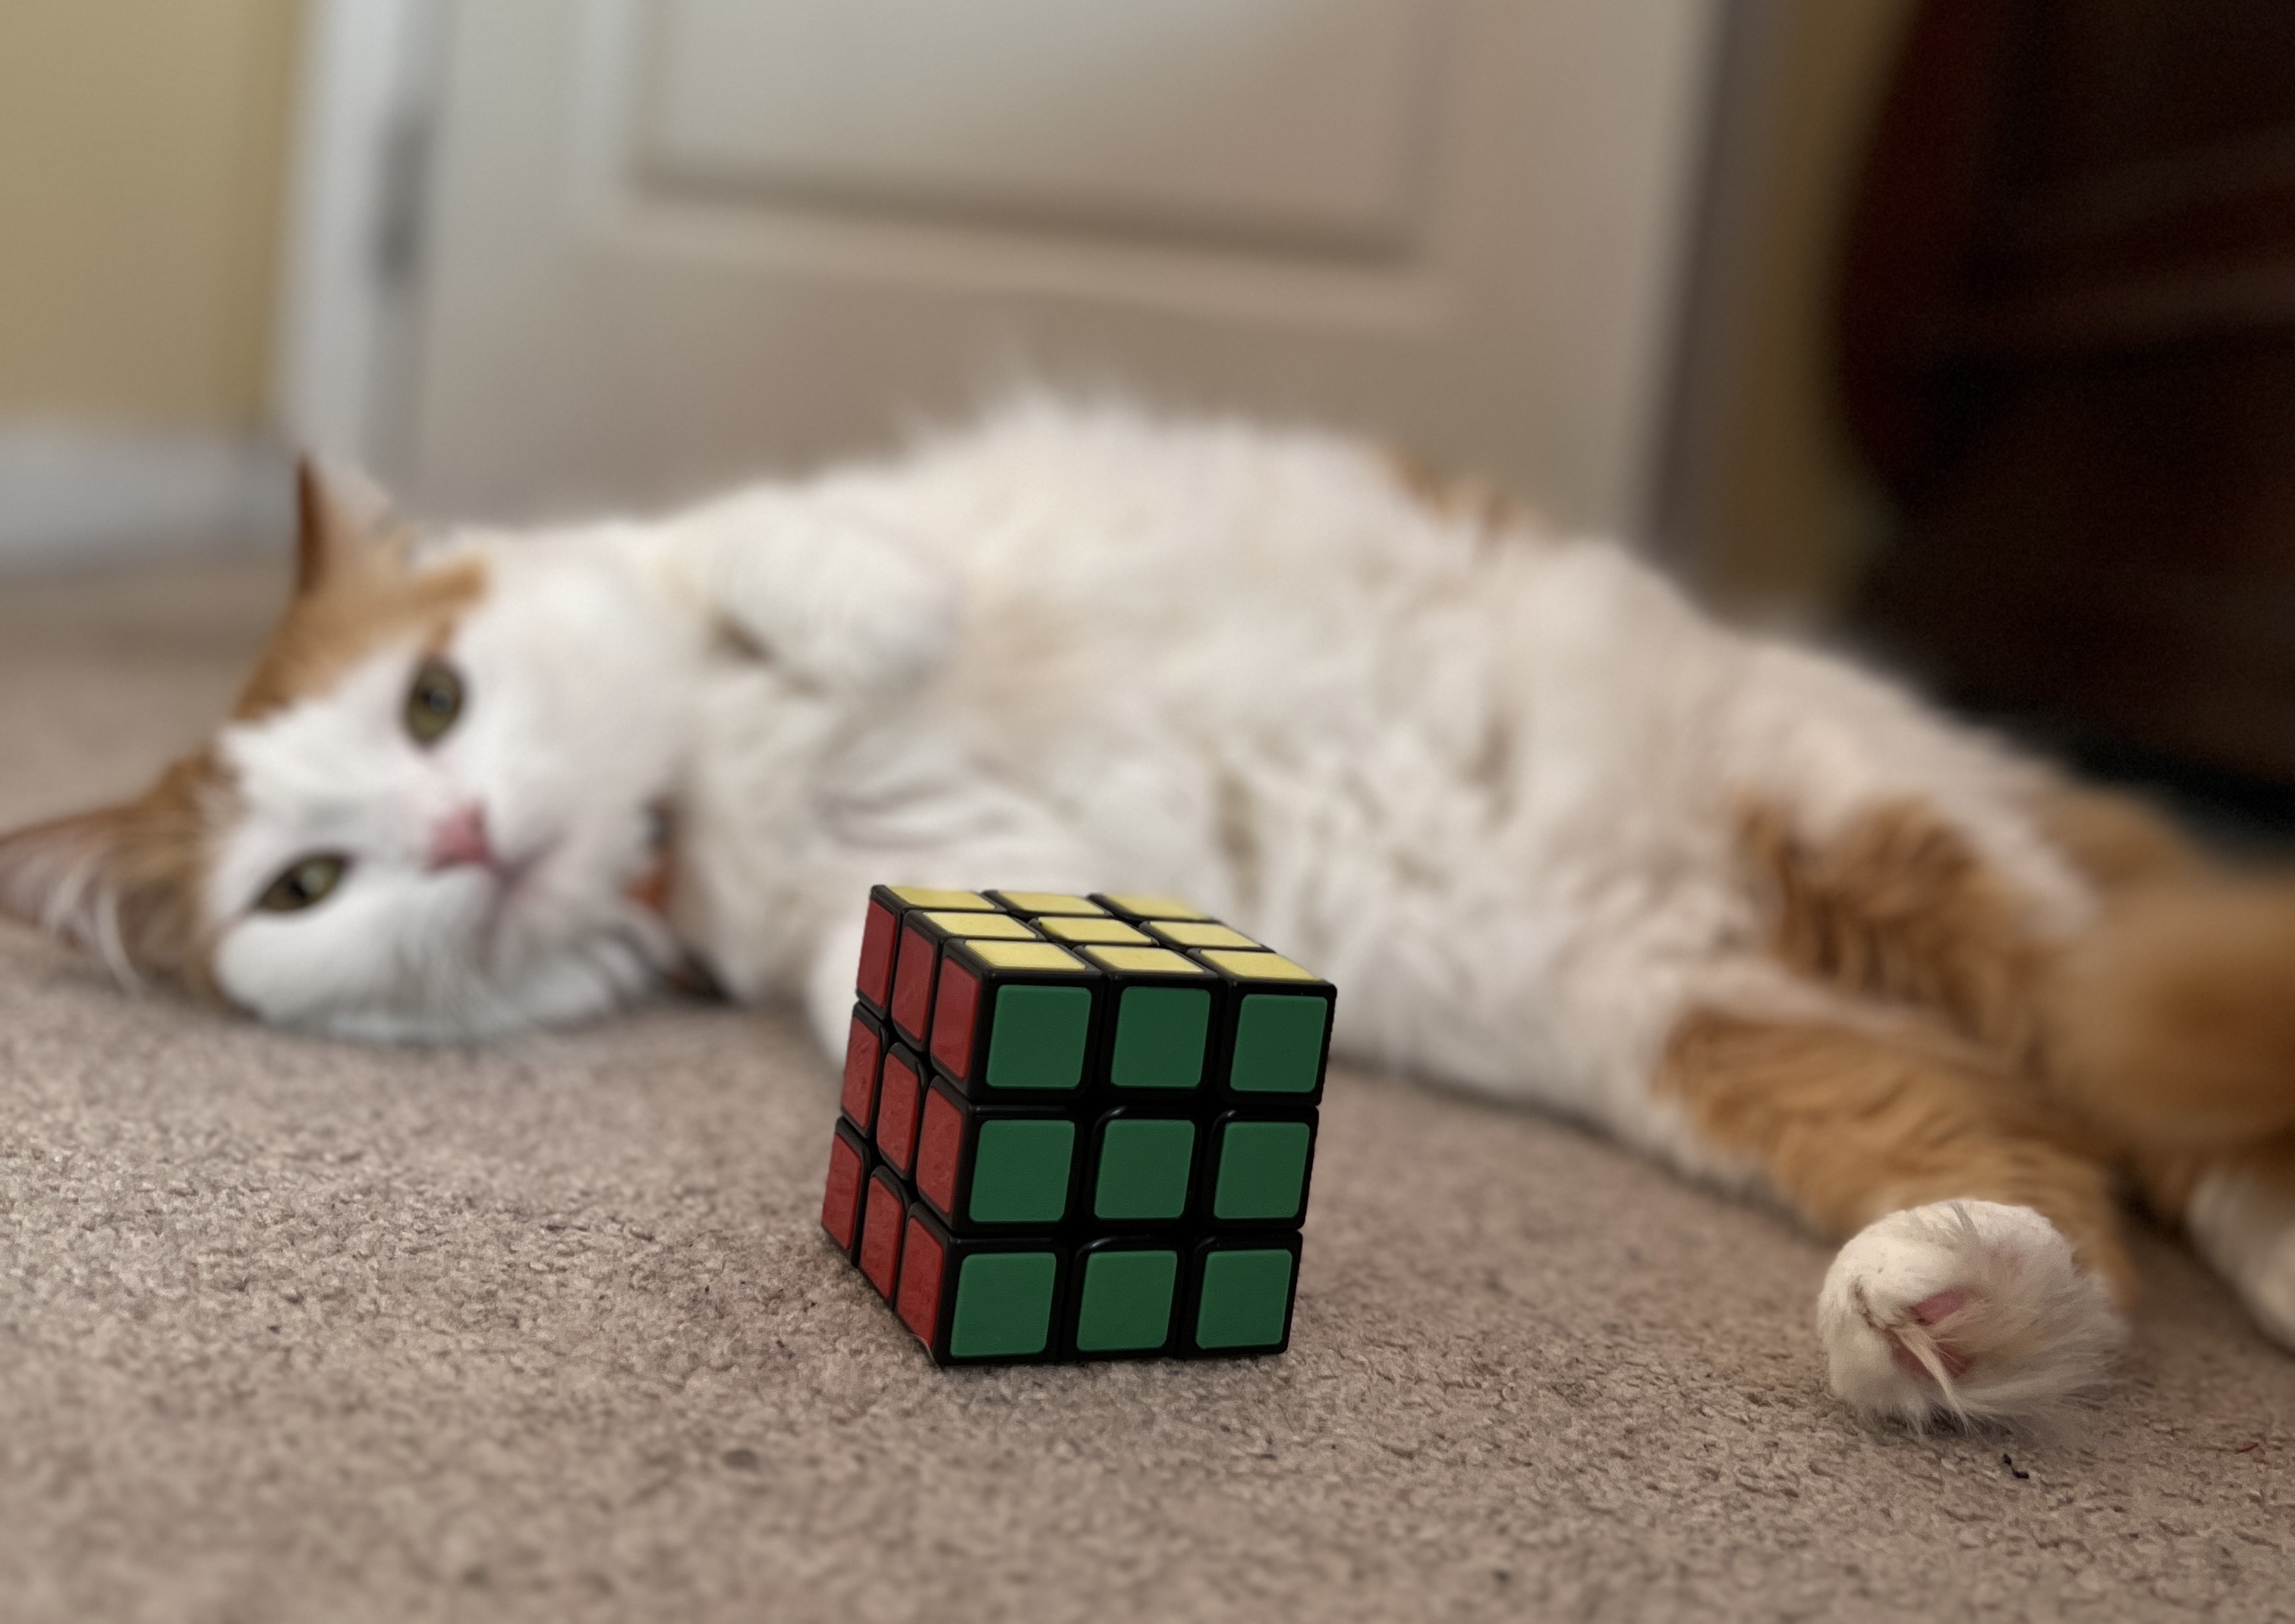
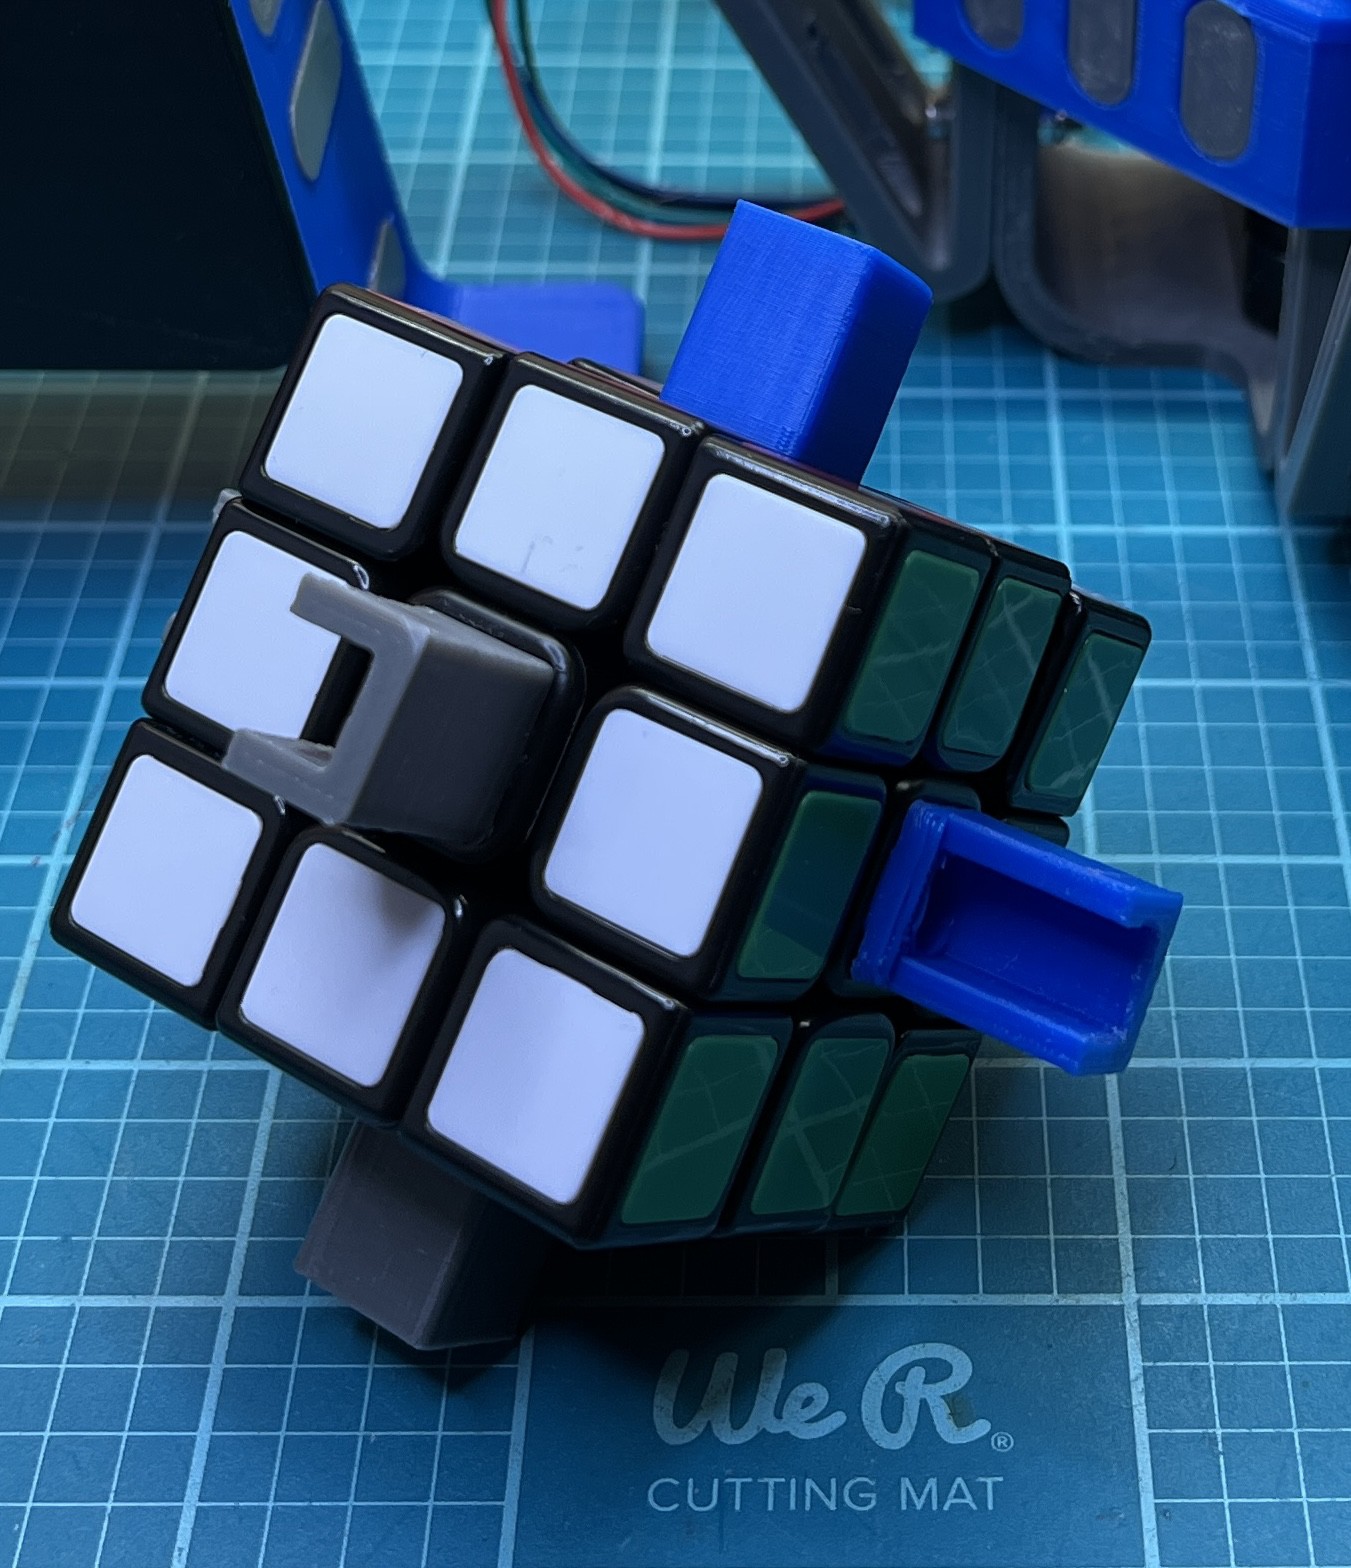
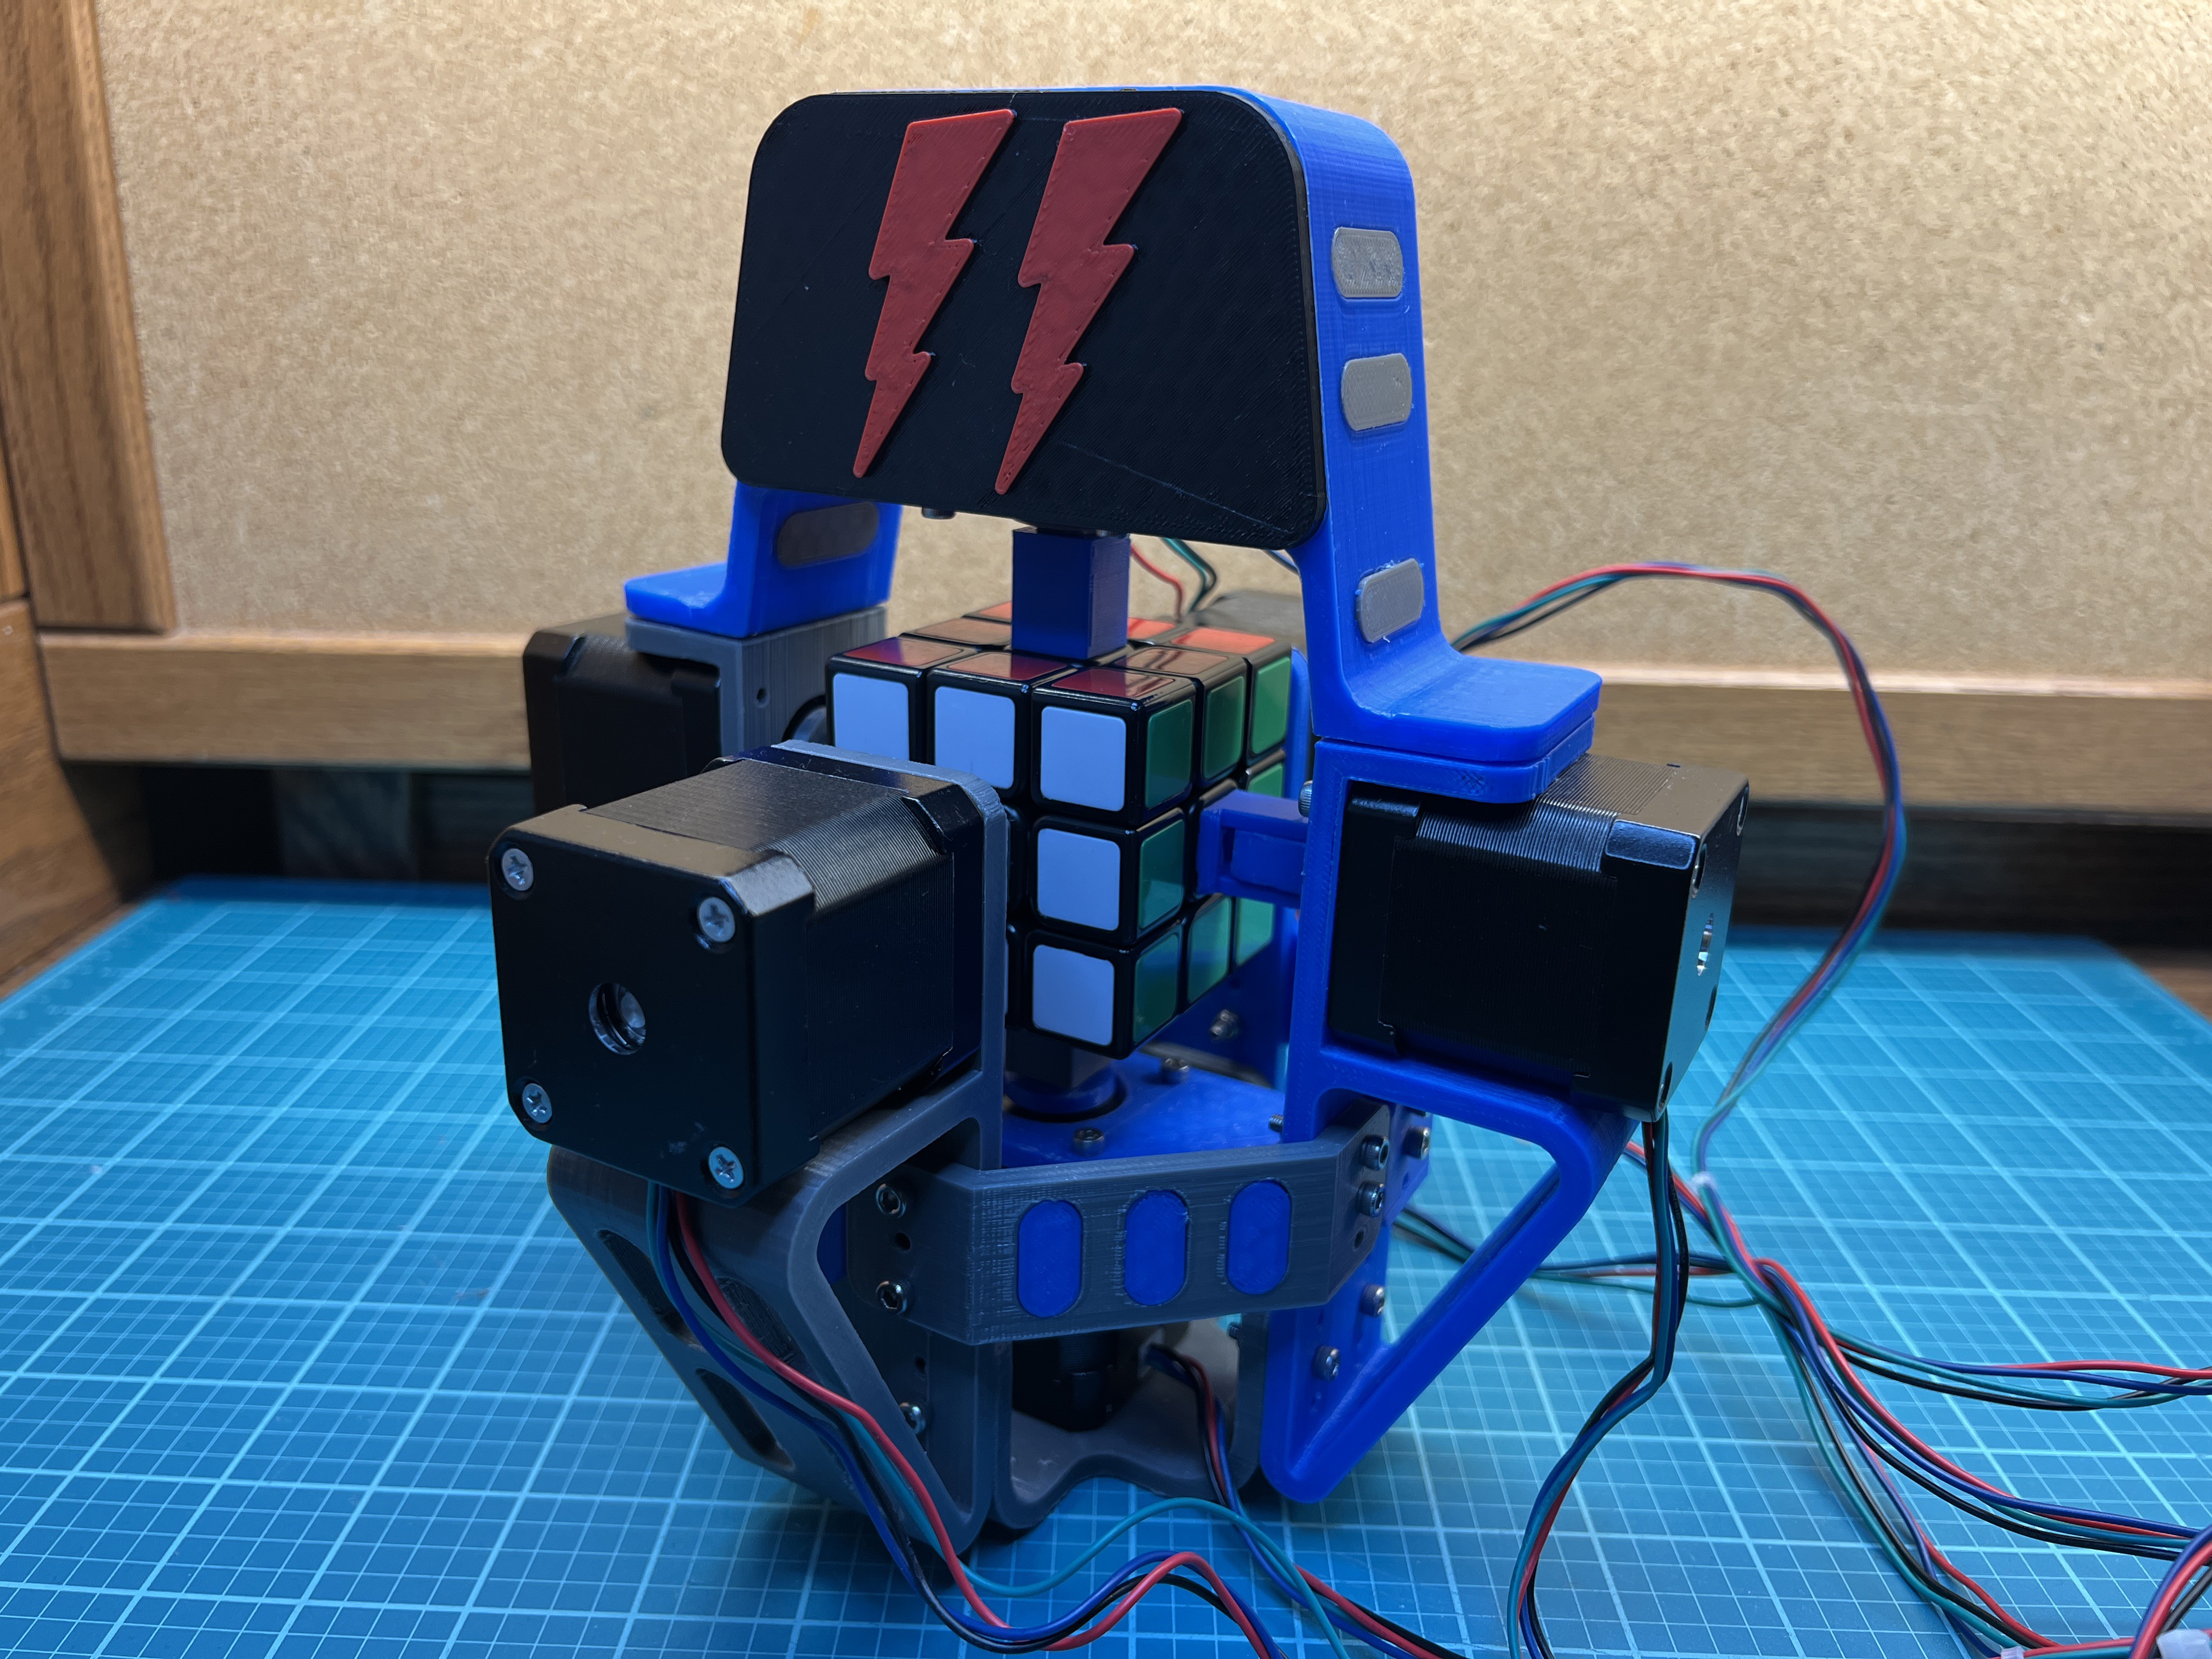
My first goal for the design of the machine was to find a way to turn each side of the cube. Using stepper motors for actuation was a must considering that the cube requires precision to be turned. I also knew that for a fast solve, each side would need to be turned independently, in other words, each side of the cube would have its own stepper. Creating an adapter piece to connect to the center of each side of the cube was the most reasonable route. I took the center tiles off of each face with an exacto knife and then designed the cube adapters. The cube adapters have the same profile as the tiles so that they can attach to the cube. You’ll notice that there are two types of adapter pieces: one closed on all sides, and another with an opening. This was done to allow the cube to be easily put in and taken out of the machine.

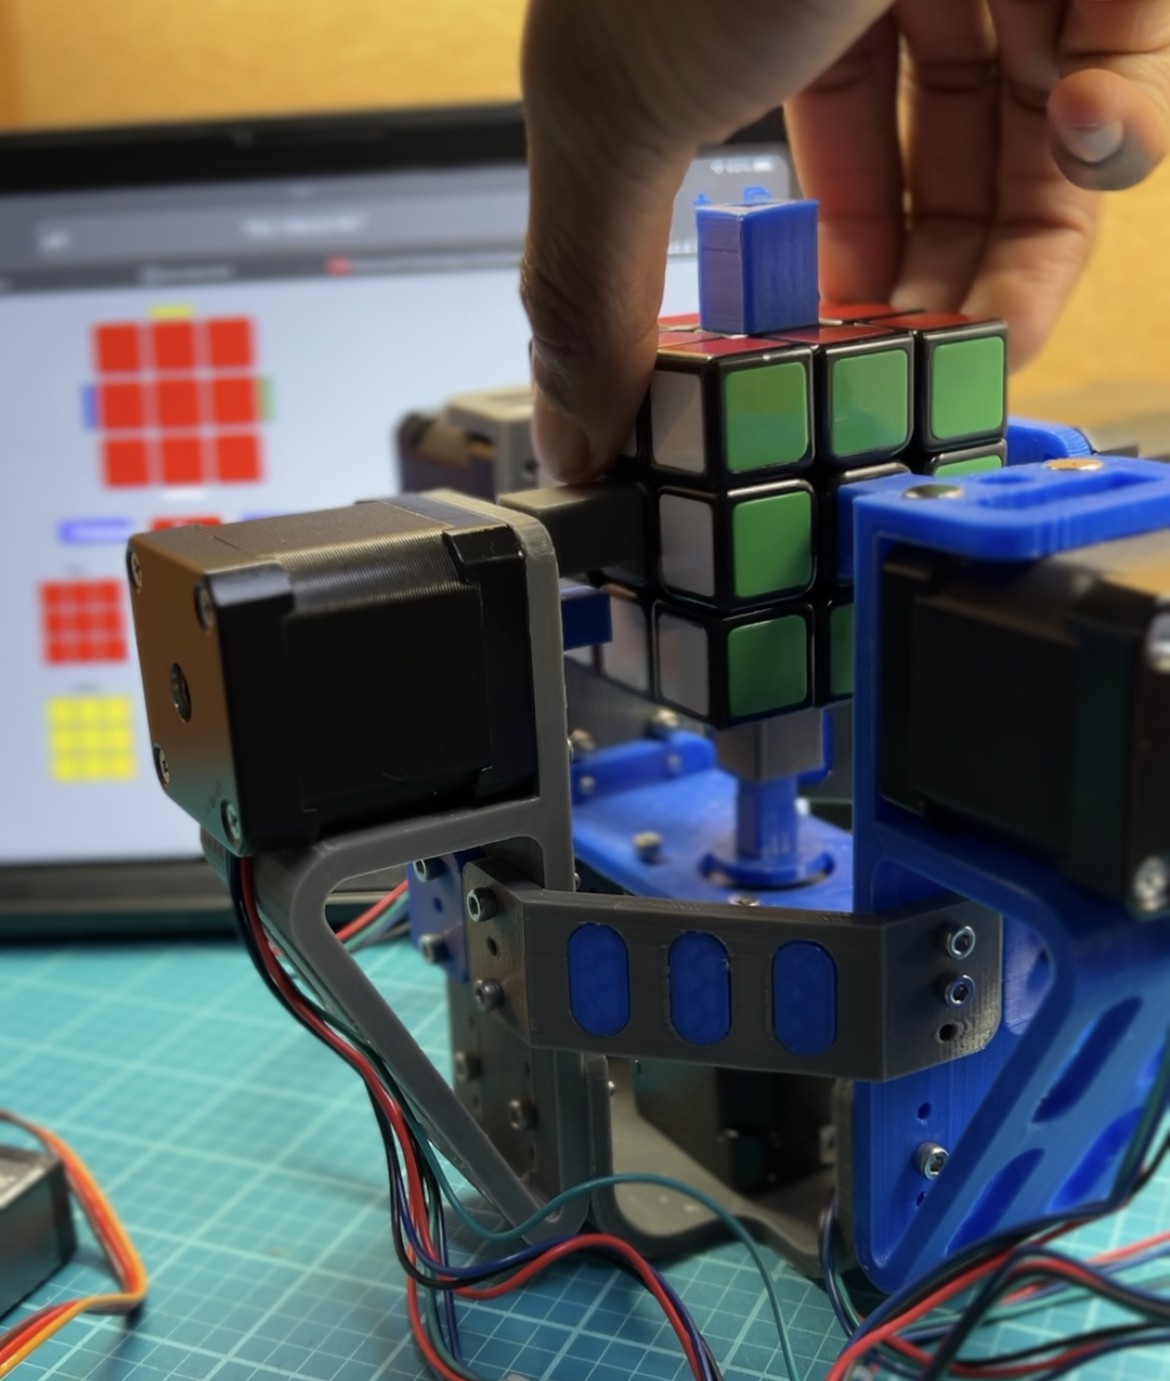
The Machine
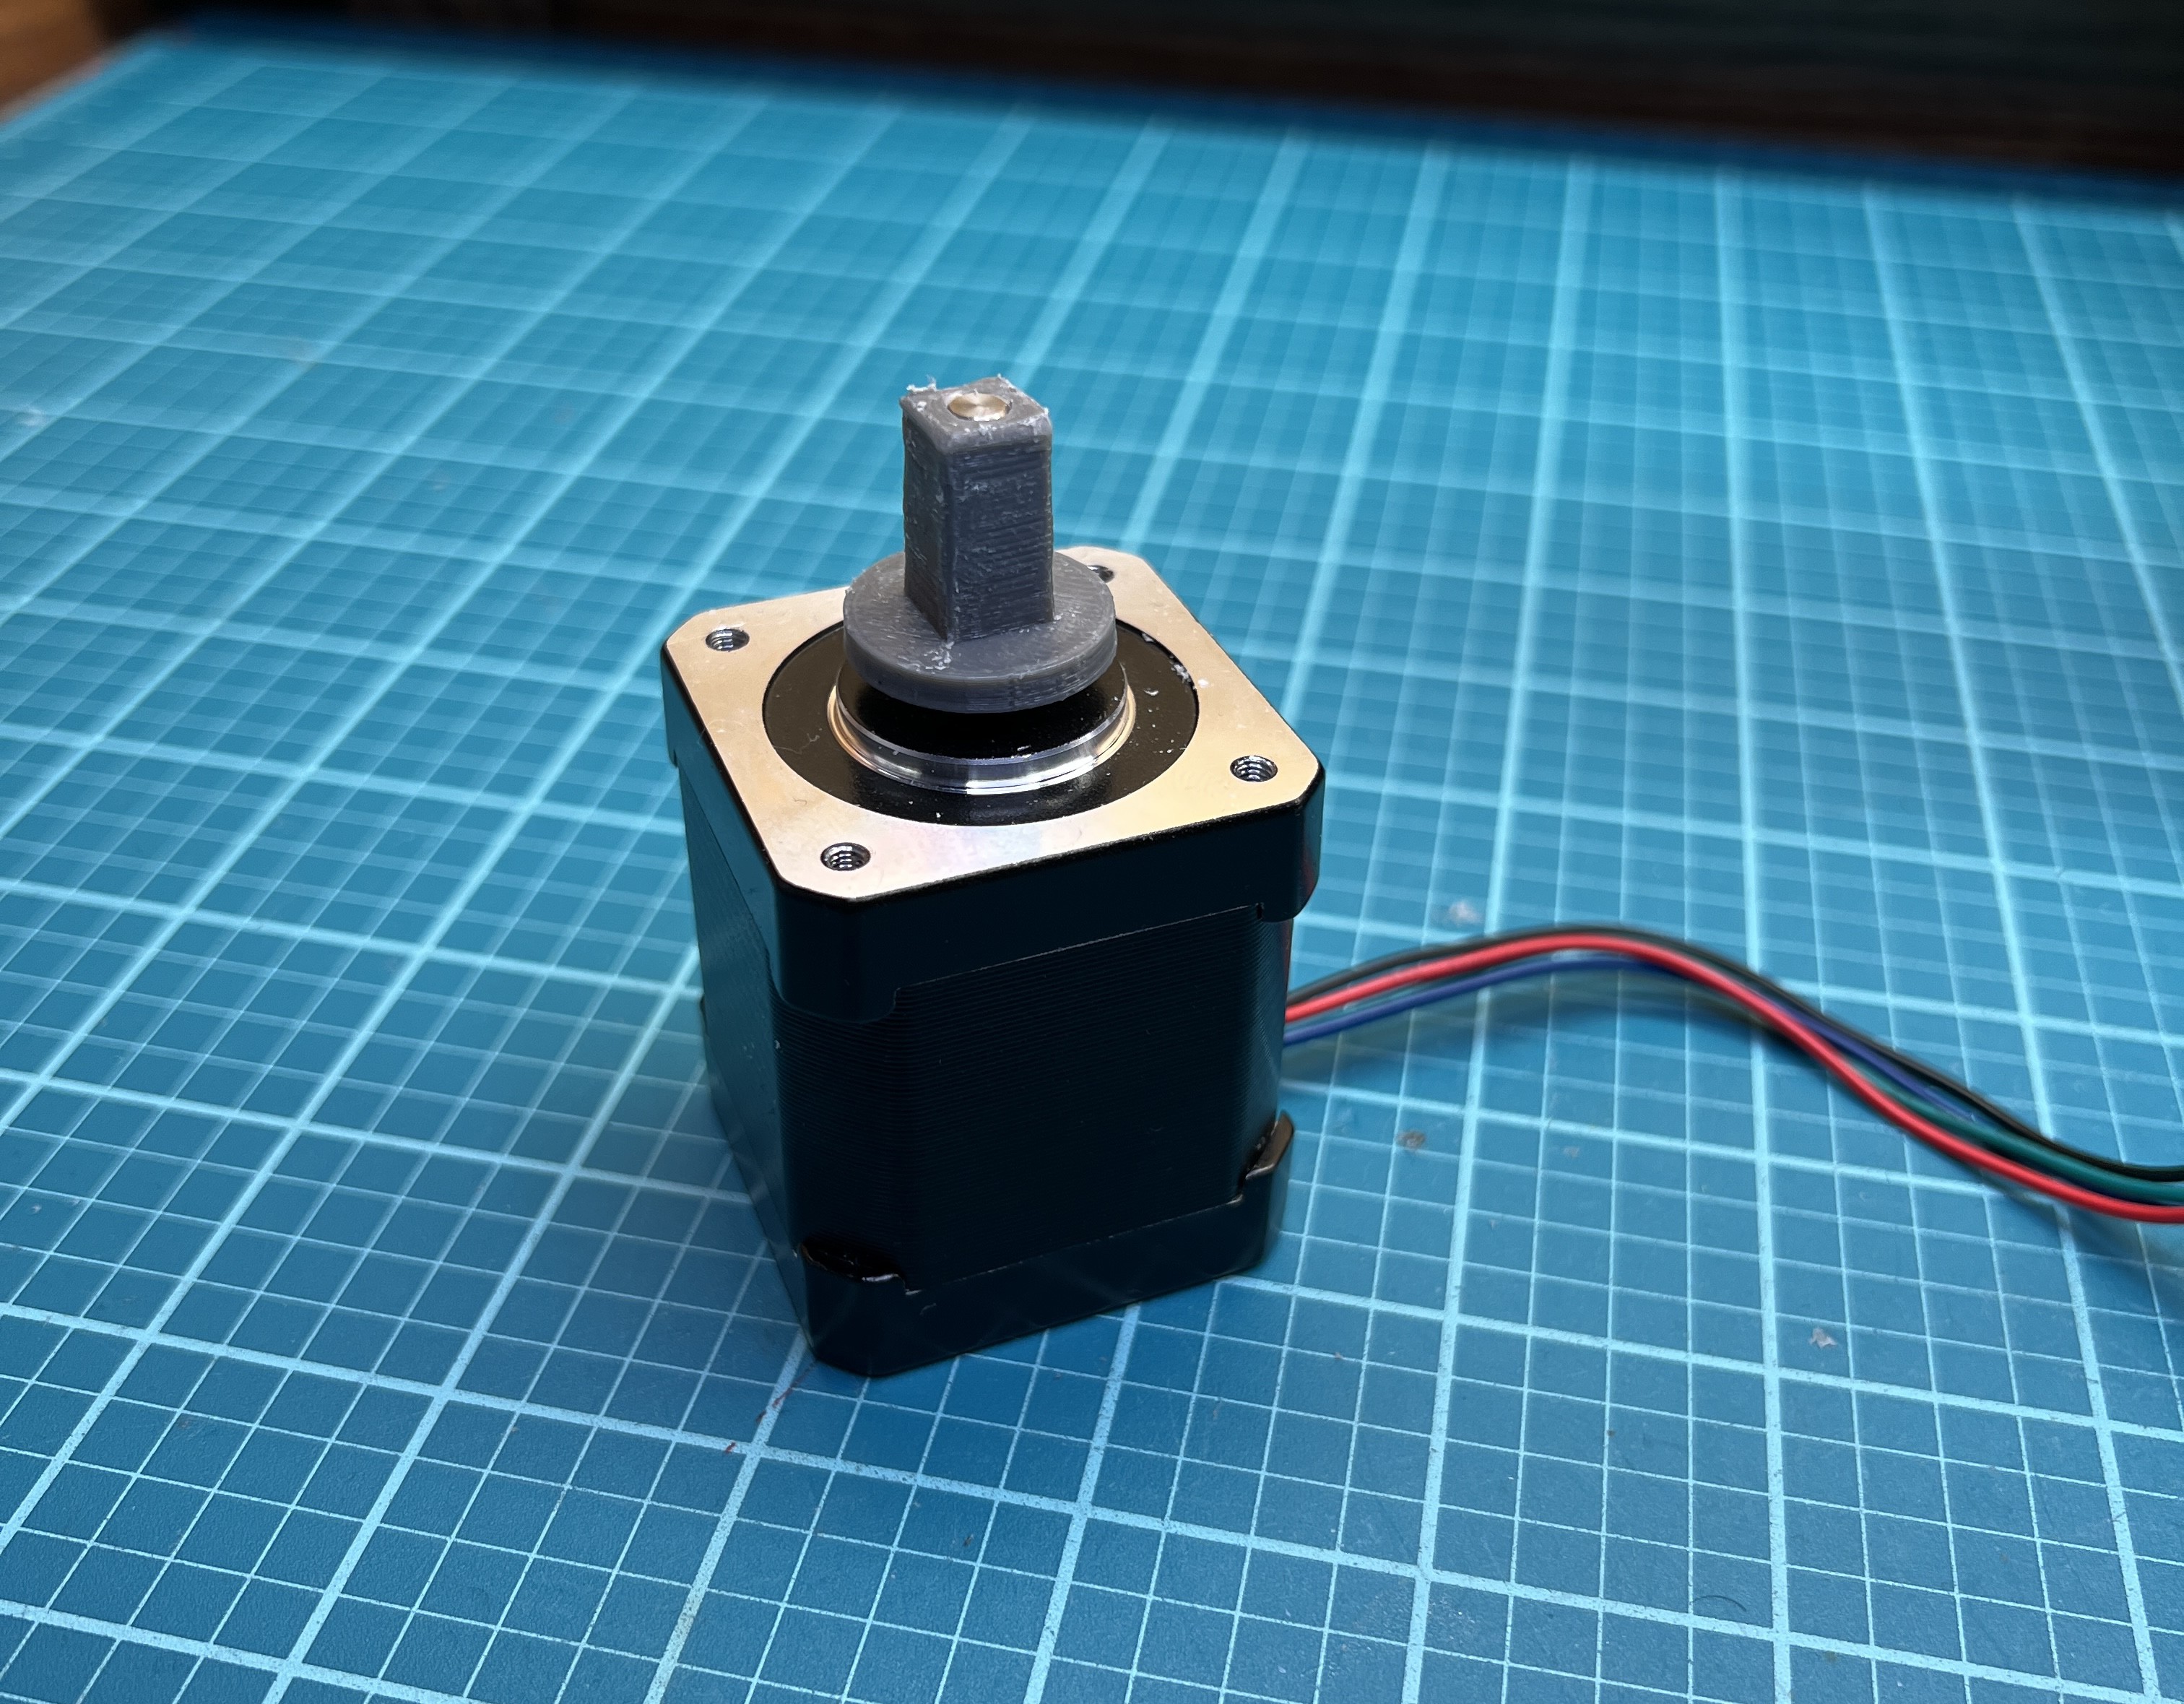
All four of the stepper motor mounts screw onto the base of the machine which holds the 5th stepper in the middle. The 6th stepper is mounted onto the removable hat of the machine. With neodymium magnets, the hat can clip onto the machine and be taken off. I added extra support structures between each stepper mount for extra sturdiness. Each of the steppers has a printed motor sleeve on its shaft. The motor sleeve has the same square profile as the cube adapters. Thus, when the cube is put into the machine, the adapters attached to the cube are able to slide onto the motor sleeves and allow the cube to be turned.
Electronics
Stepper Motors/Drivers
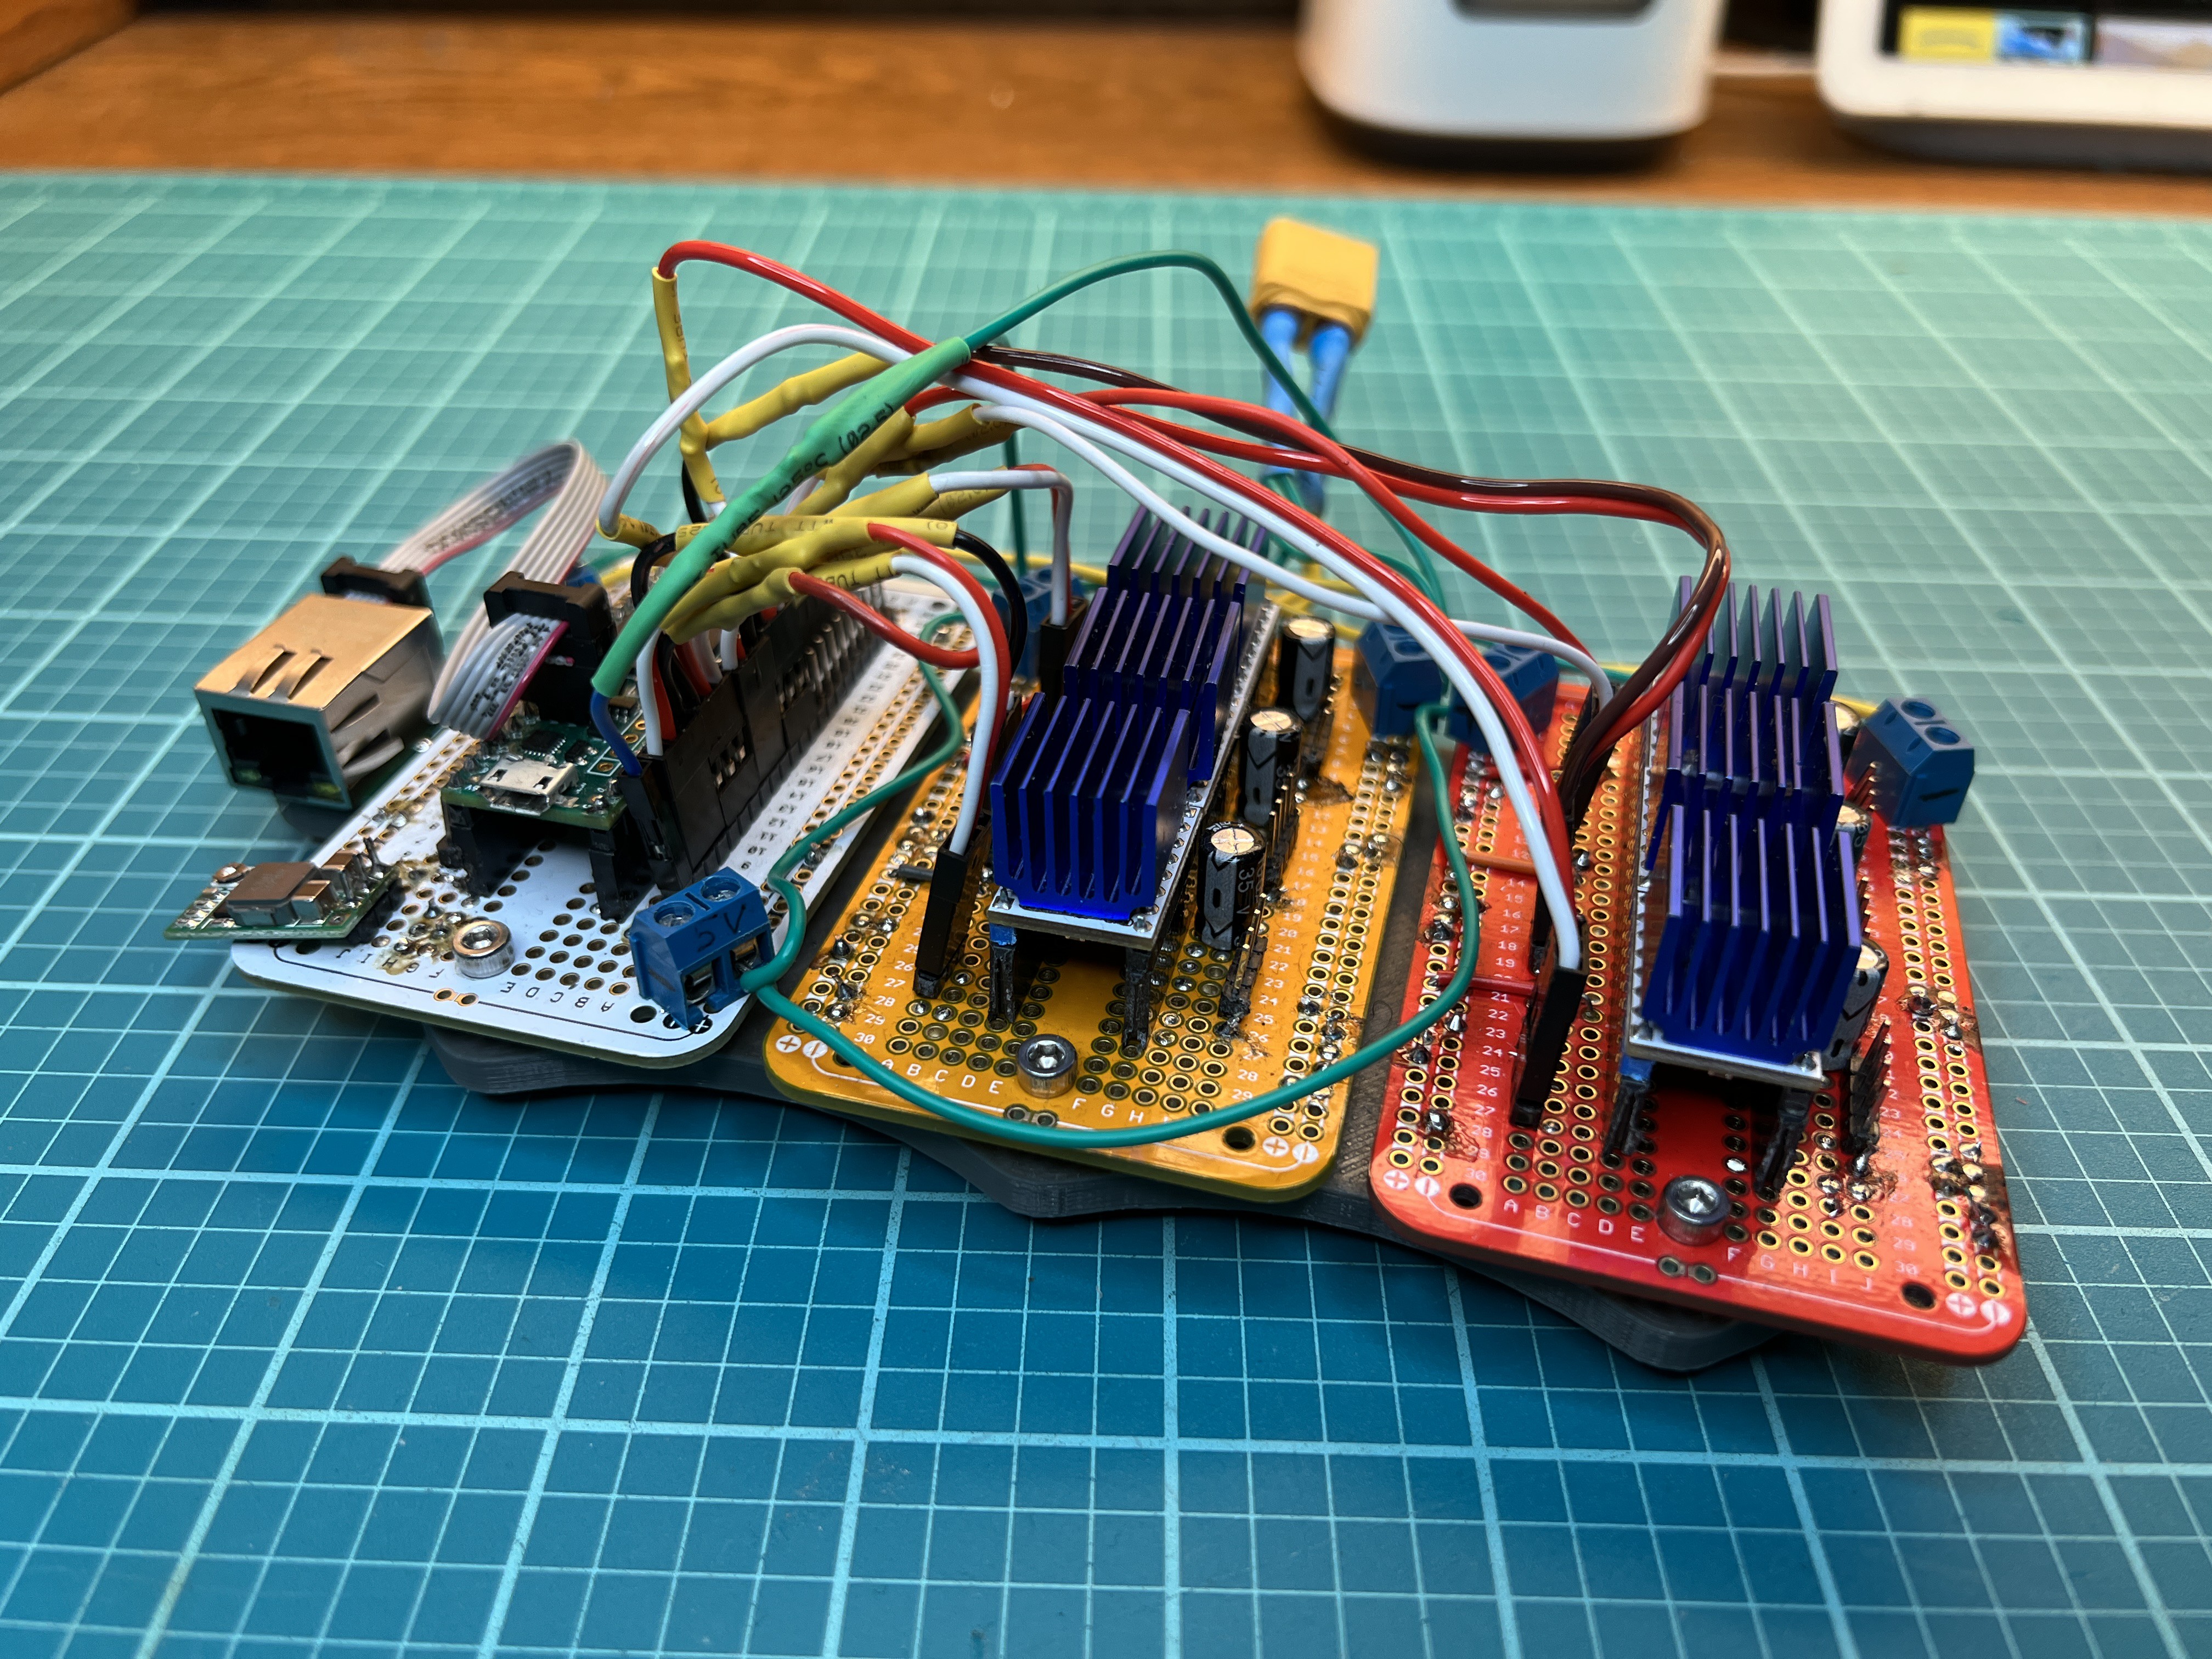
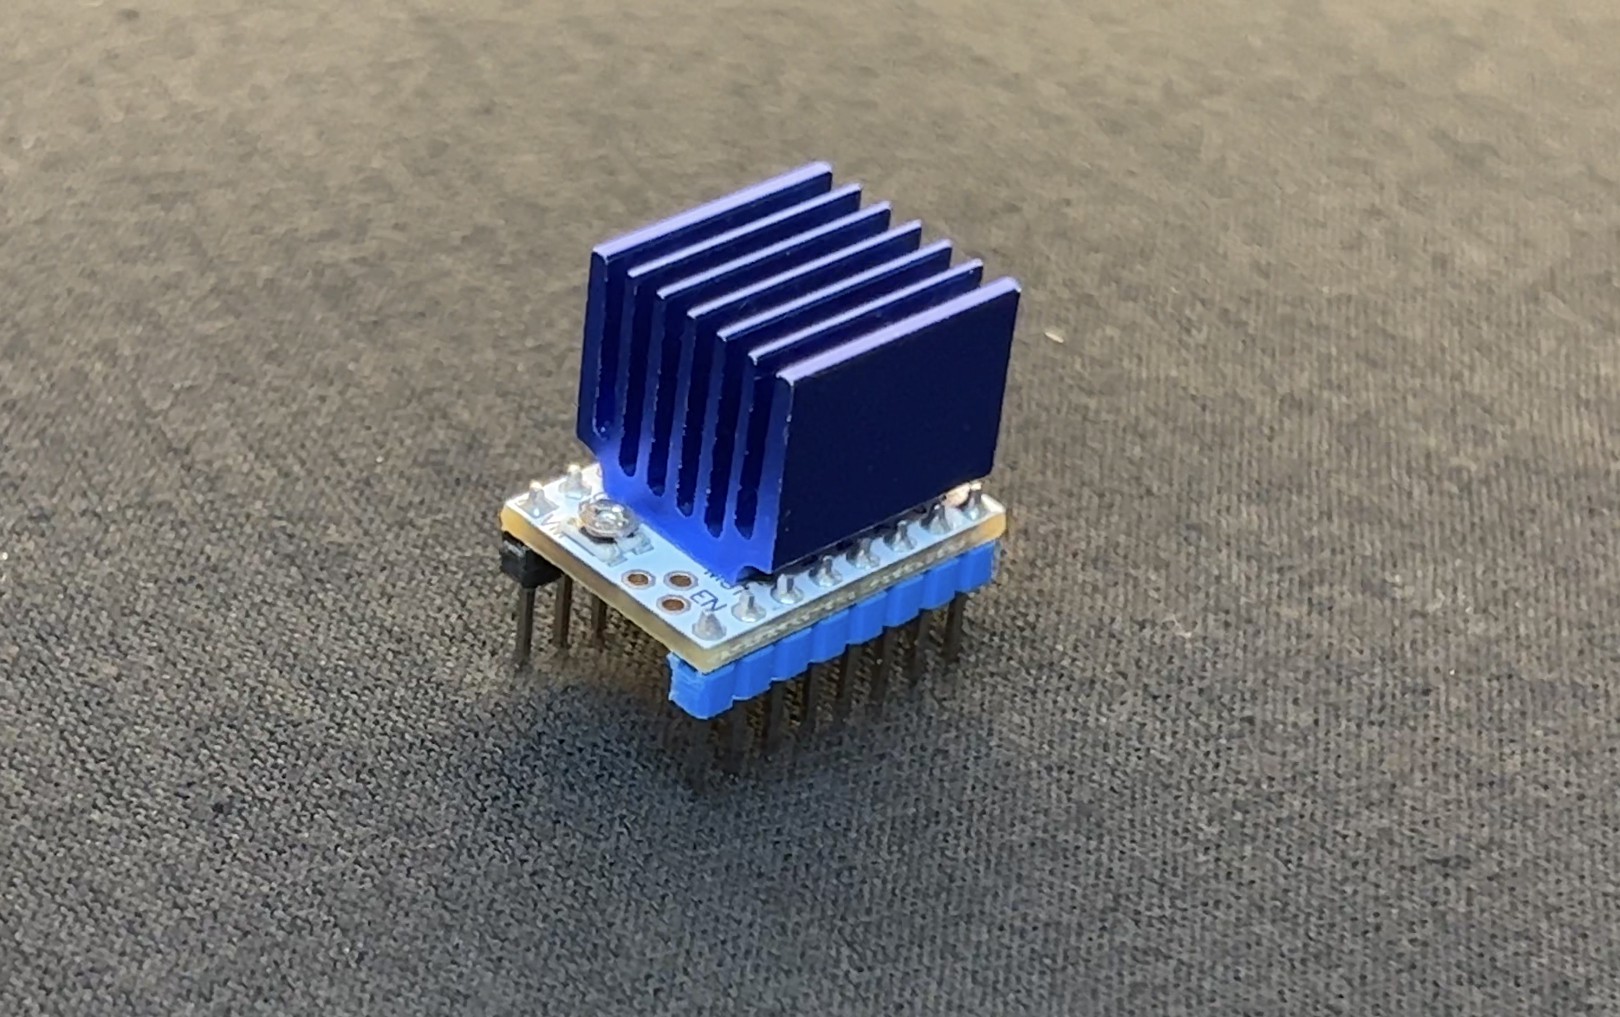
The machine utilizes 6 x Nema-17 59Ncm stepper motors rated for 24V. I’m using 6 x TMC2208 stepper drivers to drive the motors. These drivers are extremely quiet. They can often be found on silent motherboards for 3D printers. In fact, they are the same ones used in my 3D printer. For these drivers, I’m using the lowest micro stepper level, ½ micro stepping (400 step/rev). These drivers can do up to 1/16 micro stepping (3200 steps/rev), but with higher precision, you get slower top speeds. Since these steppers will only ever turn 90° or 180° at a time, 400 steps/rev is just fine.
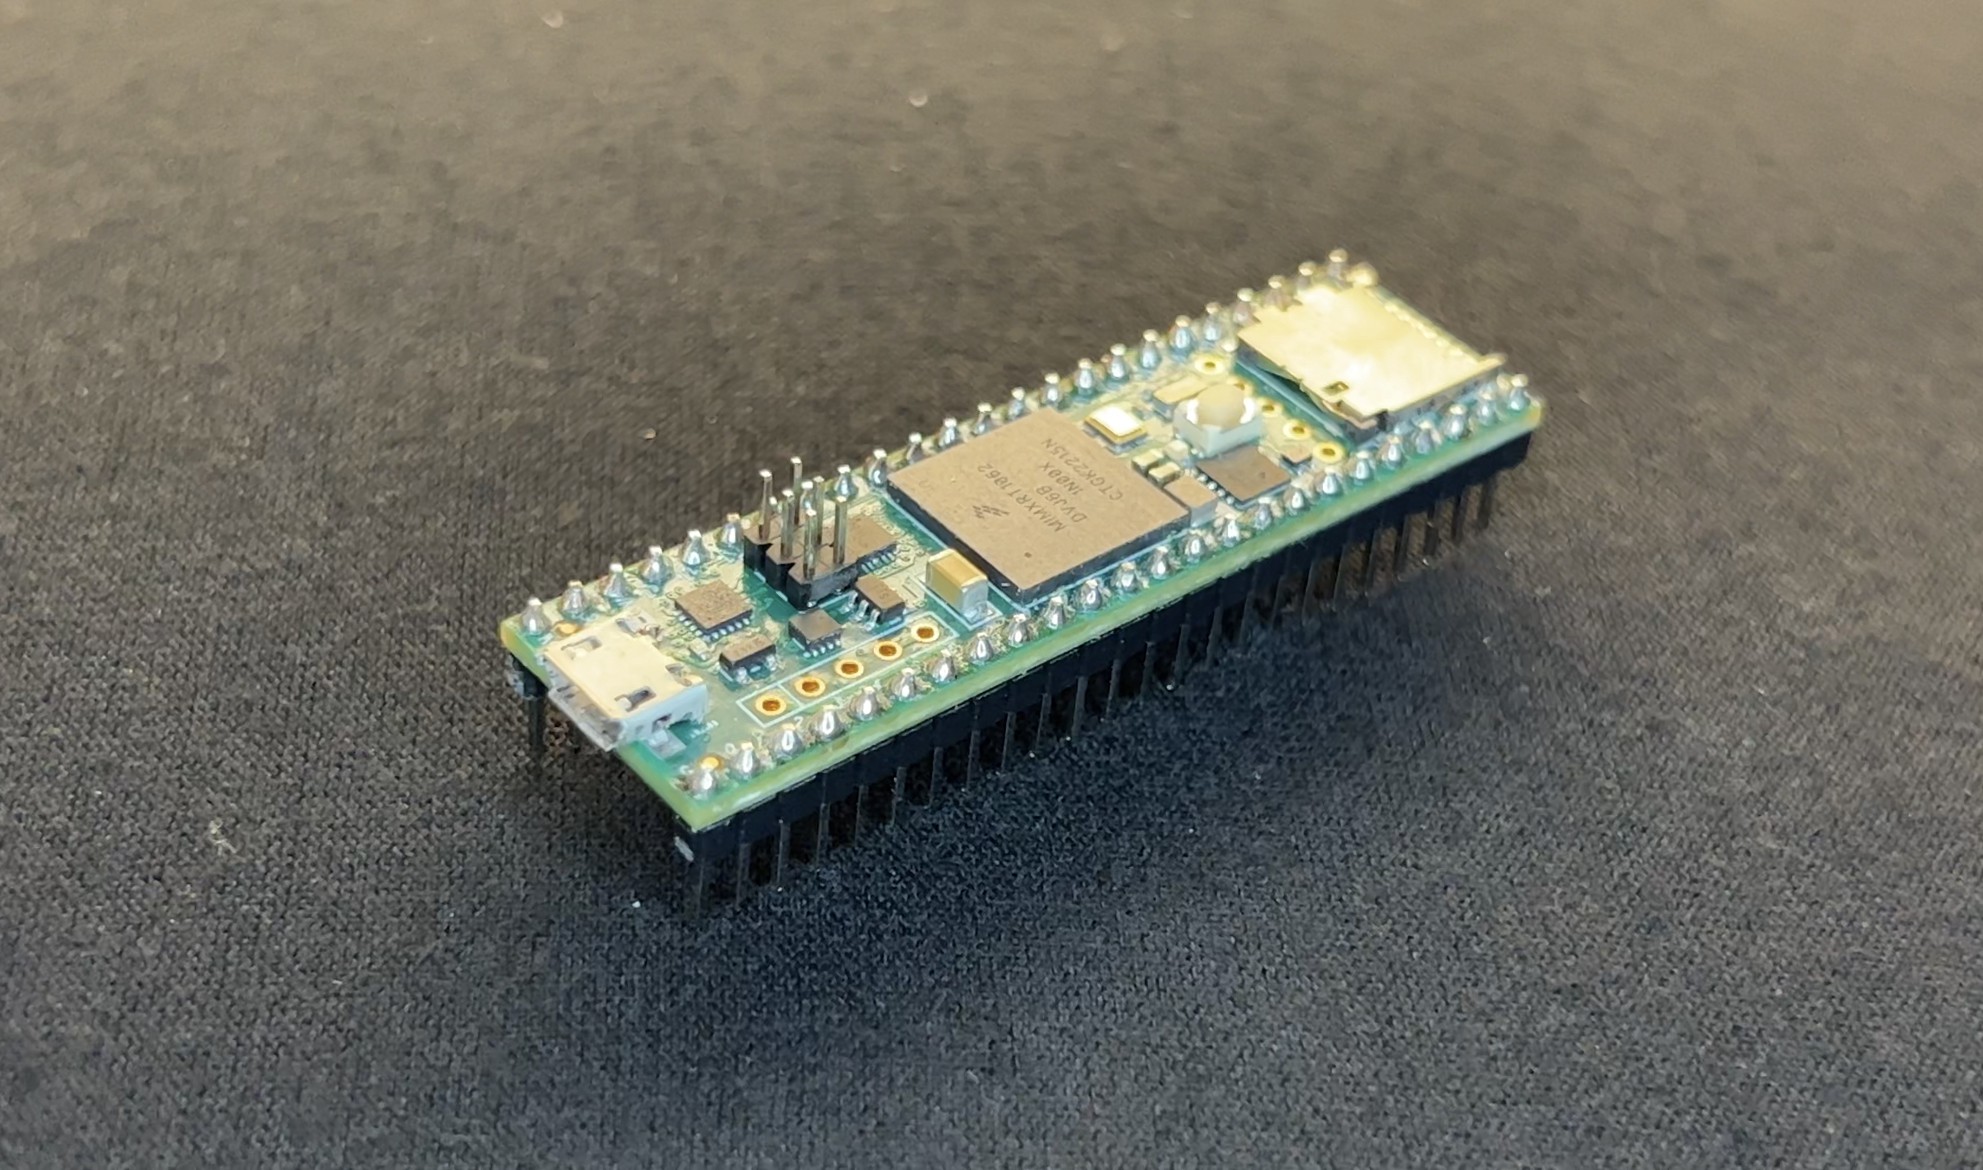
Teensy 4.1
I originally started programming this project on an Arduino UNO. As the code increased, the Arduino ran out of storage so I switched to the Teensy 4.1. The Teensy is superior to the Arduino in every way. It has 38 times the clock speed, much more storage, 55 pins, and 8 Mbytes of flash memory.
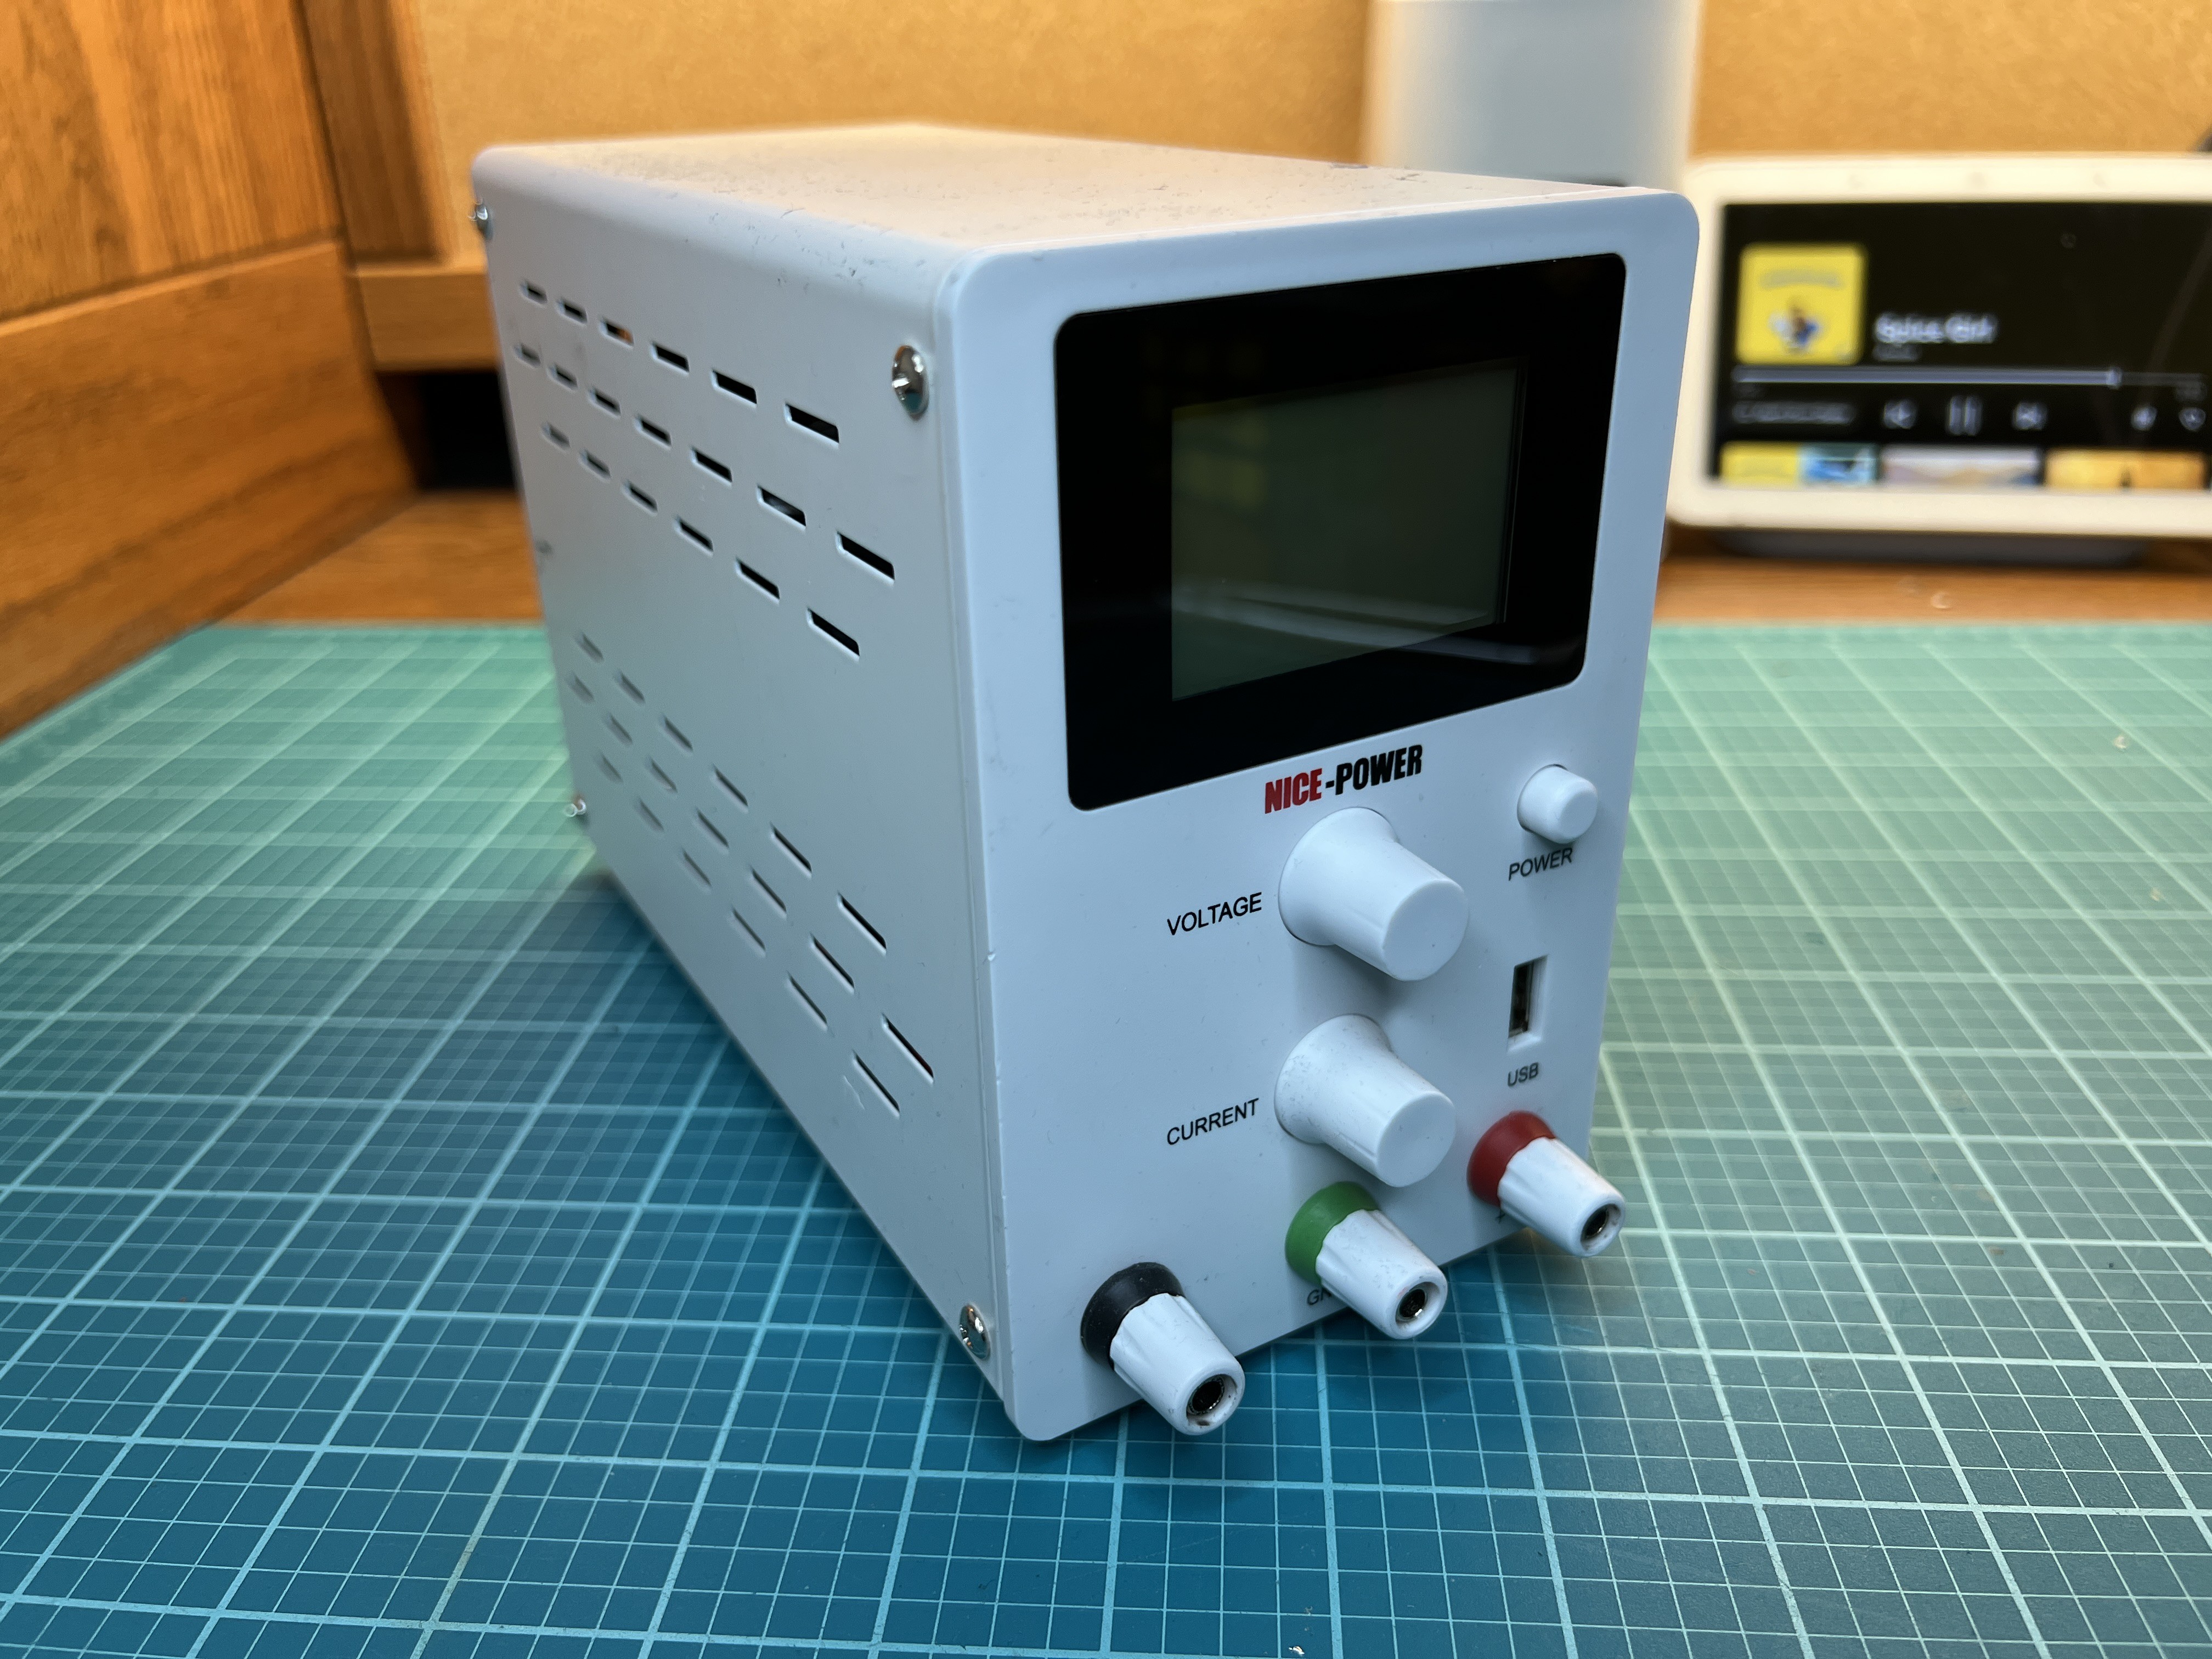
Power
I’m powering this entire system with 24V provided by a bench power supply. Each stepper motor is directly powered by the 24V while the Teensy and the logic boards on the drivers use 5V provided by a 5V regulator.
Programming (Arduino IDE)
There were 3 major components that went into programming the solver. First, there needs to be a way to obtain the configuration of the cube from the user. Next, and most importantly, the computer needs to be able to solve the cube and save the steps. Lastly, there needs to be a way to translate the steps into a sequence of stepper motor actions that solve the cube.
Web Server
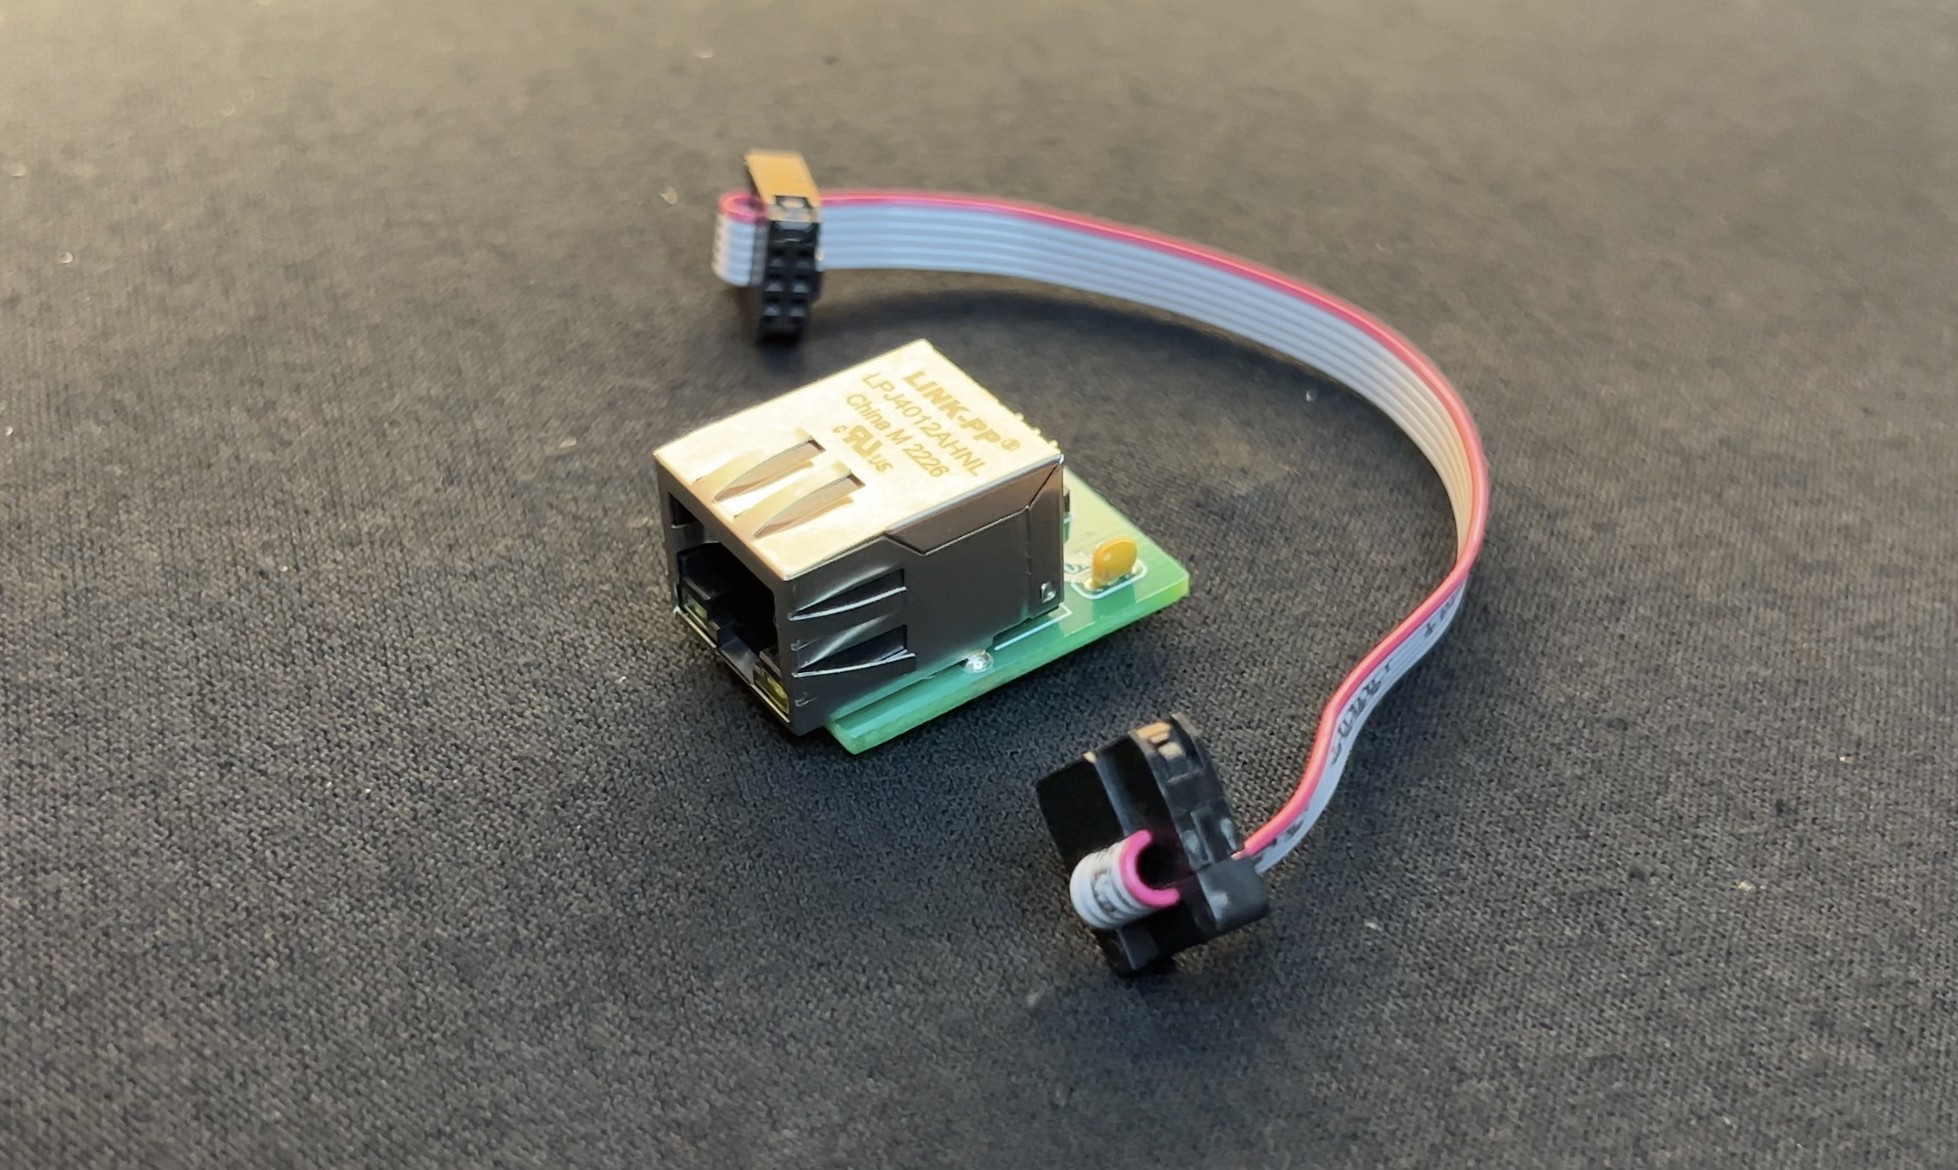
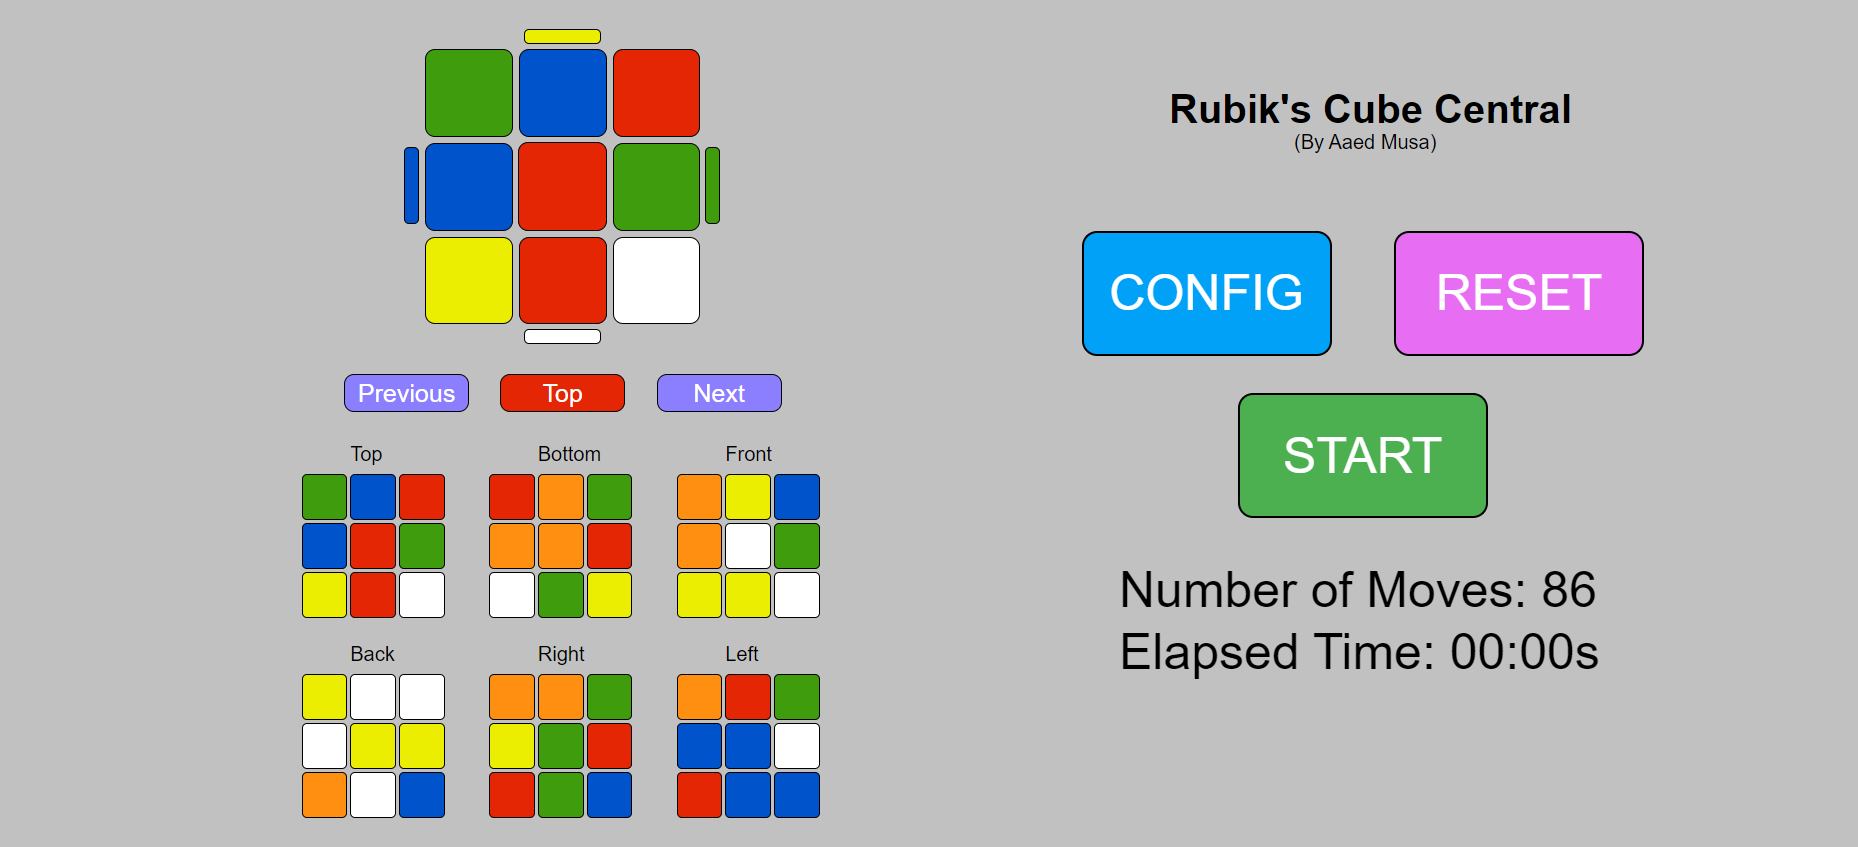
Originally, I wanted to utilize camera vision to detect the color of each tile on the cube, but the pixy2 cam that I had wasn’t 100% accurate not to mention the challenge of scanning all six sides of the cube with a single camera. I then turned to developing a web server. Another advantage of using the Teensy 4.1 is that it has ethernet support. After purchasing the Teensy 4.1 Ethernet Kit, I created an HTML web server equipped with the following features:
- A display of all sides of the cube with buttons allowing the user to manually set the color of each tile.
- The ability to turn a given side of the cube with a real-time update of the display of the cube. This feature can be used to perform scrambles on the cube.
- An option to reset the cube display to show a fully solved cube.
- A button to configure and then display the total amount of moves it would take to solve the cube in its current configuration.
- A start button that solves the physical cube.
- A display of the elapsed time taken to solve the physical cube (not updated in real-time)
- Misinput prevention if the user defines a cube configuration that is not possible. Every cube has exactly 9 tiles of every color at any given time. If the user defines a cube negating this parameter, the start and configure buttons will not be clickable.
Cube Solving Algorithm.
This entire project hinges on the effectiveness of the cube-solving algorithm. Creating this algorithm was actually the first thing that I did when making this project. It took several weeks to complete. There are 43 quintillion different ways that a Rubik’s cube can be scrambled. The computer will need to be able to solve any of these scrambles. The difficulty comes with finding the absolute fastest way to solve the cube given the many possible ways in which each step of the algorithm can be completed.
Virtual Cube and Notation
In order to analyze and perform operations on the cube, the computer needs a virtual representation of the physical cube. Since each cube has 6 sides and each side has 9 tiles the virtual cube is represented as a 6 by 9 matrix. Each element in the matrix is a single character representing the color of that tile (ex. Red = ‘R’, White = ‘W’, etc….). I also created my own notation for which rows in the matrix correspond to which faces on the cube, and which columns in the matrix correspond to which tile position on a given face. For example, if the cube is fully solved, printing the character of element [2][5] in the array would return ‘W’ since the tile on the front face (row 2) in position 5 (column 5) is white. Likewise, printing element [0][7] would return ‘R’ since that tile is red.
Turning The Virtual Cube
The algorithm must be able to turn a given side of the virtual cube in order to solve it. The computer does this by transforming the matrix. Creating code to do this is similar to describing to a person what happens when you turn a physical cube. You would most likely tell them the following observations:
- 4 sides on the cube lose 3 of their tiles and adopt 3 tiles from another side.
- The side being turned keeps all of its tiles but reorders them.
- The side directly opposite of the side being turned does not change whatsoever.
- The center tile of every side never leaves its position. This is why the faces are referenced by the color of the center tile. For example, the yellow face is the side with the yellow tile in the center.
These 4 rules apply any time you turn a side of a Rubik’s cube. The algorithm has a set of instructions for which side loses what tiles and adopts what tiles when a given side is turned. Whenever a side on the virtual cube needs to be turned, these rules are referenced, and the matrix is reordered as need be.
Algorithm Attempt #1 (Beginners Method)
My initial algorithm solved the cube using the beginner’s method which is the way that I learned to solve a Rubik’s cube. This method has 8 steps:
Step 1: Make the Daisy
Step 2: Create the White Cross
Step 3: Solve the First Layer
Step 4: Solve the Second Layer
Step 5: Create the Yellow Cross
Step 6: Solve the Yellow Face
Step 7: Position the Corners
Step 8: Position the Edges
Although this algorithm worked, I ended up not using it for two reasons. Firstly, it averaged upwards of 100 moves per solve. This is considerably high when compared to speedcubers who can solve cubes in under 60 moves. Secondly, the method I used to create the daisy was not effective. Instead of concrete operations, I simply programmed the algorithm to make thousands of combinations of strategic turns on random sides of the cube in hopes of moving all four edge pieces in position. This worked, but sometimes it took several seconds to compute since it couldn’t find a set of moves that would work right away.
Algorithm Attempt #2 (CFOP Method)
I decided to do some research on cubing methods used by actual speedcubers and came across the CFOP method. This method uses only 4 steps:
Step 1: White Cross
Step 2: F2L (First 2 Layers)
Step 3: OLL (Yellow Face)
Step 4: PLL (Last Layer)
With this method, cubers are able to average under 60 moves per solve. This is mainly due to how the CFOP method builds the first two layers in comparison to the beginner’s method. While the beginner’s method builds the first layer and second layers sequentially, the CFOP method builds both simultaneously. I decided to learn this method myself and then create a second, more effective, algorithm. The CFOP algorithm worked as expected and gave me an average of around 75 moves per solve. After solving each step of the CFOP method the algorithm logs the moves in an array.
Stepper Motor Control
Creating stepper motor control was fairly straightforward. Every move in the solve turns a single side of the cube once, twice, or once in the opposite direction. I’m using the AccelStepper Arduino library to control the stepper motors. A function in the code goes through each move, determines which stepper to actuate, actuates that stepper, and then continues to the next move. Only one stepper is moved at a time.
General Code Overview
The general flow of events is this:
- The user manually defines the cube on the webserver.
- When the user clicks start, the cube-solving algorithm solves the cube and catalogs the moves taken in a split second.
- Each move is fed to the stepper motor control function which determines which stepper to move. This is done until the cube is solved.

Testing
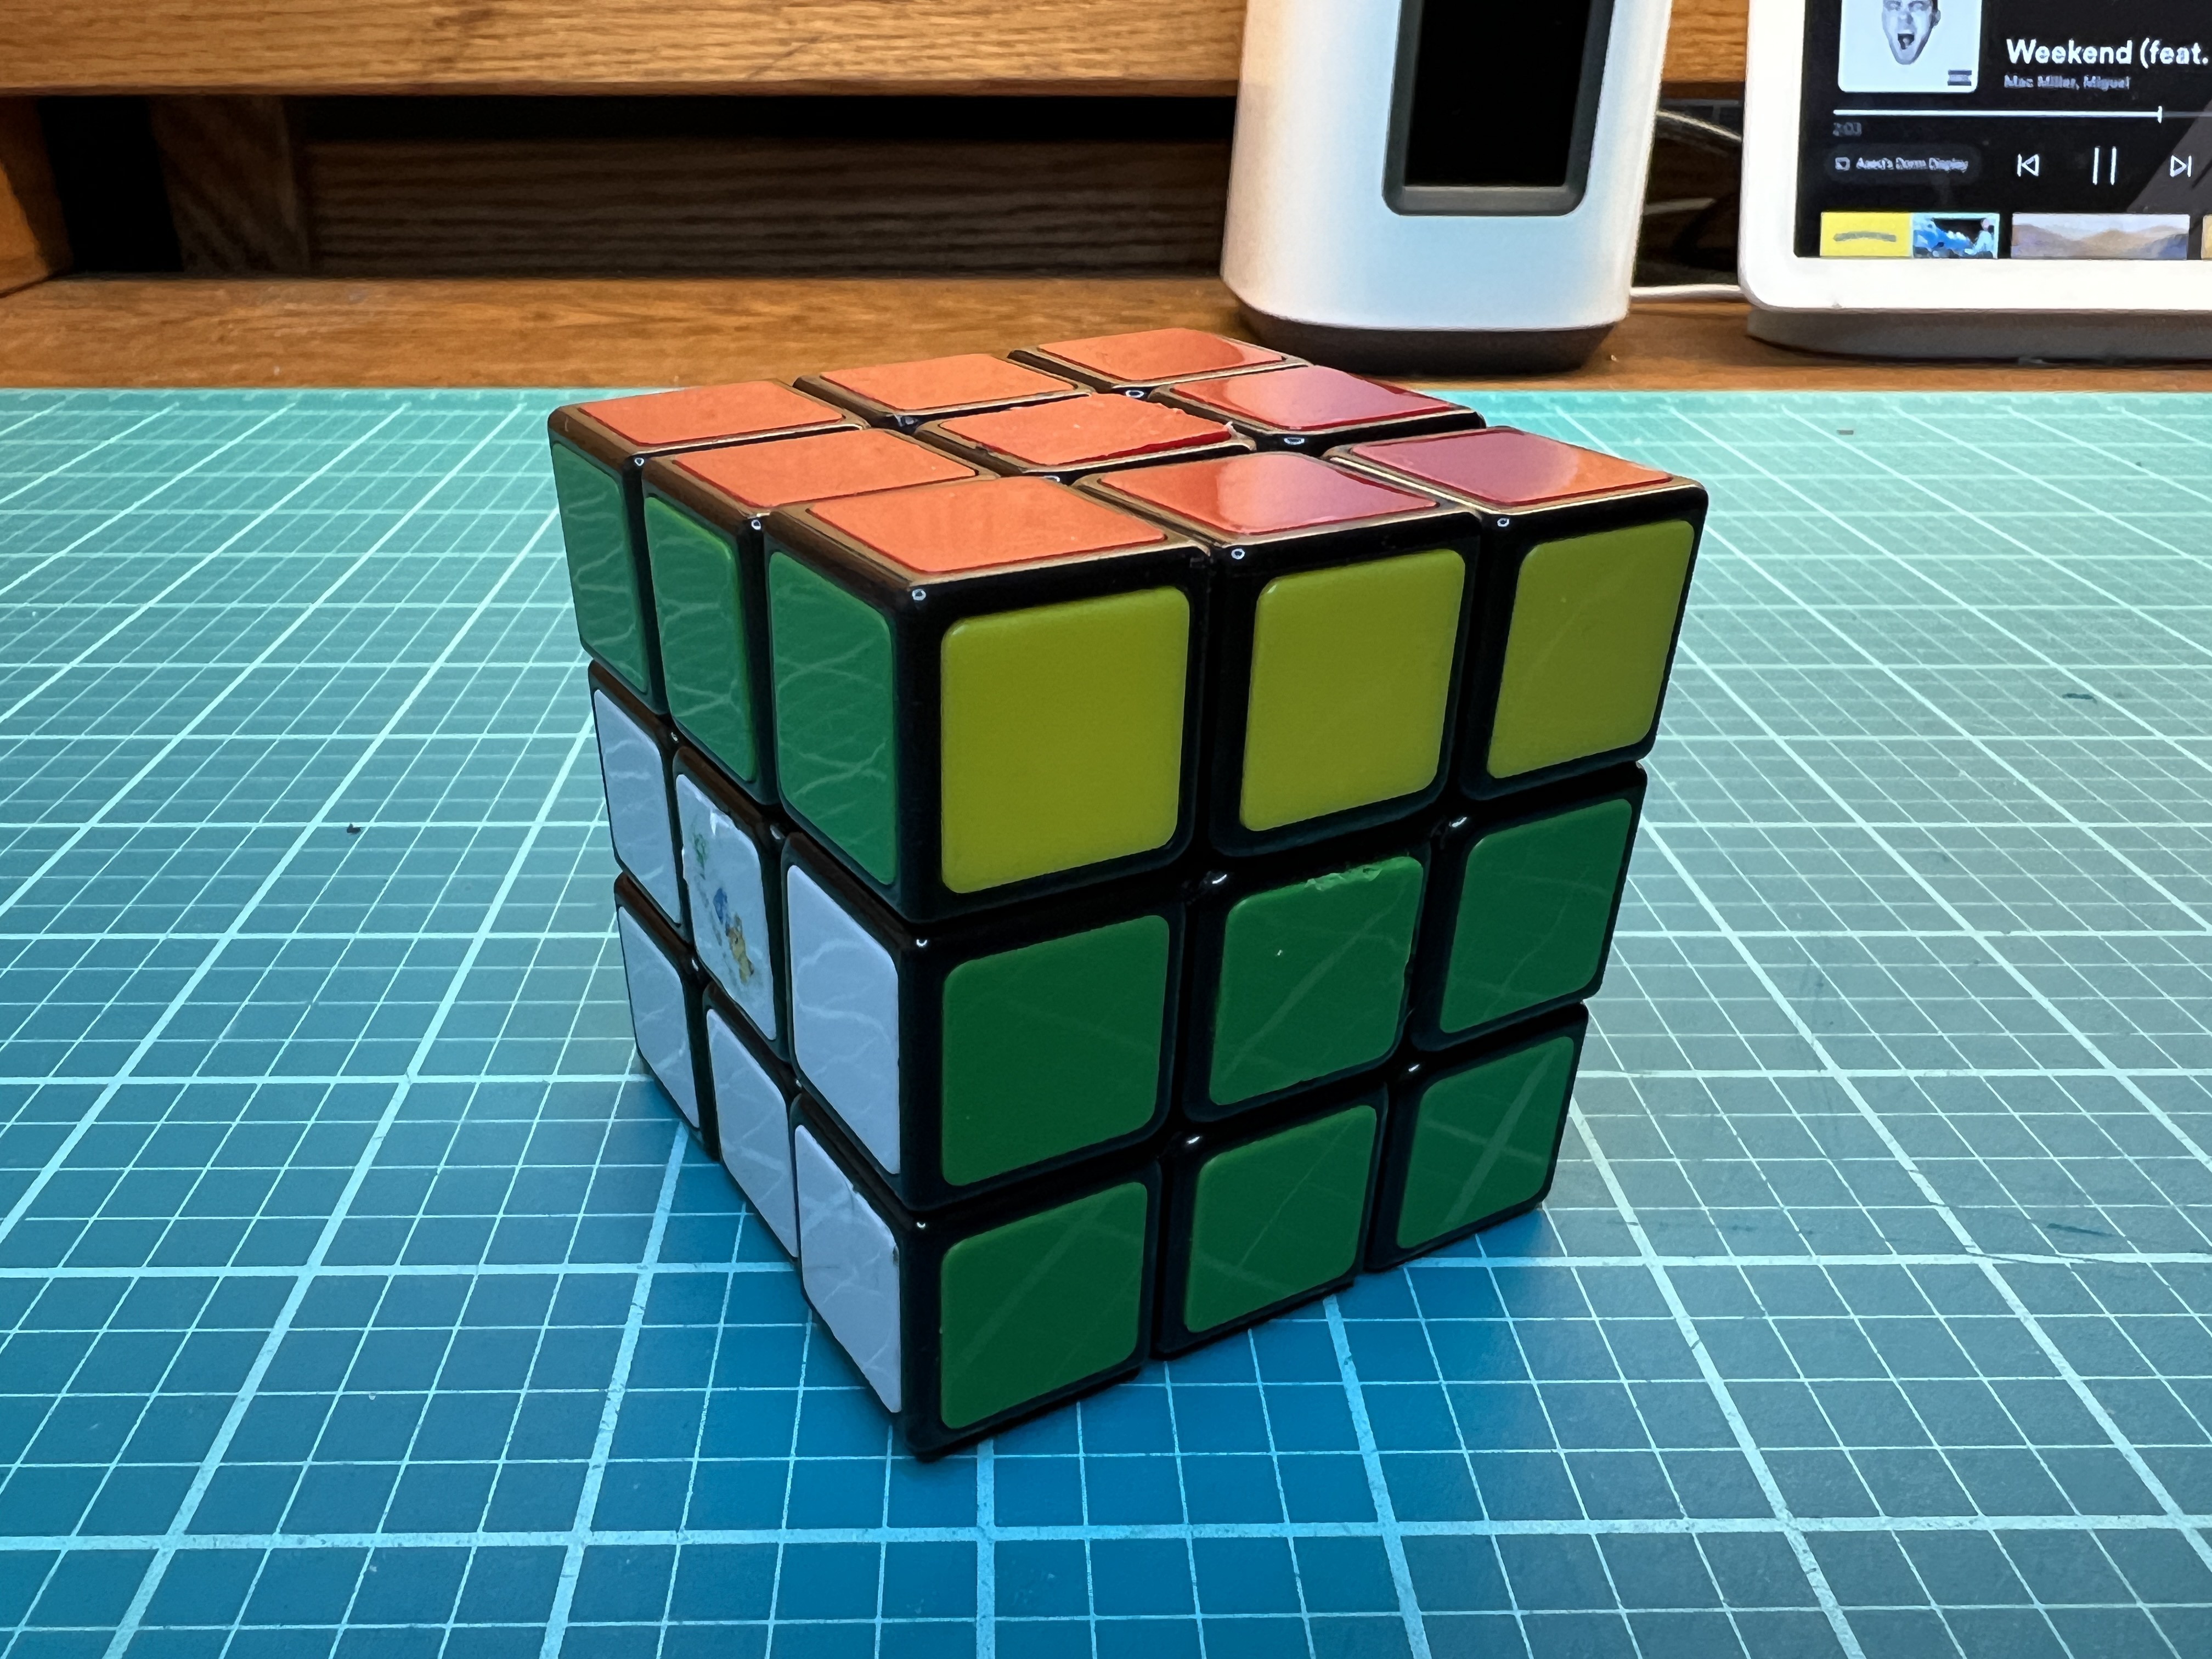
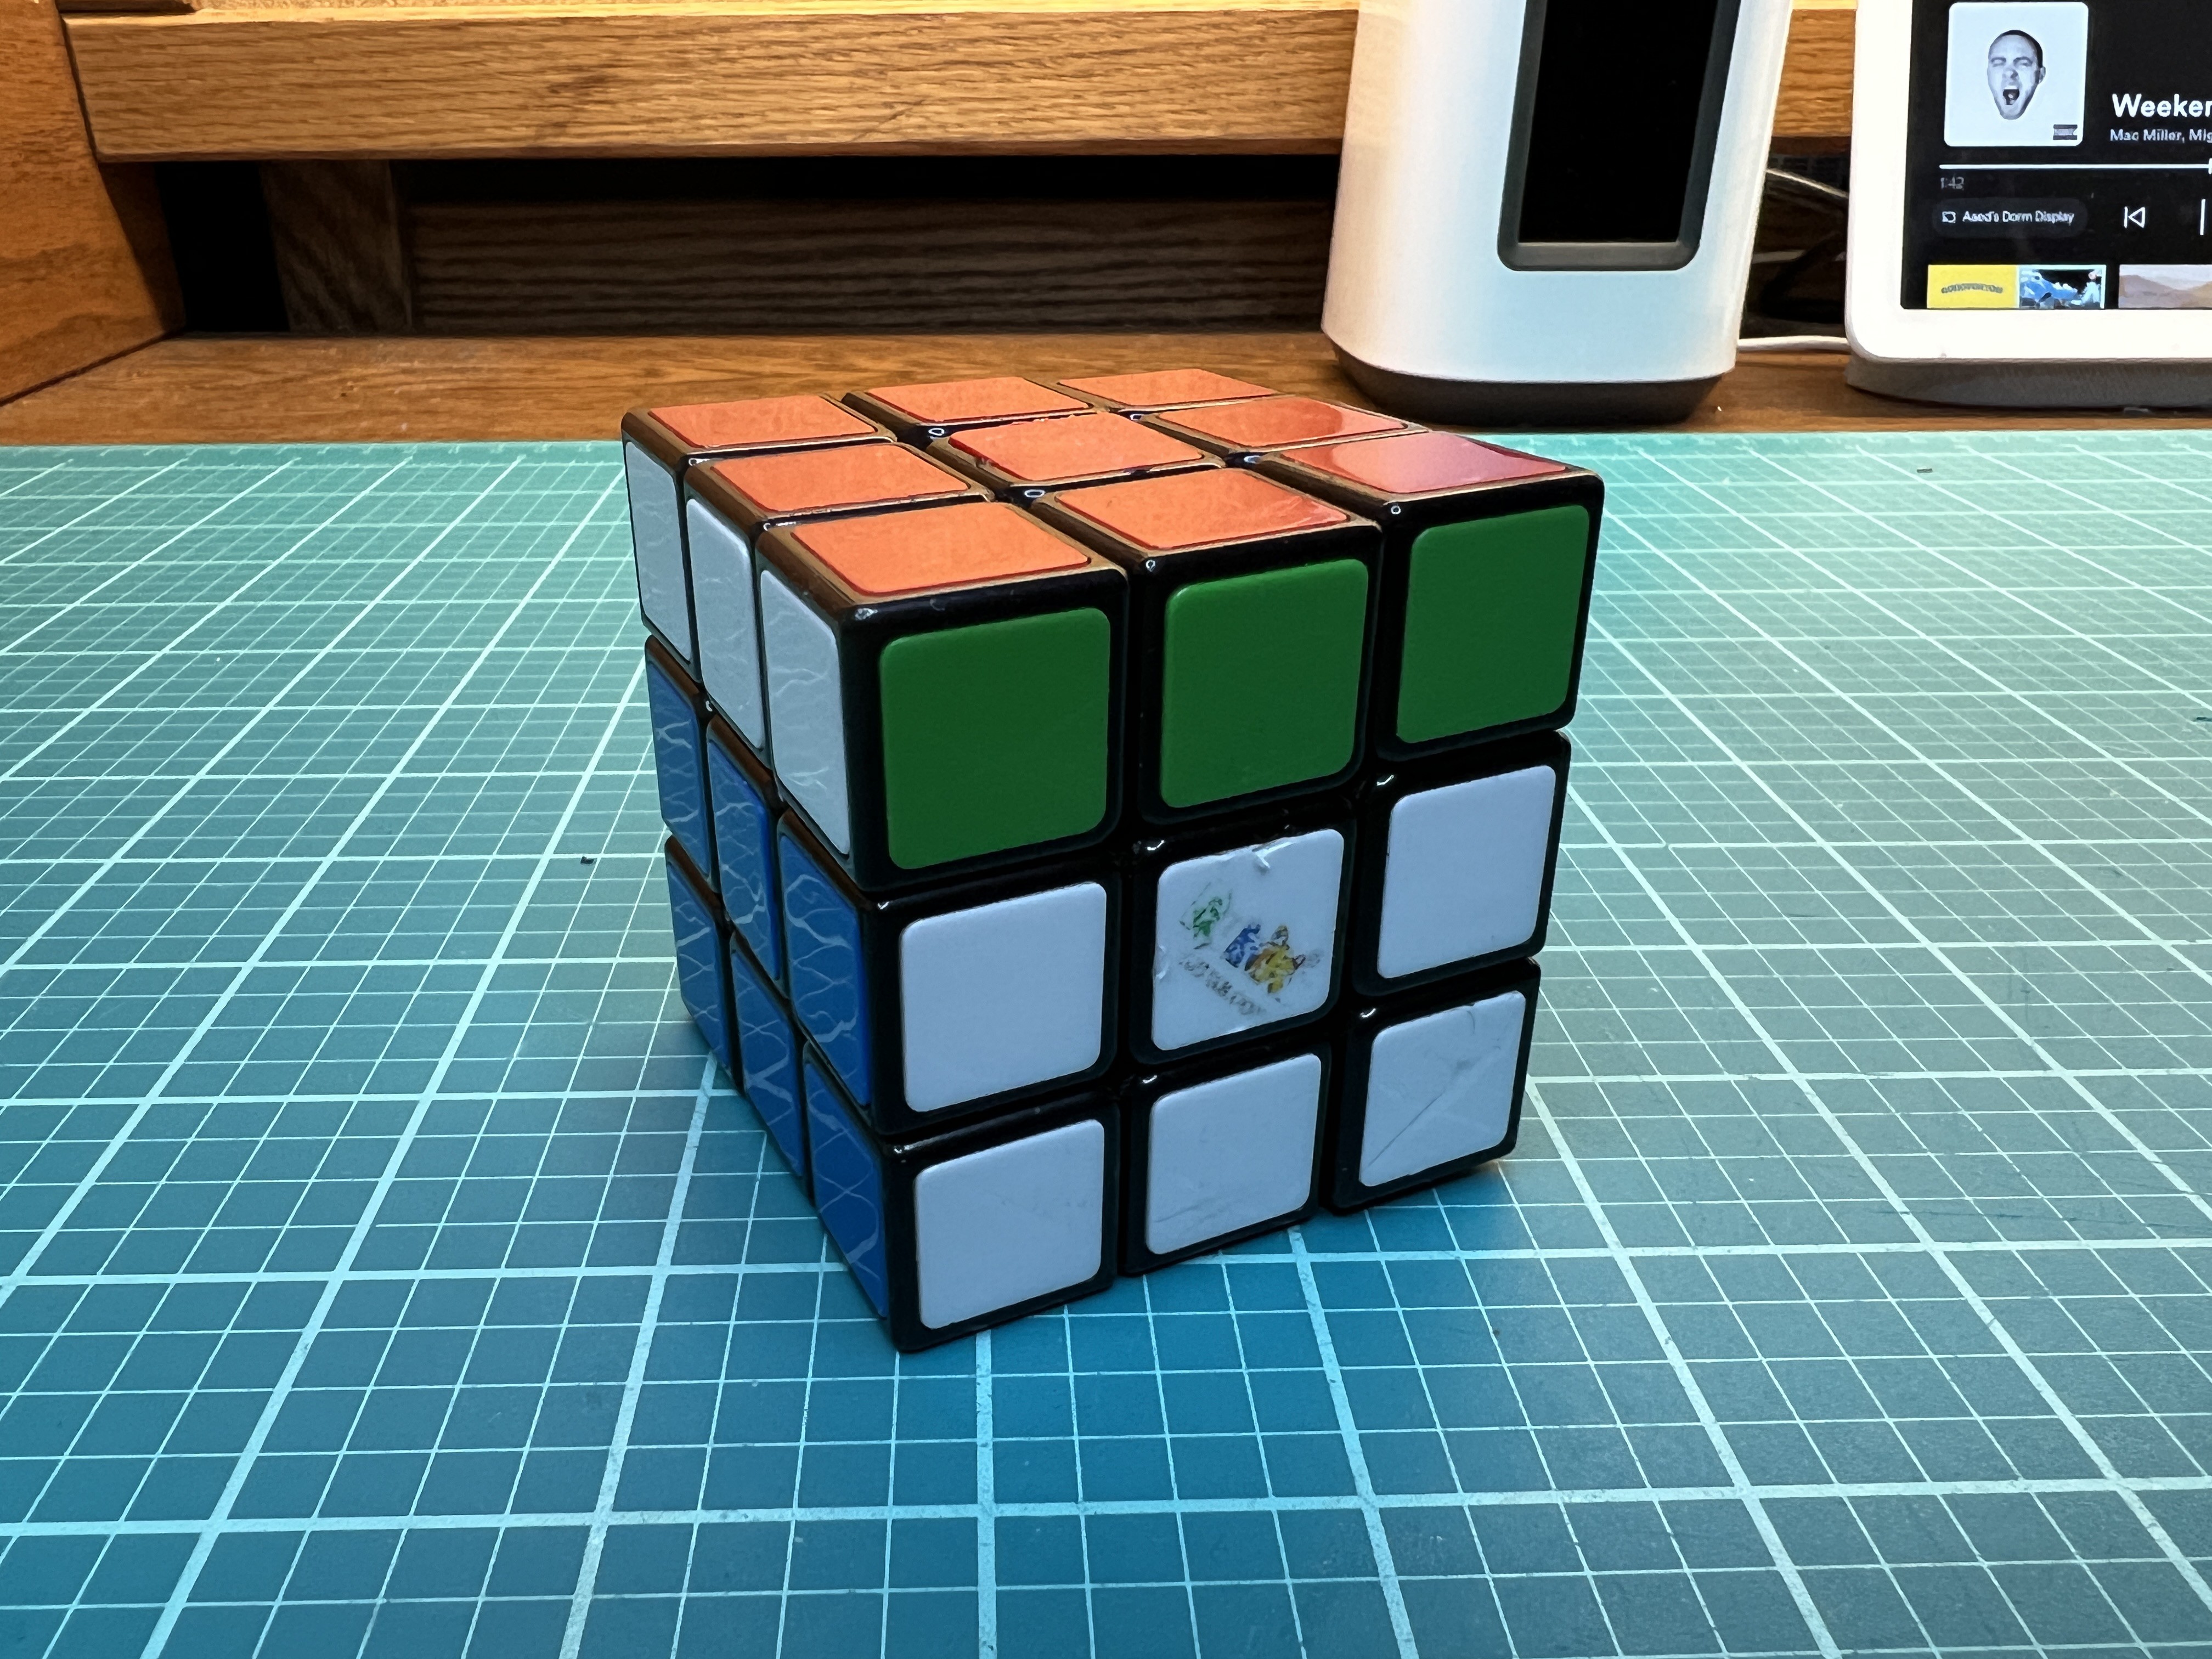
During initial testing, I discovered that the generic Rubik’s cube I was using had a lot of friction which added a lot of resistance to the stepper motors. As all 6 steppers move, the small errors caused by the resistance accumulates and can cause jamming. This happened a lot during testing. One way I mitigated this issue was to change the cube that I was using. I bought a pretty cheap cube that had screws under each of the center tiles for, what I assumed, was meant for tensioning. It isn’t a speed cube, but it worked pretty well. Making the cube as flexible as possible helped with the friction issue.
Another thing that I tested was the tolerancing of the 3D-printed adapter and motor sleeve pieces. I ran through many design iterations and eventually landed on the perfect fit. I also designed retainer clips to fit on the adapter pieces to prevent the motor sleeves from popping out of the adapter pieces.
Results
Fastest Solve: 50 moves in 4.56 sec (≈10.87 moves/sec)
Top Stepper Motor Speed: 1380 steps/sec
Average Solve Time (in 11 trials using the fastest speed): 5.66 sec
Average Number of Moves per Solve In 20 trials: 75
World Records (for context)
Human World Record (as of March 2023): 3.47 sec (set by Yusheng Du in 2018)
Machine World Record (as of March 2023): 0.38 sec (machine made by Ben Katz and Jared Di Carlo at MIT)
The top pro cubers can solve a Rubik’s cube in under 10 seconds and average about 10 turns per second. With that in mind, I think it’s safe to say that my Rubik’s cube solver, though not the fastest, is as good as the top speedcubers.
Moving Forward
Overall, I am pretty pleased with how this project turned out. I definitely plan on revisiting this project in the future because there is a lot that can be improved. I anticipate that if modified properly, the machine could solve a Rubik’s cube in under 2 seconds. Here’s what I would like to change in a future iteration (in order of priority):
- Better Algorithm: My current algorithm lacks foresight: the ability to determine if solving a step a certain way will affect the overall move count later on. A stronger algorithm would be able to run through many combinations of solving the cube and then comparing them. It may also be worth looking into to other cubing methods like ZZ or ROUX. A stronger algorithm alone will reduce the amount of time taken for every solve.
- Auto Cube Configuration: I would like to use a camera or some sort of color-detecting sensor so that I don’t have to manually configure the cube. Entering this every time was a pain, especially during testing.
- Speed Cube: I didn’t use a speed cube in this version, and it’s probably why I had a lot of jamming. Speed cubes are designed to be used at high speeds and also have features like corner cutting which would prevent jamming if the cube isn’t perfectly aligned.
- Better Stepper Motors/Drivers: CNC-grade stepper motors and better drivers would take this project to the next level. With more torque and higher speeds, I could increase the physical limits of the machine. More torque would especially be useful for reducing jamming.