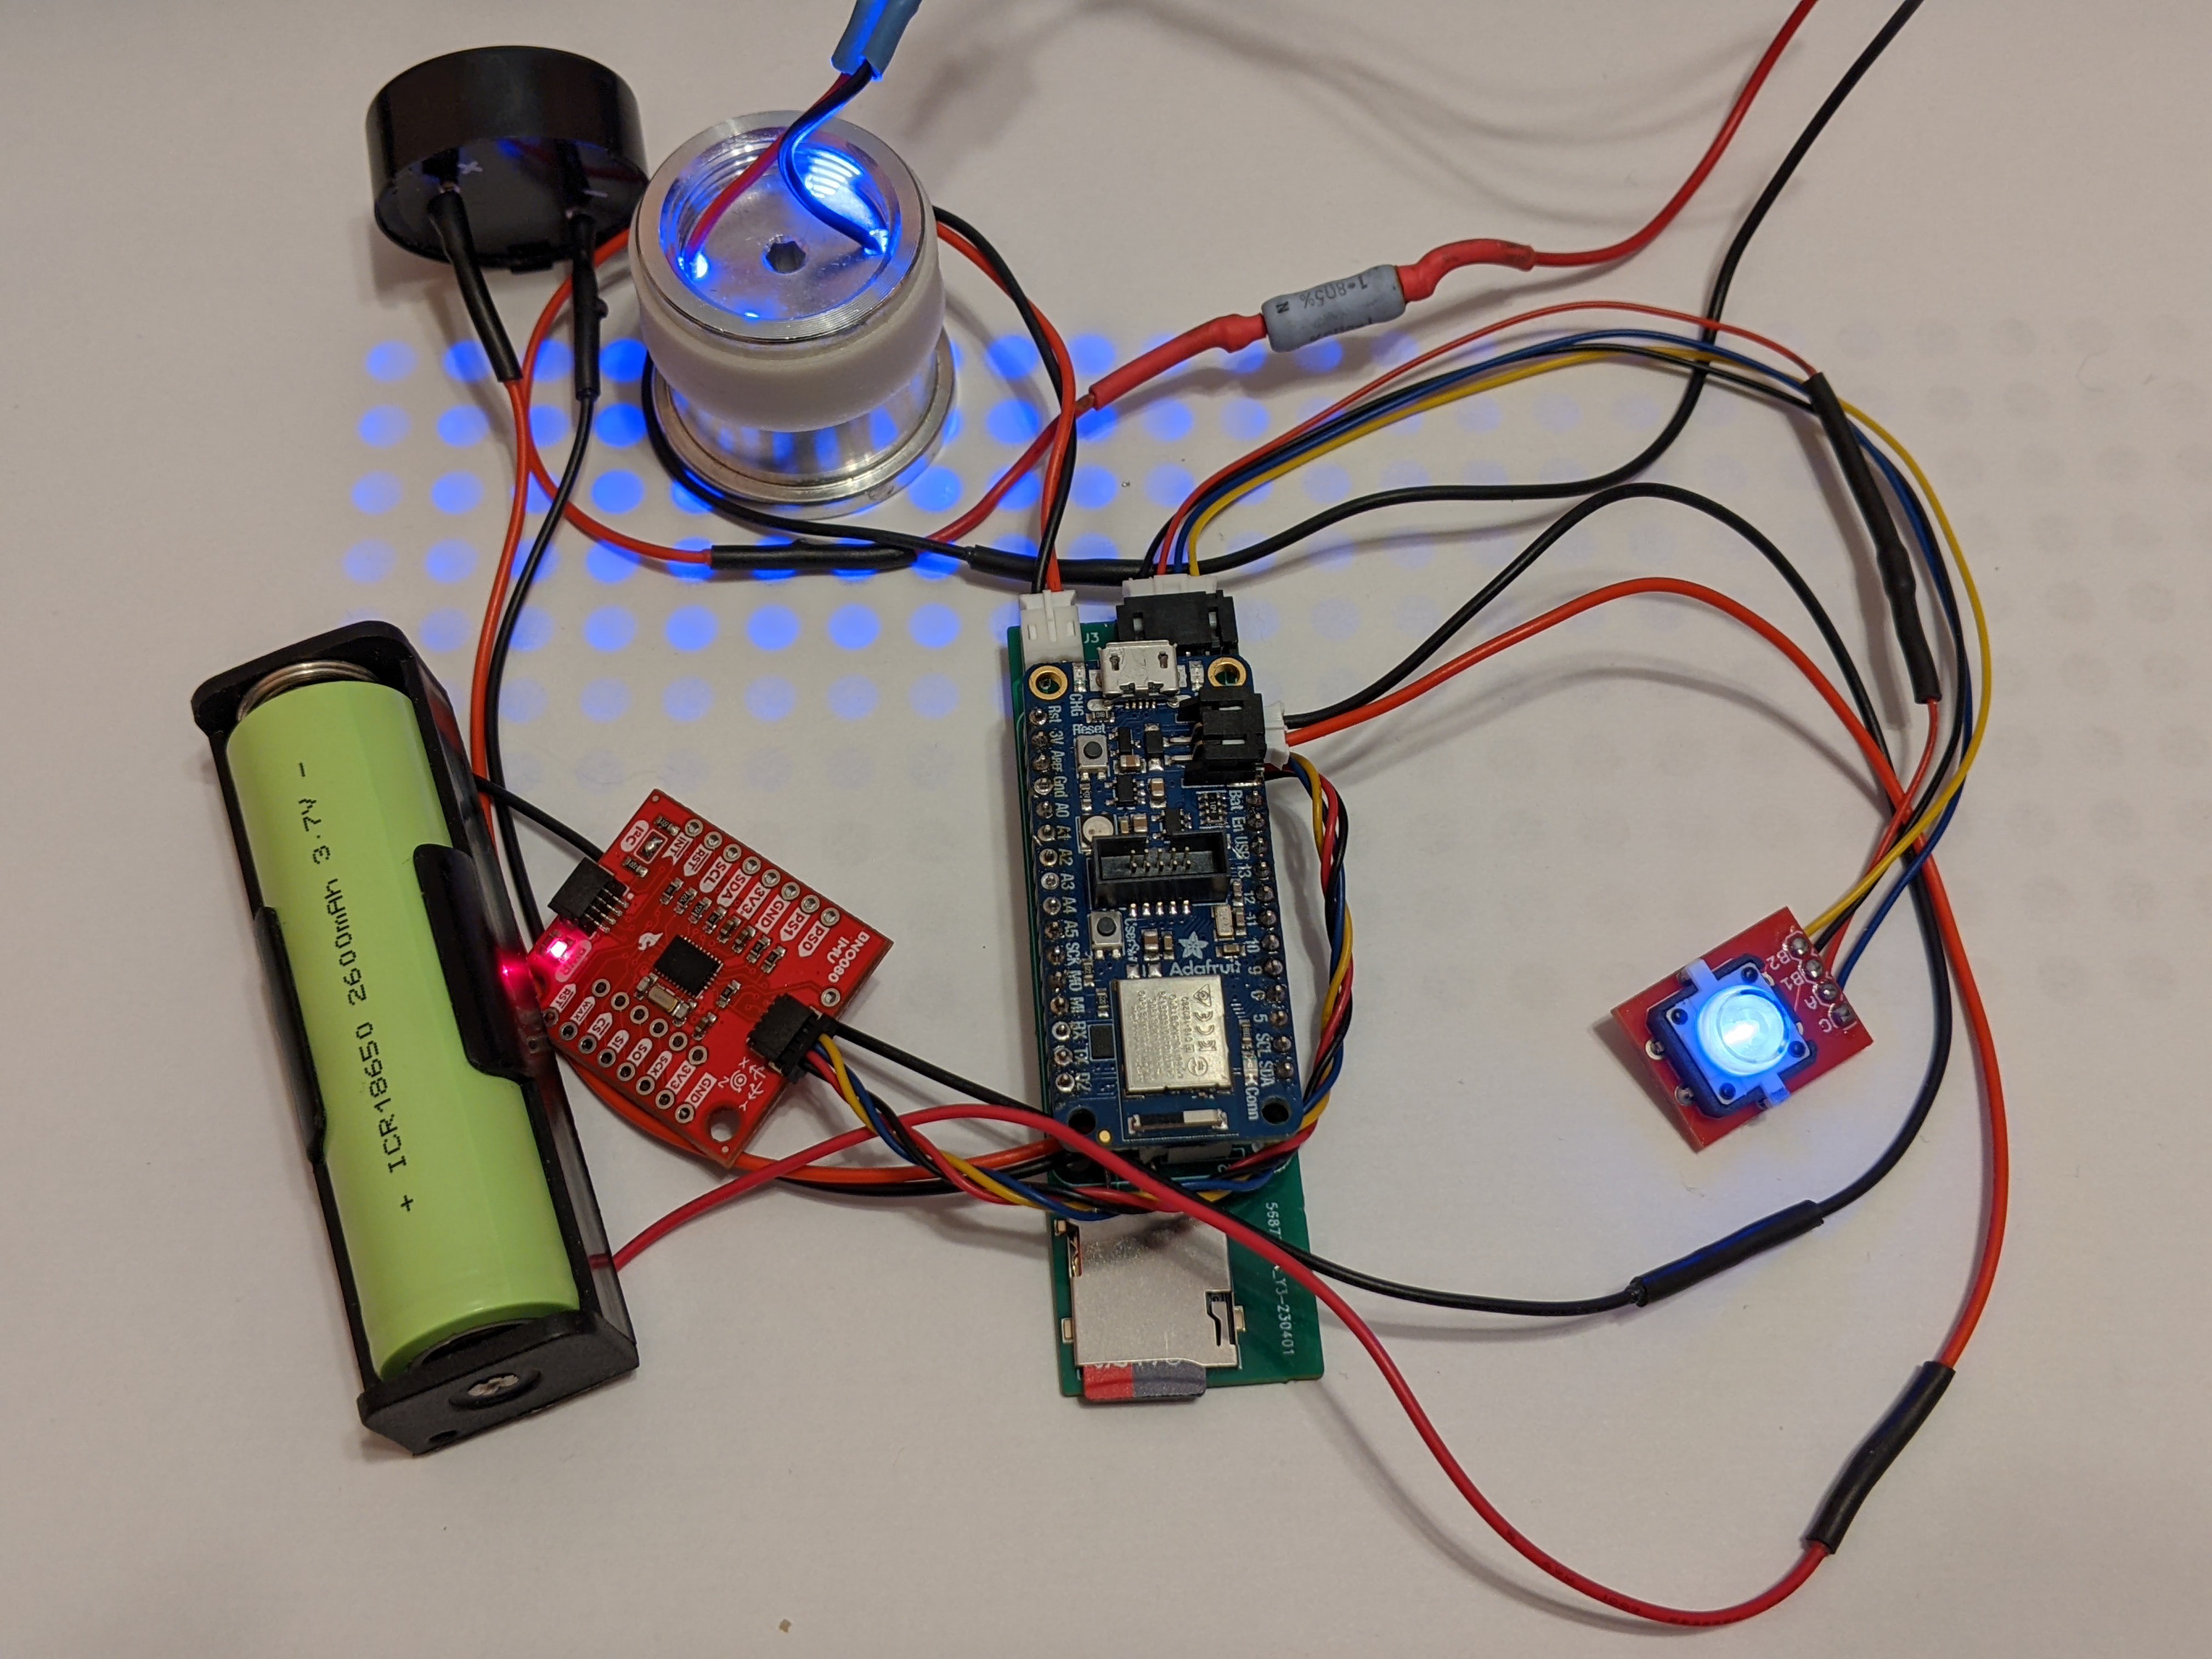
Another round of hardware!

This round was mostly a first-pass at shrinking. But I did make a few other changes. Whether the hardware shrink is enough to fit in a lightsaber has yet to be seen.
Further details:
- The button was I2C based previously, but is now direct-wired. There are certain advantages to being direct-wired (that animation so smooth...), but I2C has a huge advantage in terms of flexibility for saber builders and DIYers. How to proceed on this one is an ongoing conversation.
- The button board is not custom, it's a breakout from sparkfun. It's there for now to save space. Long term will depend on i2c vs. direct-wire, but I don't see that specific tactile button sticking around, what with the popularity of anti-vandal switches in this space.
- The amp is now directly on the PCB. I'm not sure I got all the components picked correctly, but it's good enough to sound good, and that's what matters. This change will probably "stick" for the long term; I don't see people caring which amp is used, so long as it sounds good. Plus, it helps free up space in the lightsaber.
- The microSD card is now directly attached to the motherboard. This is another change I was going to have to do eventually anyway, and also frees up space.
- Moving away from the microSD breakout board means I got to pick my own microSD card socket. I chose a latching connector for user feel, but after working with some of these sample PCBs, I can understand why the industry doesn't seem to prefer latching sockets for microSD cards.
- The speaker now has its own two-wire connector. This should make installation/removal easier, which I immediately nerfed by putting the speaker connector under the microcontroller. That's unfortunately how I could get everything to fit for now, but hopefully that gets fixed soon.
Looking forward:
- Immediate next step is to try to get all this to fit in a saber. This will require a chassis of some kind, more to come.
- The immediate steps after the chassis will be determined by how easily I can get everything to fit in the saber, and what usability quirks I find if everything fits.
- The phone app is approaching MVP. There will be more work after that, but MVP is MVP.
- The firmware is still incredibly basic, and developing it further is on the back burner until after the phone app is ready and I have a chassis in a saber.
- There will be more generations of hardware:
- Creating a dedicated charge port/charge board (to avoid locking in where the charge port is relative to any buttons)
- Scaling power up to handling a pixel blade (or three)
- Removing the Feather board and attaching the MCU module directly to the system board
- Any changes that can be made to ensure supply chain stability & future-proofing
- Any changes that need to be made to make sure the software is rock-solid & performant
Overall, the board is already only slightly bigger than a battery. There's a few millimeters that can be shaved here and there, but until things are a lot closer to being finished, I don't see how this hardware is getting notably smaller. At this point, it's more about getting to MVP and adding features.
 minifig404
Discussions
Become a Hackaday.io Member
Create an account to leave a comment. Already have an account? Log In.