 Arya
Arya...I've sent out 3 ZeroPhones before this week, just sent out three more packages and, if I'm lucky, will send out 2 more tomorrow or the day after. These phones are for case designers and other contributors - I'm not yet sending them out to reviewers, simply because it's a tad too early for that. SirCmpwn joined our IRC and expressed interest in working on alternative UI implementations - so I remembered I have just the thing:
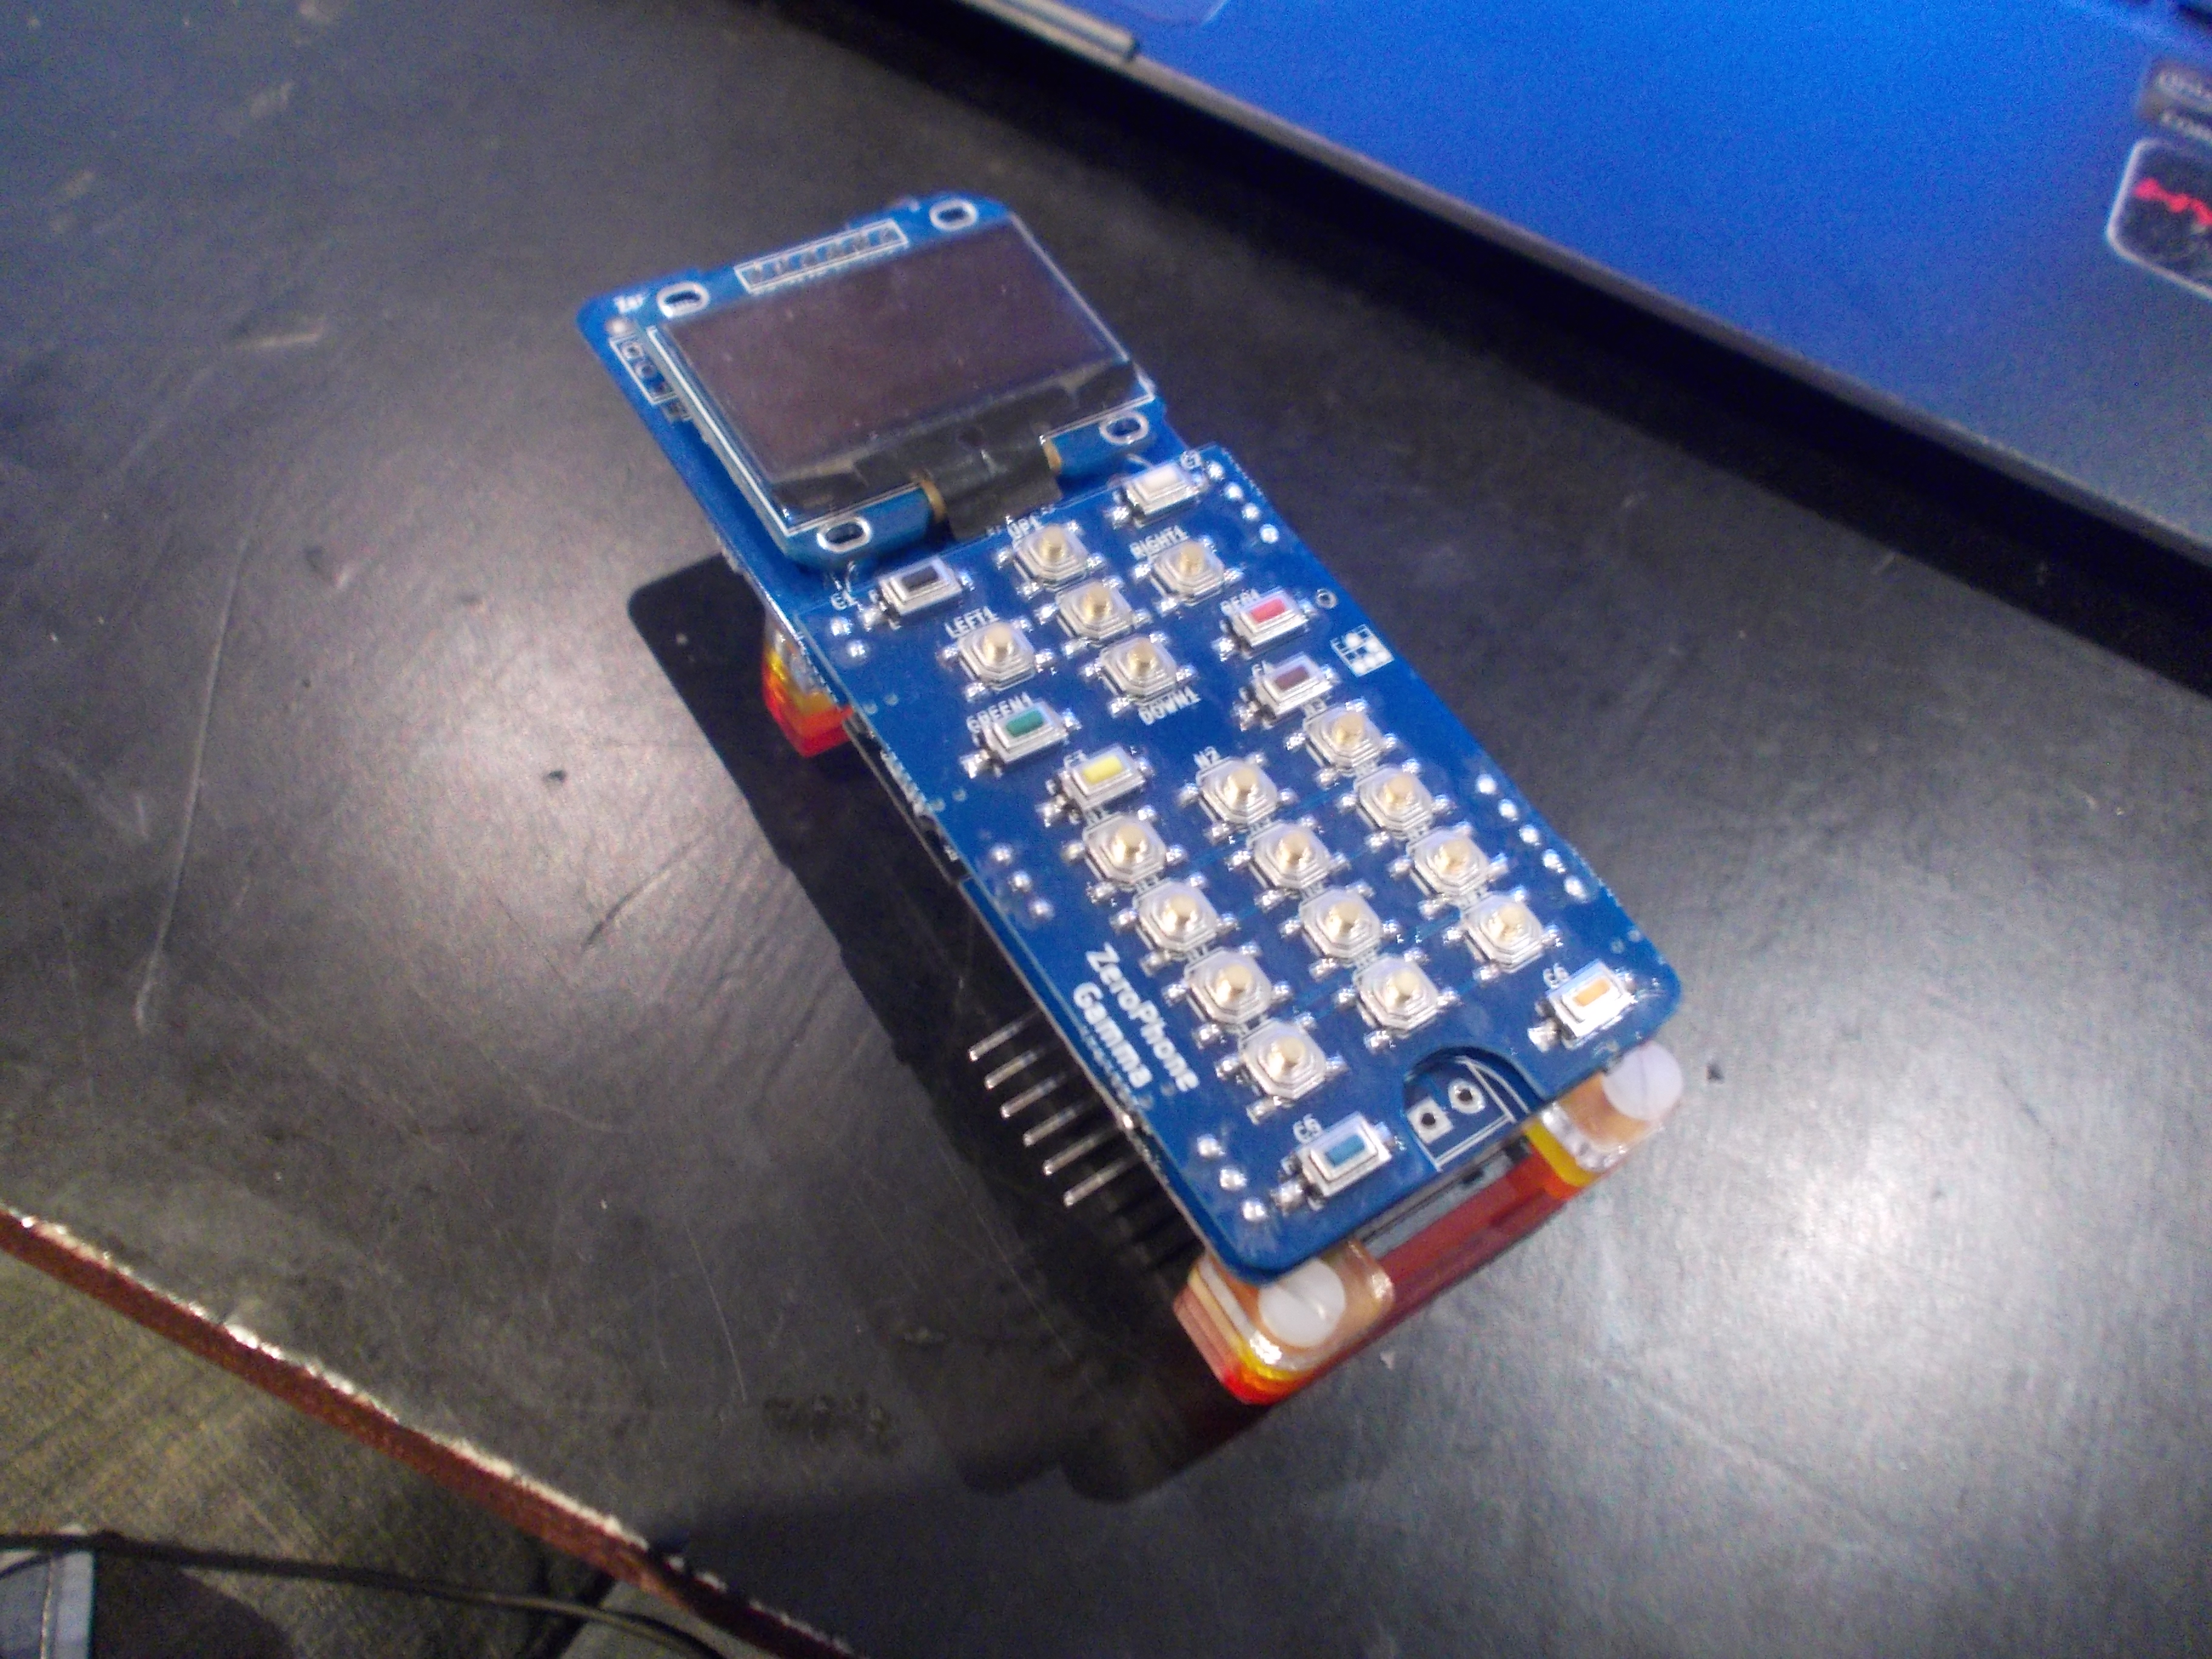
This is pretty much the ZeroPhone front board, without GSM audio parts- it can simply plug on top of a Pi Zero (it's best if Zero is in some kind of case). It's good for developing UI and apps, working on ATMega firmware, as well as just using it as a simple interface for your Pi - with the screen, buttons and audio jack, what's not to love? So, for application development, if I have to send somebody a ZeroPhone and I don't have back board part or a Pi Zero, I can just send this board to allow to start development and then, later, send the rest! I wonder if people will be interested in these during the crowdfunding.
So, I've been assembling and testing these phones - what I've learned, experienced and started doing differently?
- Screen breakout problem is solved- I've found the factory that produces 1.3" OLED breakouts that we need, and they seem to be a well-known company. They gave me a quote which is OK, so this part is pretty much set. I still have some breakouts to check - the protection boards, it seems, can be problematic.
- Buying pre-assembled JST pigtails (with wires already crimped) seems to be the way to go. From DangerousPrototypes, they cost $9 per 100pcs (dual-sided cables, making it 200 pigtails), so this-vs-this isn't even a question - it's too time consuming and troublesome to make your own pigtails in this case, whether by soldering or by crimping them with pliers. That is, soldering works pretty good and can be used in case of self-assembly, but I wouldn't rely on it.
- I'll need a testing jig of some sorts, for all three boards. Right now, my way of testing is carrying a freshly assembled phone for a day in my pocket, using it occasionally. It shouldn't reboot (sign of flaky mechanical connections), turn off completely (protection circuit fault) or have other glitches, like keypad keys not working (flaky keypad-to-front-board connections - phone needs to be assembled a little differently than I assembled this batch, which will be reflected in assembly instructions). These three issues only manifest during usage, and, by excluding them in the next revision, I won't need to carry a phone in the pocket for a day anymore. So, only "works or doesn't work" issues will remain - and a testing jig will speed up testing for these significantly.
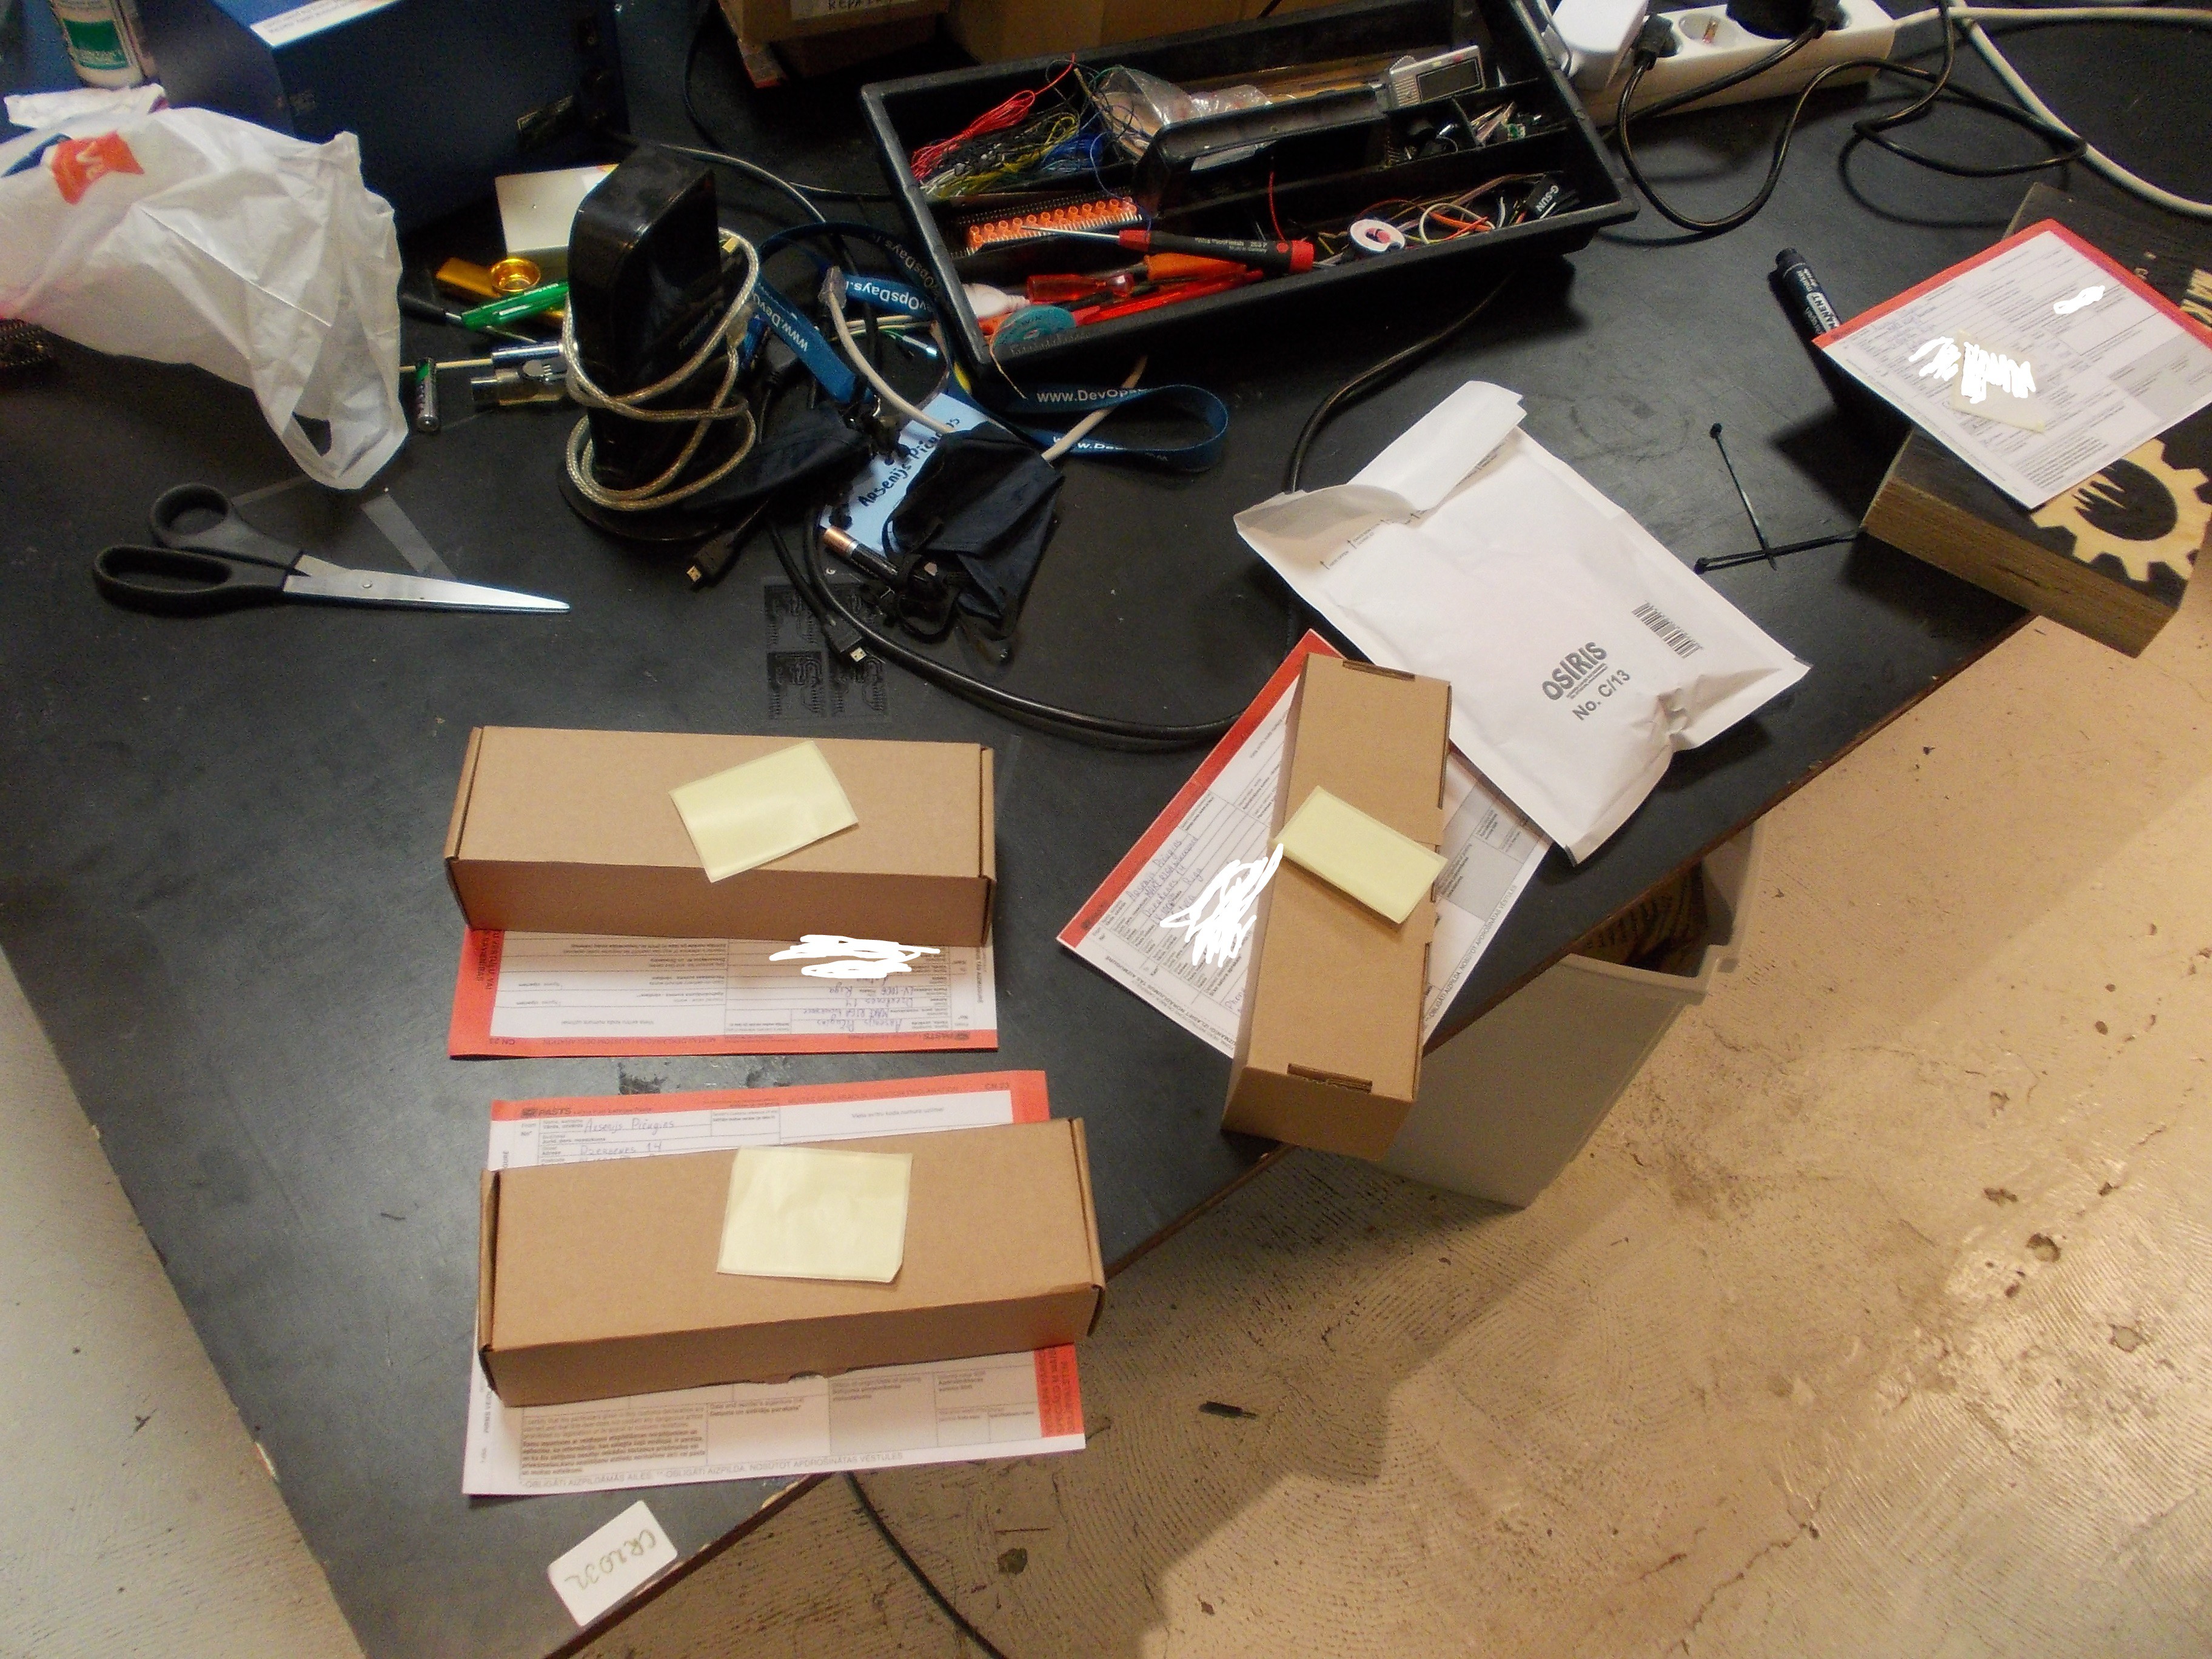
- Packing ZeroPhones for shipping is actually pretty easy, Take a 194x50x60 cardboard box for 0.50EUR (that's what a "all things dead trees" store nearby sells), separate the battery holder from the phone, wrap them in bubble wrap, put in the box and mail it. There's even some room left - I now fill that with some Latvian chocolate =) Each package turns out to be about 200 grams, max. Of course, I don't ship batteries - but given that 18650 are now easy to get in vape shops, I don't worry about that too much.
- To make the assembly easier, I need to add significantly more silkscreen markings to the boards. Here's a GH issue with all the markings I've planned so far - I might add more if necessary. I guess I'll need to remove some silkscreen art, and I don't know whether I'm within cheap board fab silkscreen tolerances when doing my changes - I'm guessing that $70 spent on new boards will tell =D
- Screens need reverse polarity protection, as does the ATMega header. I'll see if I can think of something for the ATMega header, and screens are not something I can control - but not in the case of breakouts I designed myself, which have a FET for reverse polarity protection! (though, come to think of it, data lines are still unprotected)
- I got some fully-assembled faulty boards that I haven't yet determined fault causes for: one back board and three front boards. As I'm solving problems like these, I know more and more about what can break during assembly, and which components to check before soldering them on =)
- I need to check the buttons. I'm not sure if the current buttons are rated for lots of presses, and I've already had some buttons fail on me. This problem will likely be solved by a case, but I'm probably going to try doing some stress tests, too.
I'm going to add more points to this post in the next couple of days, as I remember more and more things.
A kind-of-a-testing-jig I'm already using: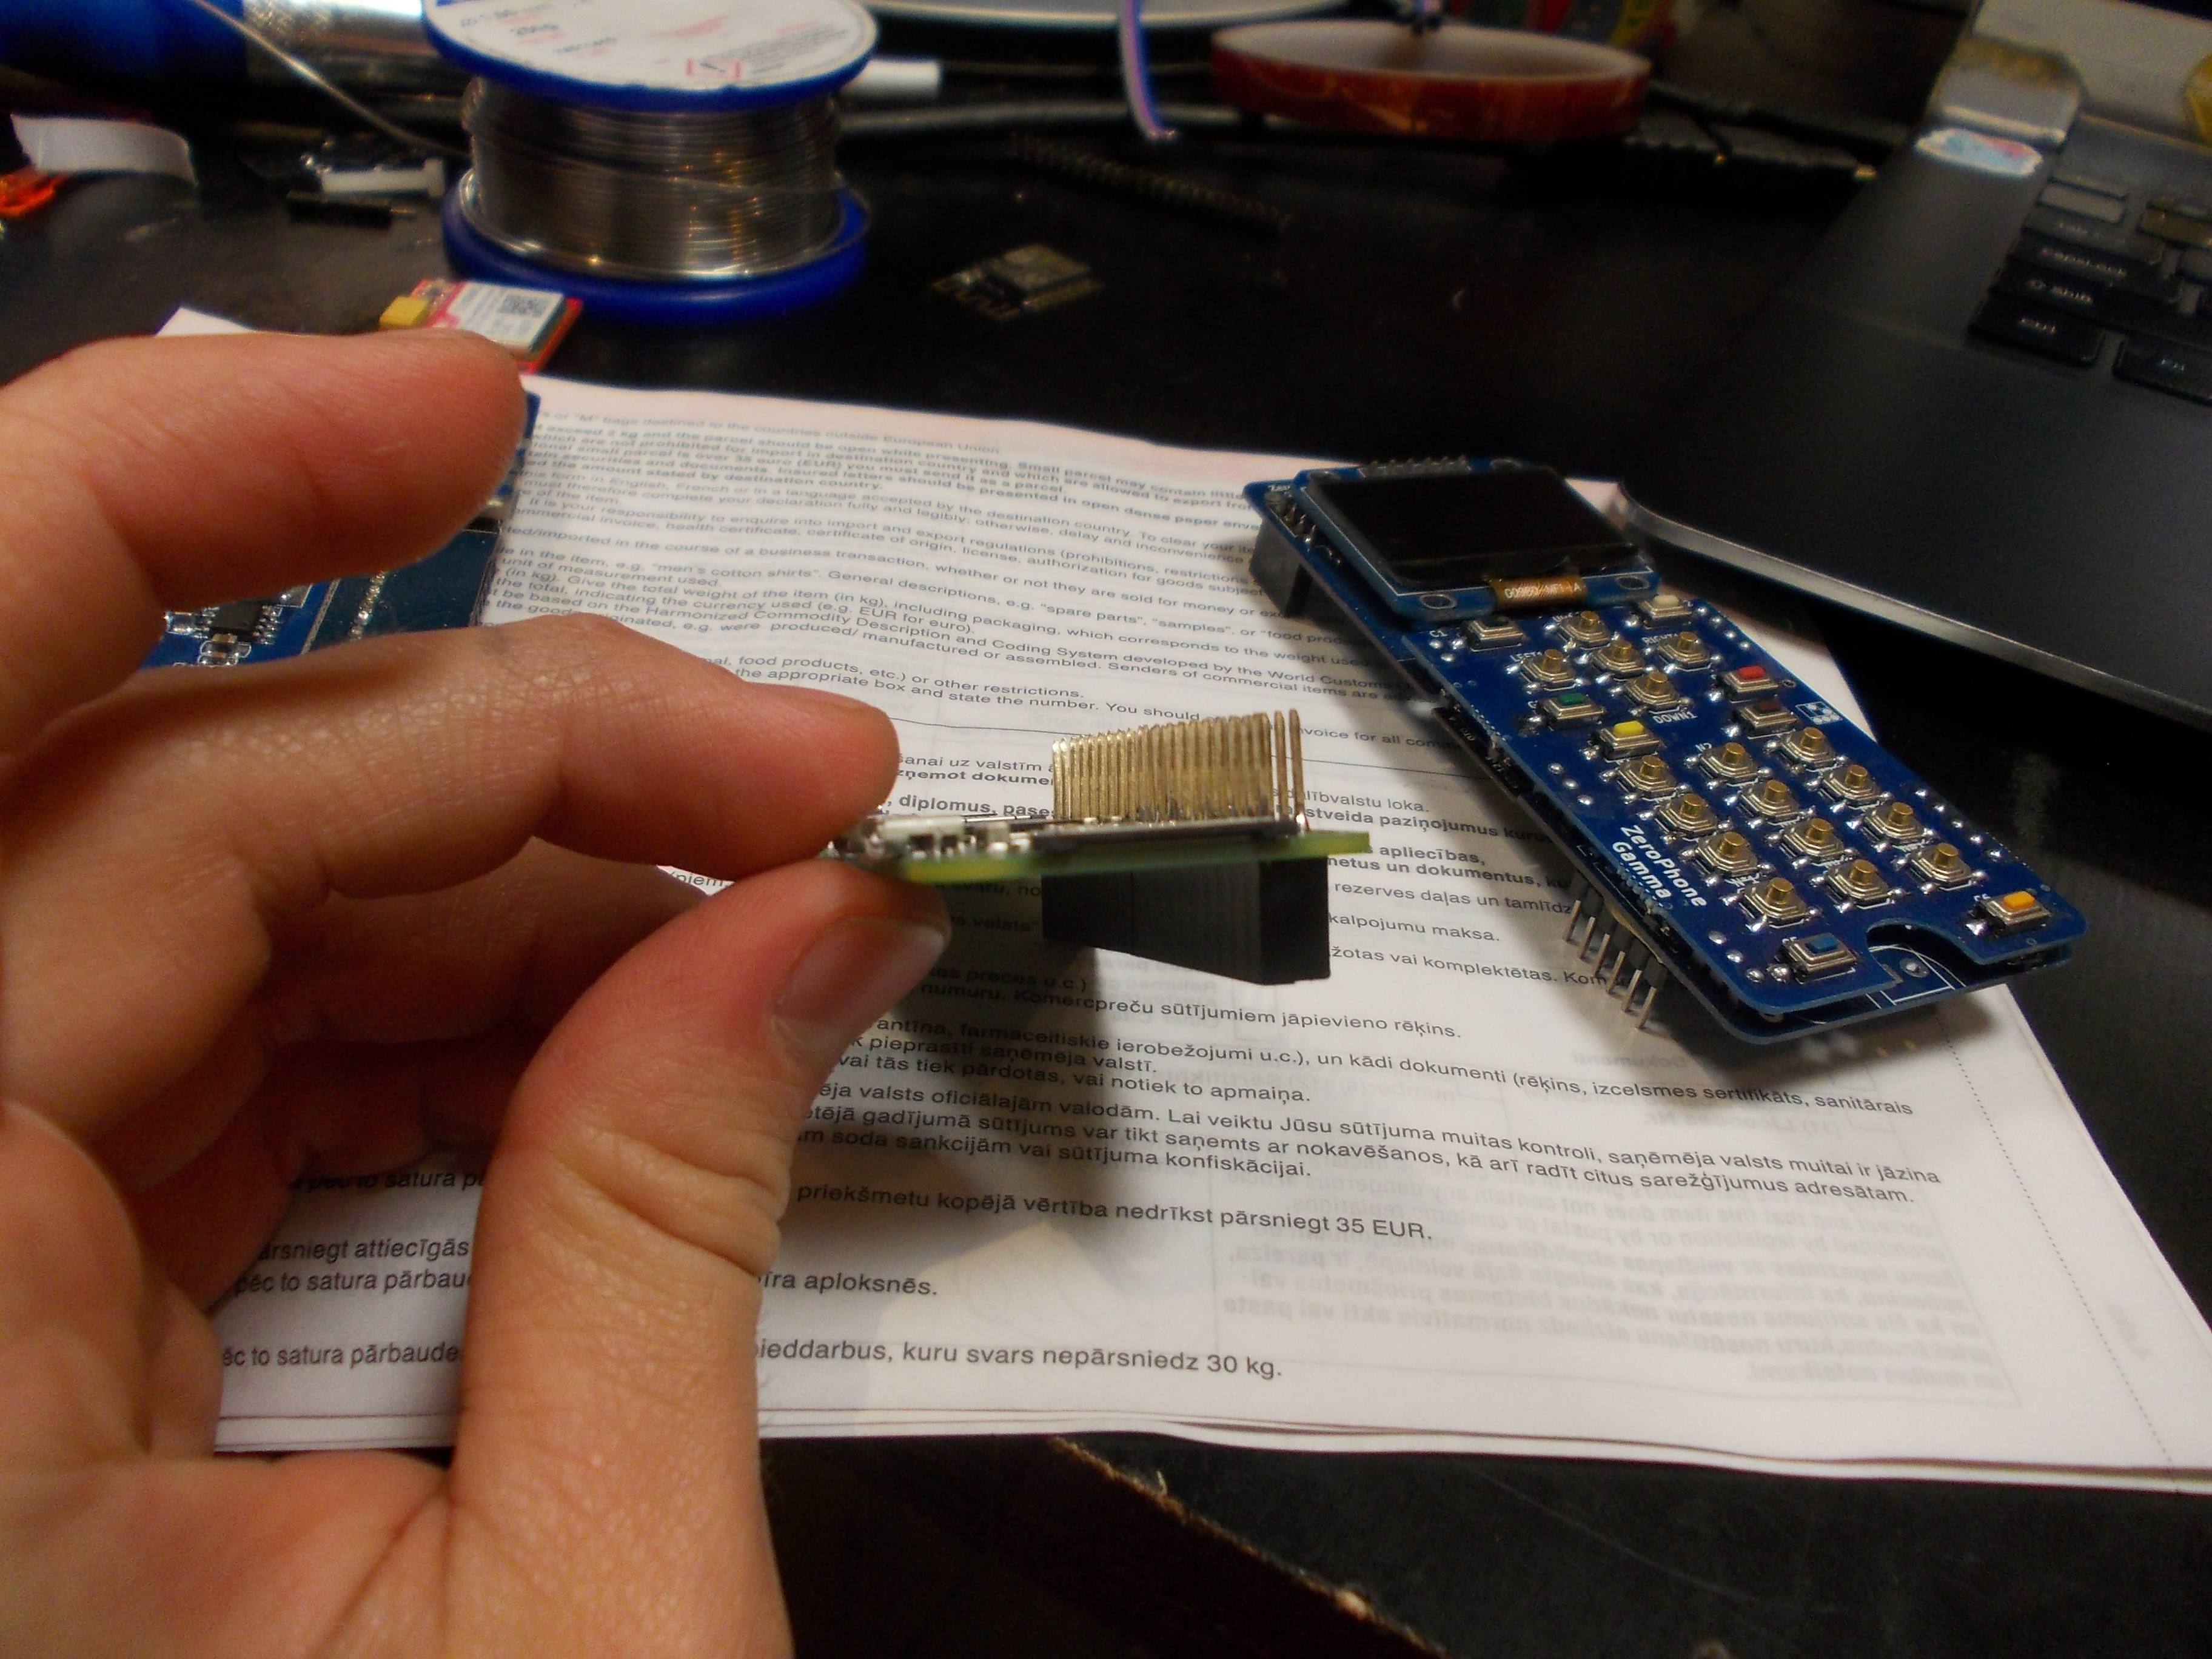
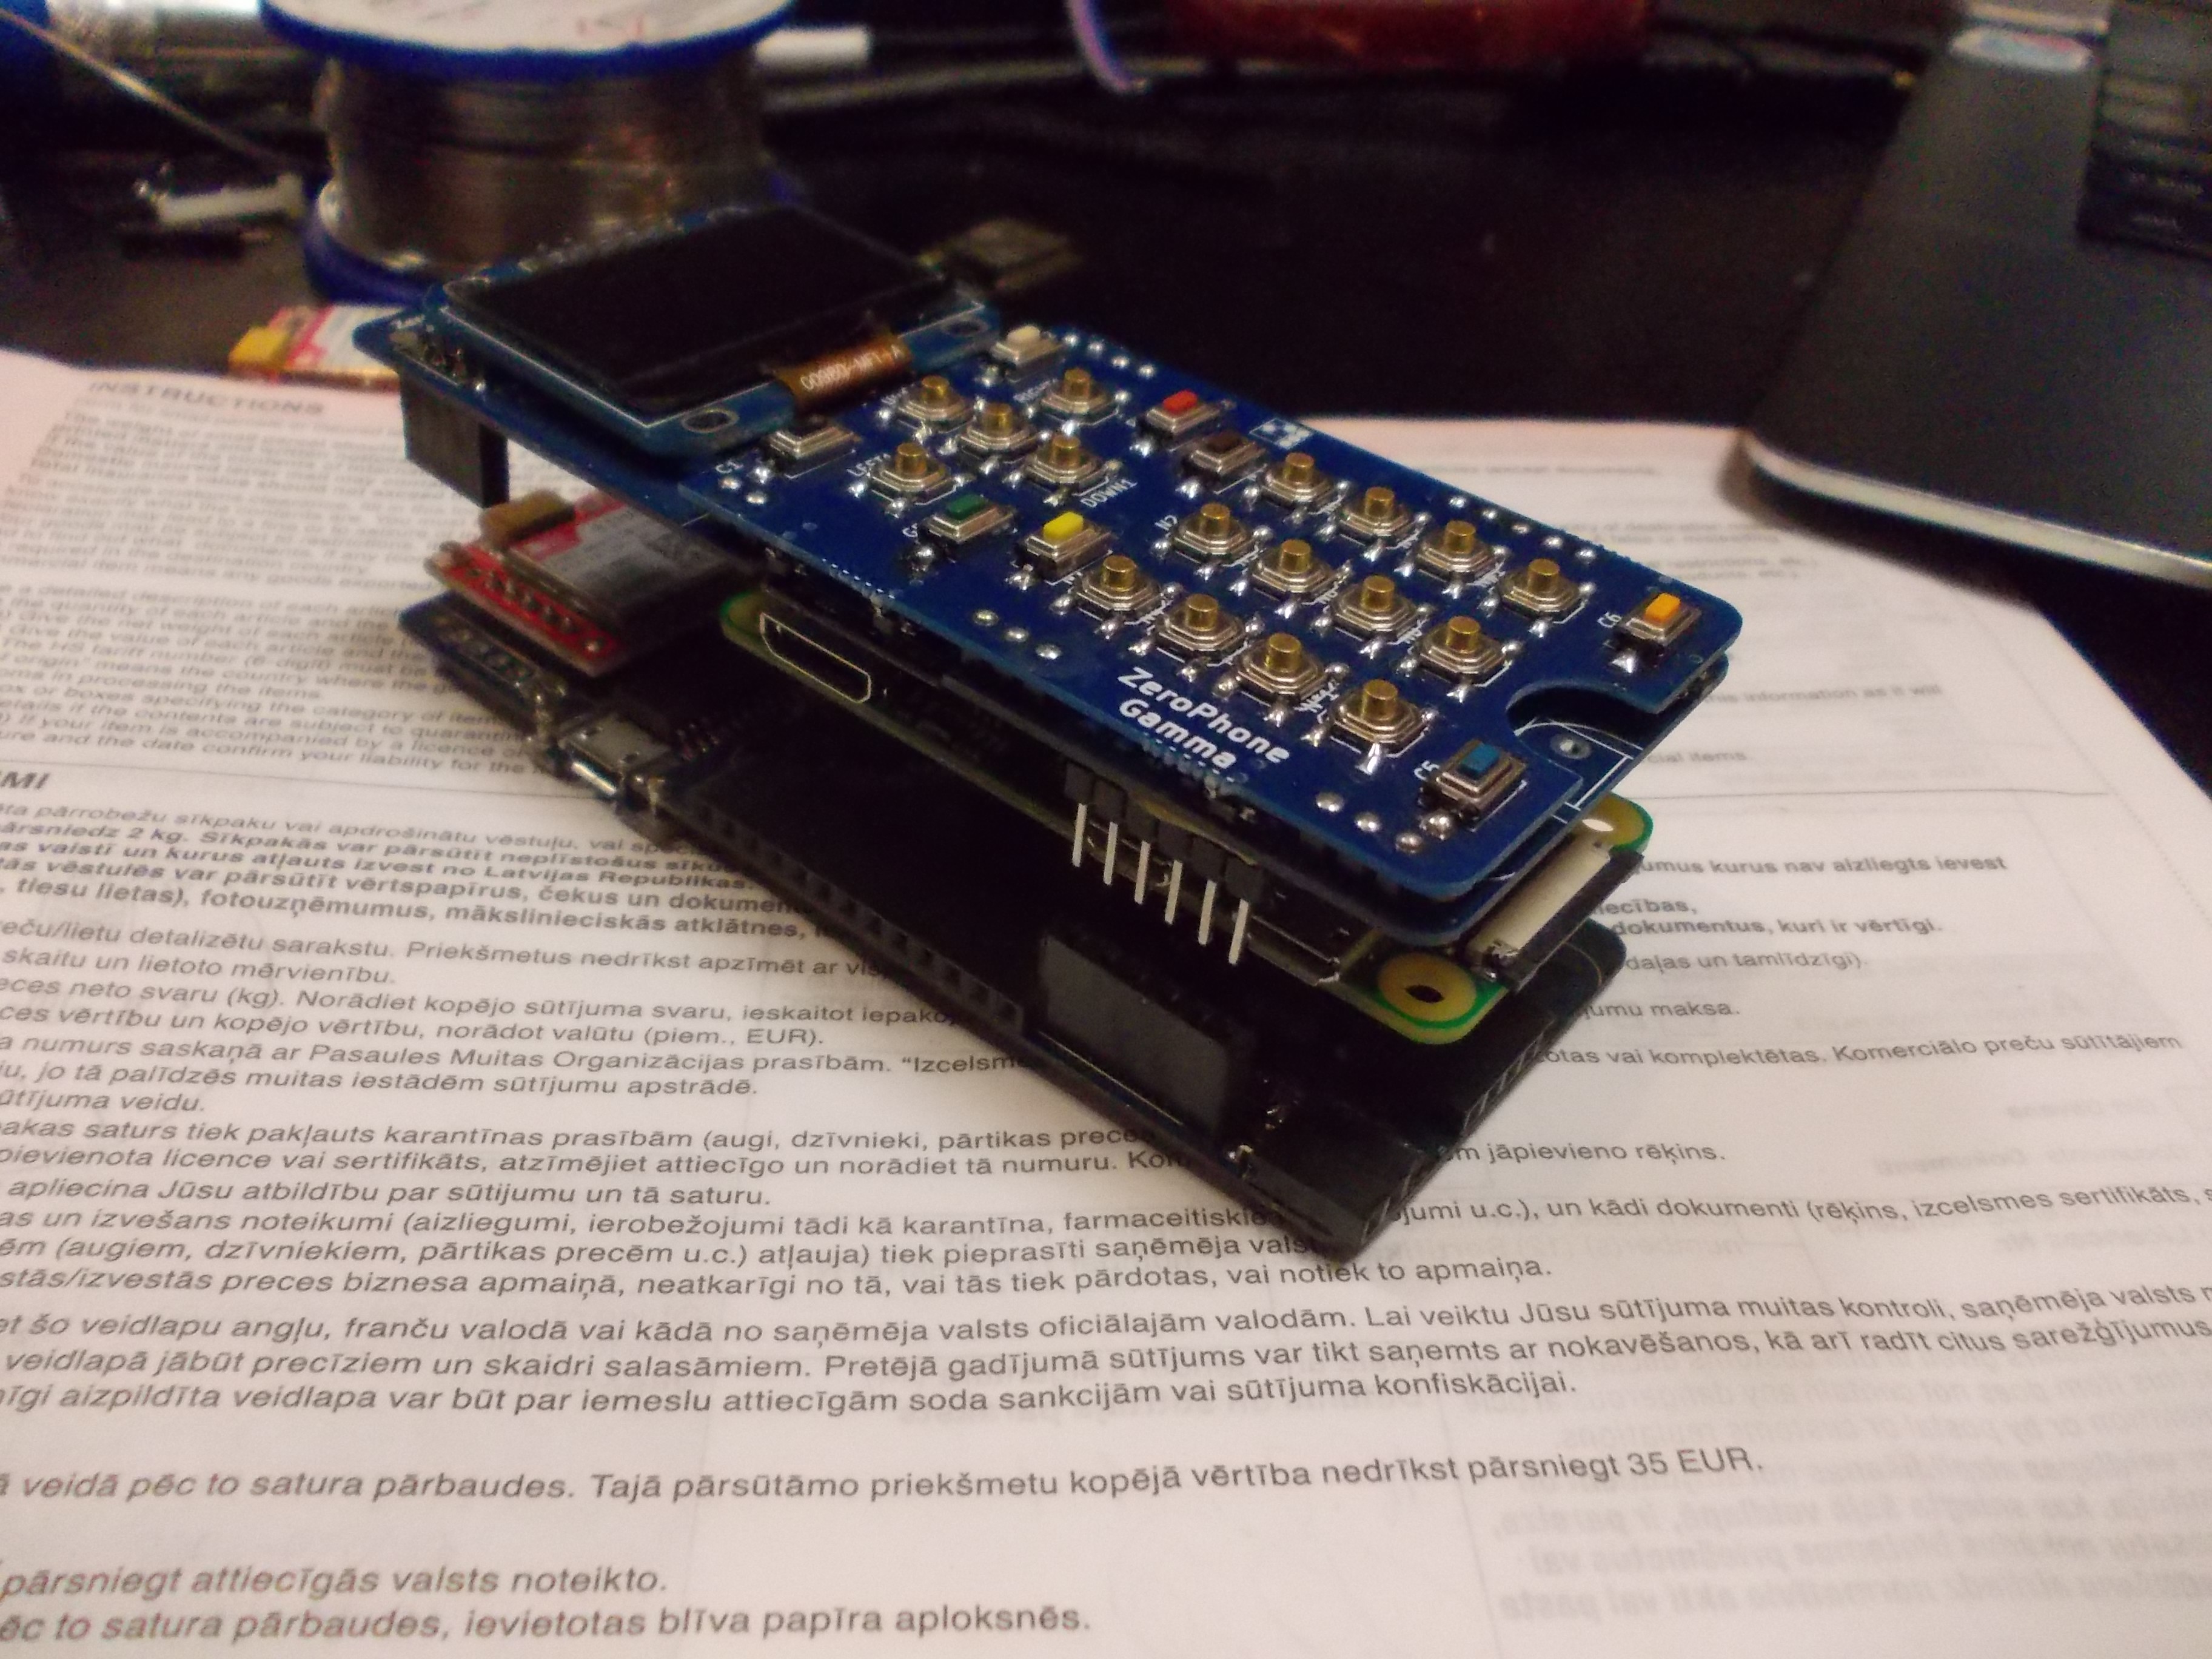
It's good because 1) I can easily test out back boards before I solder the Pi Zero on 2) I can also send boards without Pi Zeros if I'm out of Pi Zeros for some time, like it is now - I'd be happy to send out a couple more ZeroPhones, but I ran out of Pi Zeros and I don't have time to order one (I'm leaving Latvia for 8 days the day after tomorrow), so I'm desoldering Pi Zeros from my previous projects =( Later, I'll also post some more testing jigs that I've made!
Oh, and I'm writing a small Python script to automatically download newsletters I make and upload them to the archive. So, instead of 10-15 minutes, it should then take about 1 minute, so it's not as much of a blocker as now, when I've got two newsletter editions that are still not in the archive.
Discussions
Become a Hackaday.io Member
Create an account to leave a comment. Already have an account? Log In.