 Roni Bandini


Five years ago, I turned a 1998 Furby into a Jorge Luis Borges animatronic. Back then, most Furby hacks butchered the original toy, so I took a different approach: preserving all its original parts and electronics while hijacking the audio. That “zen” hack had its limitations. Speech synchronization was far from perfect, and the 20-year-old toy didn’t always behave as expected. Furby Borges was ready for a rebirth...
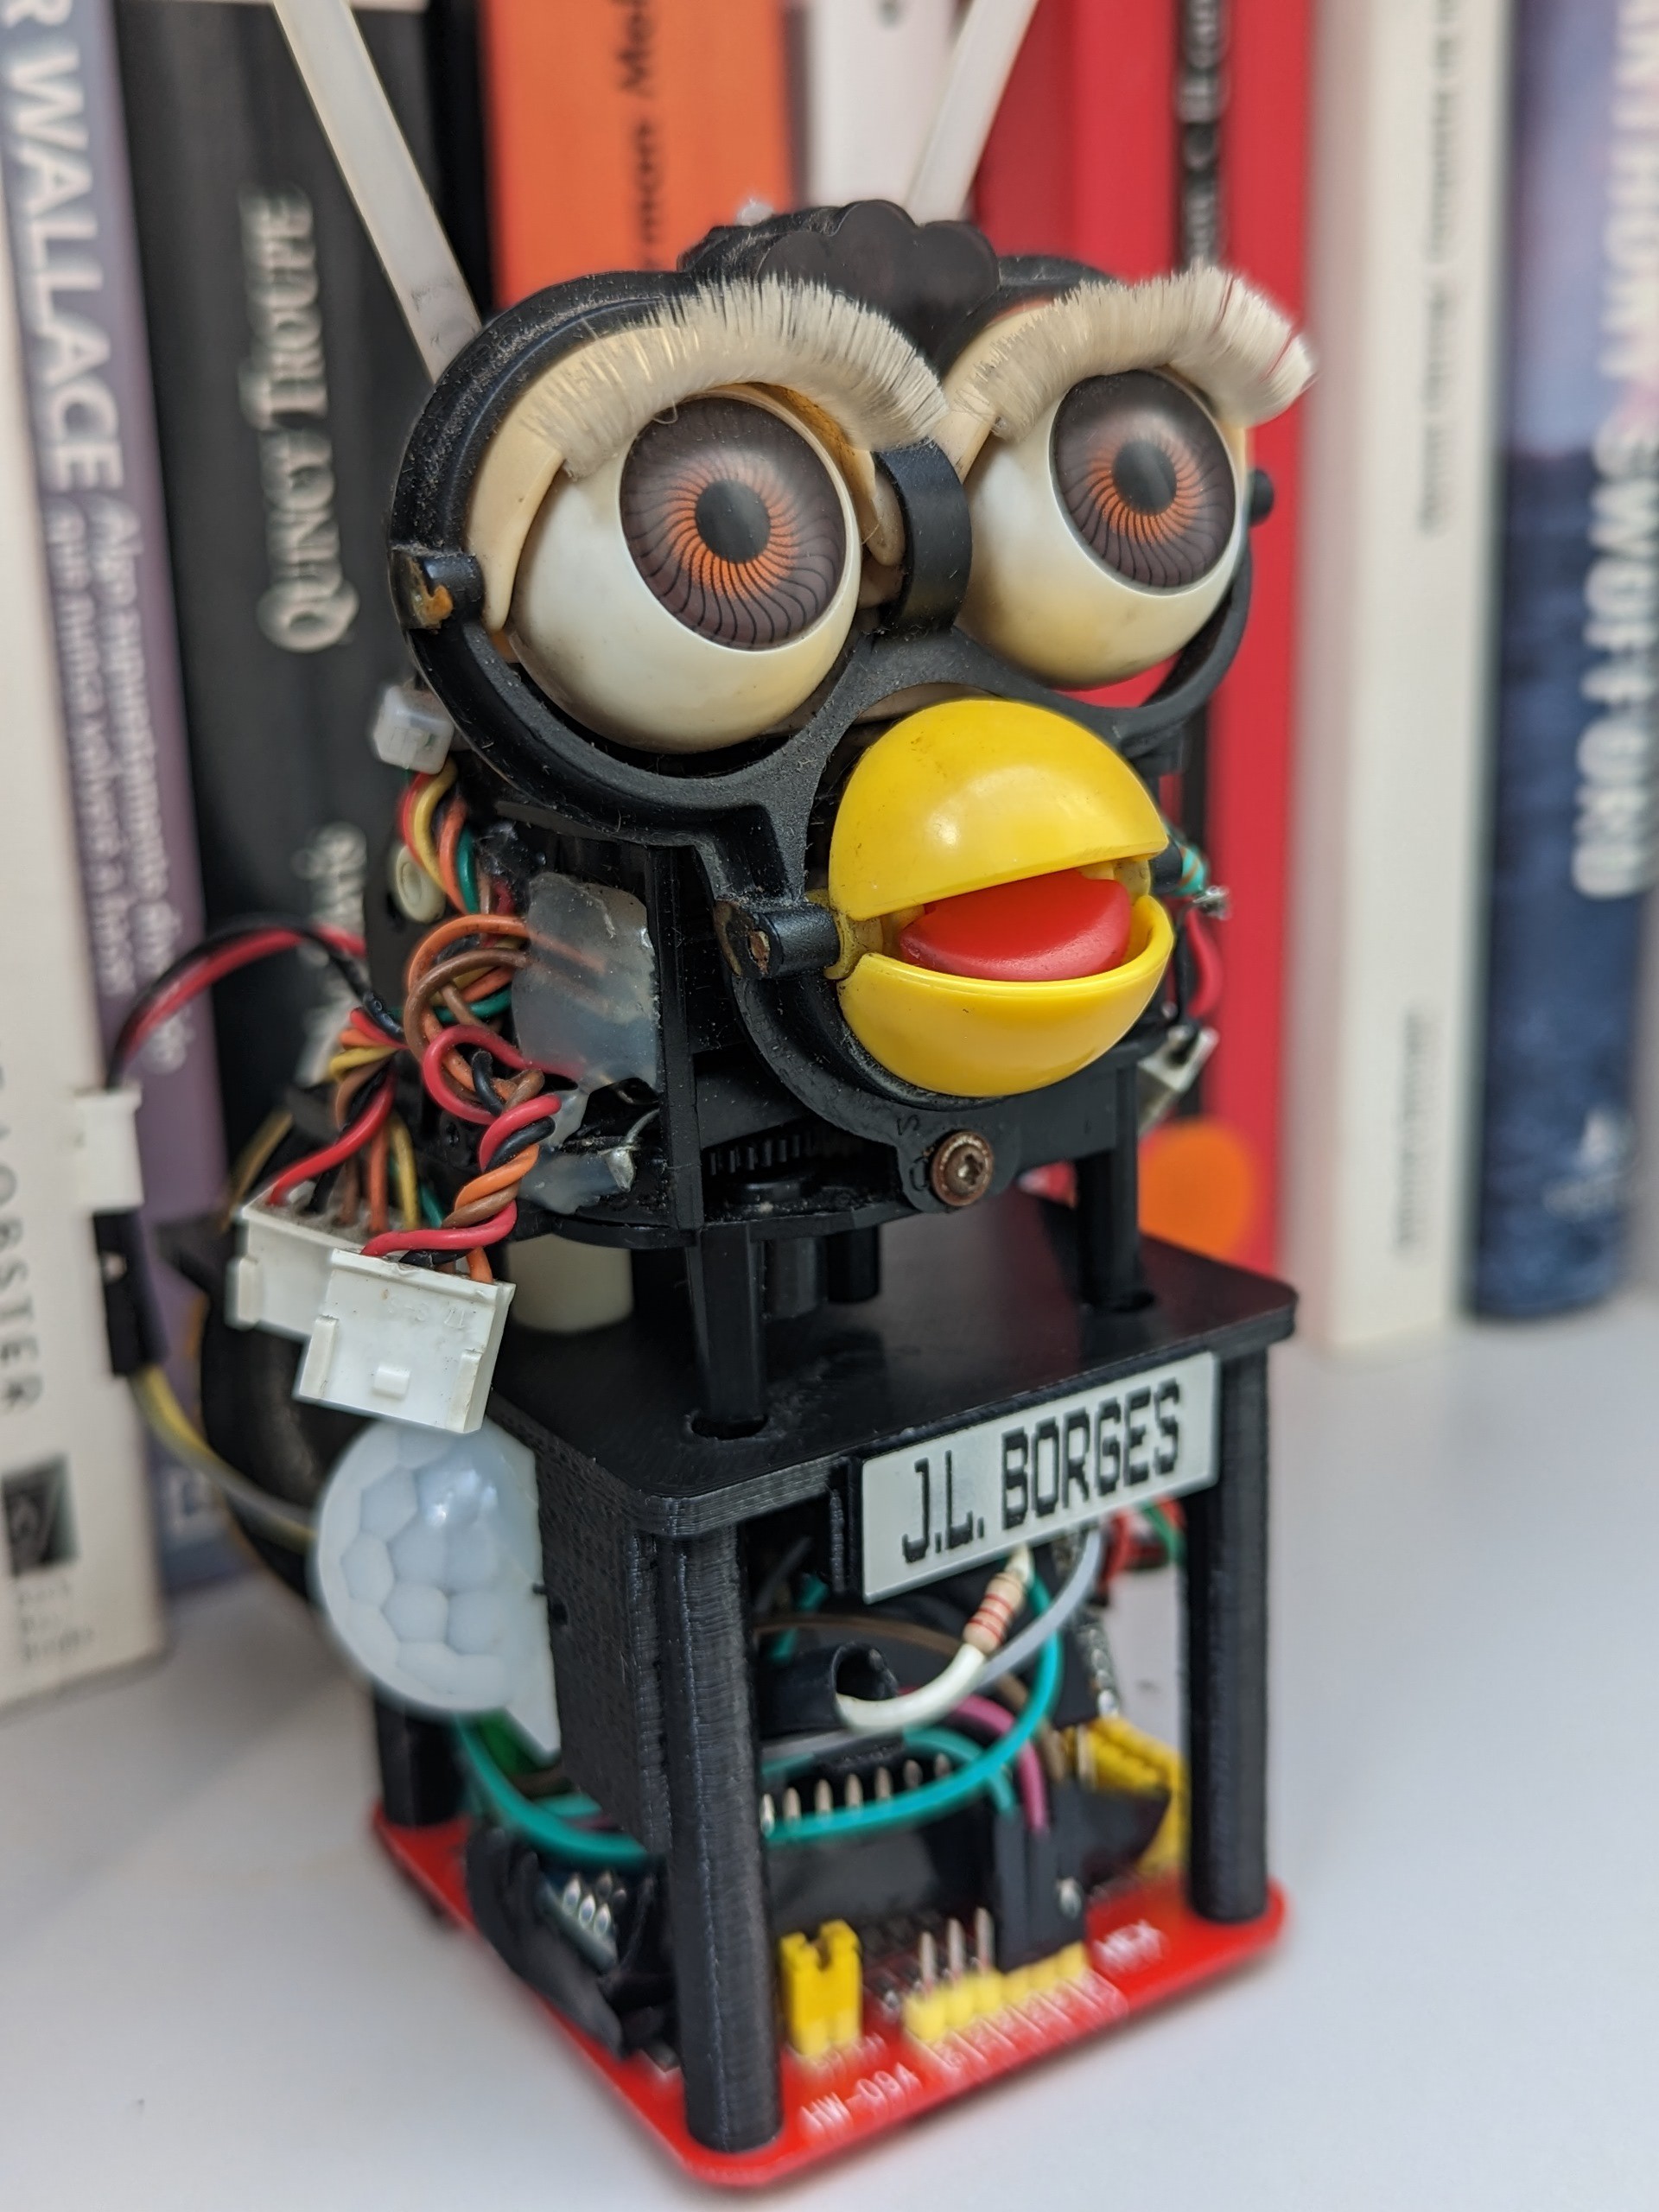
Fast-forward to 2023. I disassembled Furby Borges and studied its technical details to gain better control over the animatronic. As it turns out, Furby has just one DC motor. It also has a gear home-position sensor, a gear LED, and a motor step counter. Accessing the motor control wires is straightforward, as is reading the gear home position. The LED and step counter, however, add complexity both to the electronics (PCB soldering) and to the code (interrupt handling).
Could I still synchronize the mouth movements with speech and produce different postures without relying on the LED or the step counter?
Parts used for Furby Borges
- 1998 Furby
- HW094 Bridge
- Arduino Nano
- DFPlayer Mini
- microSD card
- PIR sensor
- 3w 8 ohm speaker
- DC female connector
- 5v 2Am Power Supply
Note motor cables in the picture below
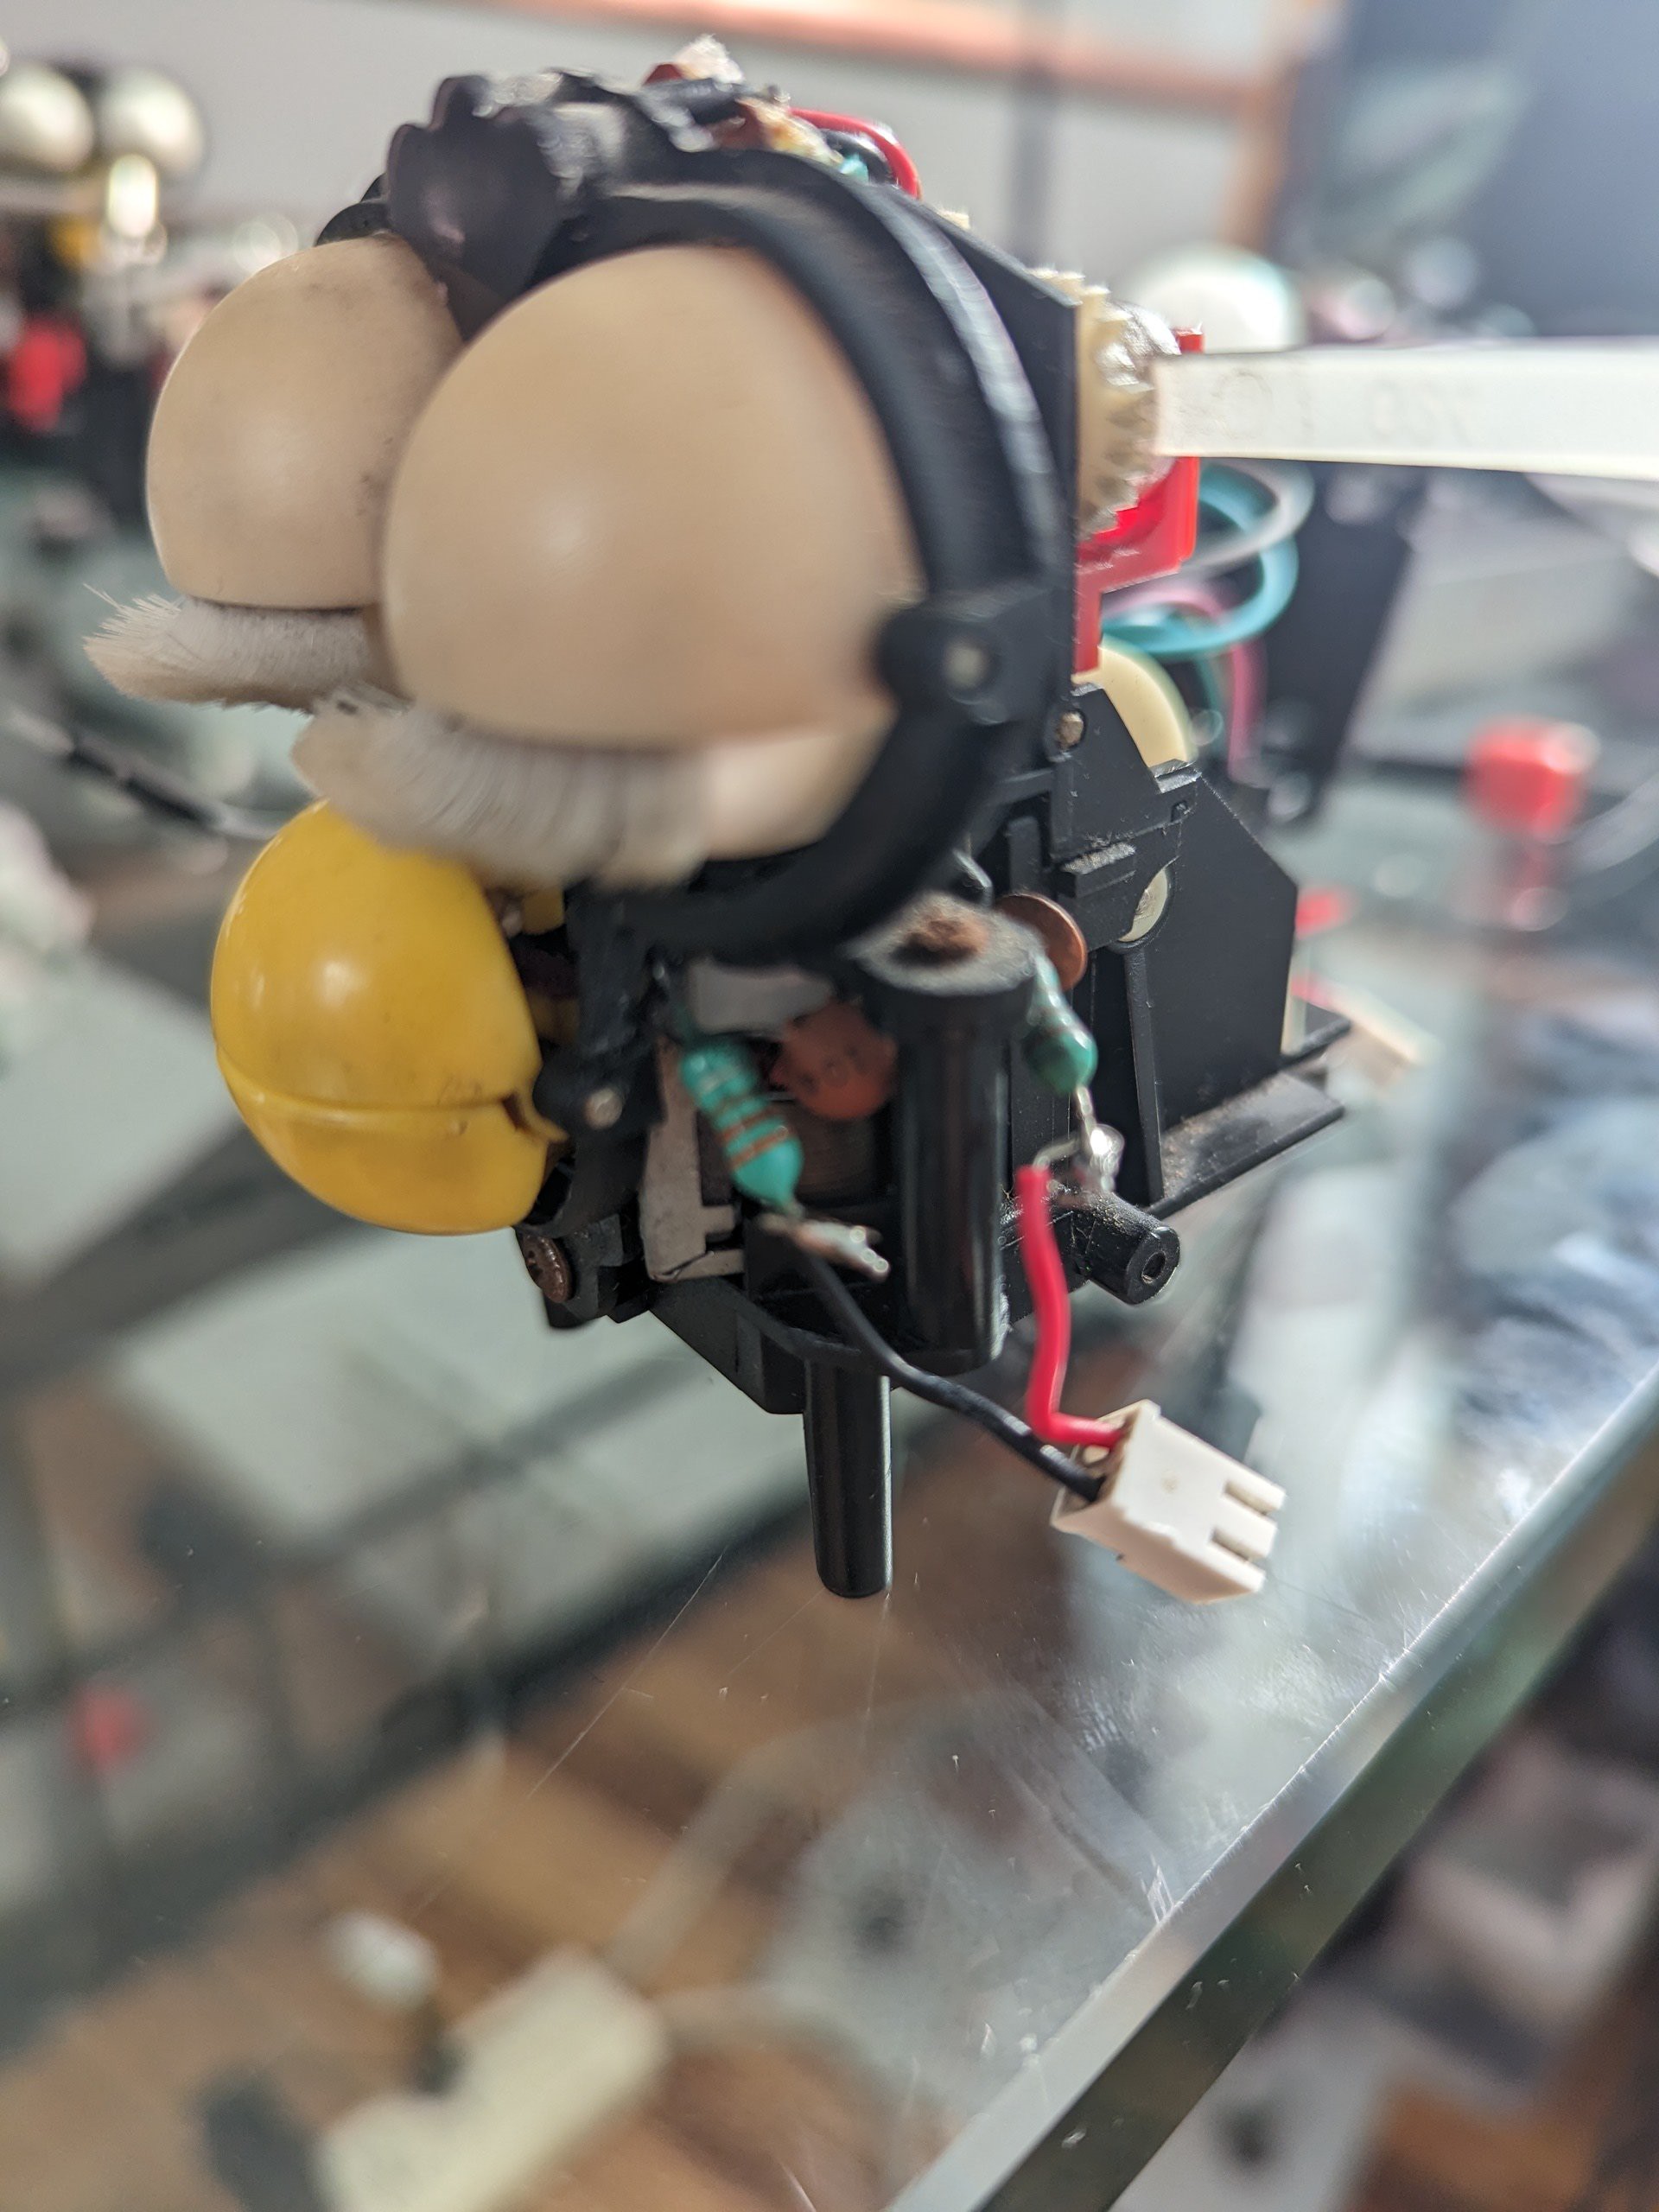
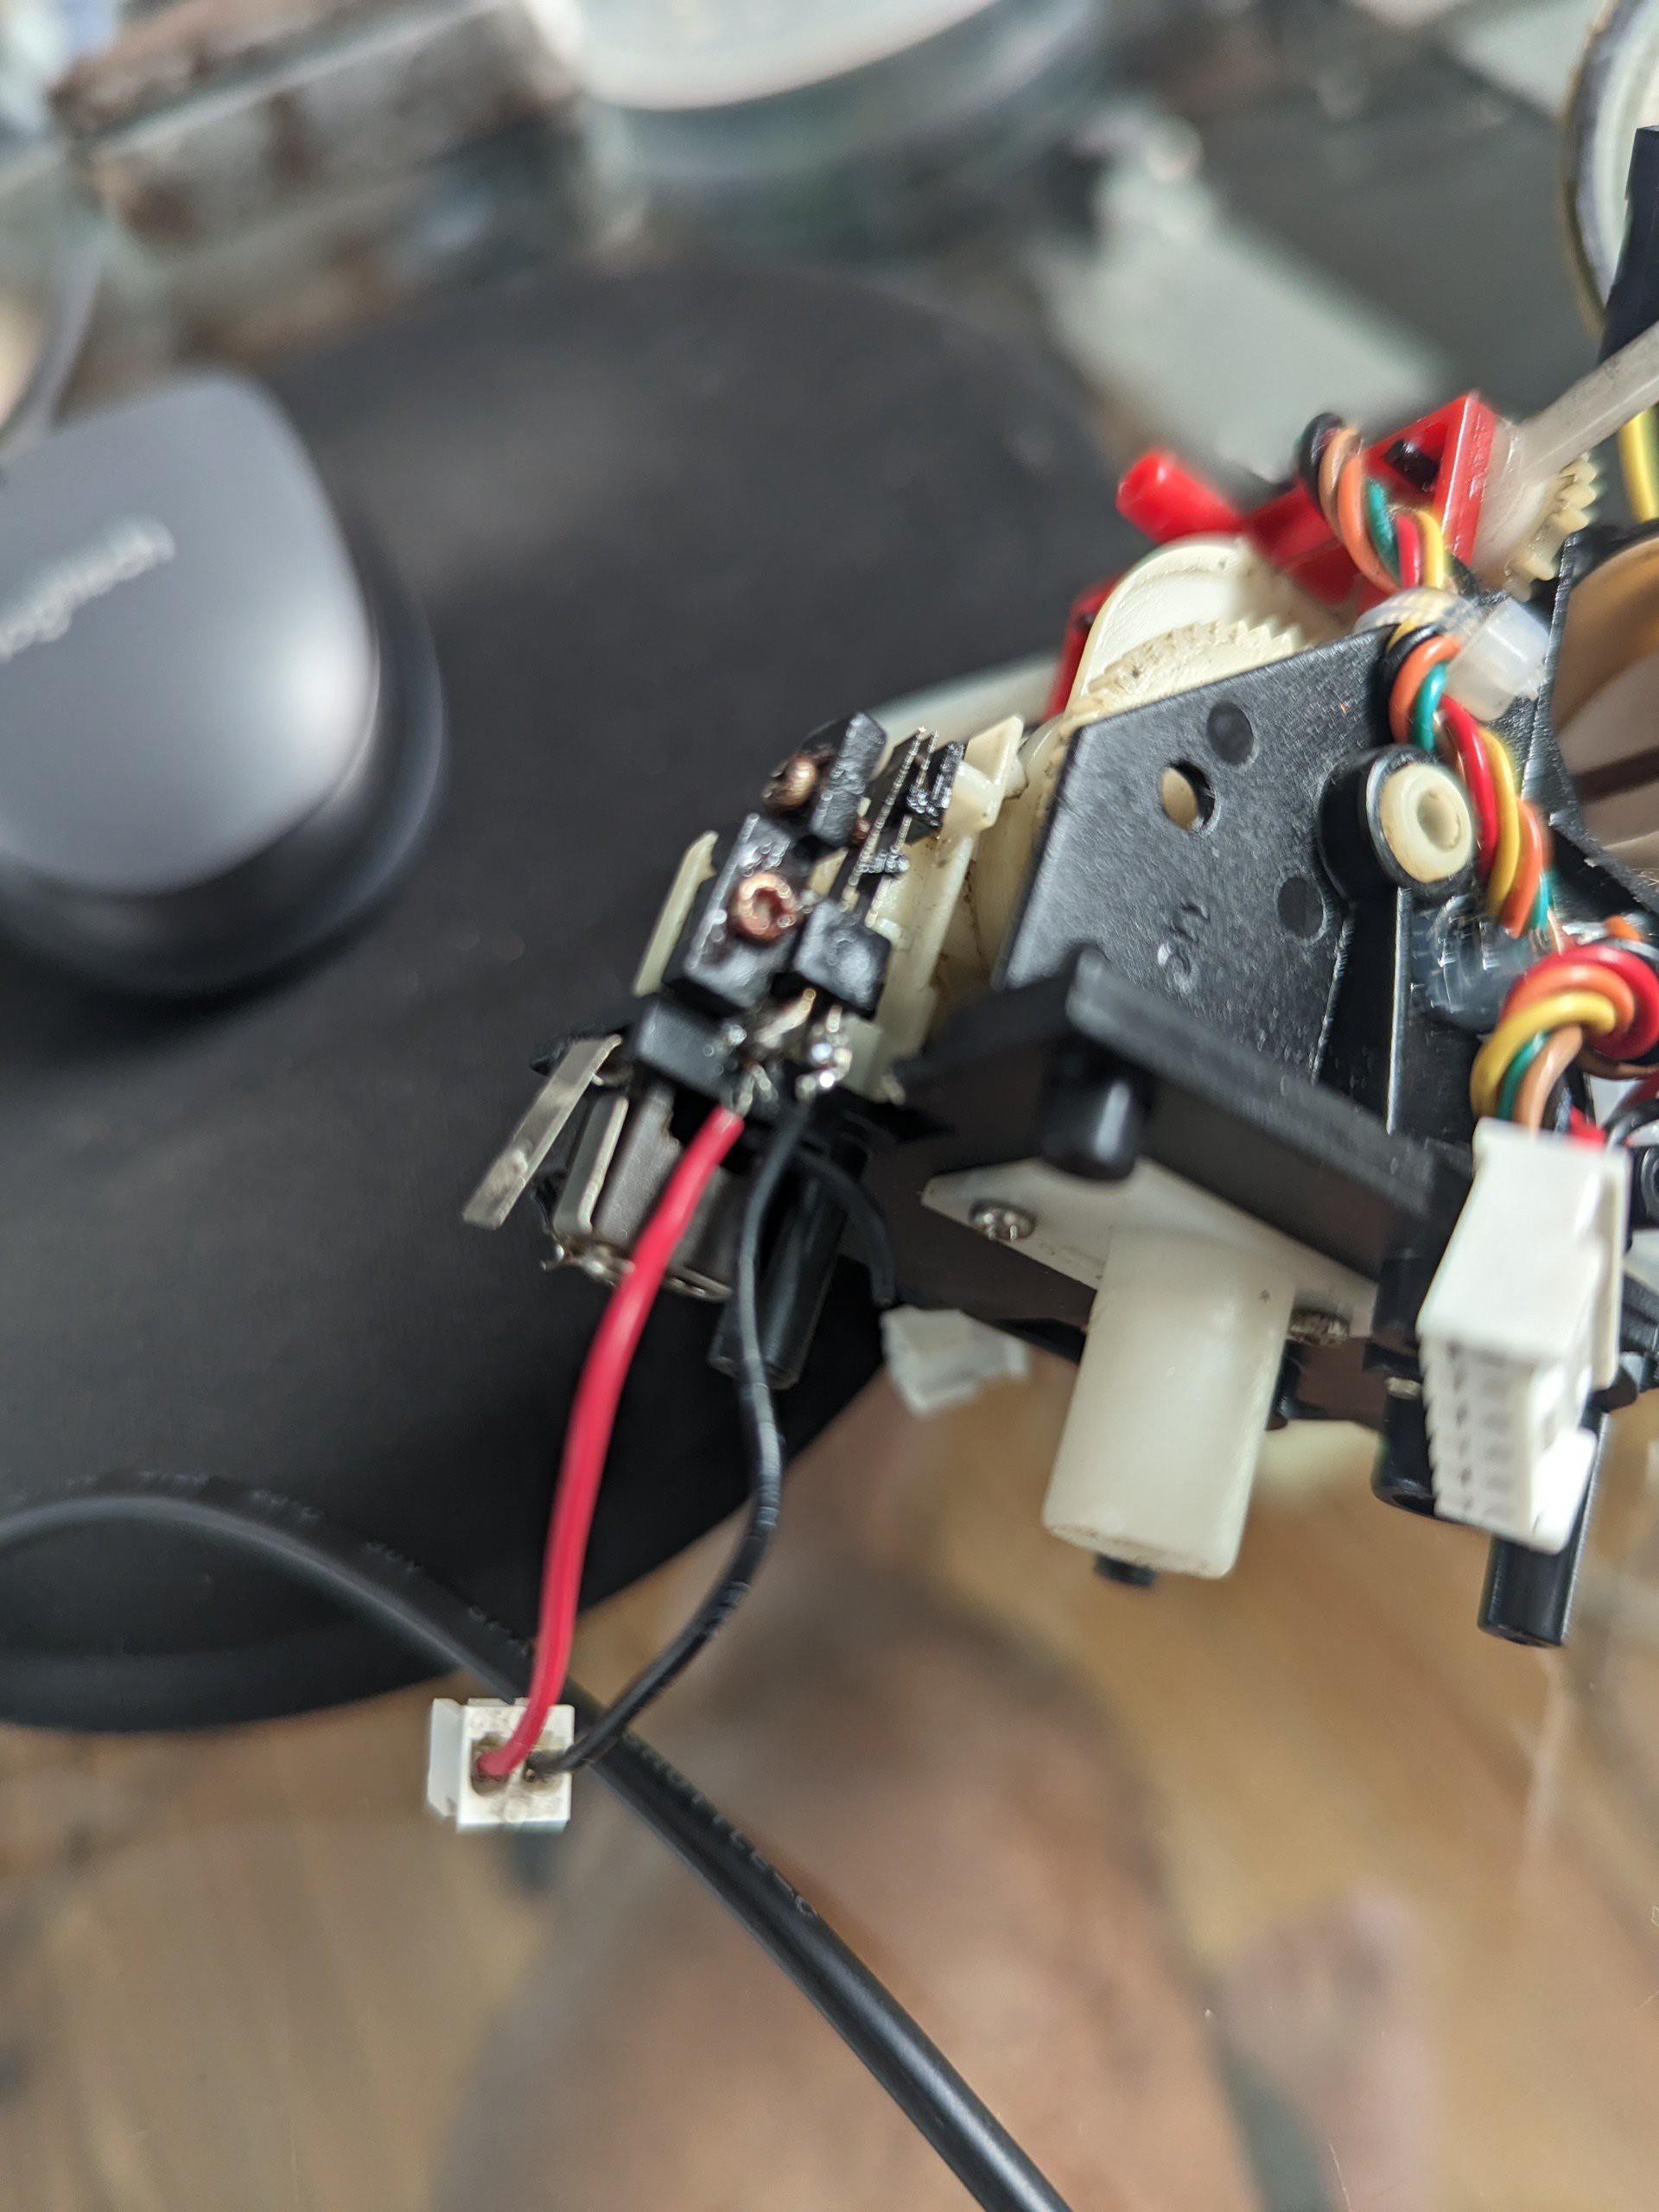
First of all, the gear home position is just a matter of reading a digital pin like a push button. Motor is sent forward or backward until the digital pin reads True. Then motor is stopped.
void findHome(){

 Serial.println("Finding home");
 digitalWrite(in1, HIGH);
 digitalWrite(in2, LOW);
 analogWrite(enA, motorSpeed);

 int f=0;

 while (f==0){

  int camHomeValue=digitalRead(pinCamHome);

  Serial.println("Cam home value: " + String(camHomeValue));

  if (camHomeValue==0){
    f=1;
    digitalWrite(in1, LOW);
    digitalWrite(in2, LOW);
  }
  delay(15);
 }

 Serial.println("Found it!");
 delay(2000);

}
At this point, moving the mouth is simply a matter of running the motor forward and backward with a short delay. I measured the timing using a test script, but the result still looked a little artificial. To make the movements feel more natural, I added a random function so the mouth doesn't always stay open or closed for exactly the same amount of time.
void speak(){

 myRandom=random(openMouthDelay,openMouthDelay+openMouthRandom);

 digitalWrite(in1, HIGH);
 digitalWrite(in2, LOW);
 analogWrite(enA, motorSpeed);
 delay(myRandom);

 digitalWrite(in1, LOW);
 digitalWrite(in2, HIGH);
 analogWrite(enA, motorSpeed);
 delay(myRandom+speakOffset);

}
Note Gear Home cables in the picture below
The other important part to make a good mouth sync is knowing exactly when the mp3 stops, so I have found a new library for DFRobot Mini with that feature working.
 myMP3.play(myRandom);

    while (myMP3.isPlaying()){
     Serial.println("Track is playing");
     speak();
    }
I appreciate [Jorge Luis Borges’ wisdom](https://en.wikipedia.org/wiki/Jorge_Luis_Borges), but not around the clock, so I added a PIR motion sensor. Now, Furby Borges only speaks when it detects movement in the room.
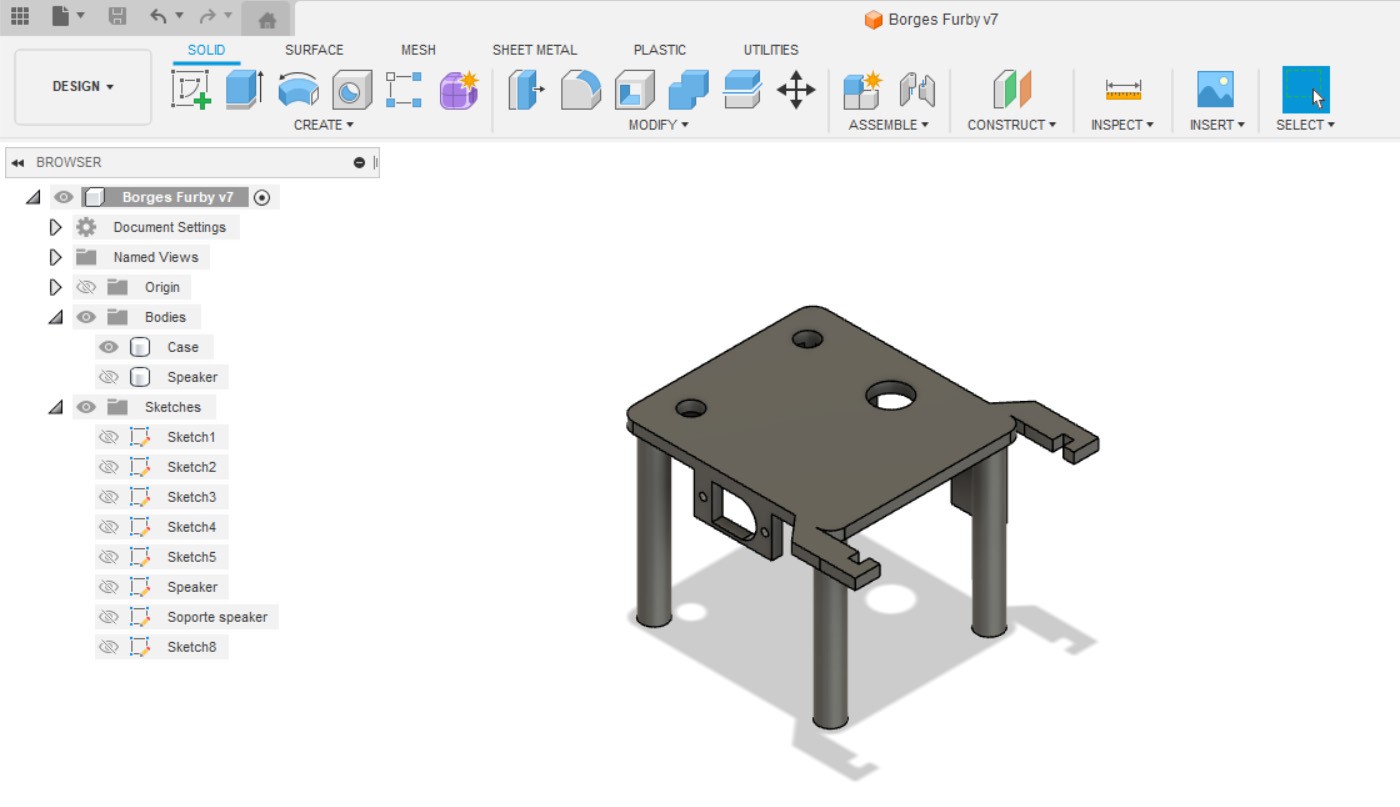
I also designed a 3D-printed enclosure to hold the electronics while keeping them visible.
Last but not least, I had the original Furby PCB sitting on my desk, and I didn’t want to throw it away. What could be done with a board featuring a Sunplus SPC81A microcontroller, a Texas Instruments TSP50C04 speech synthesizer, an H-bridge motor controller, and several inputs, including push buttons, a microphone, and infrared sensors?
I’m thinking about building something called the Furby Computer. So don’t throw away your Furby PCB just yet.
View other literature machines
View also
Maker (counter)Culture PDF a book about technology, counterculture, electronics, artificial intelligence, programming, privacy, art and activism. It explores what happens when we stop being passive consumers of technology and start building, modifying and questioning...
Read more »