 Deepak Khatri
After the first failure, I learned how to design my own instrumentation amplifier from the internet and got to know that you just need 3 operational amplifiers and 3 pairs of closely matched resistors to make it work.
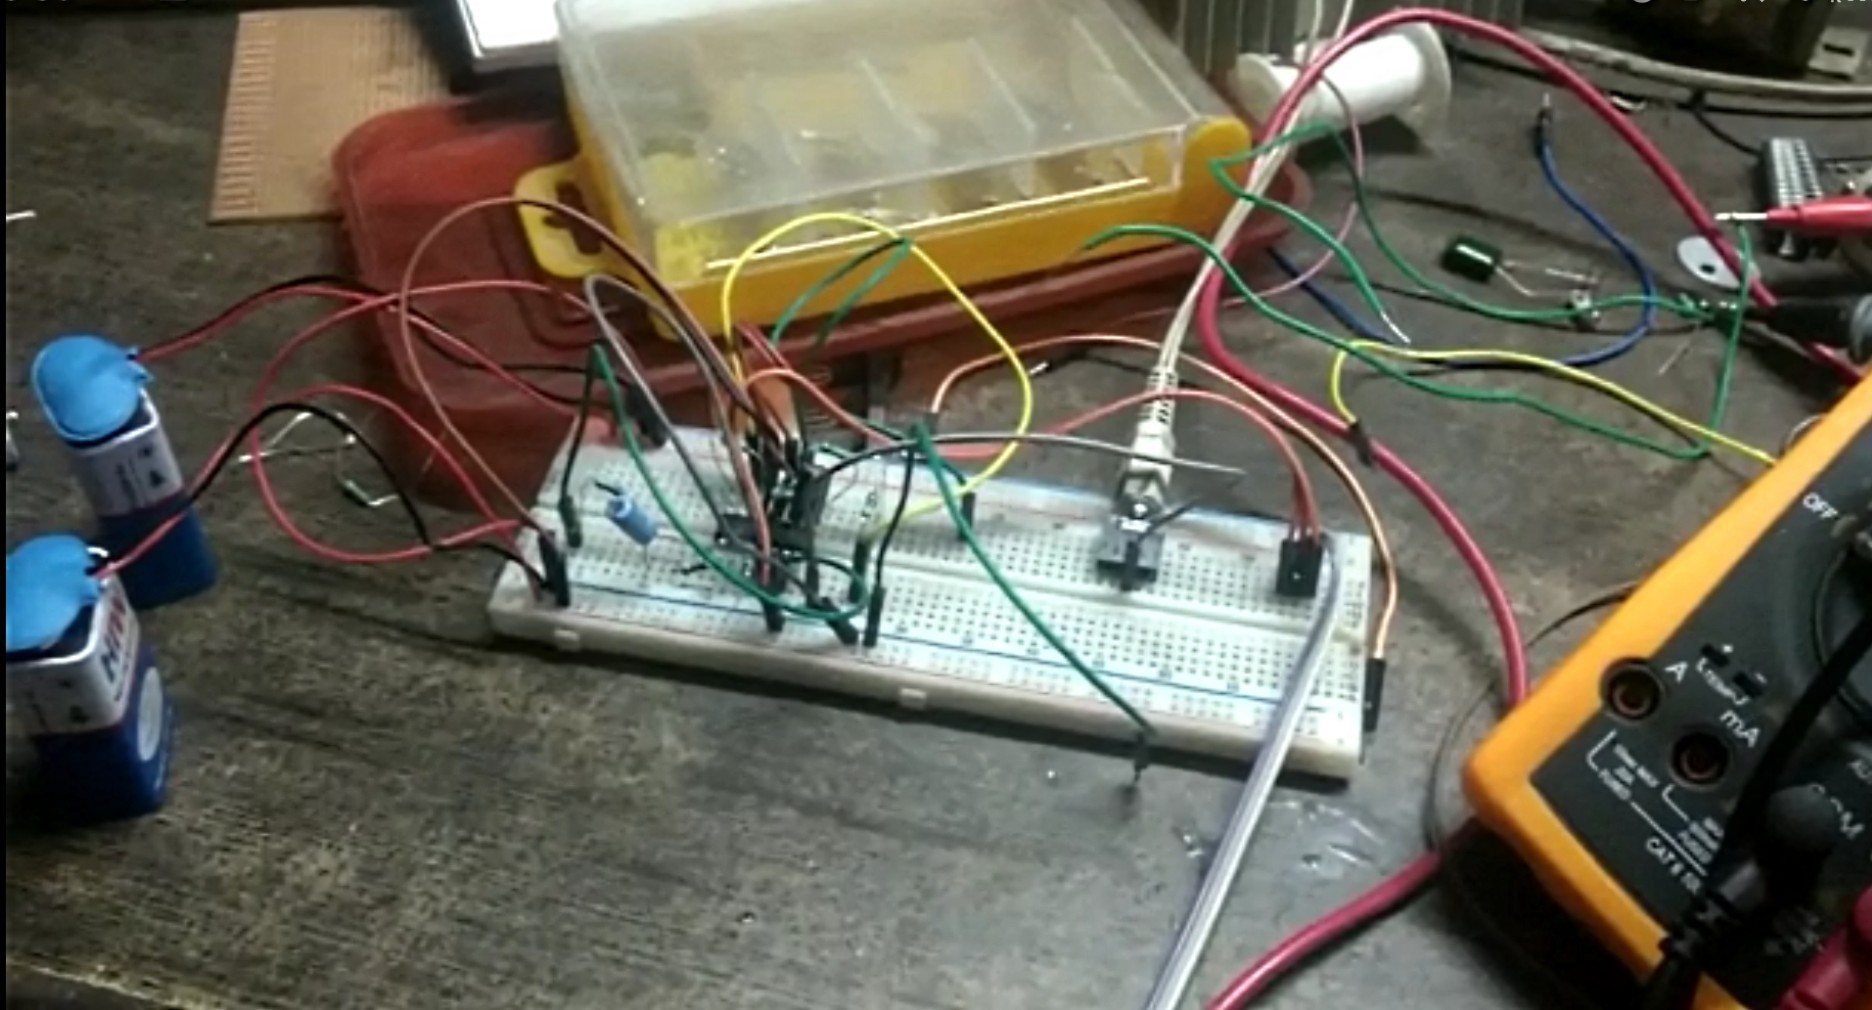
At first, I designed it on a breadboard.
As everything was working perfectly, so I tried the circuit on a perf board as well.
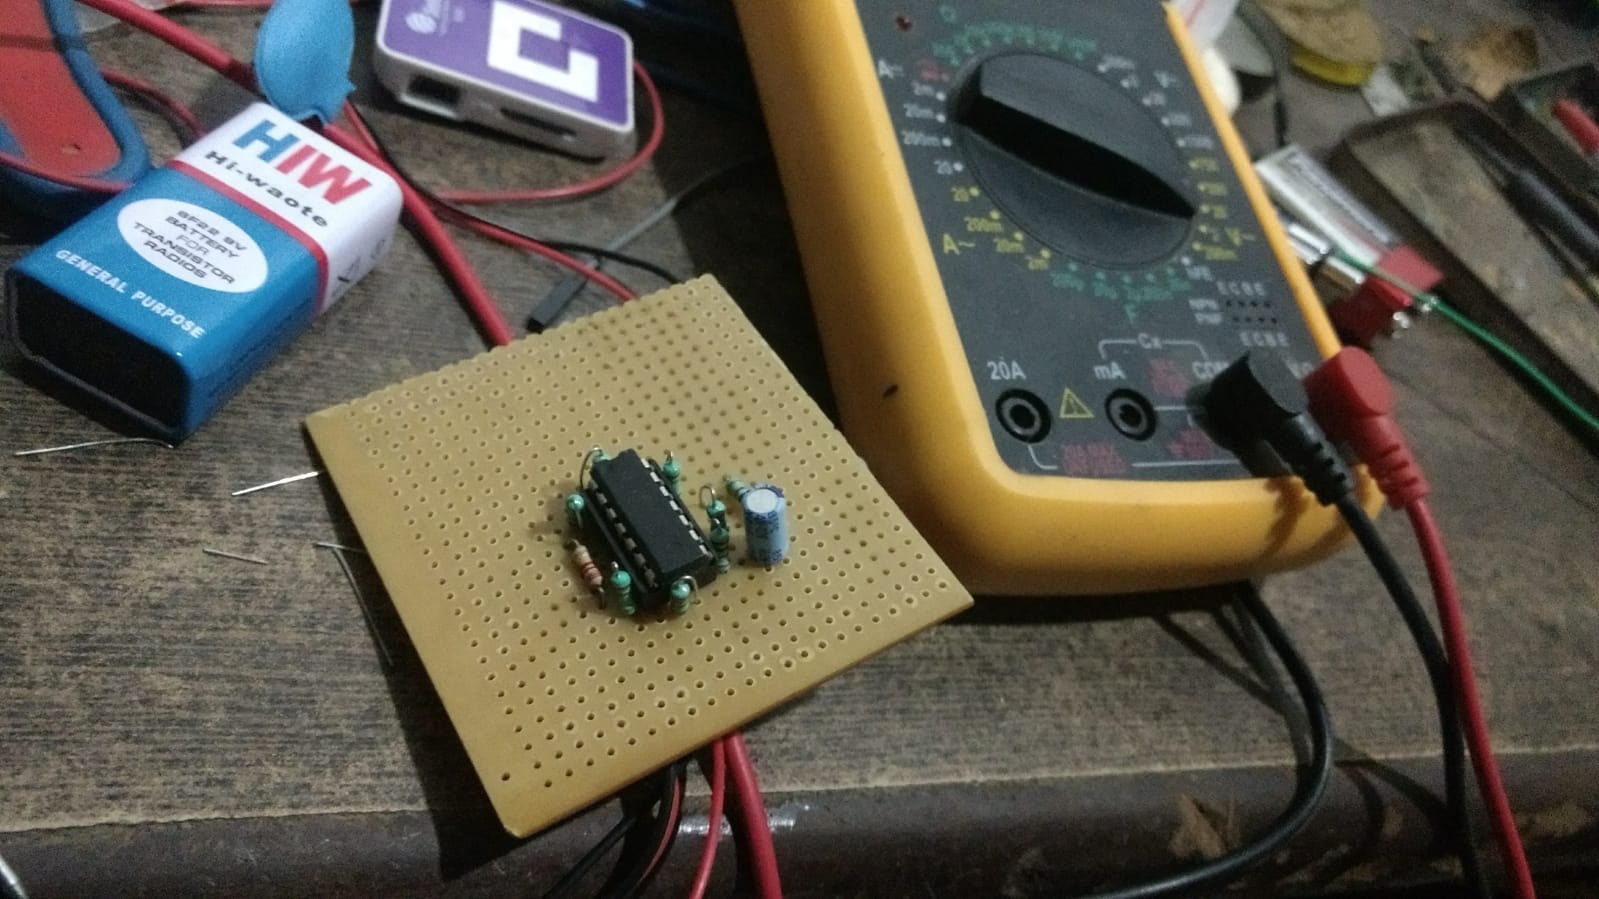
This time it actually worked. It was the first time I recorded my muscle signals (EMG).
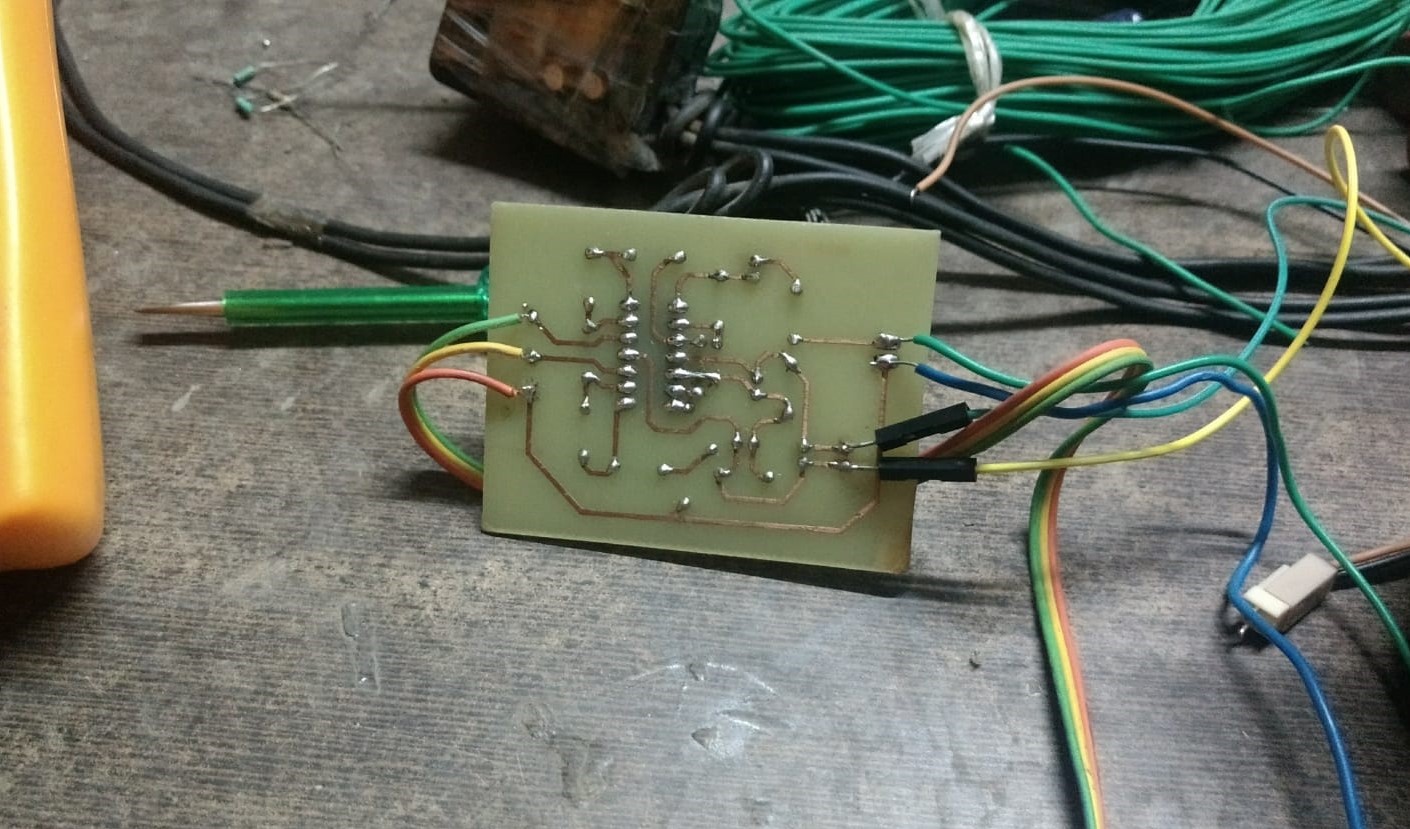
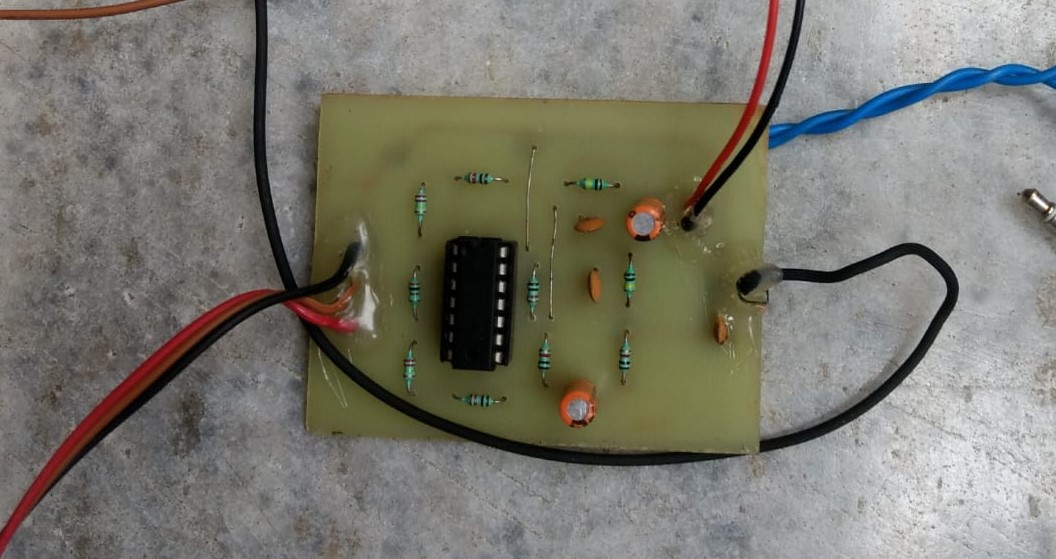
After some time, I got access to PCB fabrication at a lab in my college (NSIT, Delhi) and created my very first PCB. When I started creating the BioAmp design, the BOM cost was around ₹2000 ($25) but I ended up designing the hardware for less than ₹100 ($1.25) including everything. This had all the features of a muscle spiker box by backyard brains. I was able to record my muscle signals (EMG) and was able to listen to them using earphones.
For recording the signals, I created my own dry electrodes, versions of which are still being used at Upside Down Labs.
In the same year, I also got an opportunity to present this hardware at a conference for low-cost bionic and neurological sensor design.
Discussions
Become a Hackaday.io Member
Create an account to leave a comment. Already have an account? Log In.