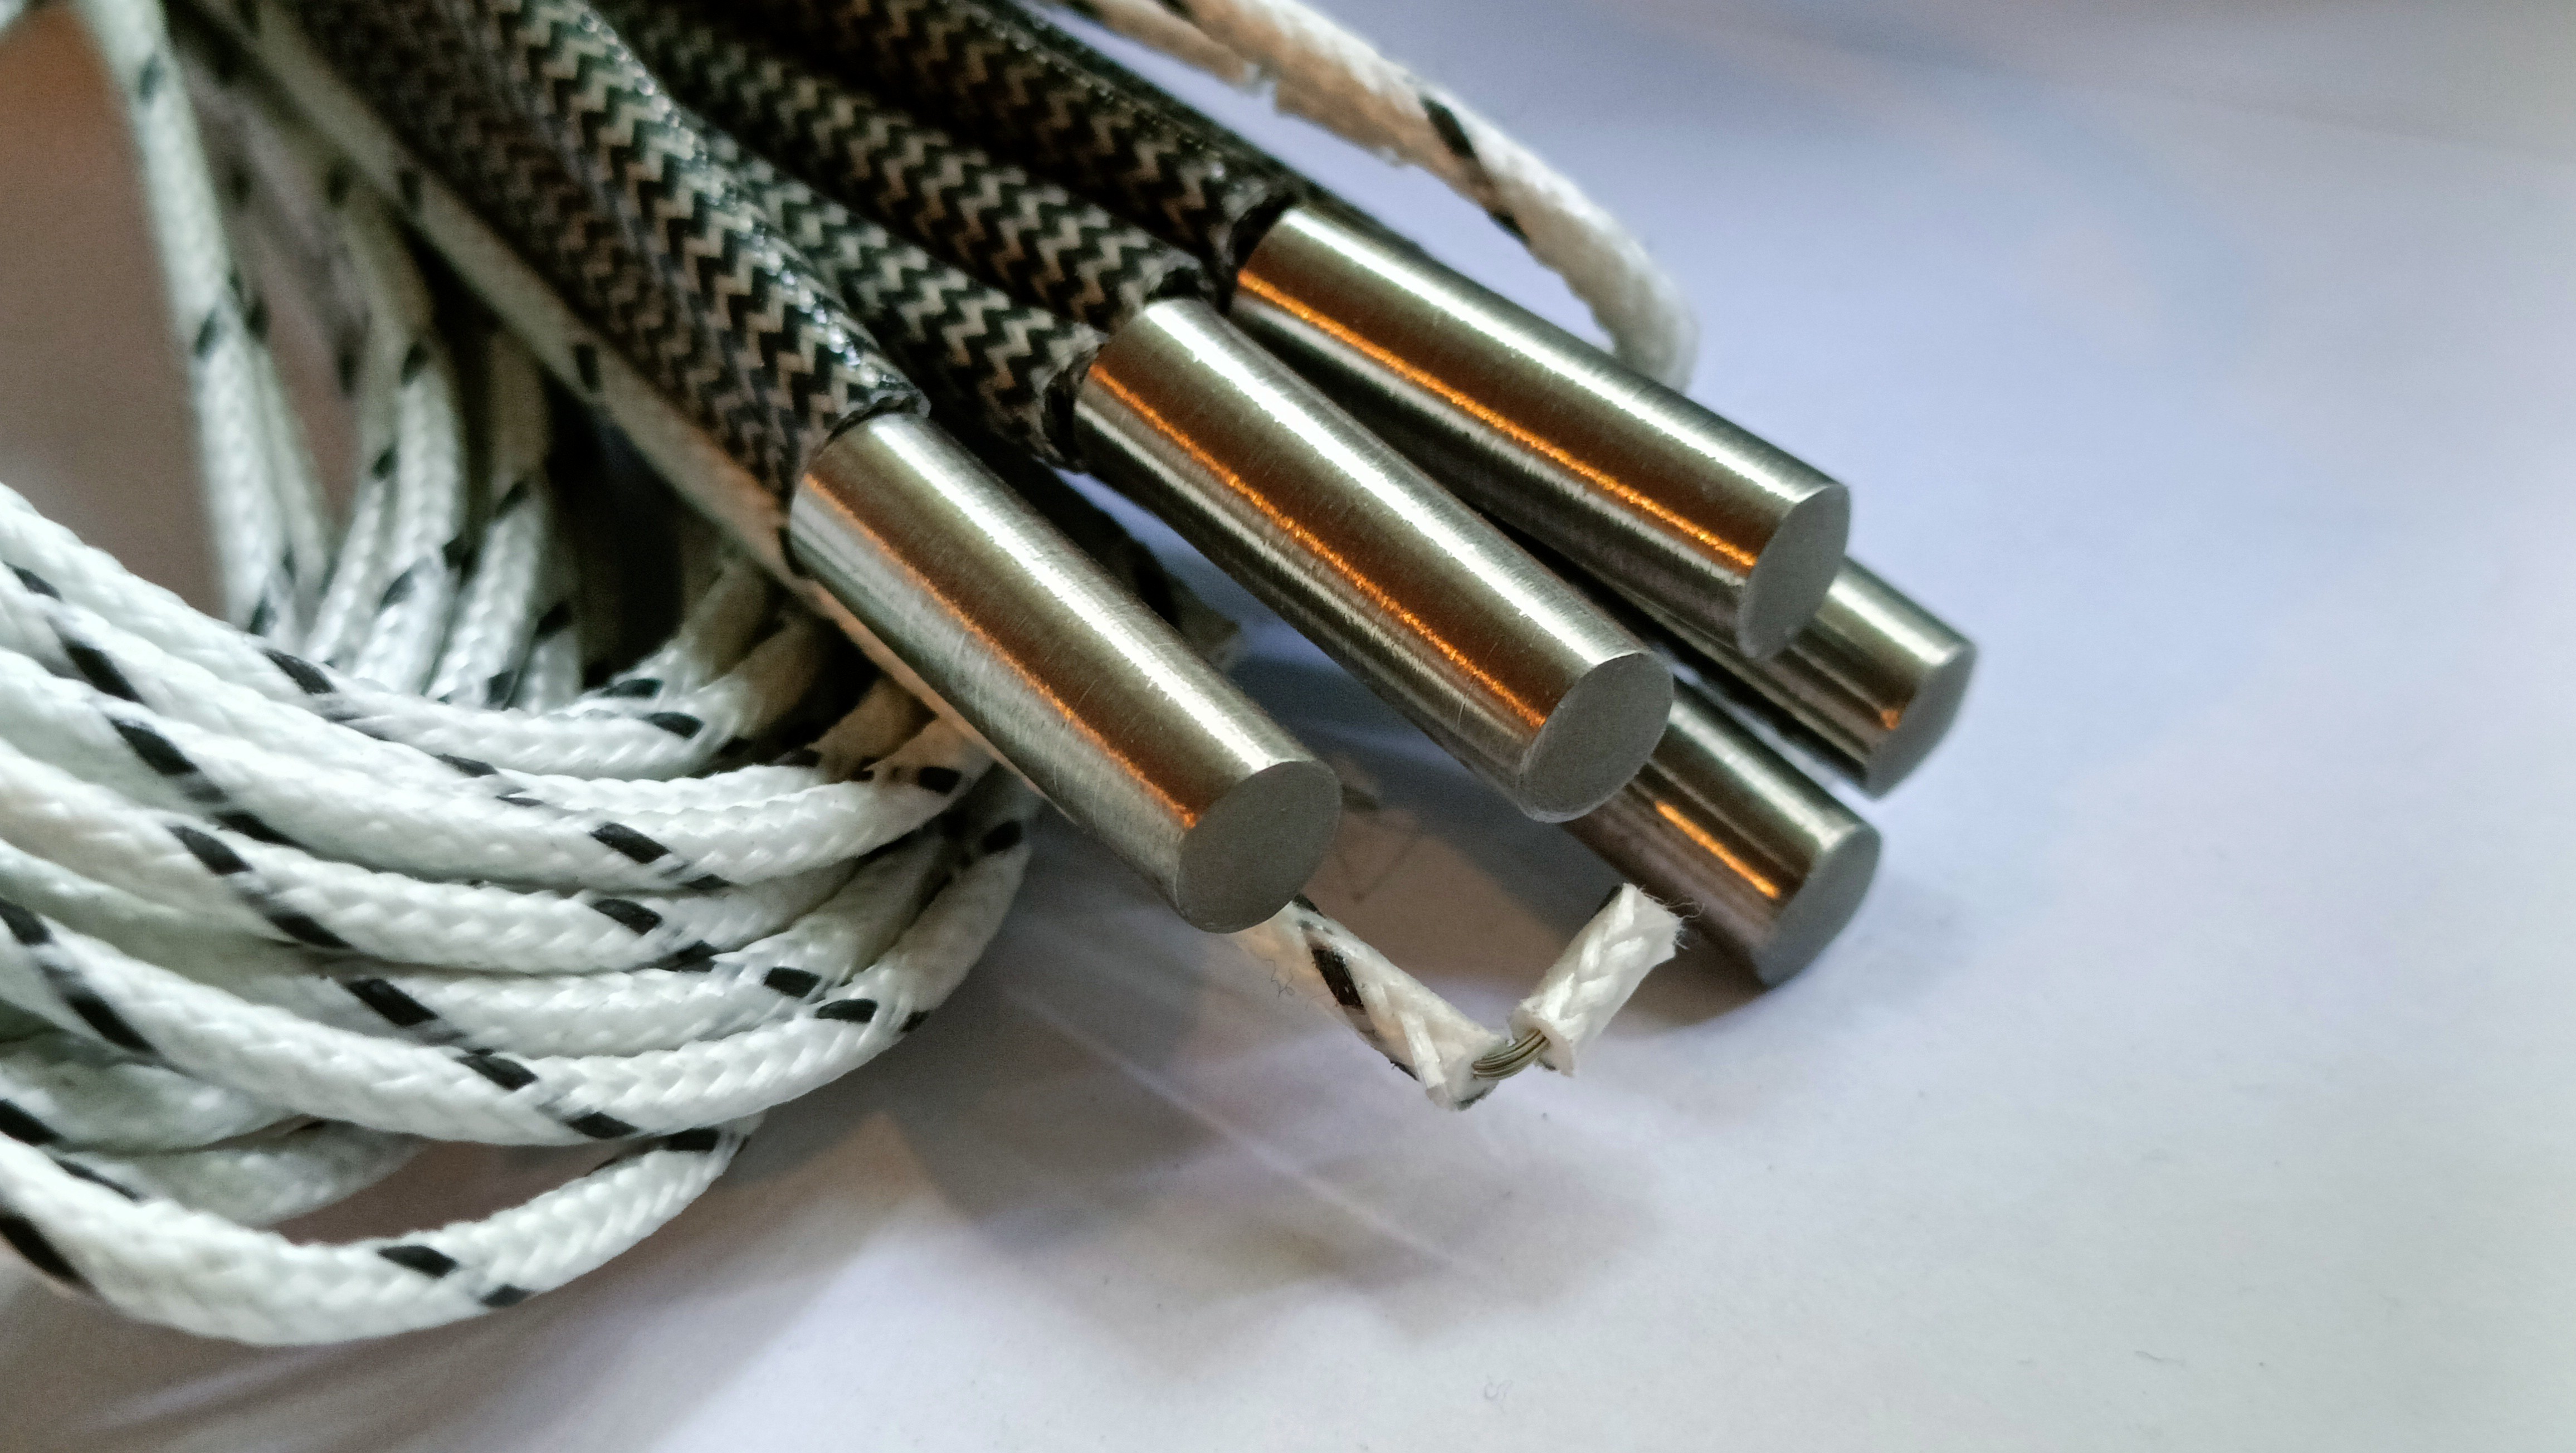
After all these years, I've finally figured out that it's best to use wire snippers to strip this braided insulation. In the past I've tried using my dedicated wire stripping tool and it's just ended in frayed insulation.
As I want the highest confidence connection between the short 1 metre cable and the extension cable (from the other 70W cartridge that got drenched in plastic), I tried a new (for me) way of wrapping the conductor strands together. For starters... I actually wrapped the conductor strands together. Usually, I just try and get the wires close together and solder between them:
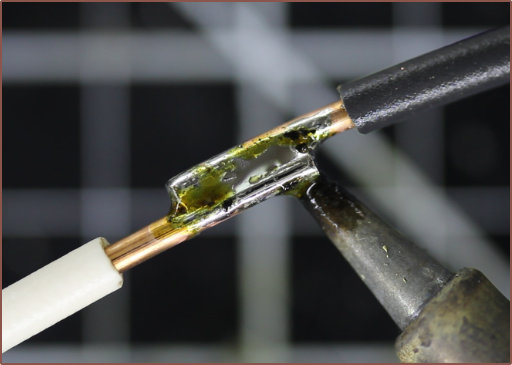
I saw the strat on facebook but I couldn't re-find it and so I memorised it incorrectly. Essentially, you make a Y shape out of the strands on both and then intermesh them. Well, that's how I remembered it and it was obvious that it wasn't that because there'd be no space for the wires to wrap. It's only now that I'm writing this that I remembered that you're supposed to take one of the outer strands and wrap it around the first two:
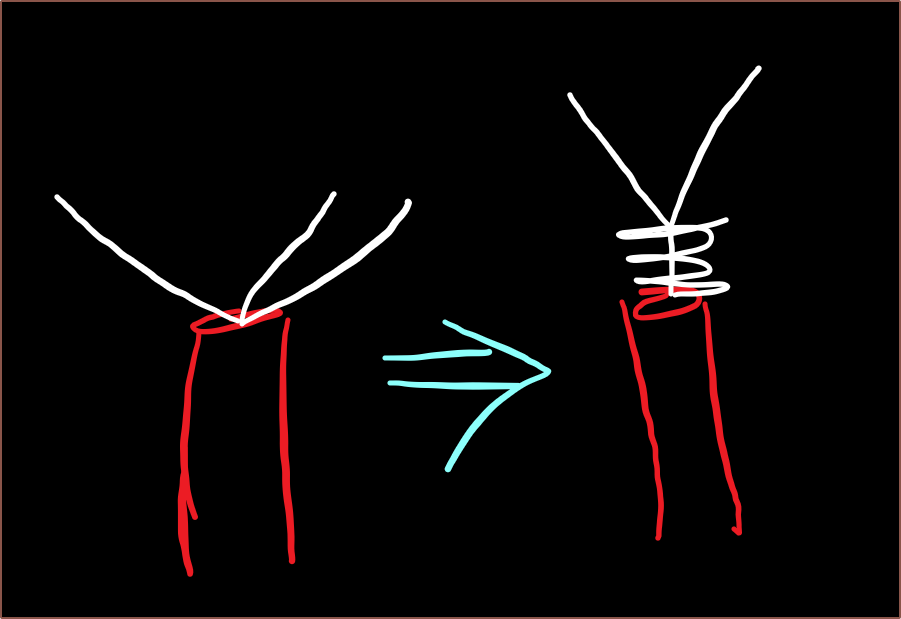
I think you can then twist together each strand from the two wires between each other and then wrap the whole thing around itself.
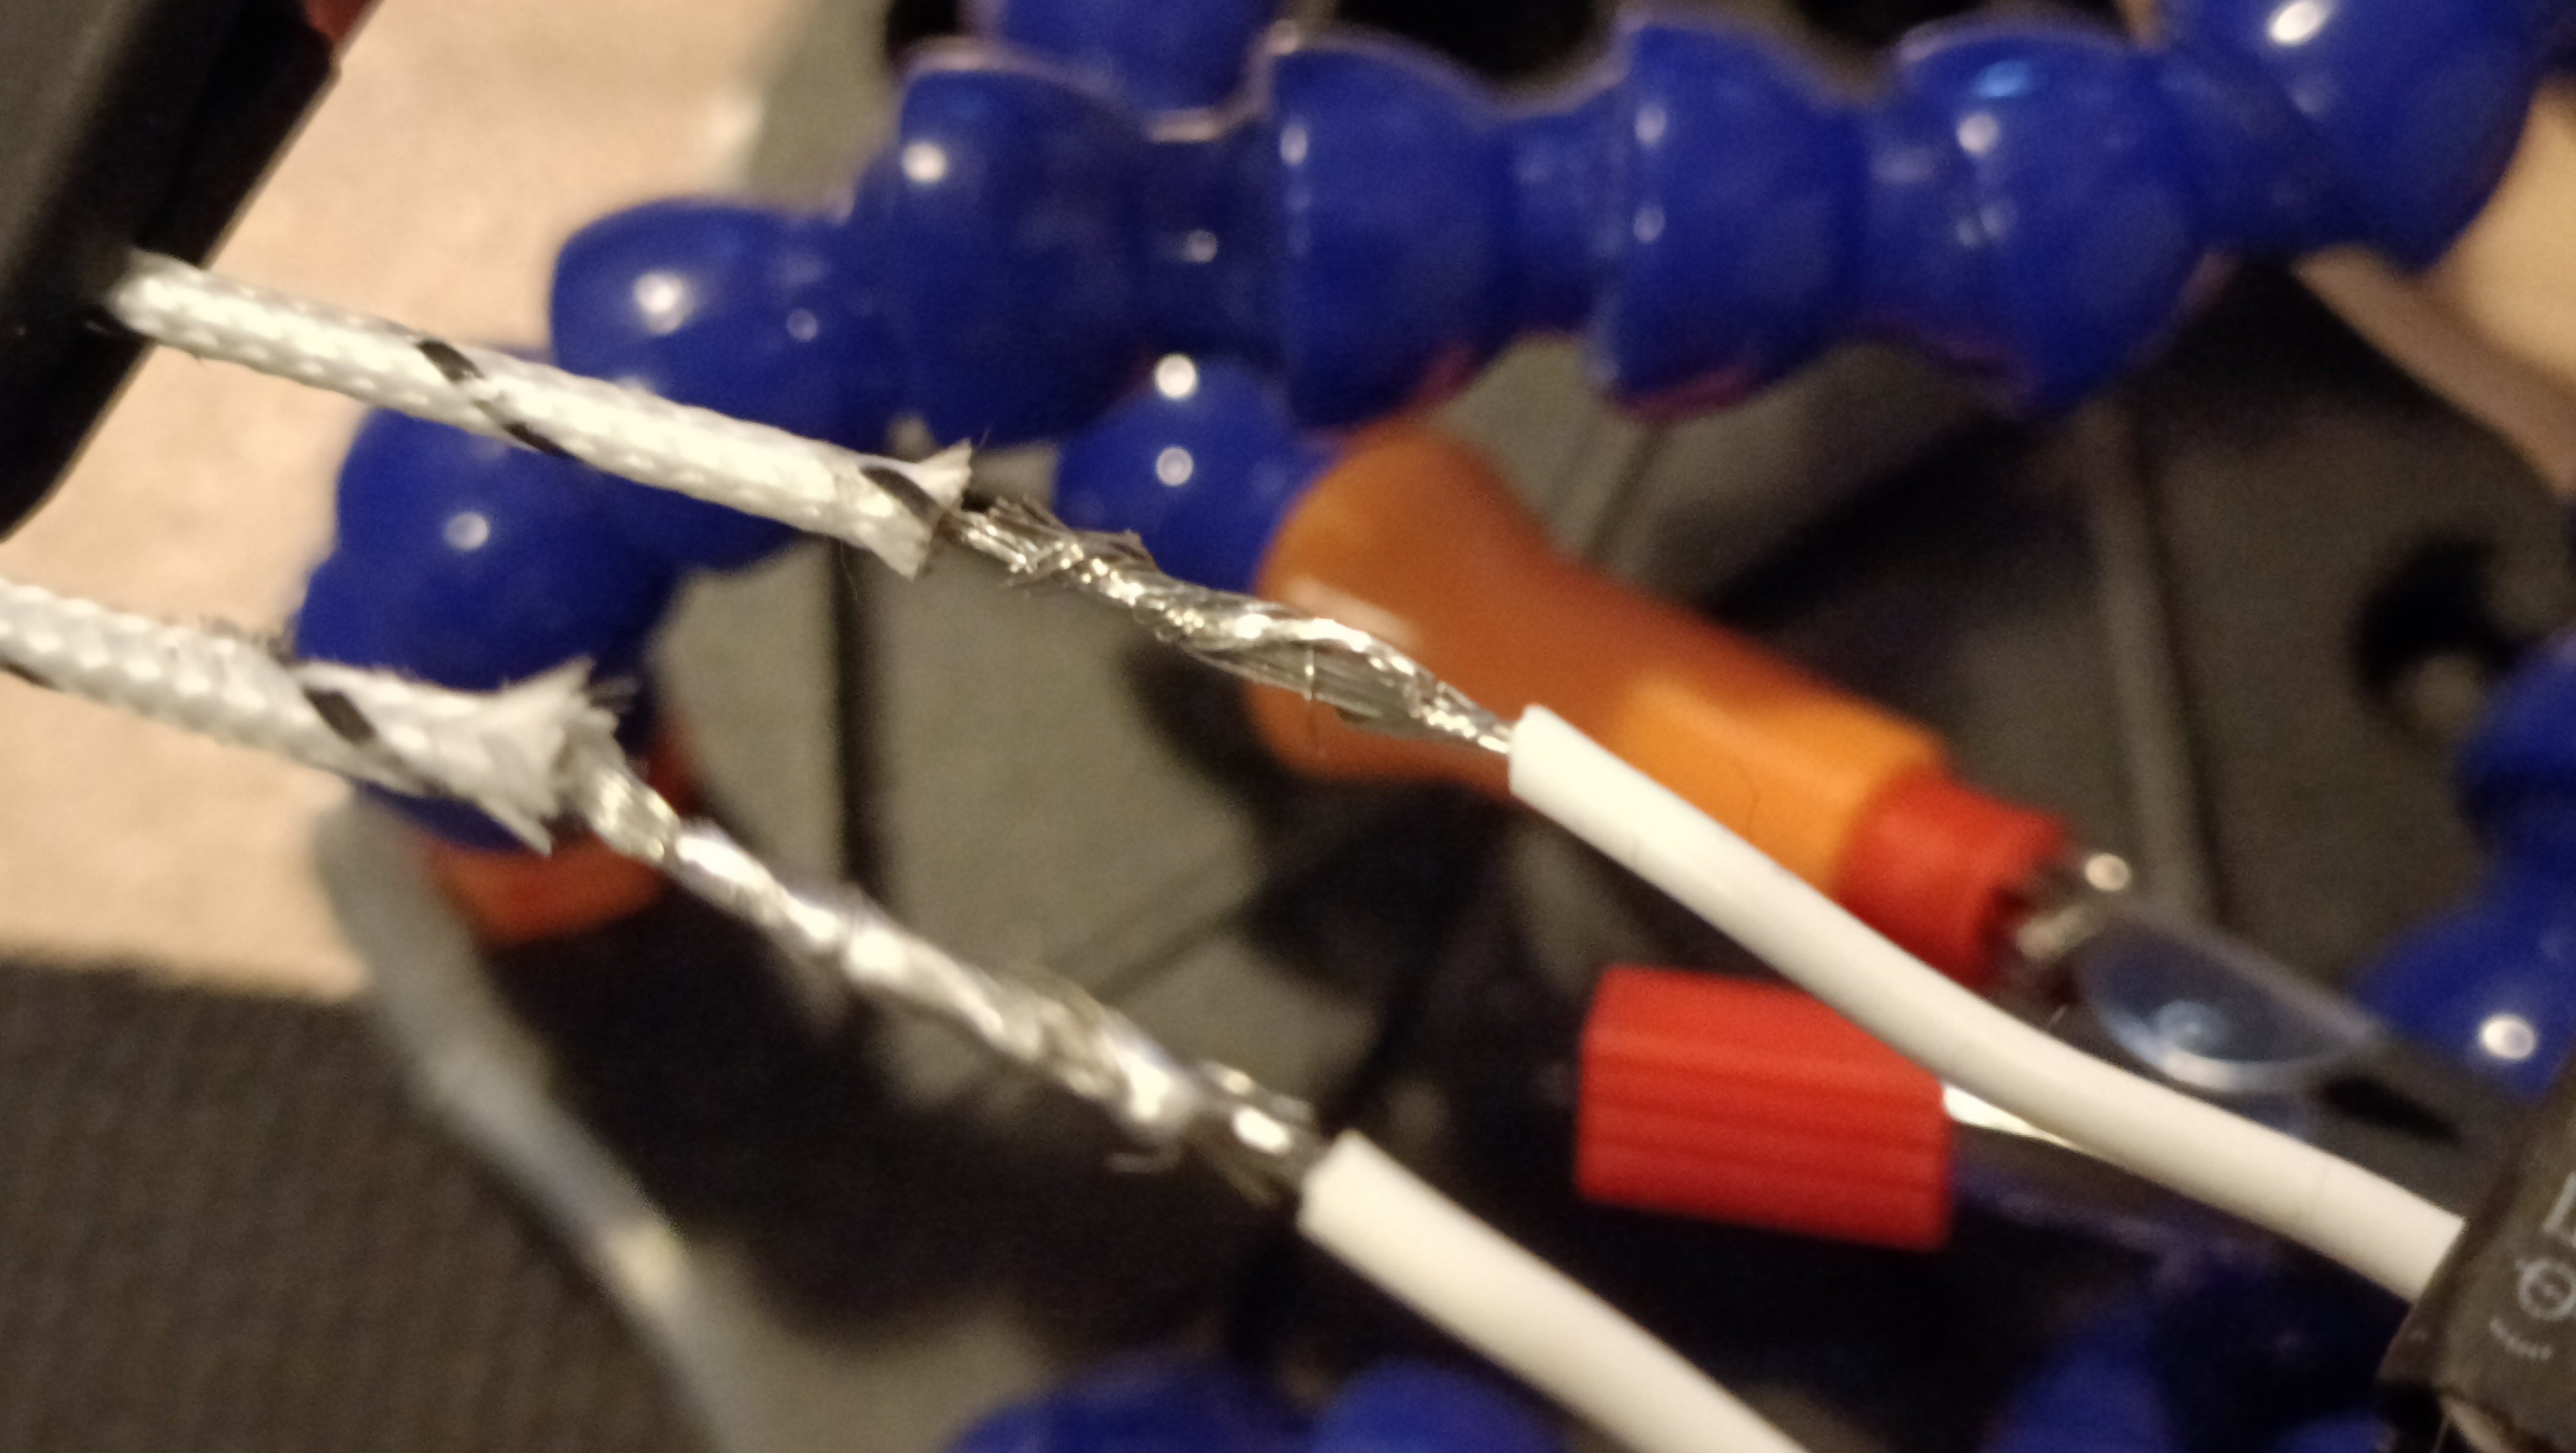
Well the twist I ended up with looks like this:
Rewiring
So I take out the old cartridge and, to keep the thermistor from touching the heatblock, I had thread it inbetween the cartridge wires yesterday. That meant that I had to remove the thermistor too.
So I do that, unthread, insert, screw the grub and start tugging to make sure that thermistor isn't going anywh--
*pop.sfx*

Have you ever read a review, thought "I guess?" or "What are they even talking about?", then some X event happens to the product you bought and you instantly think back to the review? Well I remember reading a review that went something like:
2 star: It's hollow inside
Me in The Past: Why does that matter?
Why it matters:
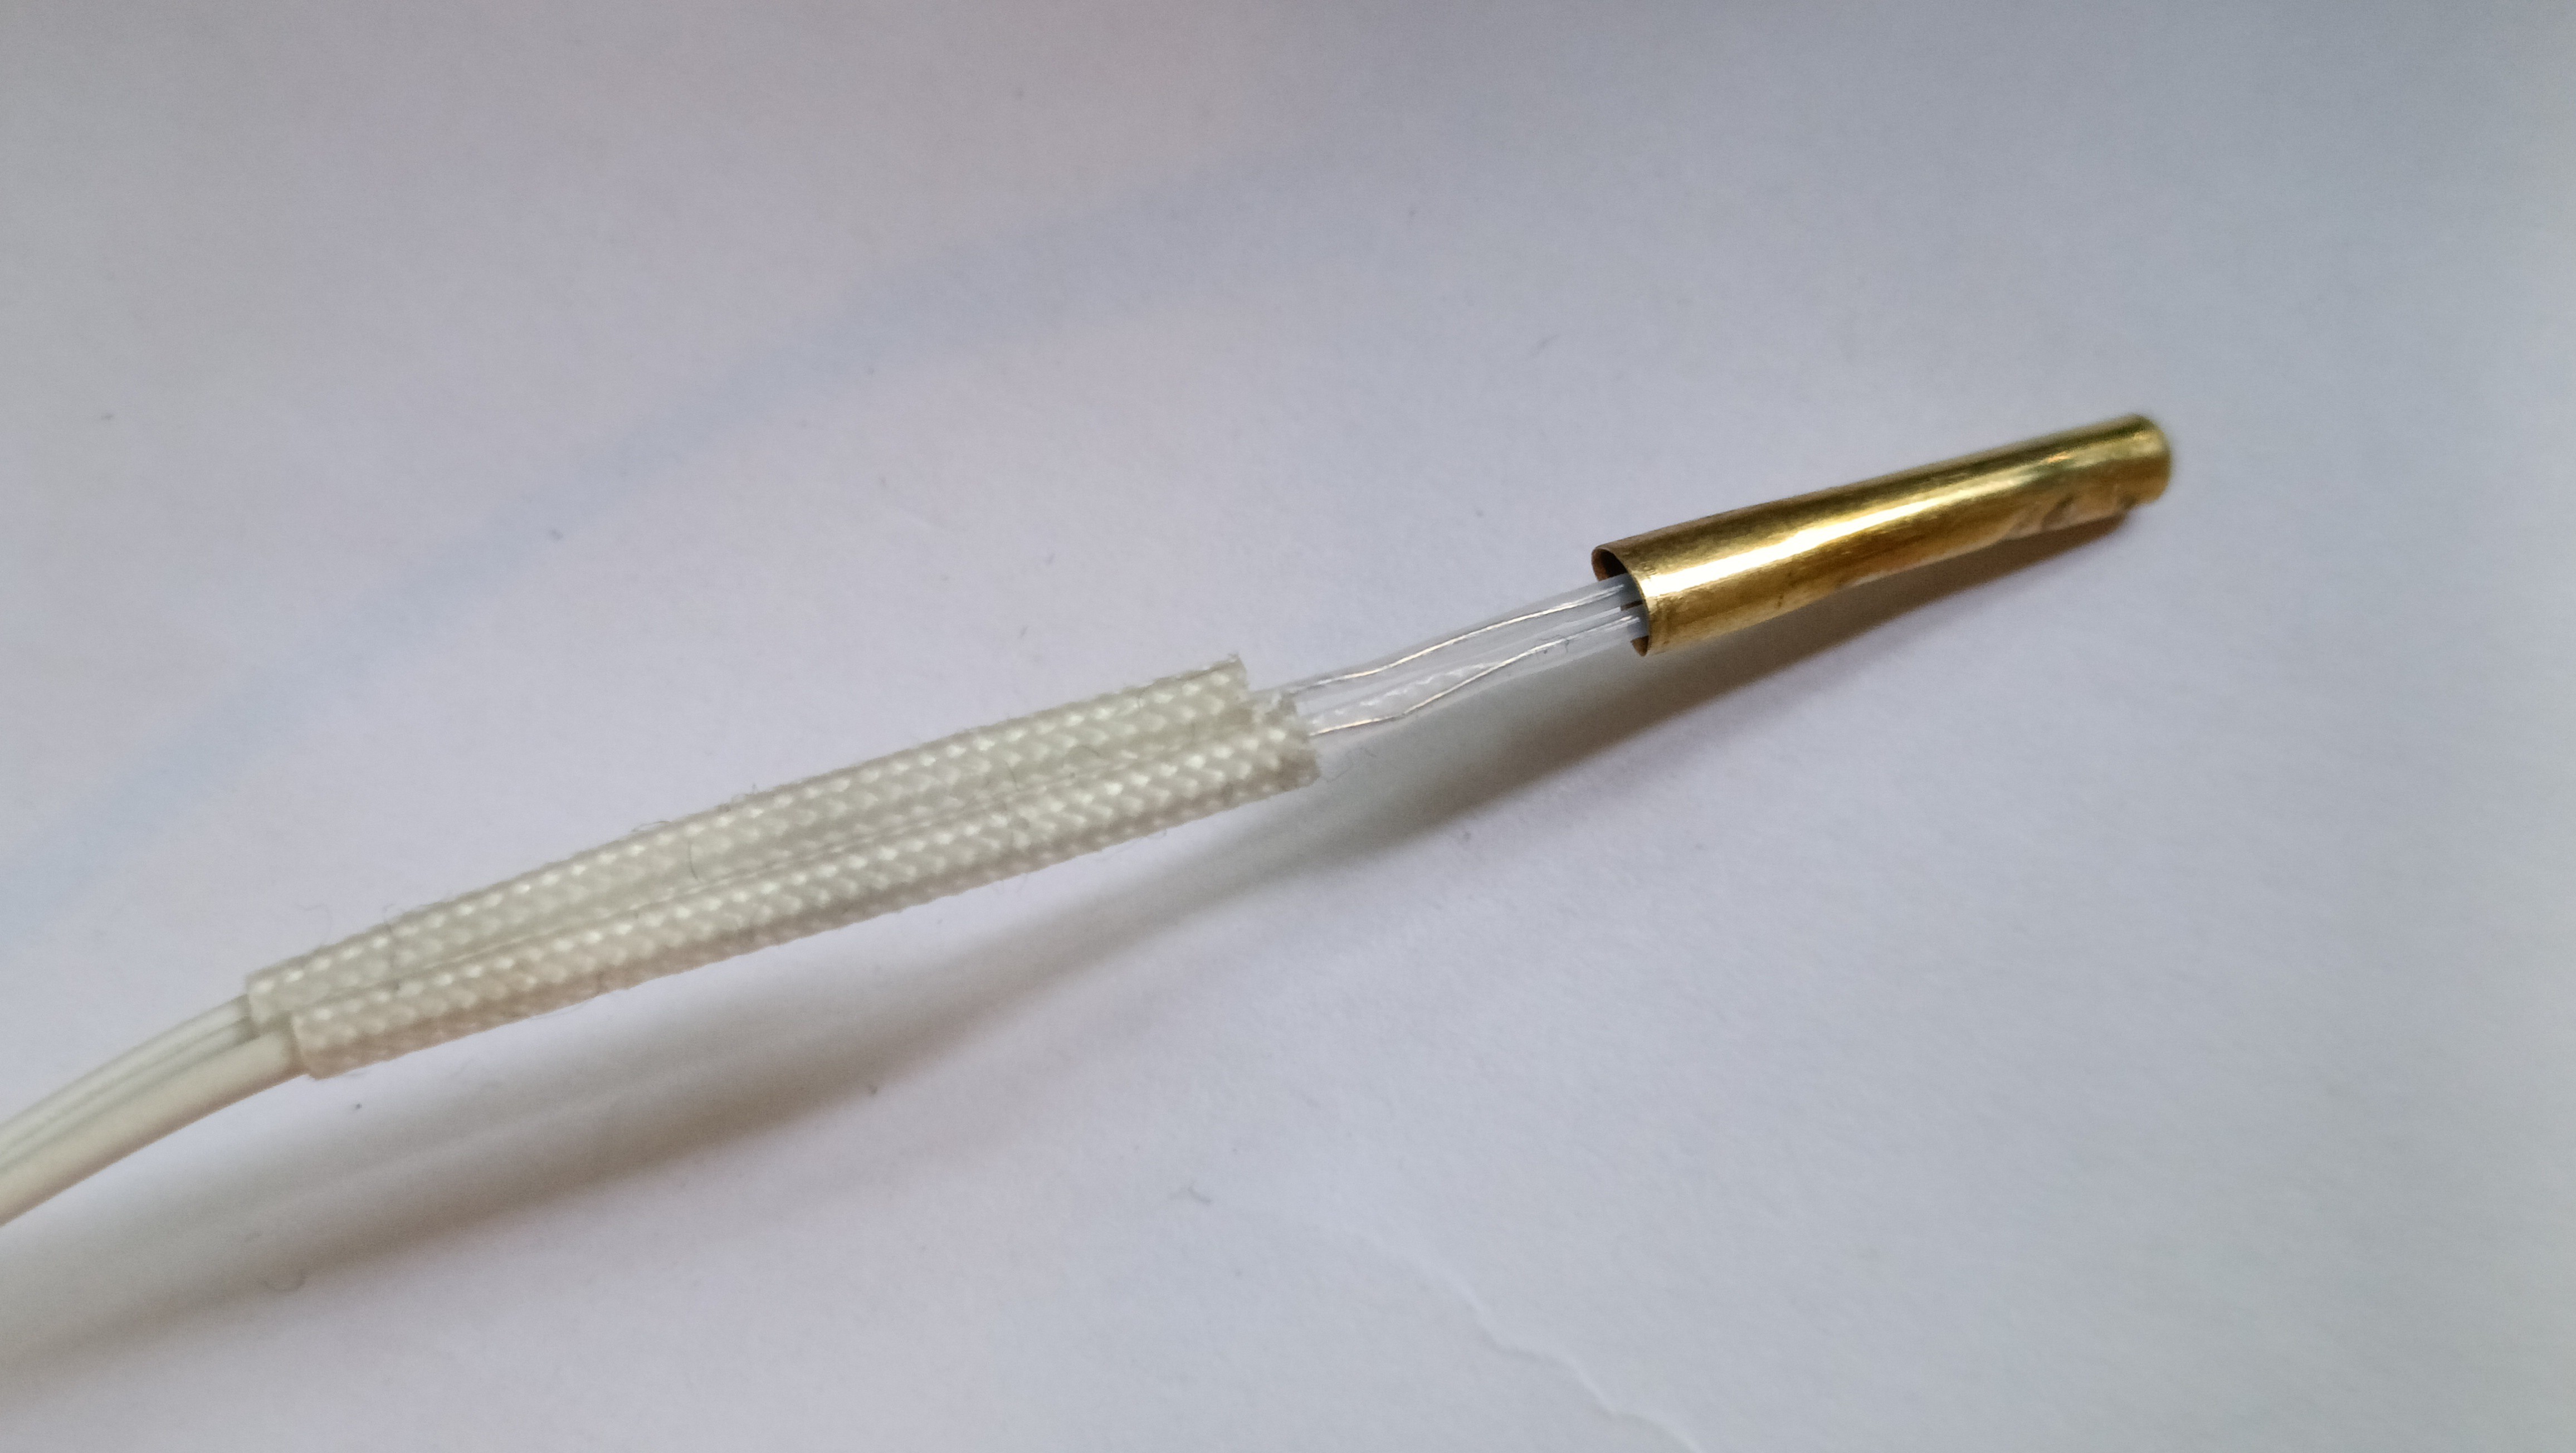
Well, as it turns out, the thermistor is only held in by the brass crimp on the insulation. It's free-roaming otherwise. At least I found this out now when I'm re-wiring, and not when a 200W cartridge is installed on a hotend moving at 200mm/s. That also explains why the thermistor readings seemed kind of delayed when I did an initial test heat to 40C yesterday (with a finger on the block to feel if it was getting warmer).
I tried cleaning the old thermistor from R0 but the PETG was unscathed.
So that's now another -£6.99, but this event is the reason I wanted to spend a bit extra on fast delivery; I don't know how many hurdles are going to springboard out of the ground and I'd rather not incur an 8-day delay every time the Coaxial8or needs a new part.
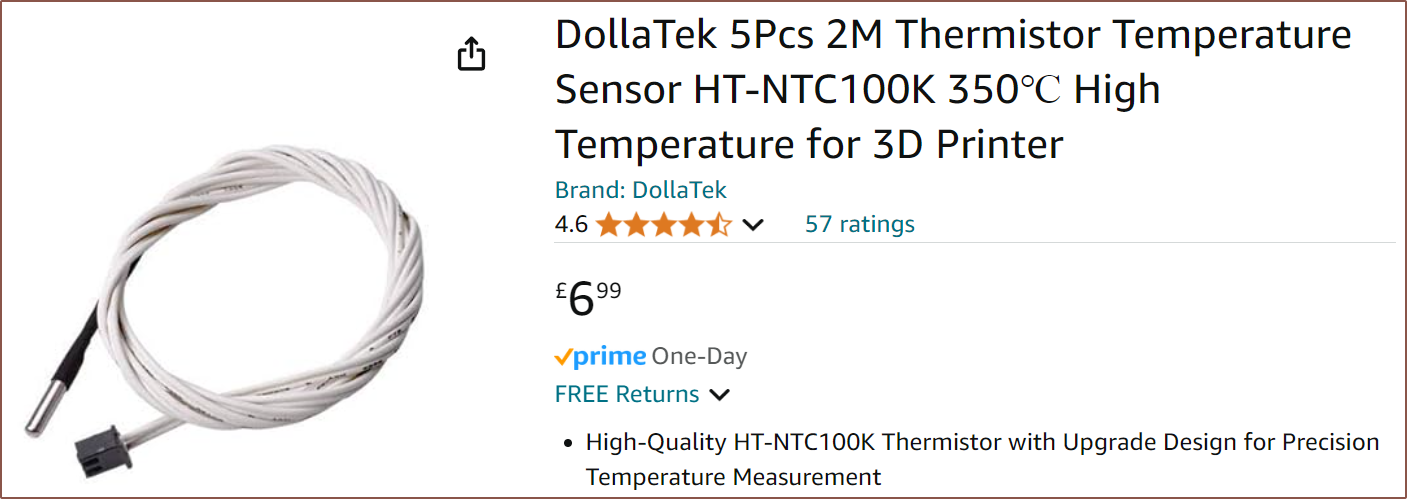
These thermistors should hopefully be better since, like the cartridges, it's made of stainless steel. This means it shouldn't crush when I tighten the grub screw. It also looks like it'll actually entirely fit in the slot, unlike the one that just broke.
Grabbing filament

ABS: Silver
I also decided to get more filament colours, as well as ABS so that I can test to see if I can encase it in a thin coating of PETG and print it on an open printer without delamination. I got silver to be able to test the goal of being able to buy one material spool and then colour it as it prints.
Wait! Pause!
While finishing up on this log, I was going to mention that the wire is 0.5mm diameter. When I looked up the current carrying capacity yesterday, it couldn't've given me the 0.5mm2 current carrying capacity because that's still too low, but the 0.5in diameter is an actually decent value:
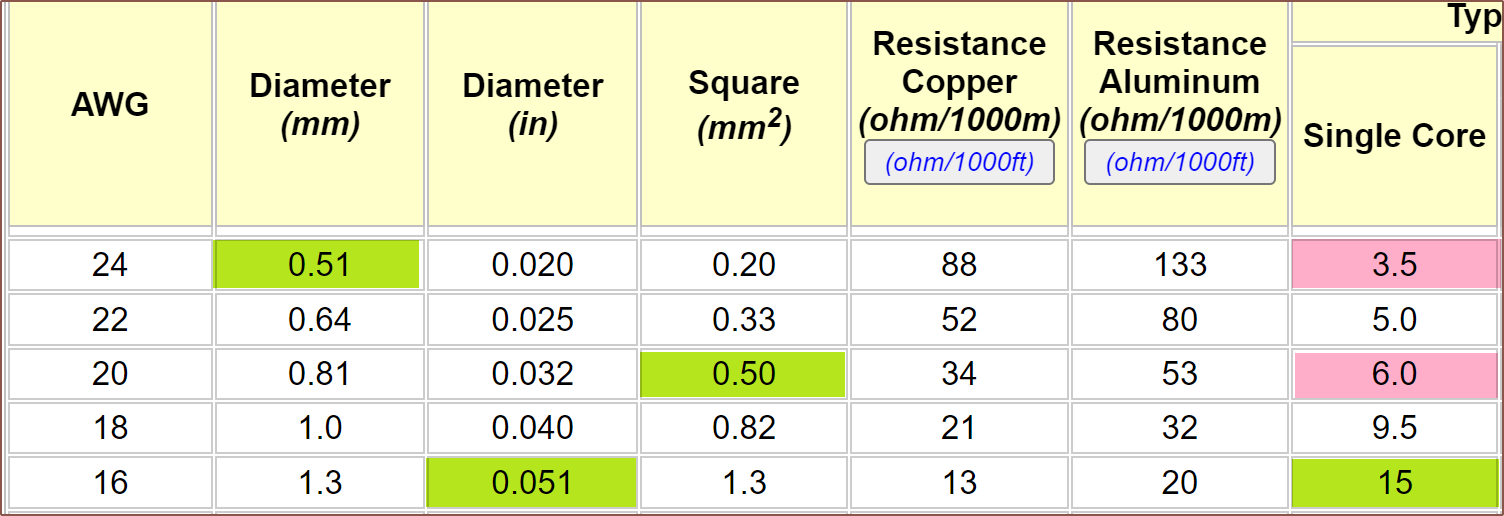 This does seem to make a lot more sense, considering how much current the 70W would usually see:
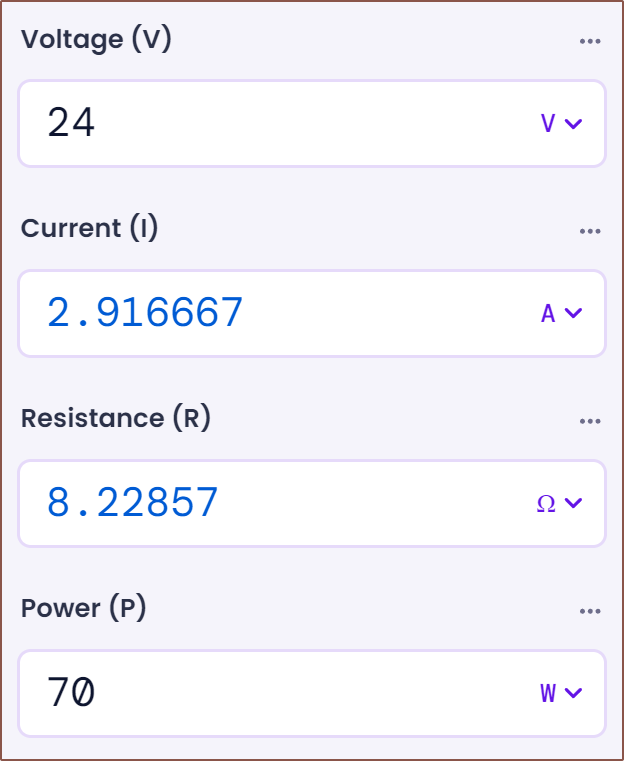 But does that mean that the preinstalled wires for the 50W cartridges are under specced? Or perhaps a silicone + fiberglass insulation allows higher current to be used compared to traditional PVC?
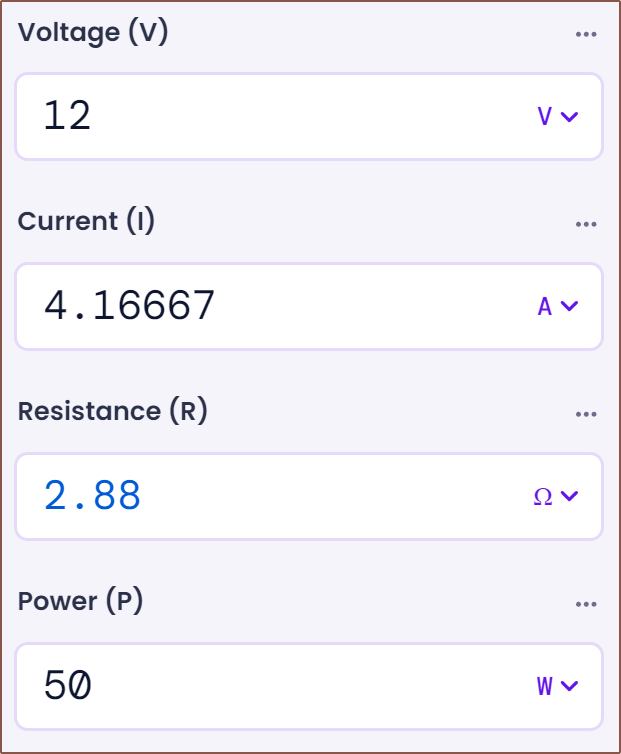
In any case, 200W is hotbed-levels of power.
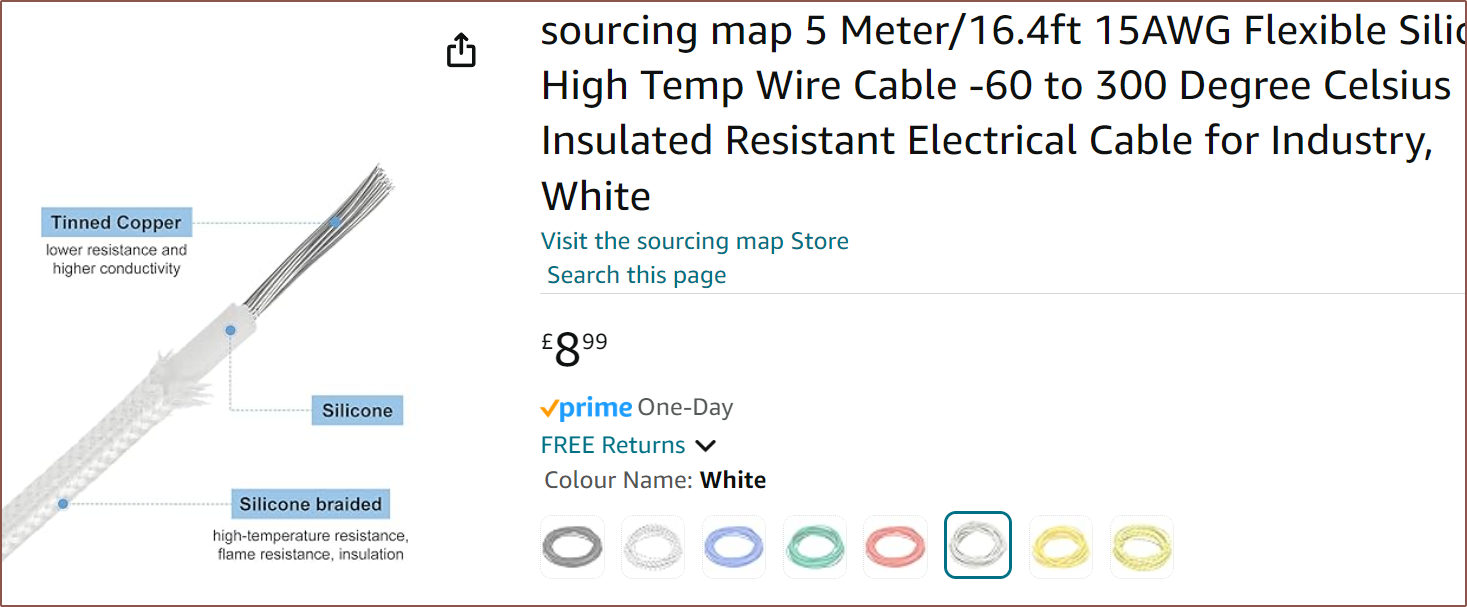
The best-value, fiberglass sheathed silicone wire I've found is 8.99 for 5M of 15AWG:
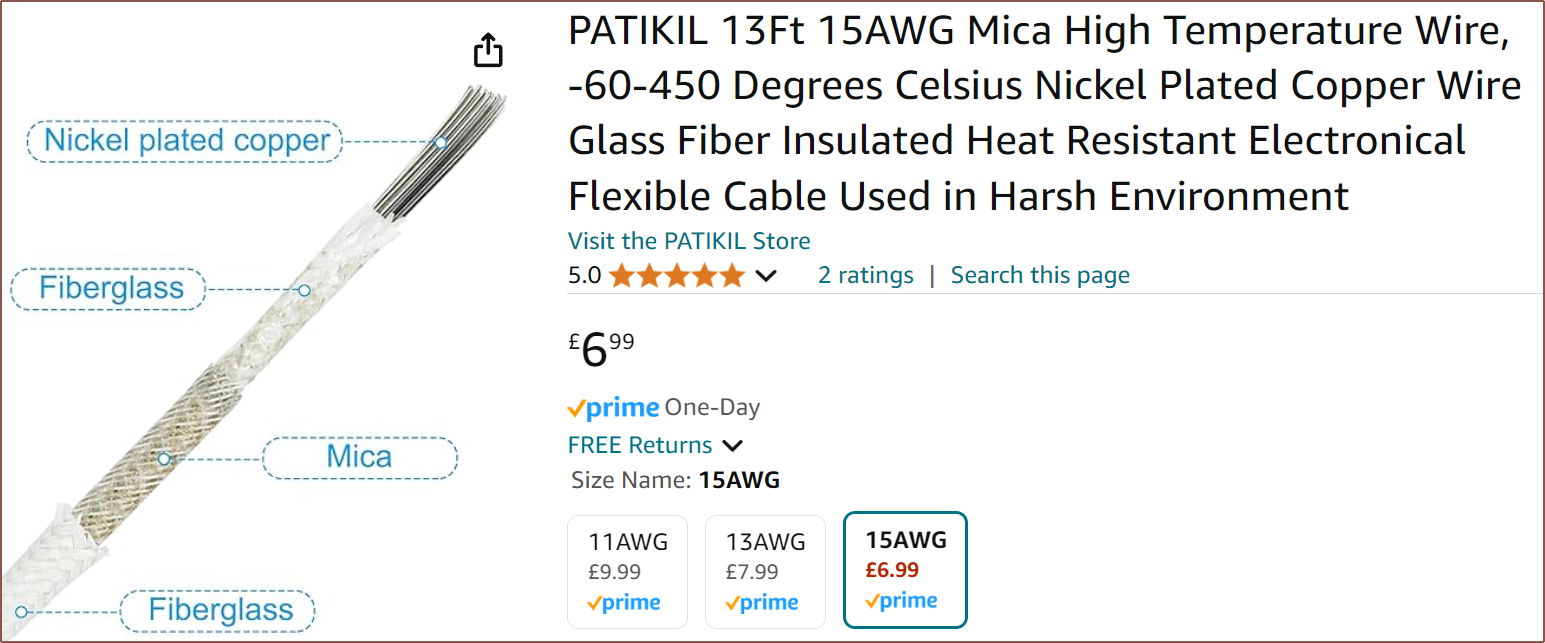 I guess there's a first for everything.
 kelvinA
Discussions
Become a Hackaday.io Member
Create an account to leave a comment. Already have an account? Log In.