Introduction
For the past few days, I've decided to work on the Coaxial8or project rather than write about all the things I should work on afterwards. I will say that I'm now deep enough into the project that I'm looking at the number 8 a little differently in day-to-day life, and those feelings manifested as a parody to Oscuro - Shake:
My bones still shake... when I hear:
8...
8...
8...
8...
(du do du do)
8...
8...
8, the endless
8...
8...
8...
8...
My bones still shake.
New aluminium print
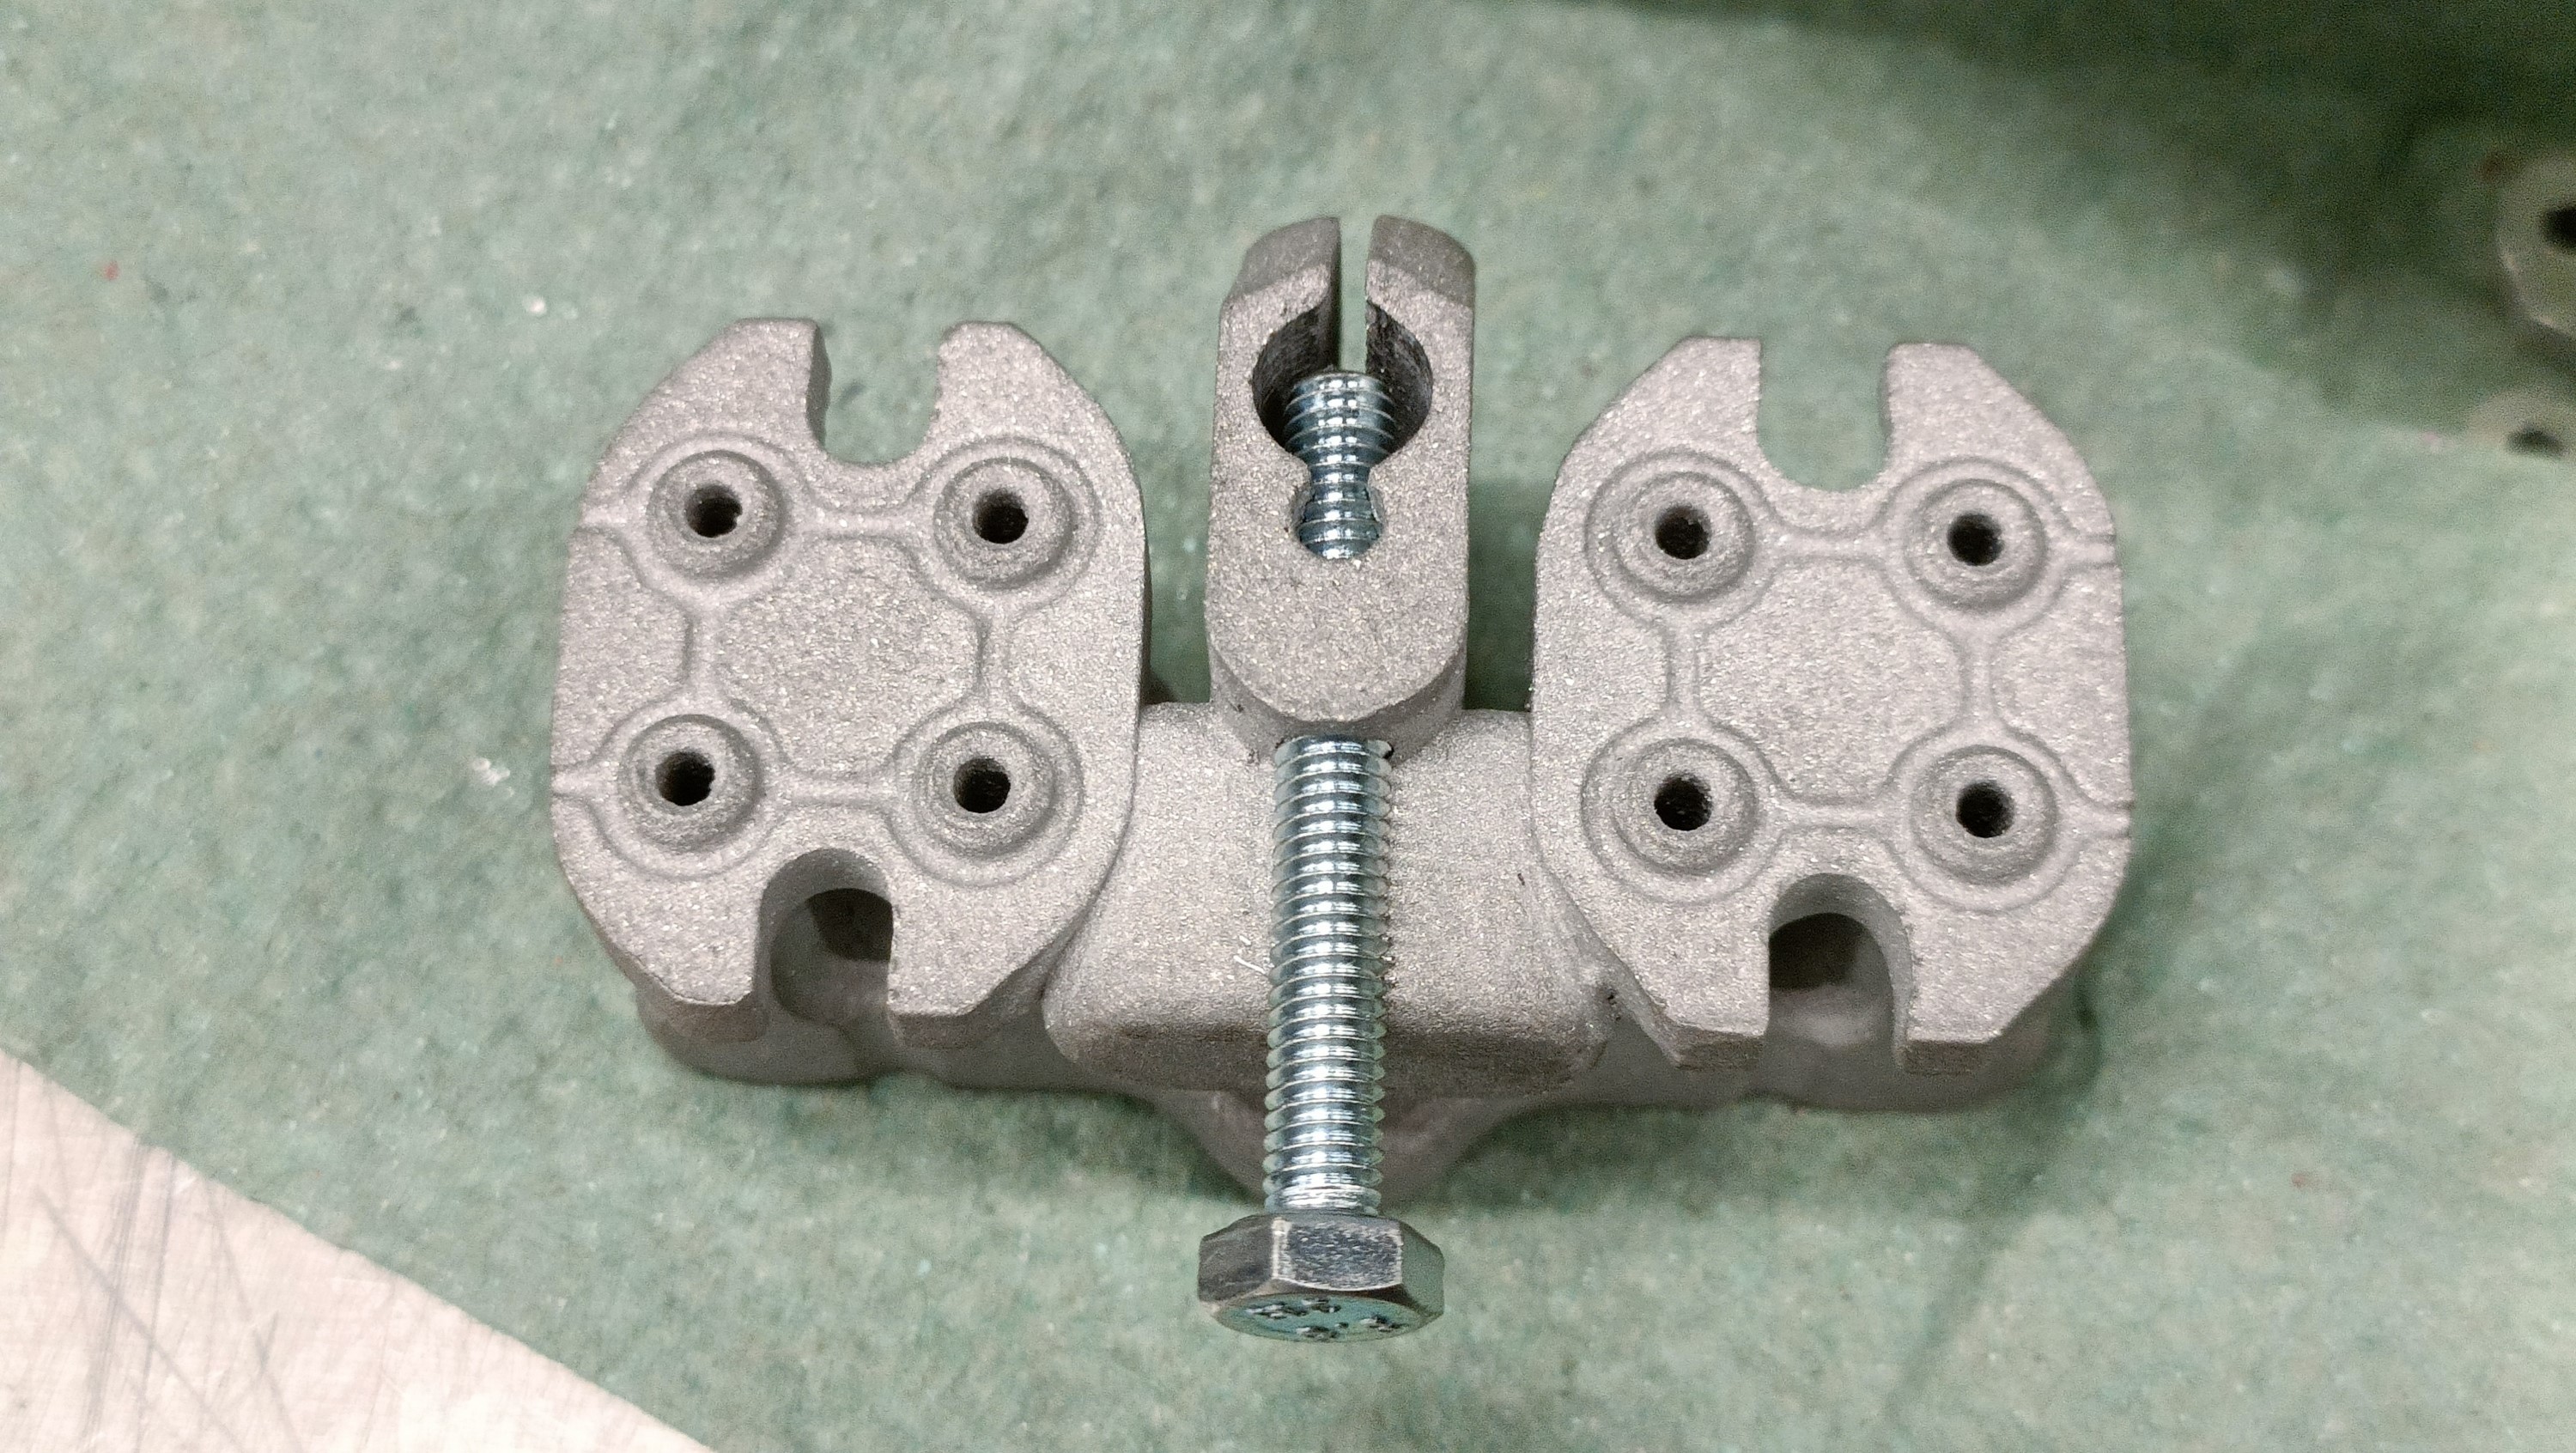
The part came in a needlessly large box, and it certainly looks brighter than my previous prints:
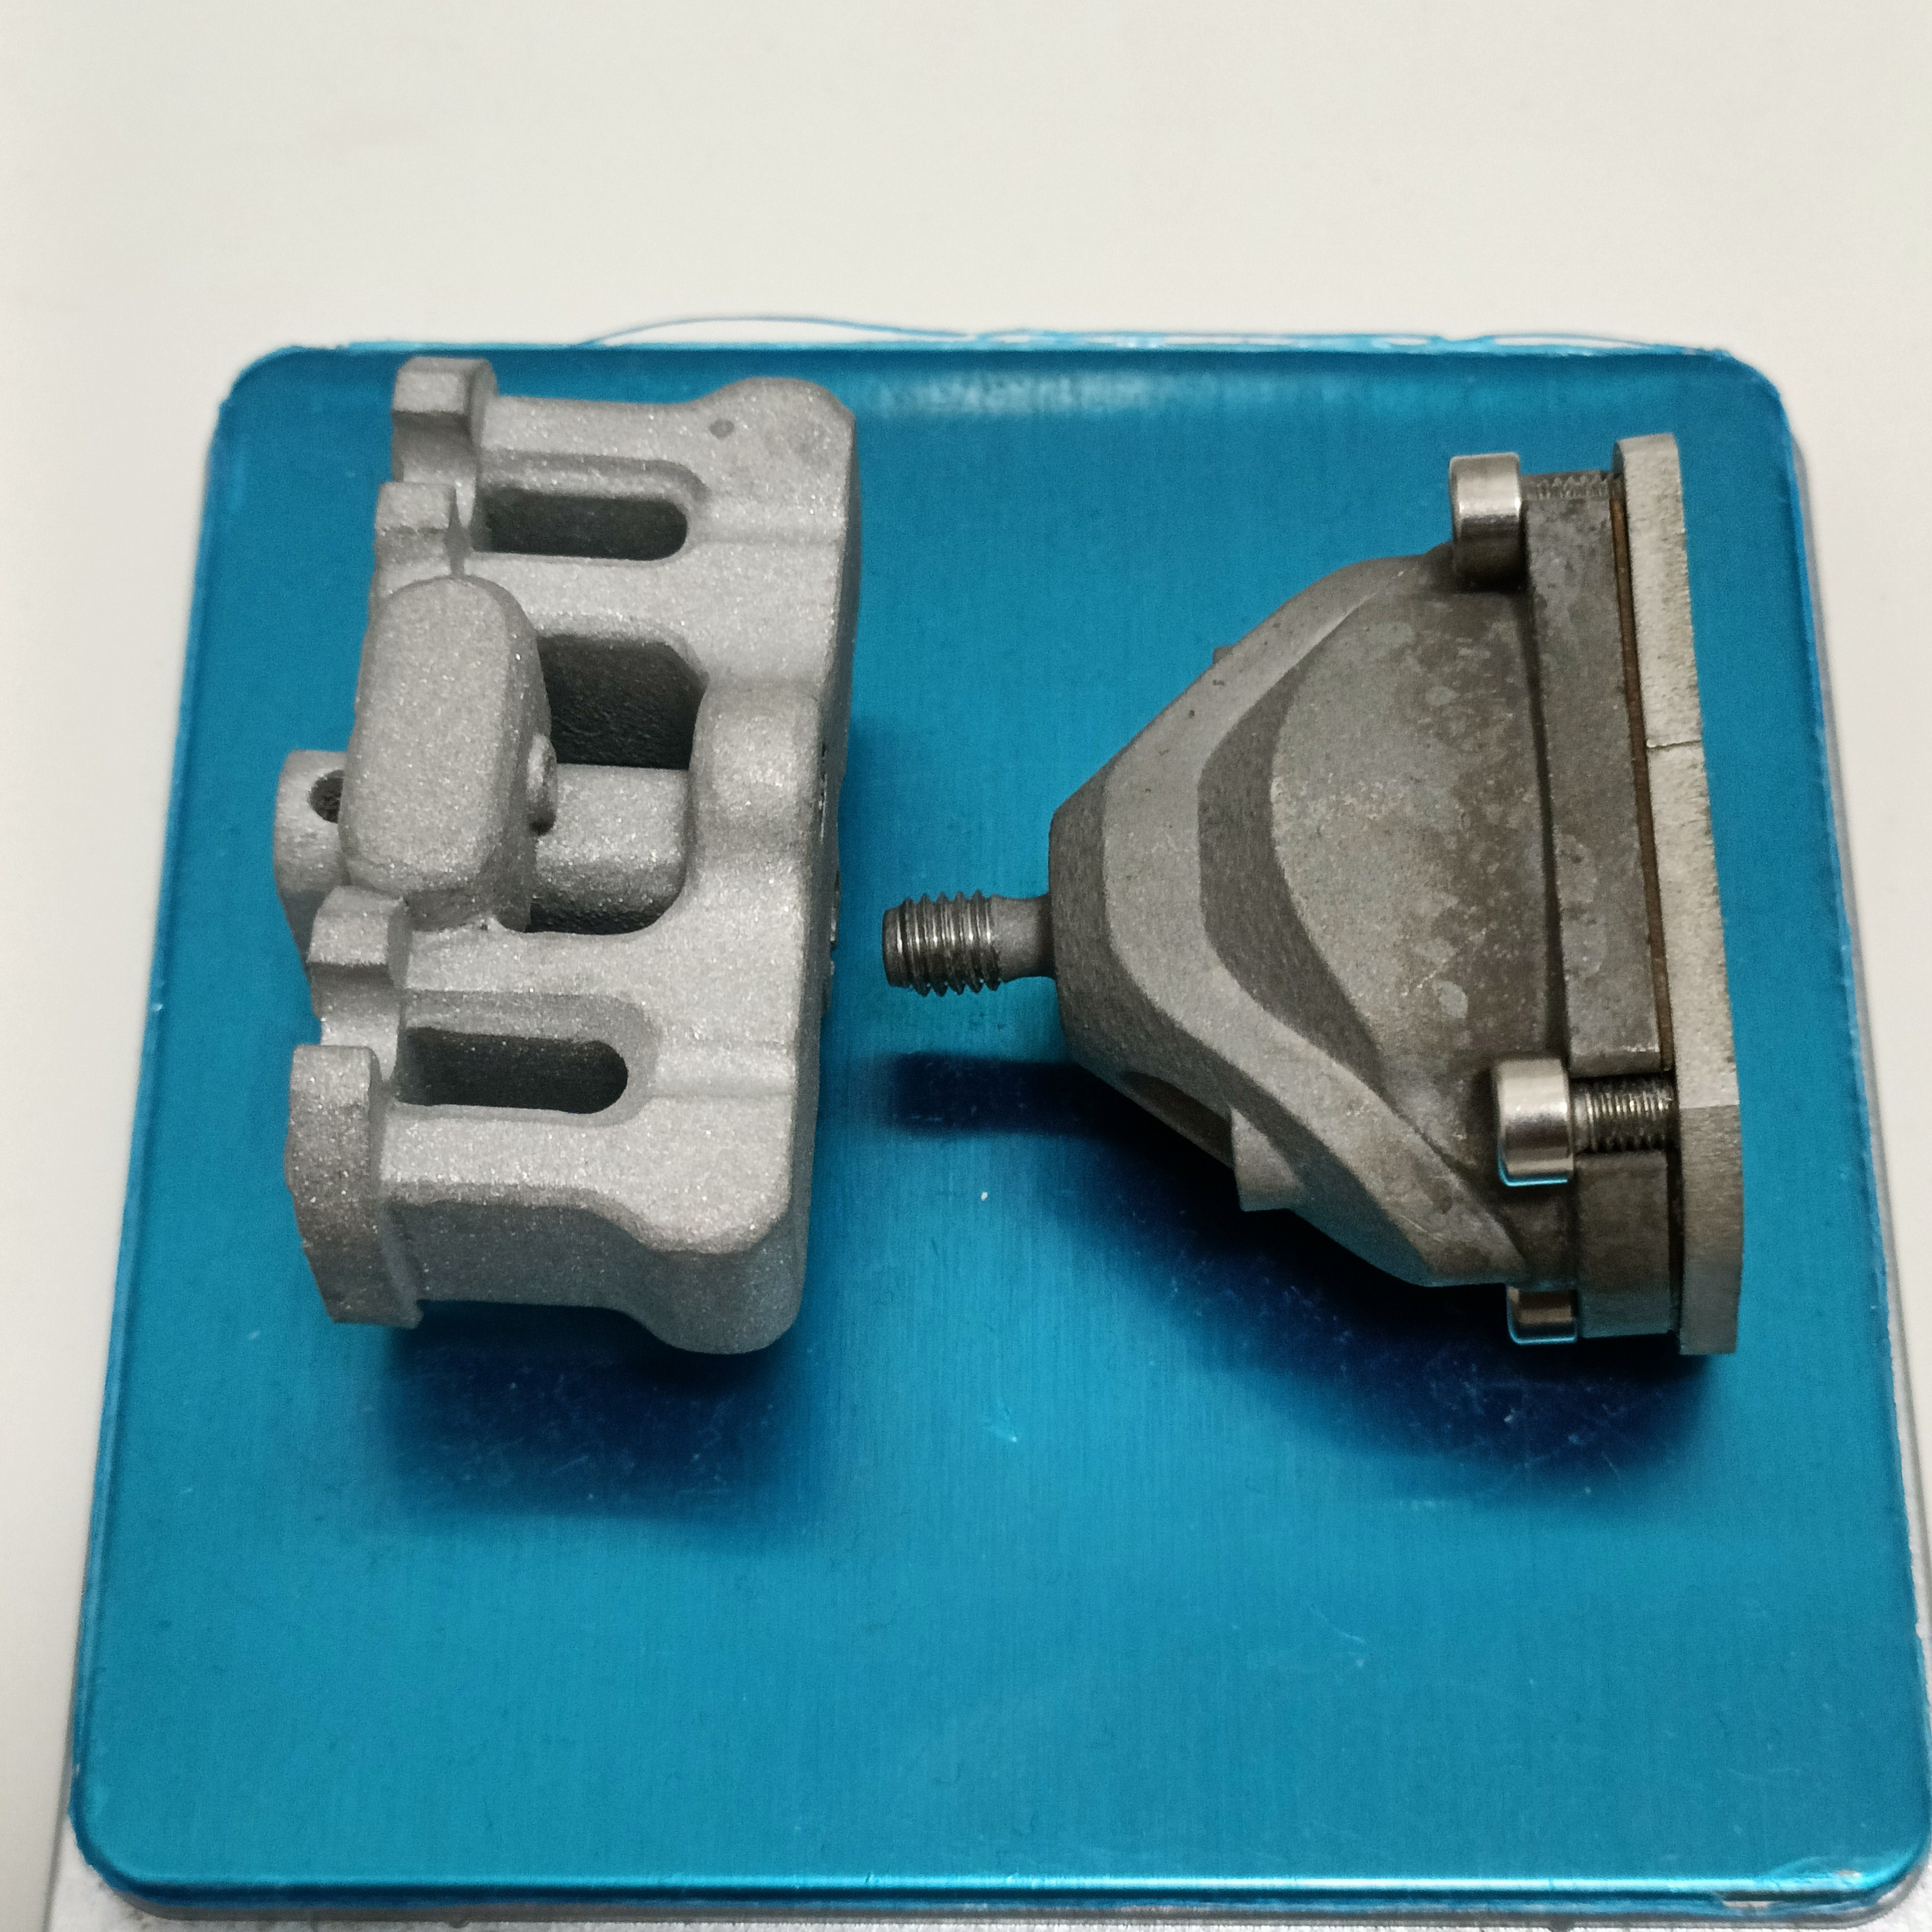
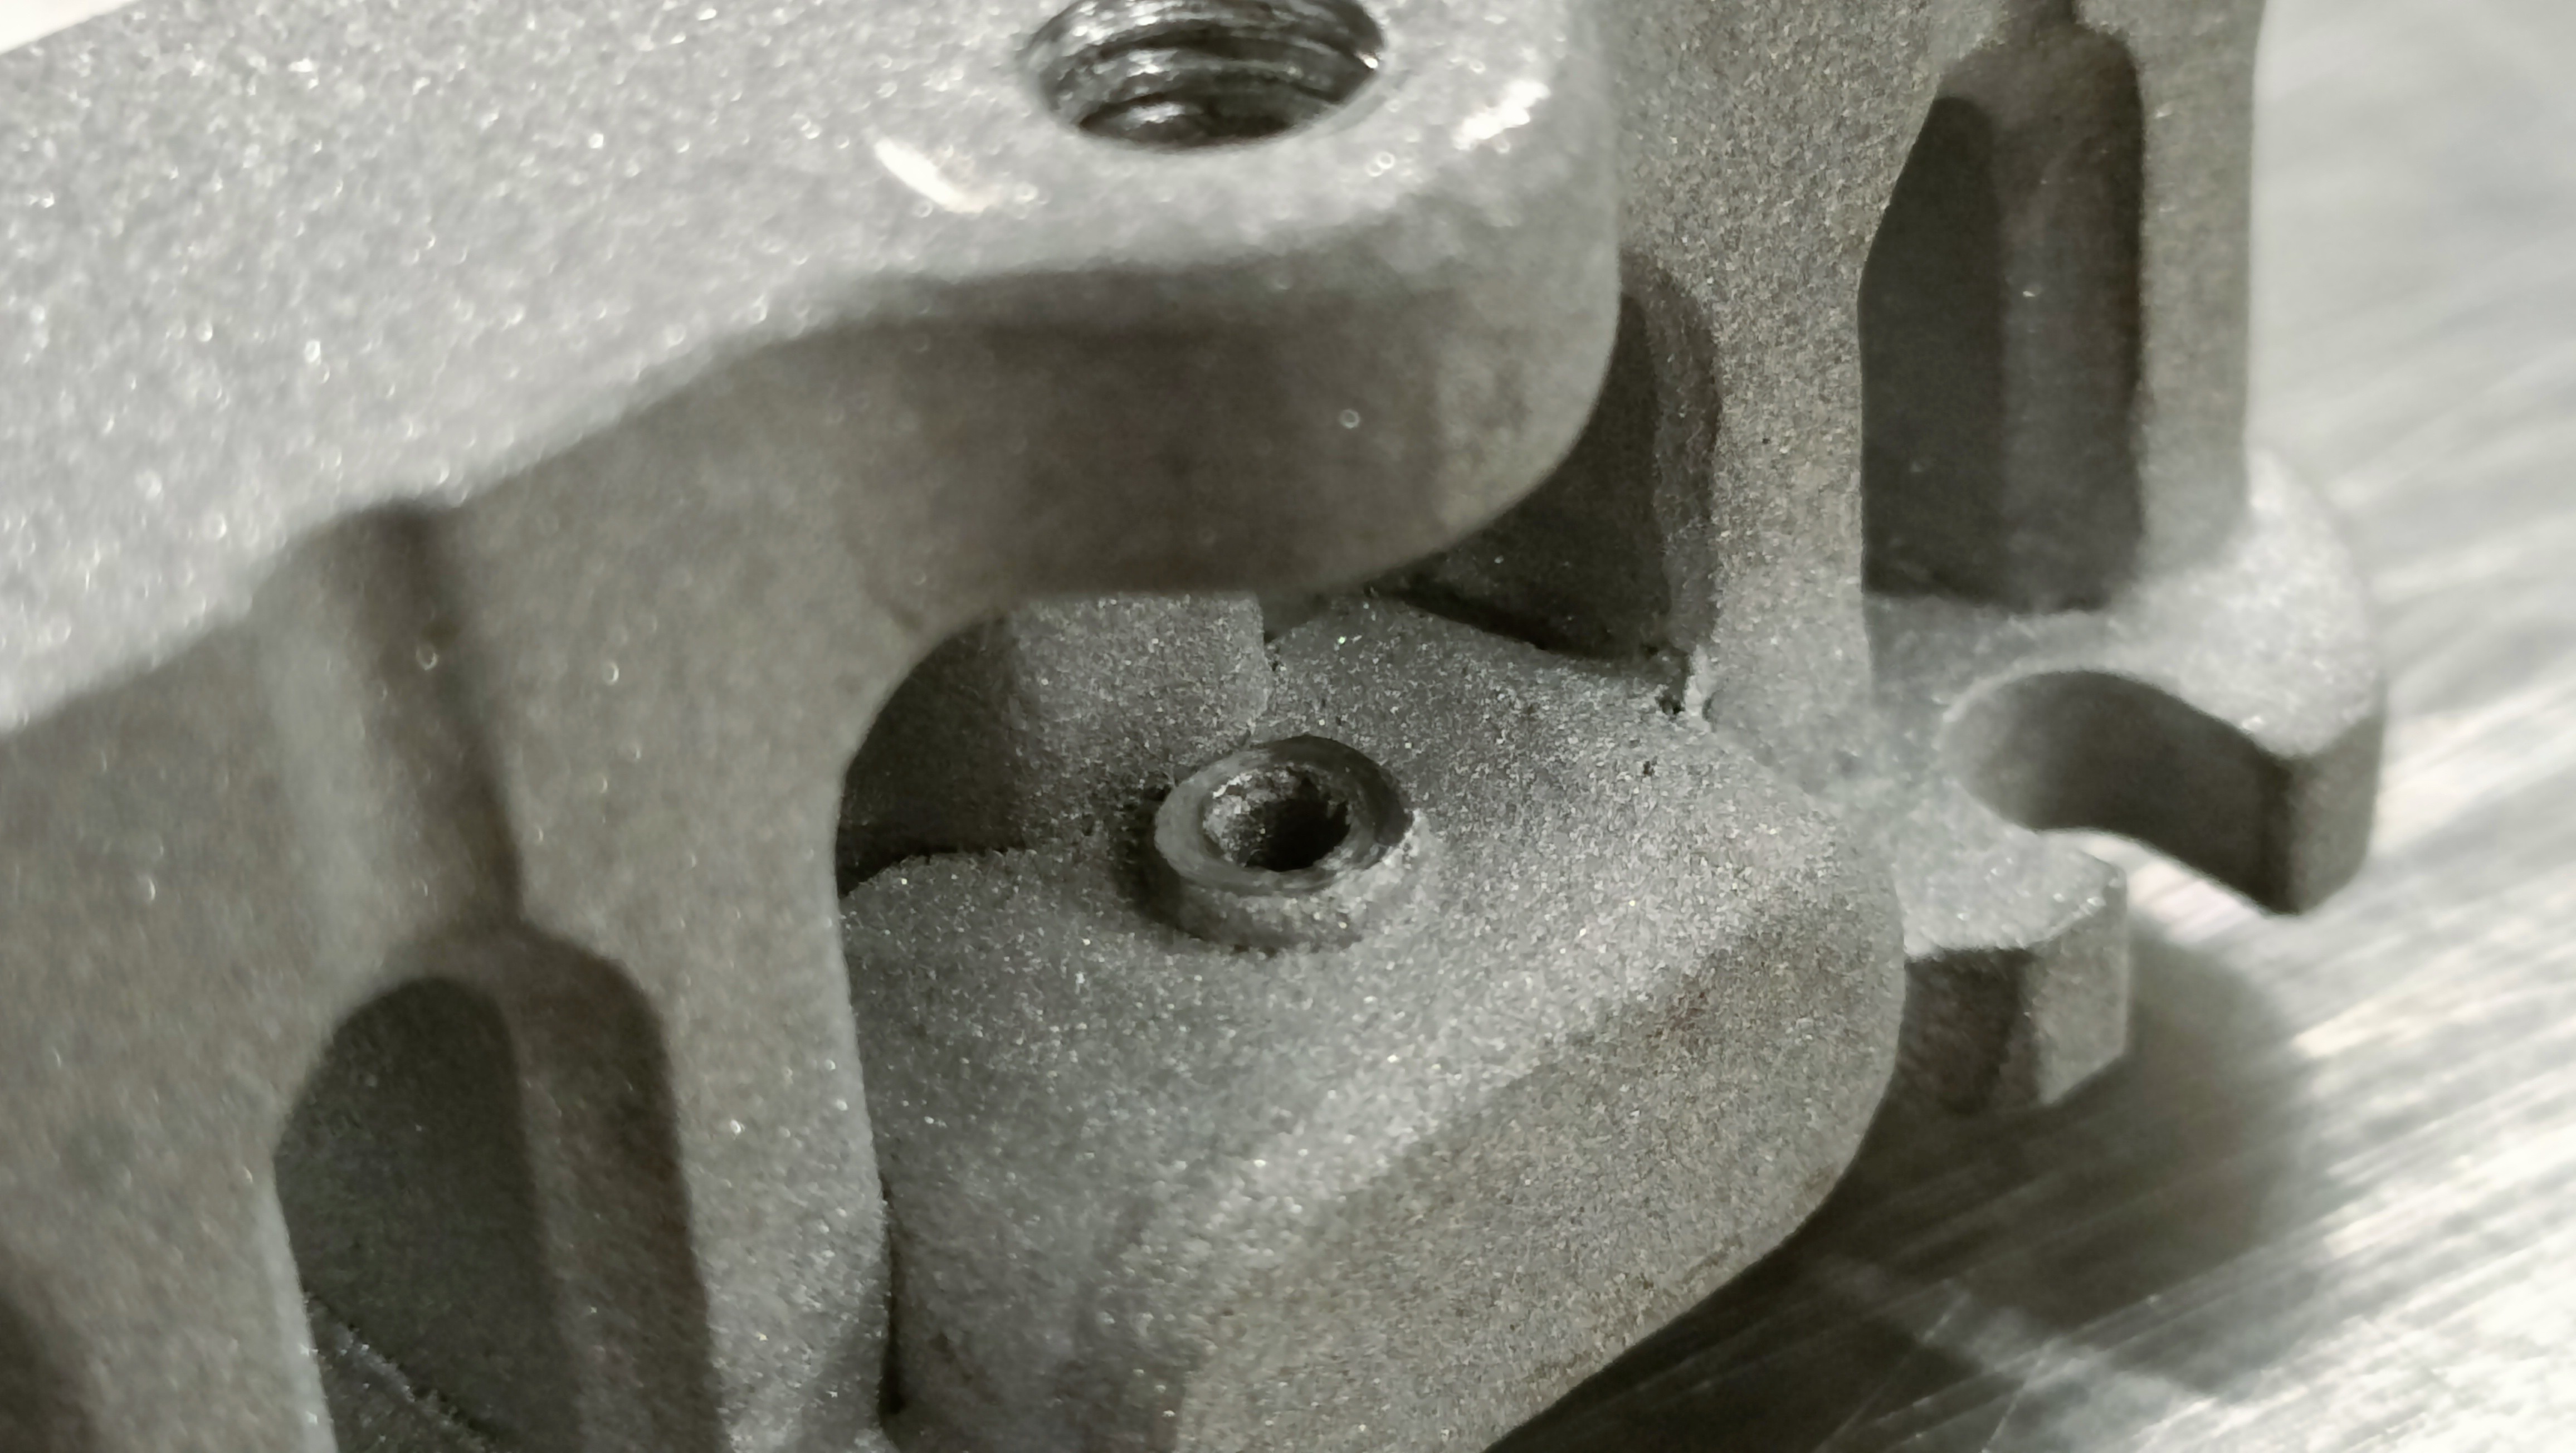
The input seal bumps came out excellently, but the output was a little tilted:
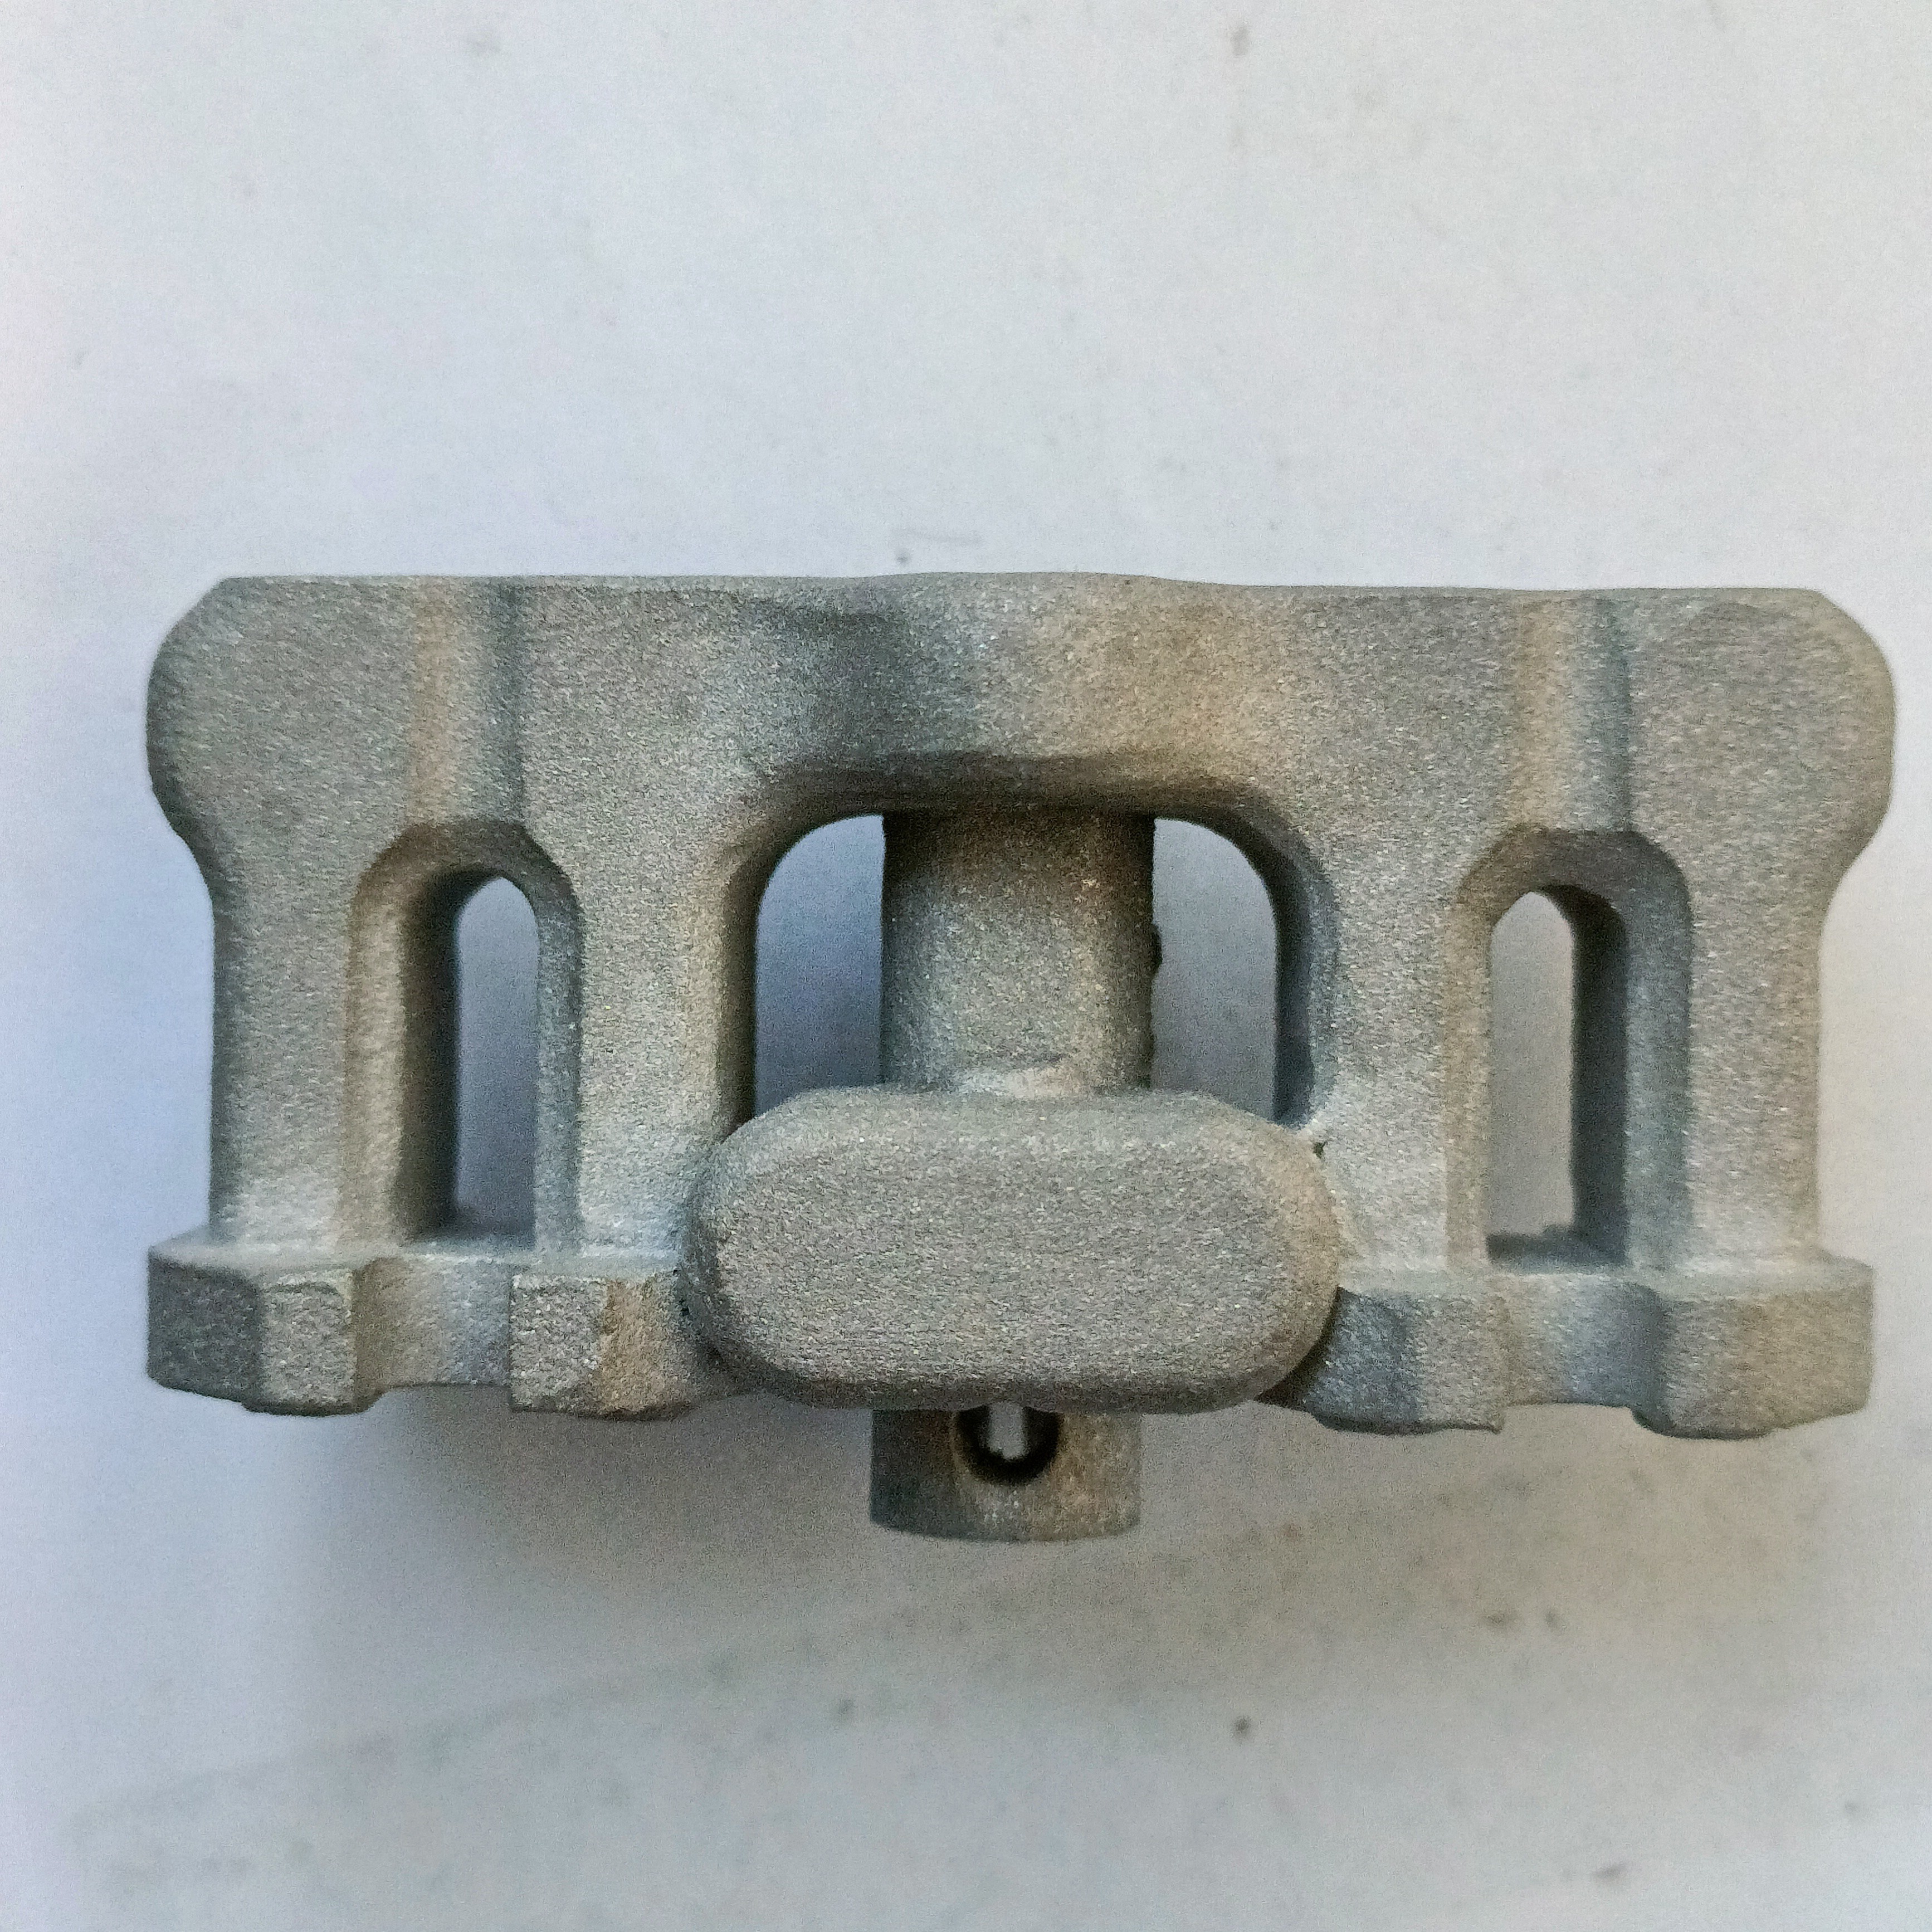
Another thing is that the 6mm cartridge didn't quite fit.
CAD model changes
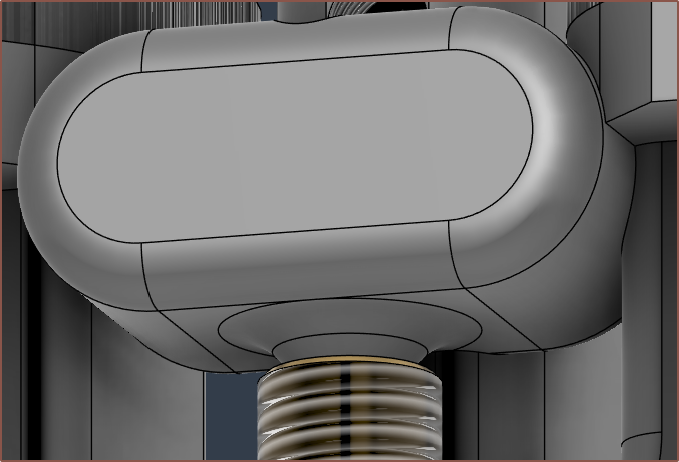
- Changed the cartridge hole back to 6.3 from 6.2mm
- Increased the cartridge gap from 1.5 to 2.3mm so that 2mm-thick files could fit.
- Increased the amount of material around the output seal bump, as well as increase the height from 1.2 to 1.5mm.
- Decrease the emboss angle of my logo from 45 to 30 degrees.
- Rotate the M6 thread 180 degrees.
- For some reason, PCBWay printed with the logo facing down, which is opposite to the screenshot they showed me. I can only imagine it's because they thought the thread would print better
Plates and tapping
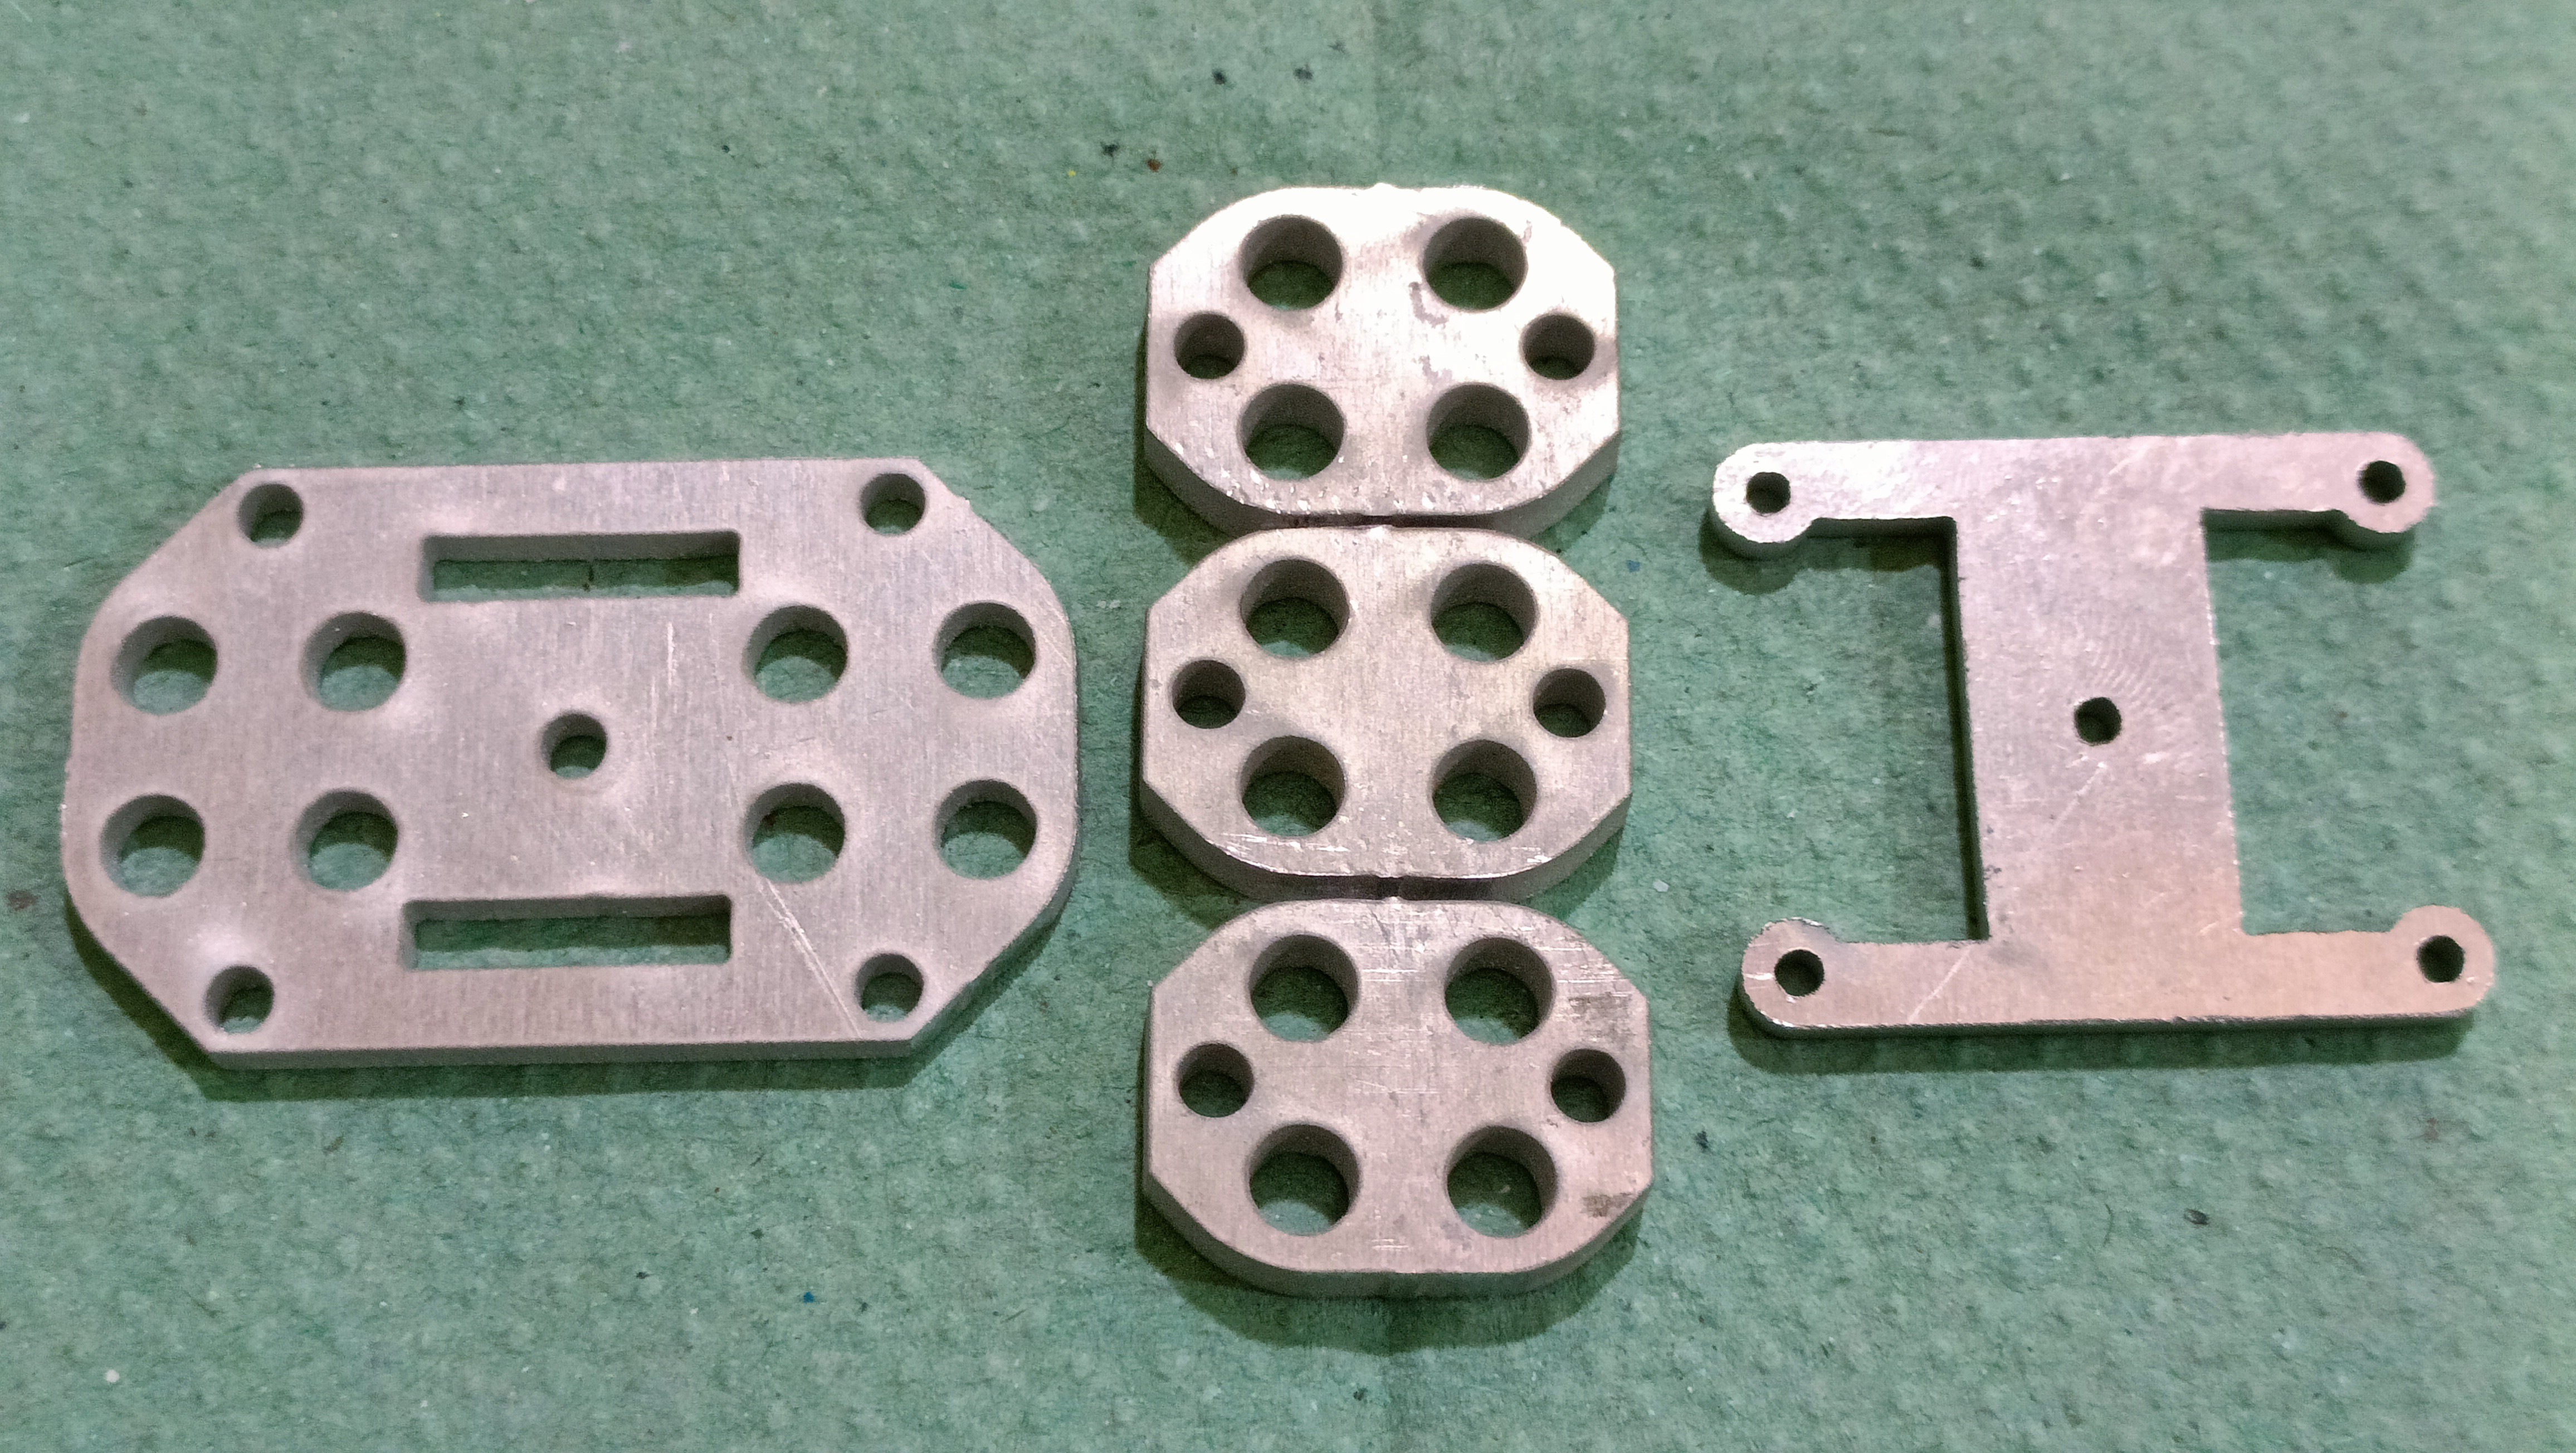
I asked for a new hotend holder top / bottom to be cut out, since those are the parts that changed when I removed the side panels. I also asked for the clamp plates to be made out of both steel and aluminium.
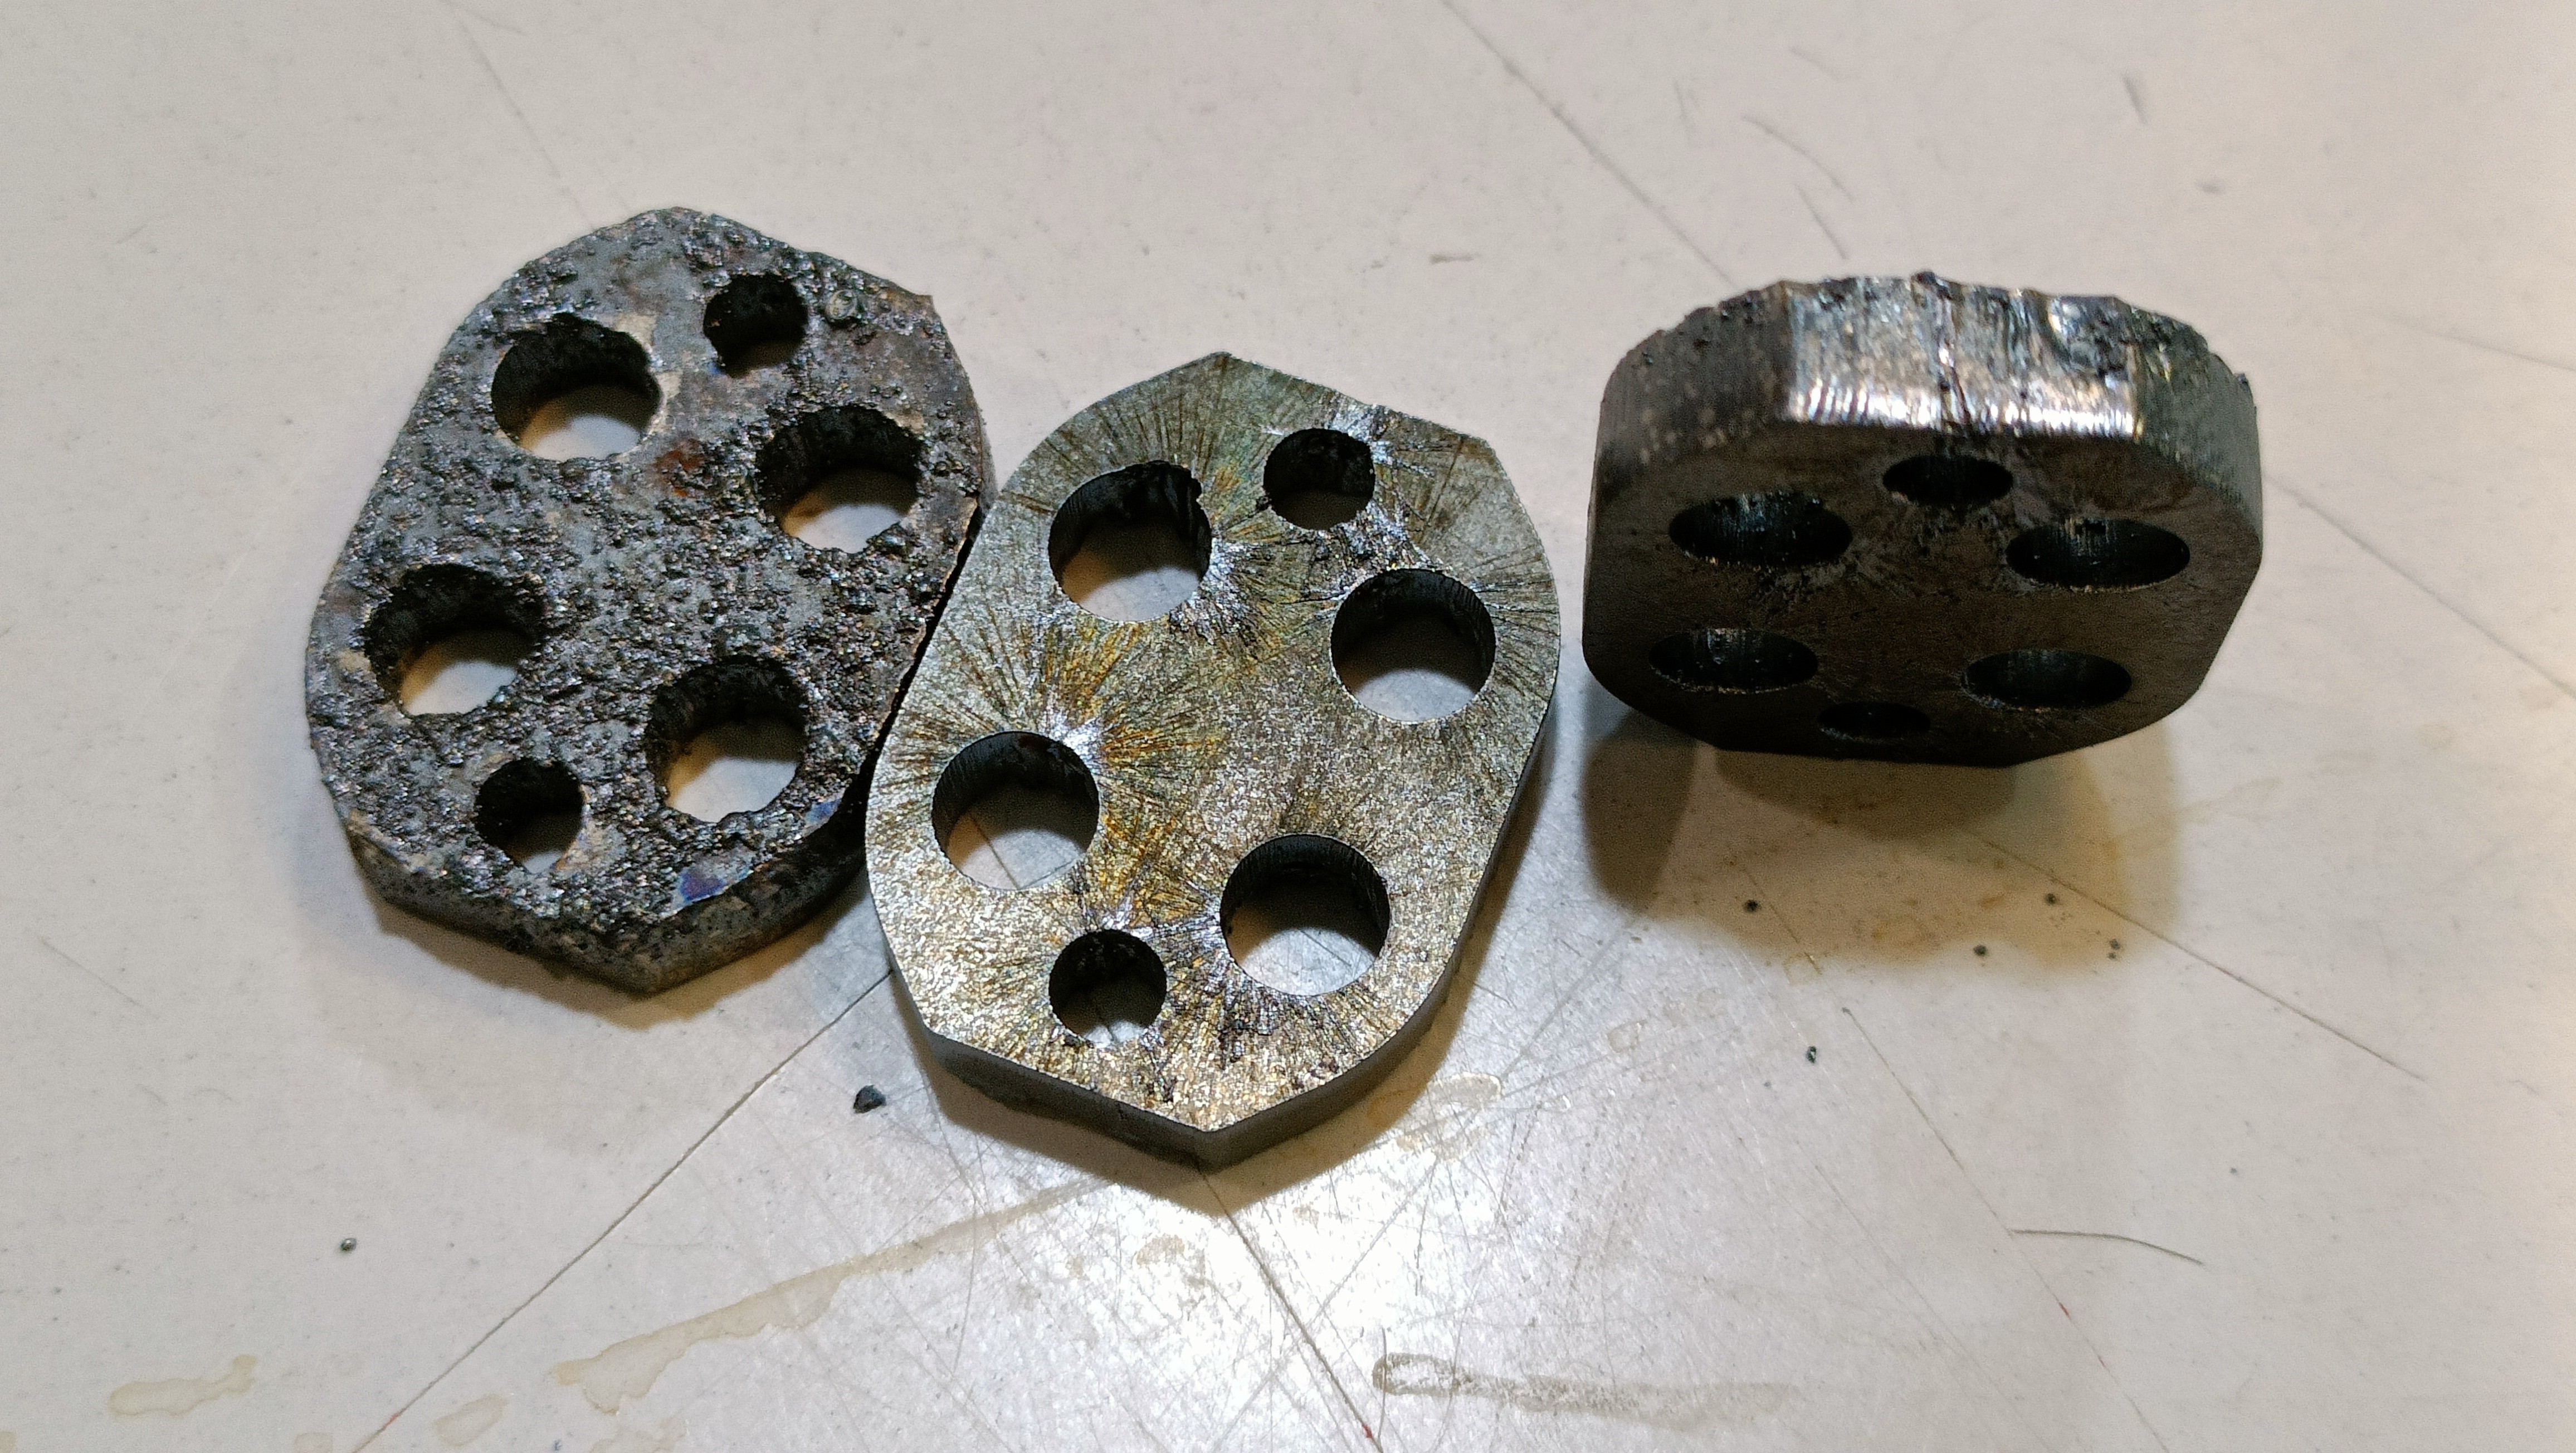
Tapping the M4 thermistor grub thread as a bit of work but, by imagining the forces when the tool cuts the adjacent wall and accounting for them, I was able to tap just fine:
It does seem that the aluminium plate slightly bends up. So does the steel plate, but to a much lesser extent.
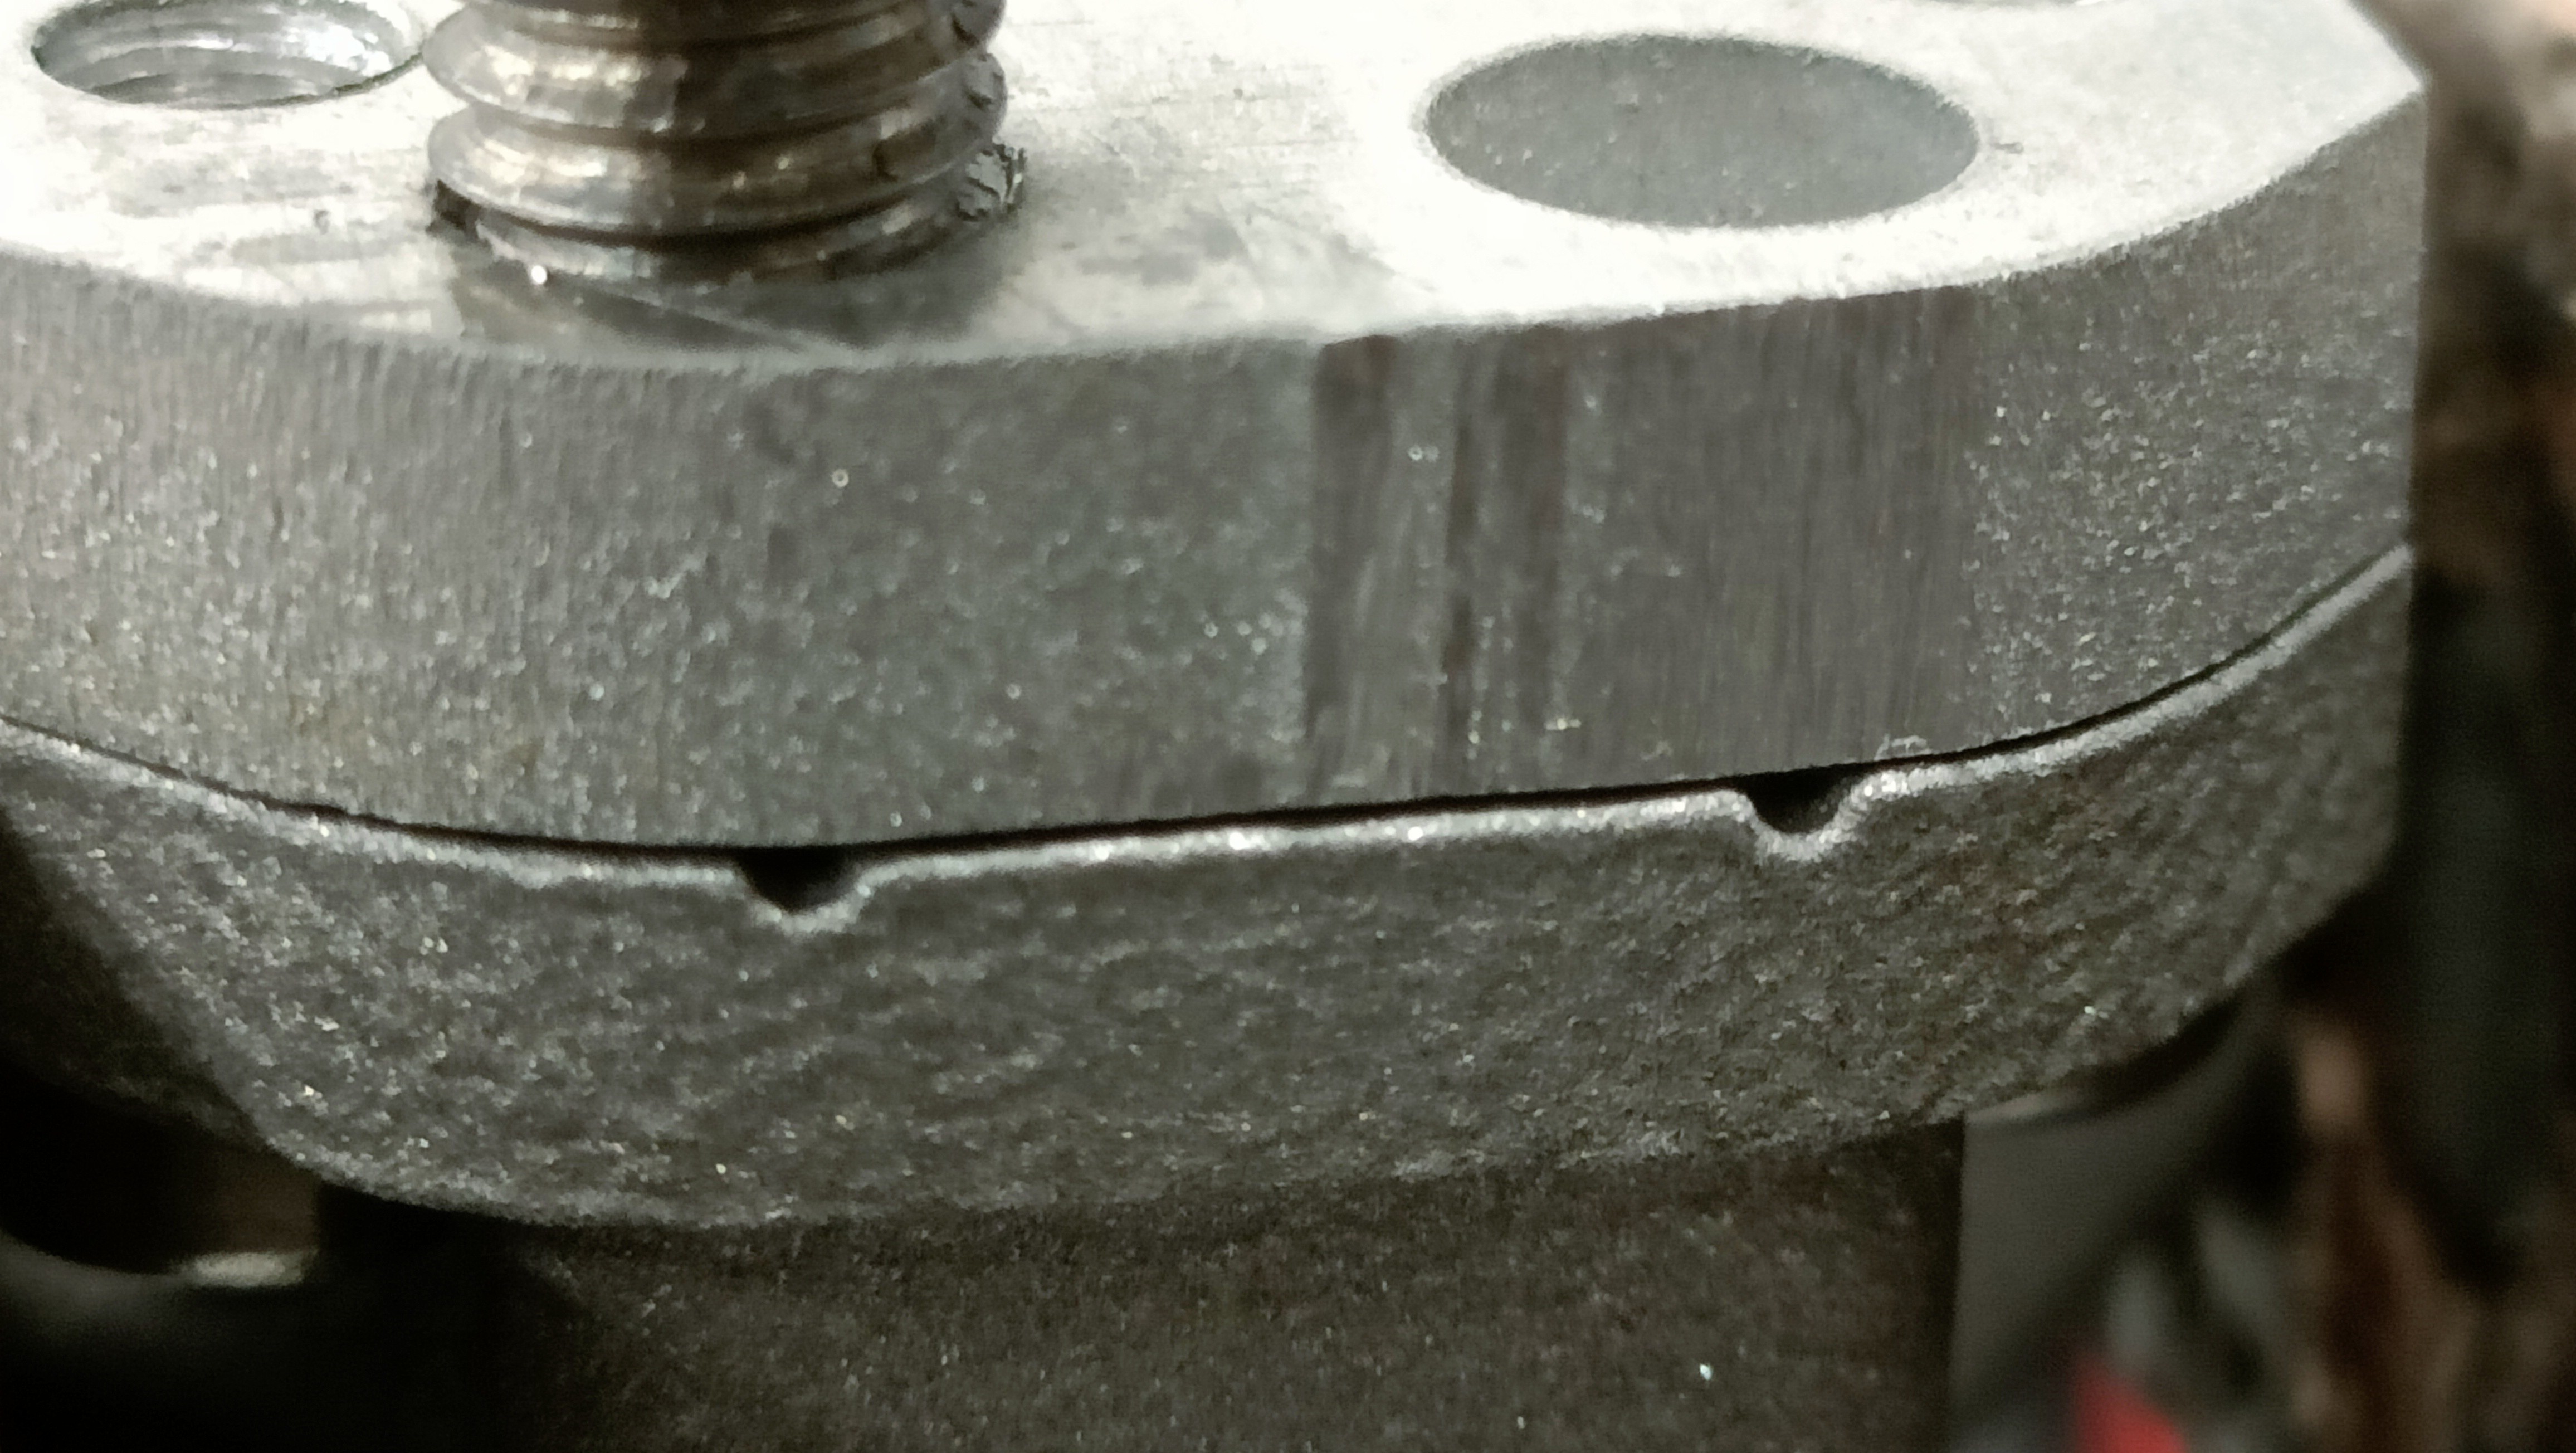 The steel plate cleans off with a few quick brushes of a file:
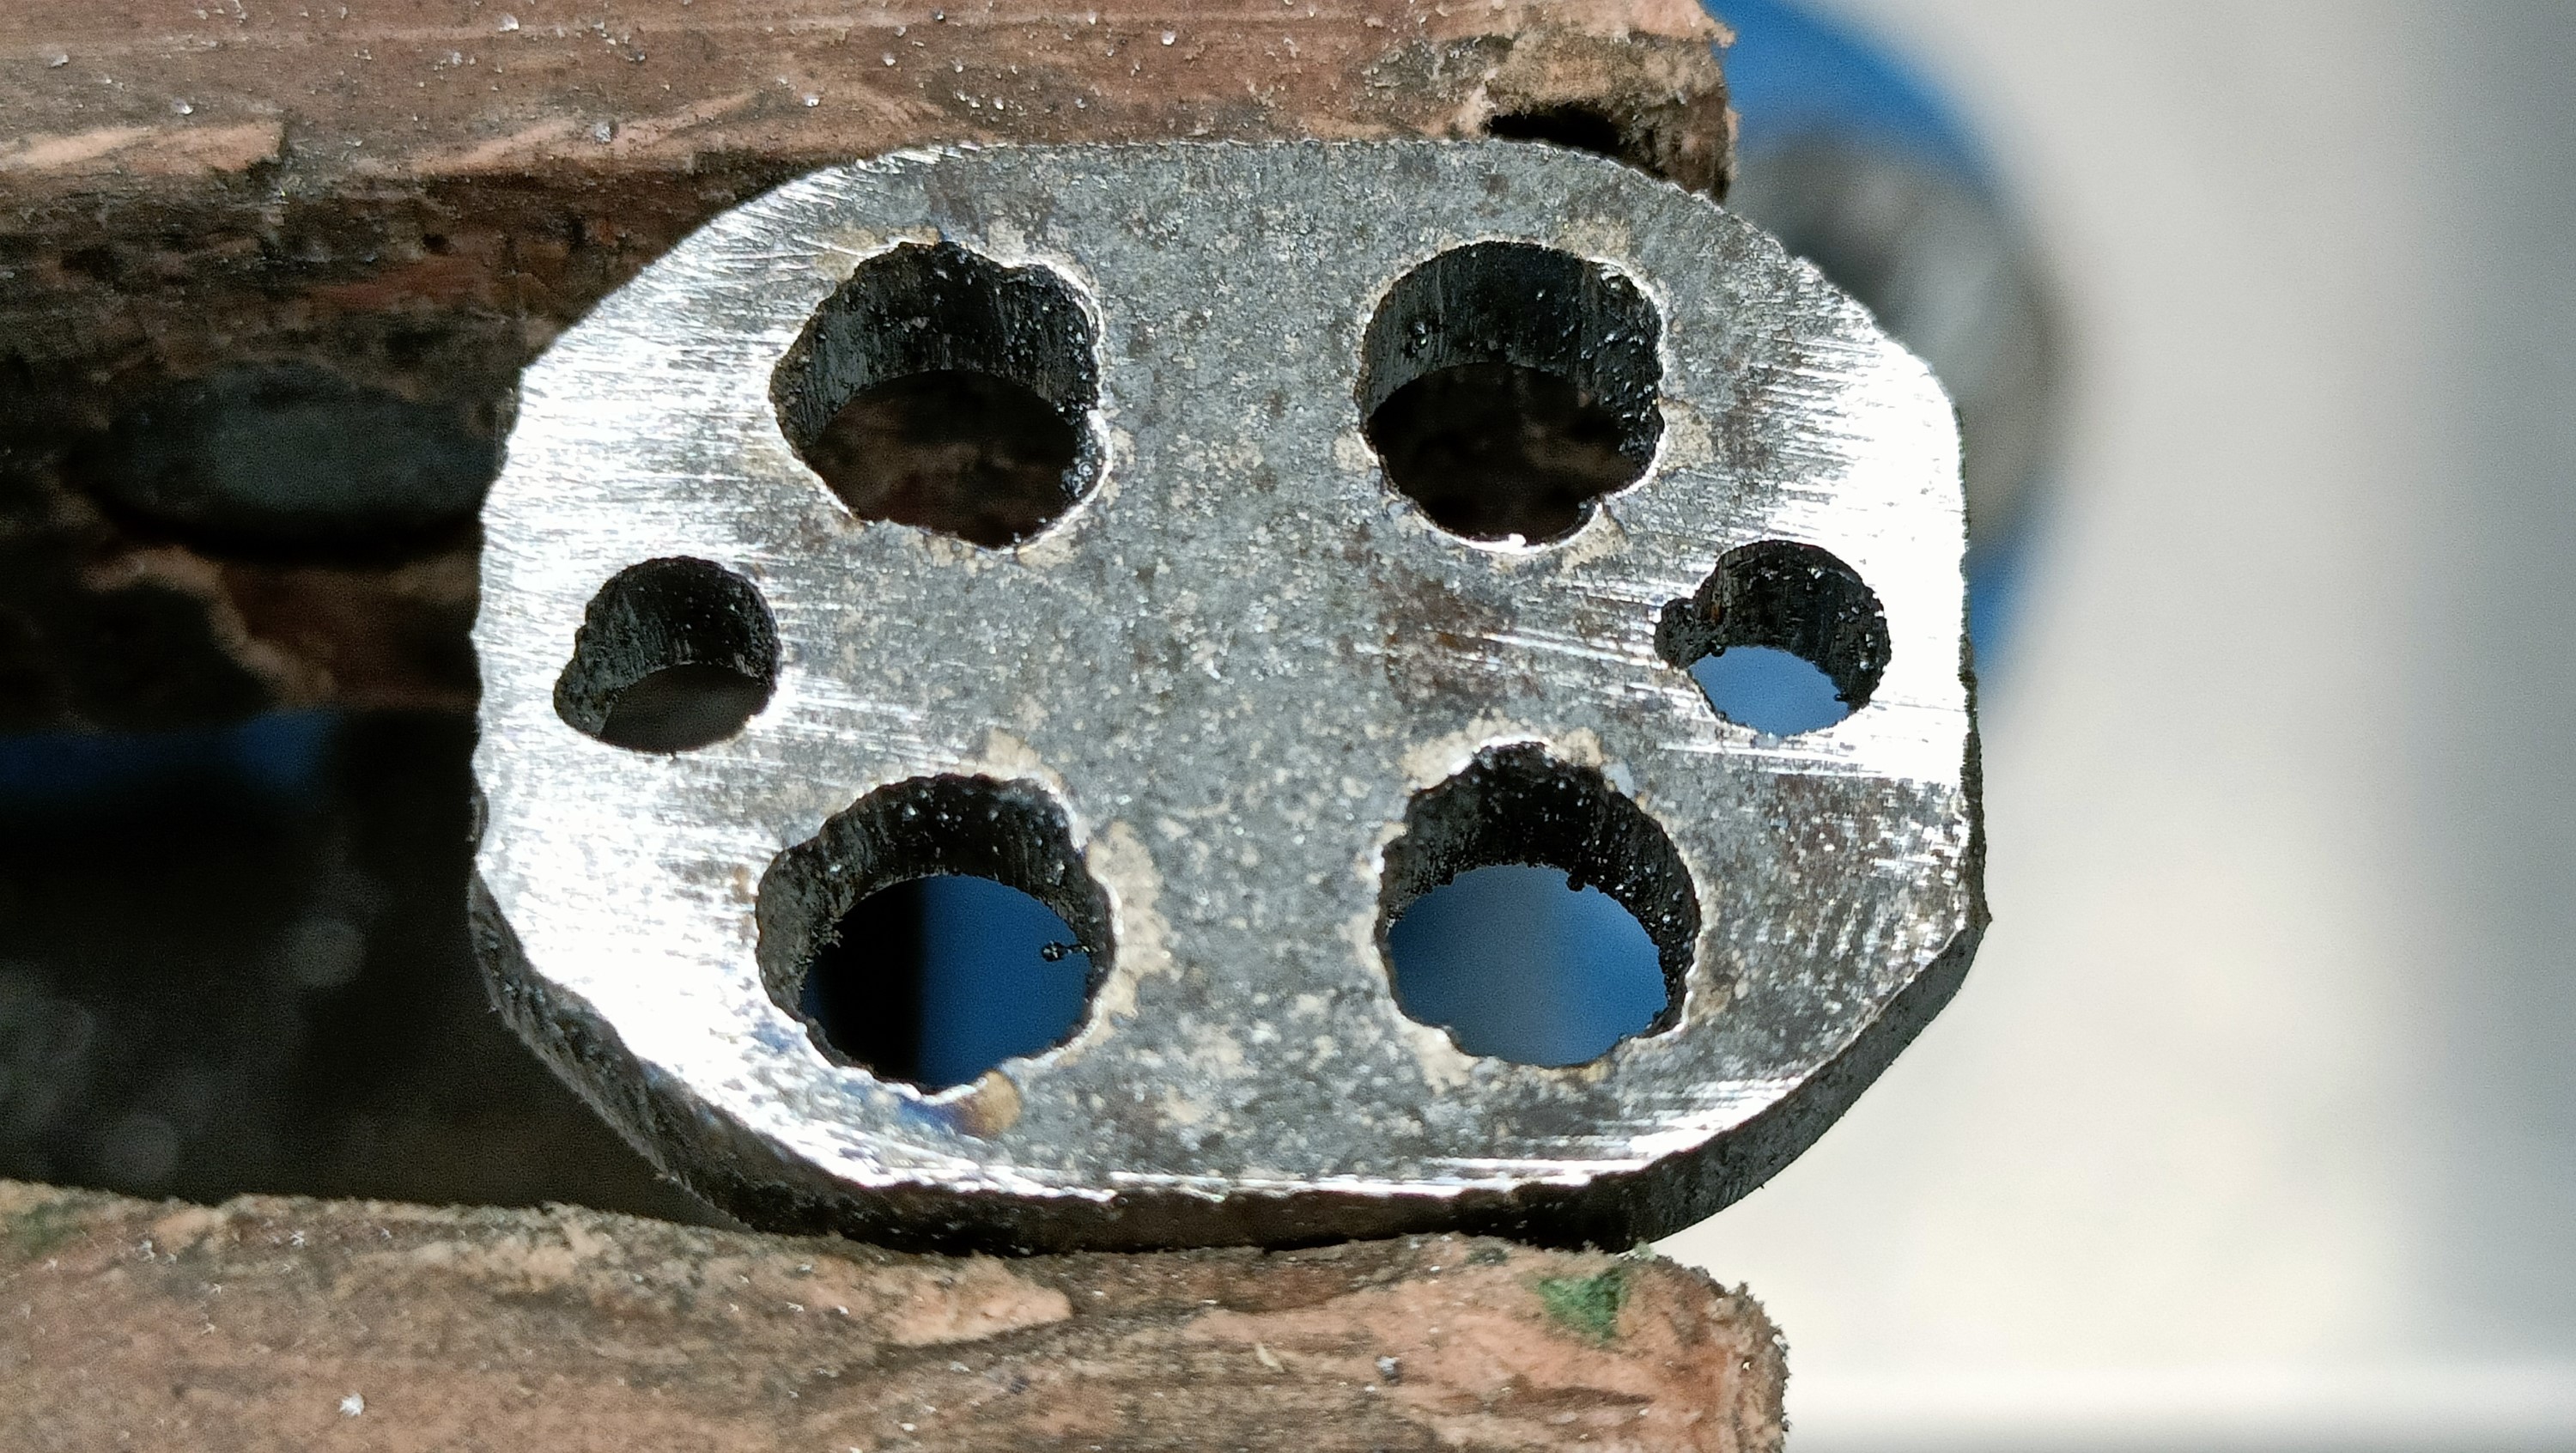
I tried tapping it the same way I've been doing it since R1, but the thread came out bent. I also tried free-handed tapping and it came out about as bent.
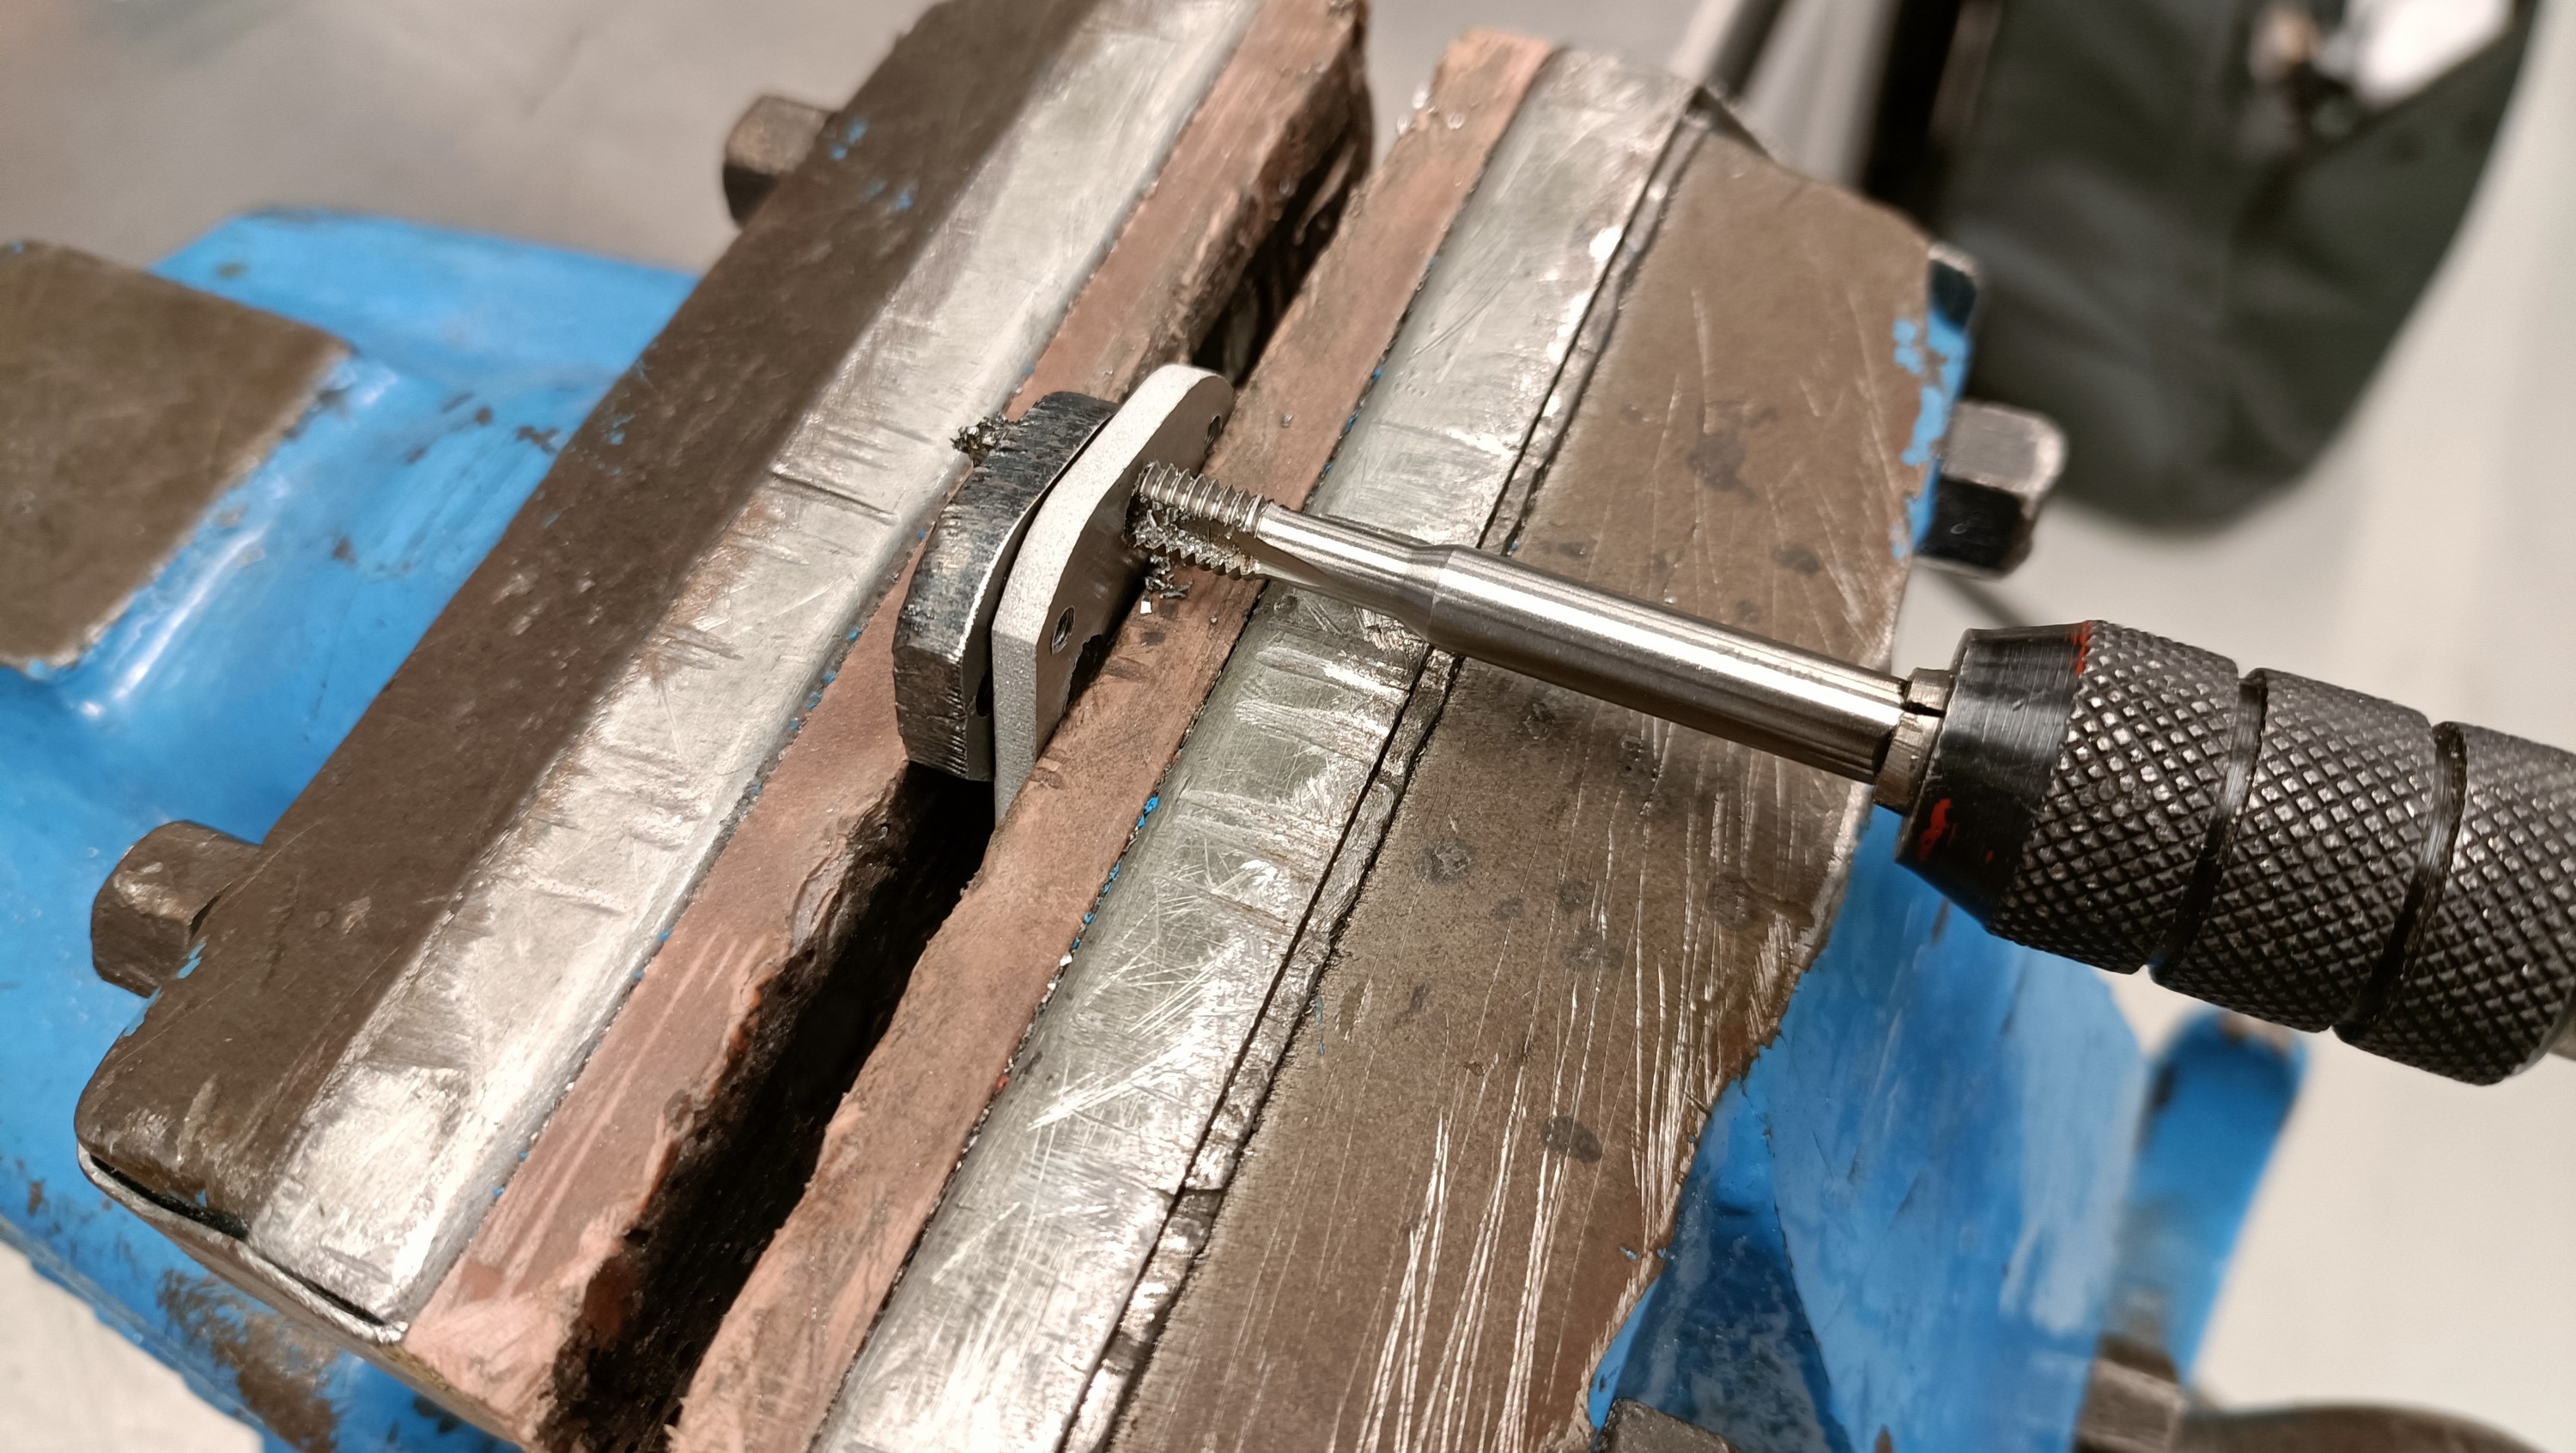
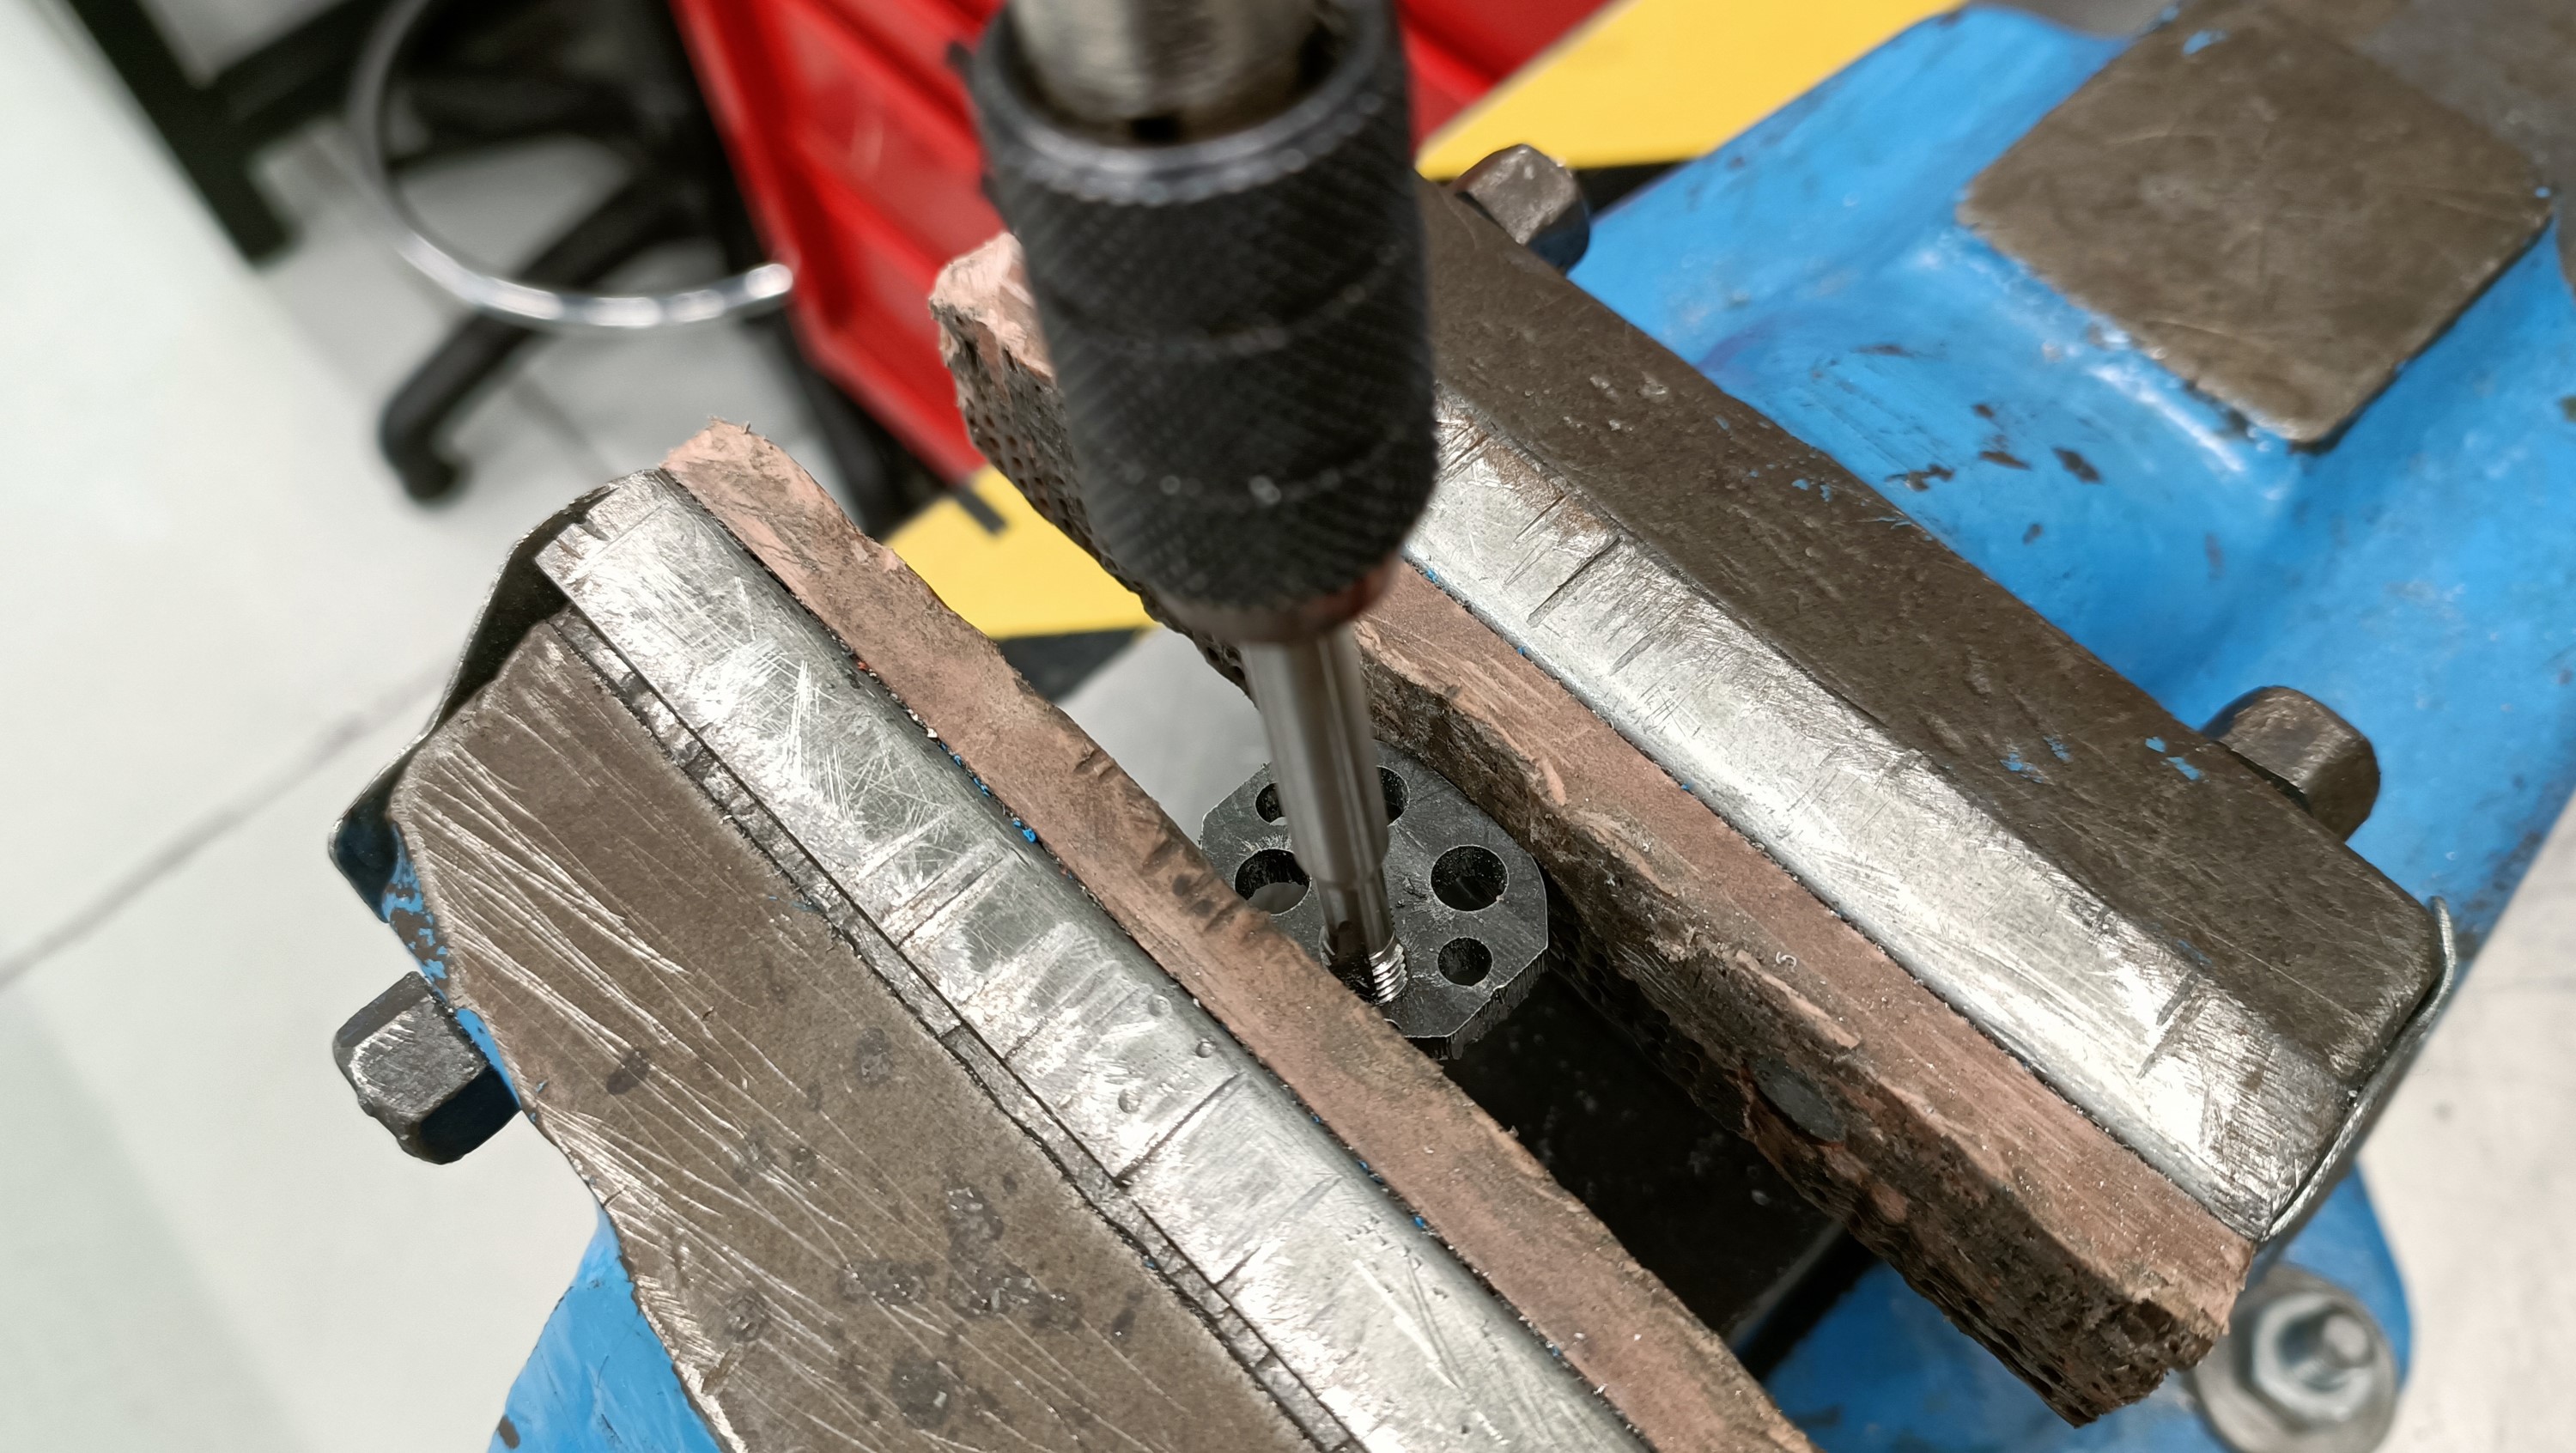
My hypothesis is that the cloner plate can slide out of alignment enough that it taps misaligned. I had further evidence when I tried to do the same with an aluminium plate.
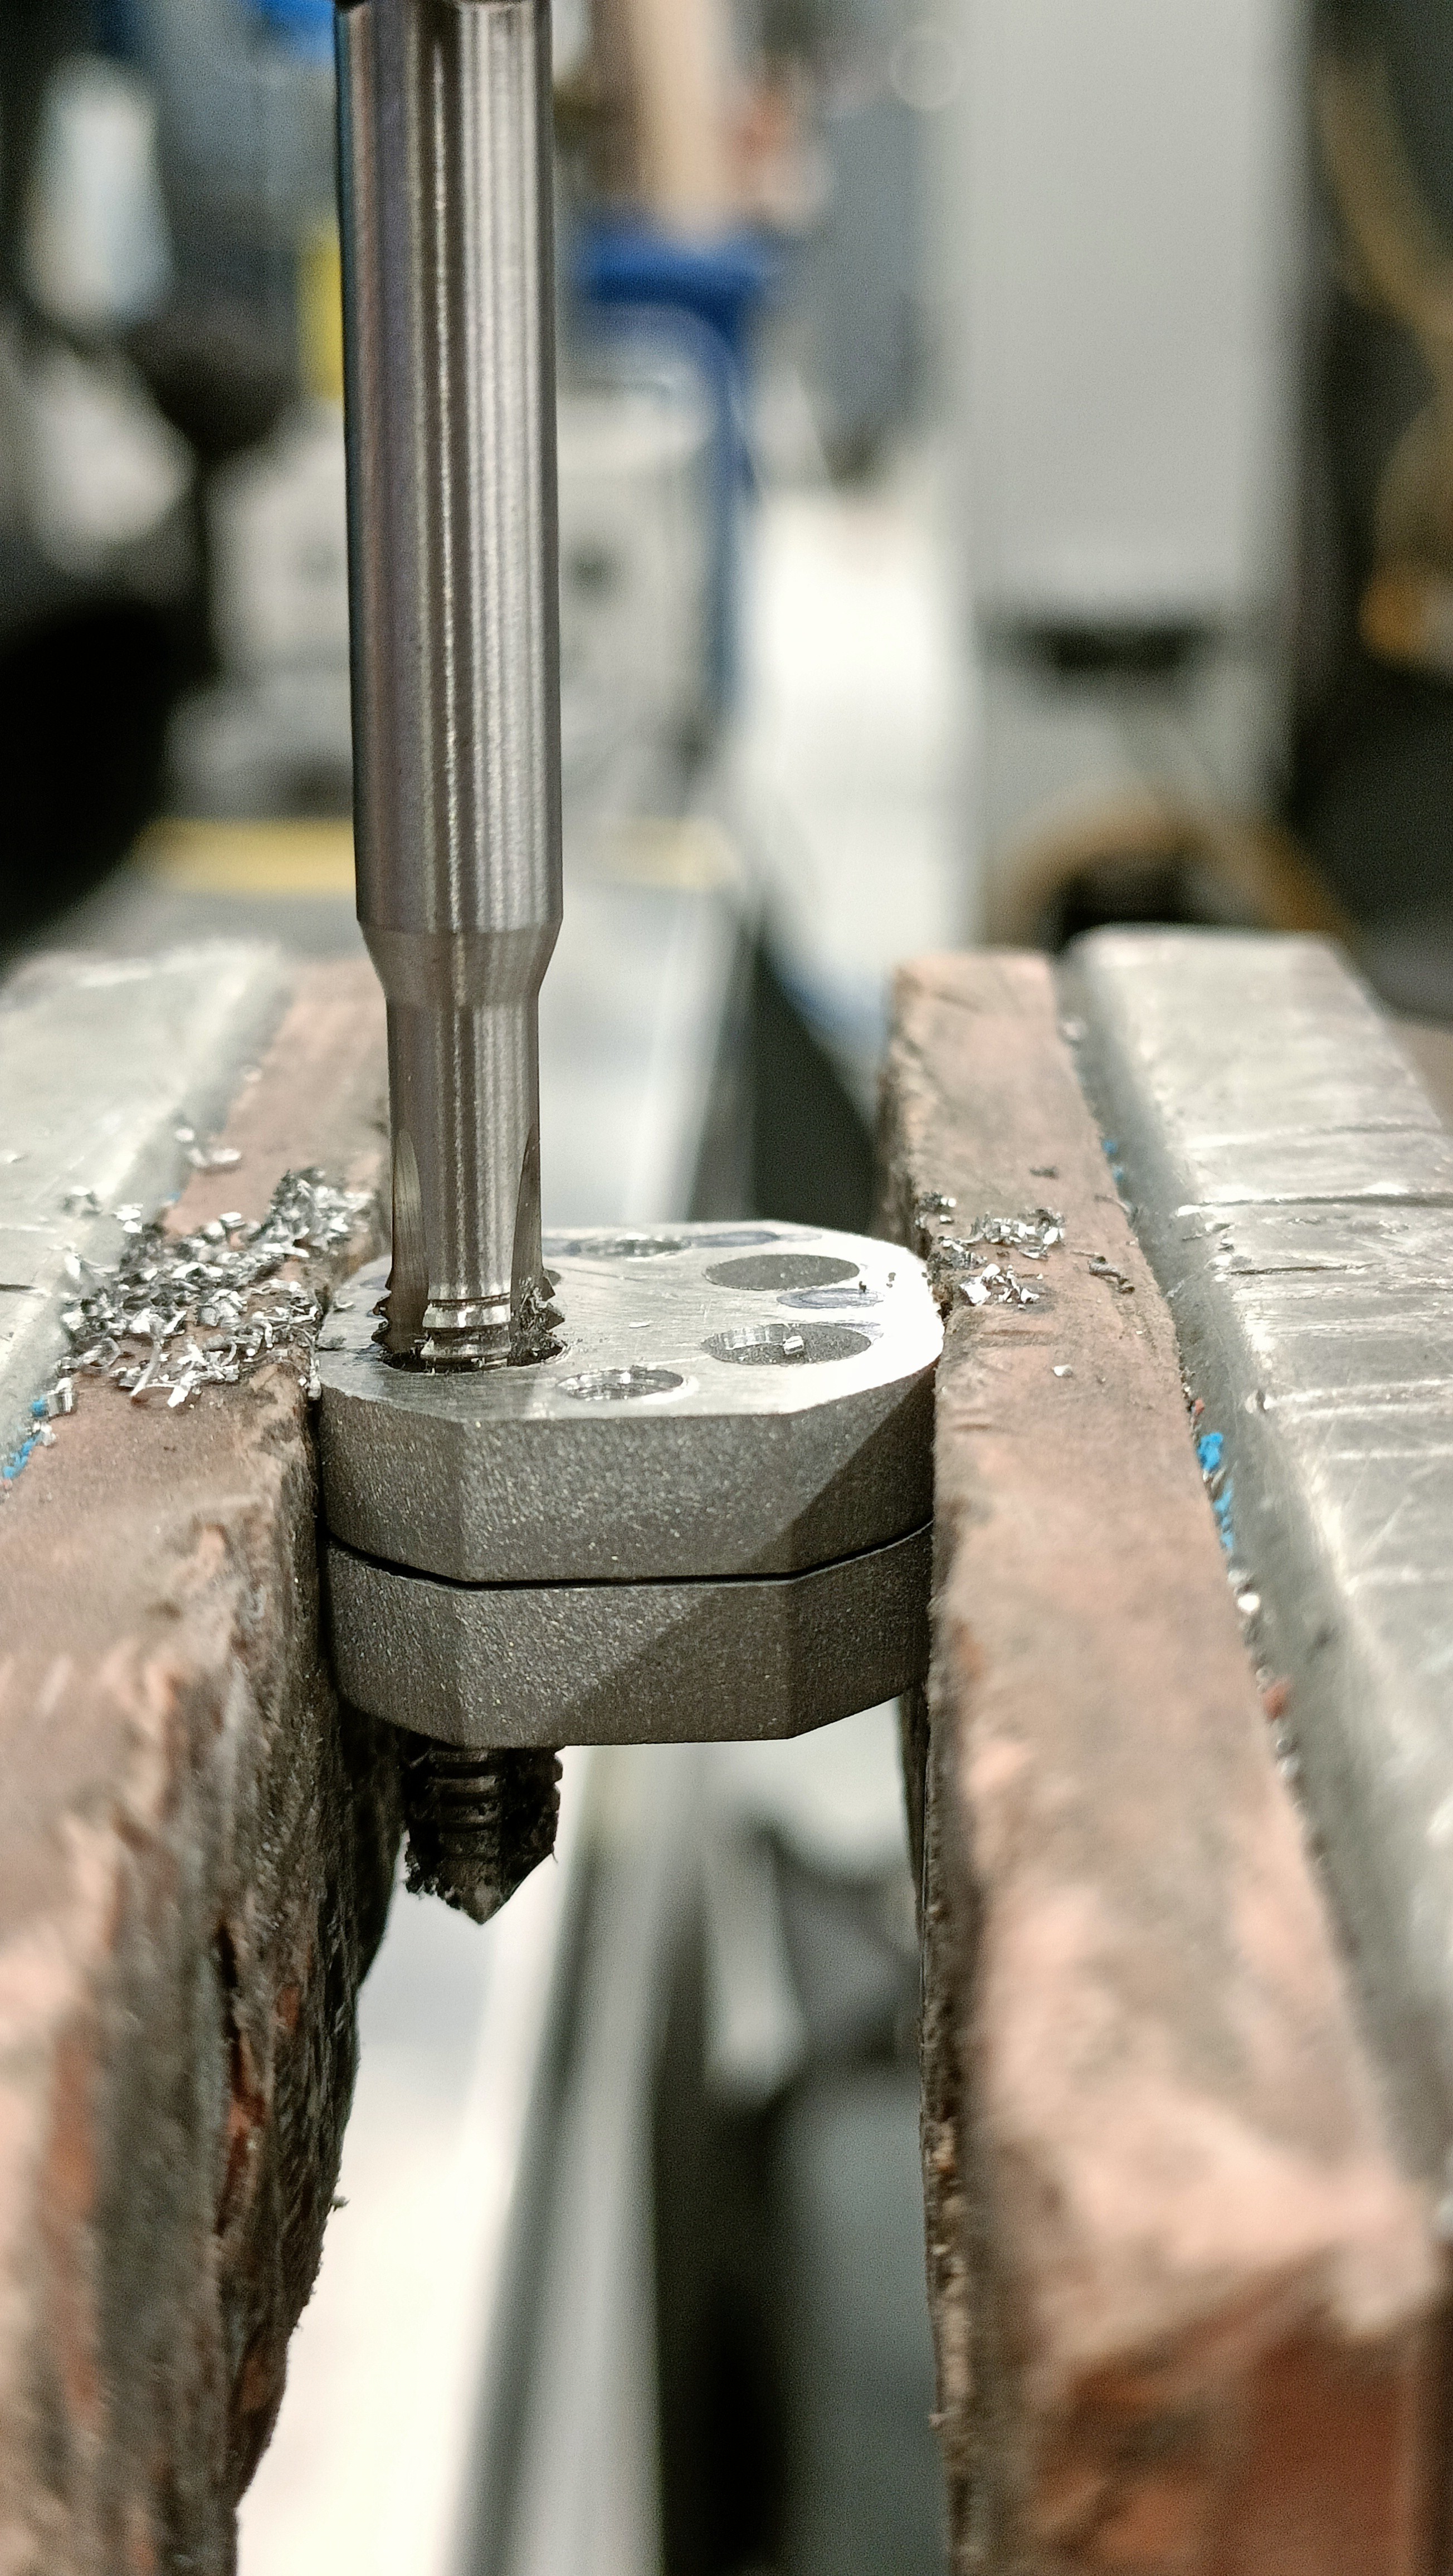
I even tried tapping a steel cloner plate with no success:
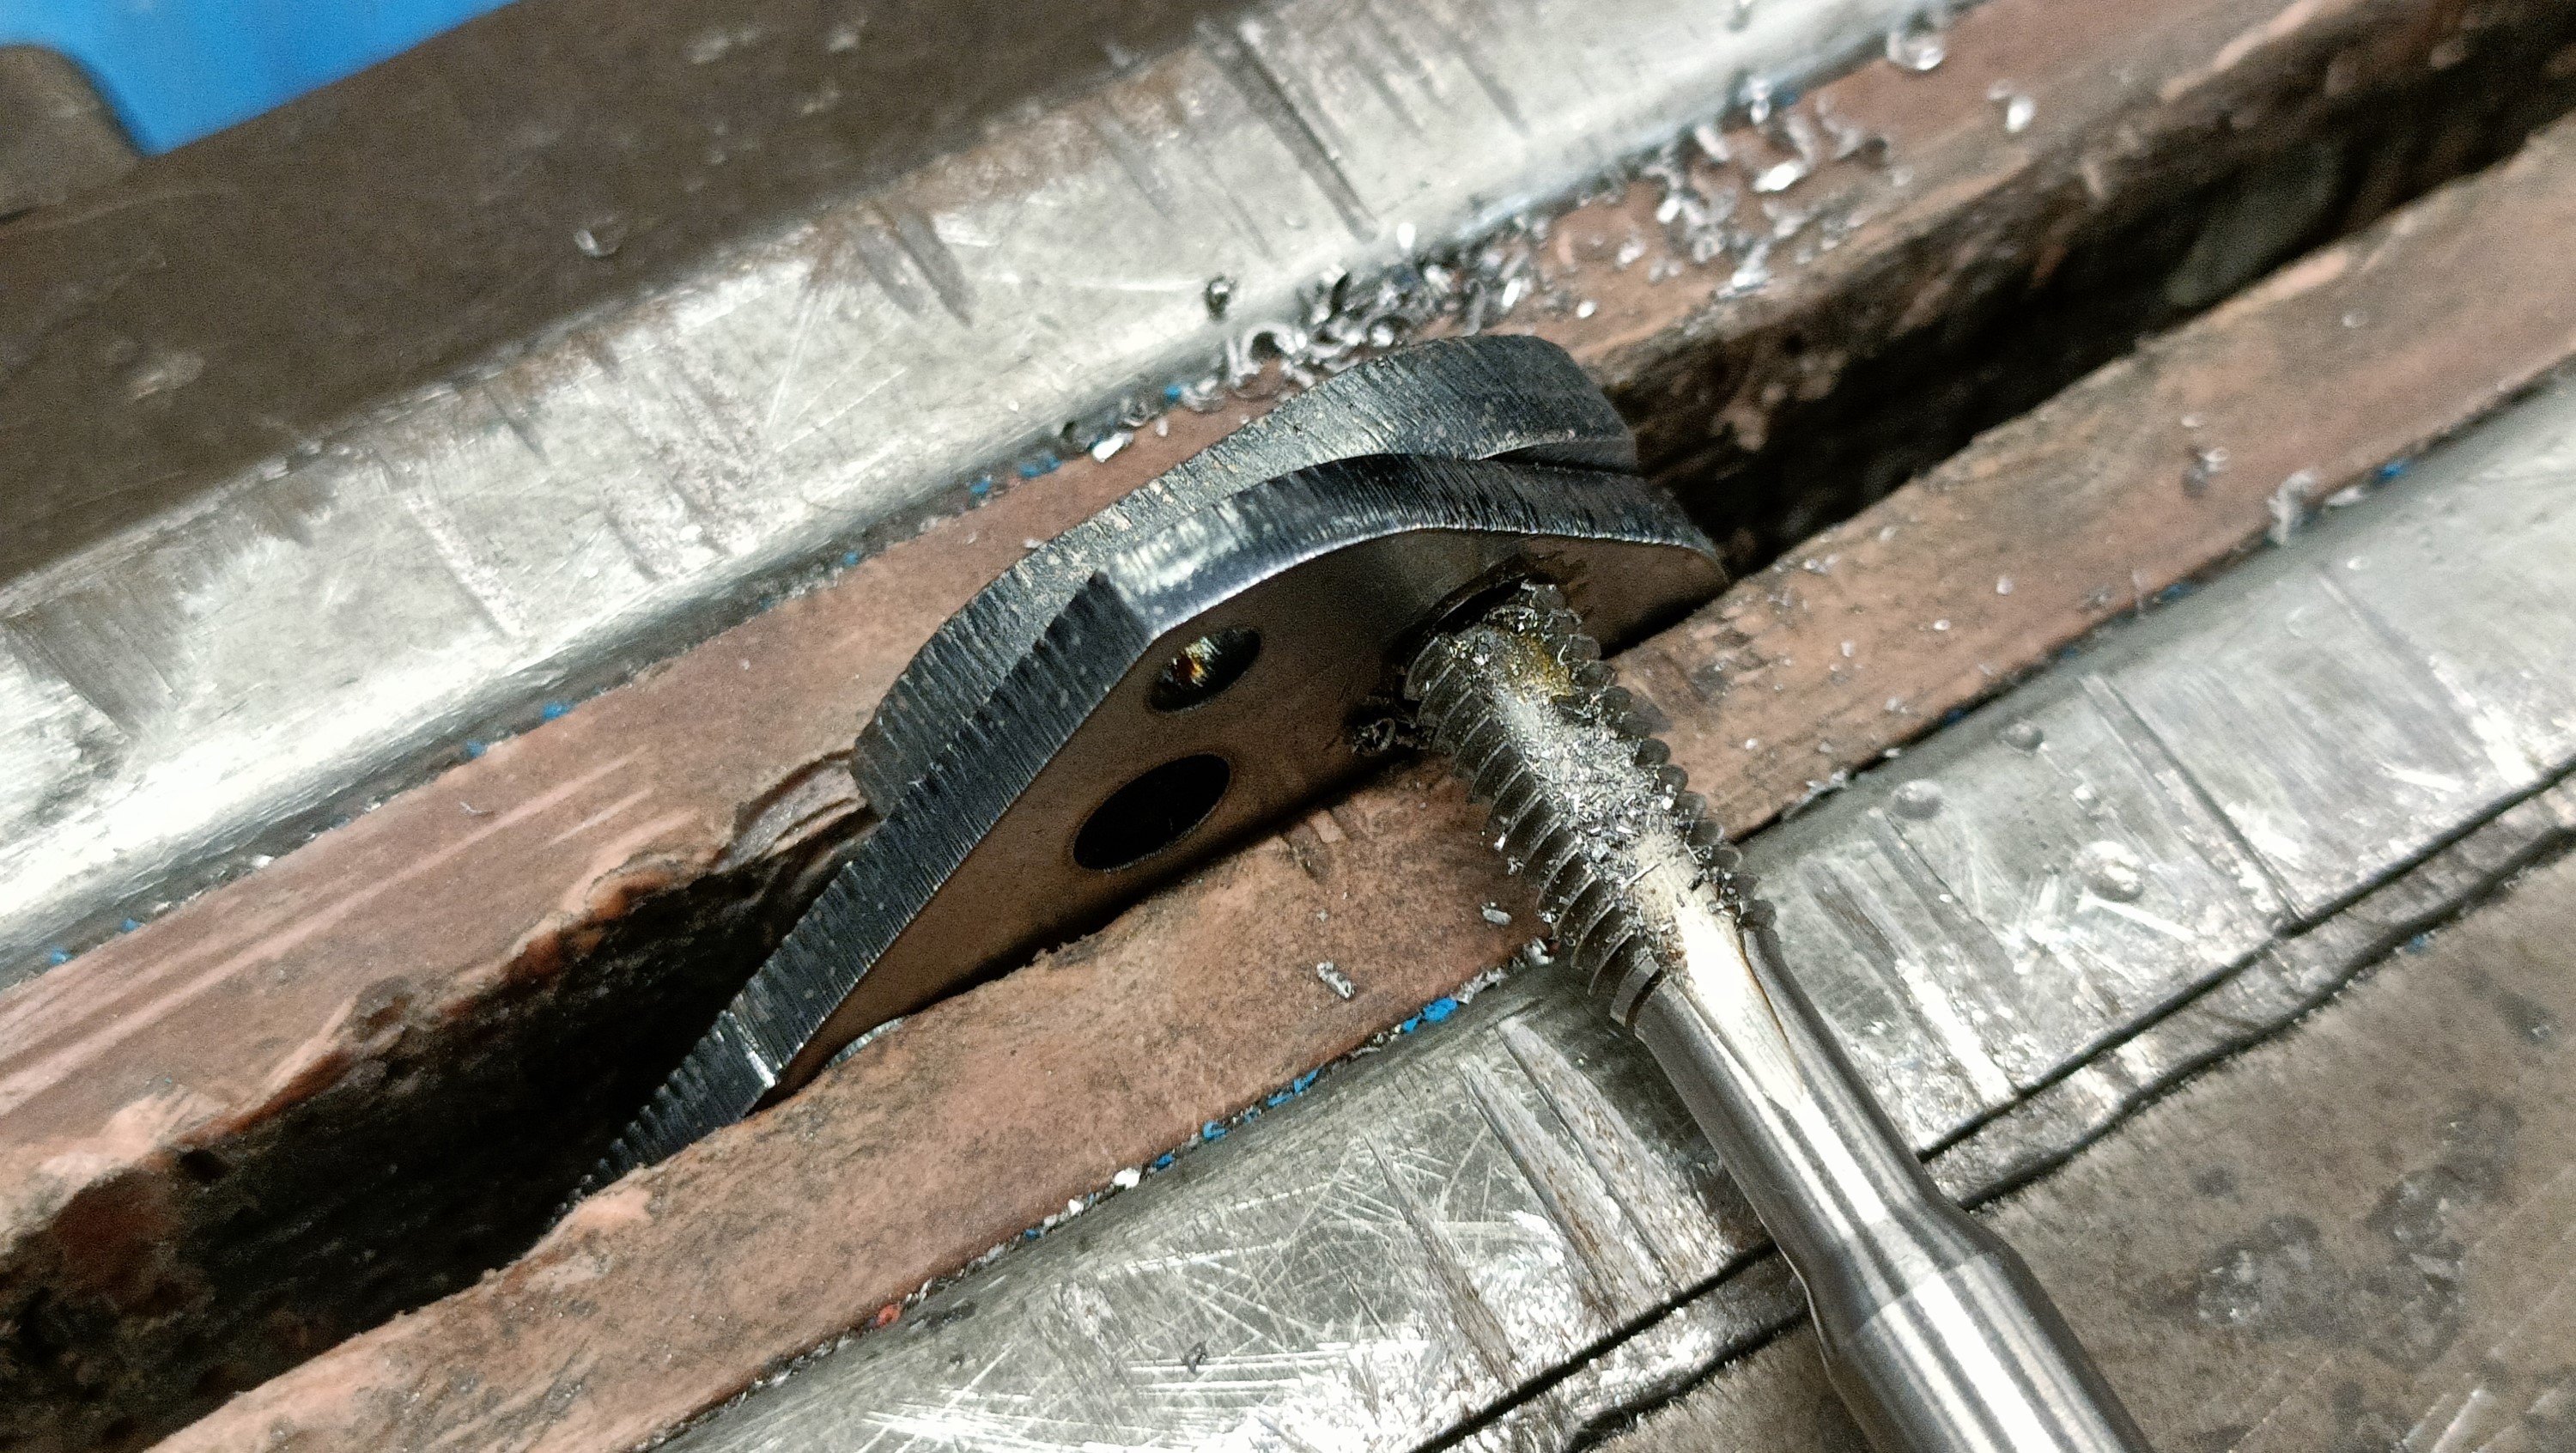
I then tried an idea, inspired by the M4 thermistor grub thread, which was to use the vice to keep the up/down axis aligned and then I visibly check the left/right alignment:
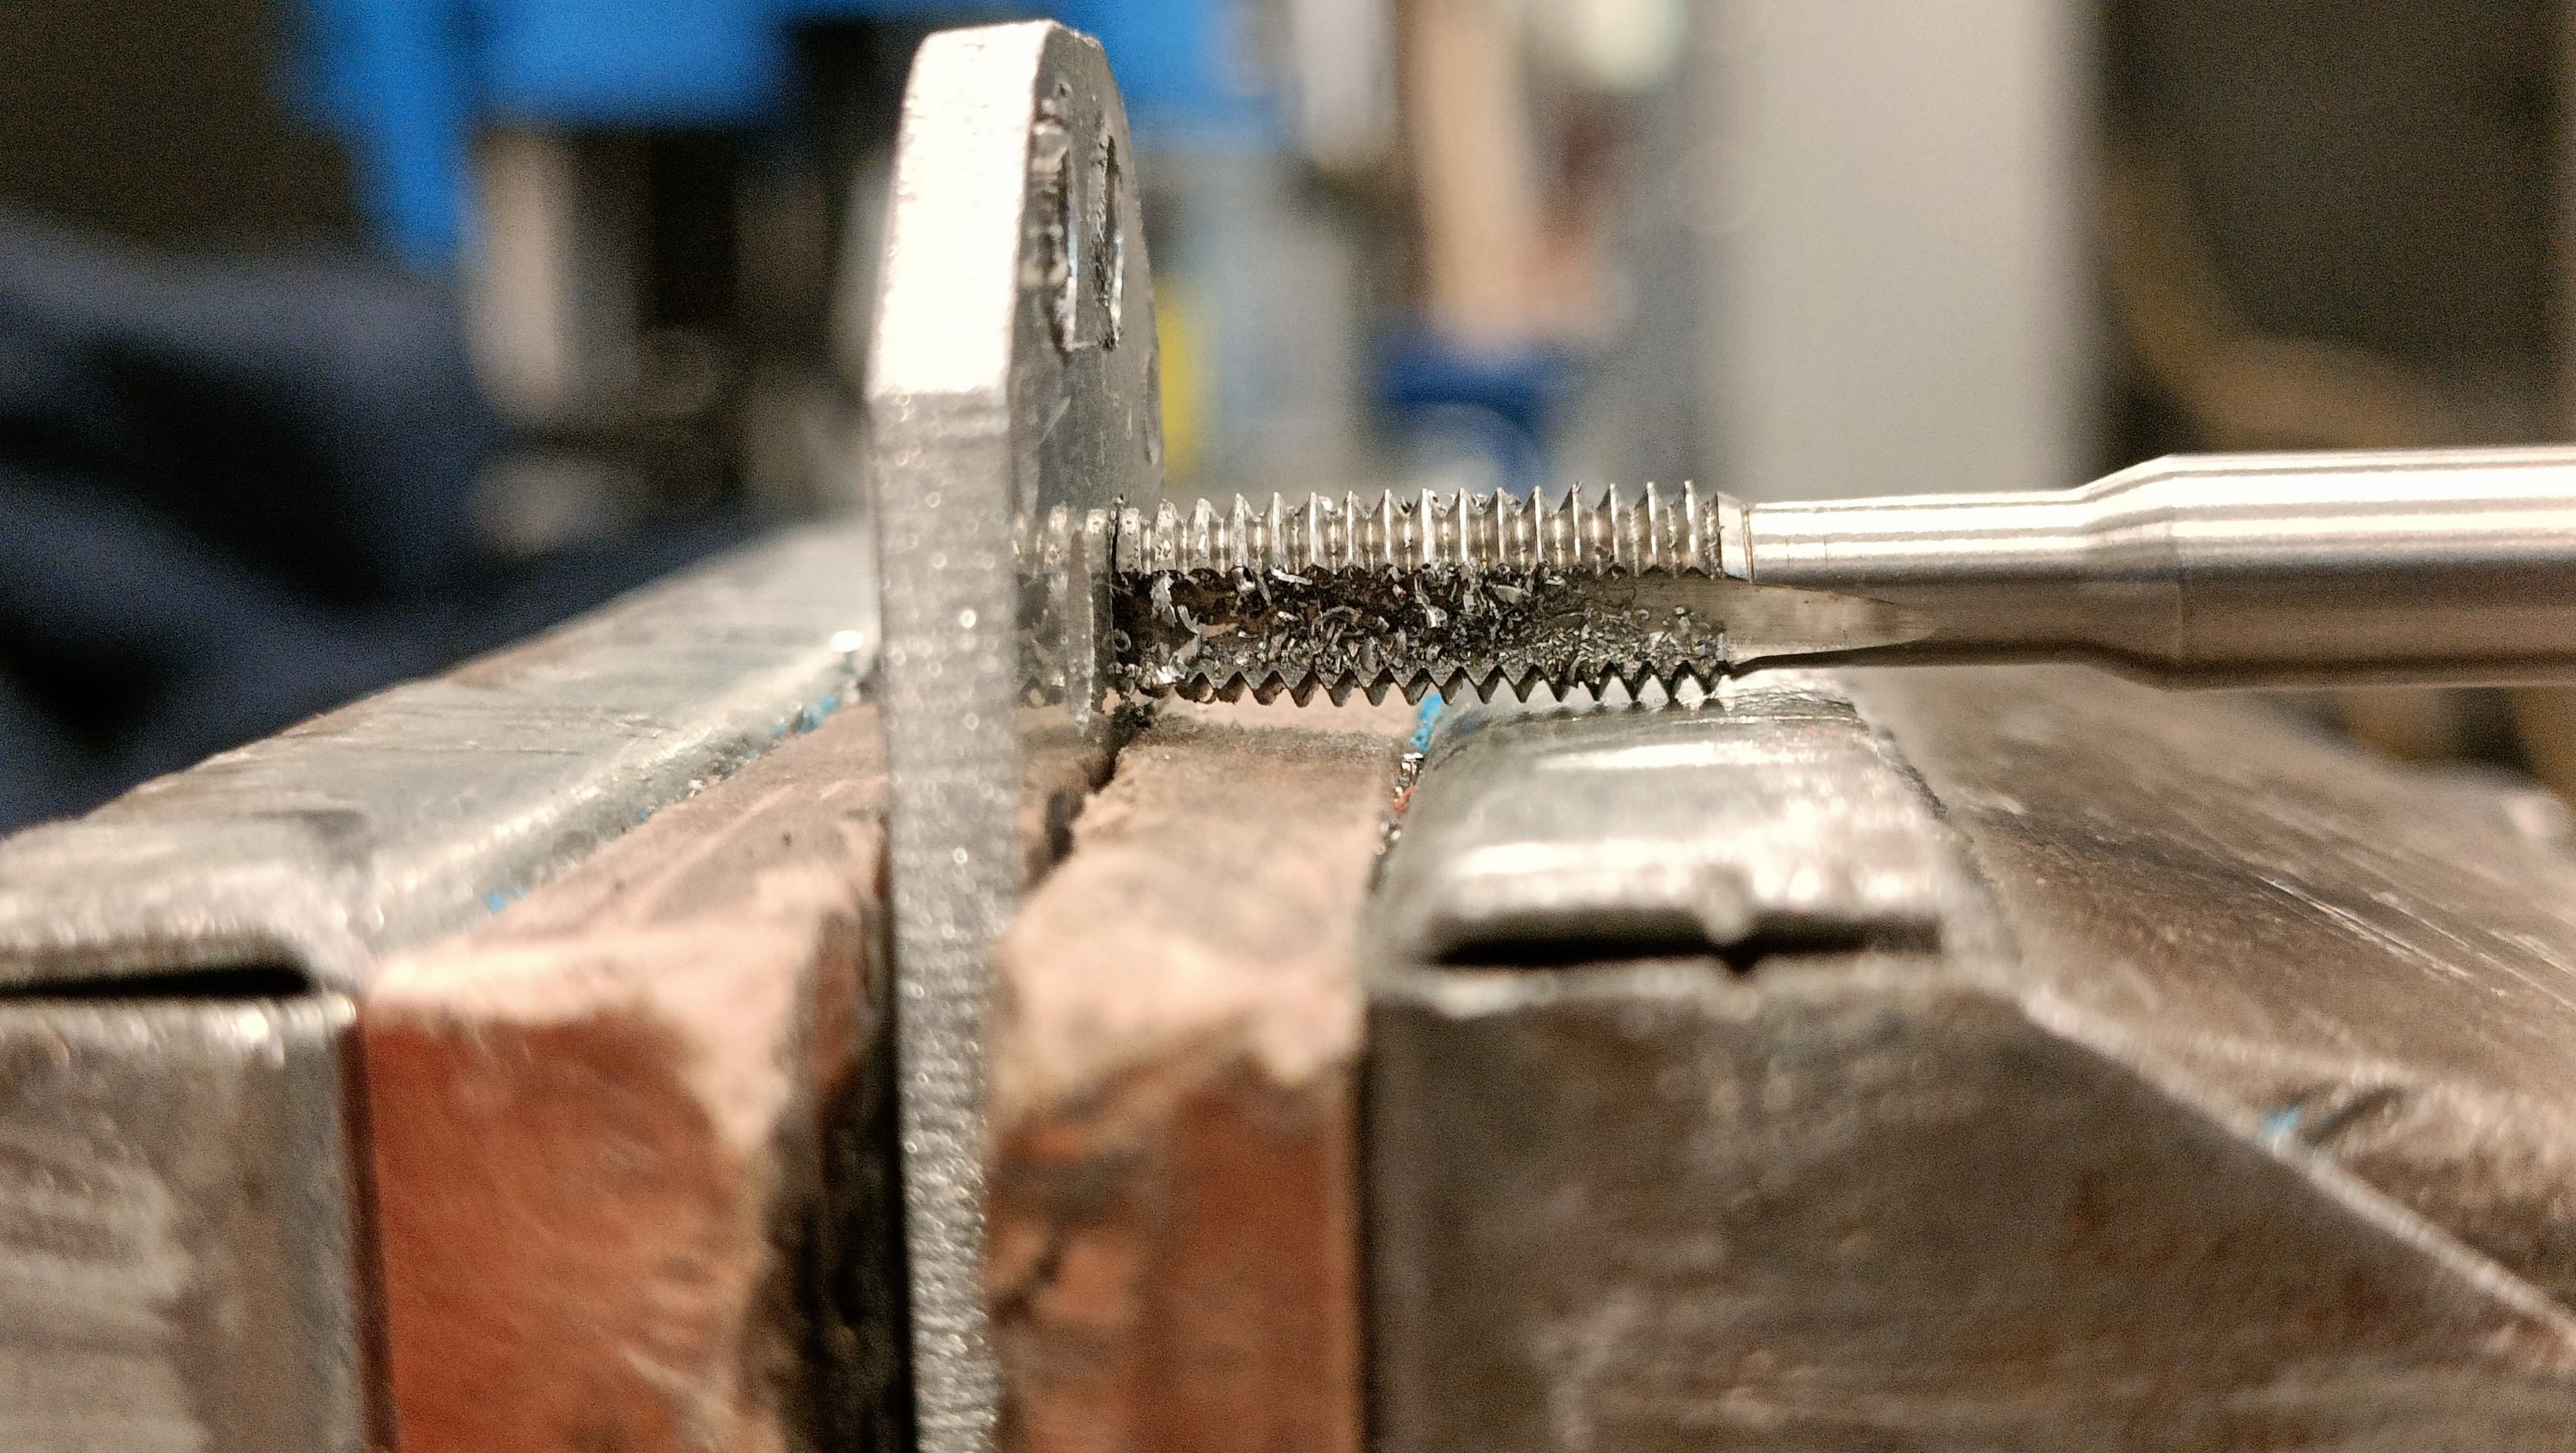
This worked, and I was finally able to get a straight tap through steel:
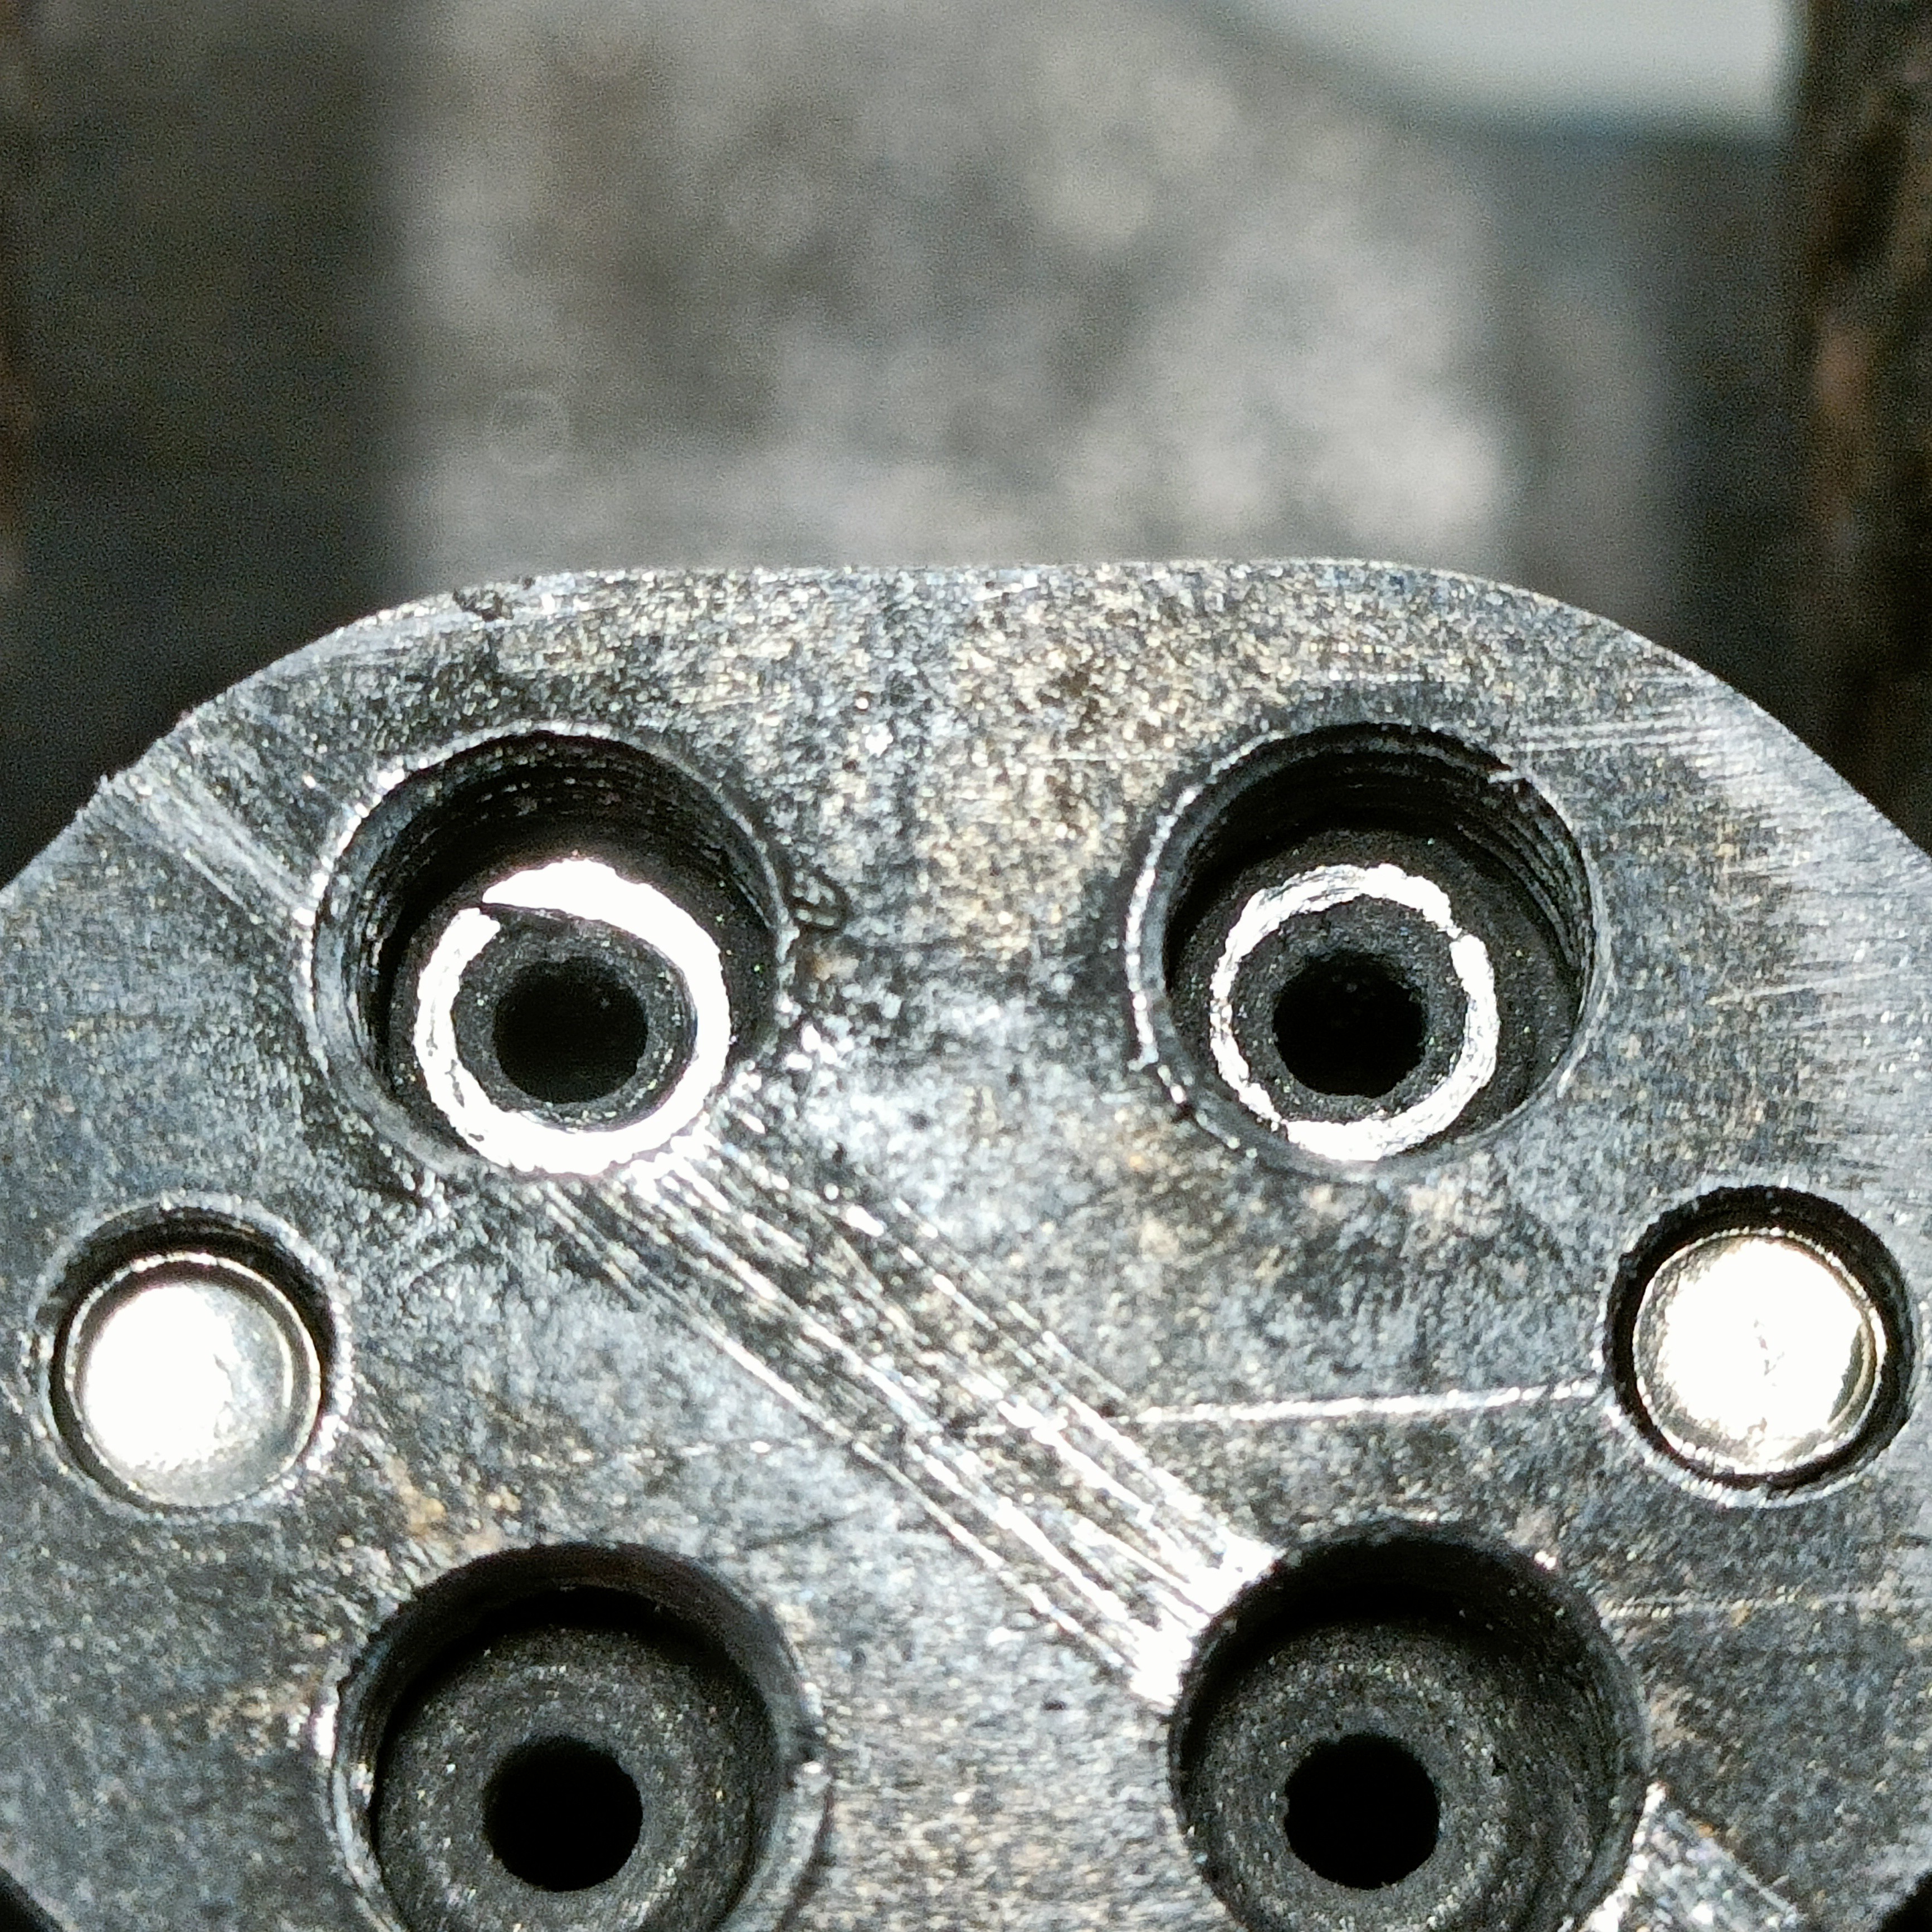
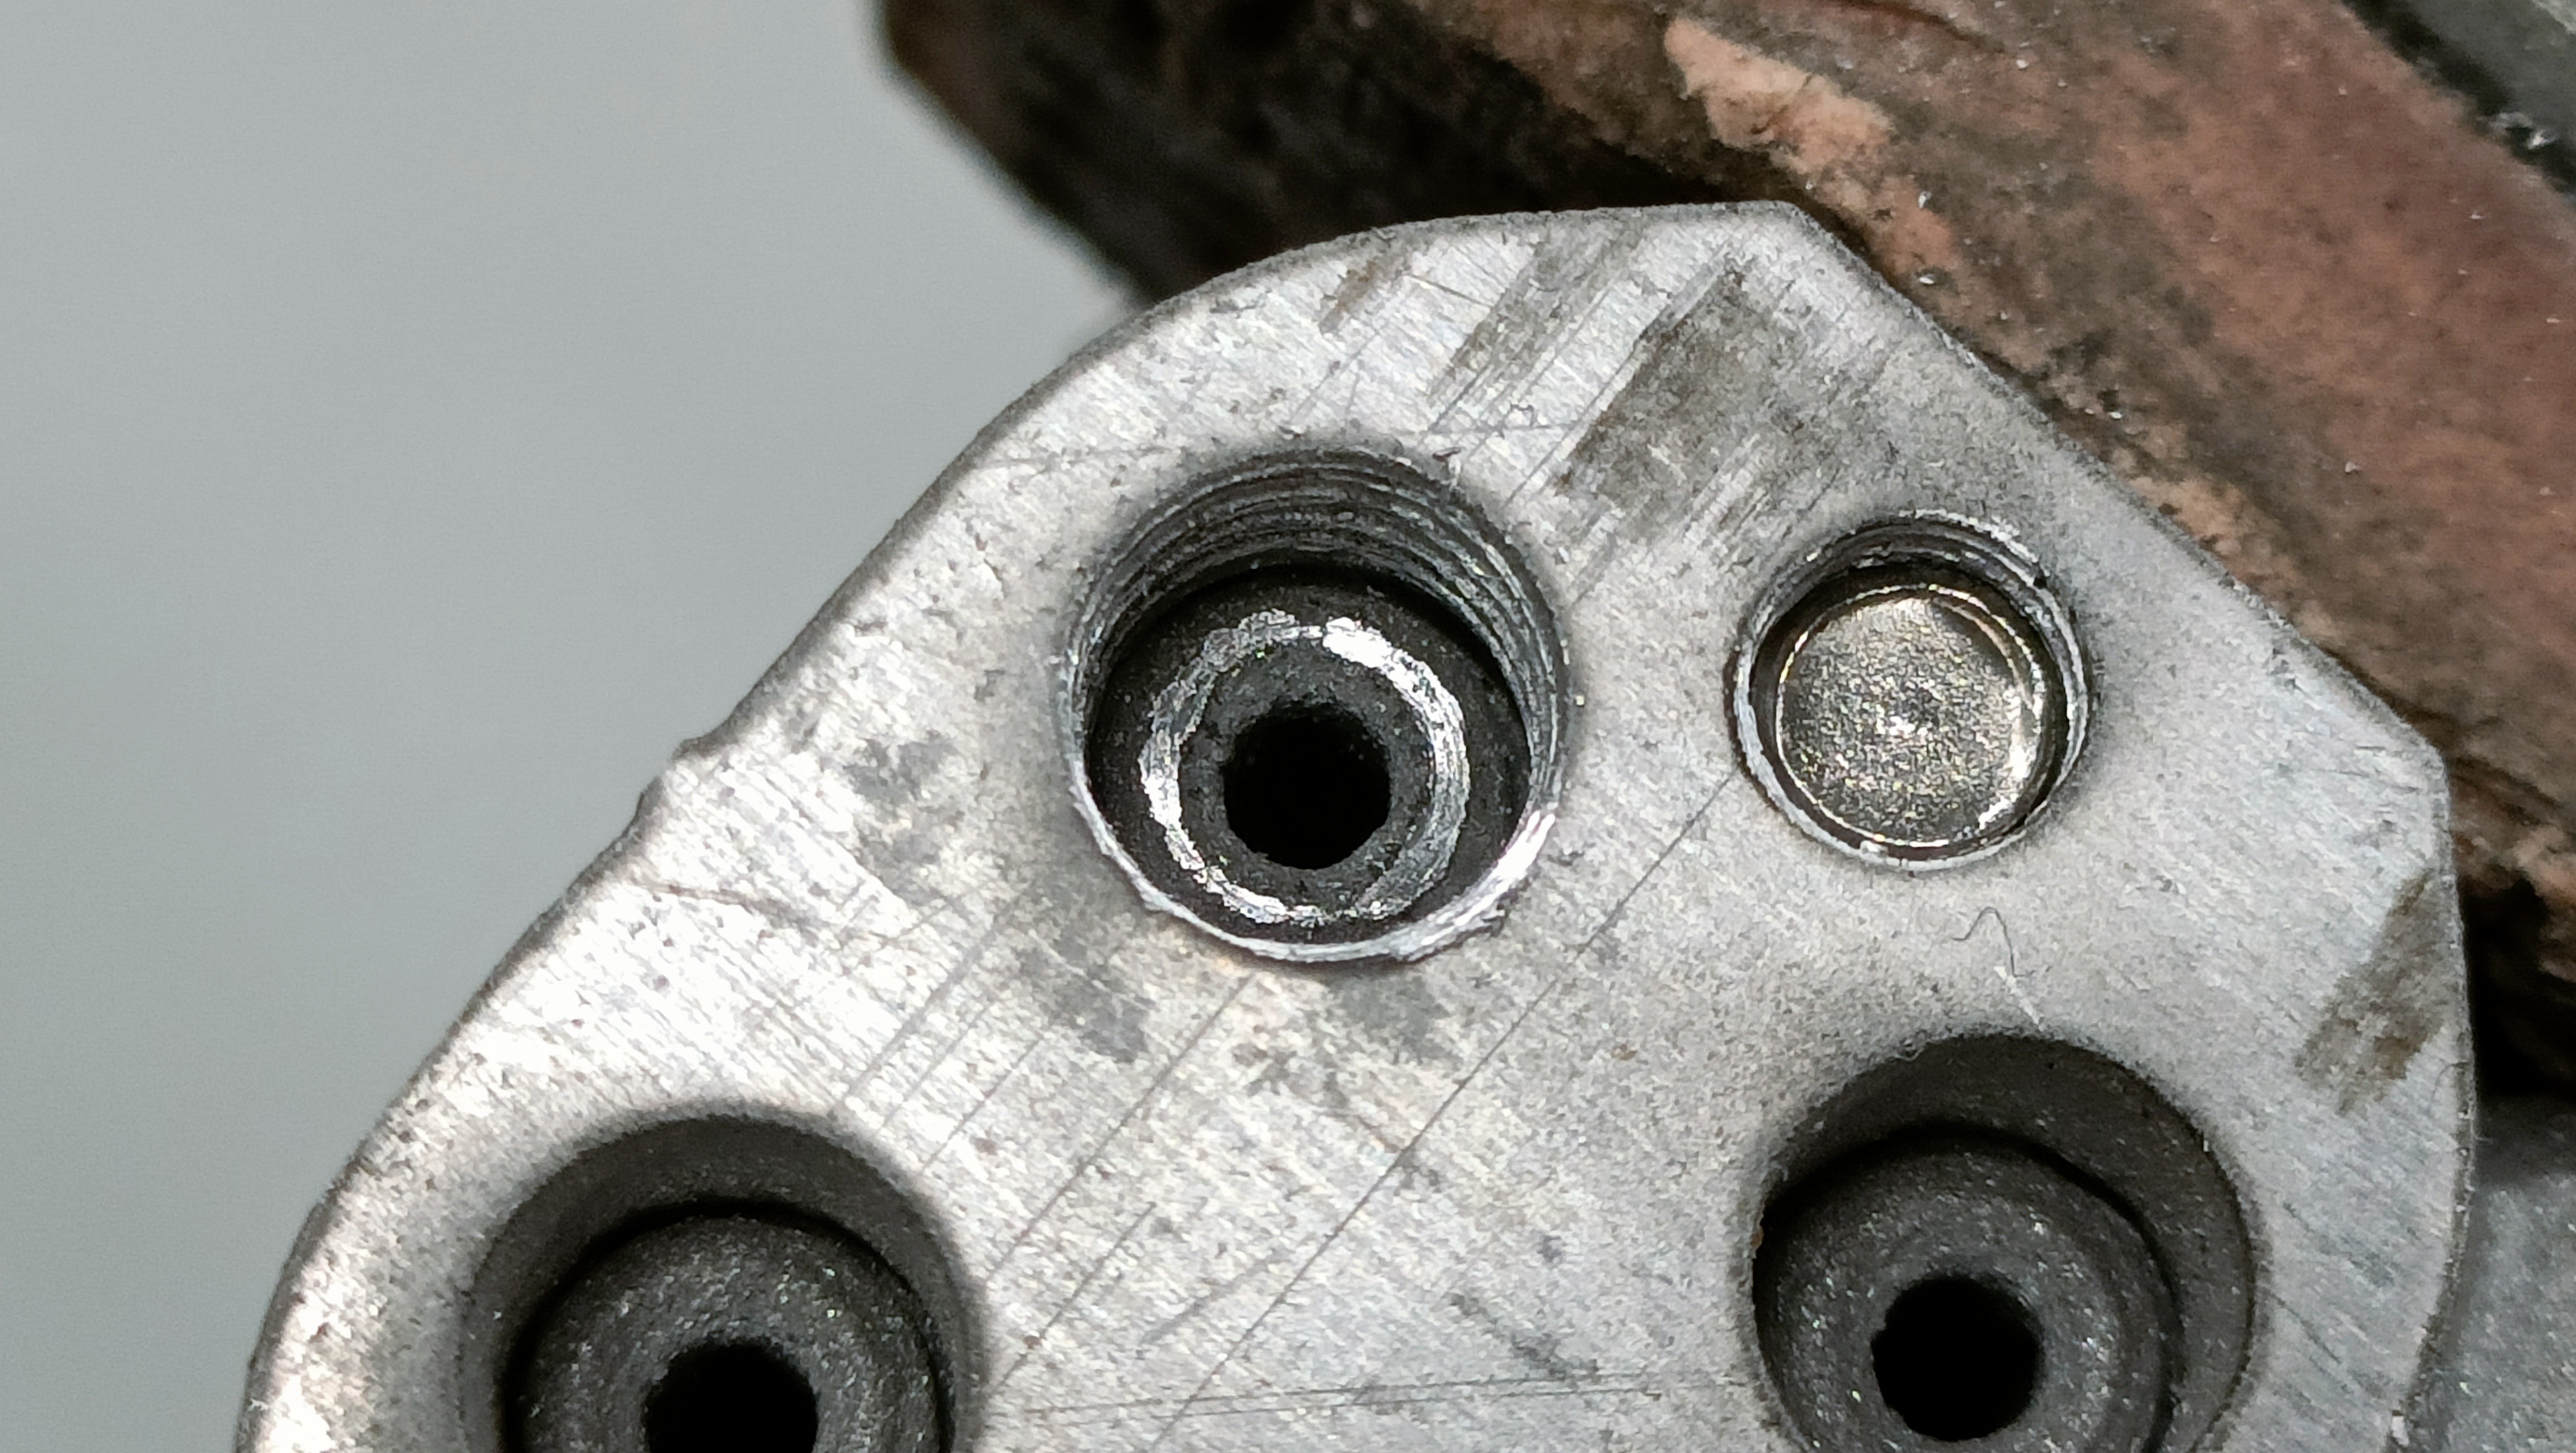
Unfortunately, that's where the road will end for the steel plate. The above plate was just to use as practice, and it turns out that there was a divot in the other two plates that completely stops the tap from turning:
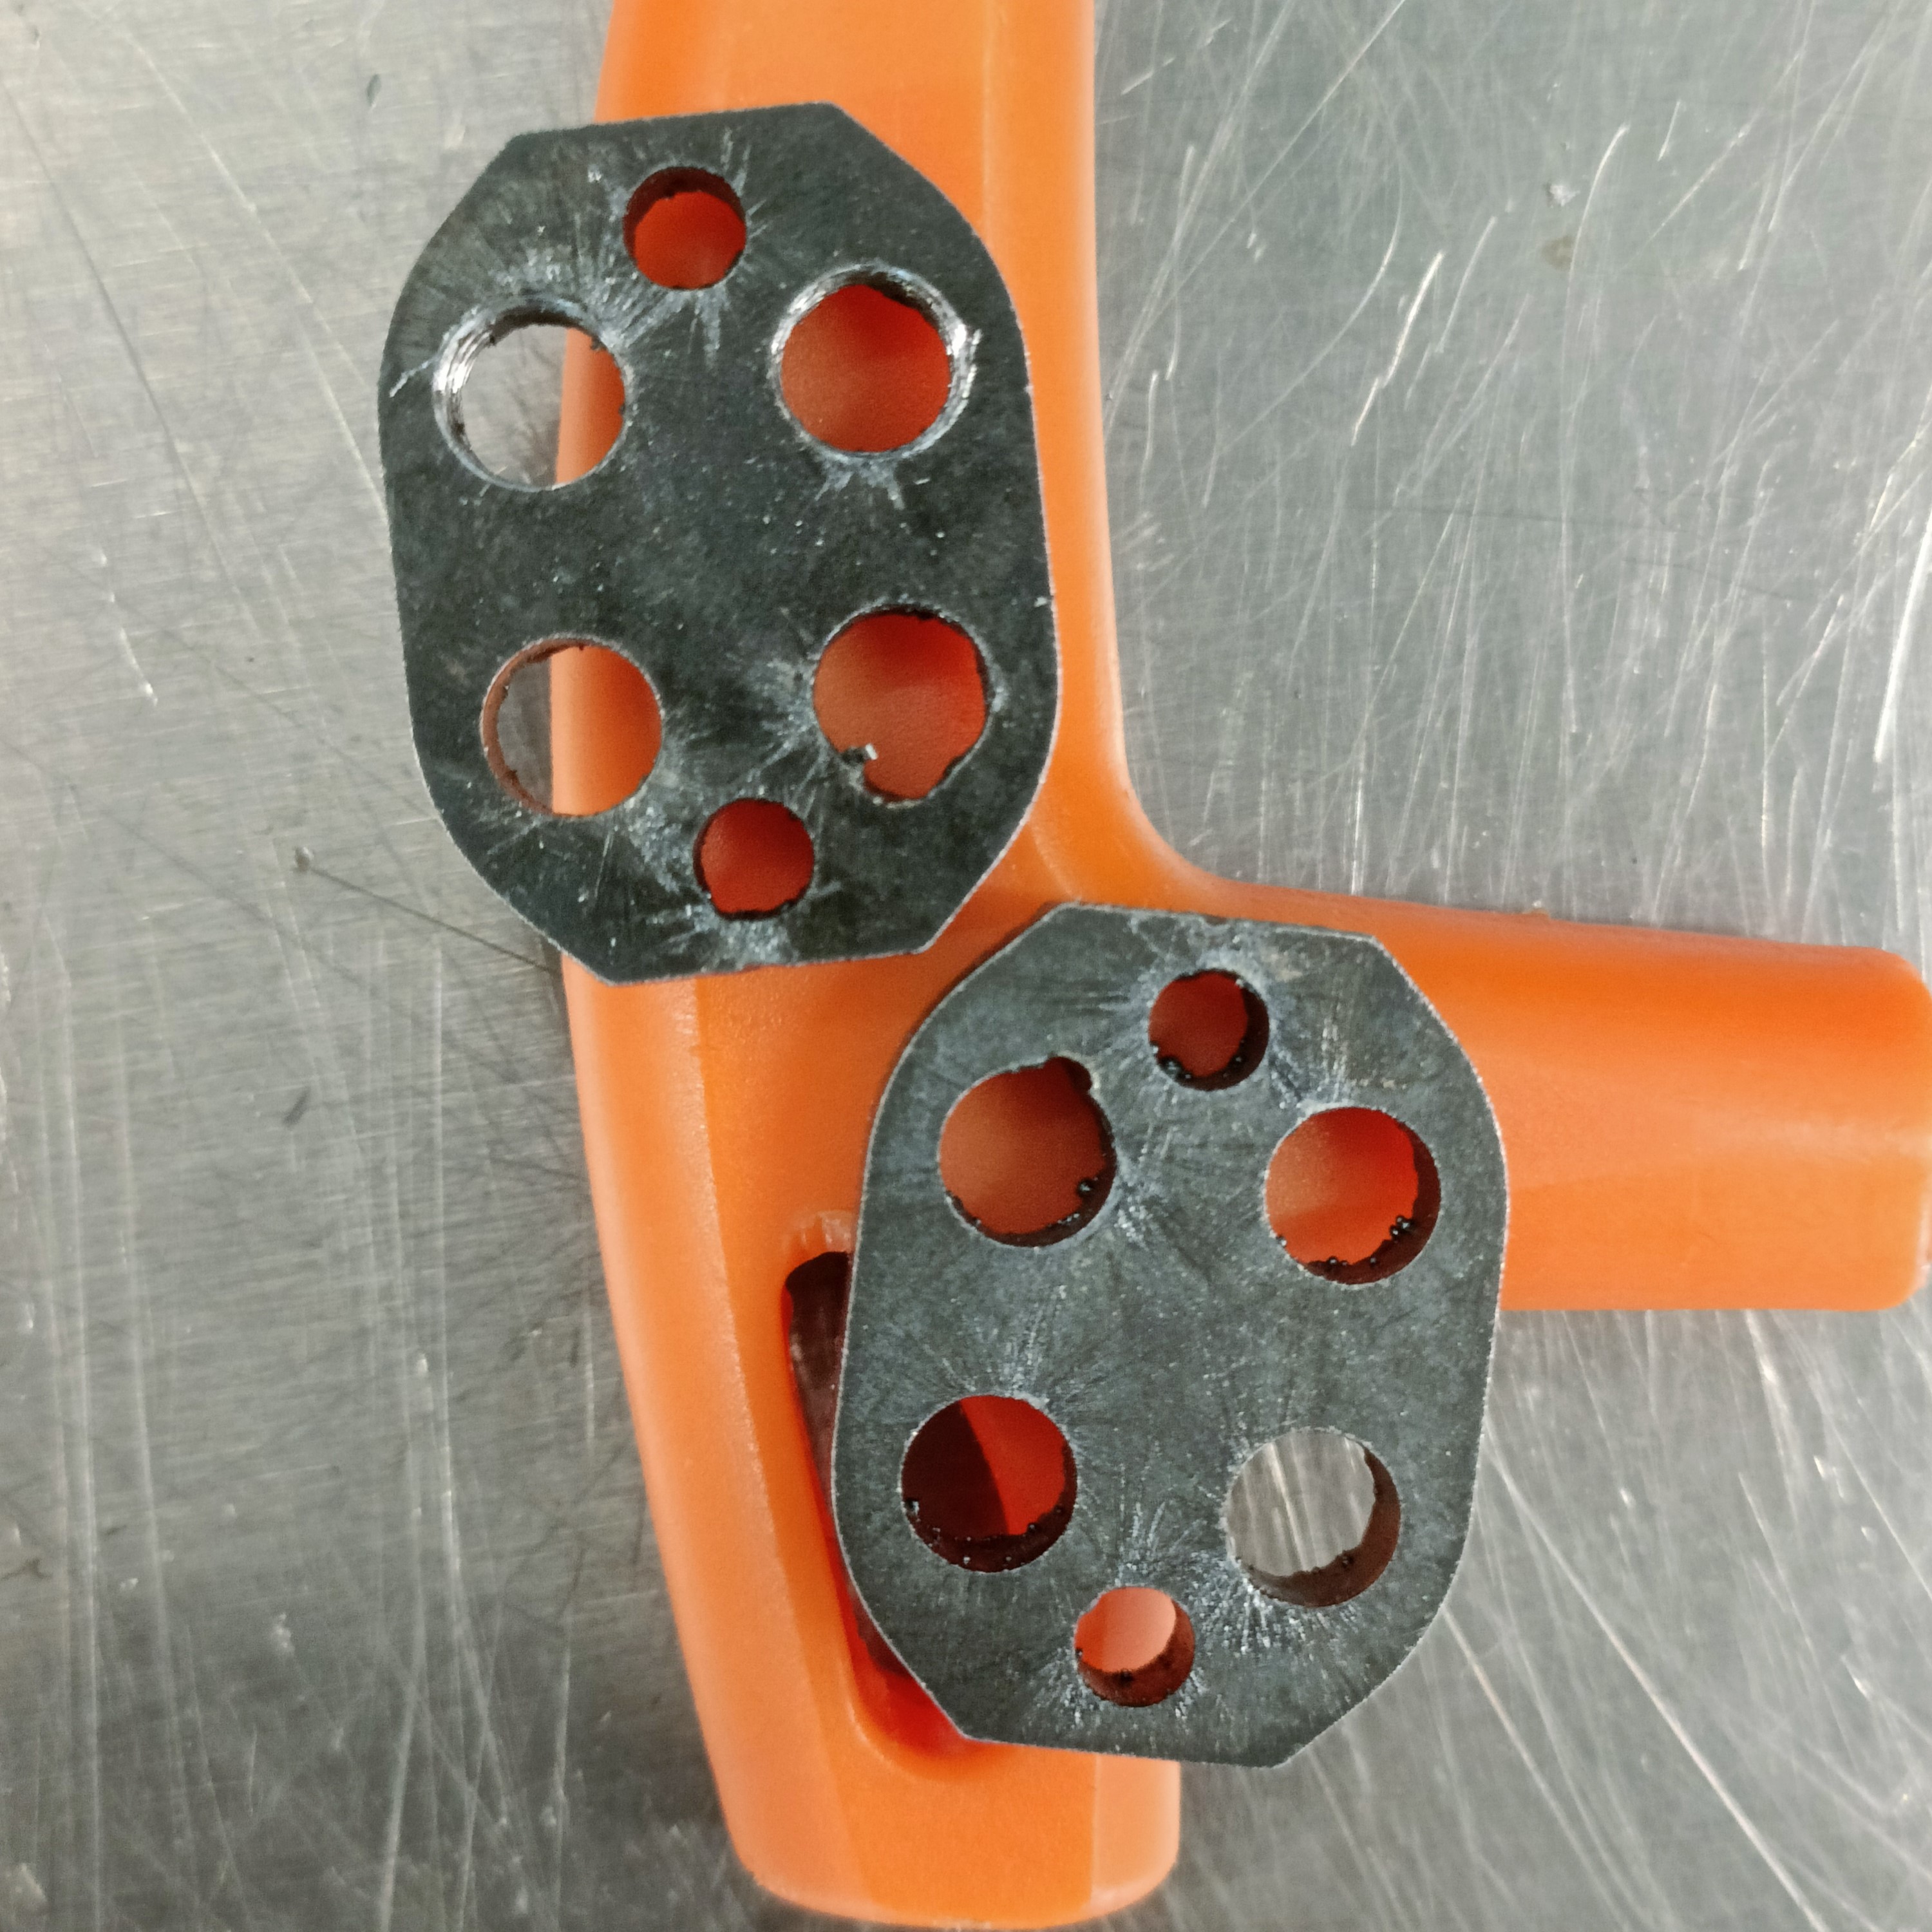
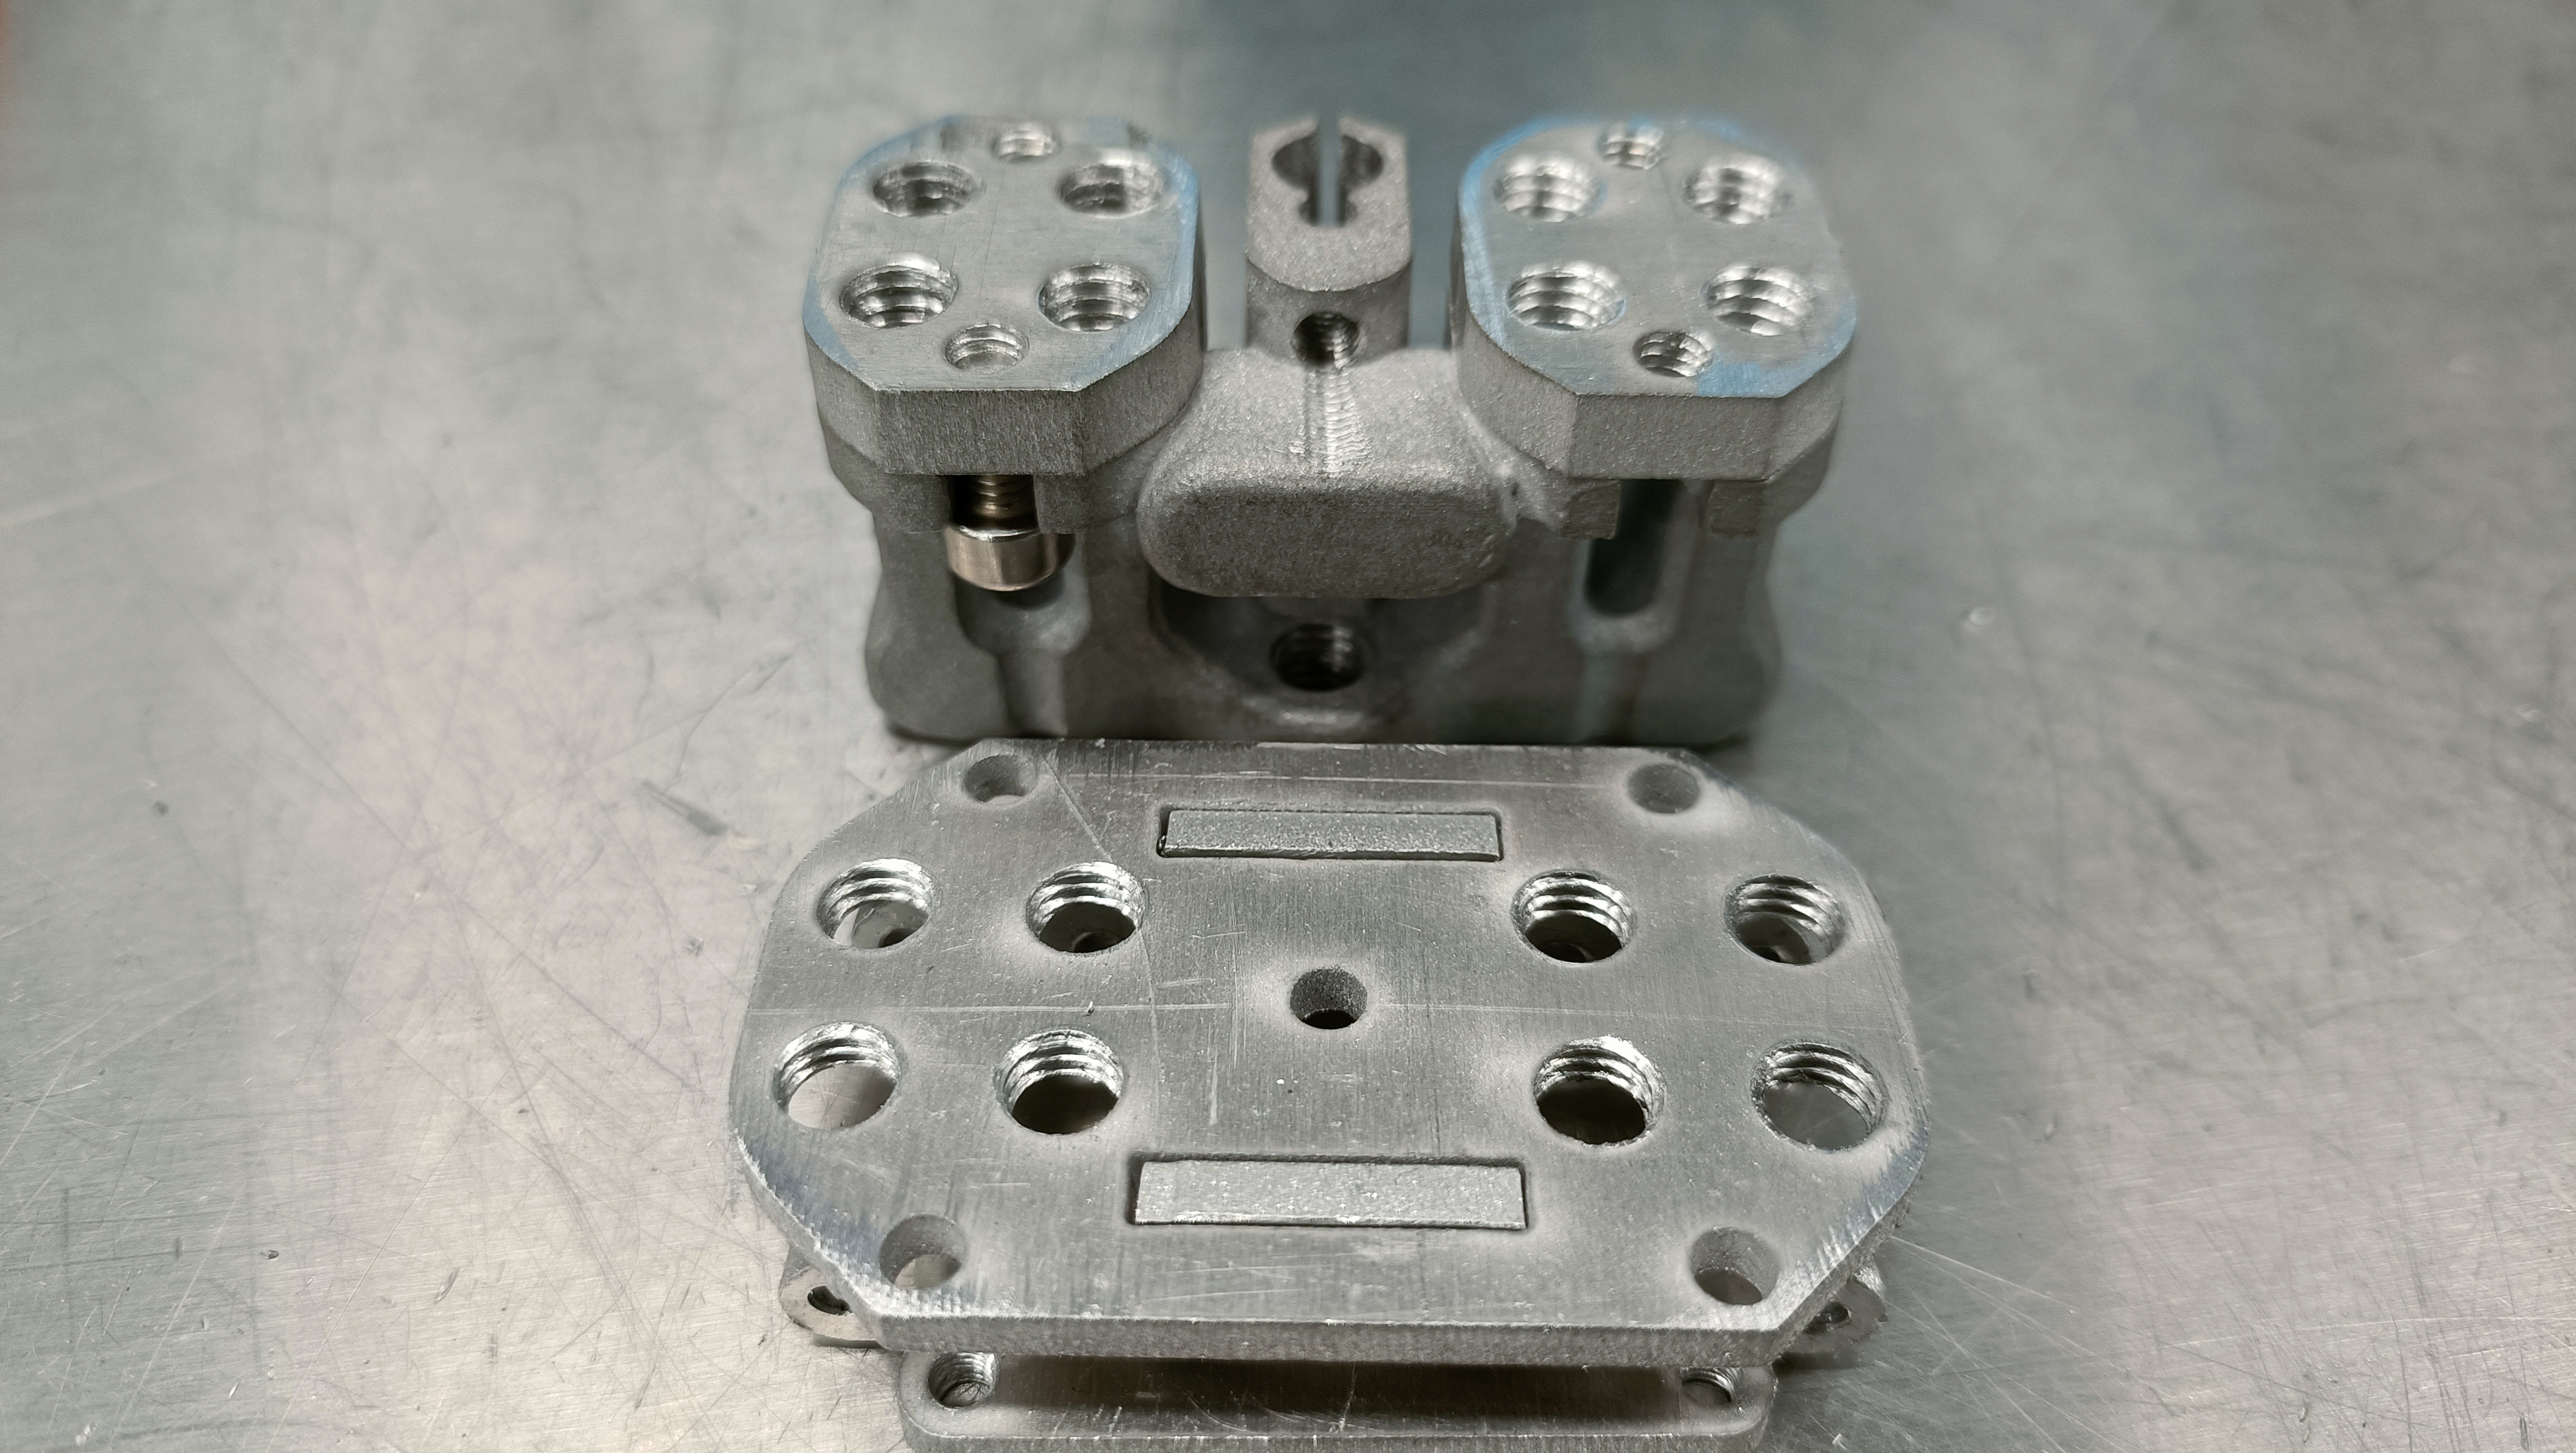
Thus, I used the aluminium plate to flatten the remaining inputs, which caused it to deform slightly:
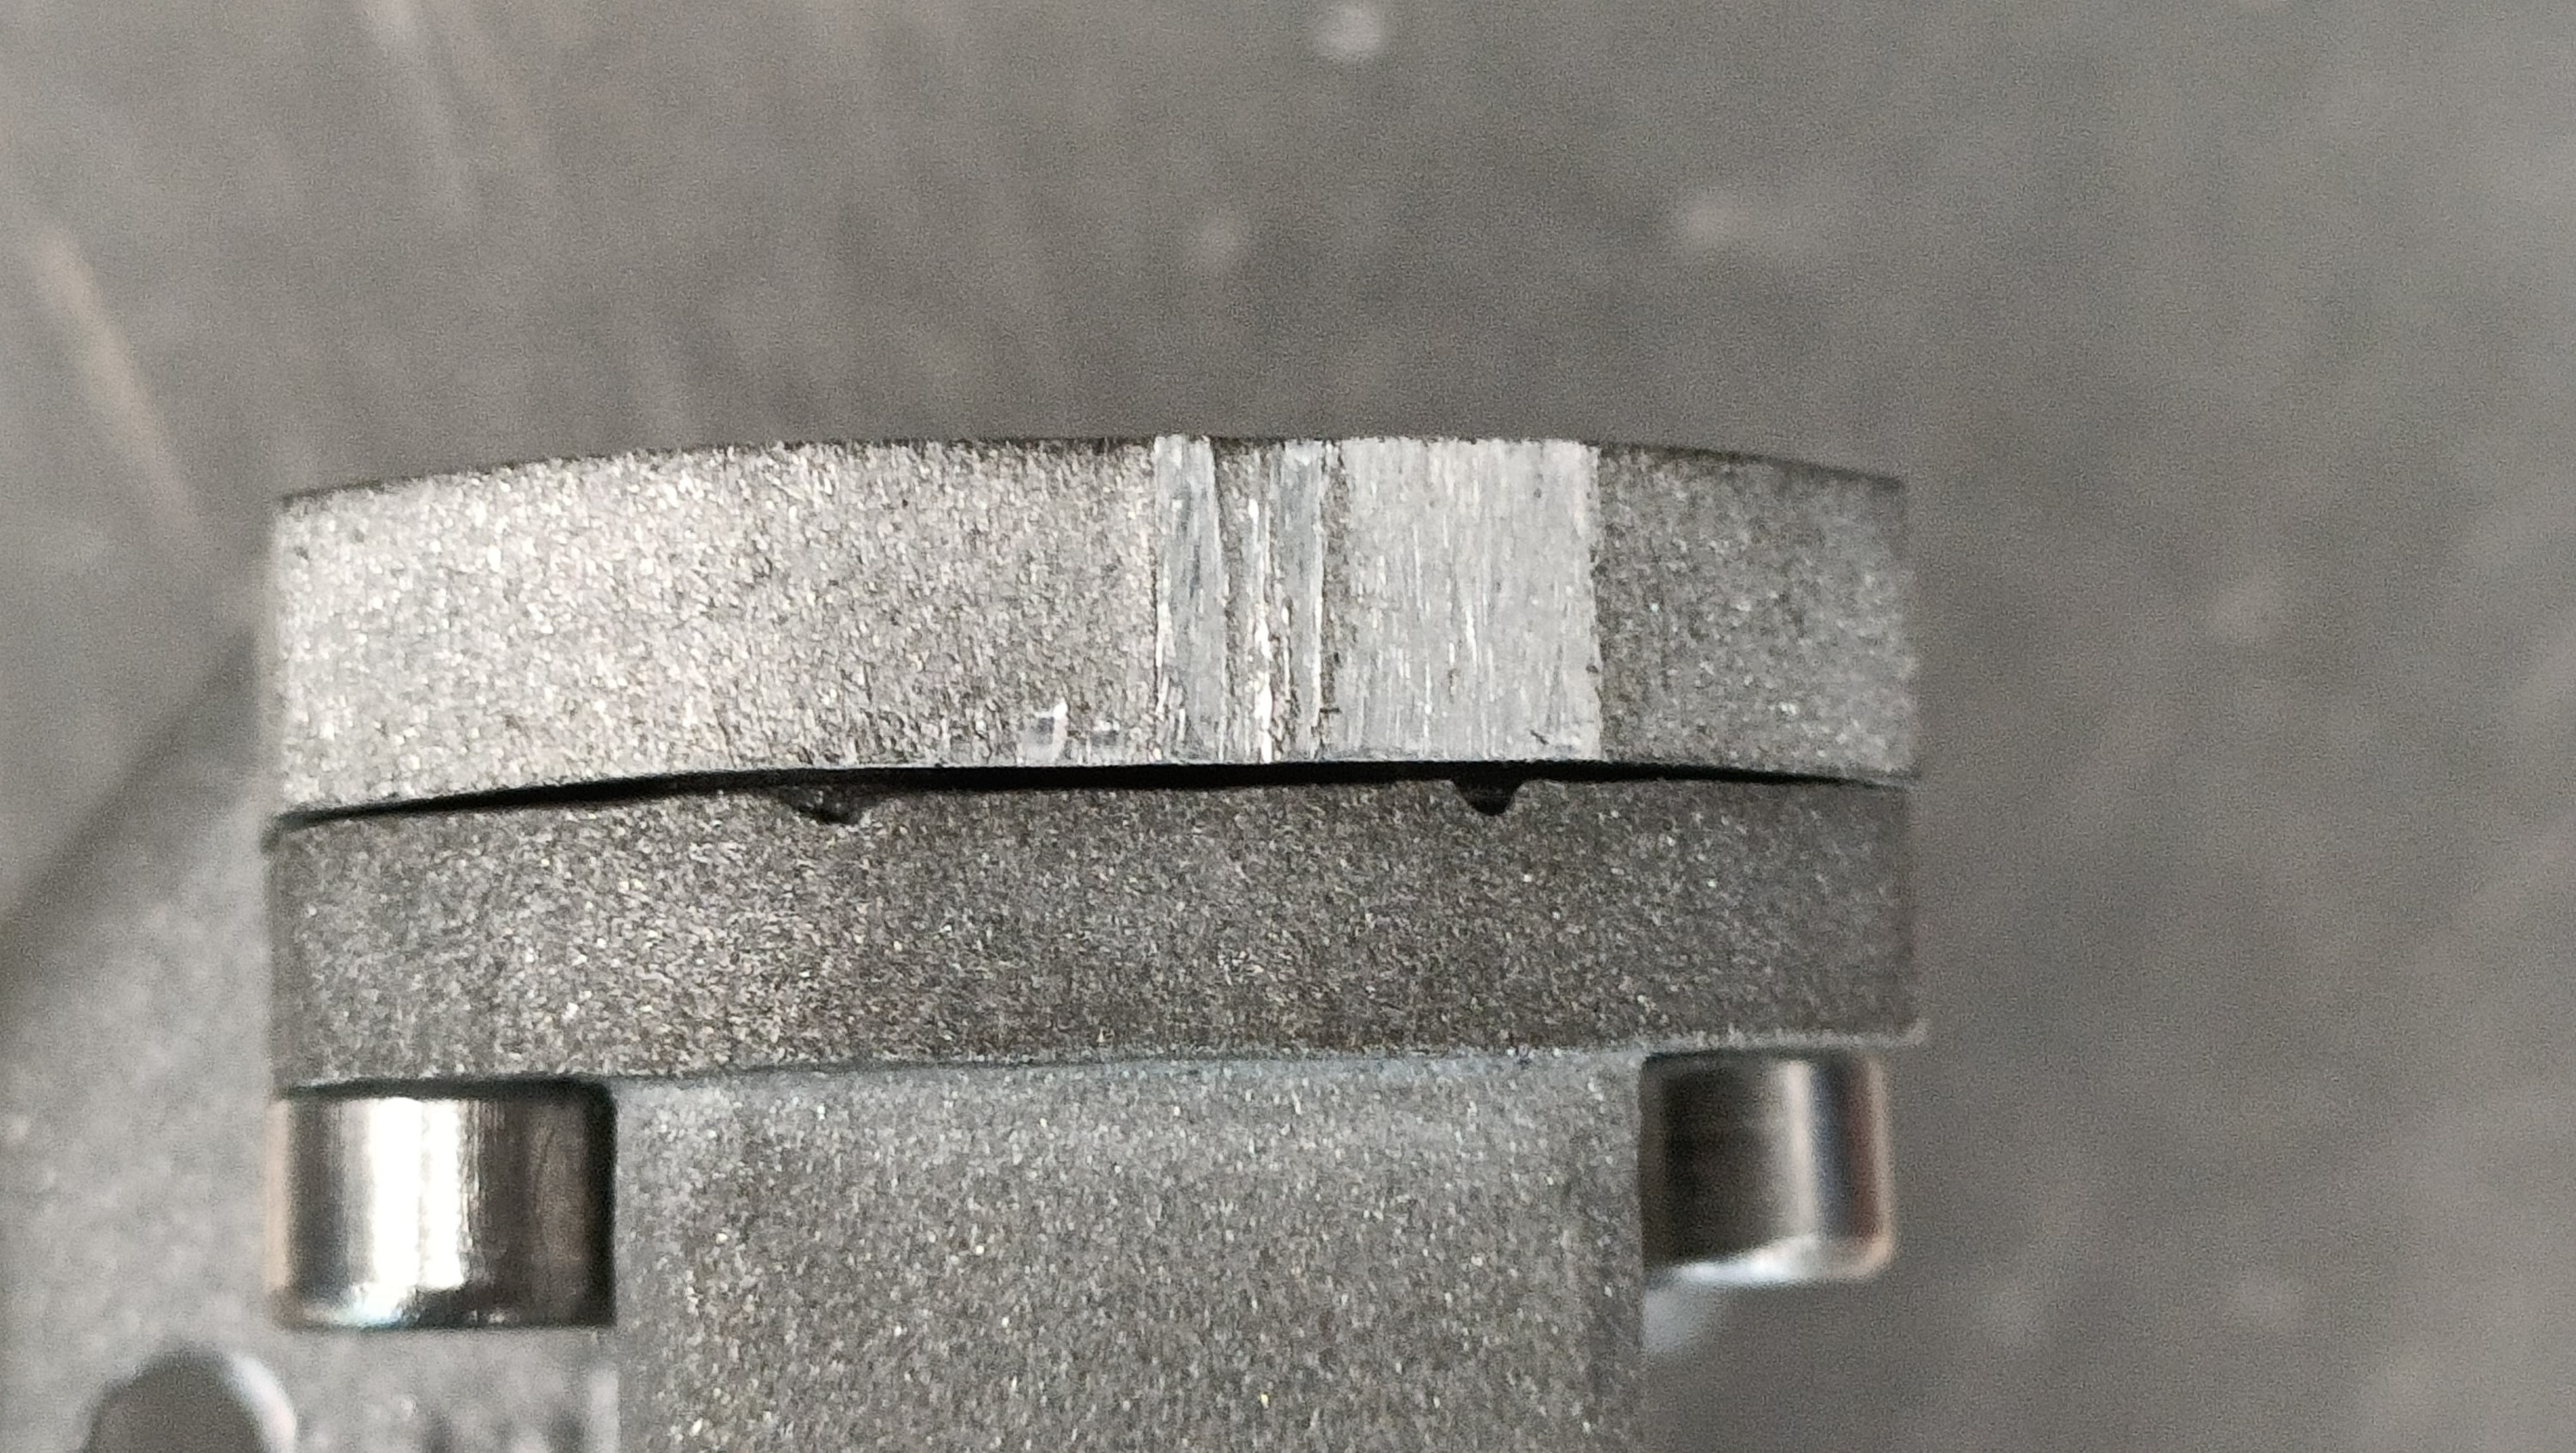
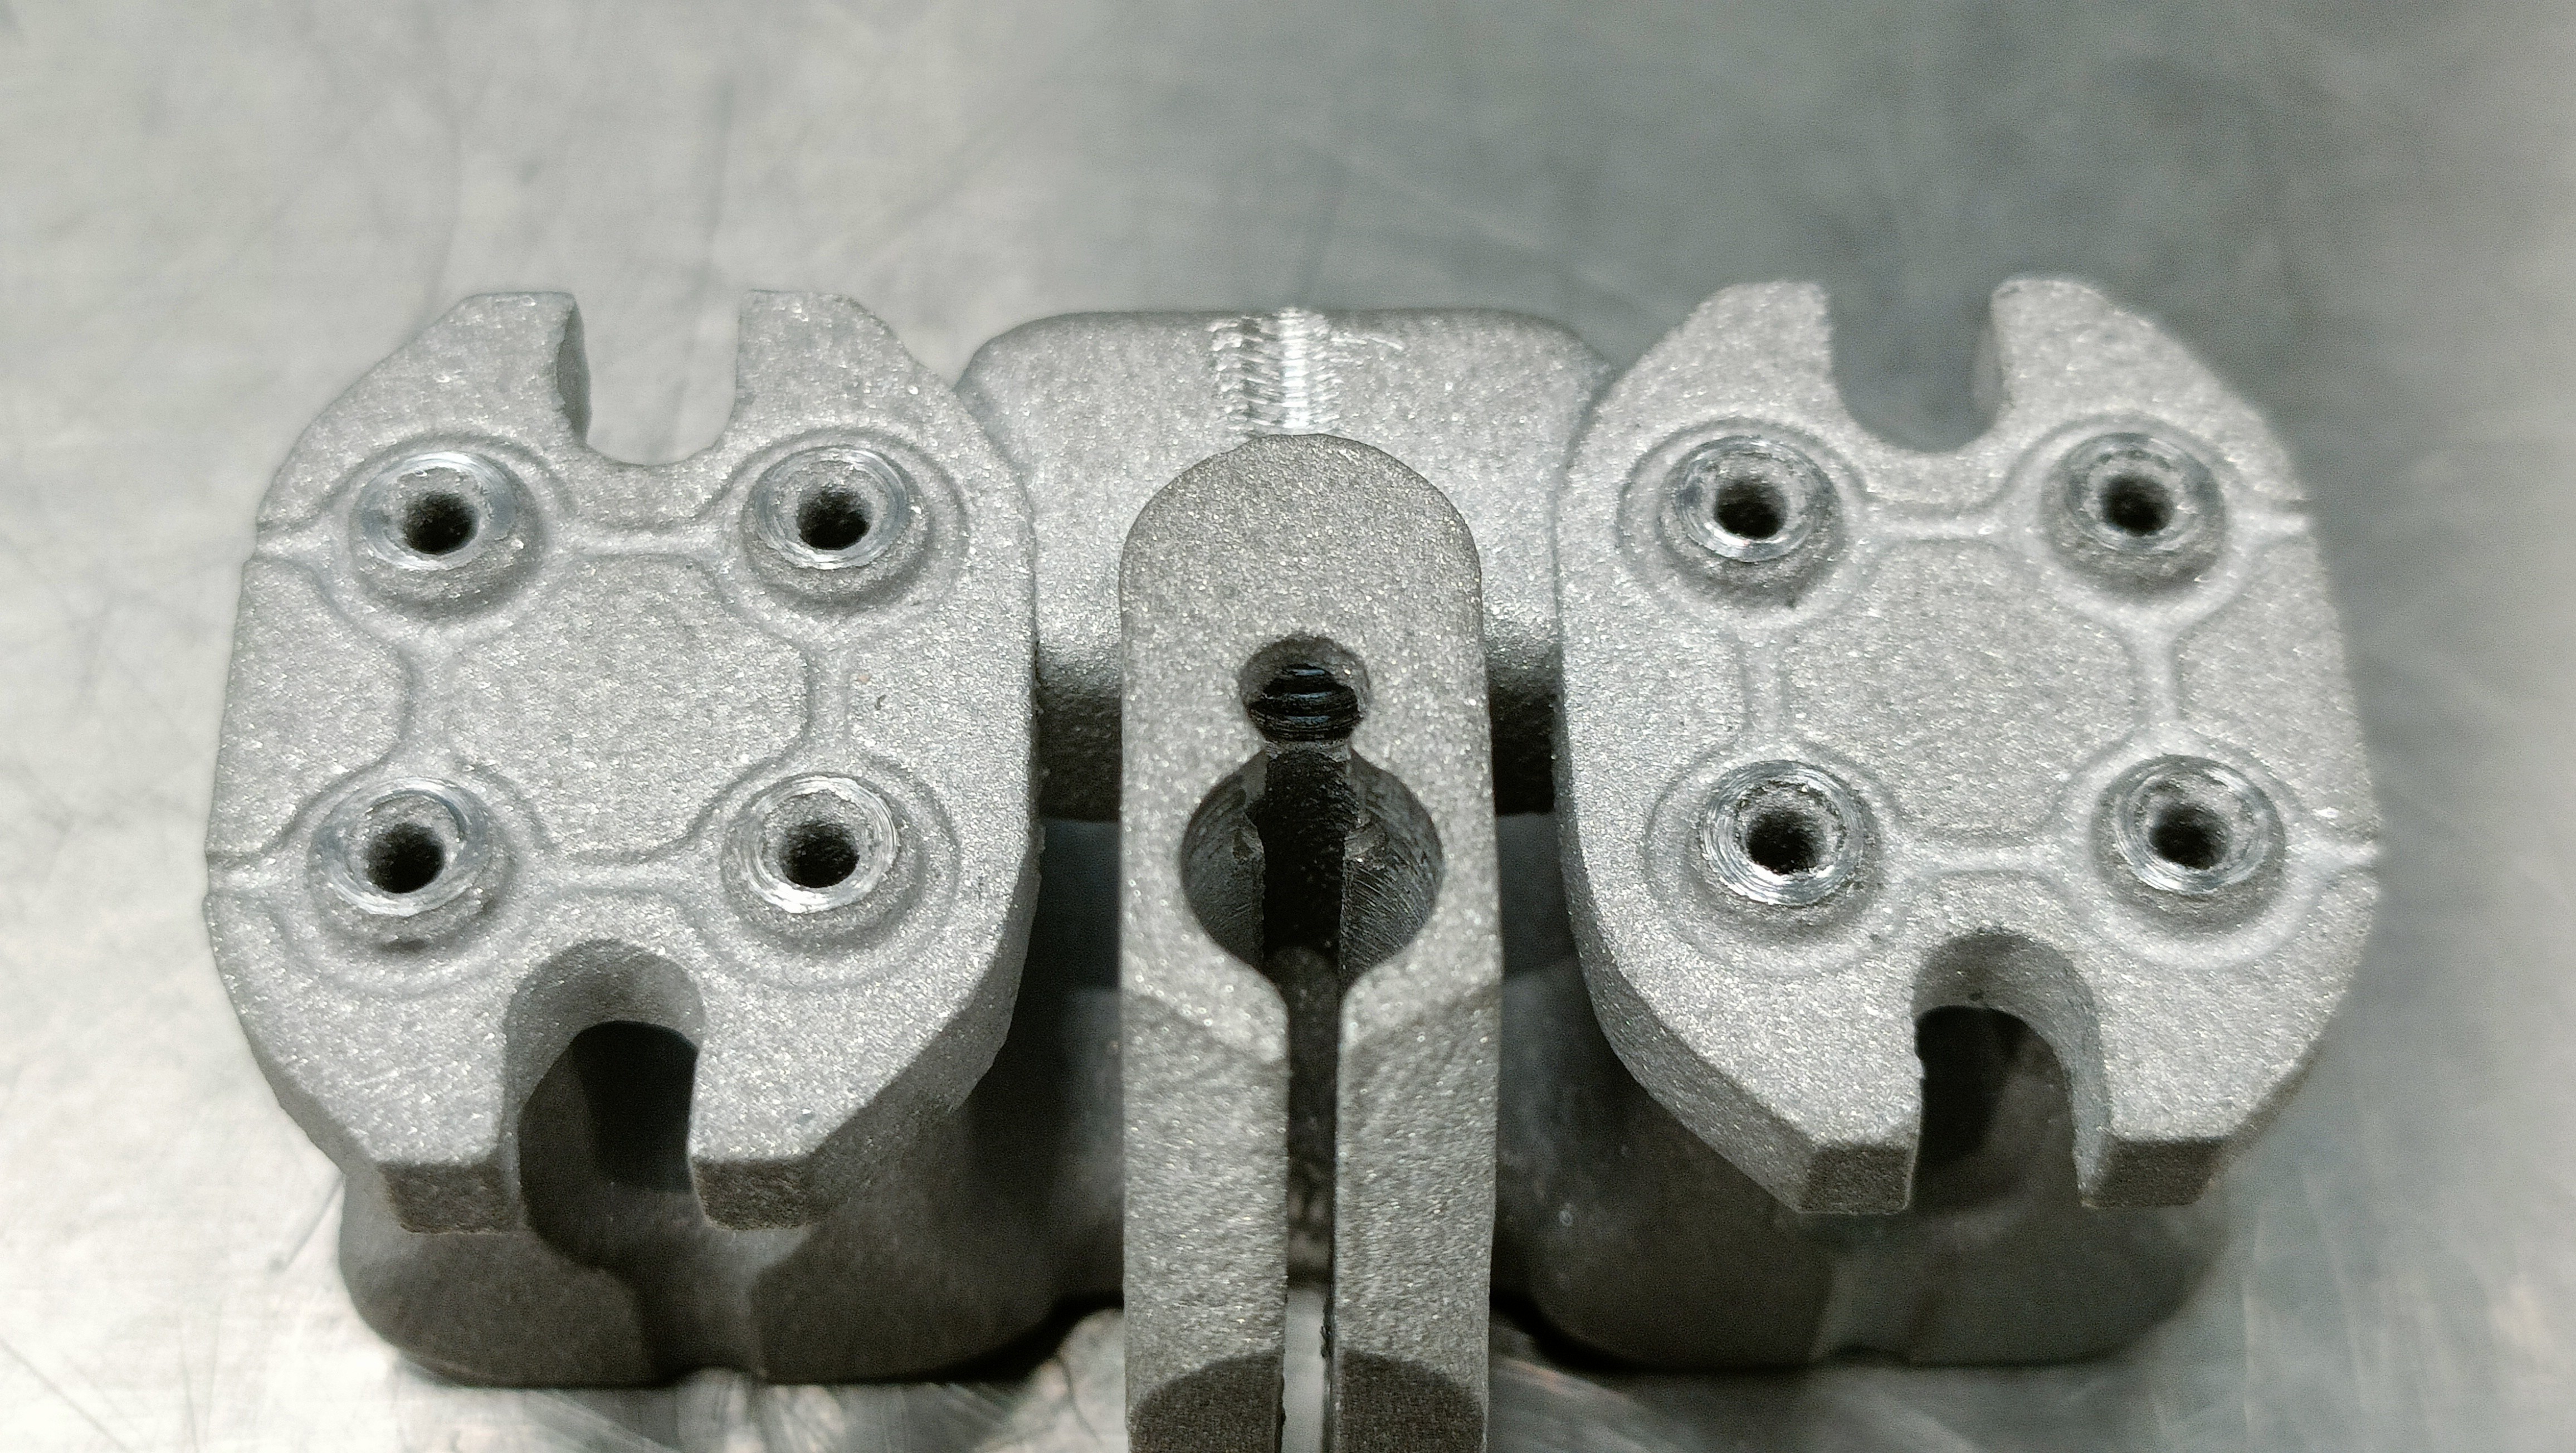
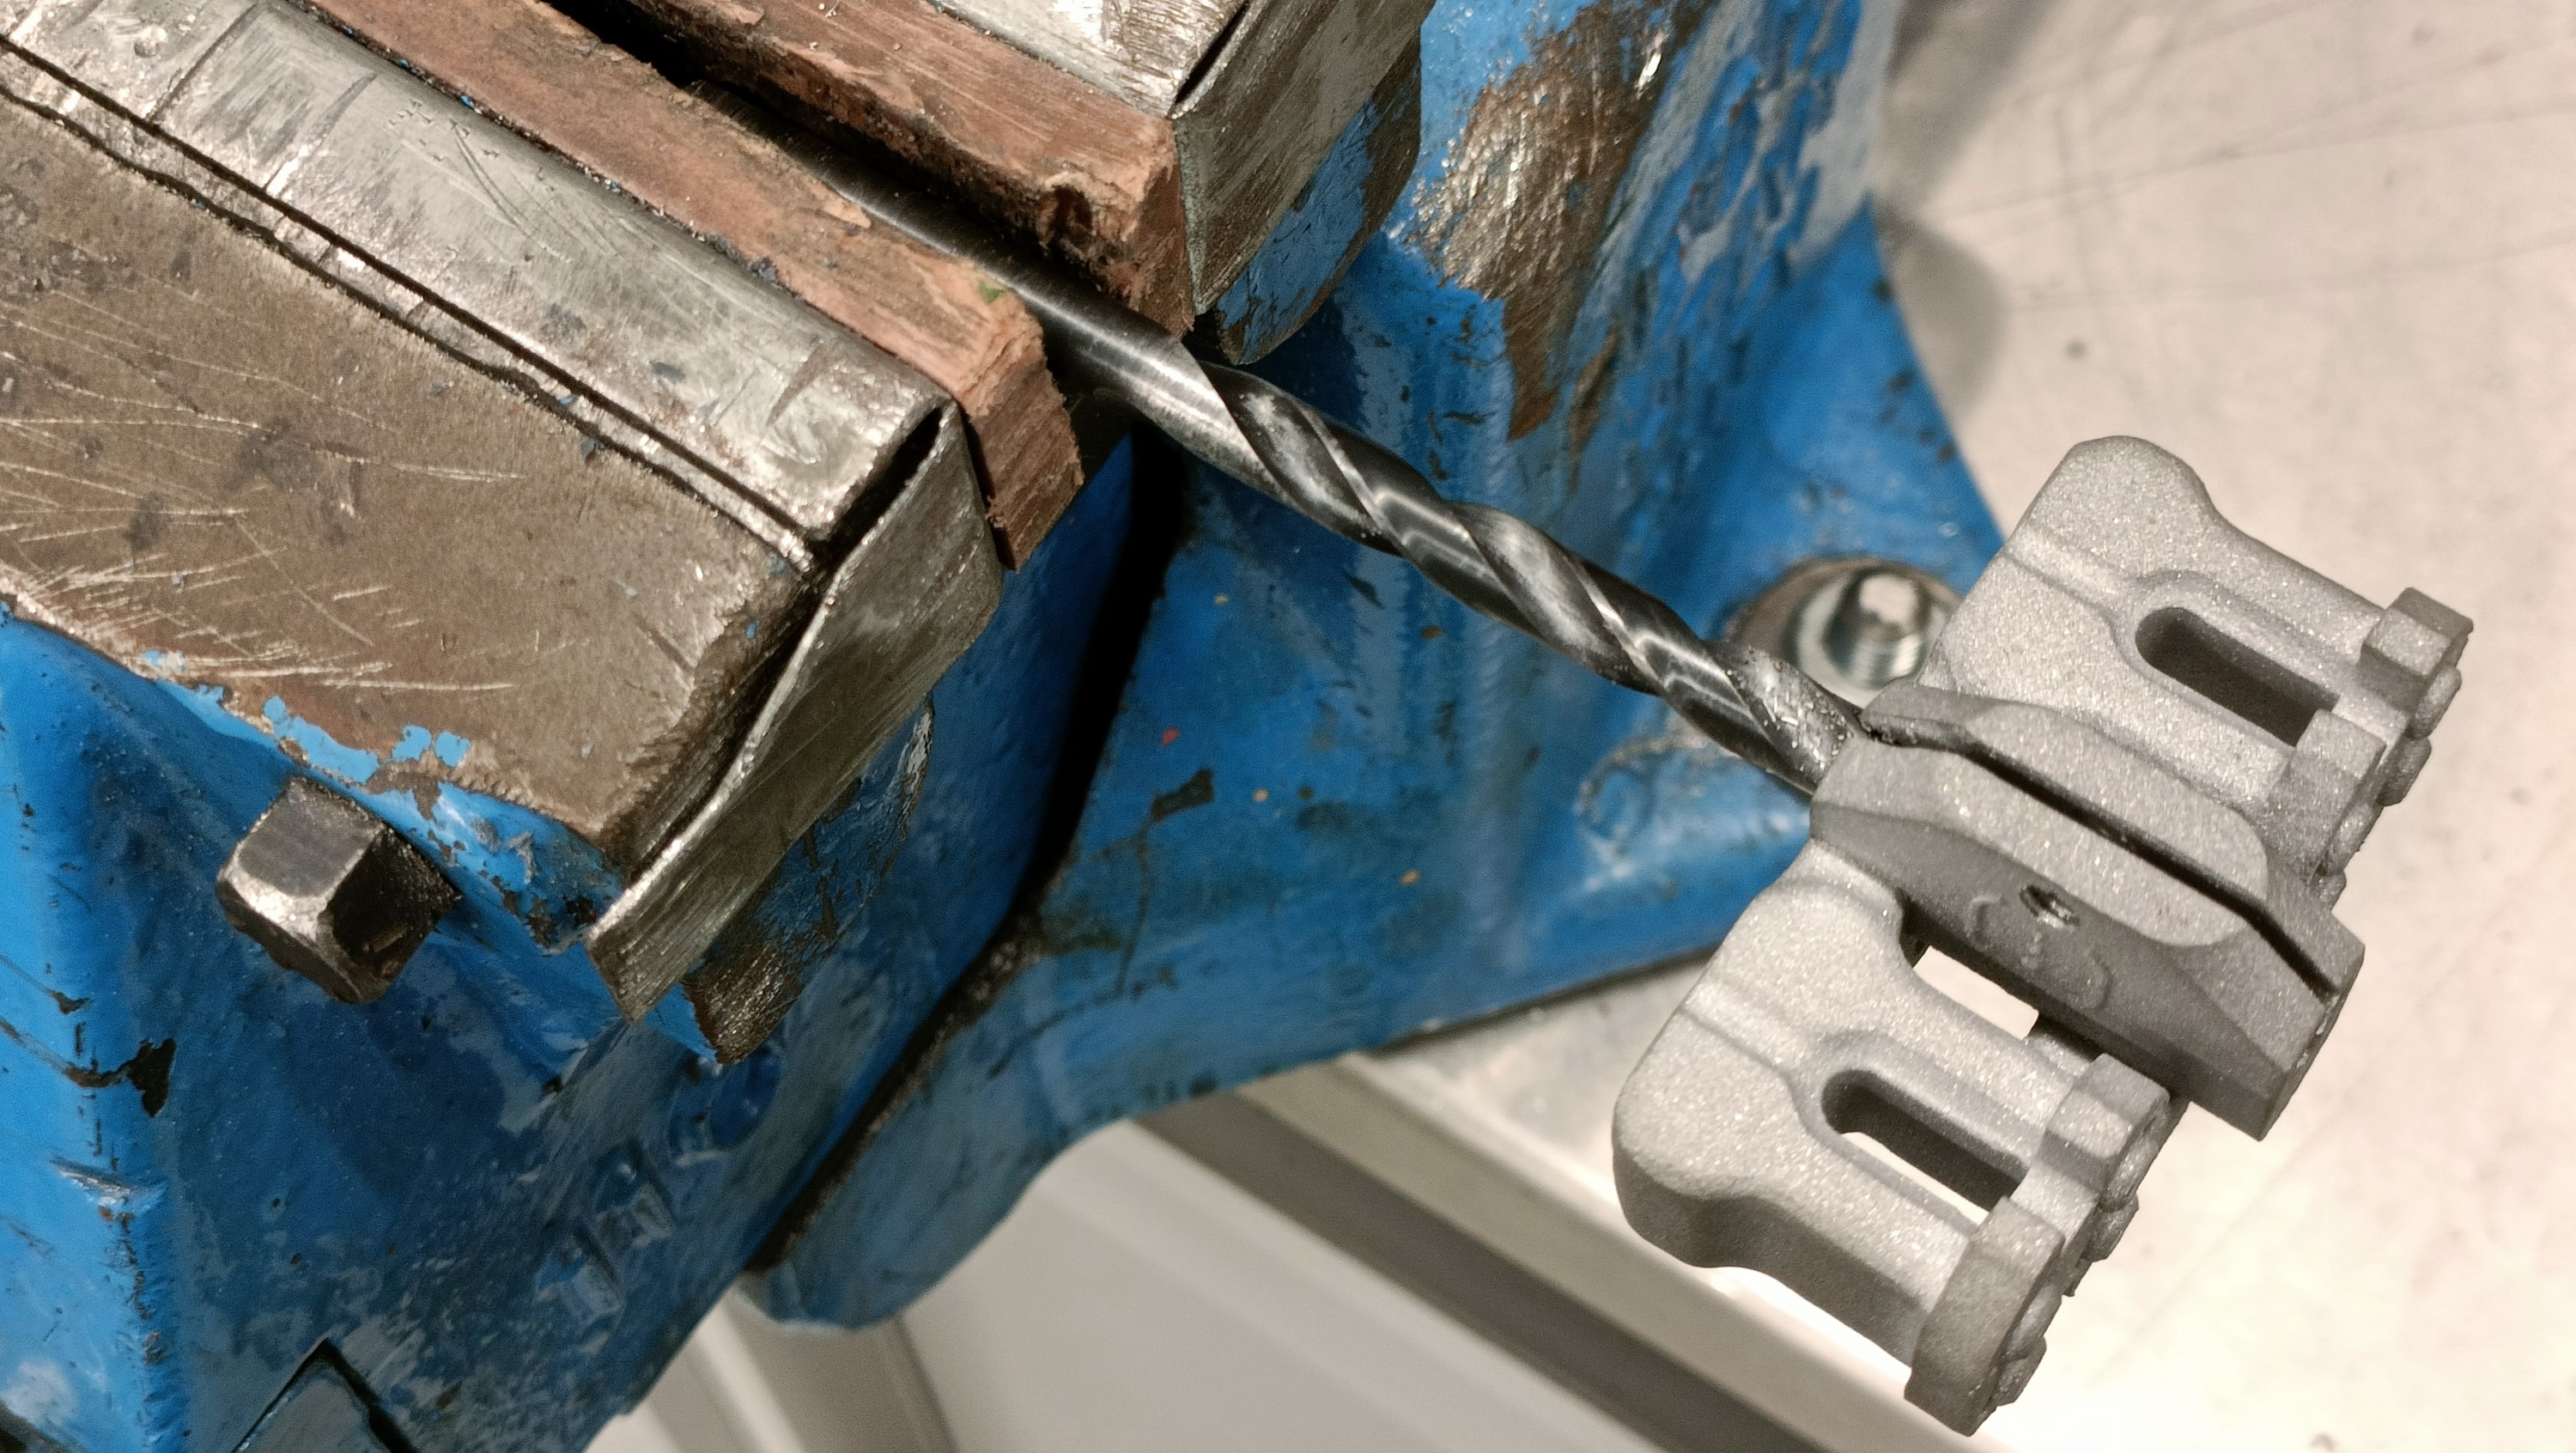
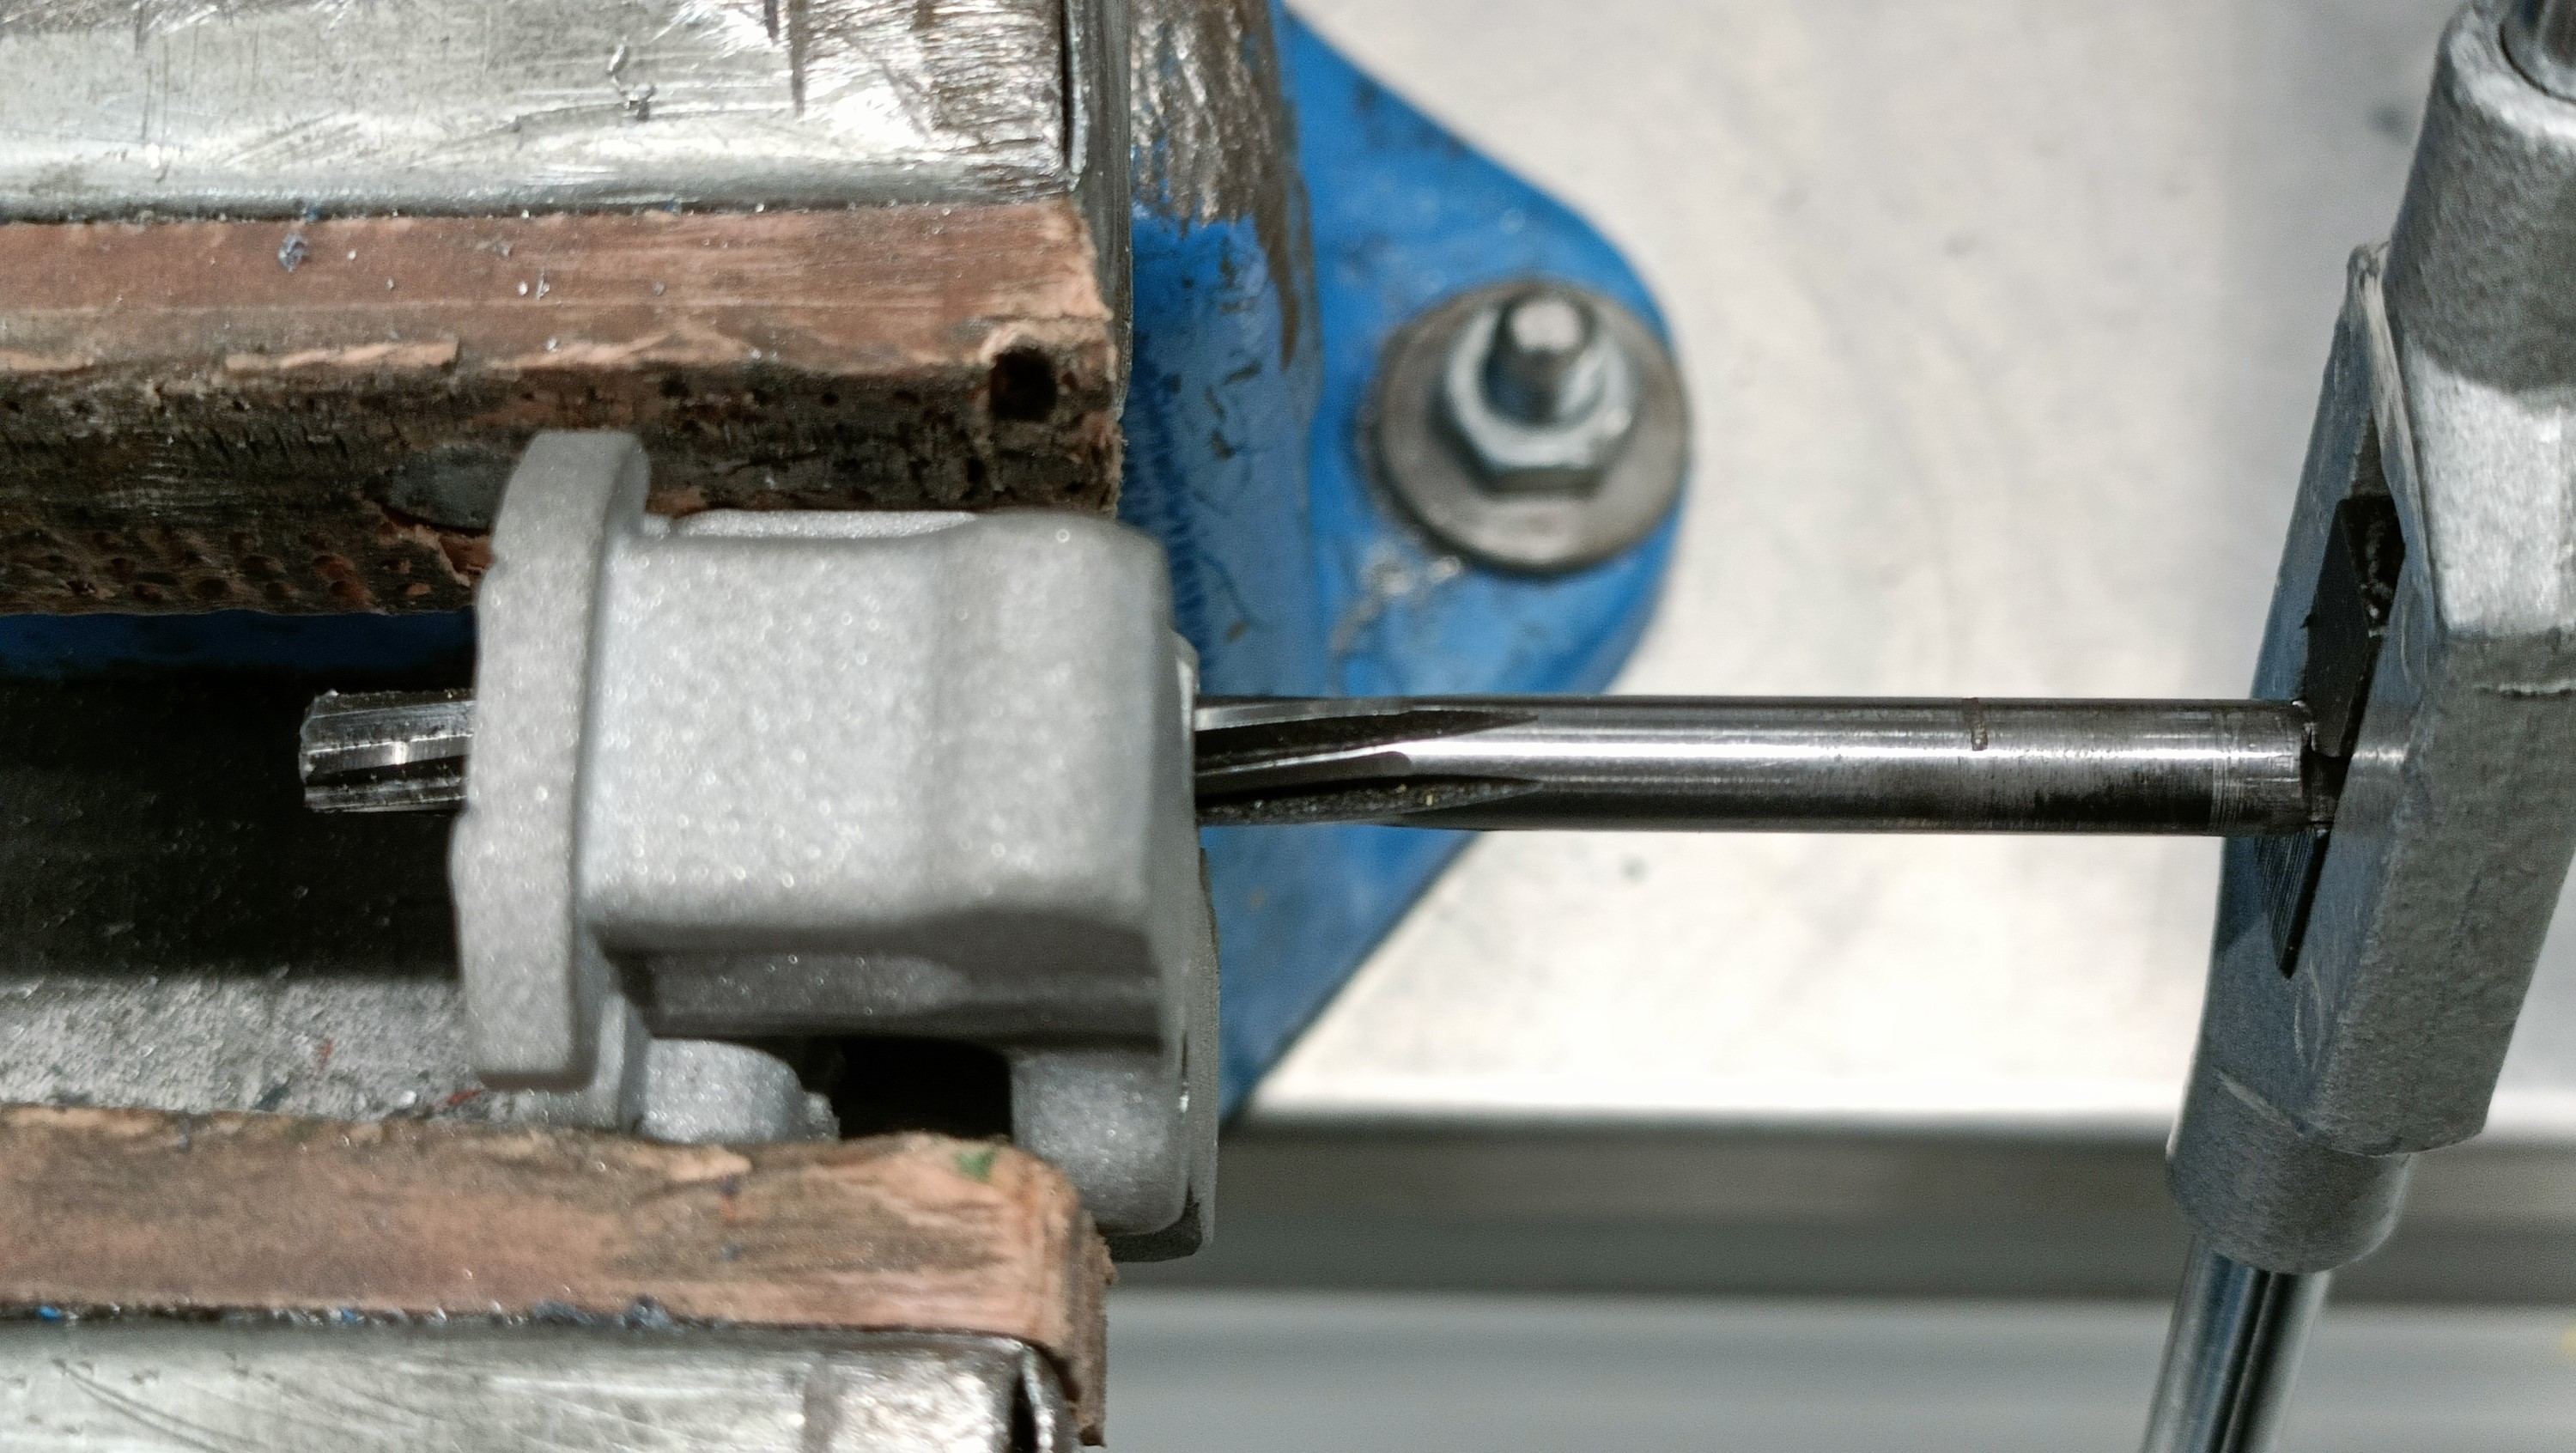
I then tried to enlarge the cartridge hole, failing with a 6mm drill bit but succeeding with a 6mm reamer the uni just happened to have.
Fitting into the cover and carriage
It looked to fit well in the cover:
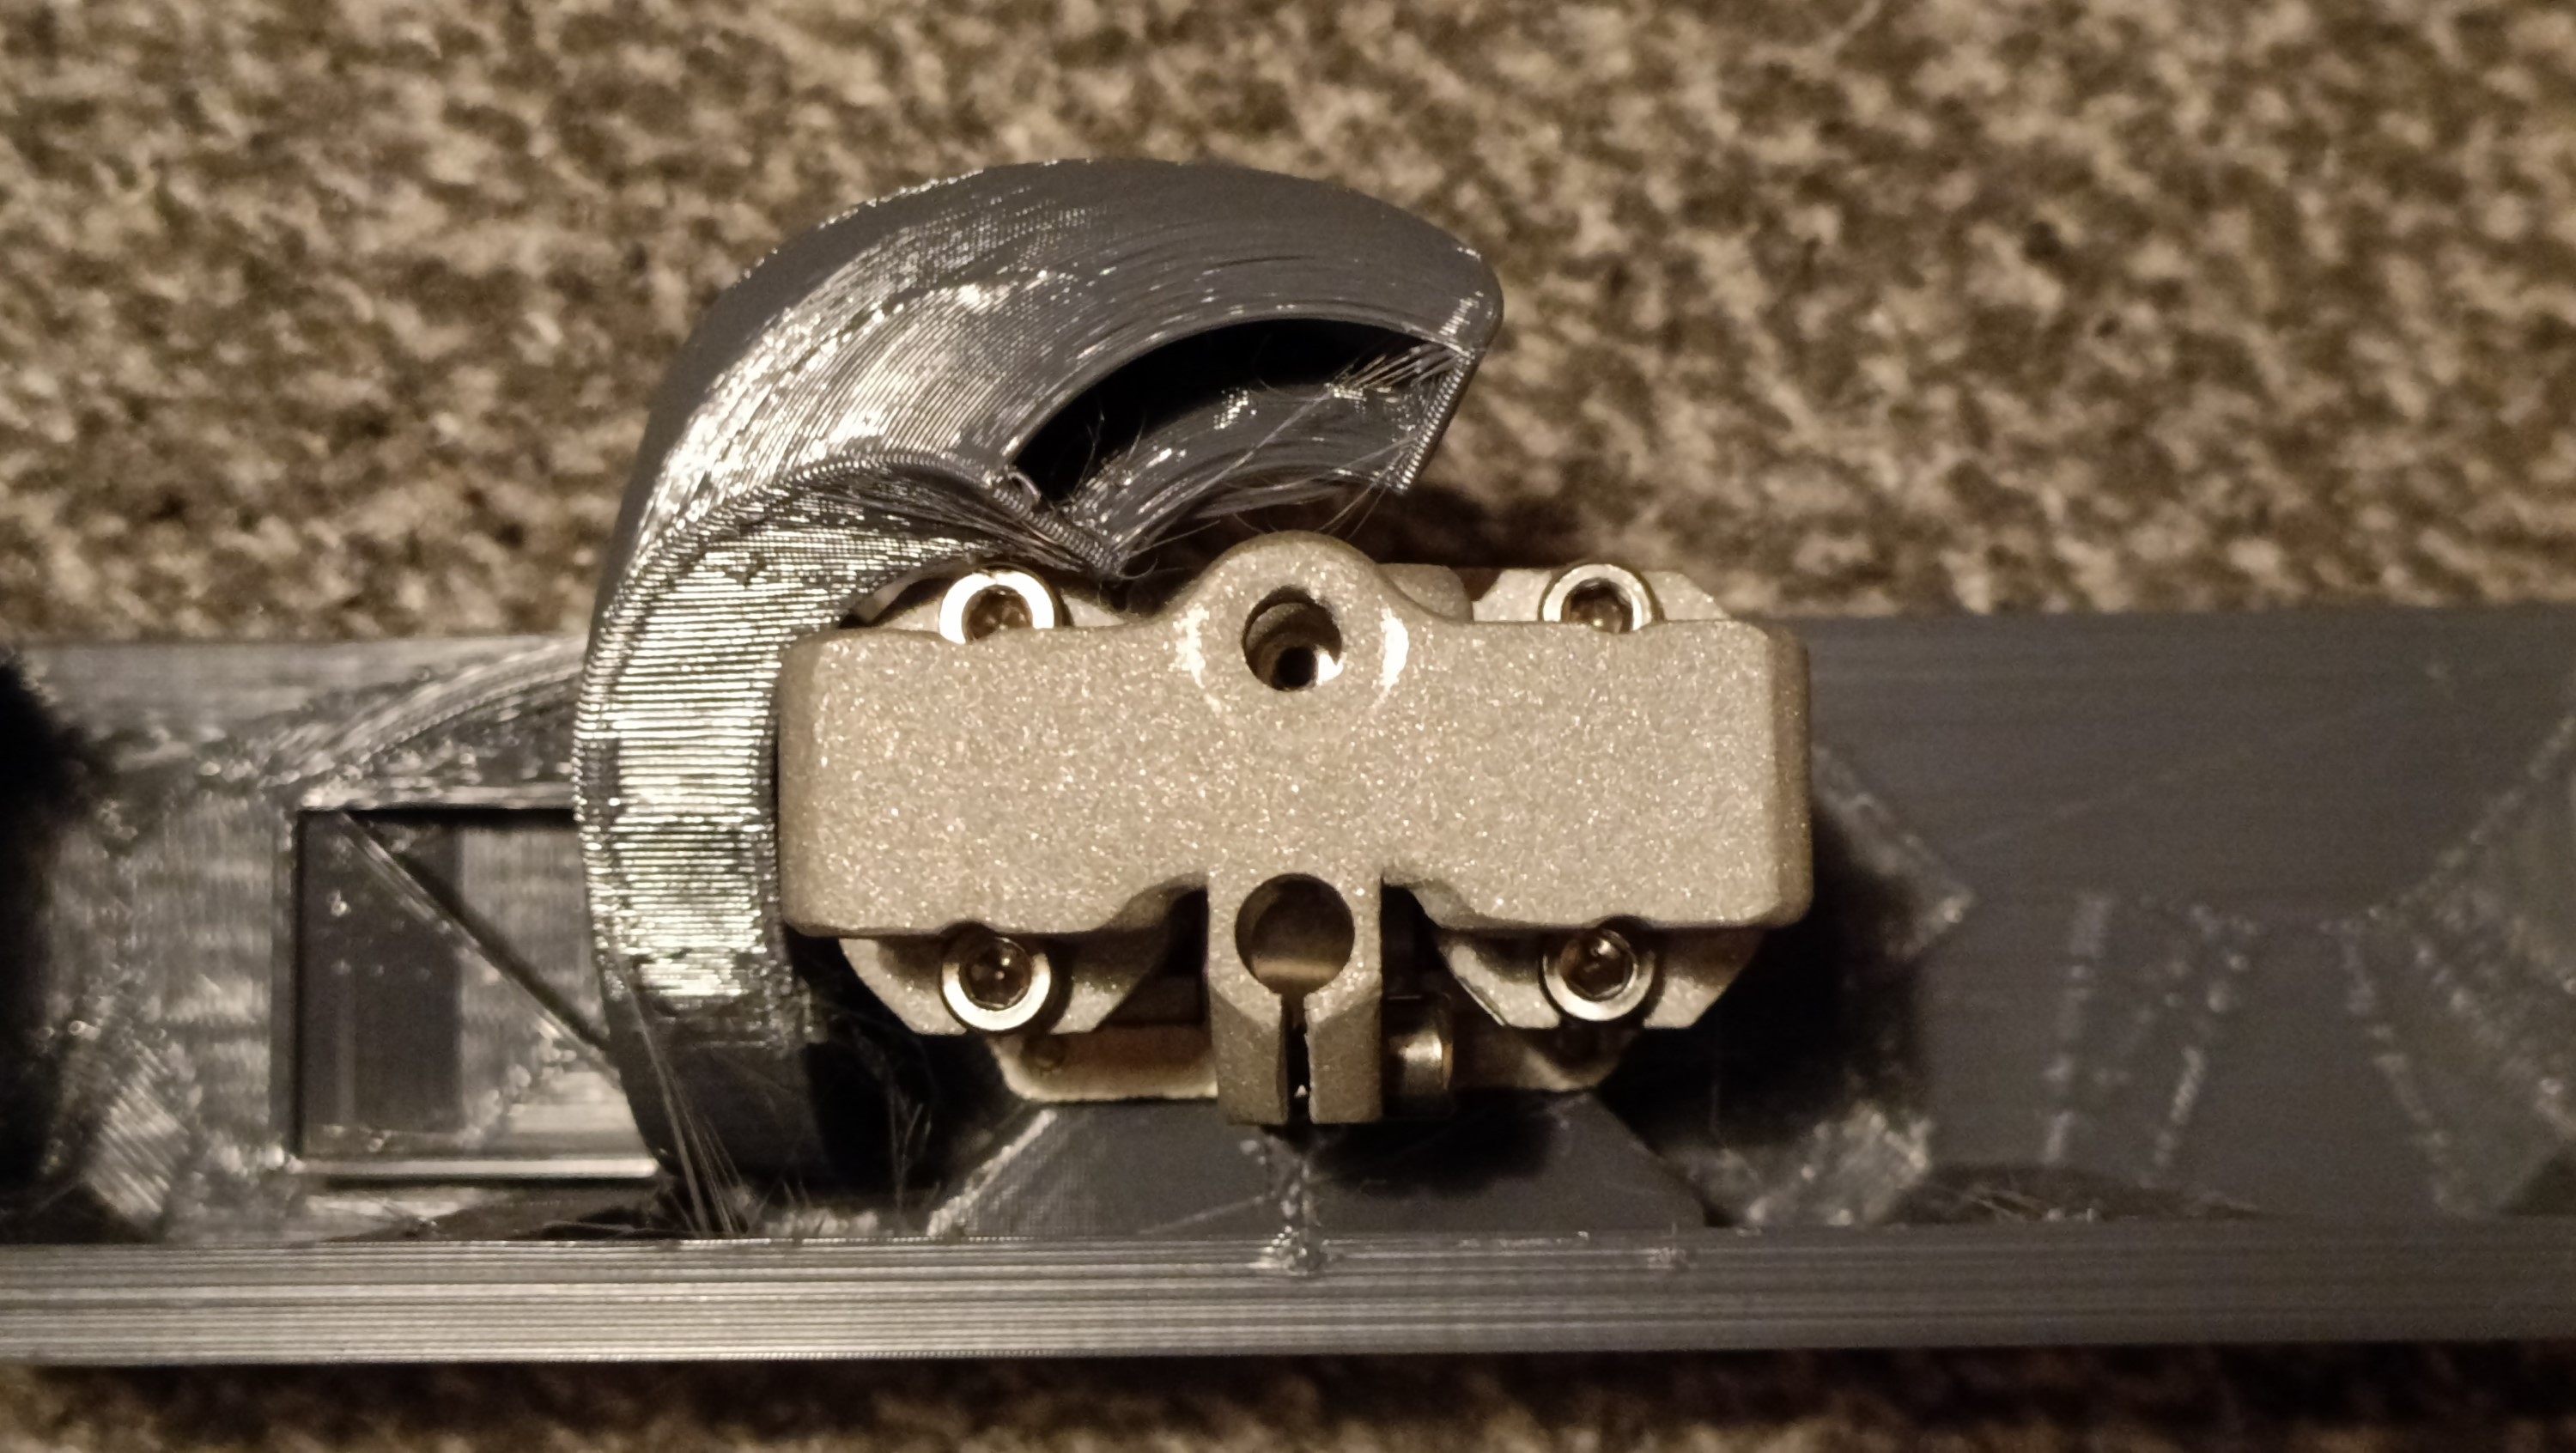
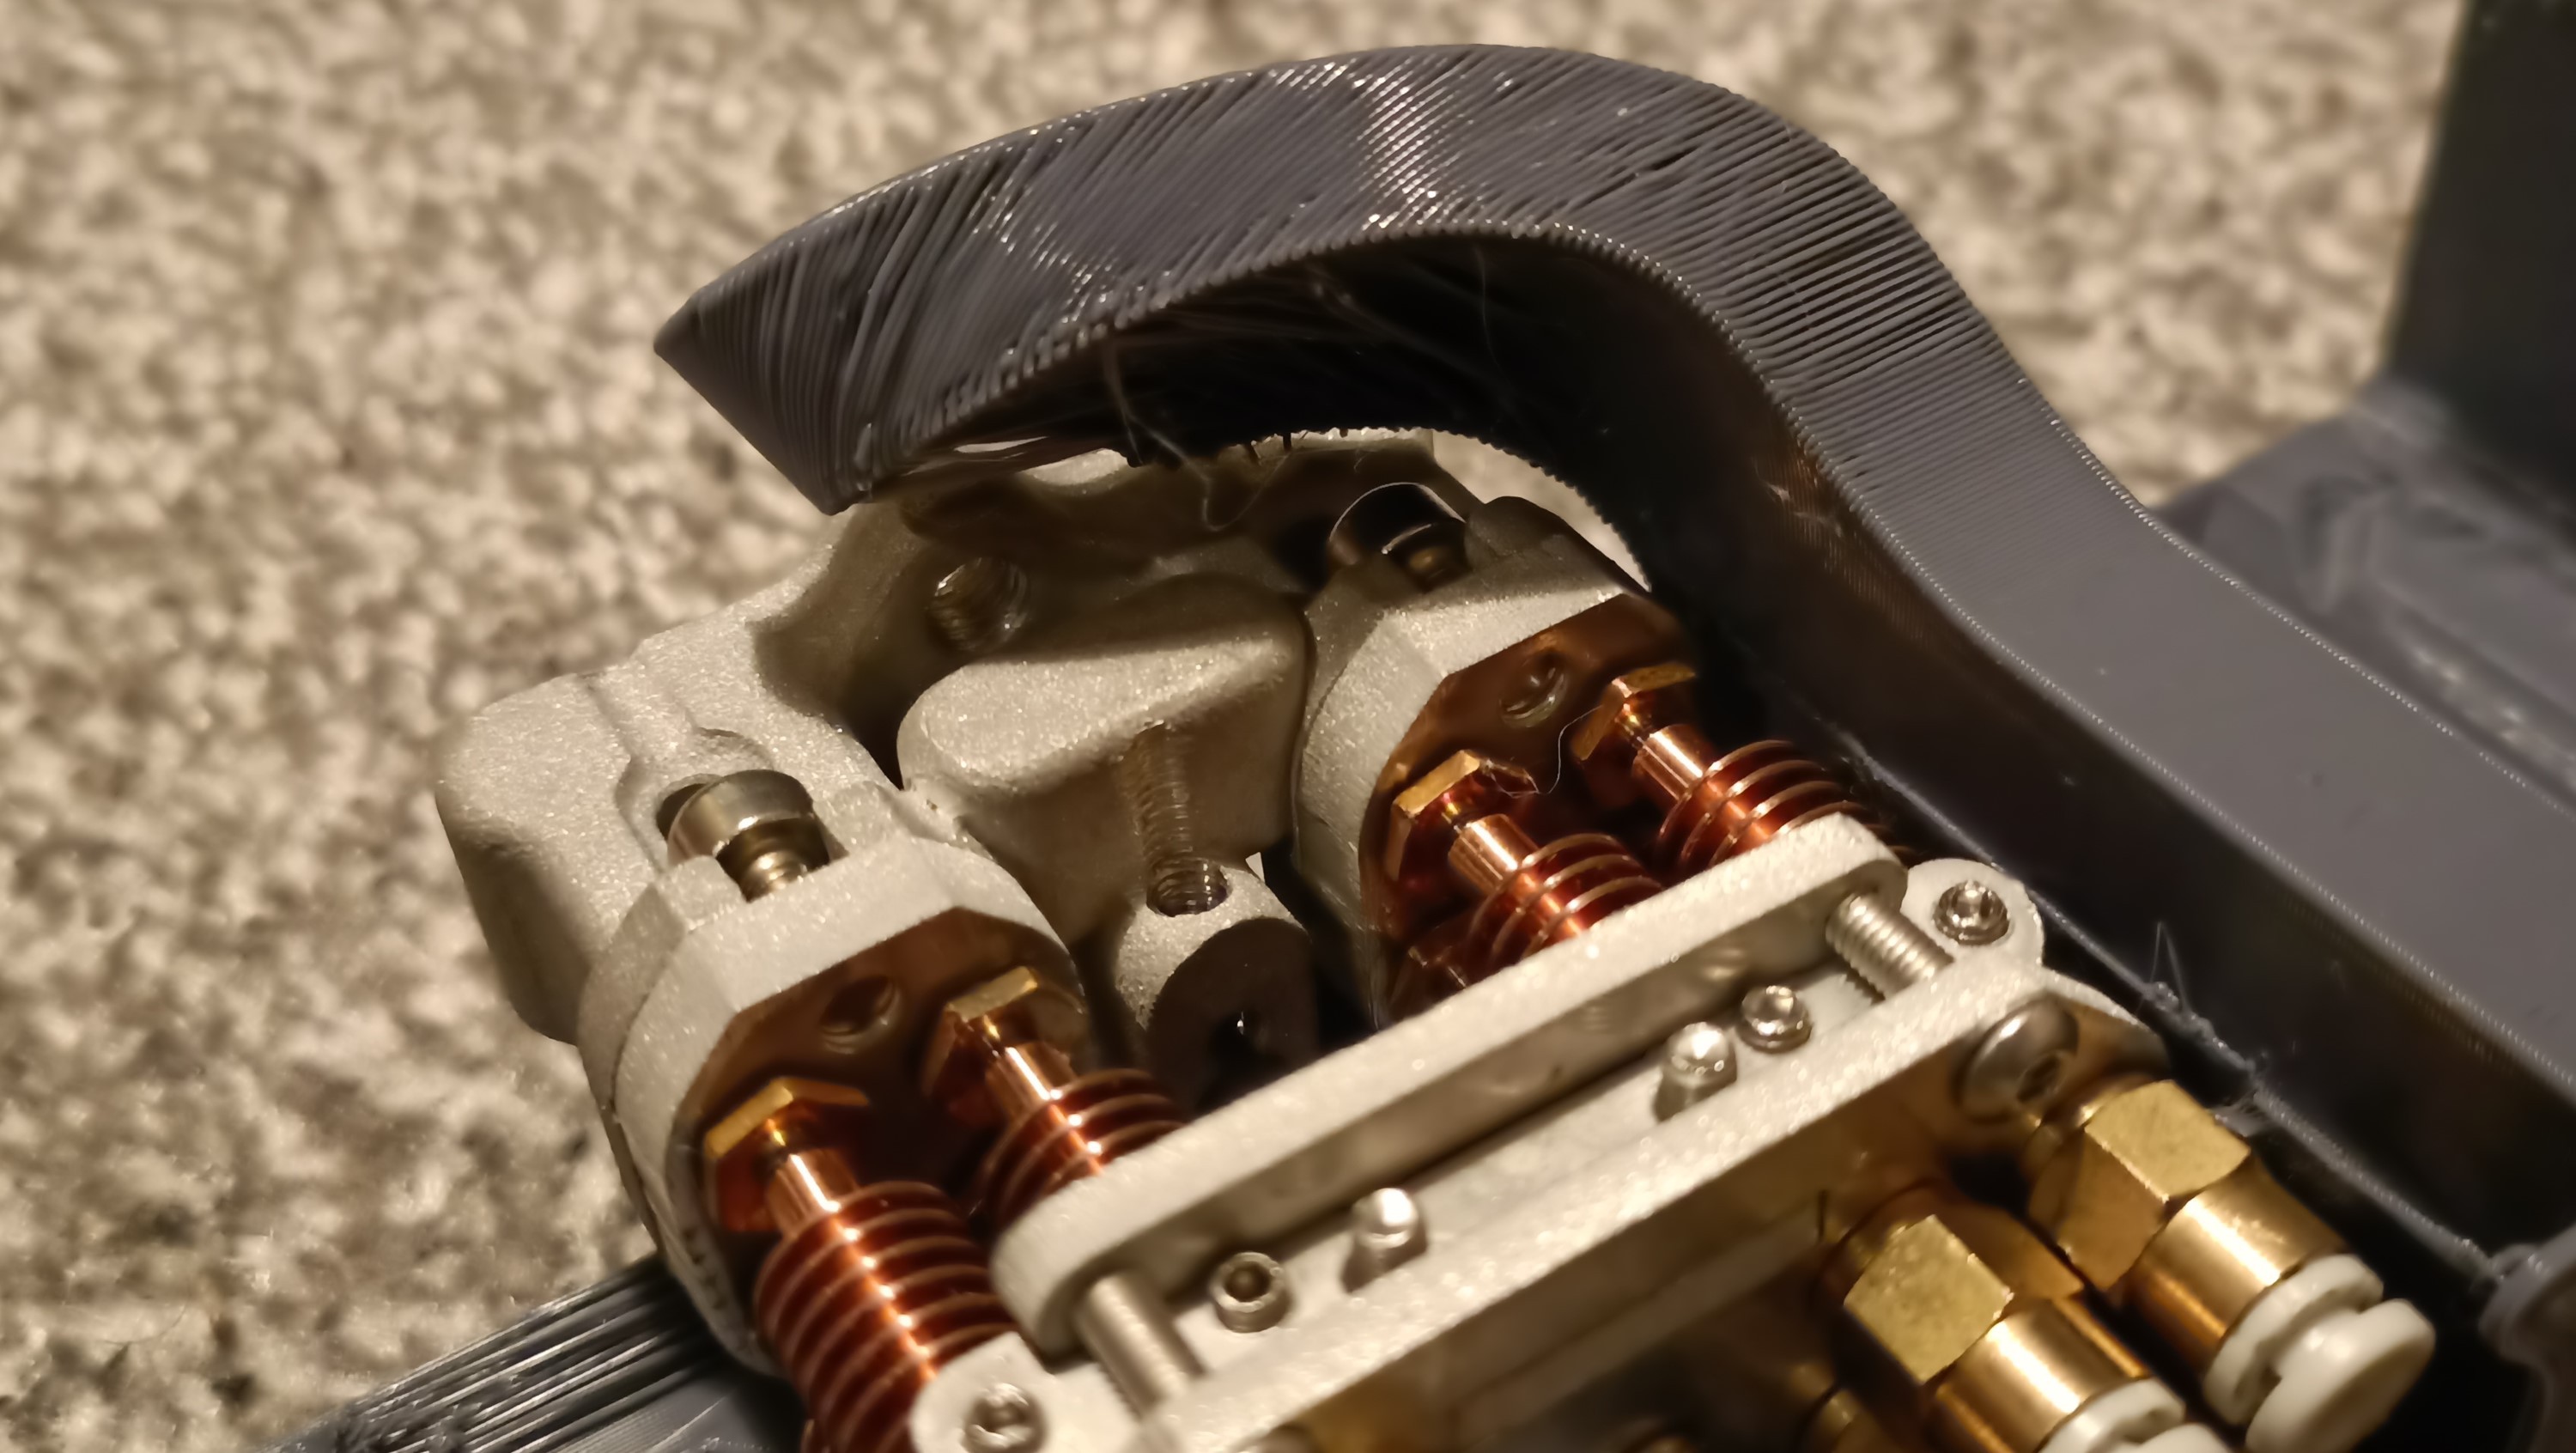
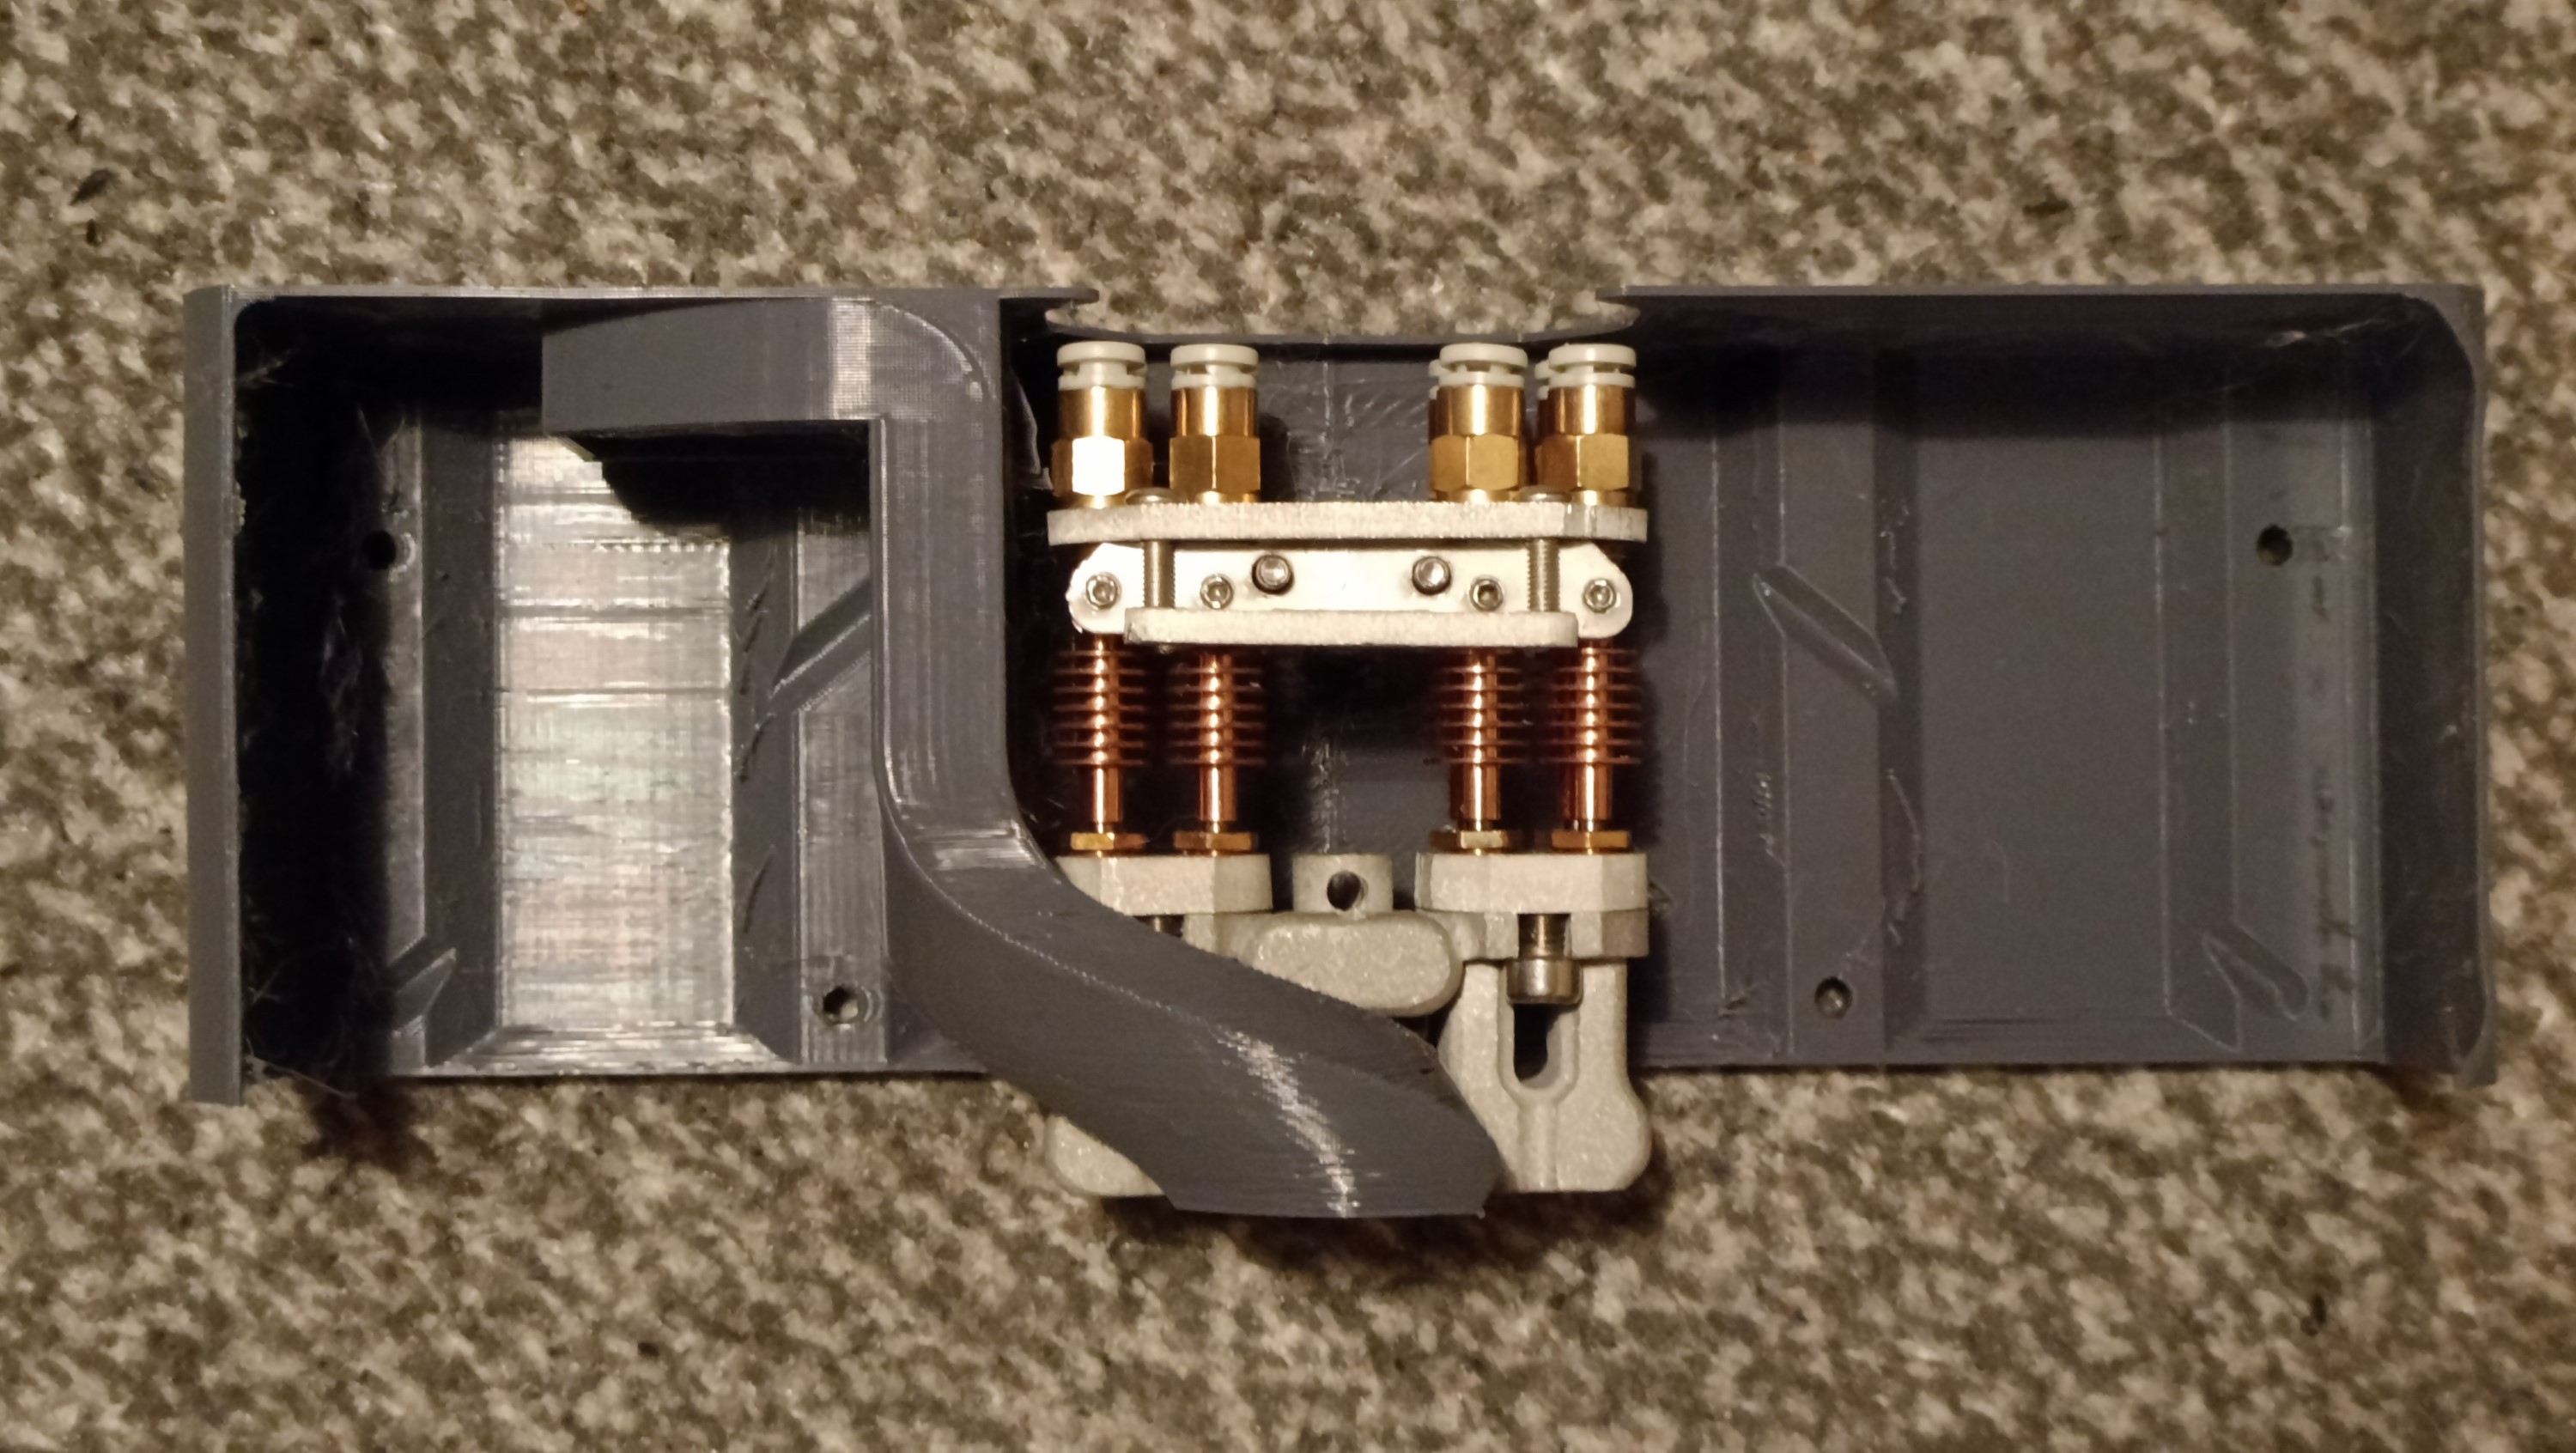
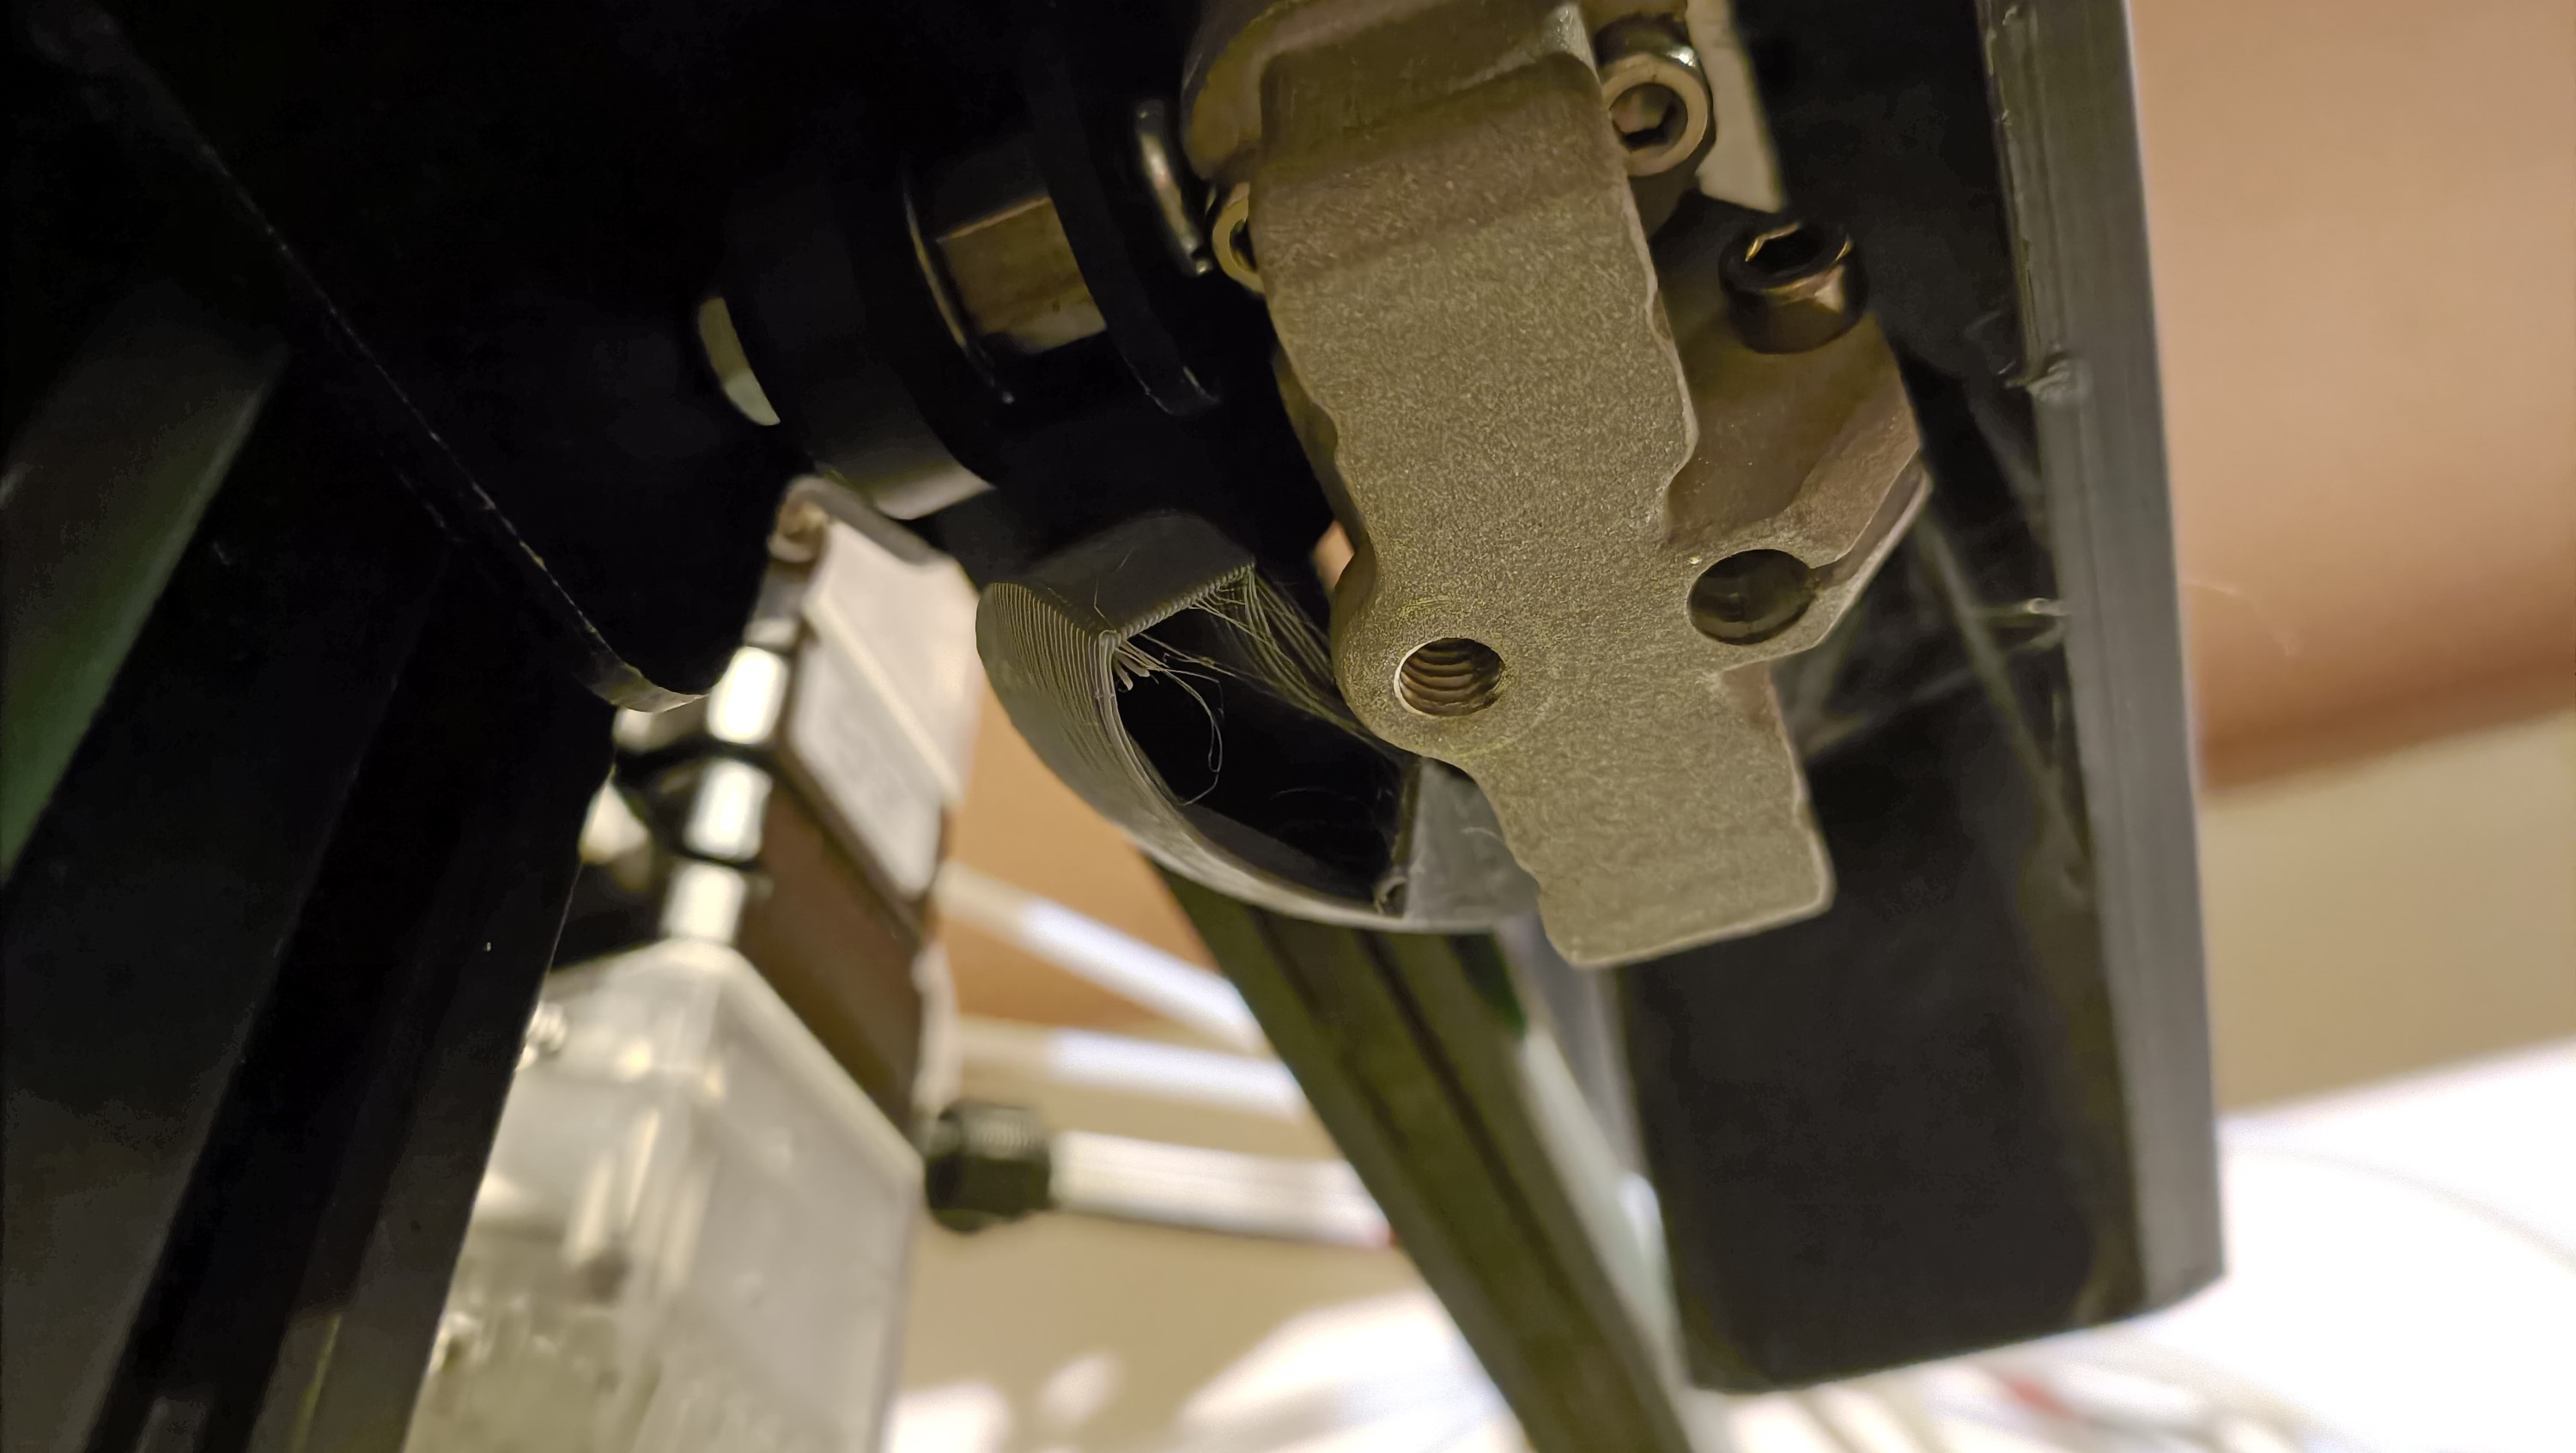
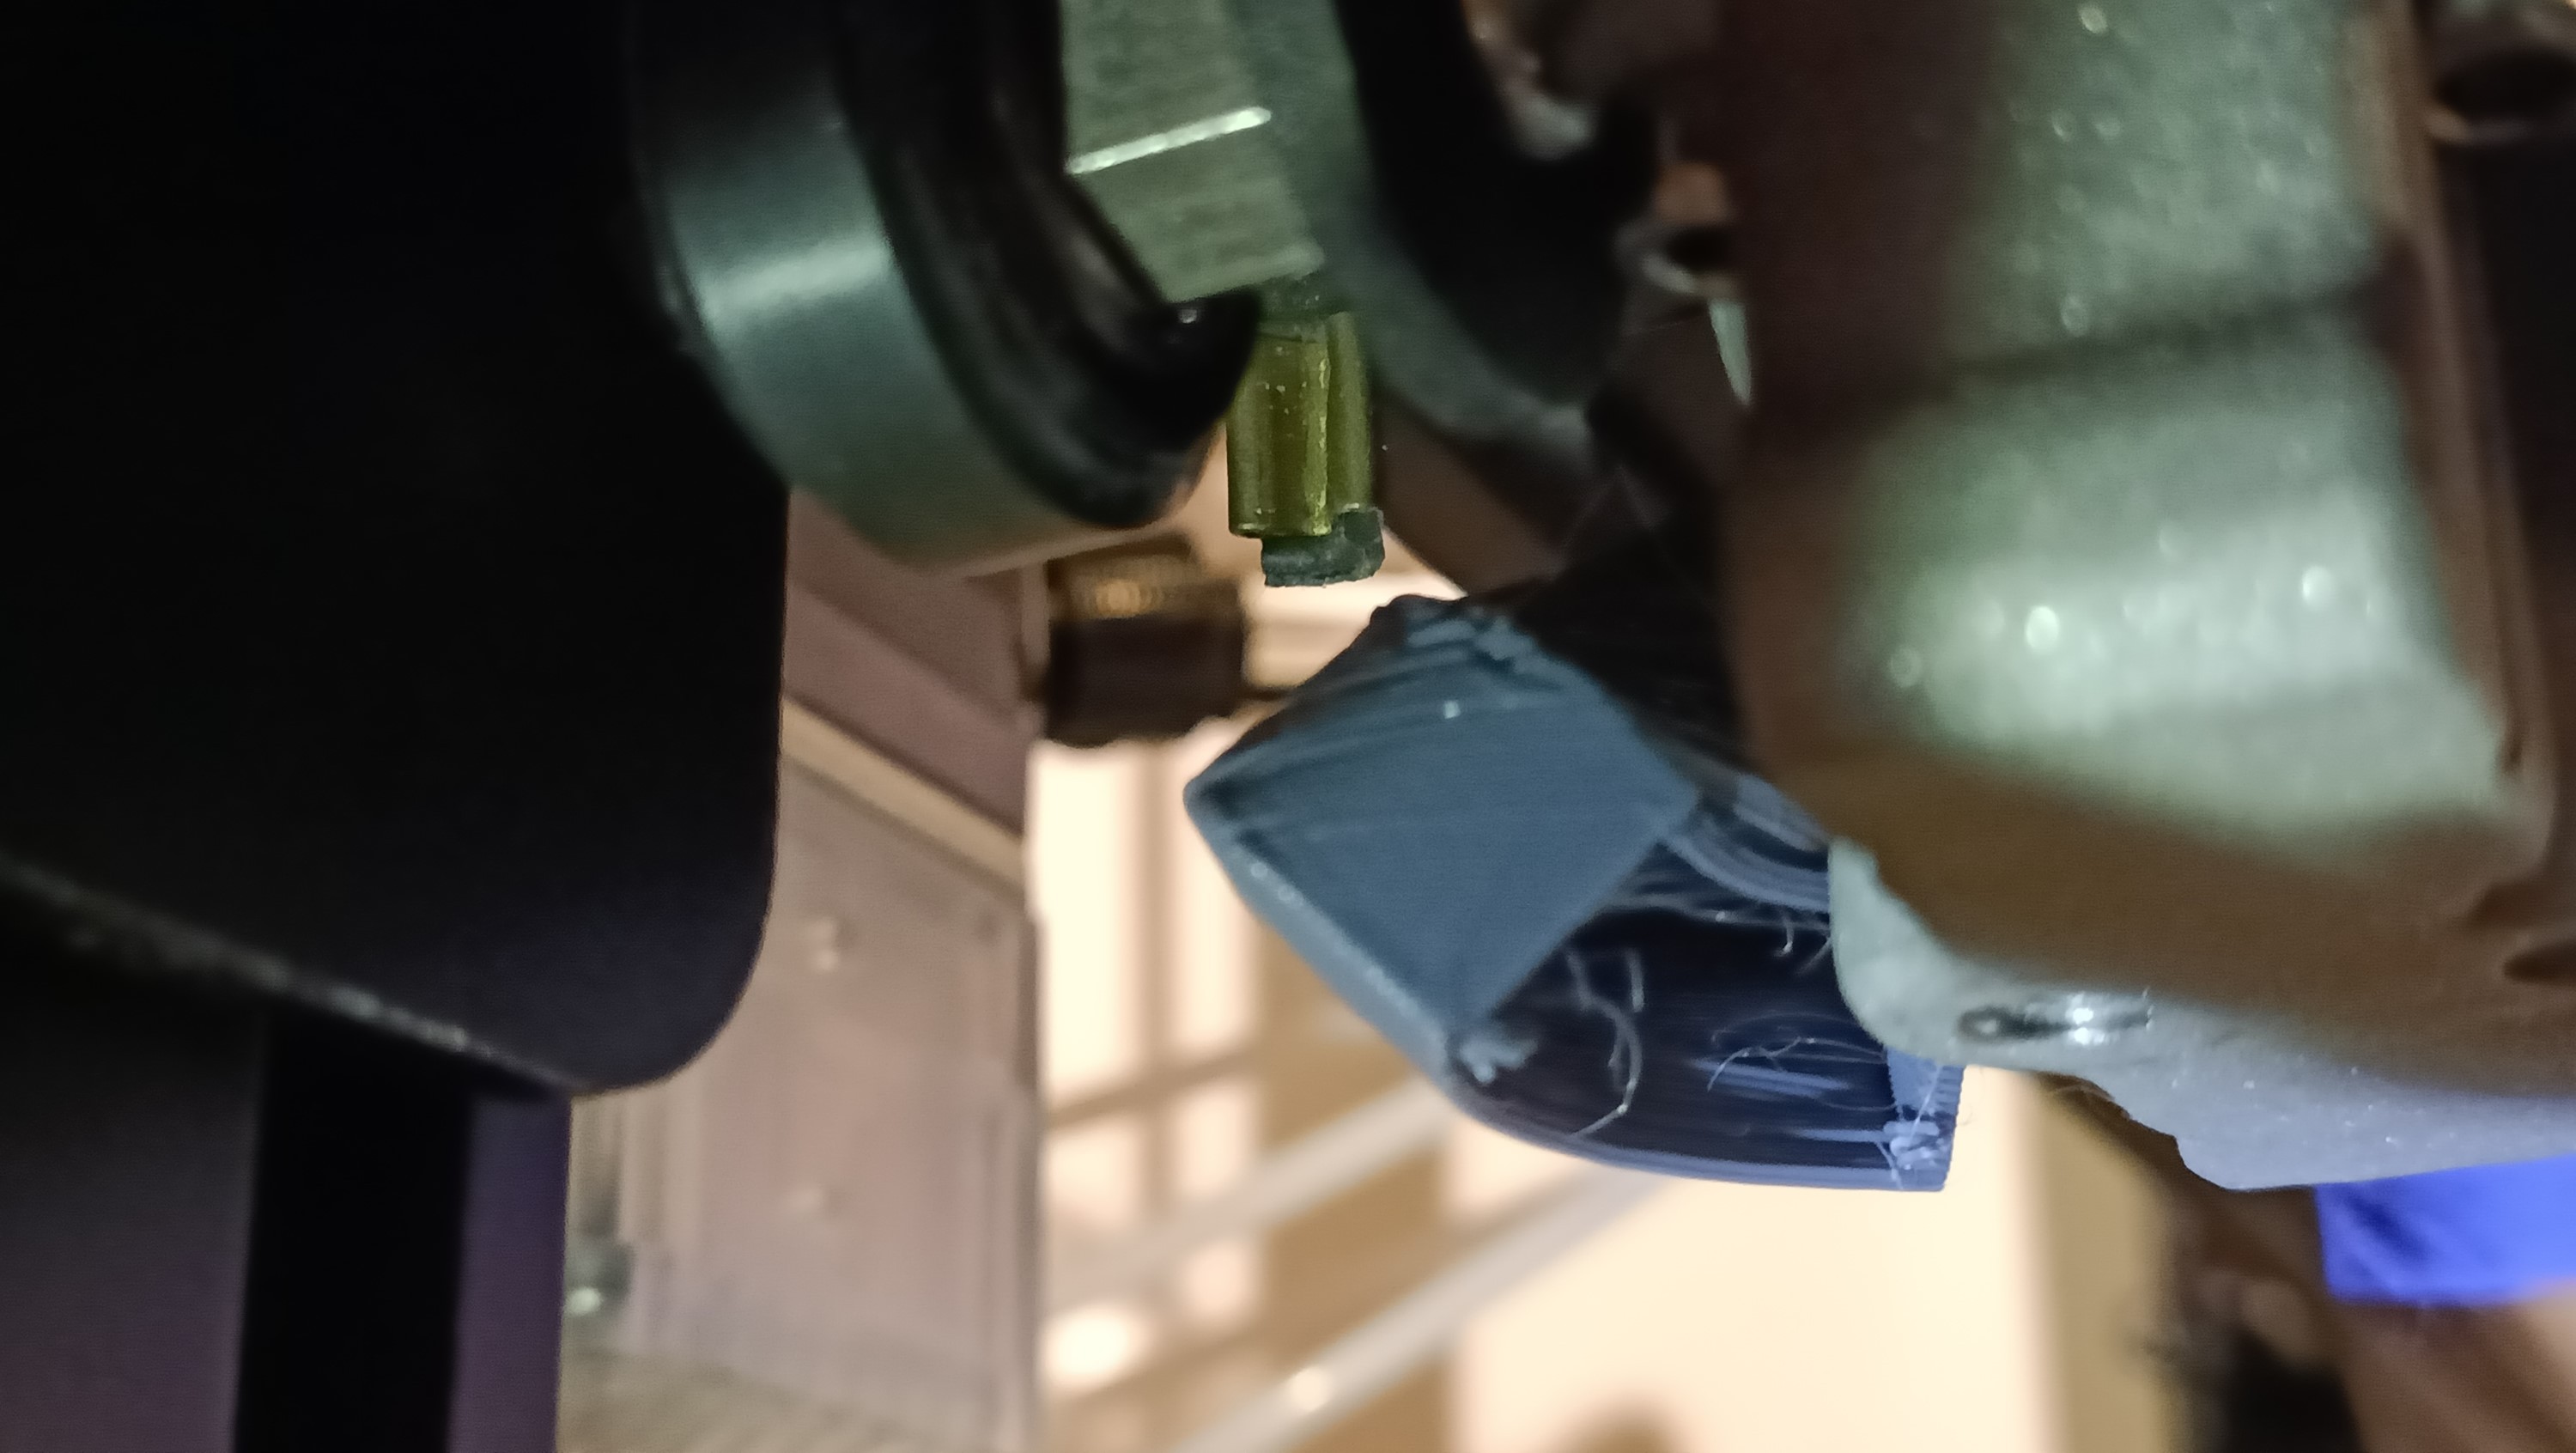
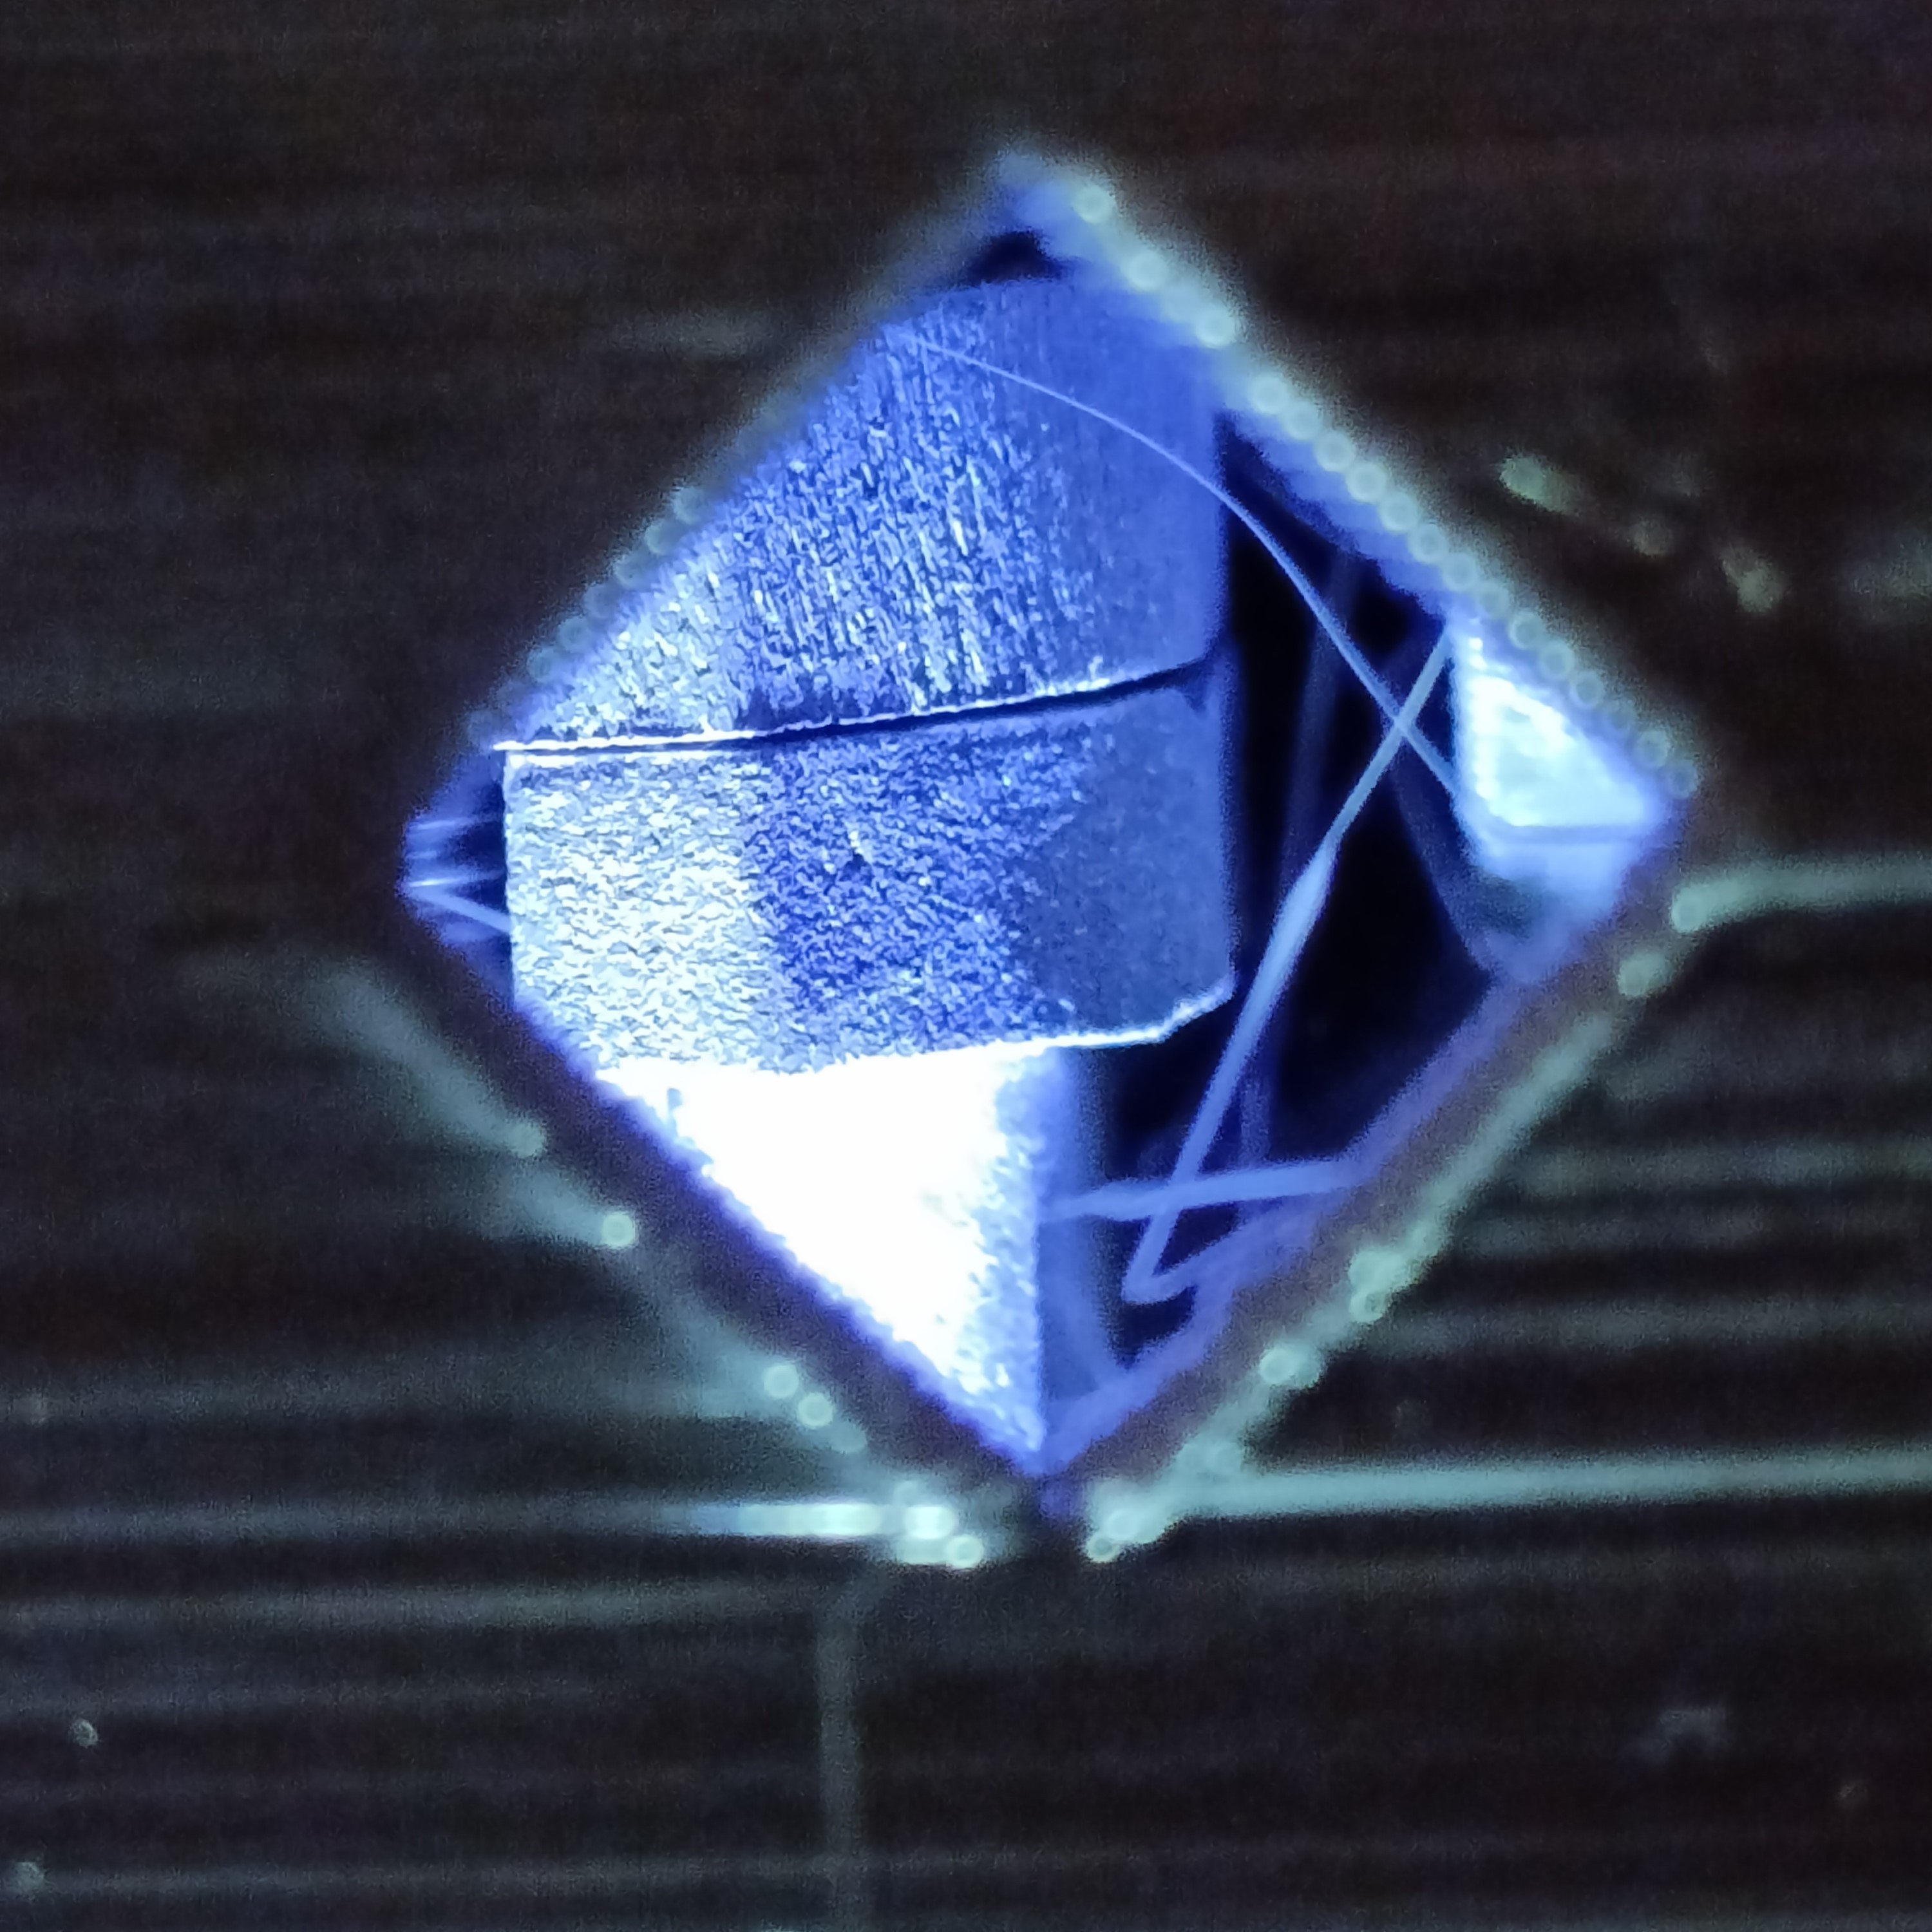
Unfortunately, the CAD model of the cartridge I downloaded from the internet was wrong and so the frontback plate touched the standoffs before the to / bottom plates could touch the x-carriage as intended. However, it was very stiff and reasoned that it was probably better this way since the frontback plate would always be relatively flat compared to the relatively misaligned top and bottom plates. I redesigned the holder.
30mm 160W cartridge
All the steps I've had to do took so long that the 30mm cartridges from AliExpress arrived:
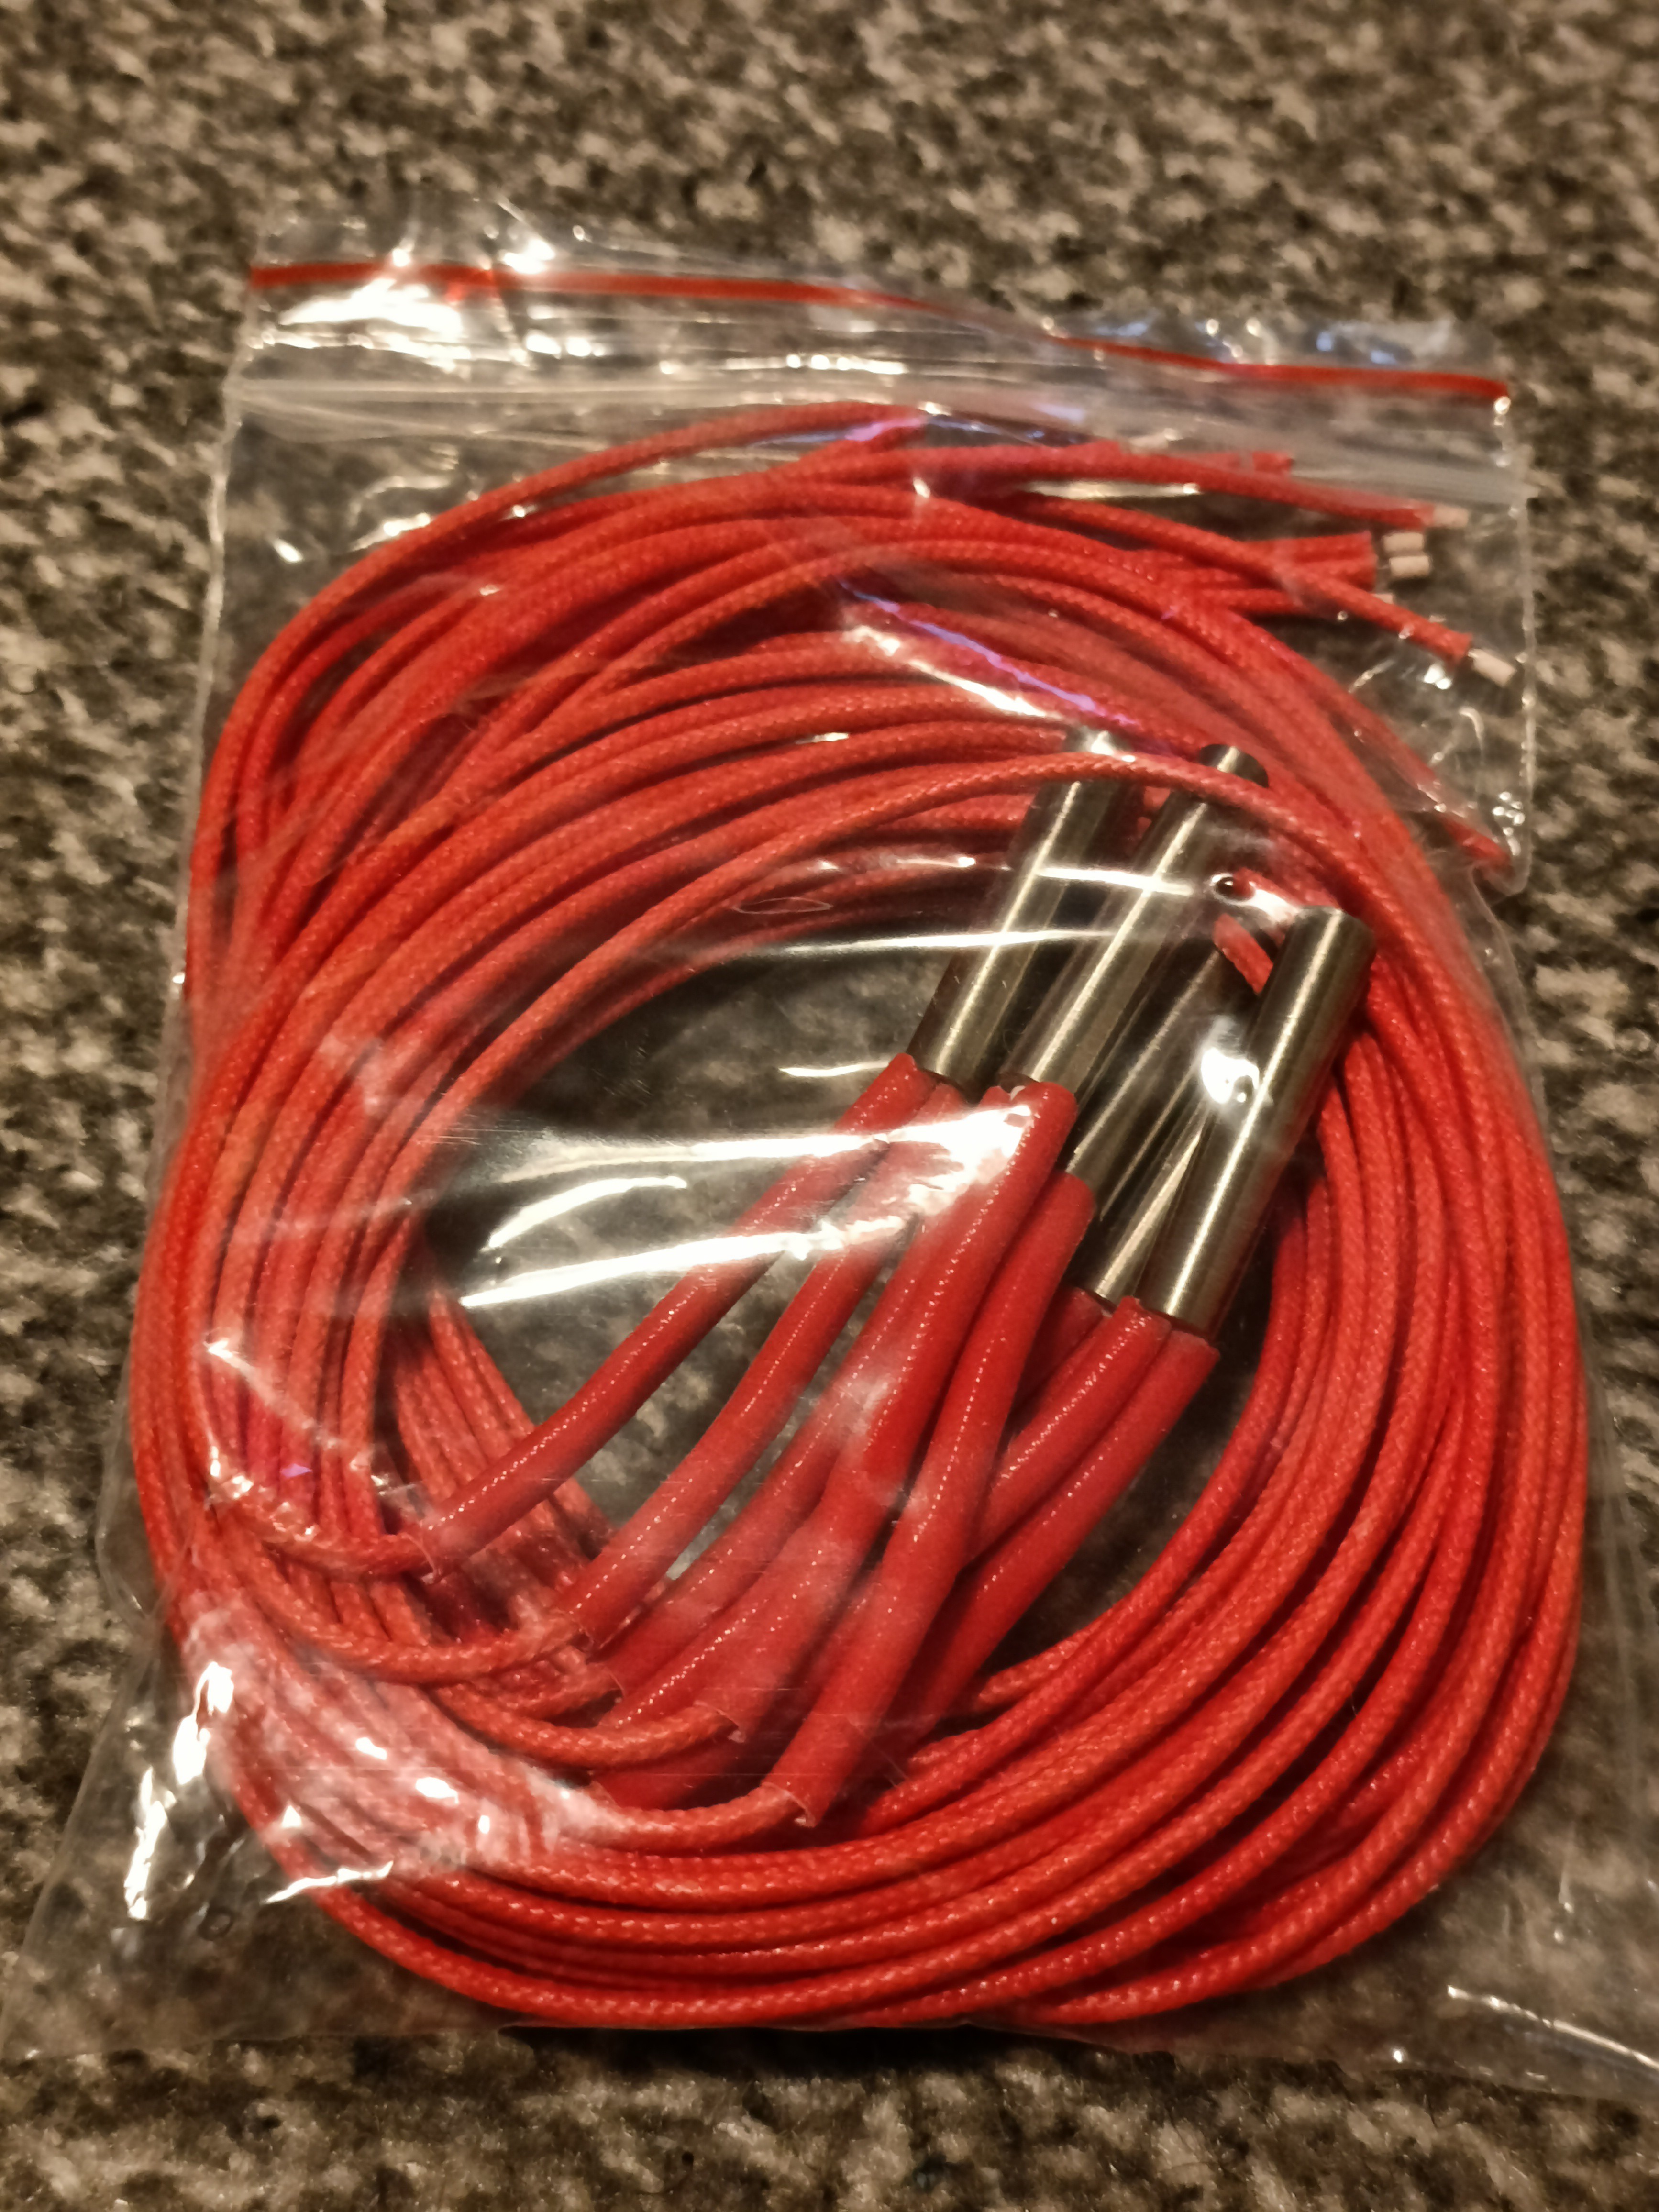 I'd imagine they're old stock since no modern-day hotend would use these. They're also unmarked, but I took one out and it was 3.3 ohms. The ends are kinda dented-looking but should be serviceable. I had to be careful when stripping as there's only 7 strands in this red wire. 2 of them broke off when stripping for the first time, and after a heatup test, I decided losing almost 30% of my strands wasn't good enough. It's a good thing I checked, because I took the wires out of the quick connectors and there were only 3 strands standing!
I had the idea to install the heatsinks and then assemble the holder:
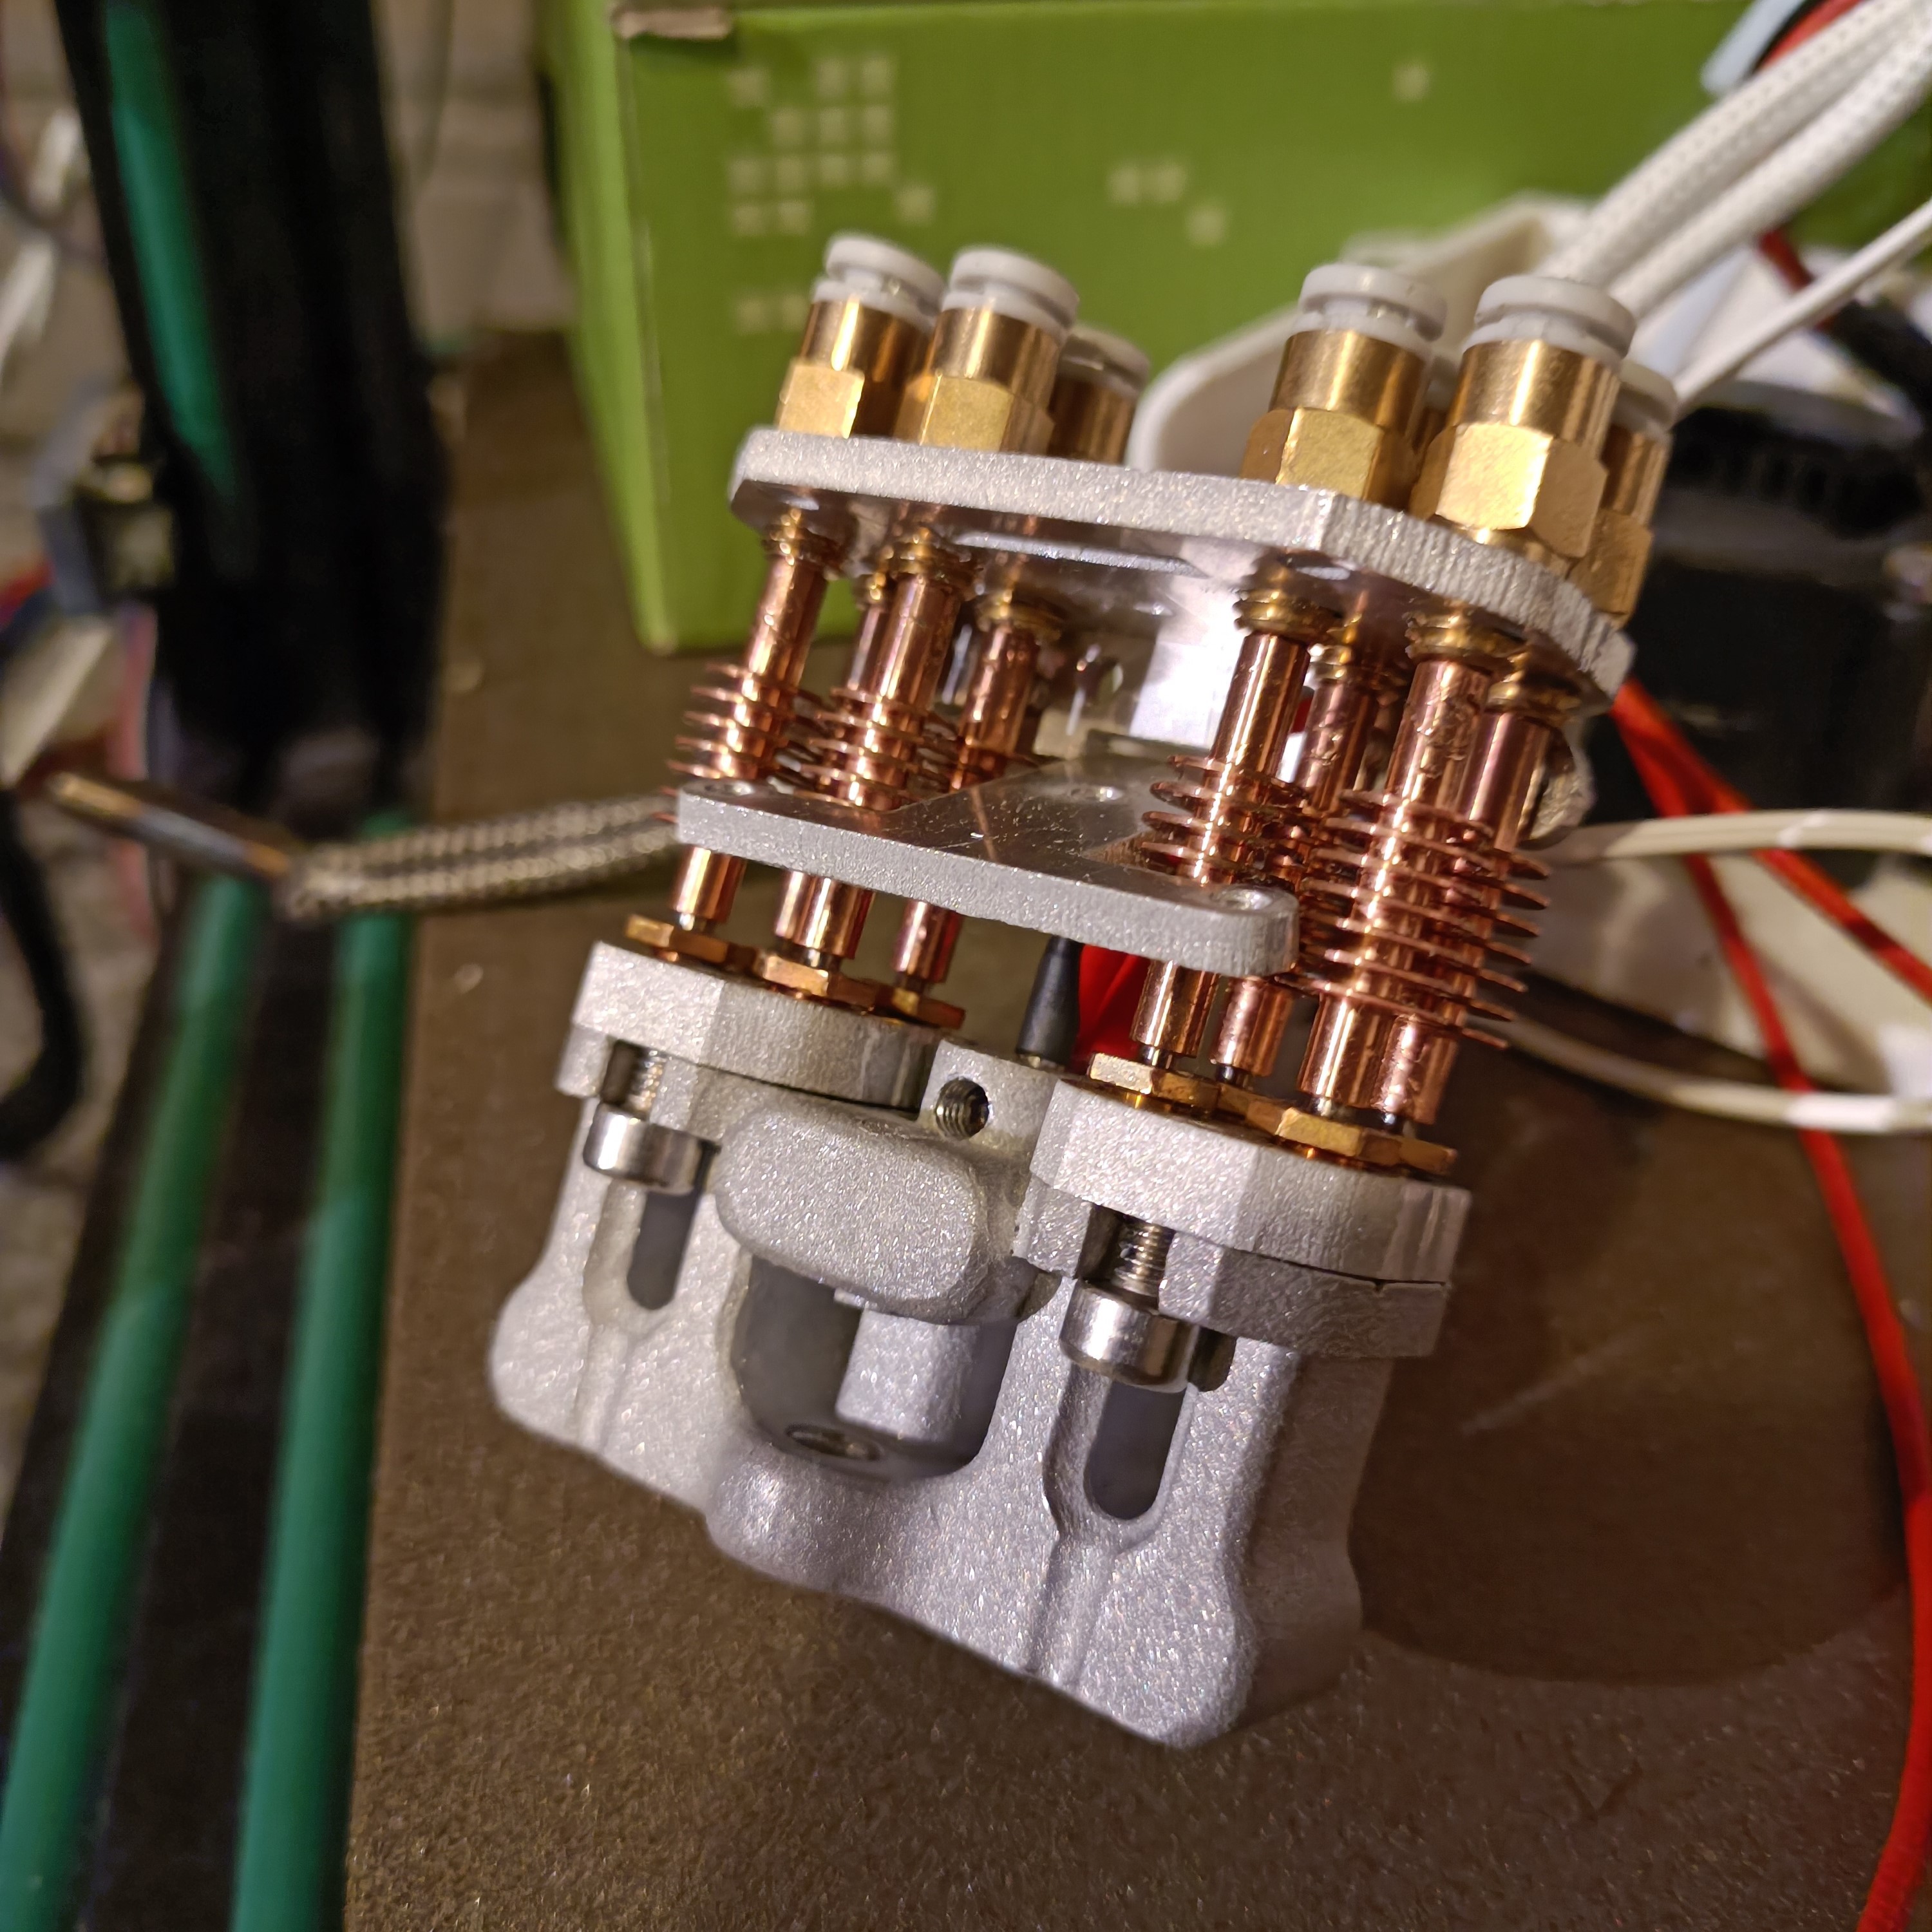
As it turns out, there wasn't enough space for the wires so I couldn't install the new holder. However, the Coaxial8or was able to heat up from 20 to 220C in 110 seconds with an unrefined fan mount and uncalibrated MPC, so I'm onto a winner here.
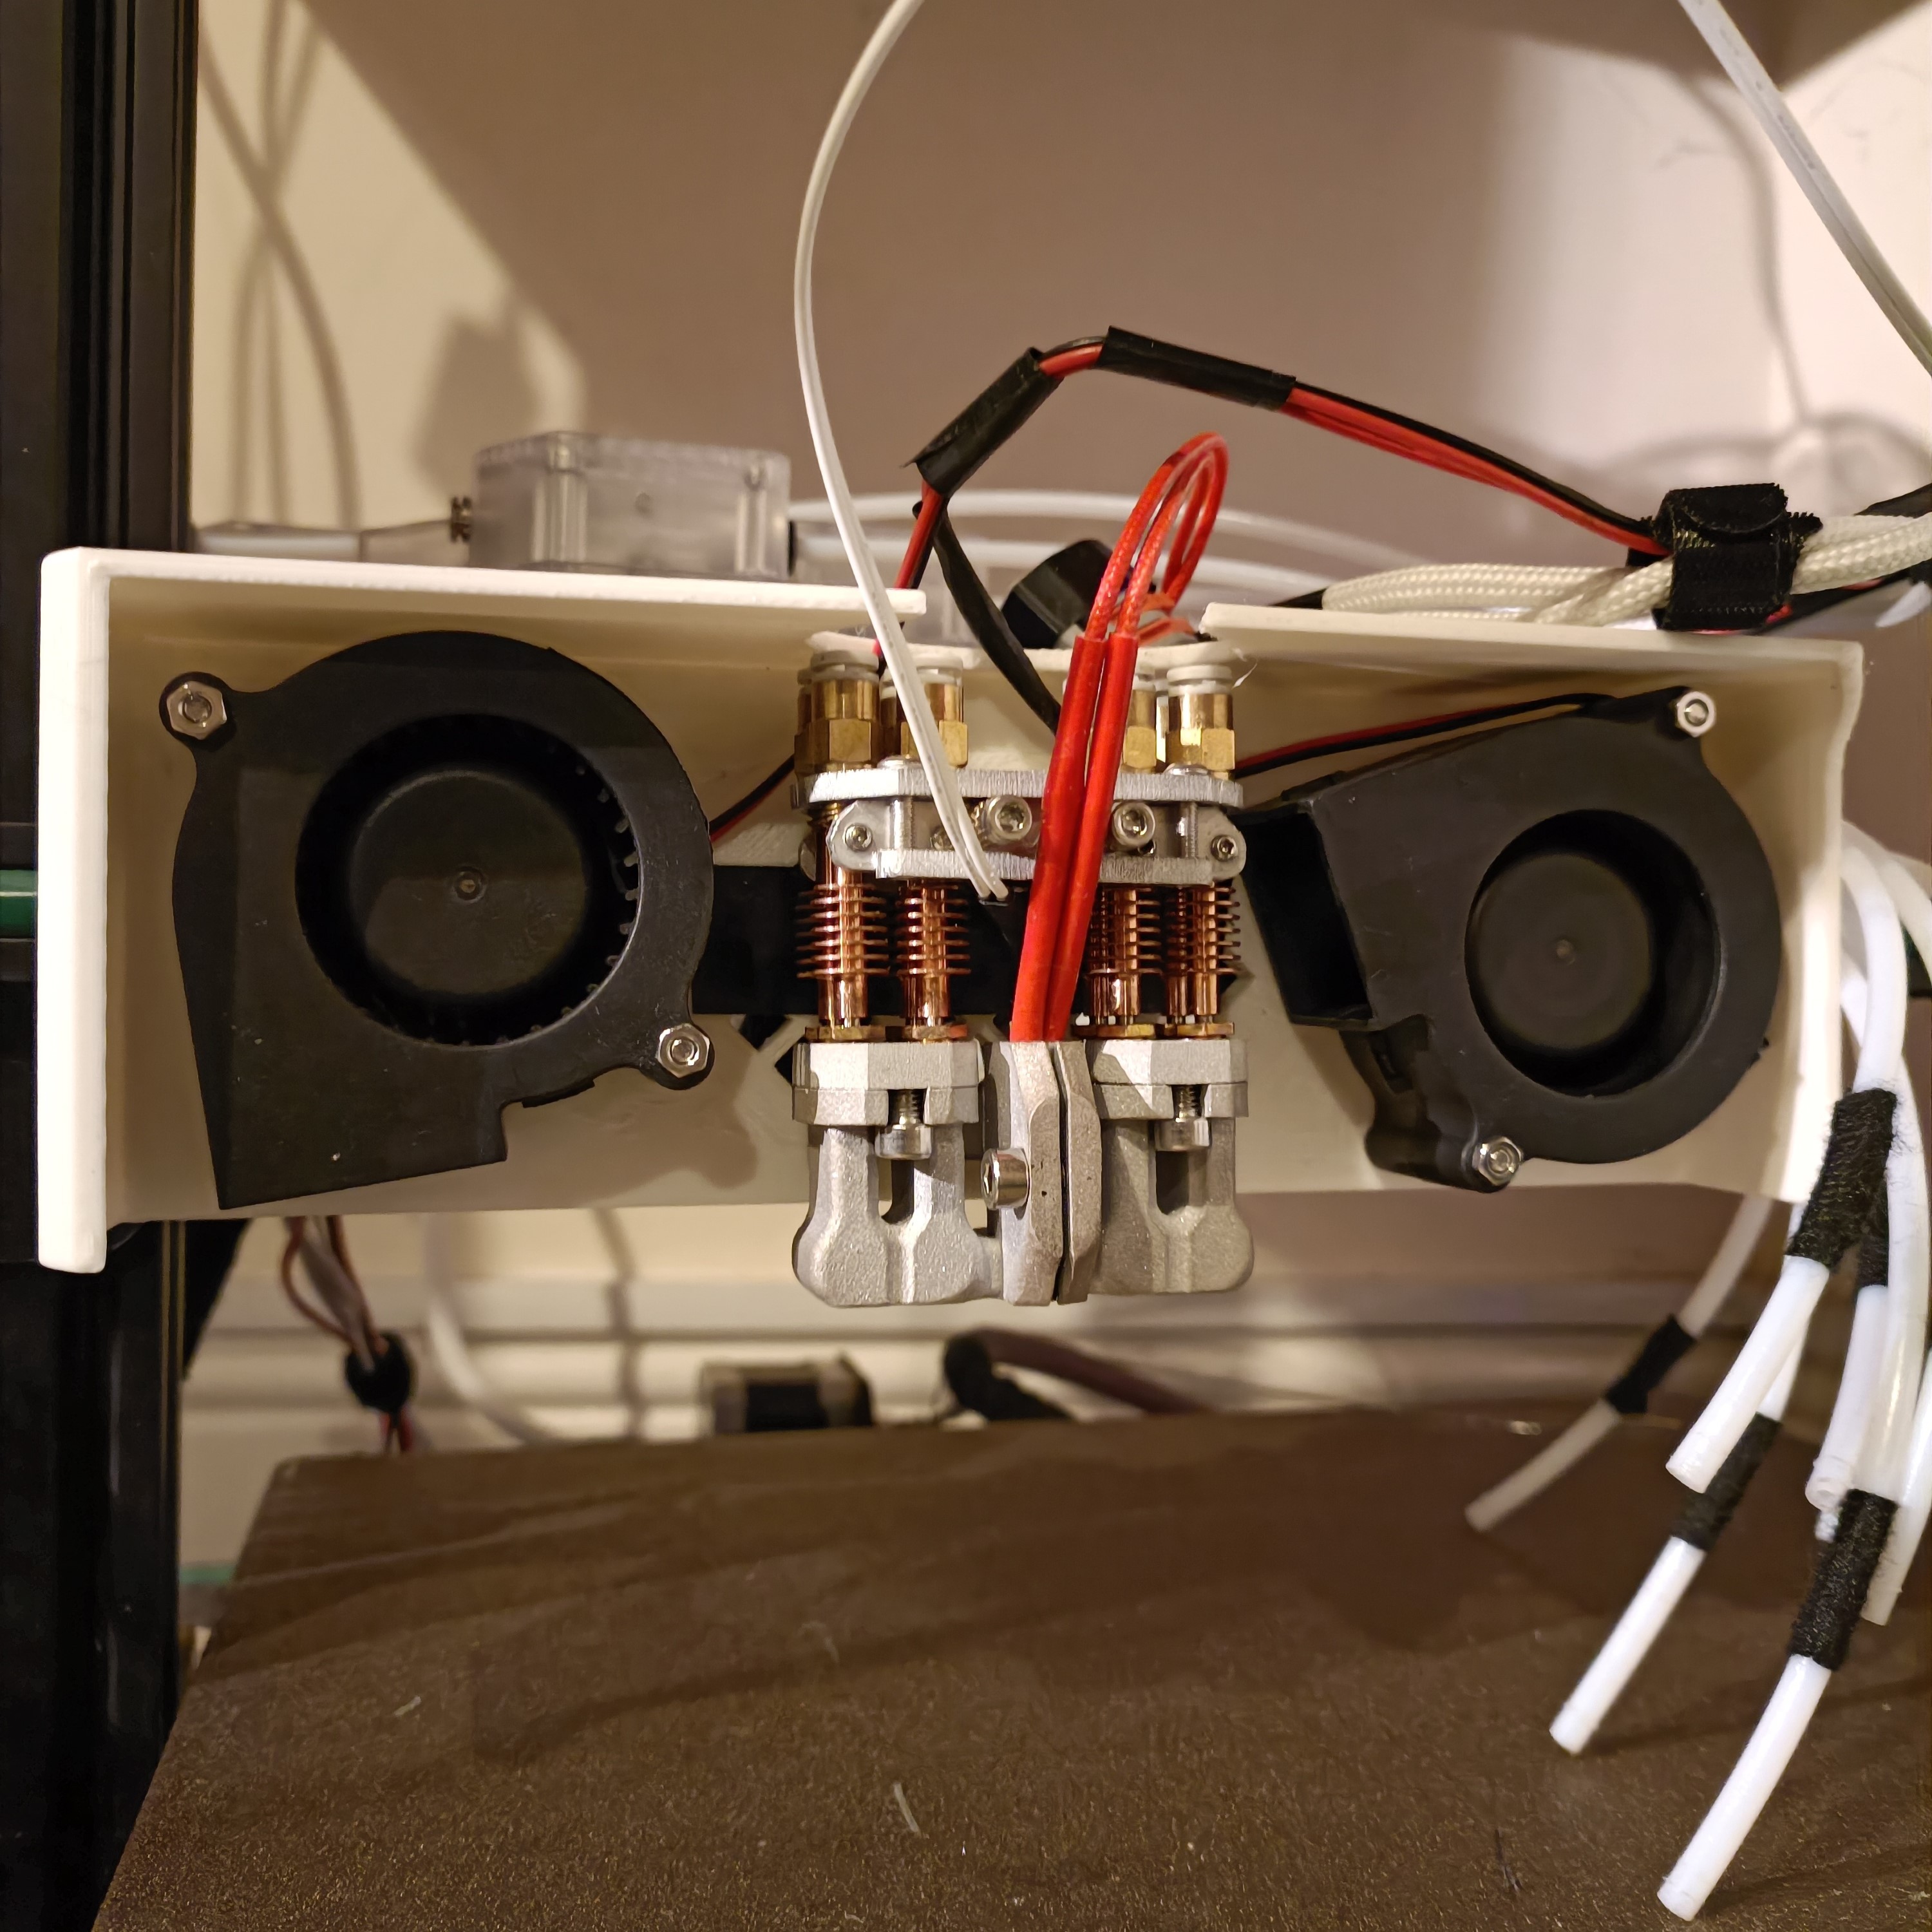
I should mention that I had to completely replace the thermistor because the old one is effectively welded into R2. I took this time to also trim down the hook-and-loop cable ties to 75mm to make them much easier to put on and take off.
Recutting the hotend holder
For engineers, the lyrics of XO-IQ - Get It Right will resonate:
Get. It. Right.
Do it all again.
This time round, I'll be better than.
Or, for actually trying to manufacture anything, a parody:
Get. It. Right.
Not do it all again.
This time round, it is better than.
Anyway, I actually had a new holder design. The reason why I tested the hotend with the older one was because the waterjet momentarily stopped working and the technicians were pressing buttons like game combos trying to rectify the issue. 2 days go by and the issue was resolved, and my parts were the first to come "fresh out of the oven":
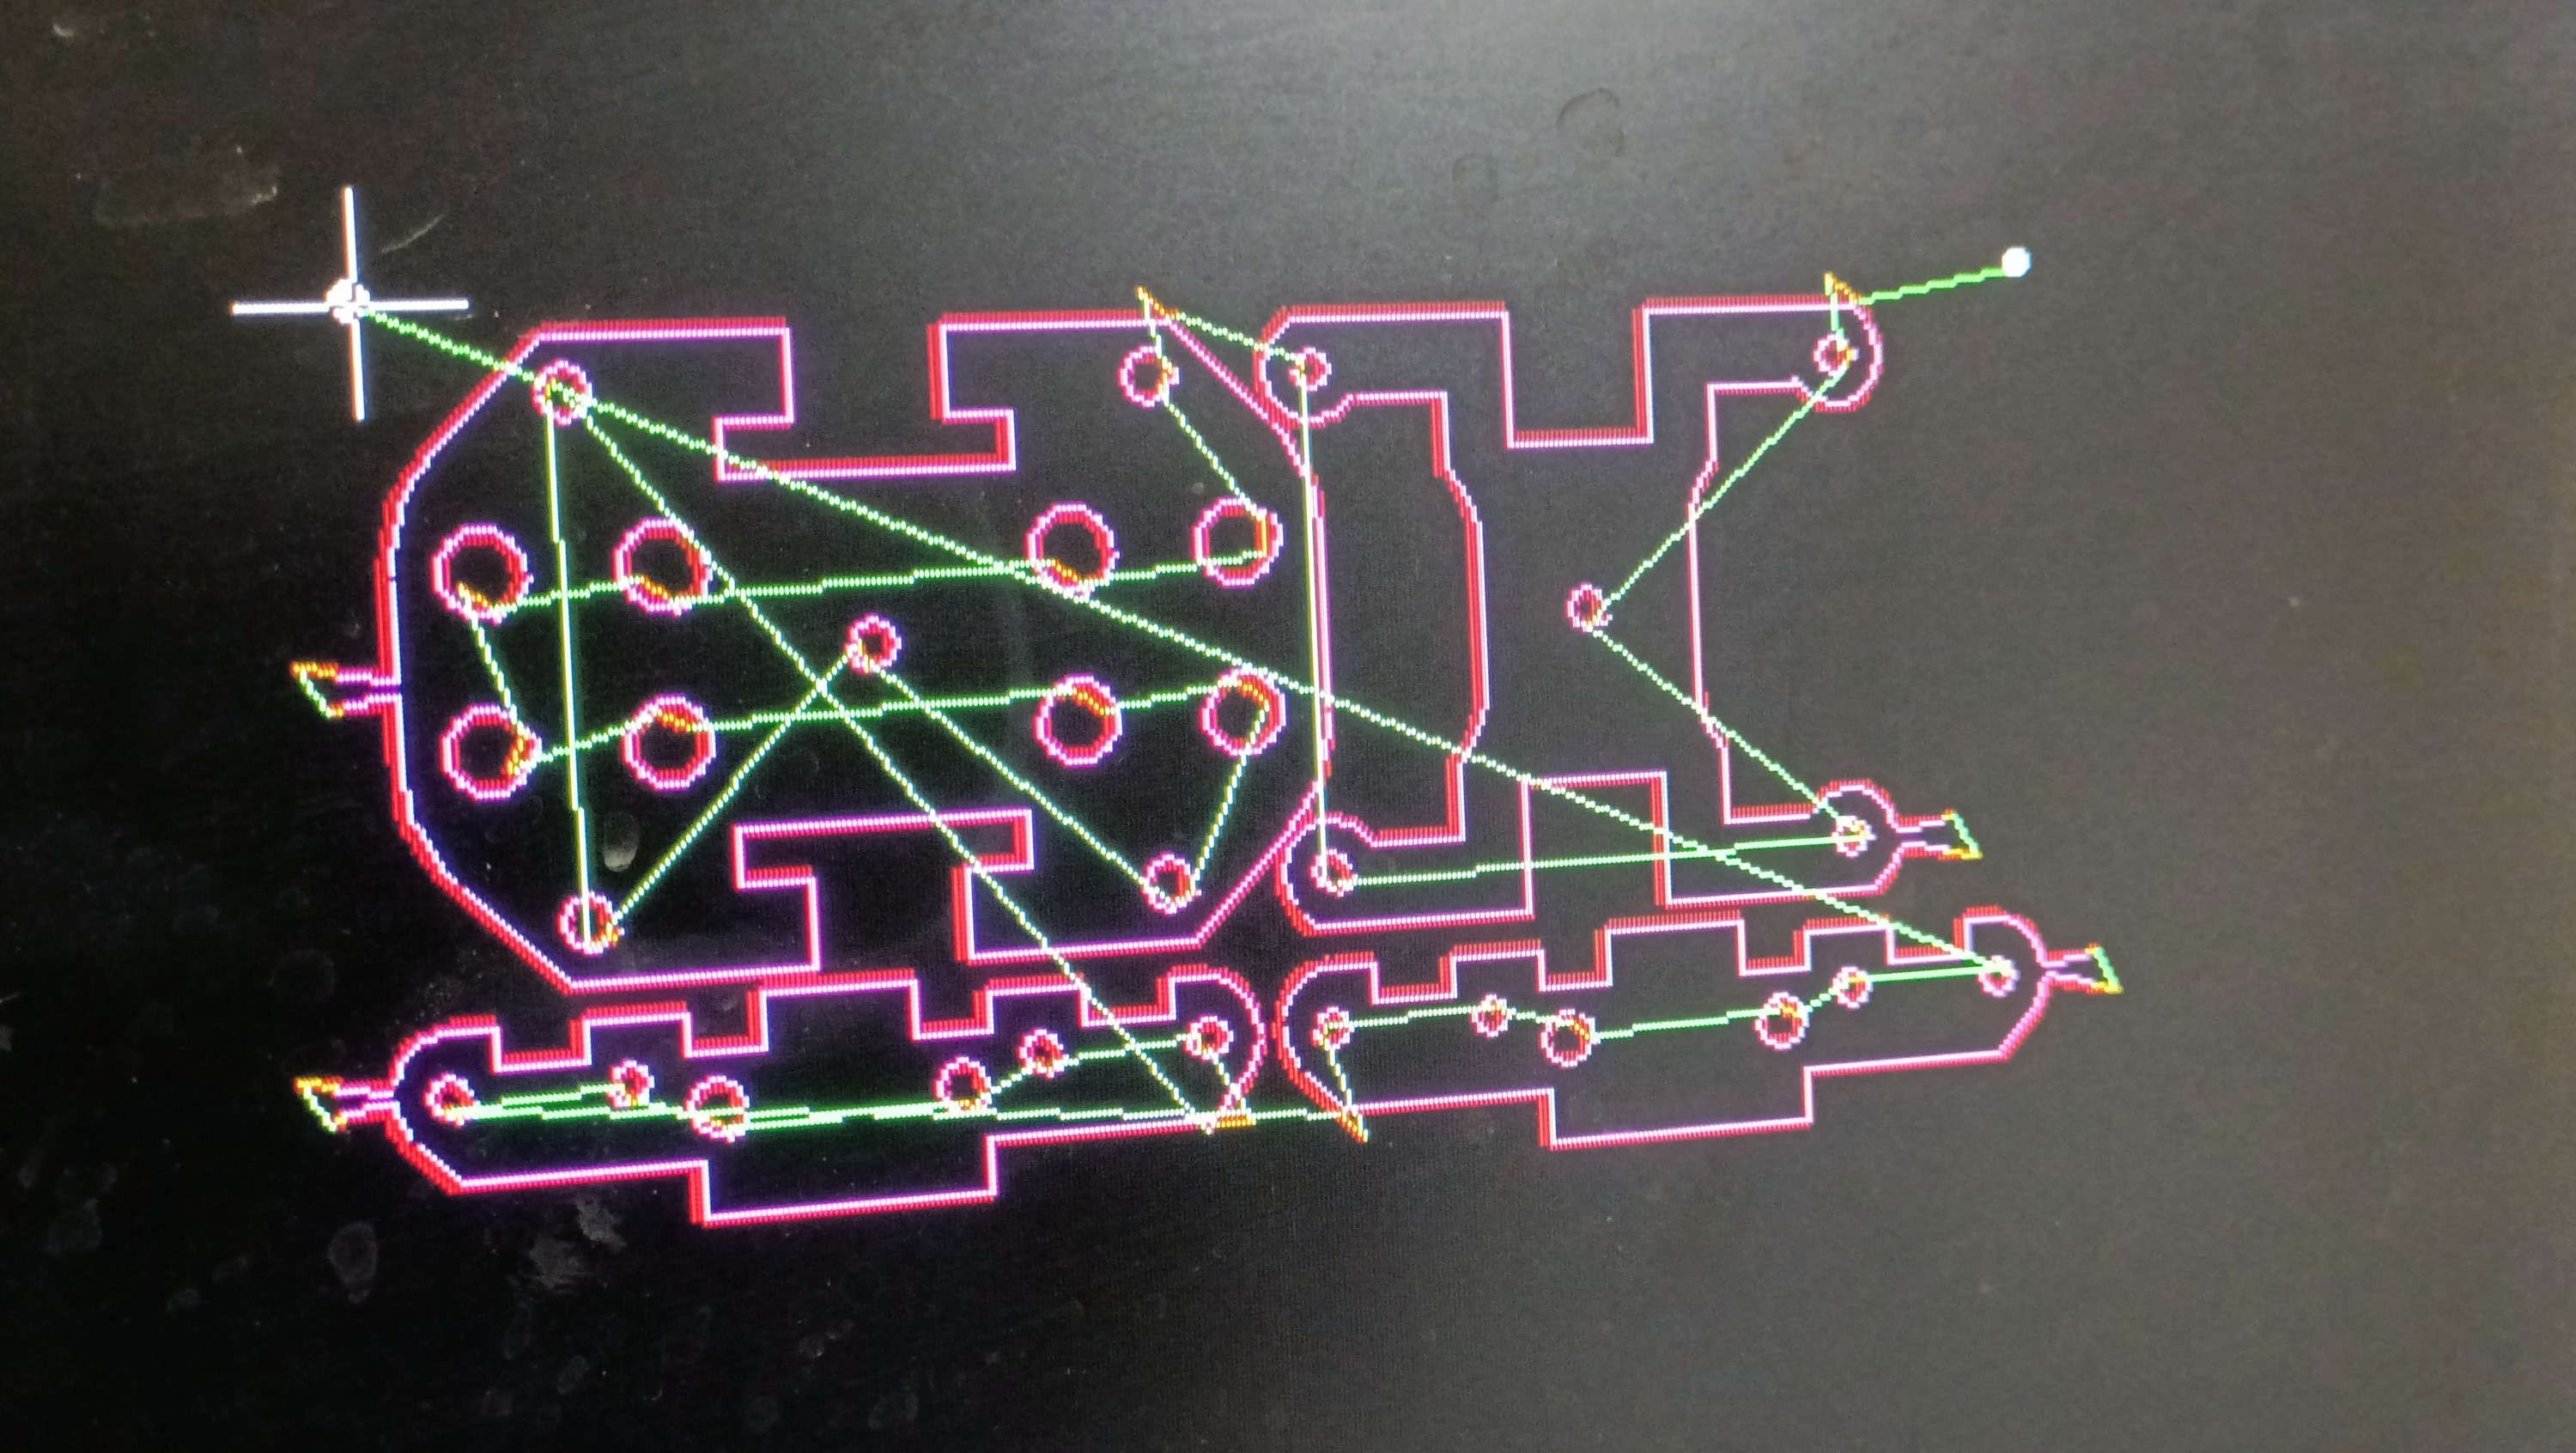
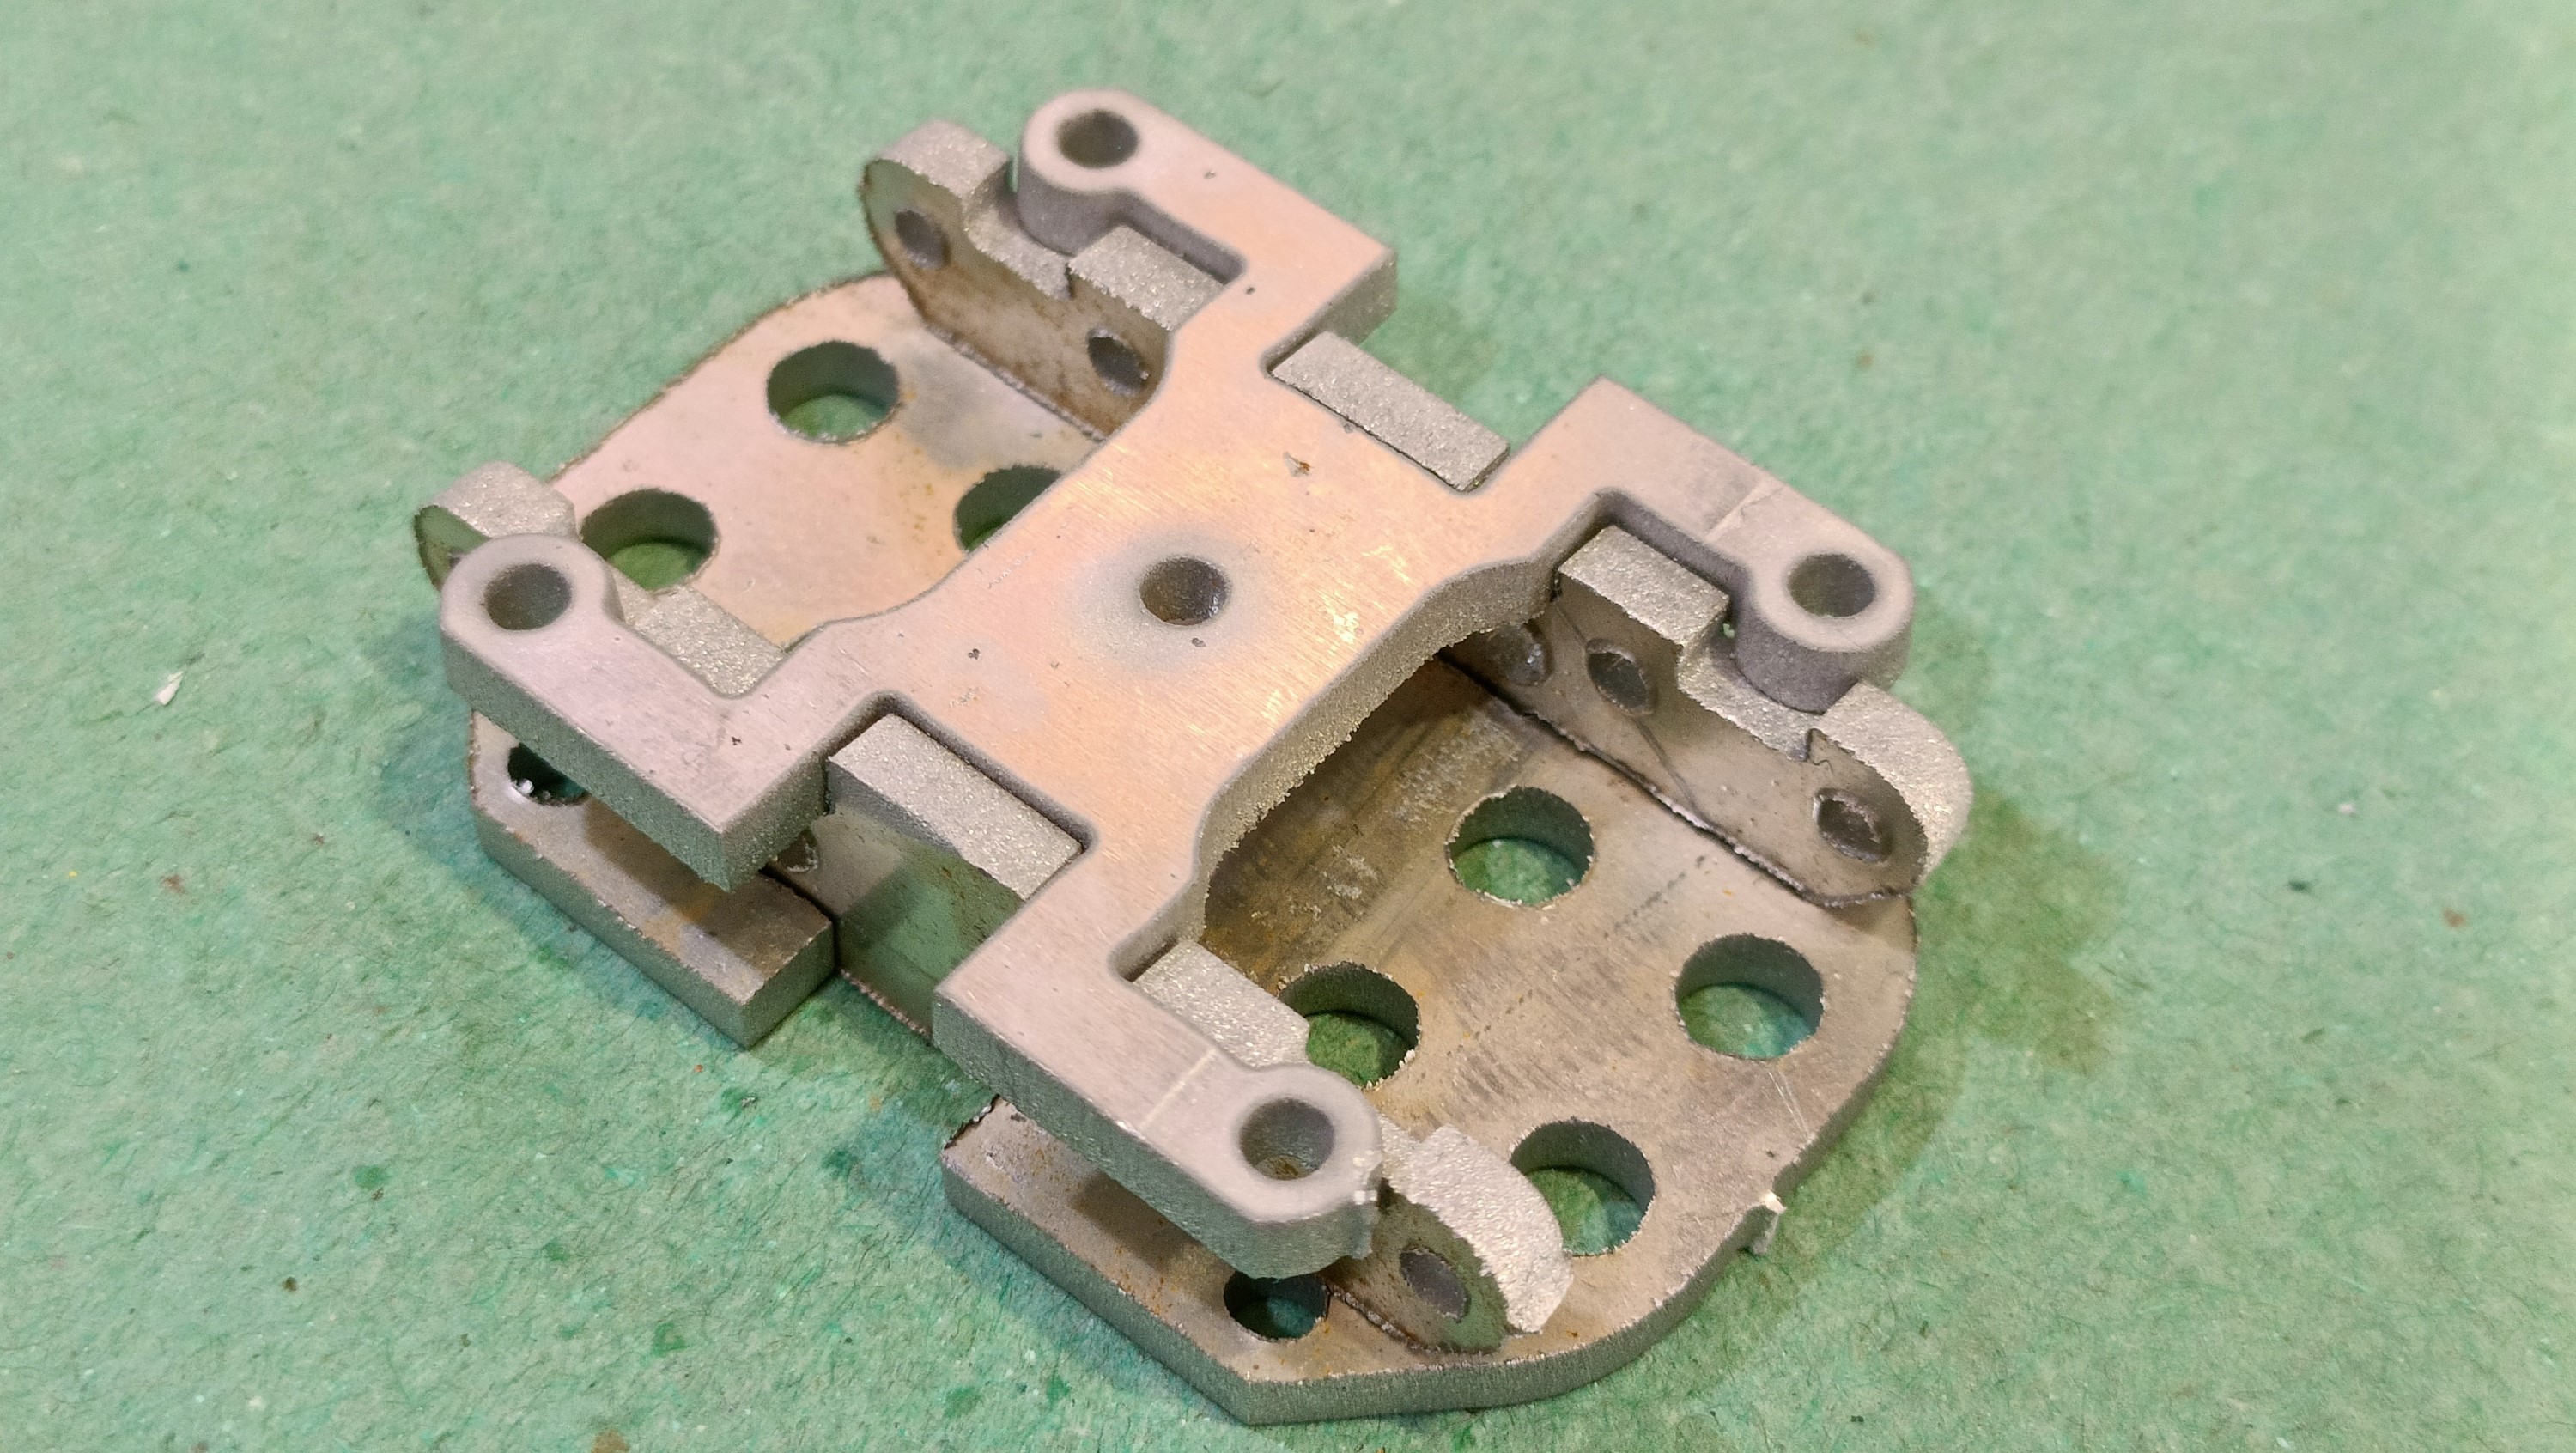
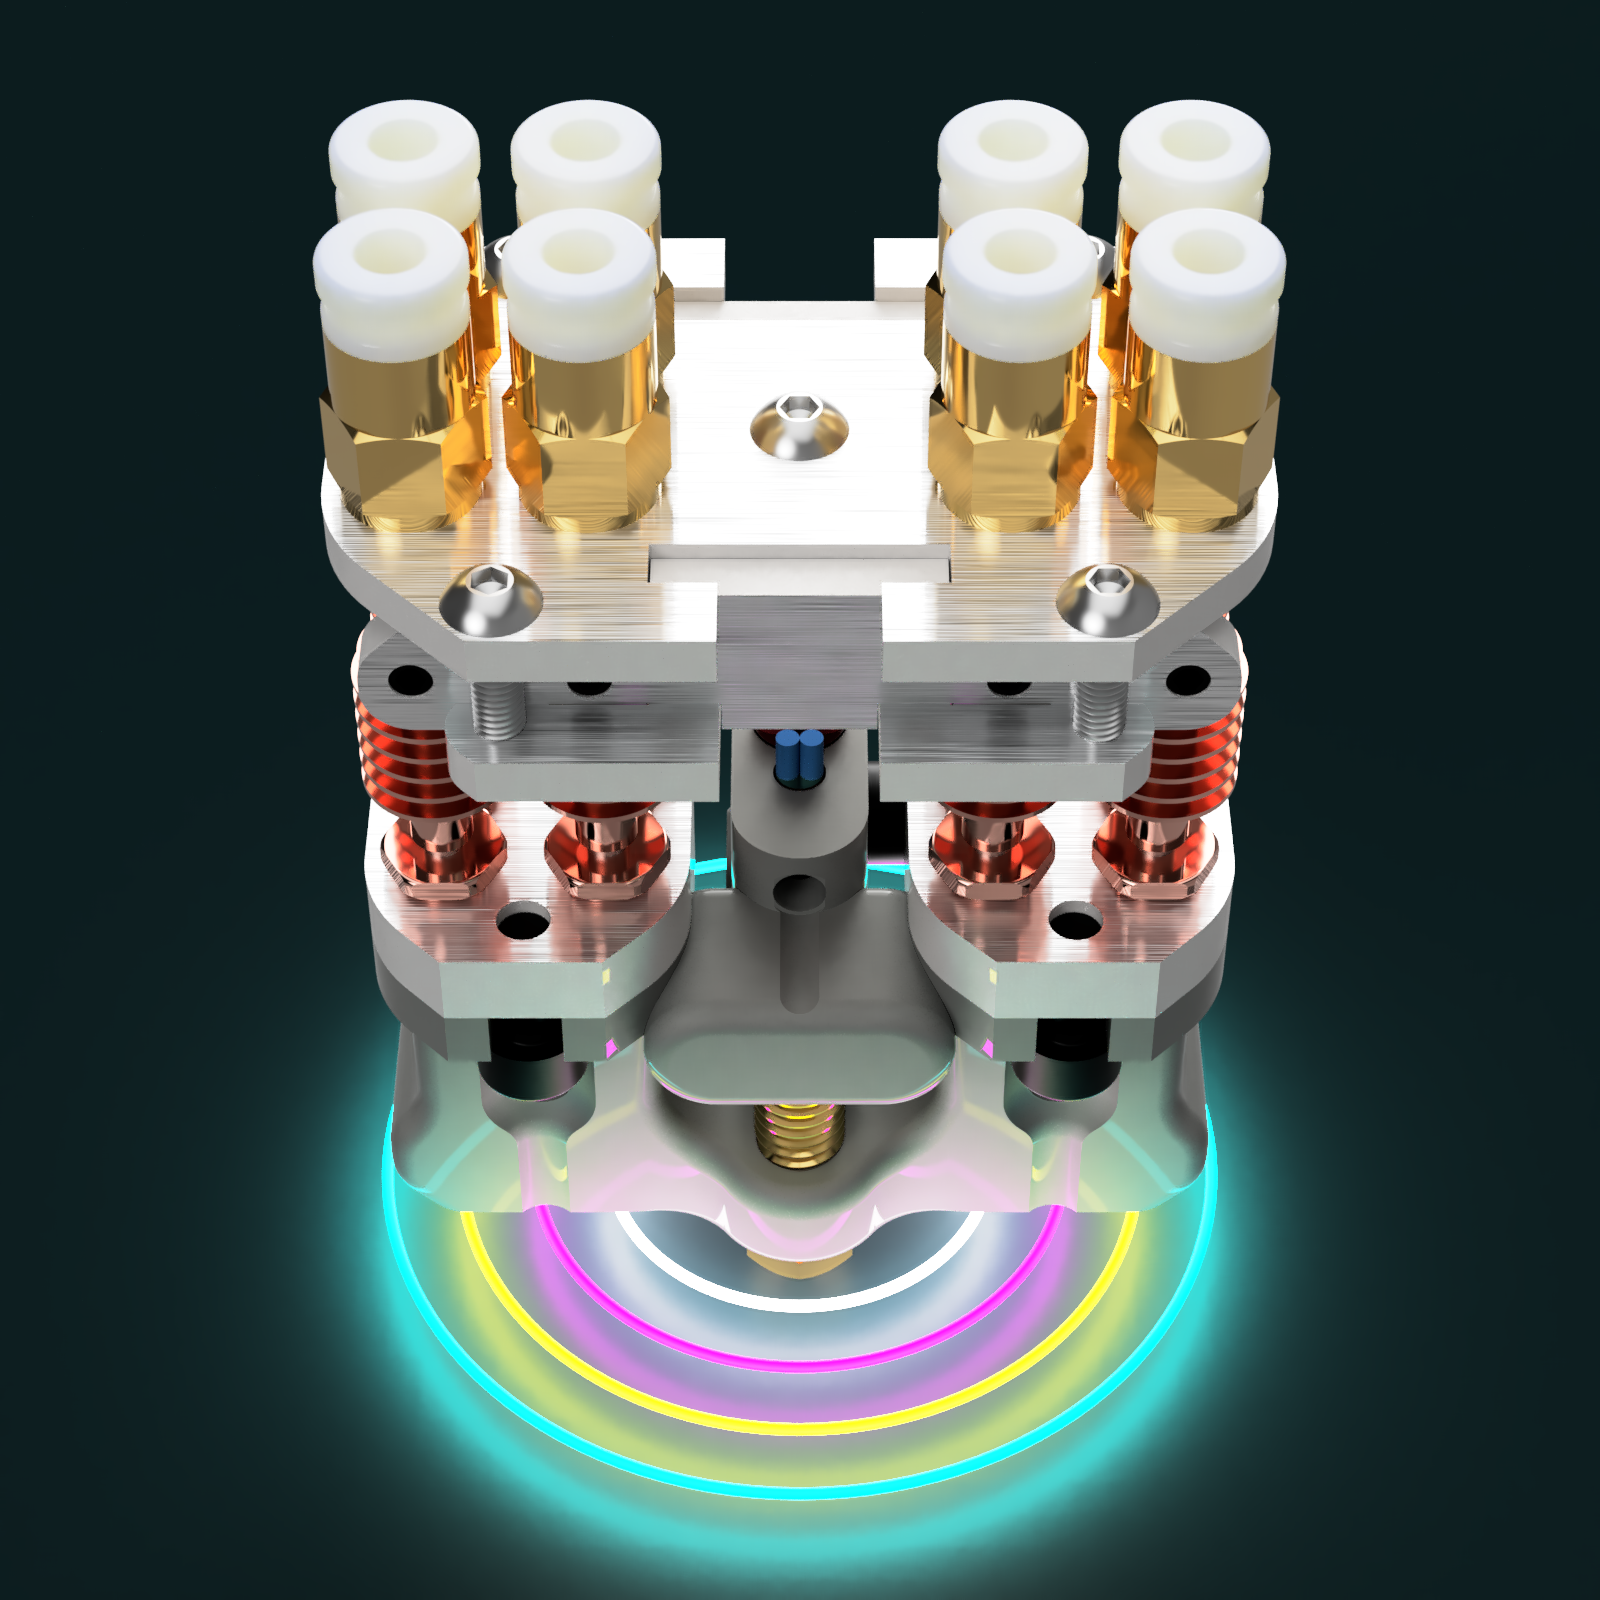
As you can see, this design has space for the wires, and now holds the frontback plates from both sides. I think it's pretty elegant.
I had the idea of screwing the bottom plate to the top plate to keep it from flying around.
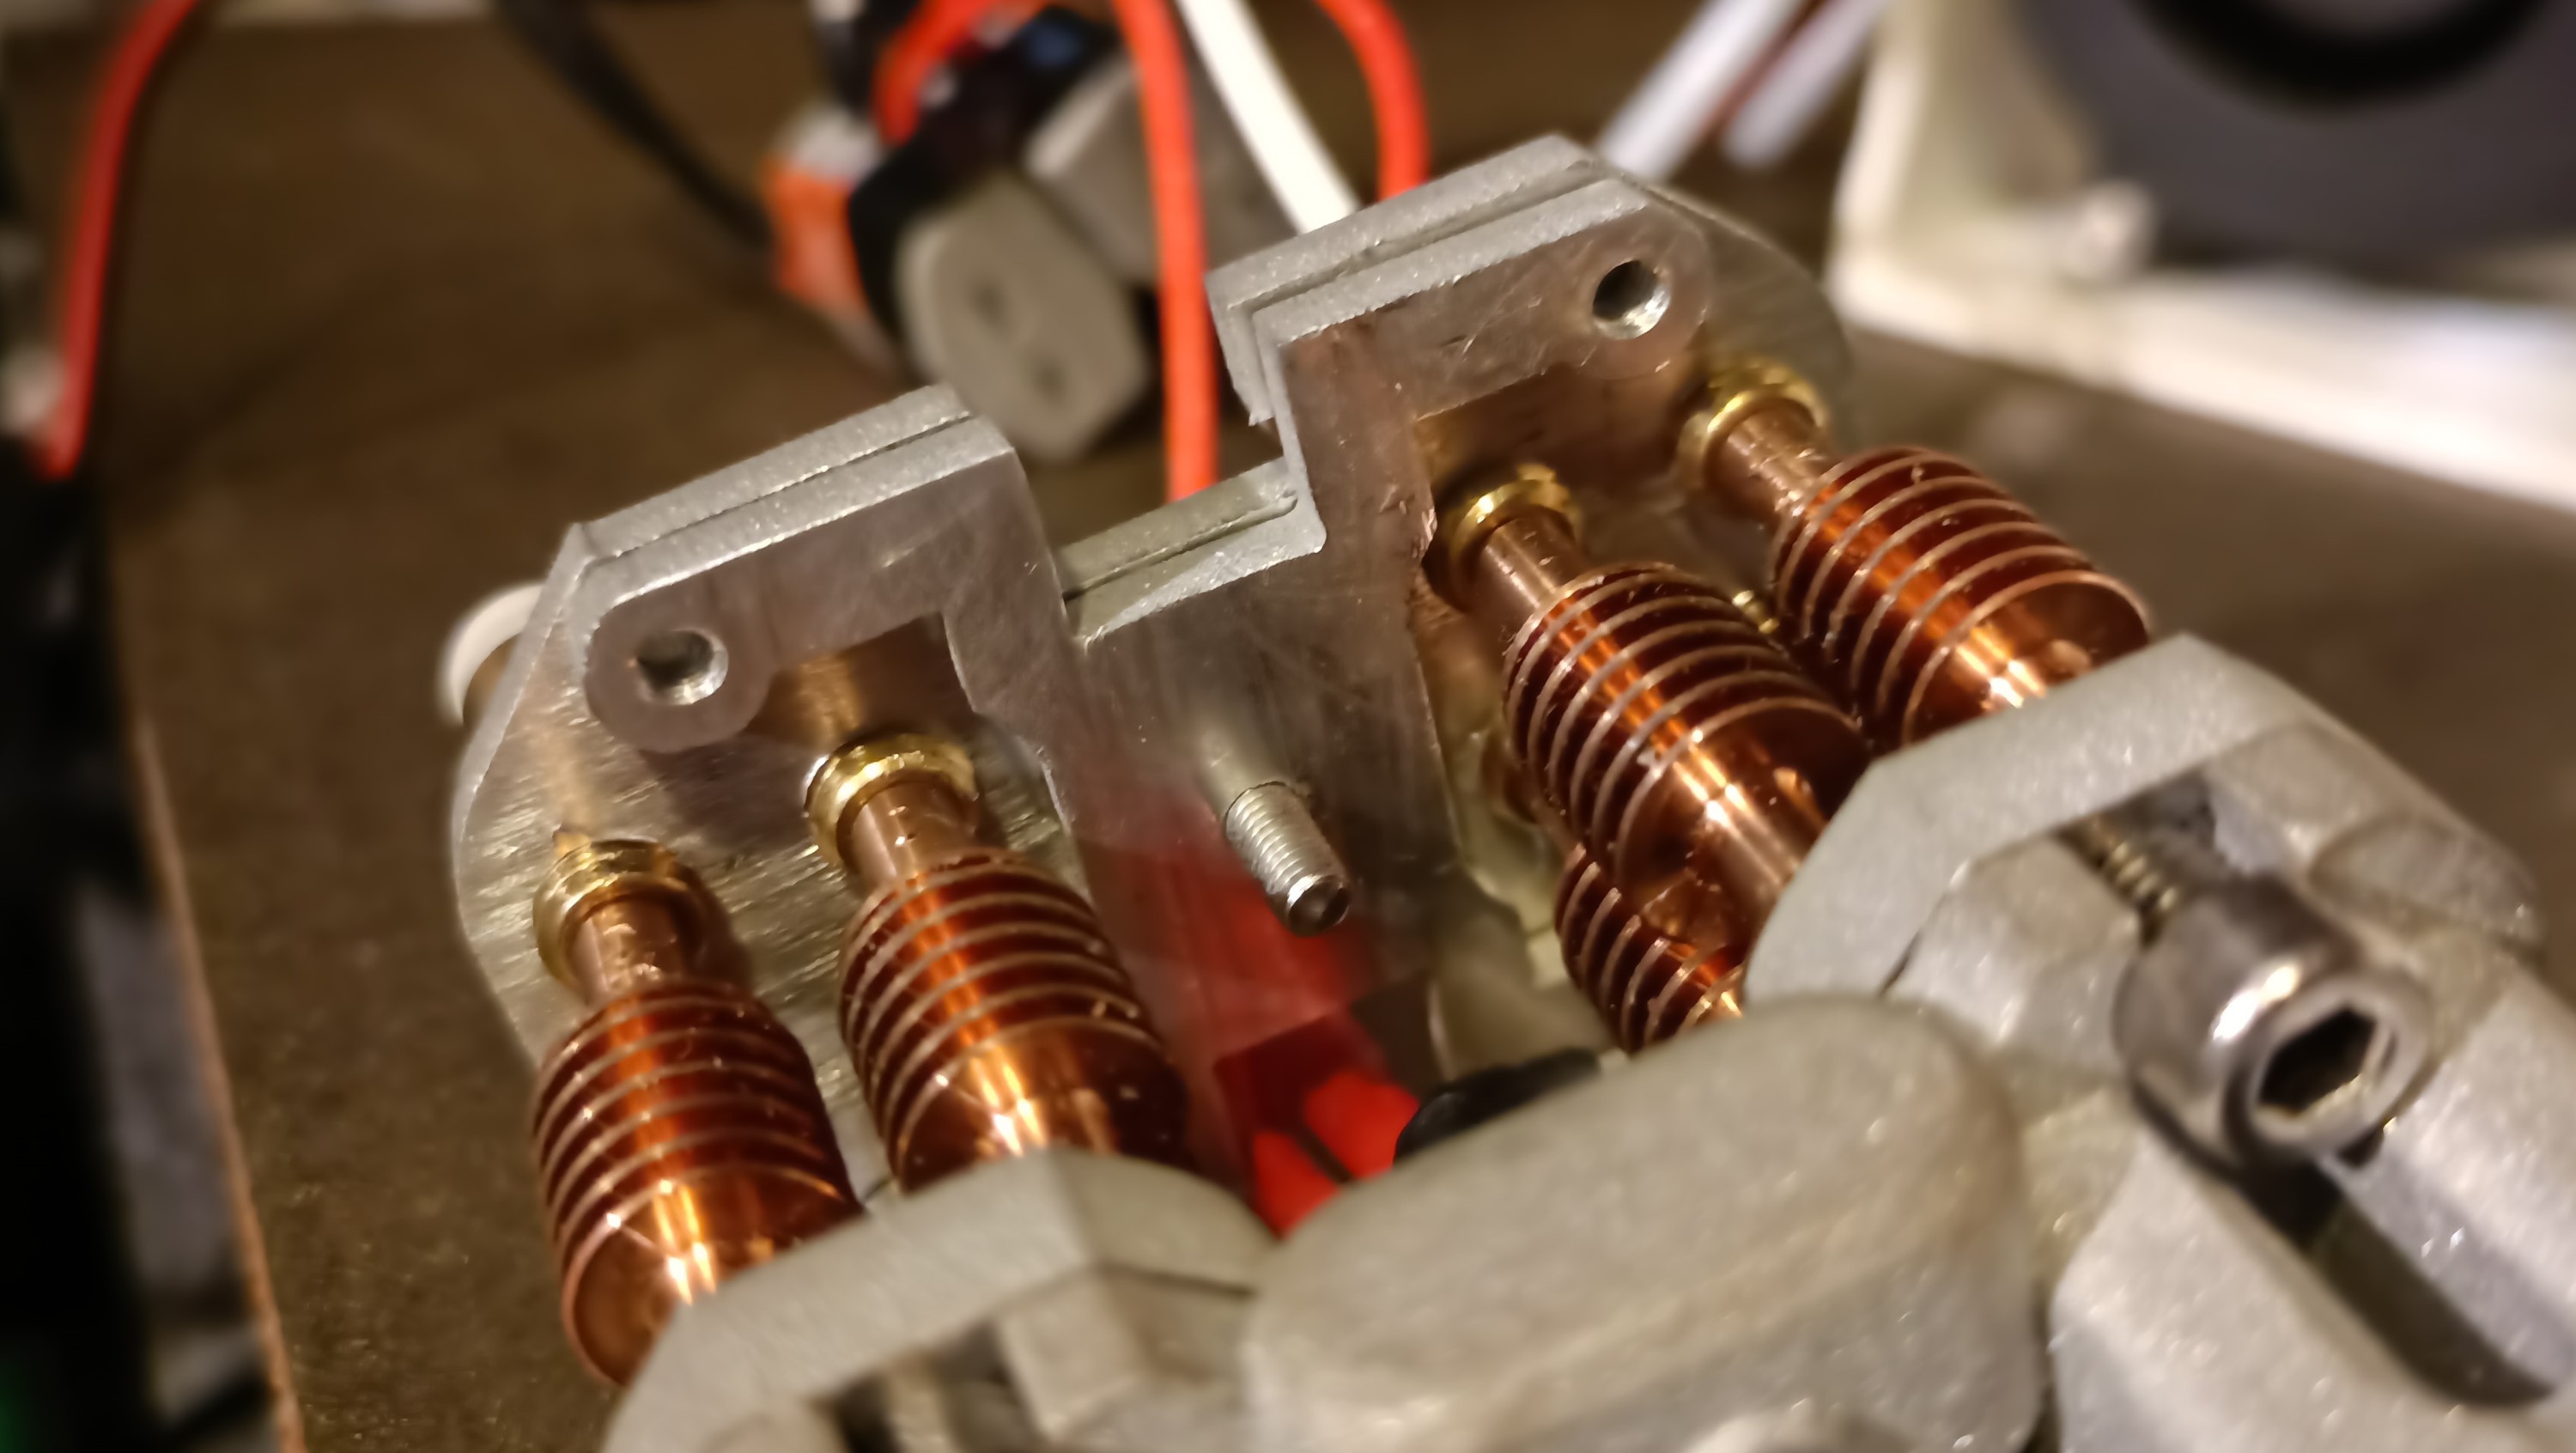
Currently, the best strategy seems to align 2 heatsinks at a time. The first 2 are rather easy, the next two are doable, and the 3rd set was rather difficult until I had the idea to use needlenose pliers between them and the 4th set:
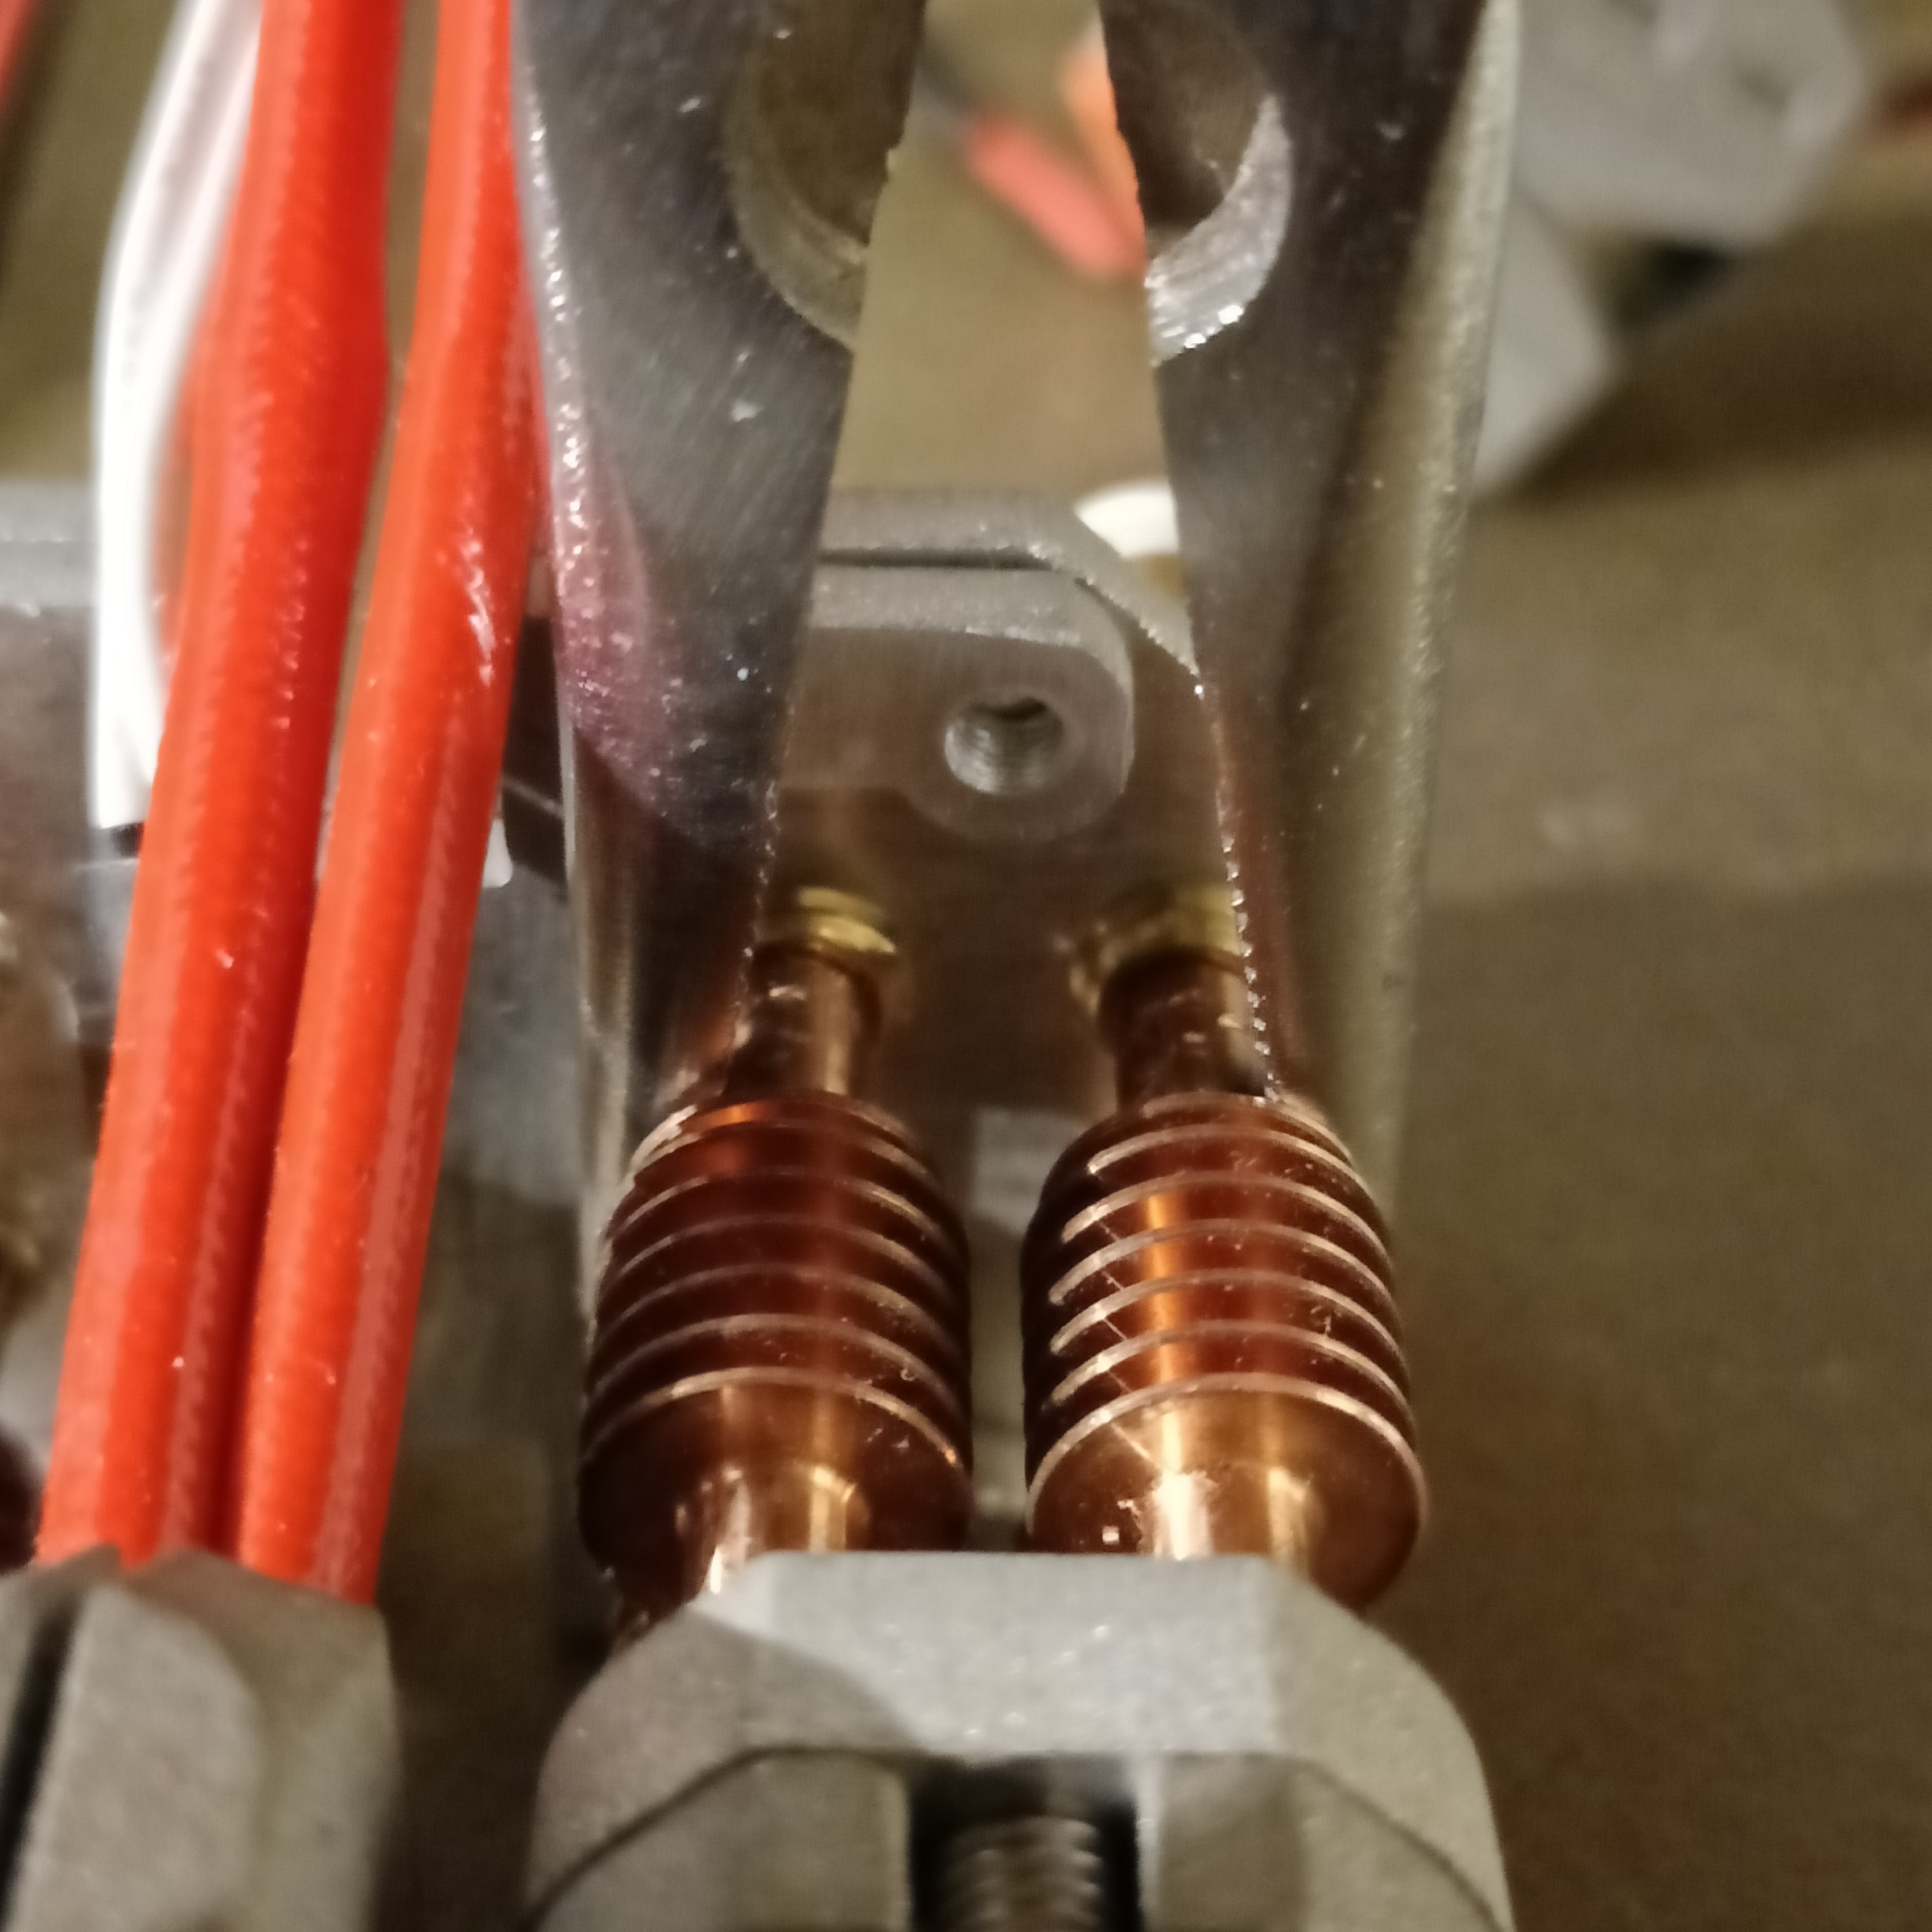
The same strategy can be done for the 4th set:
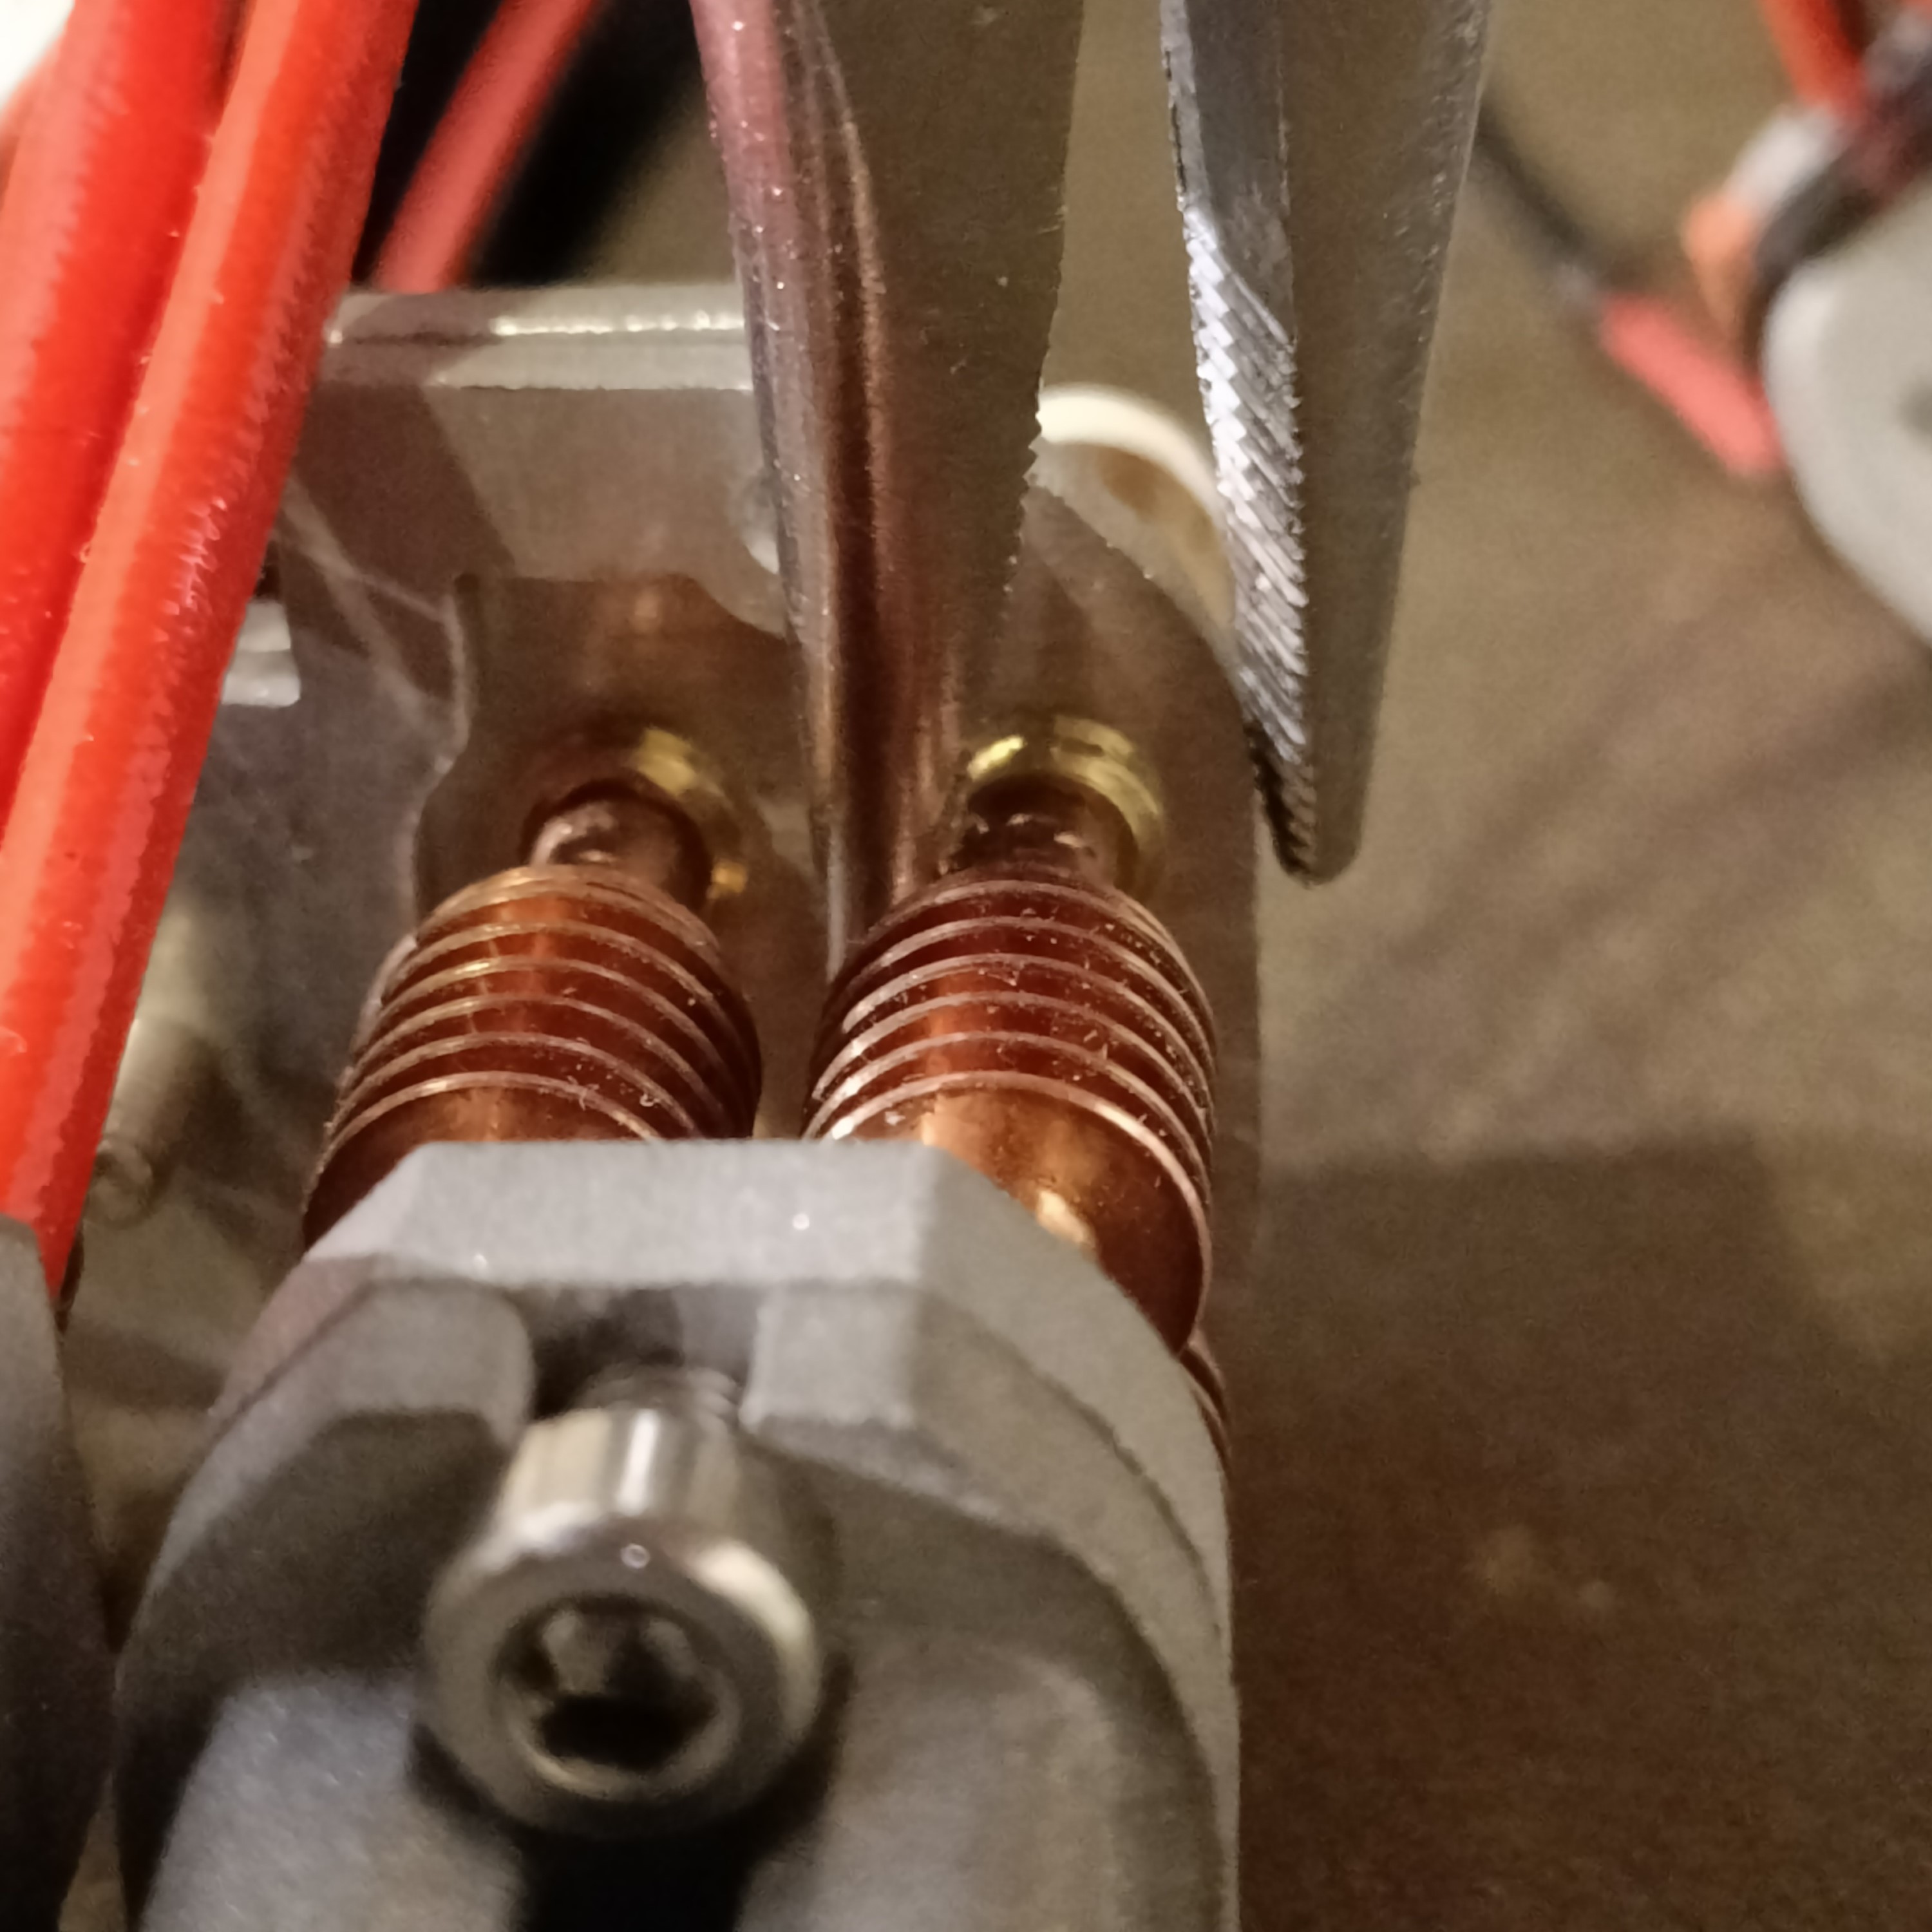
Unfortunately, because of the wires, it was difficult to slide the frontback plates in. Thus, I've reduced the heights of the tabs:

Filing the cover
I didn't want to reprint the cover because it takes 4+ hours to print and there are issues with the design. I tried out the fan duct and there is much less airflow compared to no duct, and the trenches I allocated for the fan wires are needlessly small.
I had to cut the top a tad and then use calipers to measure how much I had eroded away:
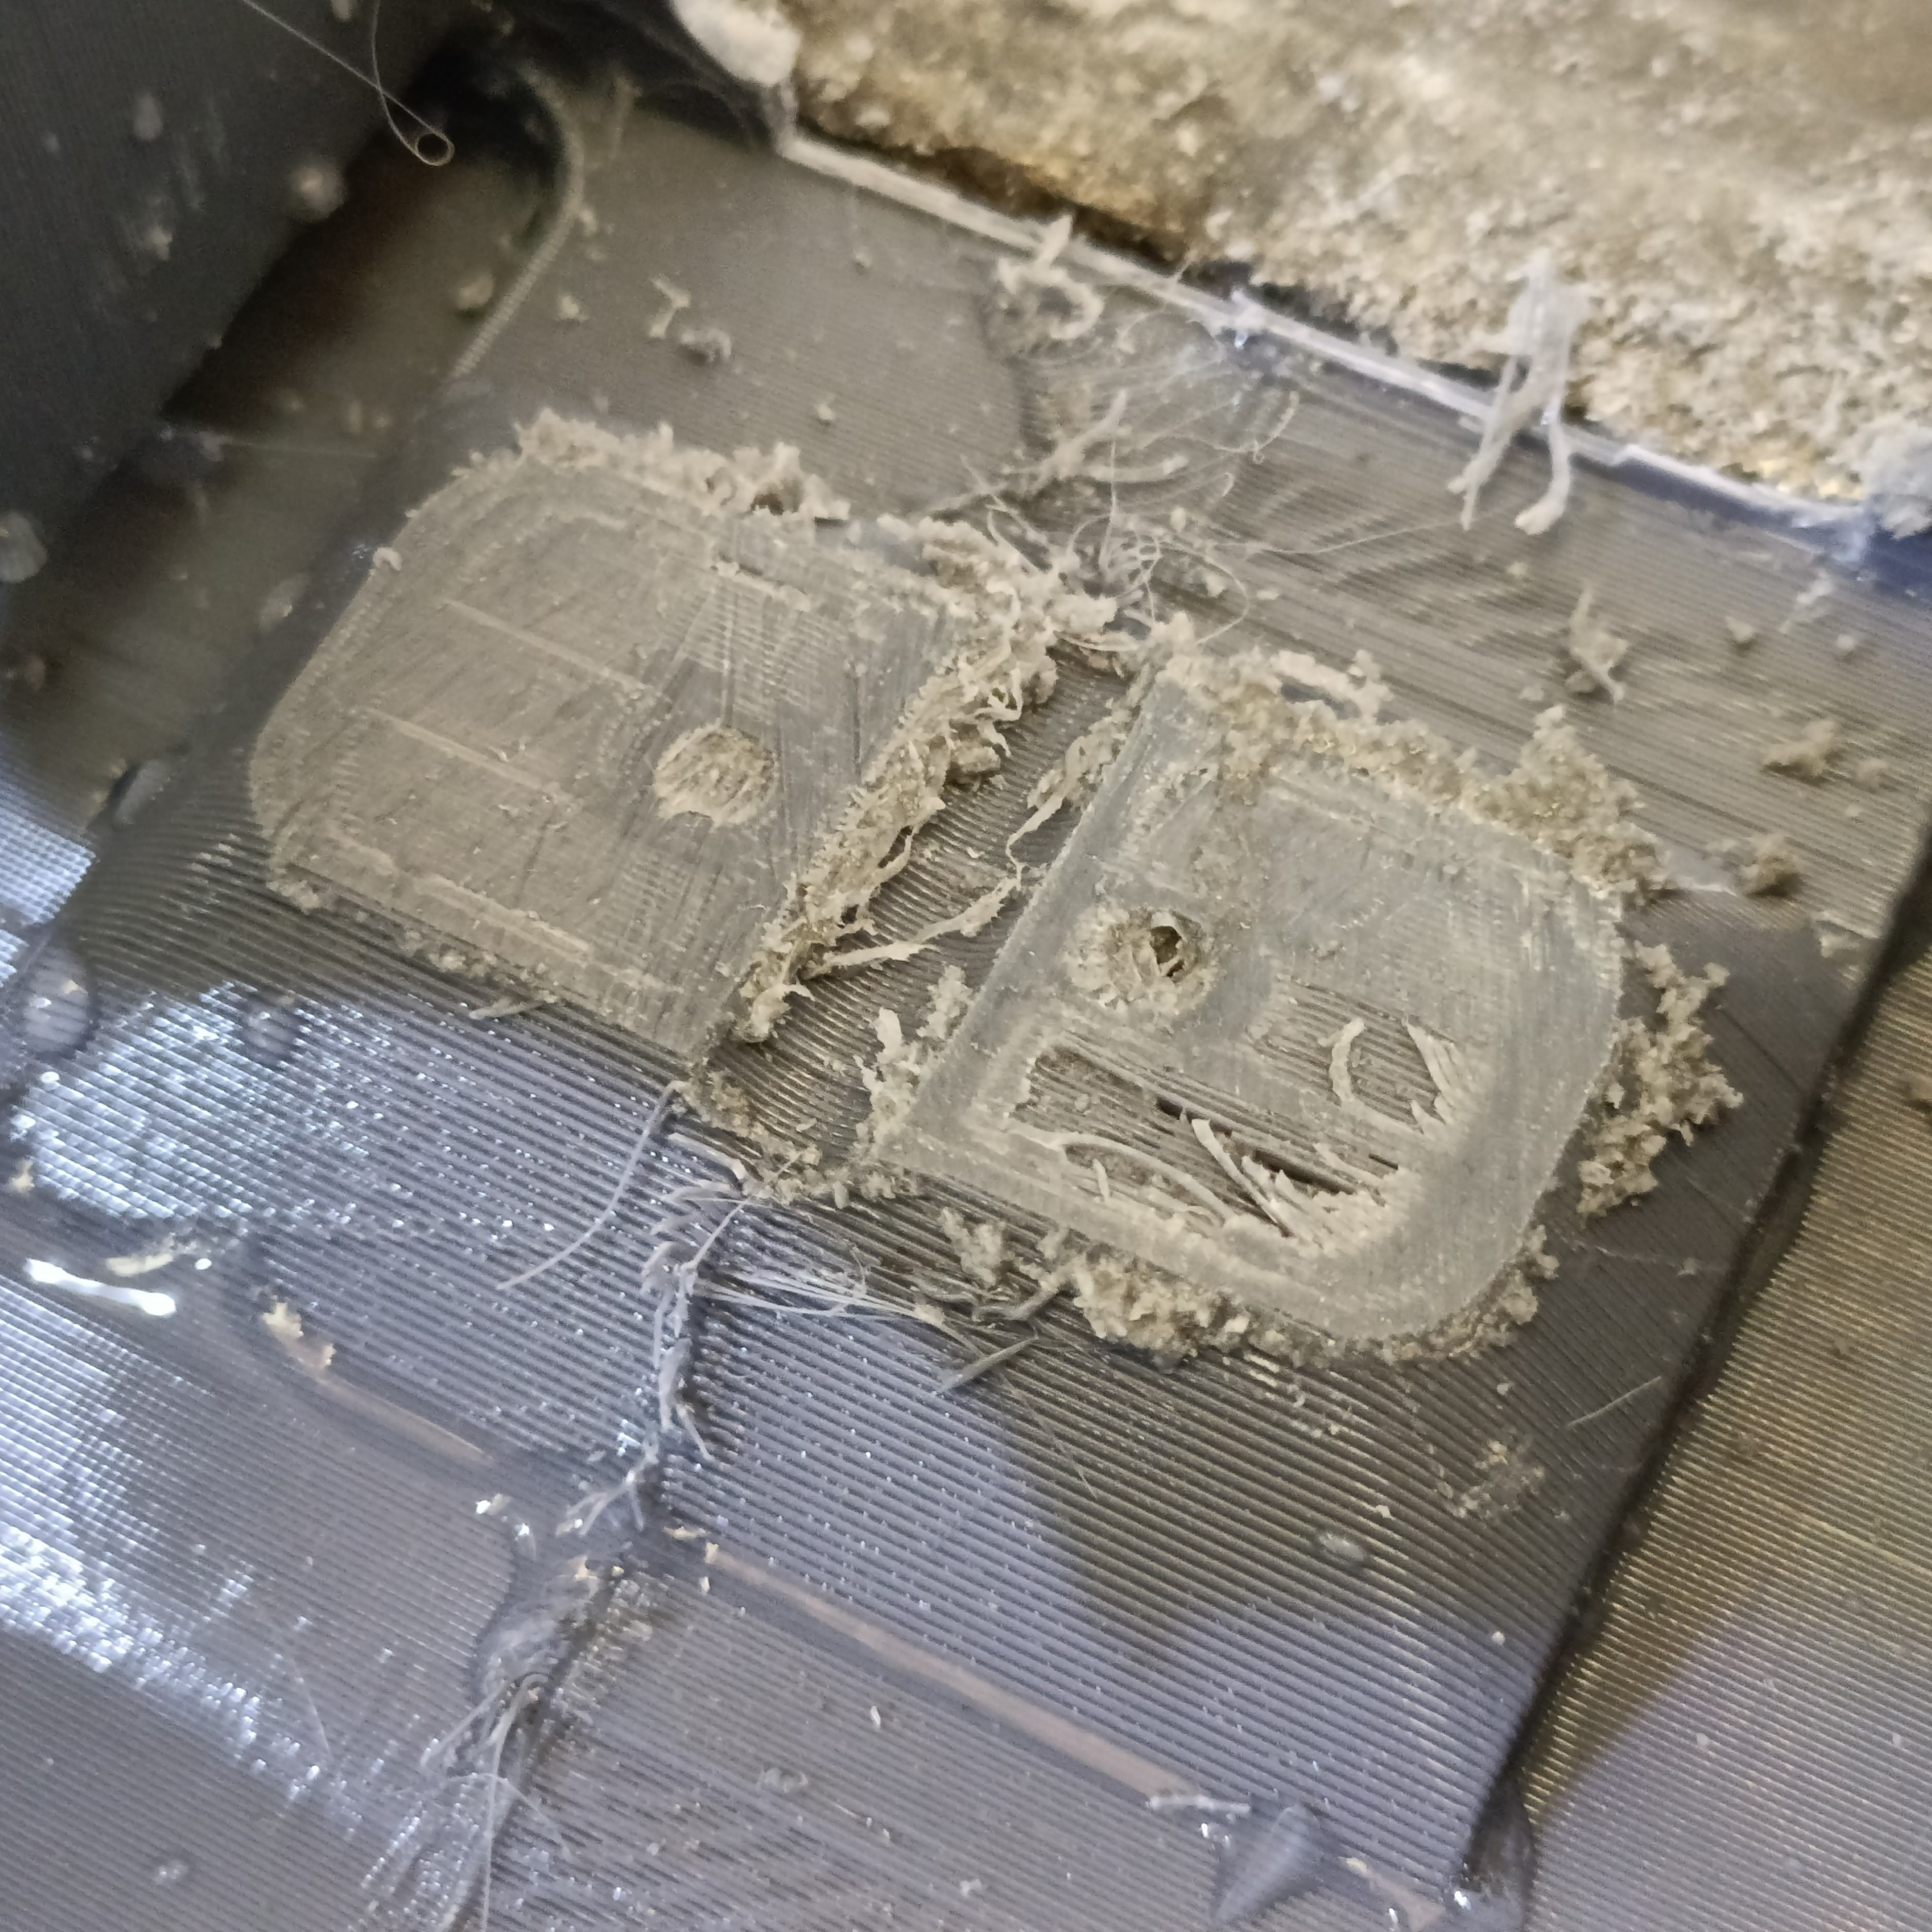
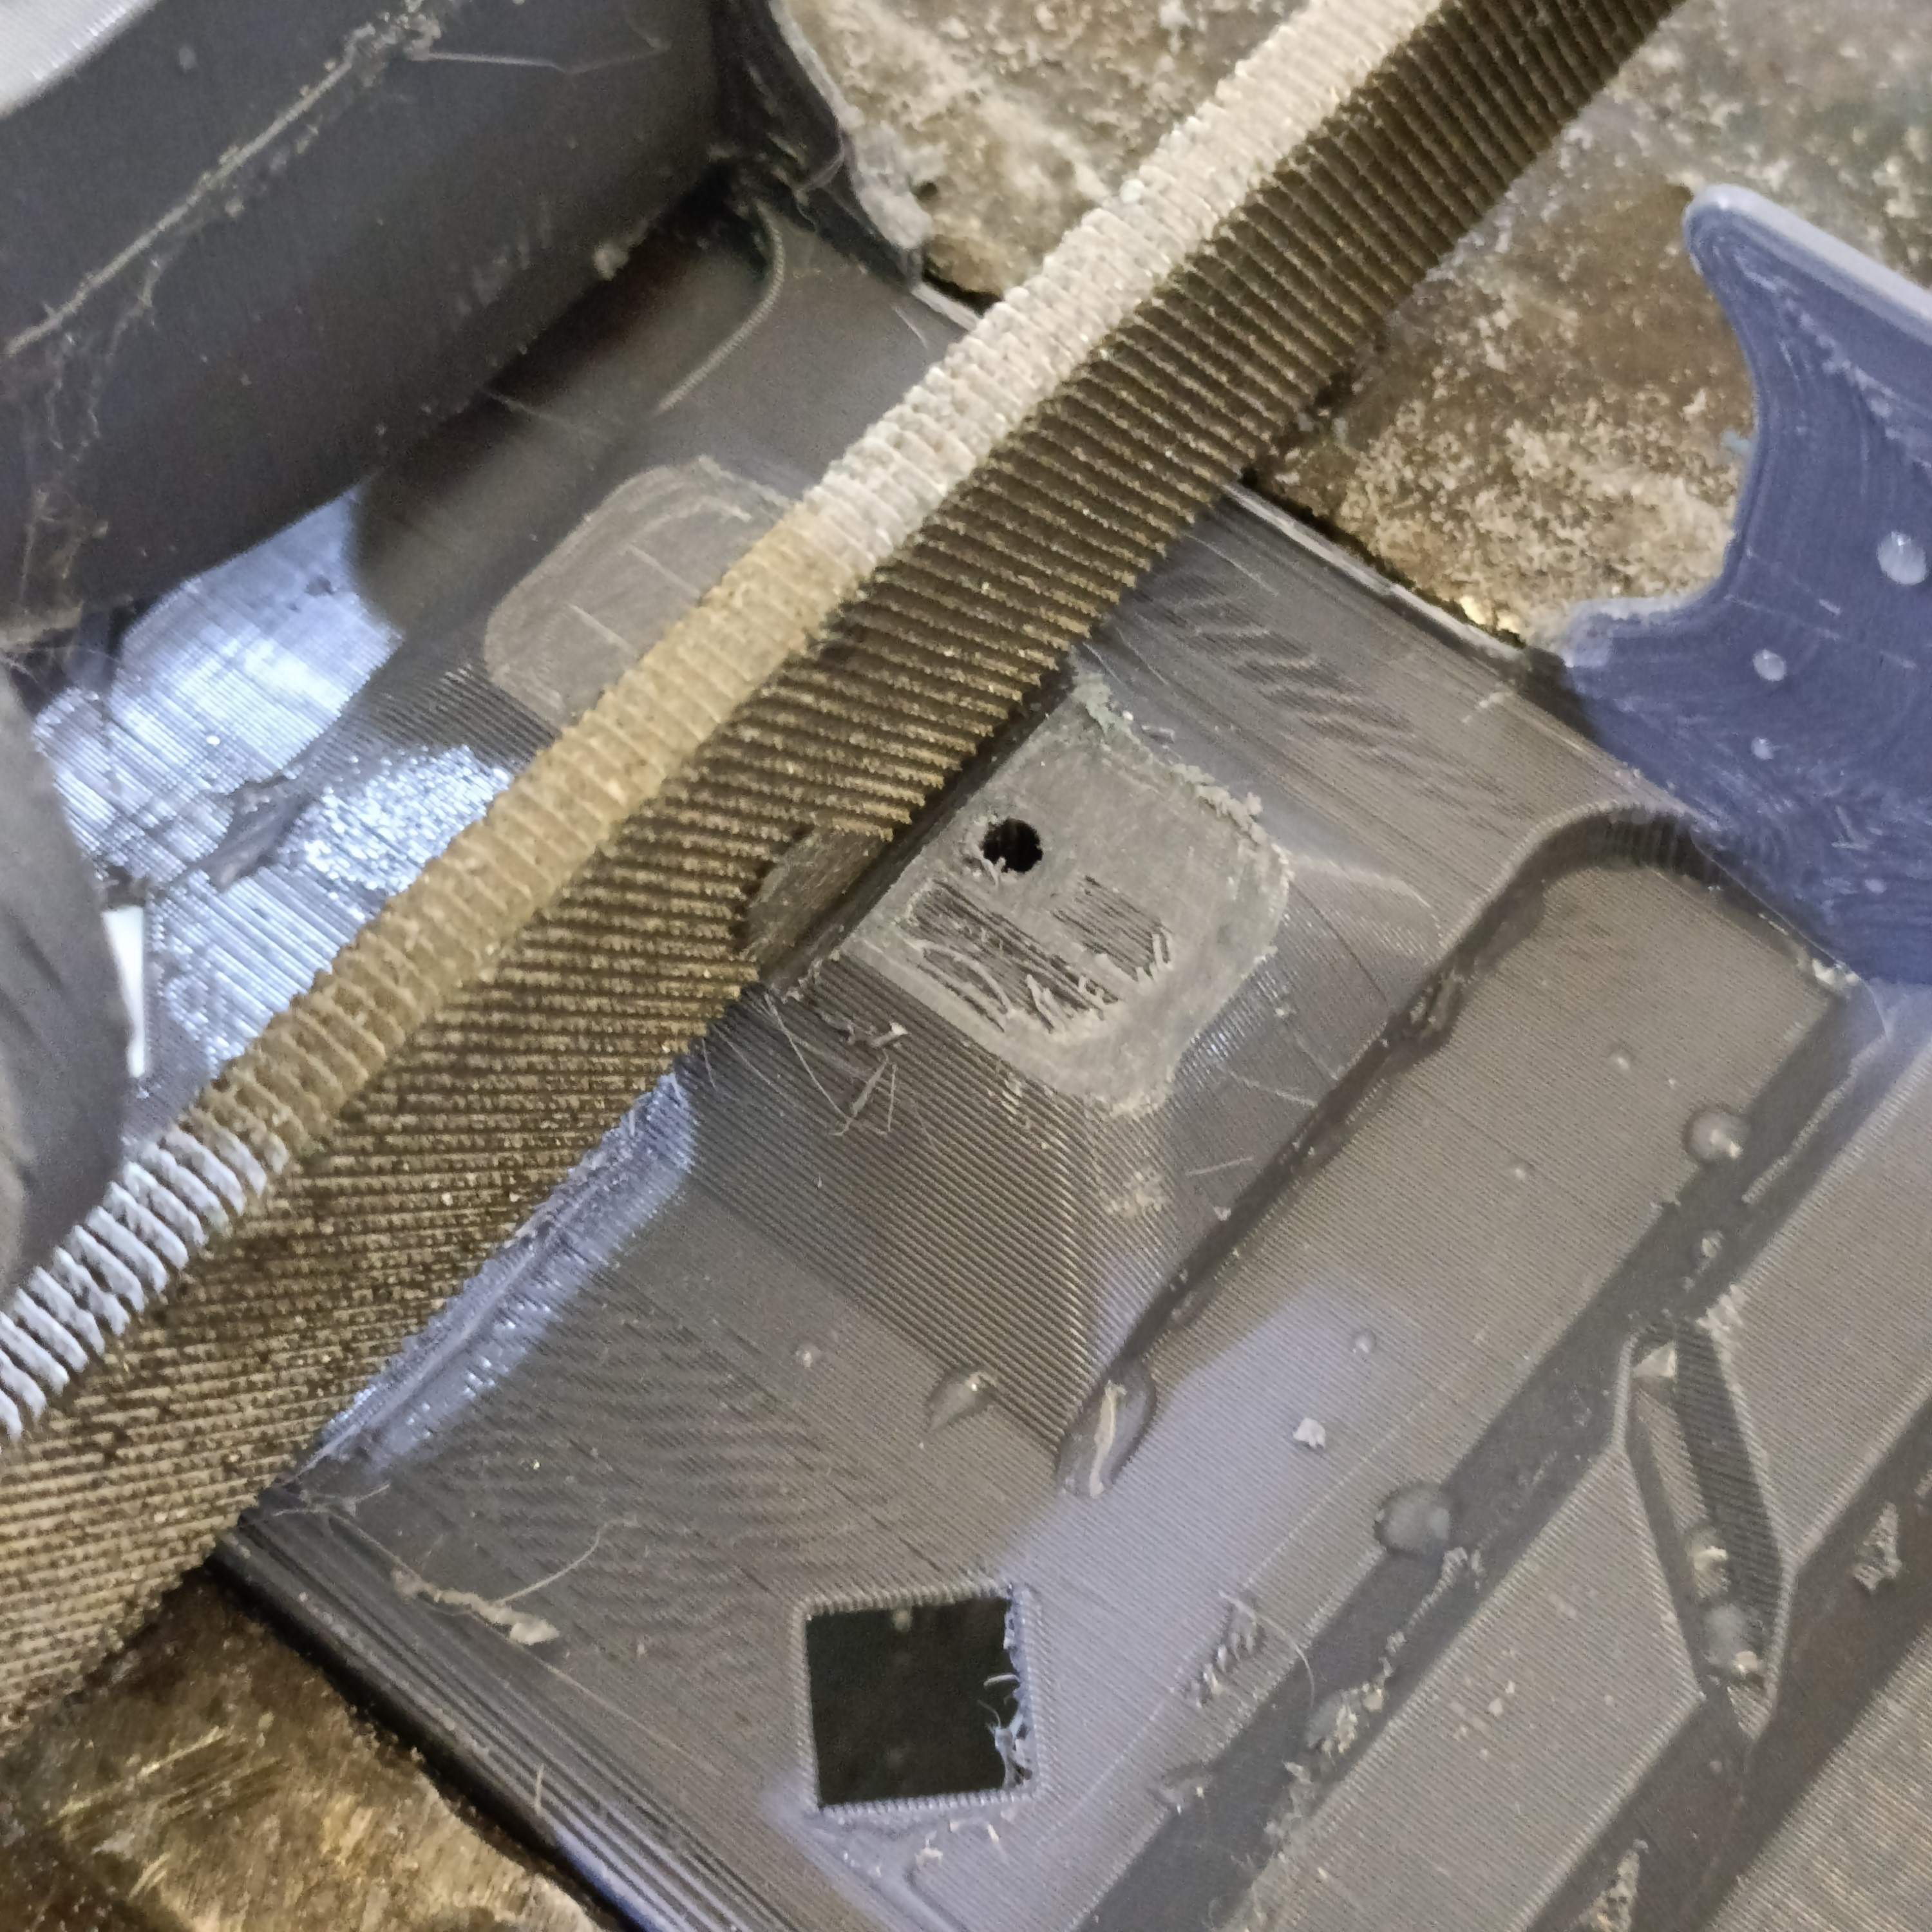 It took like 20 minutes once I got the strategy.
With this, I was able to install the c8or onto the cr600s.
 kelvinA
Discussions
Become a Hackaday.io Member
Create an account to leave a comment. Already have an account? Log In.