 kelvinA
On the 25th of December 2016, I got into 3D printing for the first time with a CR-10.
I woke up on the 24th of December 2024 and I had an idea: Since the Coaxial8or kinda works and tomorrow marks 8 years since I first printed on "the CR-10 now known as the CR600S", I should try and print a two tone gift box.
Designing the box was simple
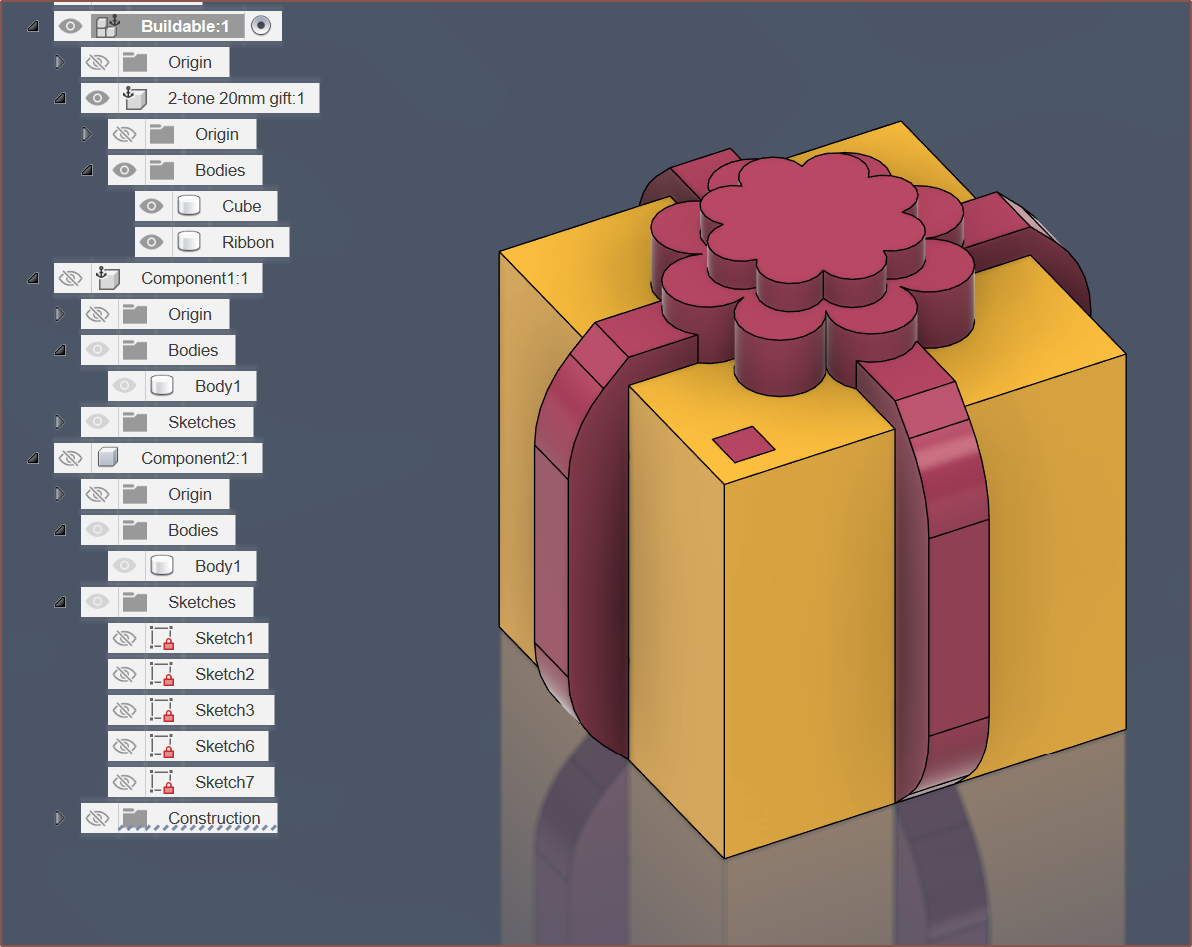 Obviously, to celebrate years worth of calibration cubes, I modelled a ribbon-wrapped 20mm cube with an 8-sided flower-bow on top. I also added a little pillar so that I could mark orientation (because this is still a calibration cube at the end of the day). I joined the pillar with a very narrow (0.001mm) extrusion so that it and the ribbon counts as a single body:
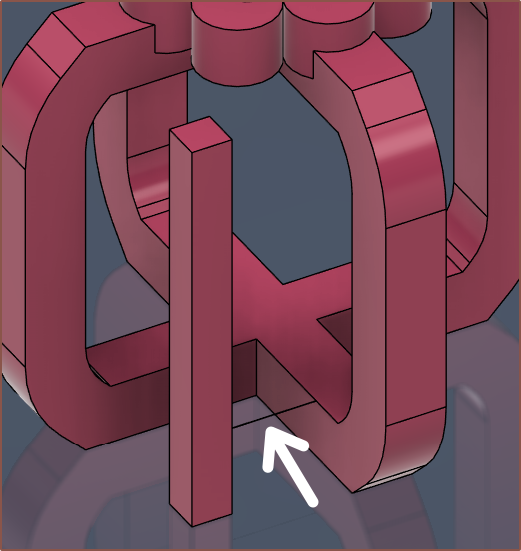 It should also be of no surprise that the ribbon has filleted chamfers.
Setting up in PrusaSlicer
 So I was doing things like setting up a decent purge volume and looking at the (failing) prints to see that I really needed to work on retraction settings. What I found that it seems best to
- retract ASAP - prevents a blob forming at the end of the track
- deretract slowly - allows a small blob to anchor at the new location before the toolhead zooms off
At this moment, my purge volume was 300mm3 and it seemed like it needed to be more. For context, 100mm of filament = 240mm3, so it's somewhat expected. I designed the Coaxial8or more for having a digital library of filaments than a multicolour modification (e.g. like the diamond nozzle).
Setting up OrcaSlicer
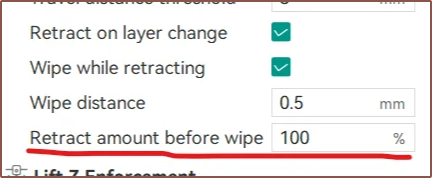
In search for "coasting" for PrusaSlicer, I found out that OrcaSlicer has a "wipe distance" option, which doesn't exist in PrusaSlicer.
 Earlier in the year, I didn't use this slicer because it only supported single-extruder-multimaterial options. I can now report that it now supports multiple extruders! The only caveat is that, to duplicate settings across all extruders, I have to temporarily set Extruders = 1 and then back to = 16. This also resets the filaments loaded to whatever was in the first extruder.
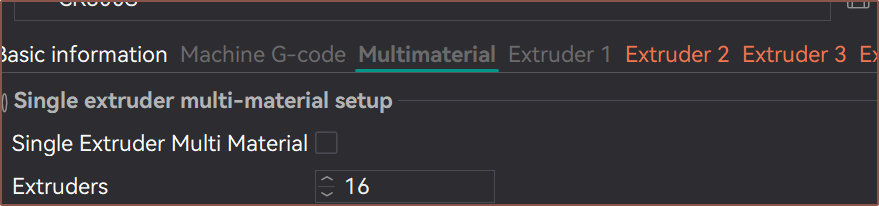 The main, exciting thing I was able to (convolutedly) set up was a "master" material, which actually updates other materials inherited by it. This makes things SOOO much more manageable.
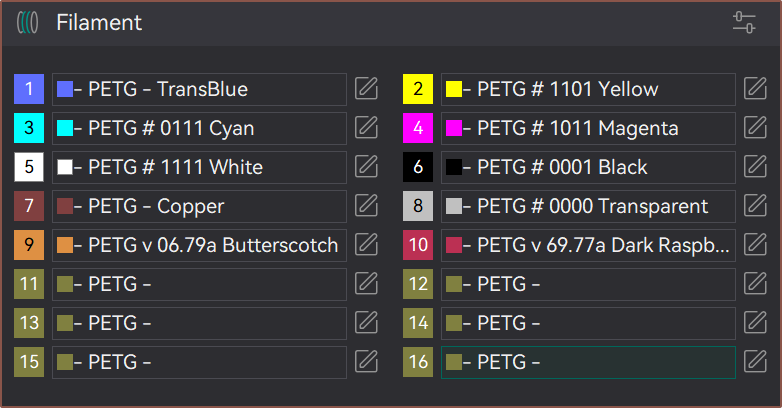
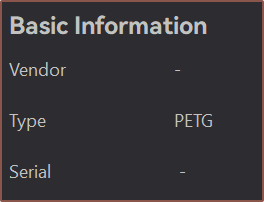
I also think it's easier to see what is loaded in OrcaSlicer:
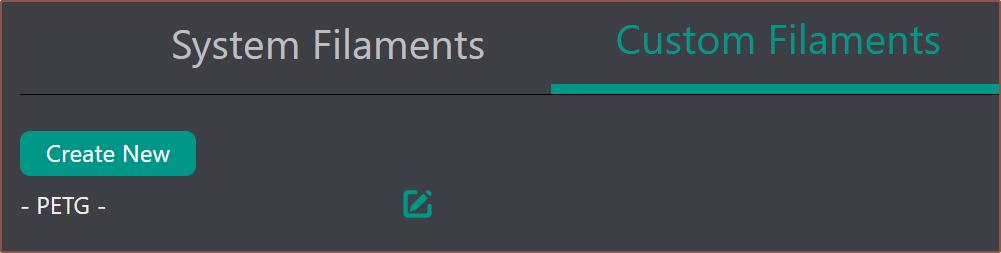
It's possible to do by creating a new material by clicking "Add/remove filament" and then "Add new":
 It insists that some "@MyMarlin" thing is added to the end. I went to the presets path, removed "@MyMarlin 0.4 nozzle" from the filenames and then search and replaced (with nothing) the string in other files:
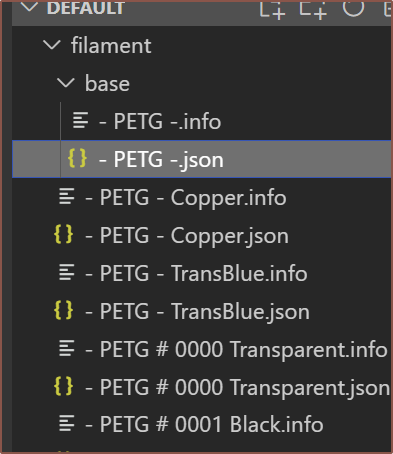 As you can see, I decided to name the block colours with a 4-bit number. So instead of hex of RGBA being FFFF for opaque white, it's 1111, since the block colours are either entirely on or off anyway.
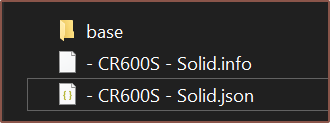
It was a bit tough (because I kept opening the same .3mf instead of importing it into a new project, causing settings to linger around) but I was able to do the same thing with the printer preset! All I needed to do is put my master in a "base" folder and set
"inherits" : ""
Then I could make another profile and tell it to inherit the master.
 Finally, I can have an easily editable master profile! I've been wanting this feature ever since I got into 3D printing. What makes it special is that, if I changed a value in the child preset and I want it to follow the master again, I just need to change the value to whatever it was in master. It's not like Cura where I'd have to open the config file in VSCode and delete the entry.
Redefining colour
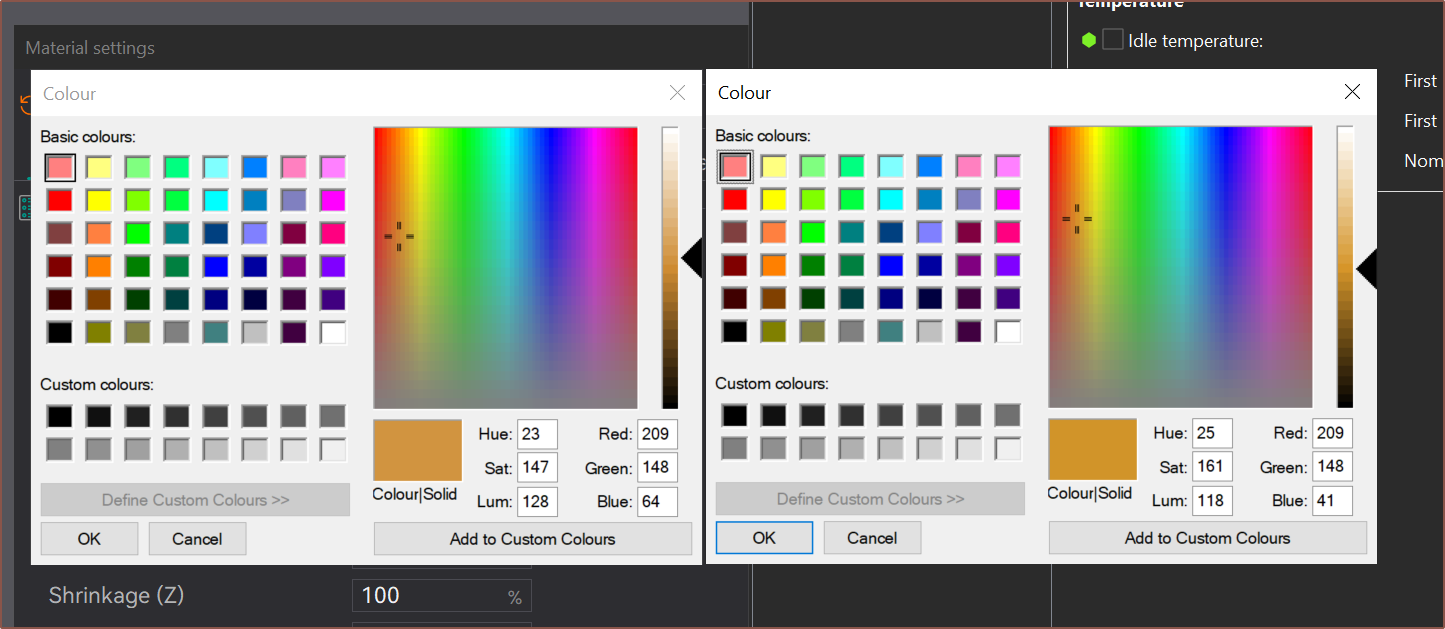 Do you see much of a difference in these colours? I don't, but the blue value is quite a bit different. I then remembered that all these virtual materials are going to be sorted in alphabetical order. If I continued to use RGBA, it'll be all over the place!
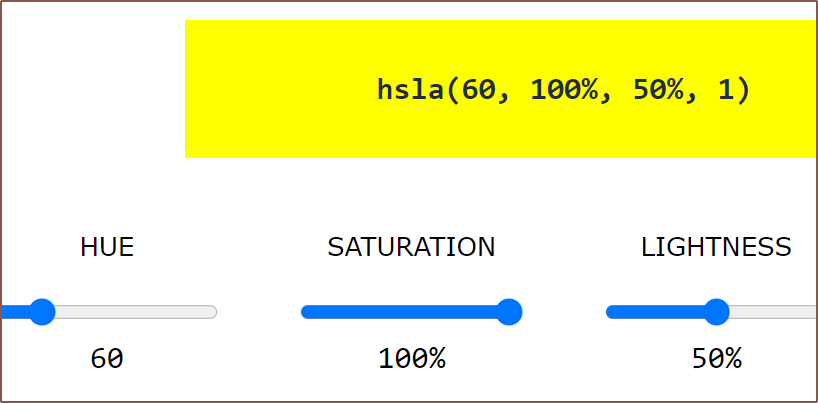
There are other ways of defining colour, such as HSB/HSV and HSL (seen above), and they have alpha-channel variants too:
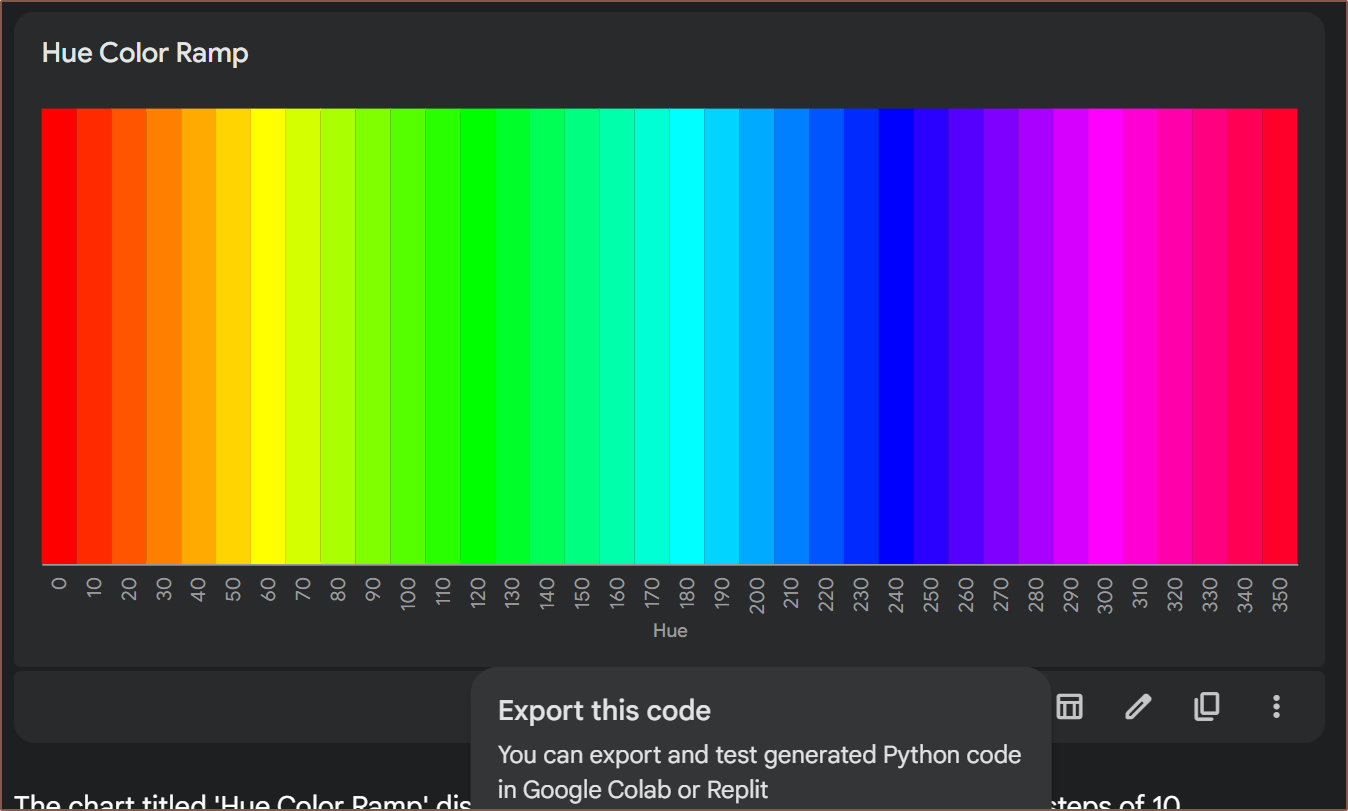
Still though, I want a nice, easy, good enough scale that doesn't take up to much space. There's no way I'll be able to tell if something is 99% or 98% of something. FDM isn't really going to be doing "truecolour" gradients unless I want to purge a spool every layer. It seemed that I could "round to the nearest 10" for everything, so I asked Gemini what that would look like and it, to my surprise, Gemini actually coded up a "Hue Color Ramp":
I then used Coolors to mess around with both HSB and HSL, of which their differences are shown in this article.
I played a guessing game of "the eyedropper of my eye", looking at different colours in the room and trying to get its value with the sliders. It was soon apparent that HSB was much more fluid to find the colour and be confident it's good enough. First I max out SB, move H to where I can see the brightness of the colour I need, and then finally see across the saturation slider for the closest colour:
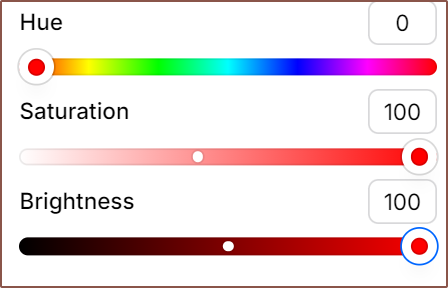

After a few tries, I realised that the hue needed to be more granular, rounding to the nearest 5 degrees instead of 10:
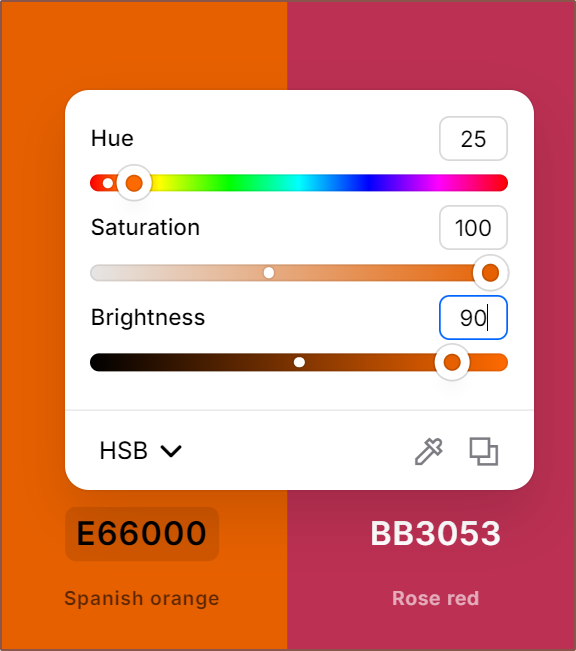
As of writing, below is the format I've decided on which encodes the above "spanish orange" as 05.a9a. There doesn't seem to be a HSBA colour system, only HSVA. Allegedly, HSB and HSV are equivalent:
| Name (unit) | Standardised value (as seen in Coolors) | Compressed colour system |
| Hue (degrees) | 0, 5, 10, ..., 355 | 00, 01, 02, ..., 71 |
| [full stop] | . | |
| Saturation (%) | 0, 10, 20, ..., 100 | 0, 1, 2, ..., a |
| Value (%) | 0, 10, 20, ..., 100 | 0, 1, 2, ..., a |
| Alpha | 0.0, 0.1, 0.2, ..., 1.0 | 0, 1, 2, ..., a |
So it's "Base10.Base11" in a way, but makes it easy to convert between the standard and compressed notation without taking up extra character space. Even still, this compressed colour system encodes over 5,000 opaque colours. Below are some virtual filaments I've already taken out of the oven earlier:
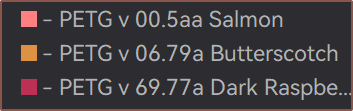
I haven't actually found Dark Raspberry yet; it's currently a placeholder.
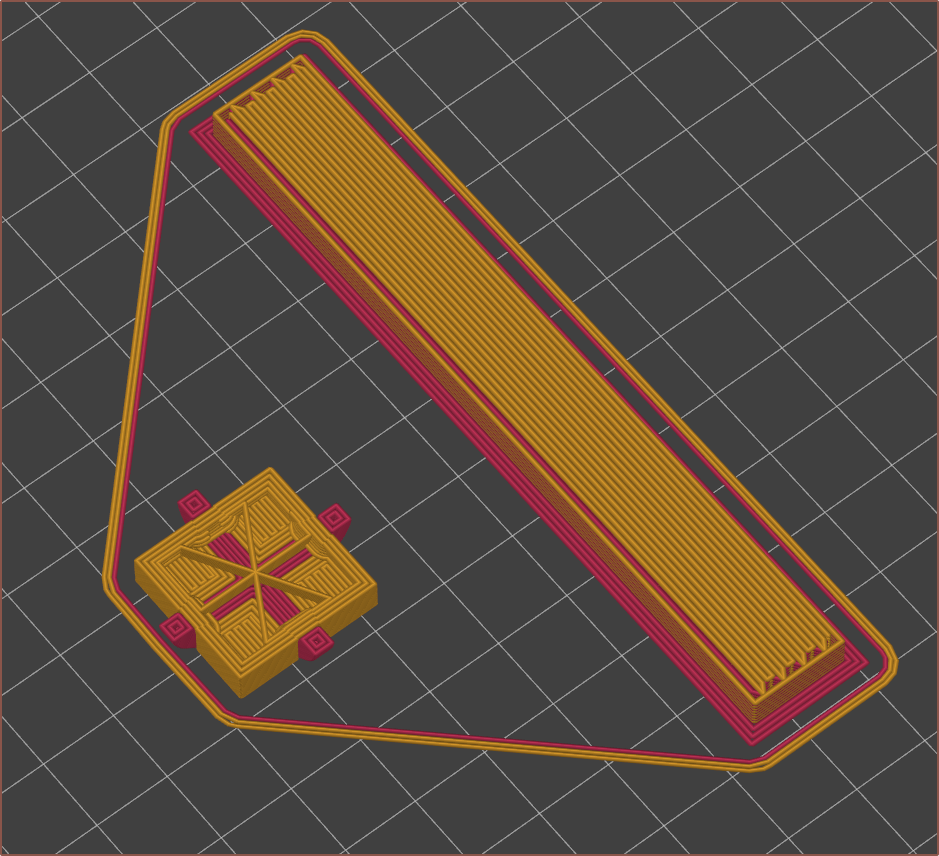
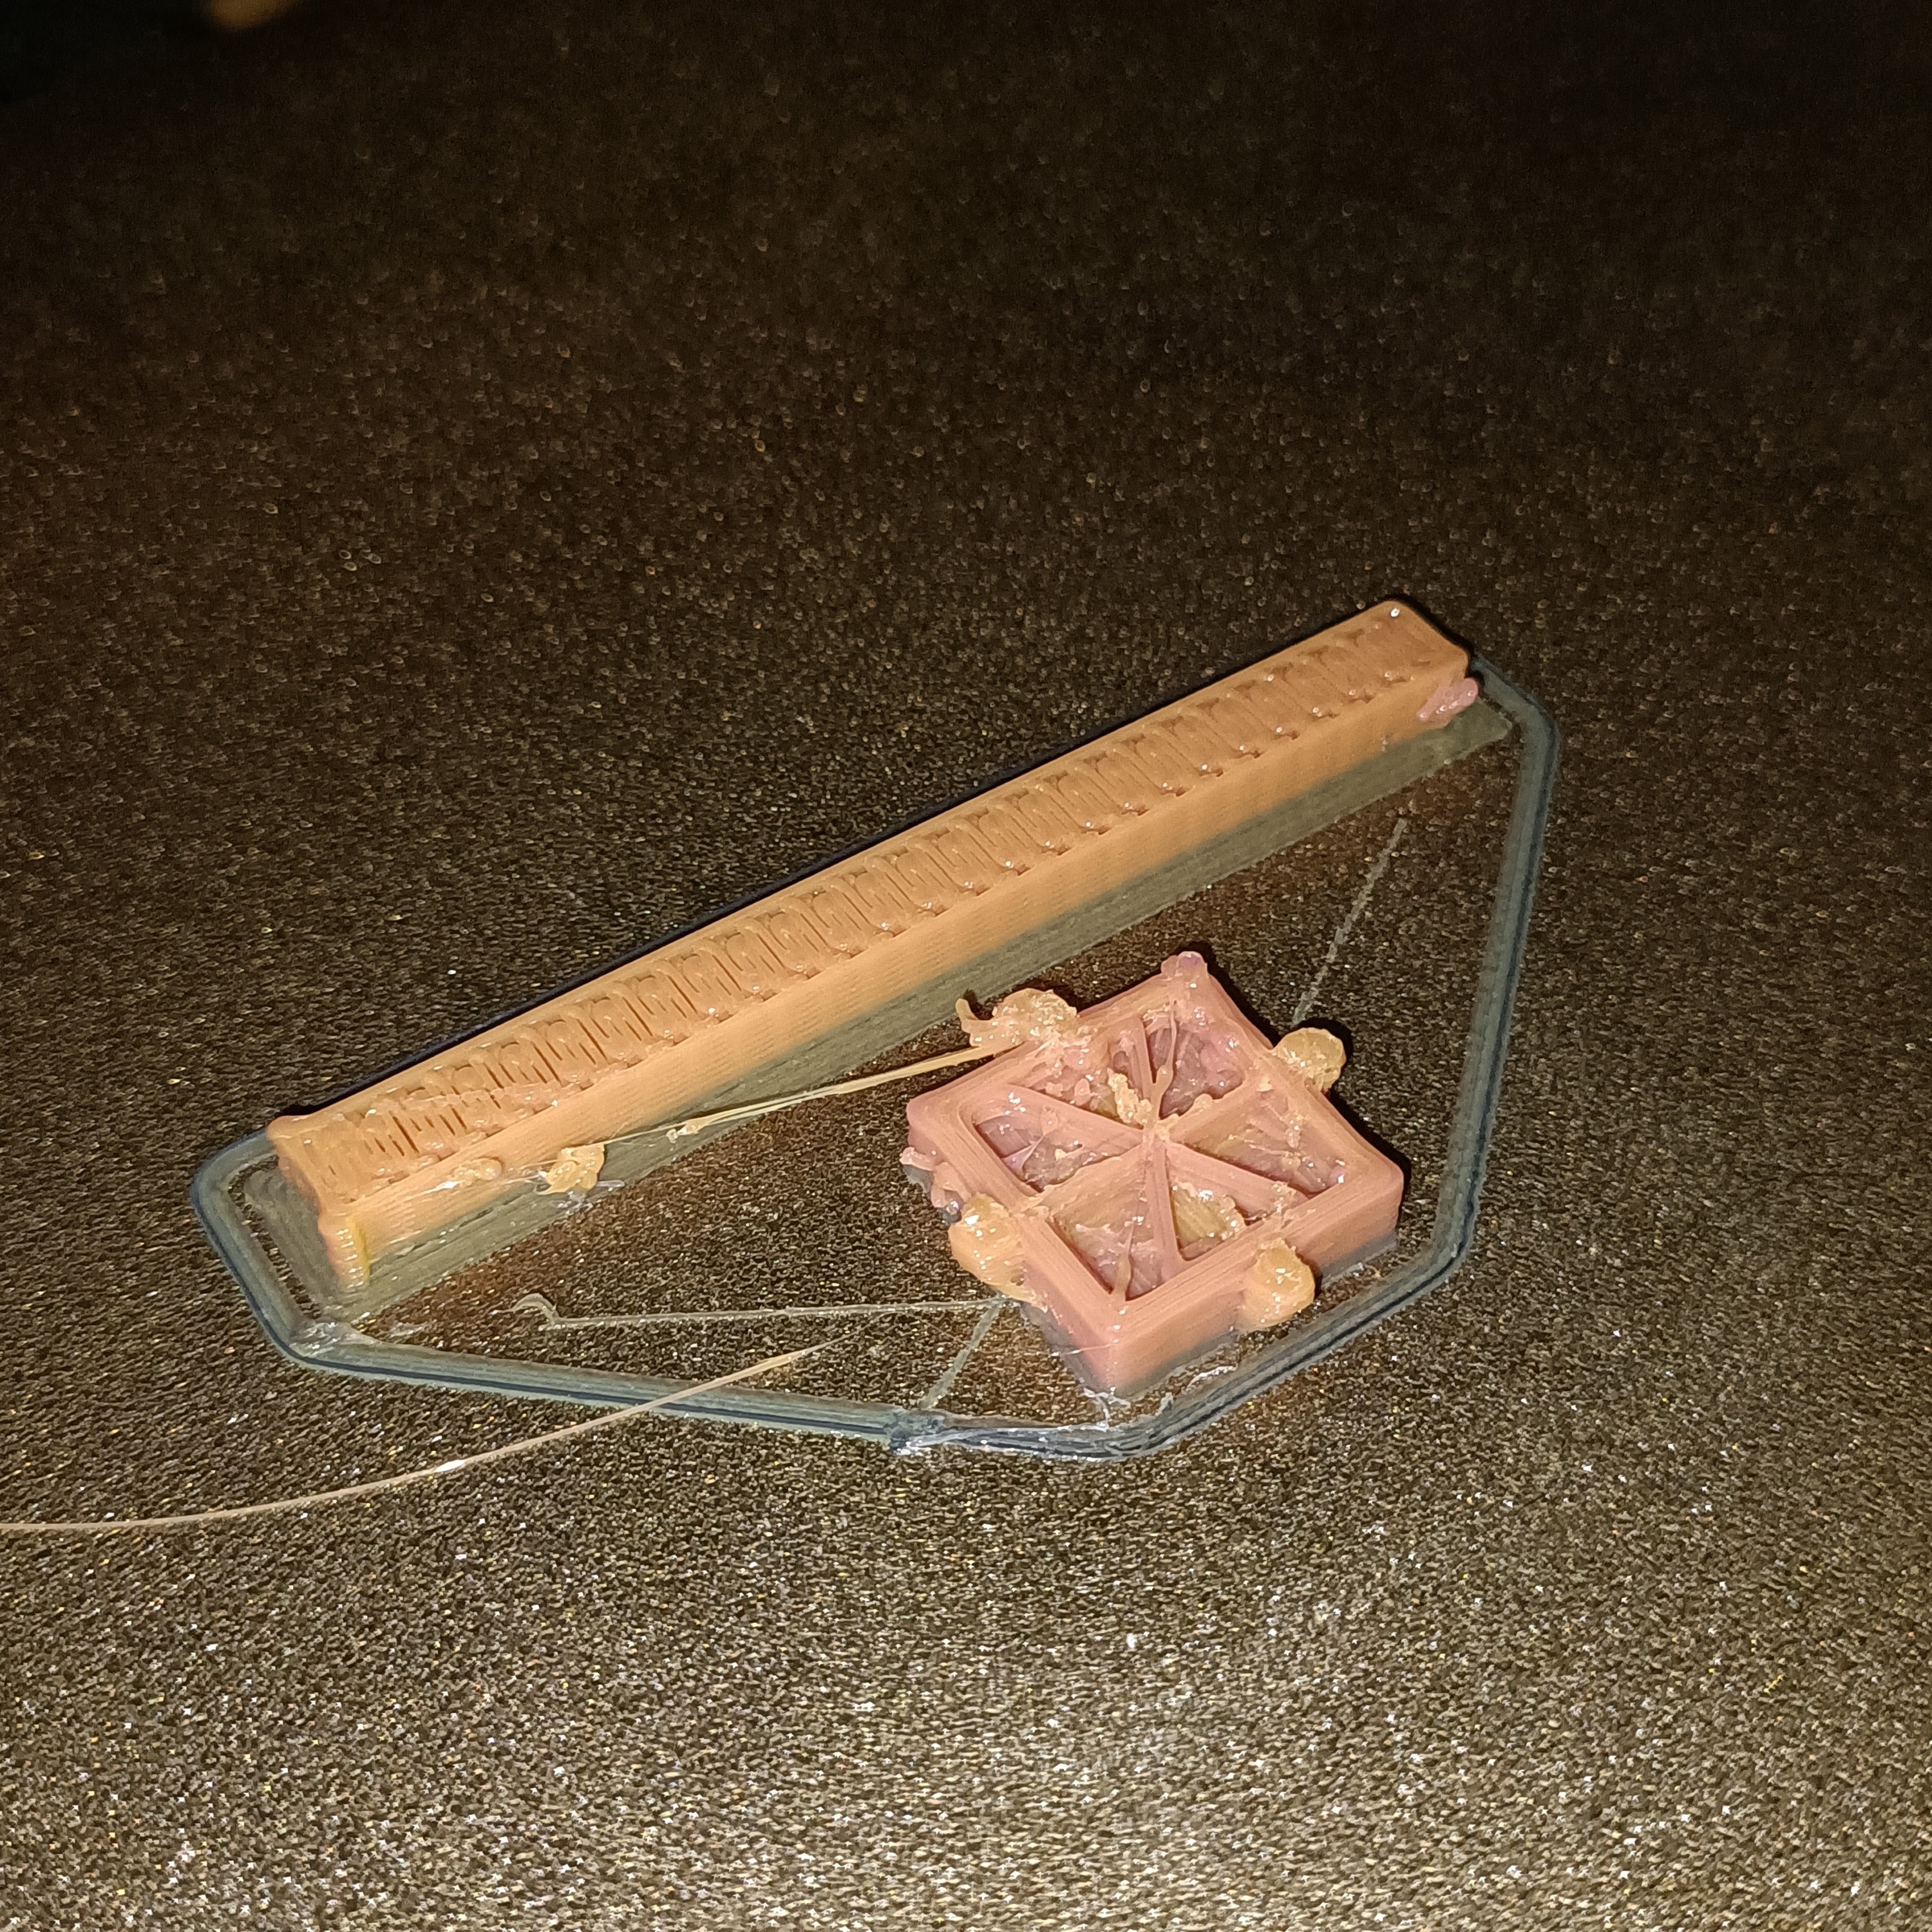
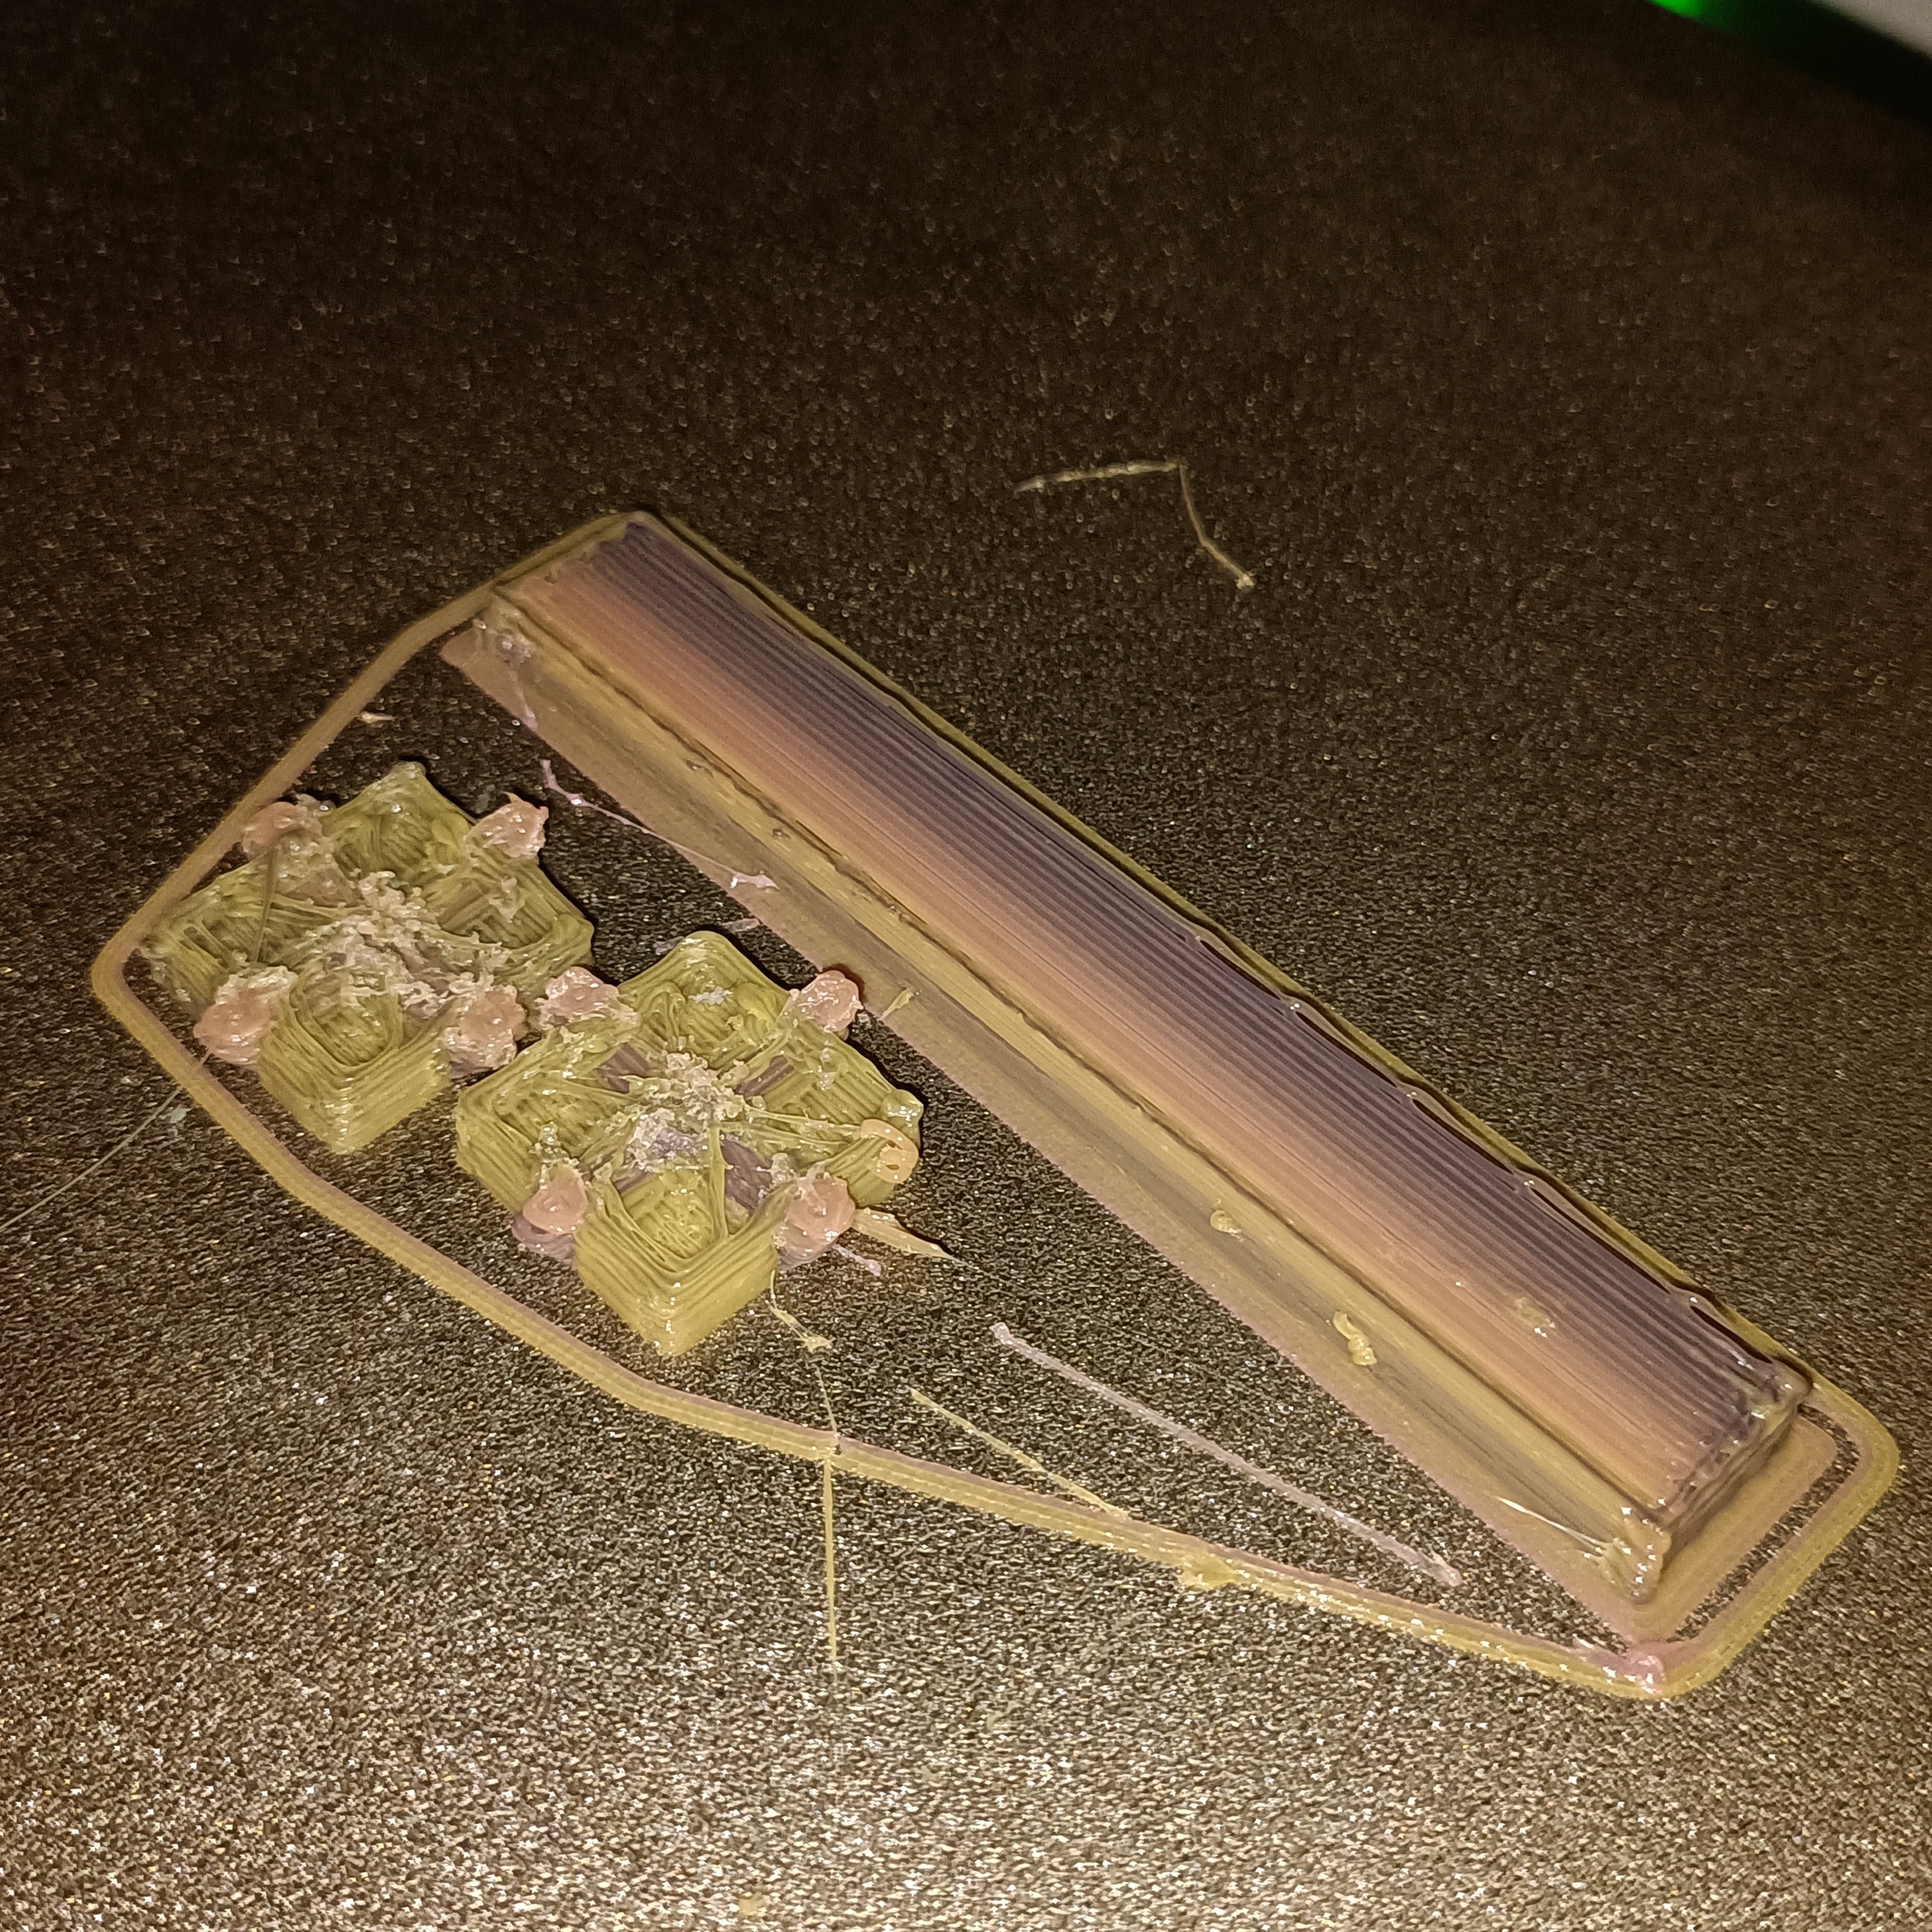
Some images of attempts

Conclusions
The good news is that the Coaxial8or R3 managed to last an entire calibration cube print. The drawback is that "fade height" for the yellow to completely flush out is maybe 8mm or so. It's quite a lot better than R0, but still mostly in the use-case-camp of "I don't need to spend £15 and order an entire spool online and wait 1-3 days just because I want to print this one object in a specific colour I don't have already".
Discussions
Become a Hackaday.io Member
Create an account to leave a comment. Already have an account? Log In.