 mrpendent
“Every good story-teller nowadays starts with the end, and then goes on to the beginning, and concludes with the middle...”
― Oscar Wilde, The Devoted Friend
I probably should have started this project log back when I actually started the project. But in school, they did teach me to begin a story en media res. Therefore, I'll start here, and add in flashbacks later.
First I put the 4148 diodes on my PCB (there will be a flashback about the board). I don't know what they are for, but this guy seemed to think they were necessary (his article was the one that inspired me). And at about a nickel each, I don't mind.

Because these were the first diodes I have ever soldered onto a board in my life...mistakes were made.

To make it worse, I really messed up the mounting of the pin headers for the Pico. So badly that eventually, I just gave up on that one and started on a fresh PCB. I suspect I'll be able to save the previous one, but not right now. Like the noble shark, I must keep moving forward or I will not move forward. Excelsior!
Today, I FINALLY got the parts I had been waiting for--the hotswap sockets.
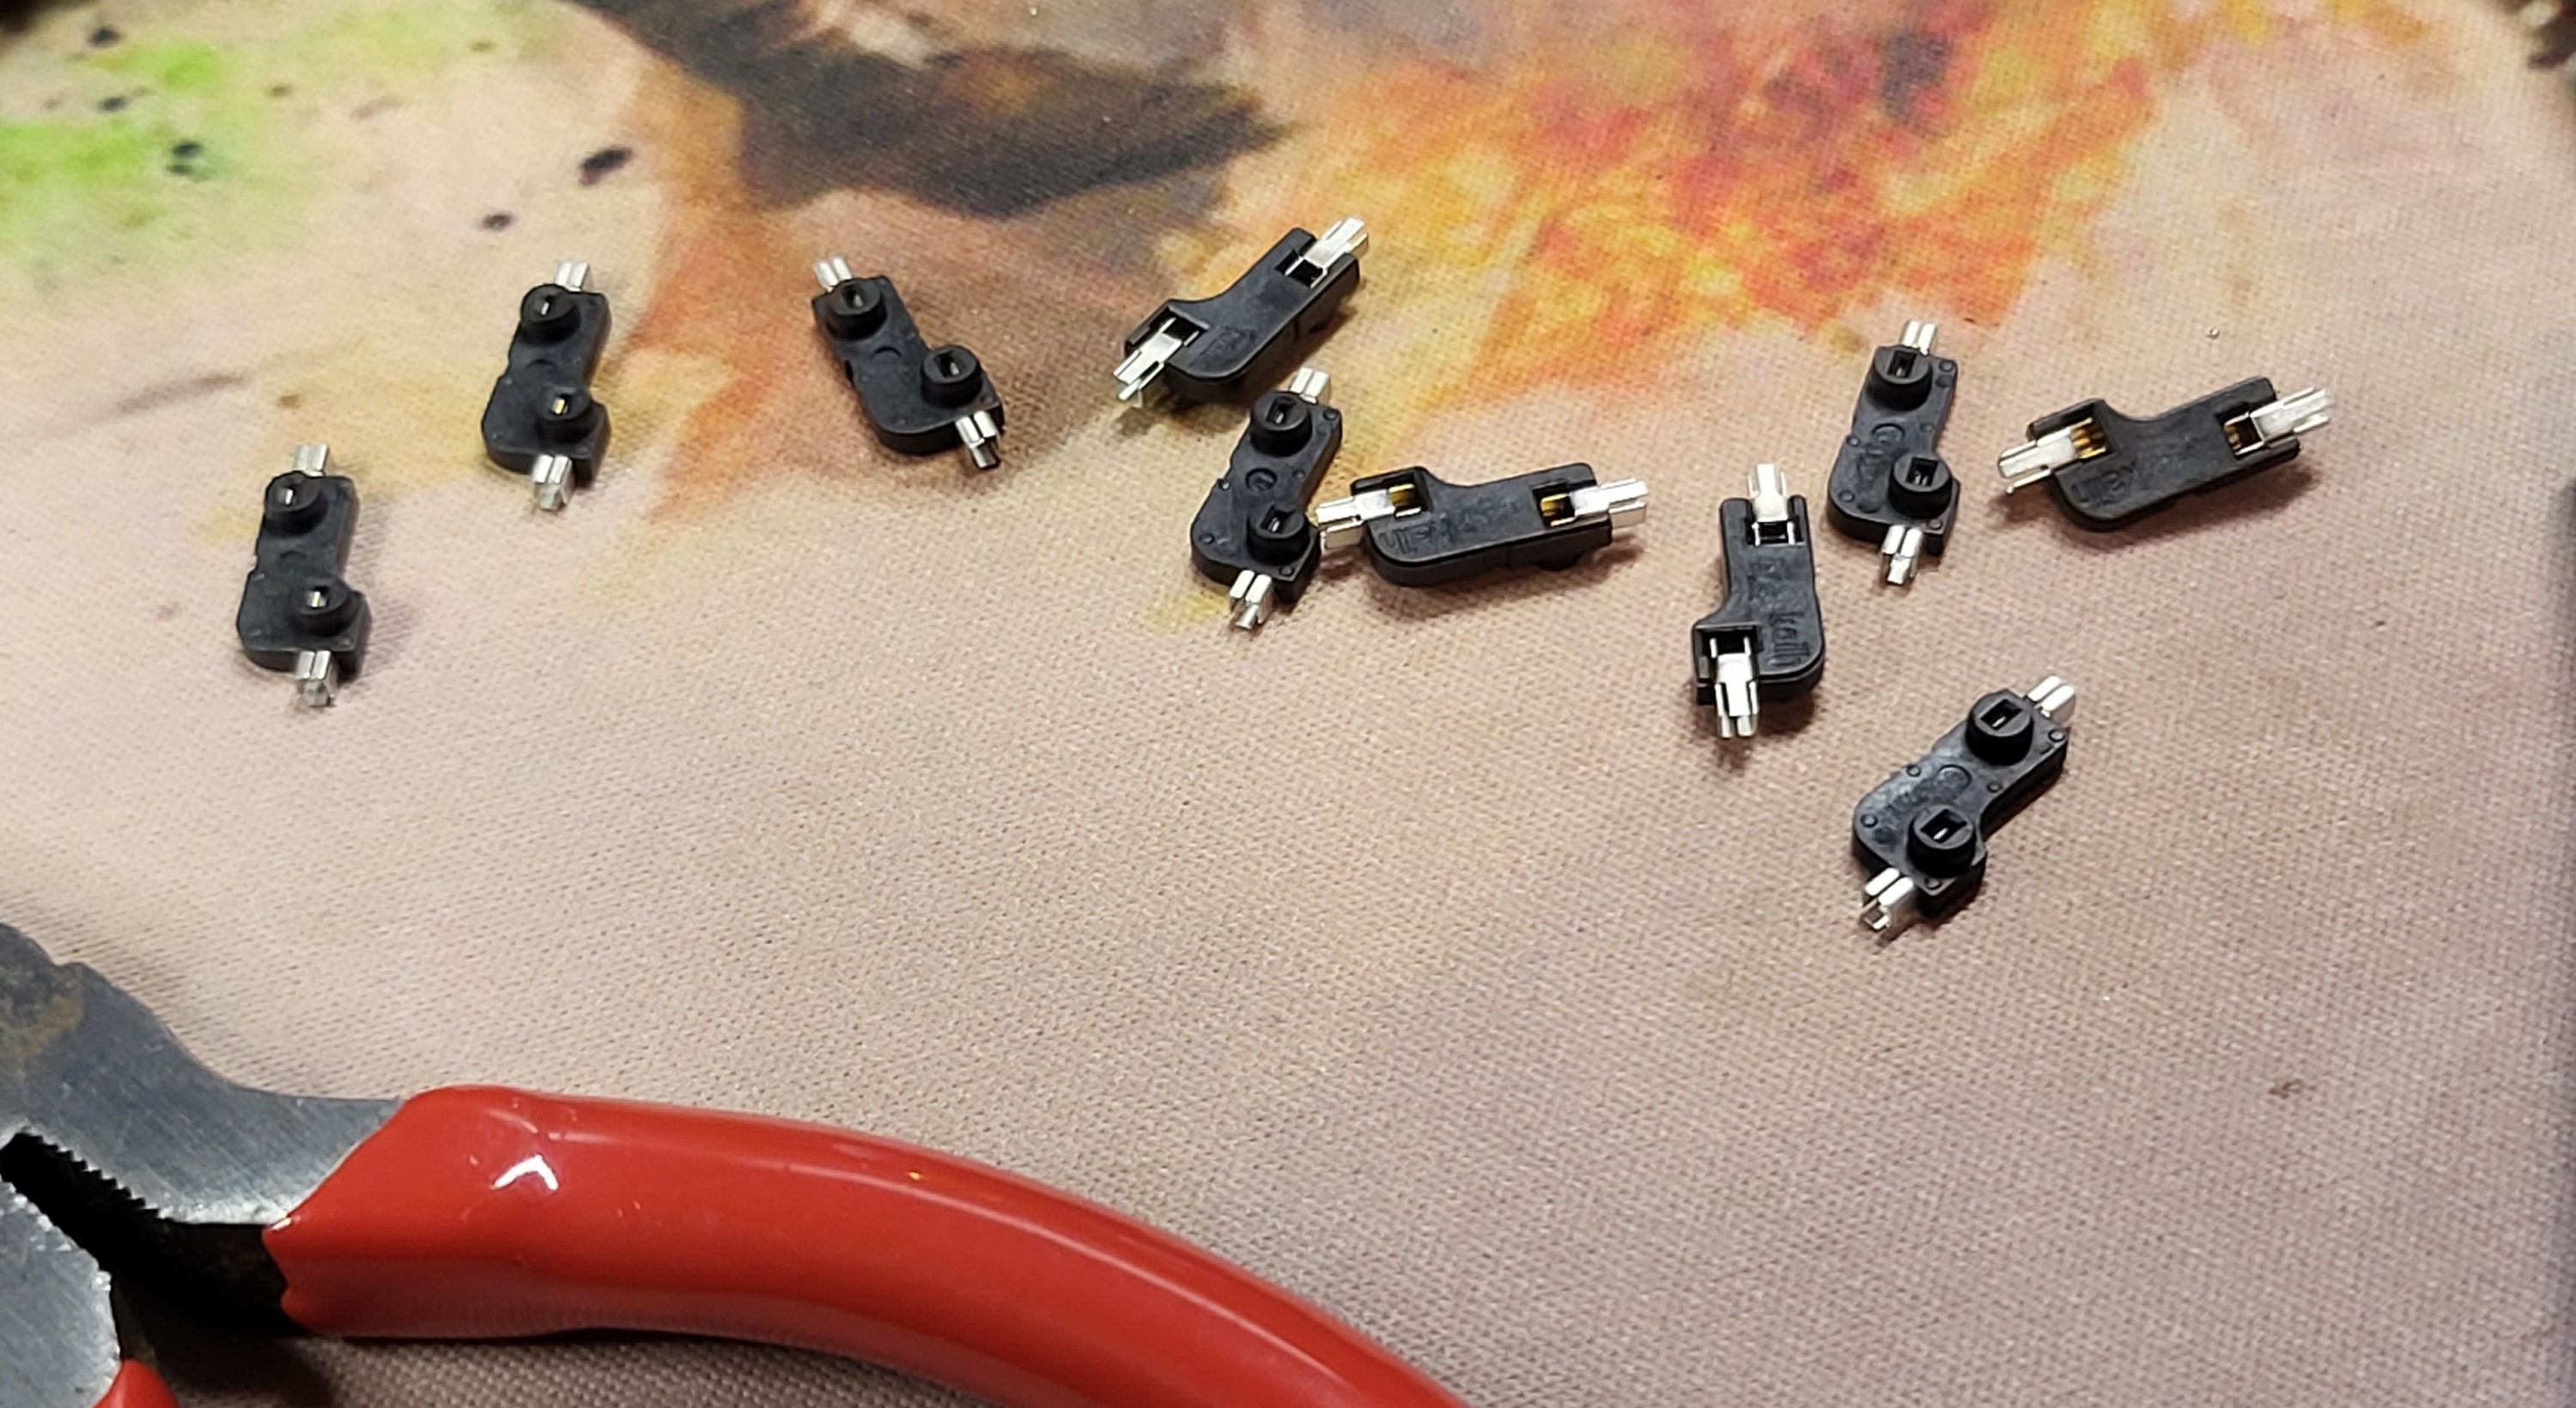
After a bit I managed to get them on...
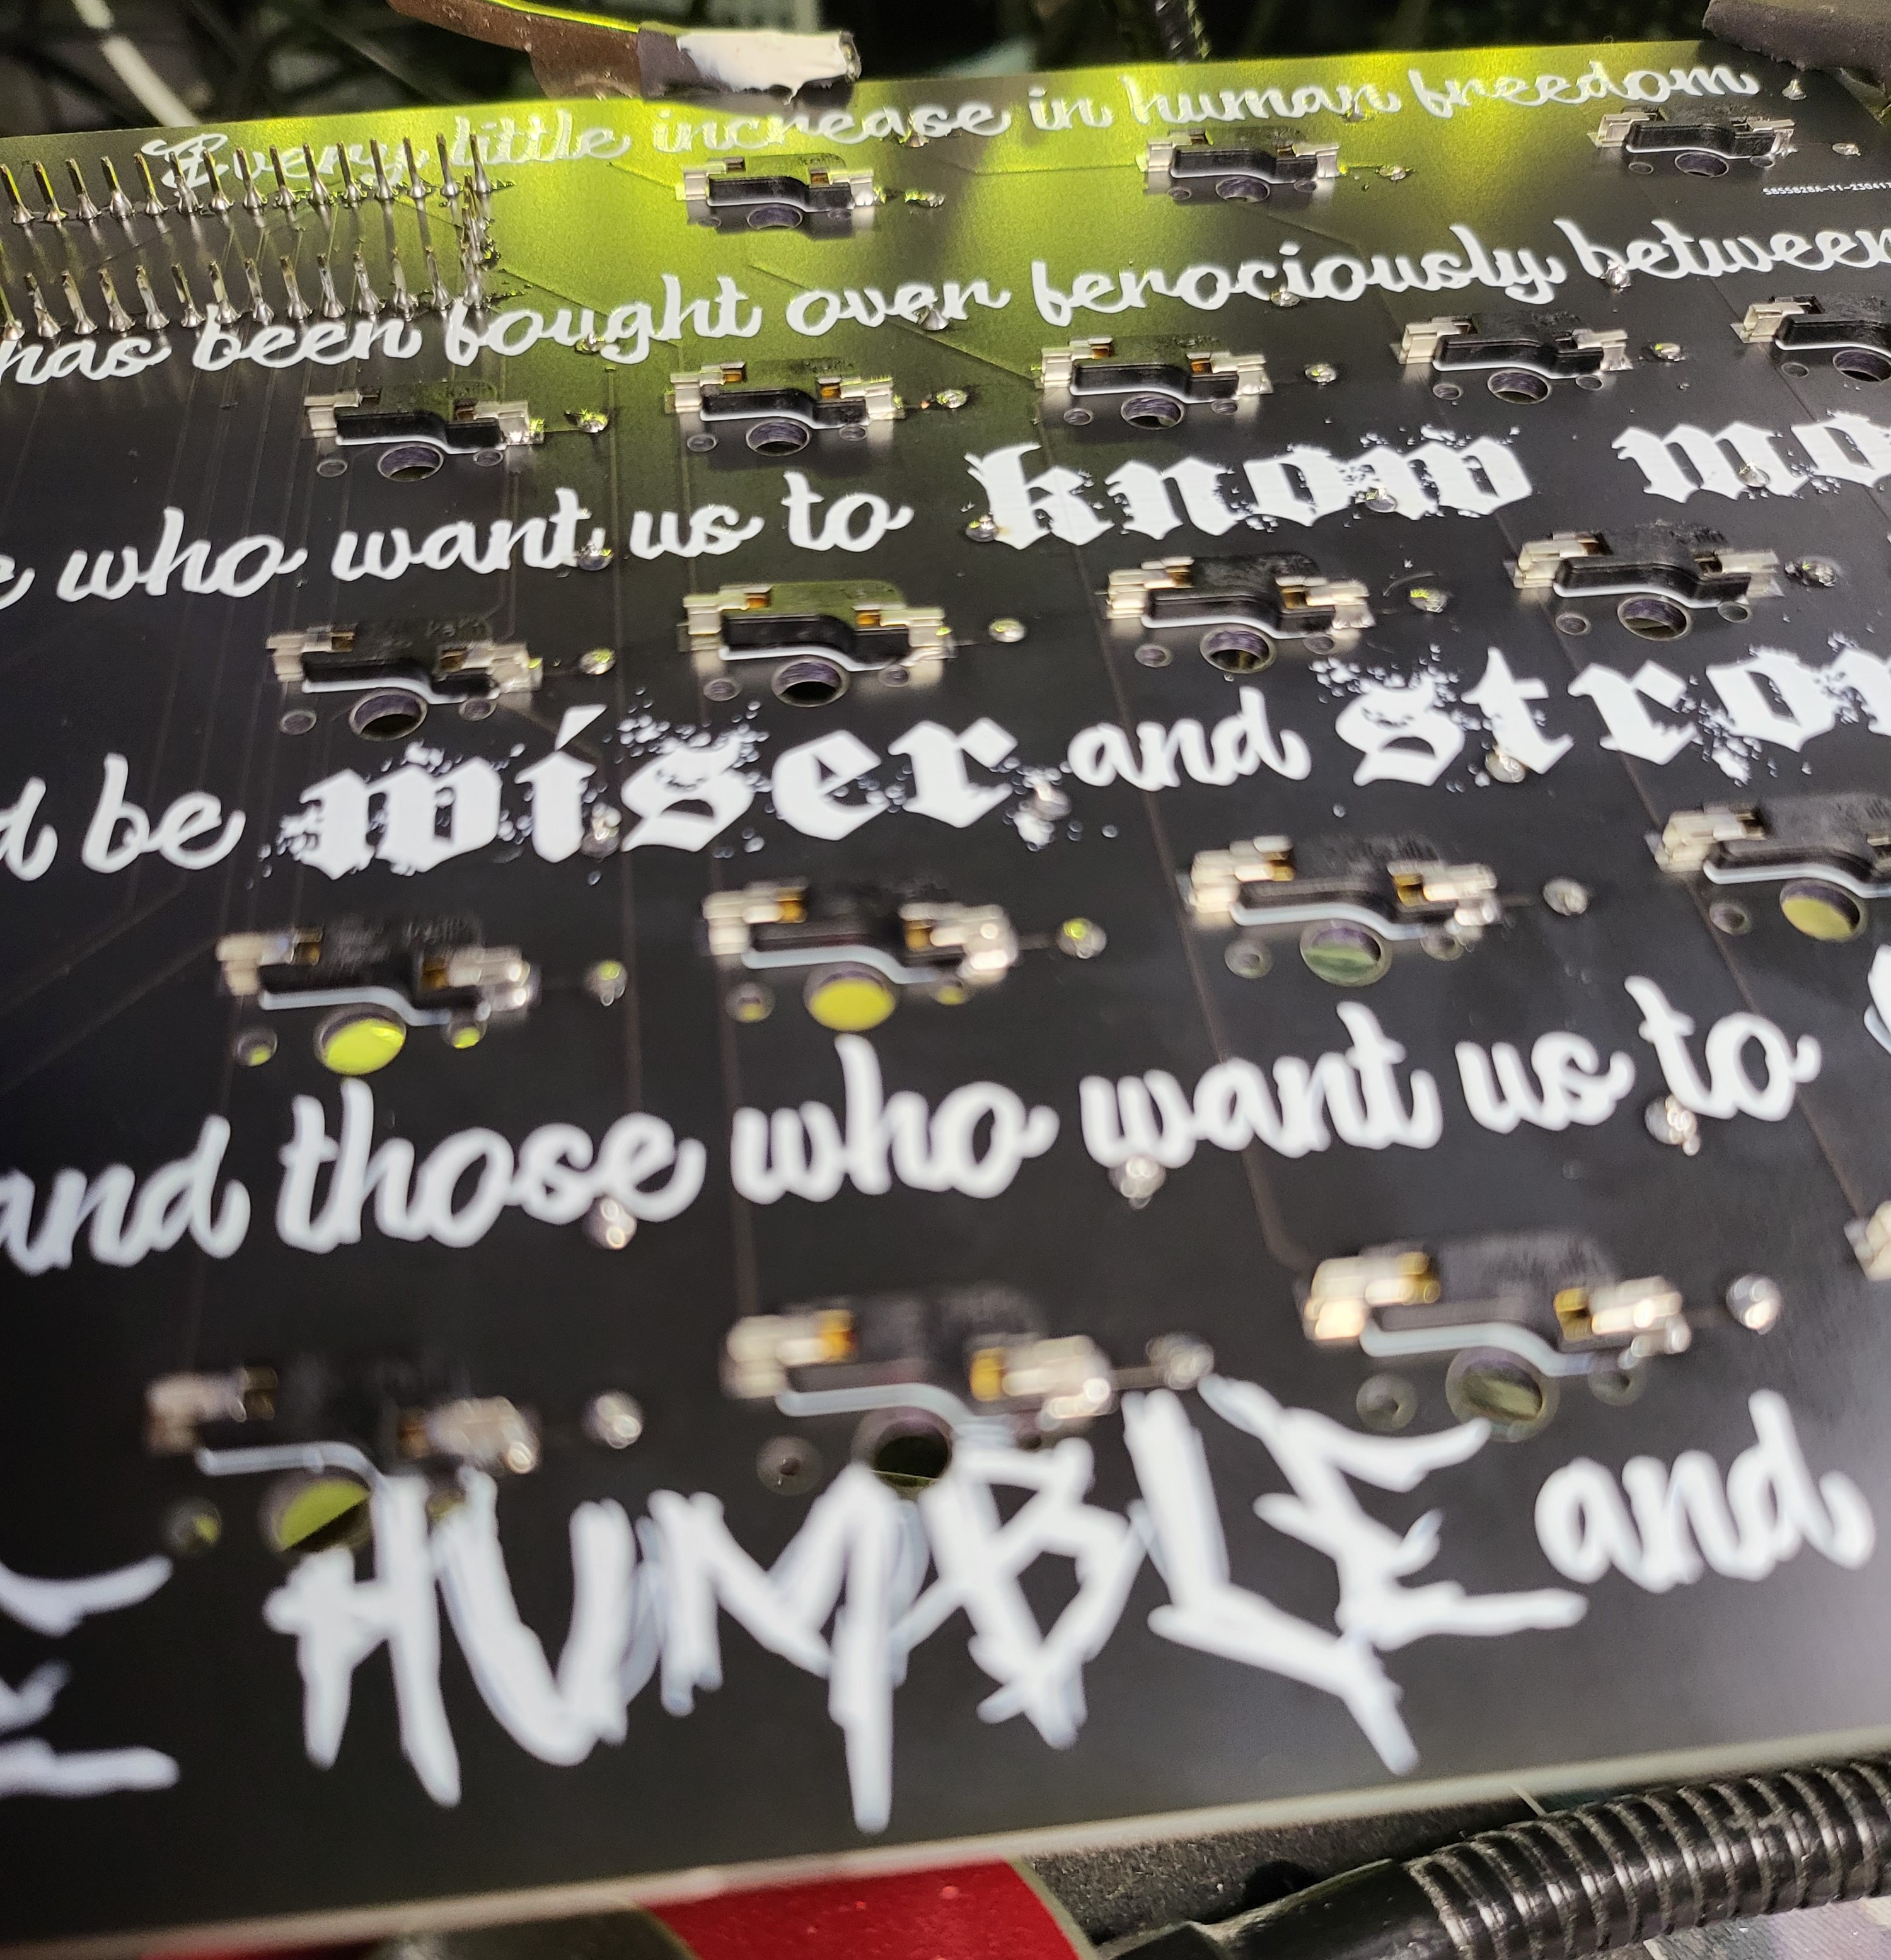
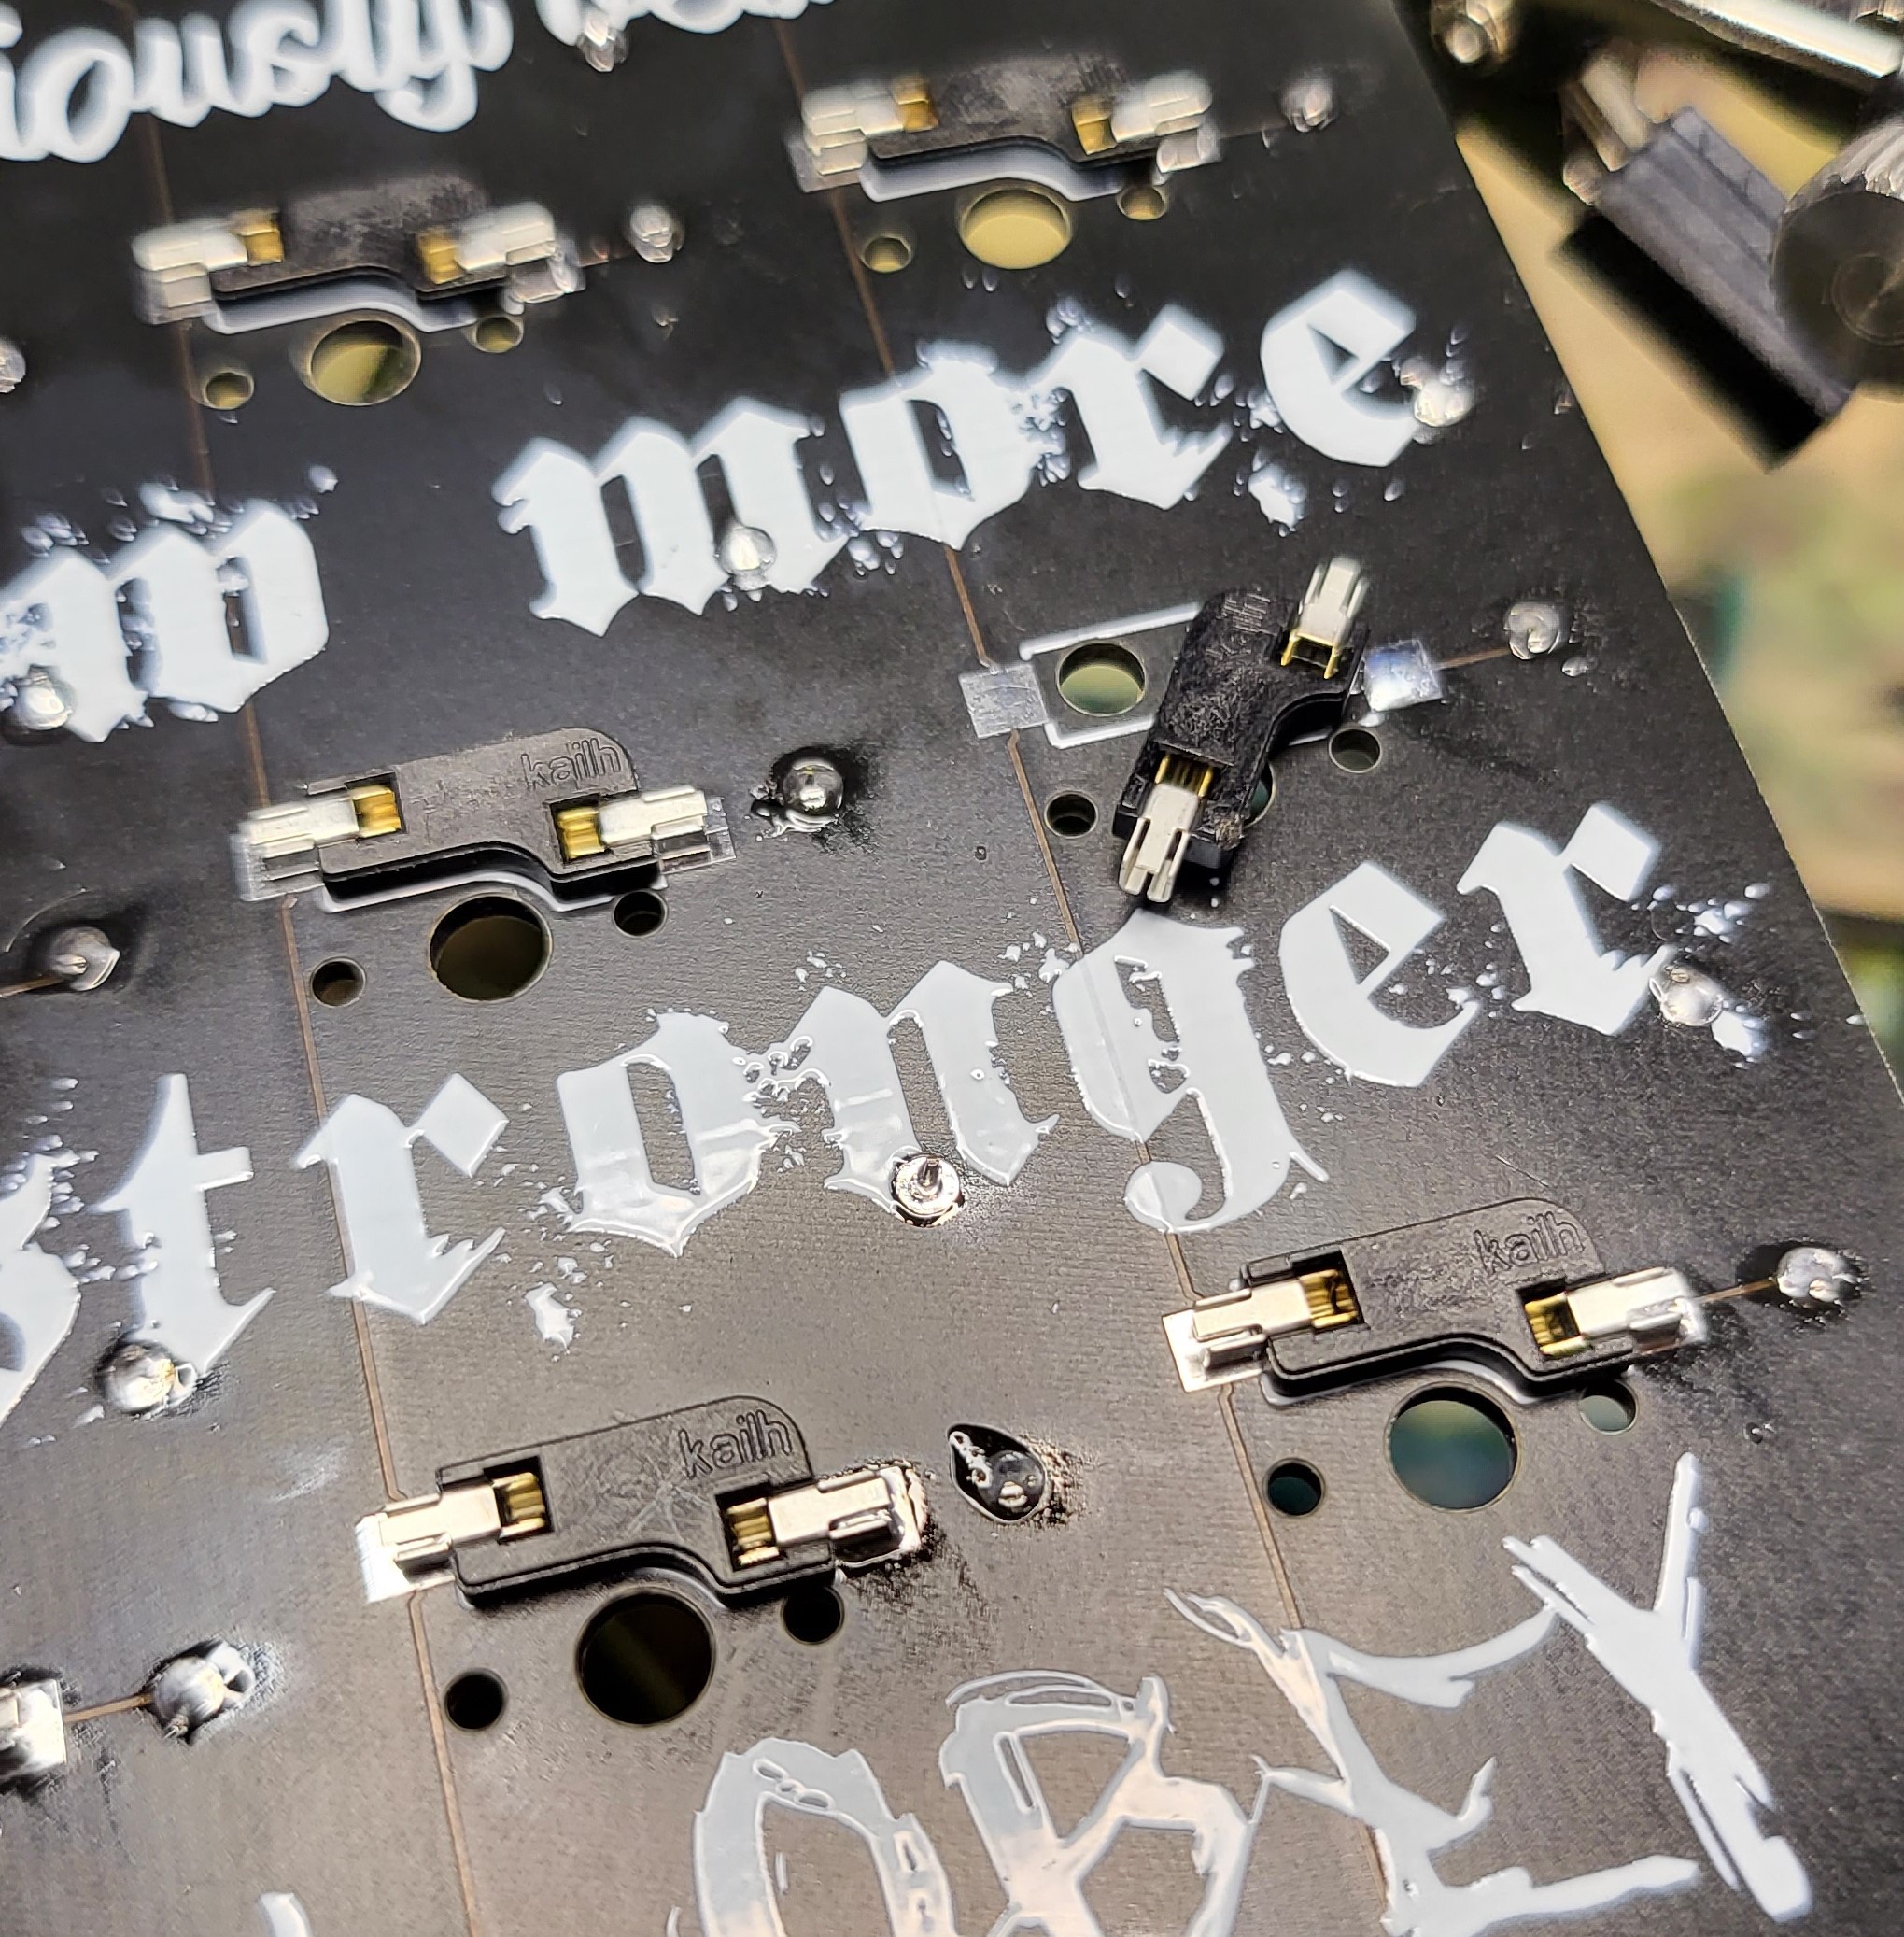
Once I got them all on, I worked on the pin headers, then the Pico.

The sharp-eyed out there will wonder about the pad in the upper right hand corner. That's for an LED, but I don't have it just yet.
And that brings us to the current state:

So the next steps:
- do some measuring and attempt to print the first version of the shell
- get an LED for the top
- decide on the encoder knobs
- order some more keycaps
- write the code for the Pico so that it actually, you know....works
Discussions
Become a Hackaday.io Member
Create an account to leave a comment. Already have an account? Log In.