 mrpendent
I have ordered the second version of the PCB. I think I have made some serious progress and may not need another PCB.
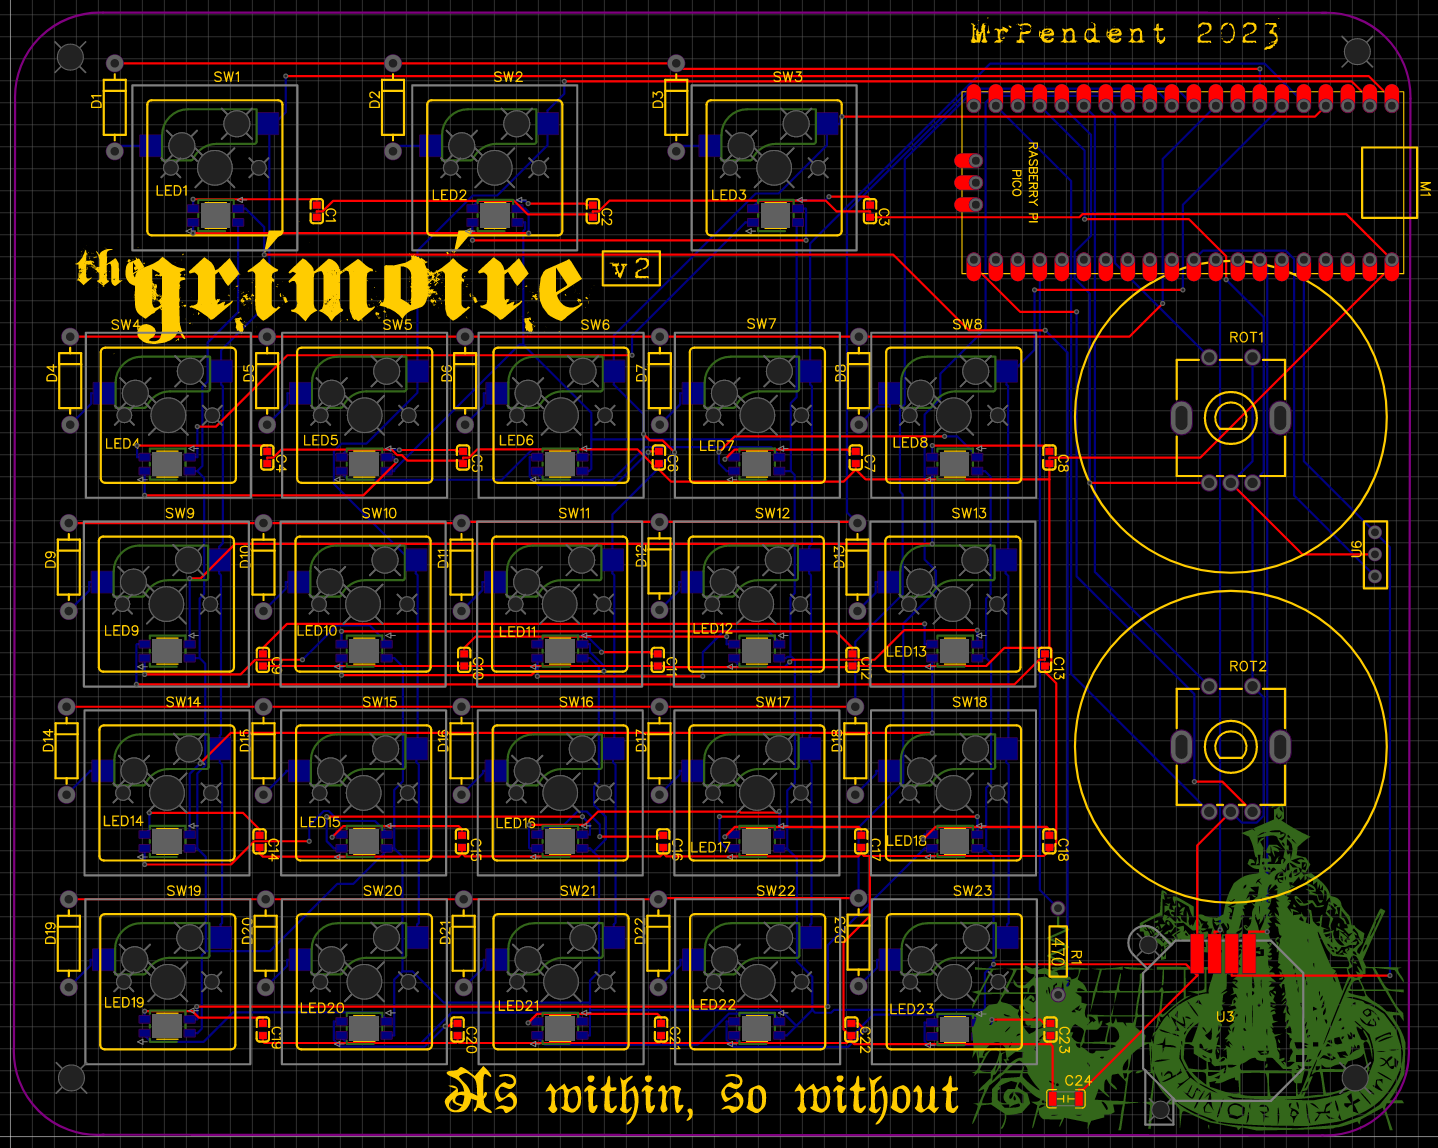
So what do we have here?
- There are the 23 MX-style keys, with Kailh hotswap sockets. We had these in the last one
- There are the two encoders which were already there as well.
- There's the spot for the Pi Pico--which is where we have the first change lurking (it's hiding, just peeking out. It's shy). But we'll get to that.
- Down in the lower right, hiding in the graphic of Solomon, there is a PSP 1000 joystick. I plan to use it to navigate around the canvas.

- Over on the right-hand side, you will find U6, which is to be magnetic power (and data) connector. The other magnetic end will be connected via a ribbon cable to the sigil window.
- The voltage stepper was removed, because (as noted in a previous log) I didn't need it after all.
- Way down at the bottom right, on the butt of Solomon's demon, is a tiny little capacitor (C24) for the LEDs. I believe it is there to buffer against surges. Not sure. But LadyAda said I needed it, so I need it.
- I have added the reverse mounted NeoPixel LEDs to light up the keys, because...well, just because.
- Less impressively--but no less important--I added some holes to allow the board to be anchored to the base.
- Finally, I toned down the graphics, and made them less specific to me, so that others can enjoy it as well.
- I also pushed the keys a lot closer together.
As I said before, the plan is to surface mount everything, and build the shell to accommodate this. I'm concerned about the height of the sigil window (over the Pi) and the encoders, combined with the low height of the joystick. But I'm sure it's nothing that can't be dealt with.
Now, back to the Pico. I was going to use a Raspberry Pi, but after receiving them, I realized that they used a micro-USB jack, not USB-C. This made me sad. so I found these:
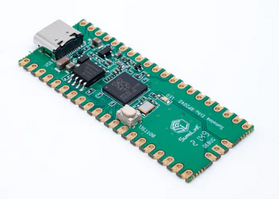
They are basically Pi Picos, but have the USB-C. Hopefully they don't come with a bunch of viruses, but I have time to investigate that. Also worth noting is that the reset button is in a different spot. This isn't important at this stage, but if I'm going to put a button for it on the upper half of the shell, it's important (I haven't made that decision yet).
So with this order I have requested that the teeny tiny caps for each key are soldered on by JCLPCB's robots, because I'm old and have bad eyes and those things are tiny!
But since I already have the hotswaps, the diodes, and the LEDs there is no reason for them to solder them on. And I want to do it myself.
I still need to order the magnetic connectors, but I'm waiting to see if I need other parts because of that cost of shipping. Still, I feel like I've made a large step forward.
Discussions
Become a Hackaday.io Member
Create an account to leave a comment. Already have an account? Log In.