Optophone
Optophone is one of the oldest known methods of the sonification technique. Sonification can be defined as conveying information through sound other than speech like generating time-varying chords of tones to identify letters. The Optophone device, was developed with a forward-thinking approach for its time, yet it can be considered limited and primitive by today's standards, using materials that could be deemed primitive even though the device itself is remarkable. It is said that the initial models of the device generate tone for only one word per minute, while later models were capable of generating up to 60 words per minute. We use the term tone because these devices do not actually produce a human voice or anything close to it. One or several tones are assigned to represent each letter. The device recognizes and identifies the letters and plays the corresponding tones. The user understands the word based on these tones that they have previously learned and recognized. In essence, the user learns the language of sound tones in order to comprehend the corresponding words. It wouldn't be wrong to say that they have to learn another language in order to read. It is similar to the way one needs to know Braille in order to understand embossed books used for tactile reading. It is truly challenging, indeed...

Before starting anything:
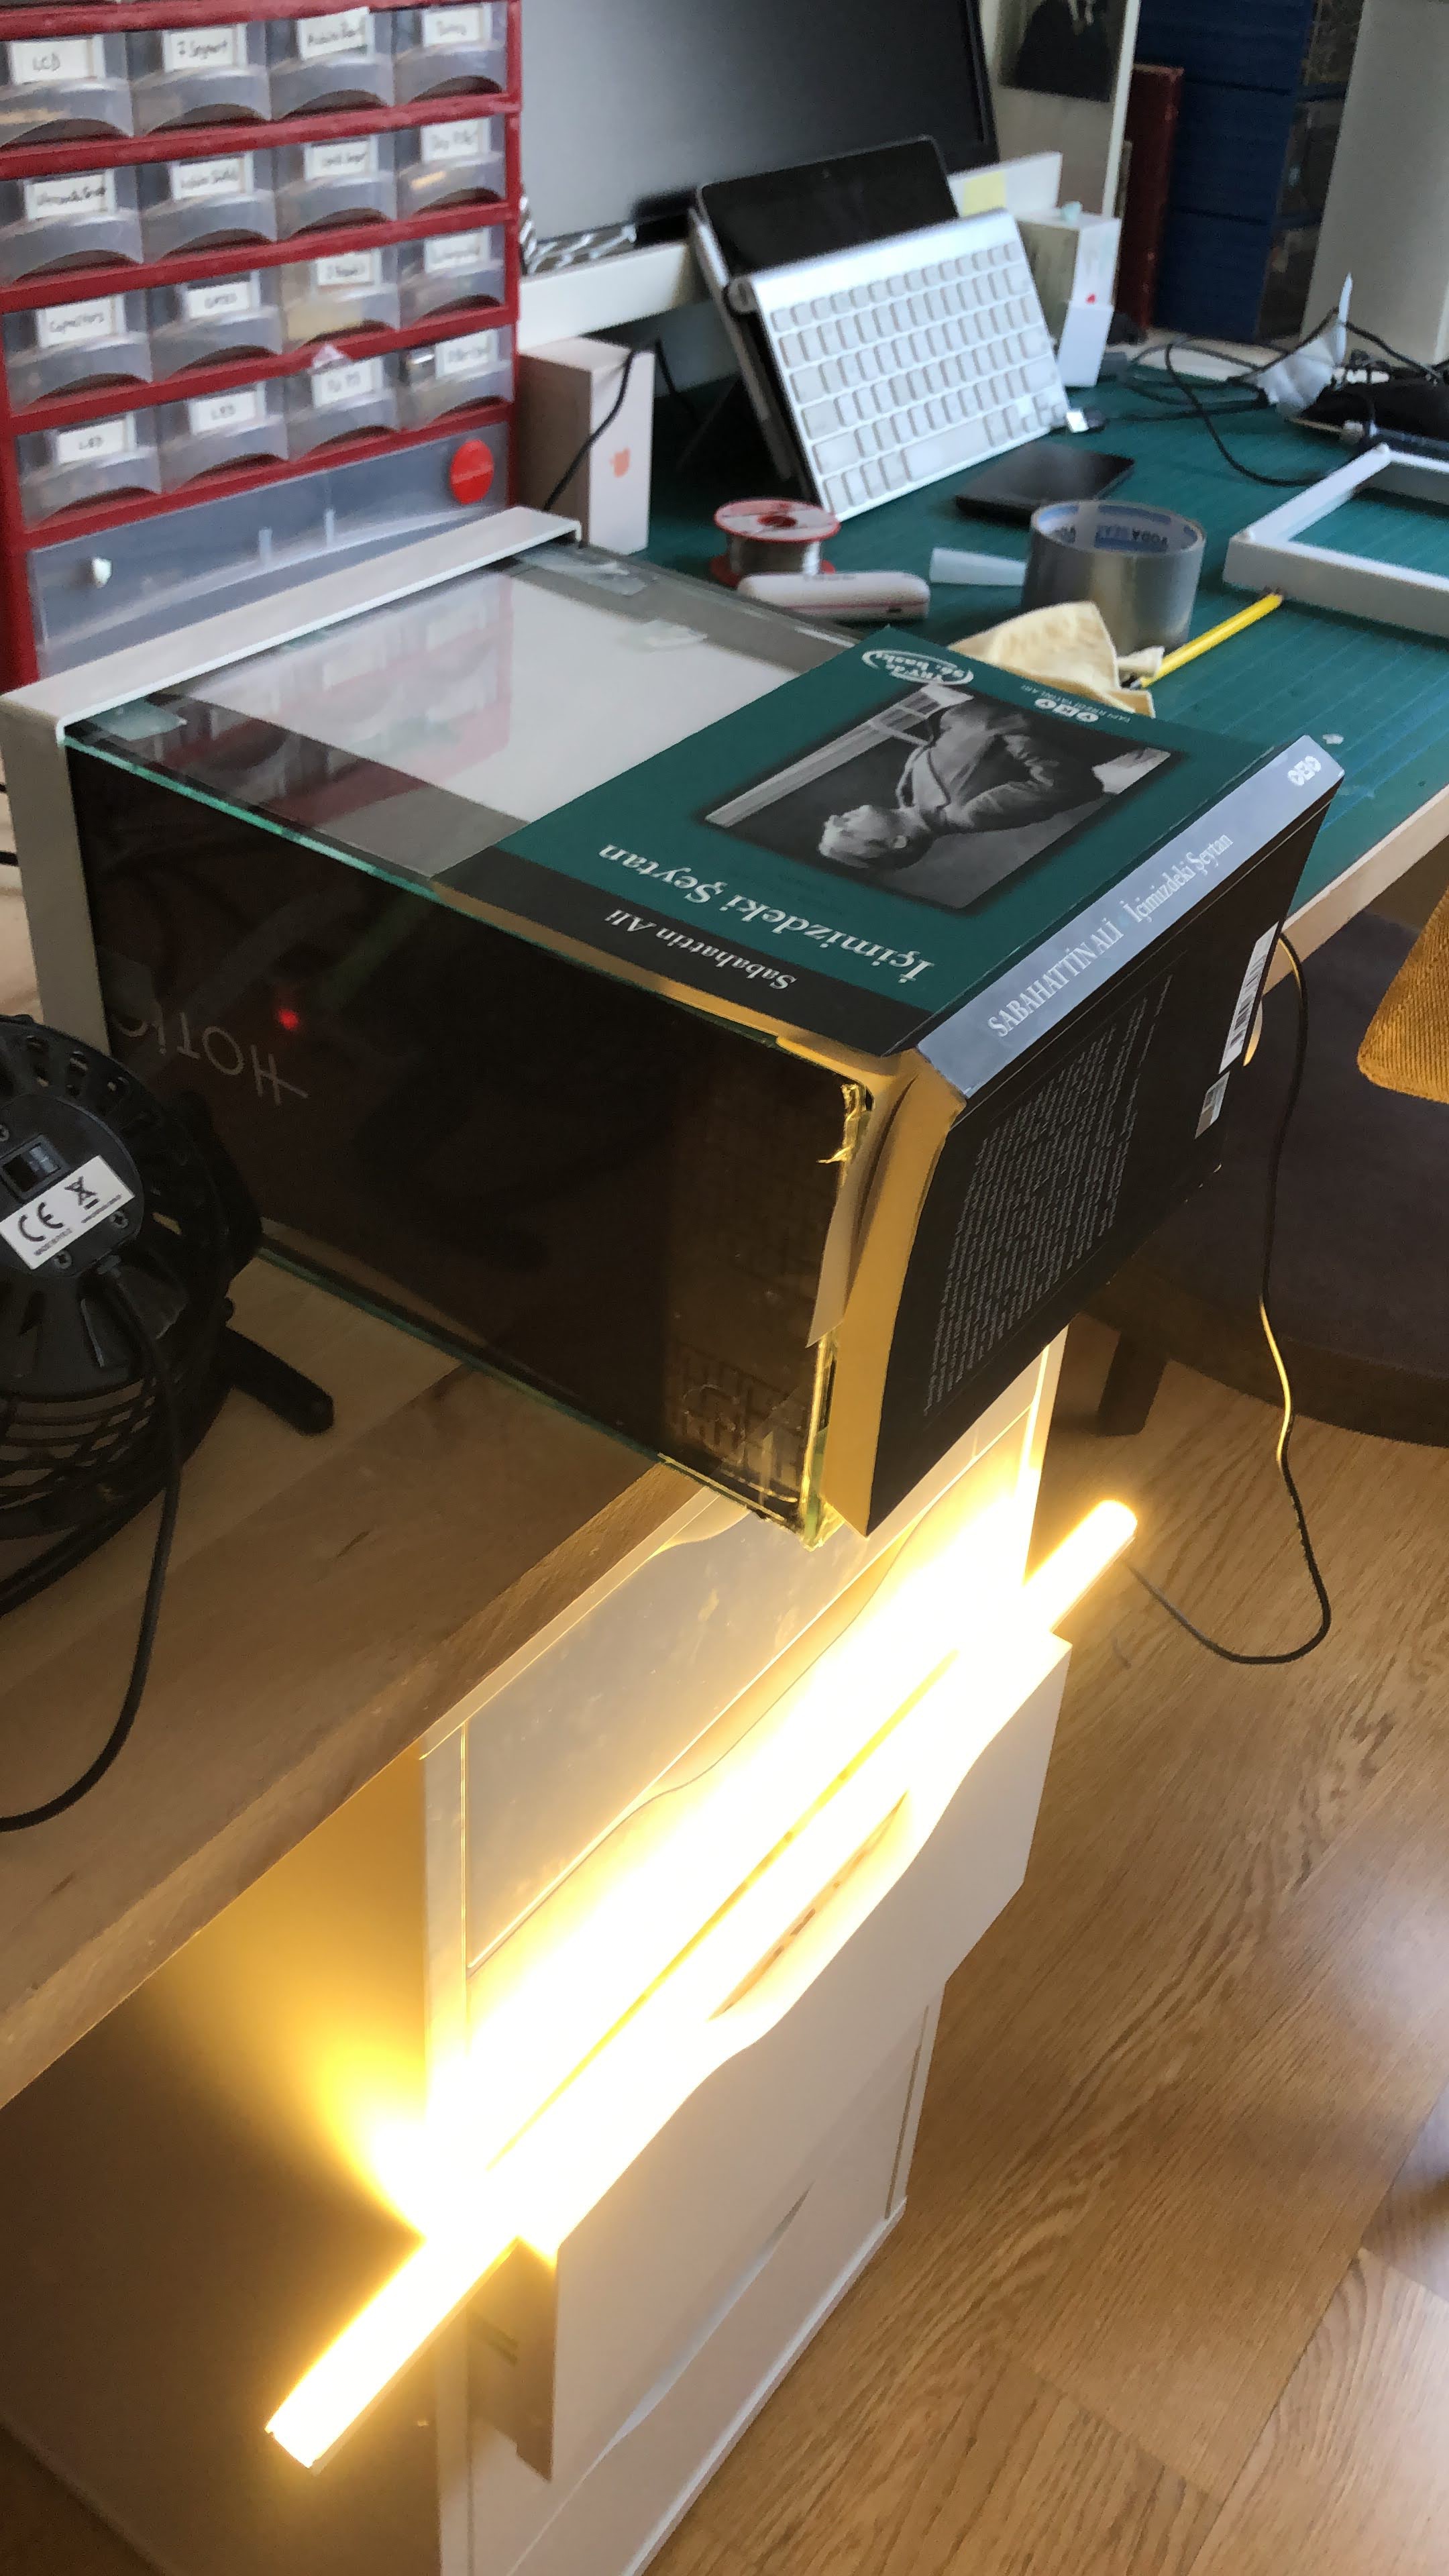
Before starting to building anything I began with examining previous examples to bring to life the idea of creating a device that can narrate books. I realized that commercial products and DIY enthusiasts are predominantly focused on digitizing books. In simpler terms, they are striving to create book scanners. On the internet, you can often come across individuals sharing their projects on book archiving through forums. These designs showcase huge and complicated systems that prioritize capturing clear images using fixed lighting and camera setups, lacking portability. However, for the prototype I envisioned to create a portable, lightweight device using minimal and affordable components that users could easily carry with them. Since device won't be engaging in archiving, image quality is not a crucial factor for me. Instead of image clarity, I chose to focus on producing a small-sized device that can be manufactured from simple materials. In this context, it immediately comes to mind that everyone has powerful smartphones with cameras boasting millions of megapixels, serving as practical and accessible image sensors. However, let's imagine a scenario where a person who is blind, visually impaired, or has lost their sight attempts to read a book page using an image sensor like a mobile phone or computer camera. How will they align it? How will they ensure that the camera accurately captures the text? It is extremely challenging, perhaps even impossible. Unless you create a rigid and rectangular frame like scanners, unless you secure the position of the paper, it is nearly impossible to properly and proportionally align the entire page within the camera's frame. Taking these limitations into account, I realized that I needed to design a system where the positions of the camera and book page are always fixed. When examining previous designs of book archiving devices, I observed that a transparent glass is placed in front of the page to prevent the natural curvature of the book page and ensure a flat surface facing the camera. Additionally, a uniform lighting system is employed to provide equal illumination across all corners of the page. In the initial prototype, I utilized an aquarium made of glass with rectangular prism shape to secure the book as the basic structure for the scanning platform.

Working video of first prototype:
https://photos.app.goo.gl/TmpQLANXRYH5qFAV6
About the hardware :
It's time for Raspberry Pi to take the stage since we've reached the point of designing a system that can capture photos of the book placed on the platform, process the image, and eventually convert it into editable text and then into speech. Through several experiments, I realized that the Raspberry Pi camera would be sufficient instead of using high-resolution cameras commonly used in book archiving devices or mobile phone cameras. Cheaper webcams can also be used easily, but at this stage, I preferred to use the original Raspberry Pi cameras I had in hand. Based on what I read in forums and observed from existing designs, it is necessary for the page to be scanned to be flat. Just like in huge office scanners, the cover is pressed firmly so that the text at the junction where the pages meet in the middle of the book can be scanned more legibly. Therefore, I started the design by placing the book to be scanned on one of the bottom edges of the aquarium. The camera manufacturer's website provides information such as focal distance and the width of the frame. Based on this information, I decided to attach the camera to the open side of the aquarium. I was able to calibrate the camera by moving it in three dimensions—up-down, forward-backward, left-right—as desired. Since the book's scanned page, including the surface where the camera is located, will be on the bottom of the aquarium, I covered everything with black cardboard not to let any light inside, leaving only that surface open. Additionally, following the examples on previous projects, I placed a light source at the bottom but parallel to the glass, ensuring that LED light doesn't reflected into the camera. Now it's time to write the code that will capture, edit, convert to text, and then convert the text into speech.
About the software:
The code consists of three main parts. The first part is responsible for capturing the image and preparing it in a format that the OCR (Optical Character Recognition) algorithm can process. The second part is the OCR section, which identifies the letters, numbers, and other symbols in the image, converting the photo into text. The third part is responsible for converting the text into speech. For the second and third parts, web services are used, making the system dependent on the internet. This may have limitations in terms of mobility, but utilizing the services provided by teams with decades of experience in OCR and text-to-speech conversion significantly enhances the quality of the final result. Performing OCR processes entirely on the RasPi from start to finish might be enjoyable for Python ninjas, but it poses a significant burden for me. Therefore, I have conducted some experiments using the open-source Tesseract, but the excellent service provided by http://ocr.space/ with its fantastic API greatly simplifies the process. Next I needed a tool to convert text to speech. What I was looking for was a service that produces more human-like, elegant and understandable voices rather than robotic voices. While services like Amazon Polly, Microsoft Azure, and Google TextToSpeech cater to multi-user applications, they are not very practical for hobbyists. However, they are specifically designed for tasks like these and work great. Although Amazon Polly and Microsoft Azure support Turkish speech synthesis, I chose to use Google TextToSpeech (https://cloud.google.com/text-to-speech) because I found their usage more straightforward. Ultimately, the fact that this device design is heavily reliant on the internet is a significant problem, and it is one of the areas that needs improvement.
About second prototype:
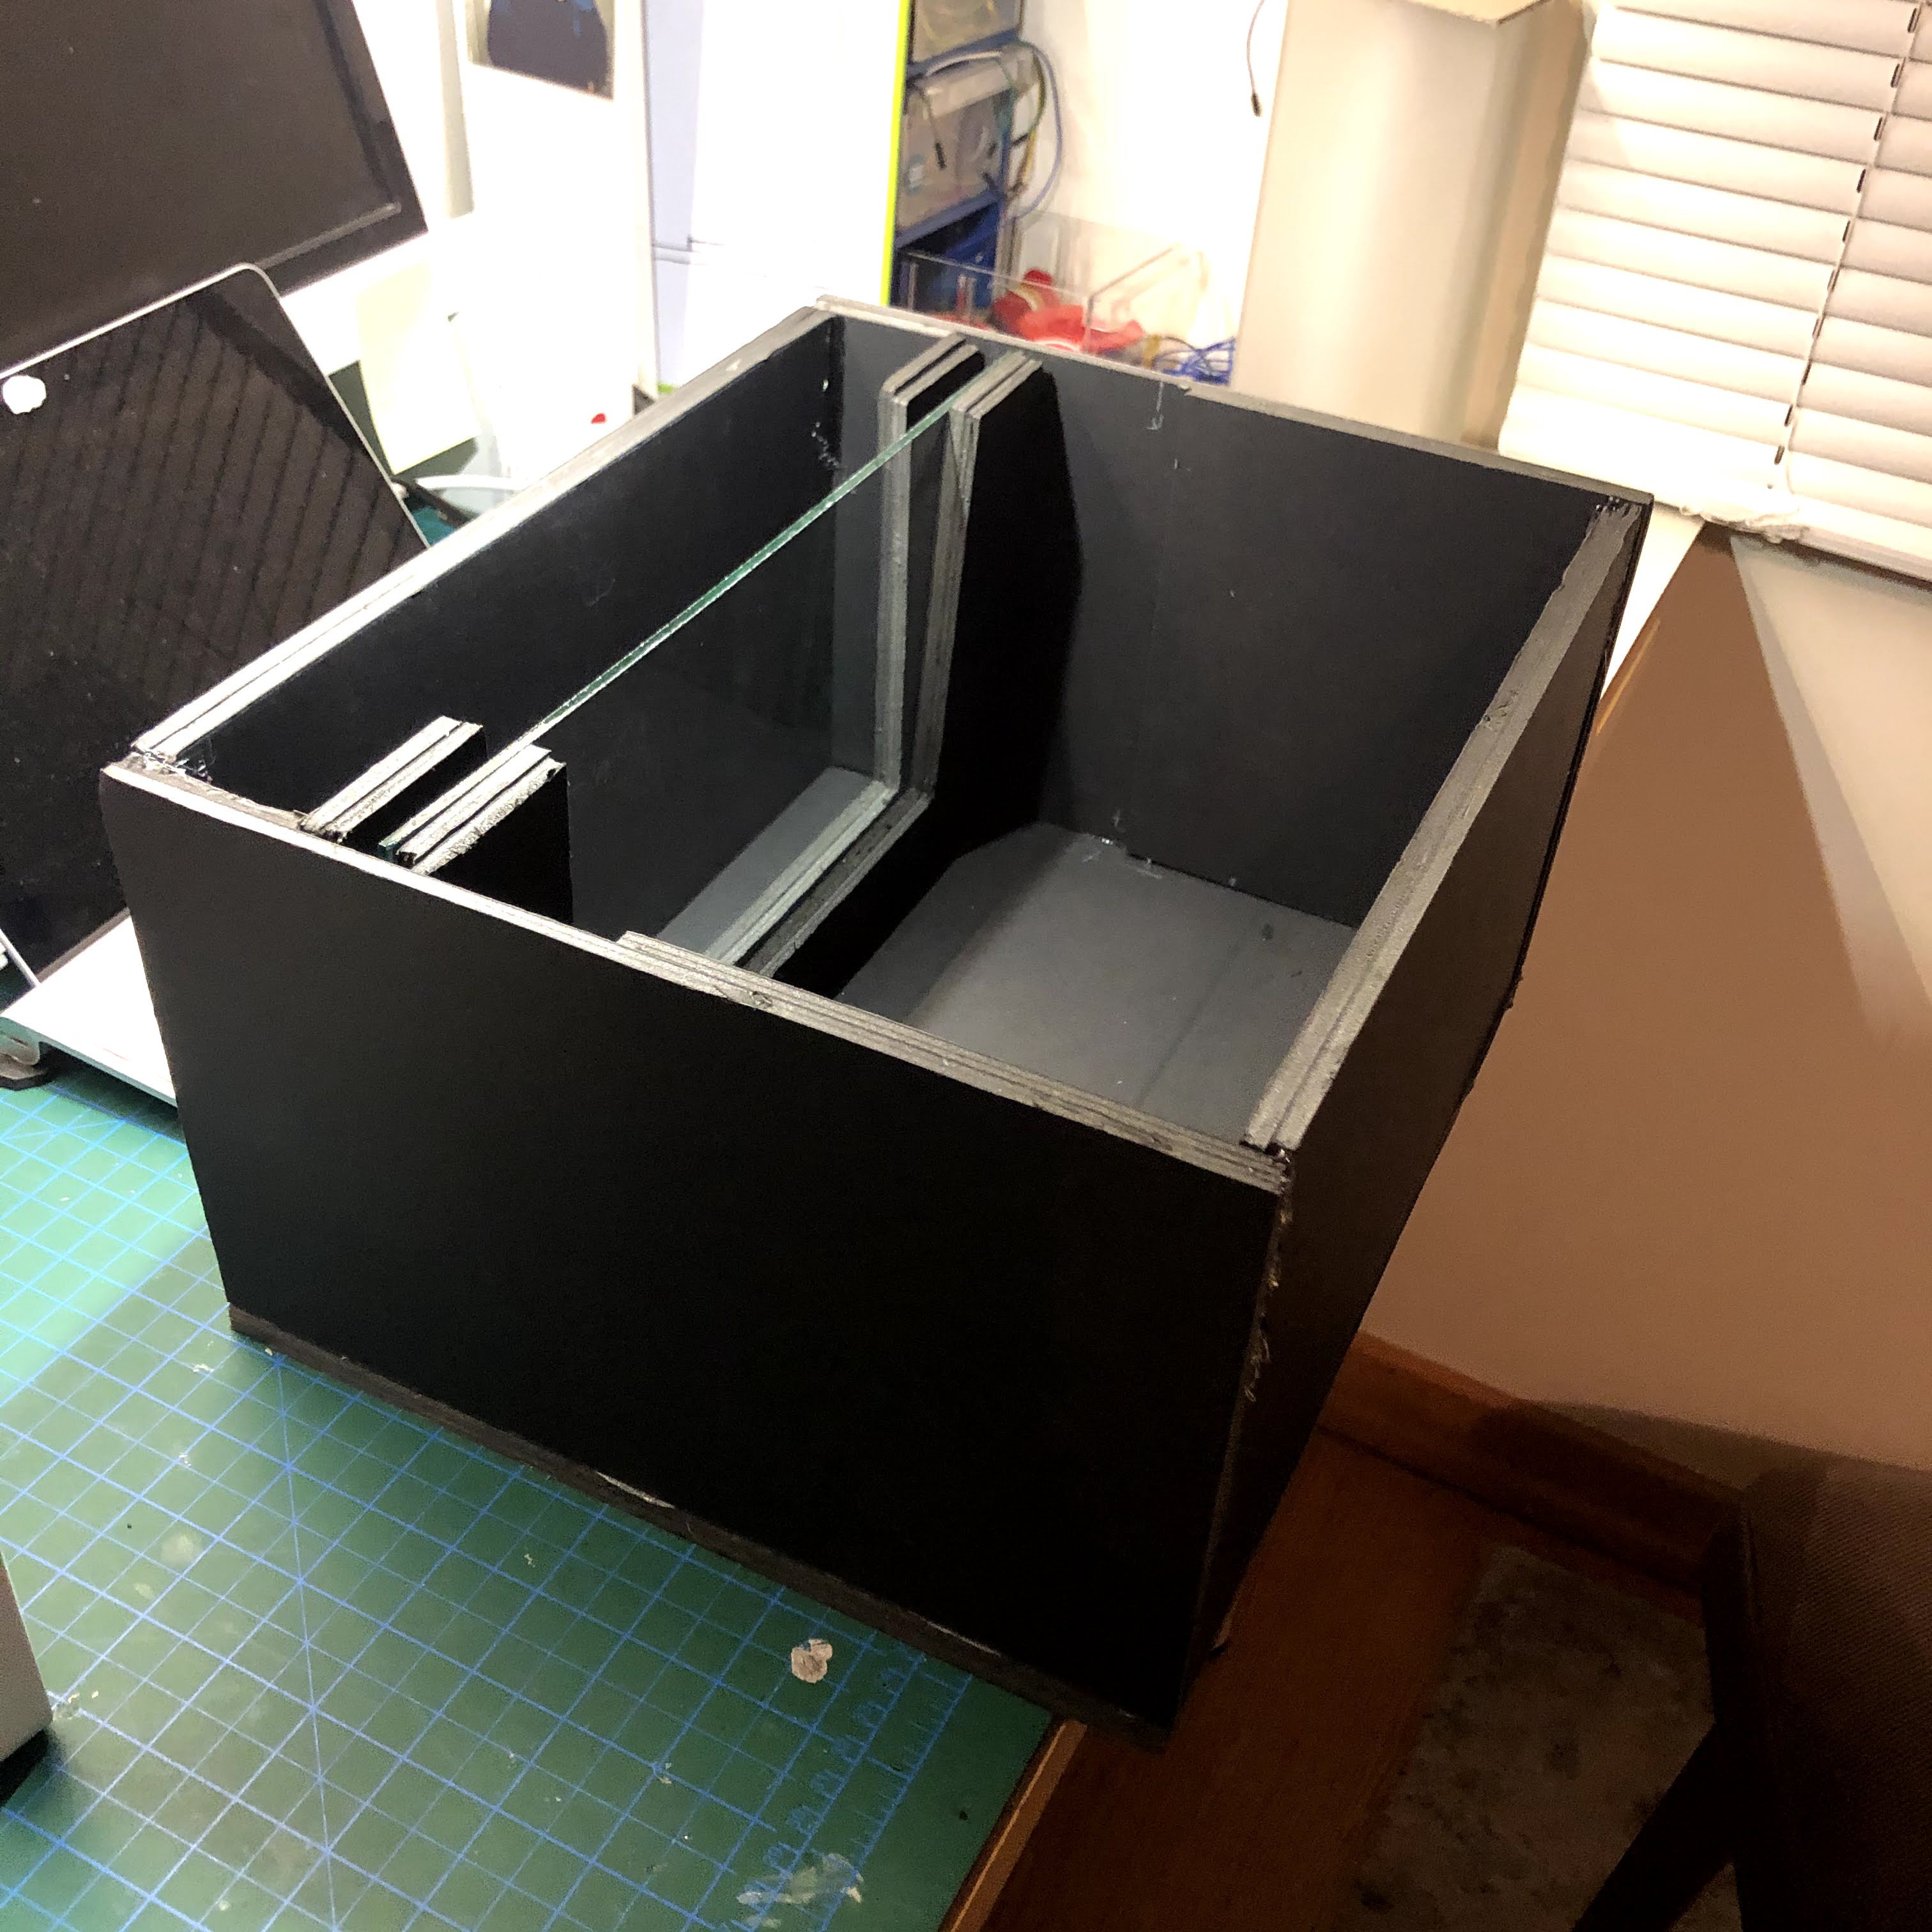
While developing the second prototype, I started with the lessons learned from the initial attempt. I was confident that such a device was feasible, but at this point, realizing that I could build such a device at both the hardware and software levels, I embarked on a new hardware design. Before starting the construction of the second prototype, I decided to experiment with different hardware designs using SketchUp. First, I began exploring different geometries to design a base that a book could be easily placed on the top , utilizing the information about the camera's field of view from a certain distance away from the camera lens. To maximize the portability and accessibility of the device as a whole the lighting, camera, RasPi, I attempted to design triangular and rectangular prisms to visualize the possibilities.
In the end, a rectangular box divided by a glass partition emerged. The camera and LEDs were positioned entirely inside the box.

Working video of second prototype:
https://photos.app.goo.gl/S8TFv18YaCjSguUi9
In the third prototype, I'm planning to move the RasPi inside the box, and on the external surface of the box, there will be only an input jack connected to power converter which feeds RasPi and LEDs, a button to initiate the reading process, and a 3.5mm audio jack.
 rdmyldrmr