This is not the greatest instrument in the world, no
This is just a tribute!
When I asked my 9-year-old son who he was going to pick as the subject of his third-grade biography project, he thought about it seriously and answered, "probably either Abraham Lincoln or Jack Black."
I had to laugh at the struggle he faced when choosing among such great contenders, but his second option wasn't too surprising given that we're all fans of Jack Black at my house. We've watched Nacho Libre and clips of Jack playing his Sax-a-Boom more times than I care to admit.
There's an idea! Could I find a Sax-a-Boom for my son to use as a prop in his presentation? There had to be a few for sale on eBay…

Yikes! I wasn't going to pay $700 for a toy that was originally sold in the 90's for $20. I told my wife I could make a Sax-a-Boom for less than that!
It was an innocent thing to say, but I soon realized it was also a huge mistake.
Within those few short seconds, an unintentional idea had been hatched, vocalized, considered, dismissed, reconsidered, and ultimately settled. The idea had to be fully realized, or it would just never leave me alone. Thus began my journey of making a Sax-a-Boom replica.
Okay, suppose you’re from the future, and your AI overlords task you with recreating a curious artifact found in the digital record – a musical device called a Sax-a-Boom, known to be as rare as a Stradivarius. An actual Sax-a-Boom hasn't existed on Earth for at least 500 years. You have no specifications, engineering drawings, technical details, or dimensions of the object. You do have a few antiquated two-dimensional videos and photos of people playing a Sax-a-Boom, but that's about it.
That's essentially where I started, and honestly that framing was a big part of my motivation for the project. I wanted to answer the question "How hard is it to recreate a toy like this using only random photos and videos found online?"
After a little research, I came up with a basic plan:
- Create a 3D model in CAD software using photos and a little bit of guesswork
- Print the 3D model
- Paint it
- Add some electronics to make it work
That's essentially what I did, but as anyone who's done this kind of thing knows, the devil’s always in the details.
Now, I want to give huge credit where due and admit that I did not create the 3D model here. I’ve made a lot of functional parts in Fusion 360, but I’m not great at modeling organic shapes with a lot of curves, and the Sax-a-Boom's exterior is almost entirely made of curves - sexy, nostalgic, 90’s-era, in-your-face colorful curves.
So I pulled out the big guns and went where all futuristic humans and bipedal androids go for their affordable creative-content-for-hire needs: Fiverr.
I sent a few Sax-a-Boom images to a Fiverr user who specializes in 3D modeling. $20 and a few days later, the amazing @blackhillstudio delivered a beautiful mesh that approximated a Sax-a-Boom. It was as good as I could possibly expect from someone referencing a few limited photos of the thing. Definitely better than I could have done in that amount of time.
Unfortunately the mesh was far from being optimized for 3D printing, so I spent some time breaking it down into components, shelling it, and splitting the shell components into even smaller pieces that could fit in my 3D printer’s limited build volume. I also ended up modeling the buttons and volume knob myself to account for mechanically attaching them to switches and a potentiometer.
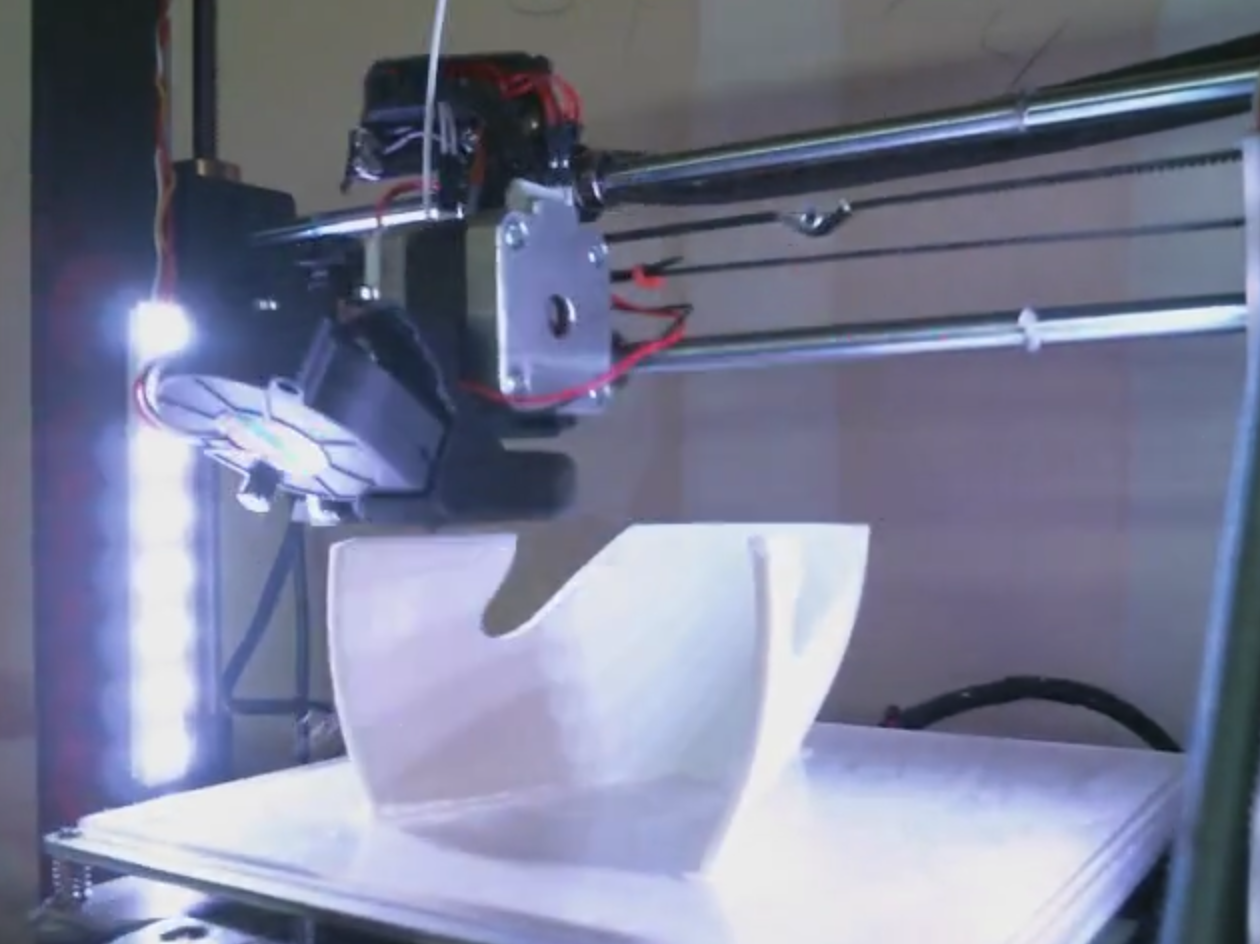
After printing the main pieces in PLA, I was left with a crude shell for the body.
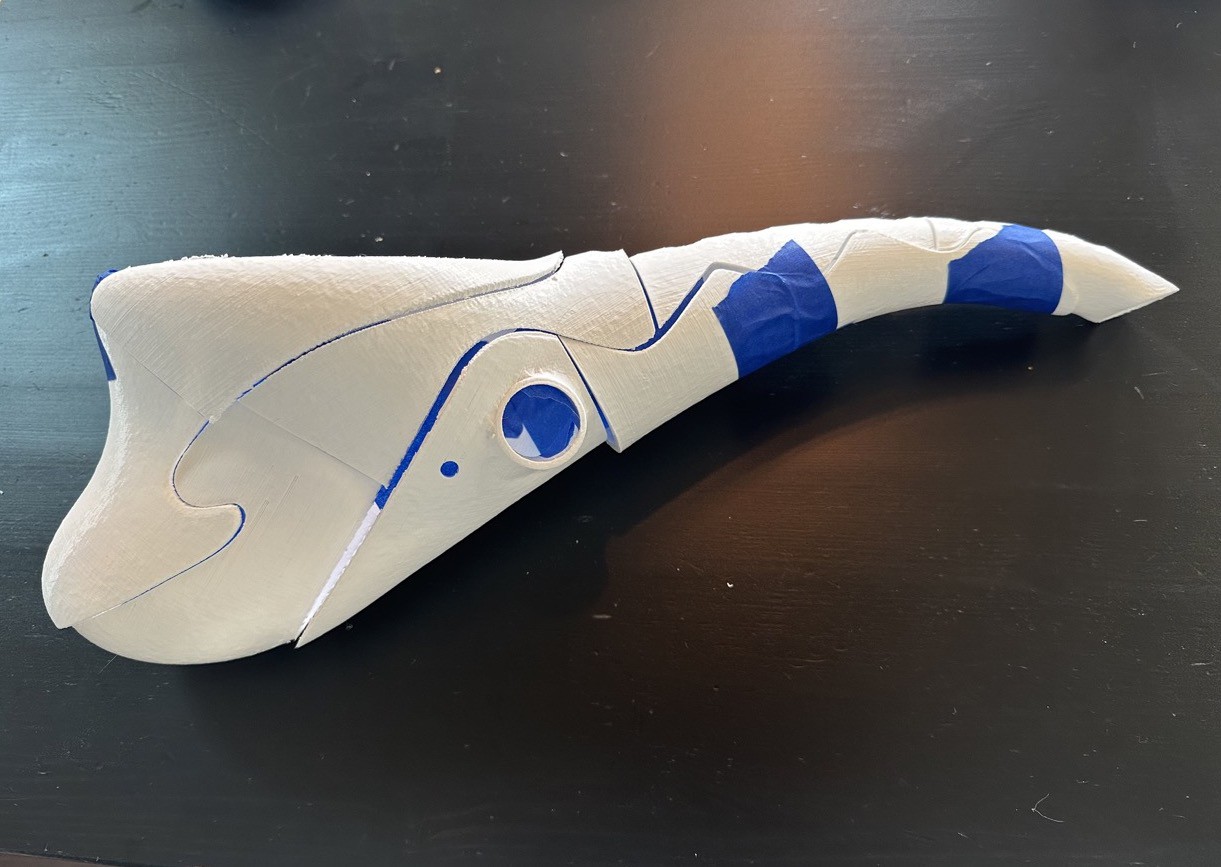
What followed can be described as one metric butt ton of elbow grease as I tried to get the thing to fit together with continuous, smooth surfaces. This included superglue, epoxy, Bondo spot putty thinned with acetone, wet sanding, filler primer, more wet sanding, and even more spot putty - all with a generous side-helping of wet sanding. Did I mention wet sanding?
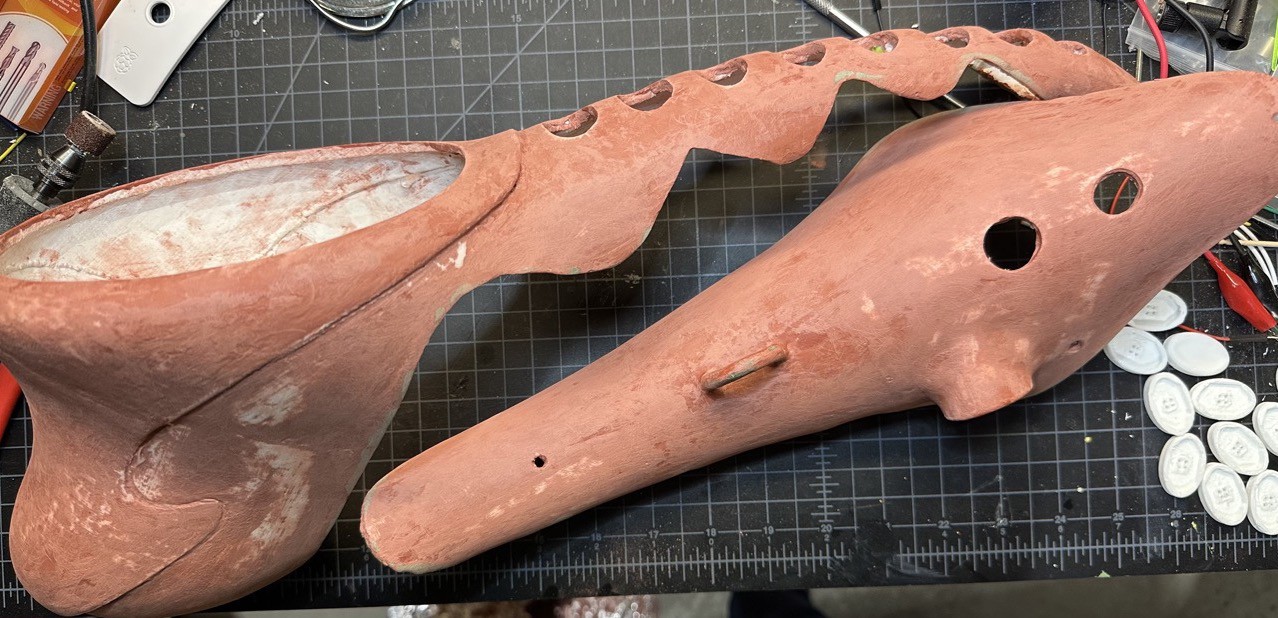
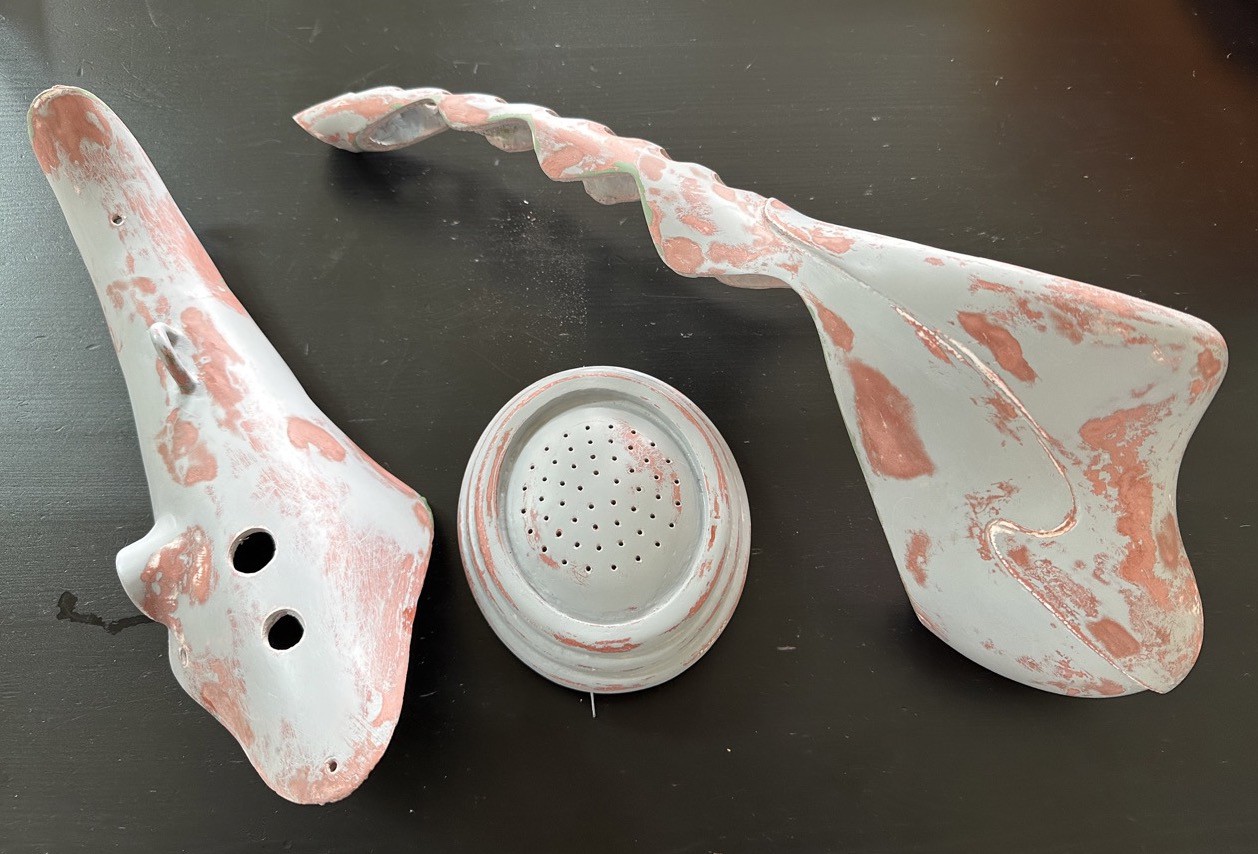
I also ended up adding the ring on the underside for attaching a shoulder strap since it wasn't included in the digital model (but is on the real thing). This was done using epoxy putty around some thick galvanized steel wire.
Finally after masking some areas and spray painting the various colors, it was looking good but still didn’t actually do anything. I had a working prototype of the electronics up and running pretty quickly using an ESP32-S3 audio development board called Sonatino (which I created for projects just like this) and some code that loops WAV files in response to button presses. Where did I find the WAV files? Fortunately GitHub user david6983 previously created a Sax-a-Boom virtual instrument using samples lifted from an online video. After a quick look in the repository, I found the audio files I needed to copy to a microSD card and load from my code:

The samples are pretty low quality, but that’s not really noticeable in the end product. It might be as rare as a Stradivarius, but no one ever said it’s supposed to sound like one!
Audio files in hand, I was off to the races! Okay, not so fast. How would I actually mount the button switches? I originally planned to model a back plate on which to mount the switches, but by this point, the actual body had deviated fairly significantly from the digital model (thanks to some warping of the 3D prints, misalignment of pieces, etc). If I modeled the plate in reference to the original digital model, the buttons wouldn’t line up with the actual button holes in the body. That wasn’t going to work.

Ignacio (singing): "When the fantasy has ended, and all the children are gone. Something good inside of me, helps me to carry on."
I was also starting to experience some burnout from the project at this point, so instead of taking a ton of measurements and modeling it correctly, I went with the quick and dirty solution: epoxy putty, popsicle sticks, and hot glue. It wasn’t pretty… but it sorta worked!
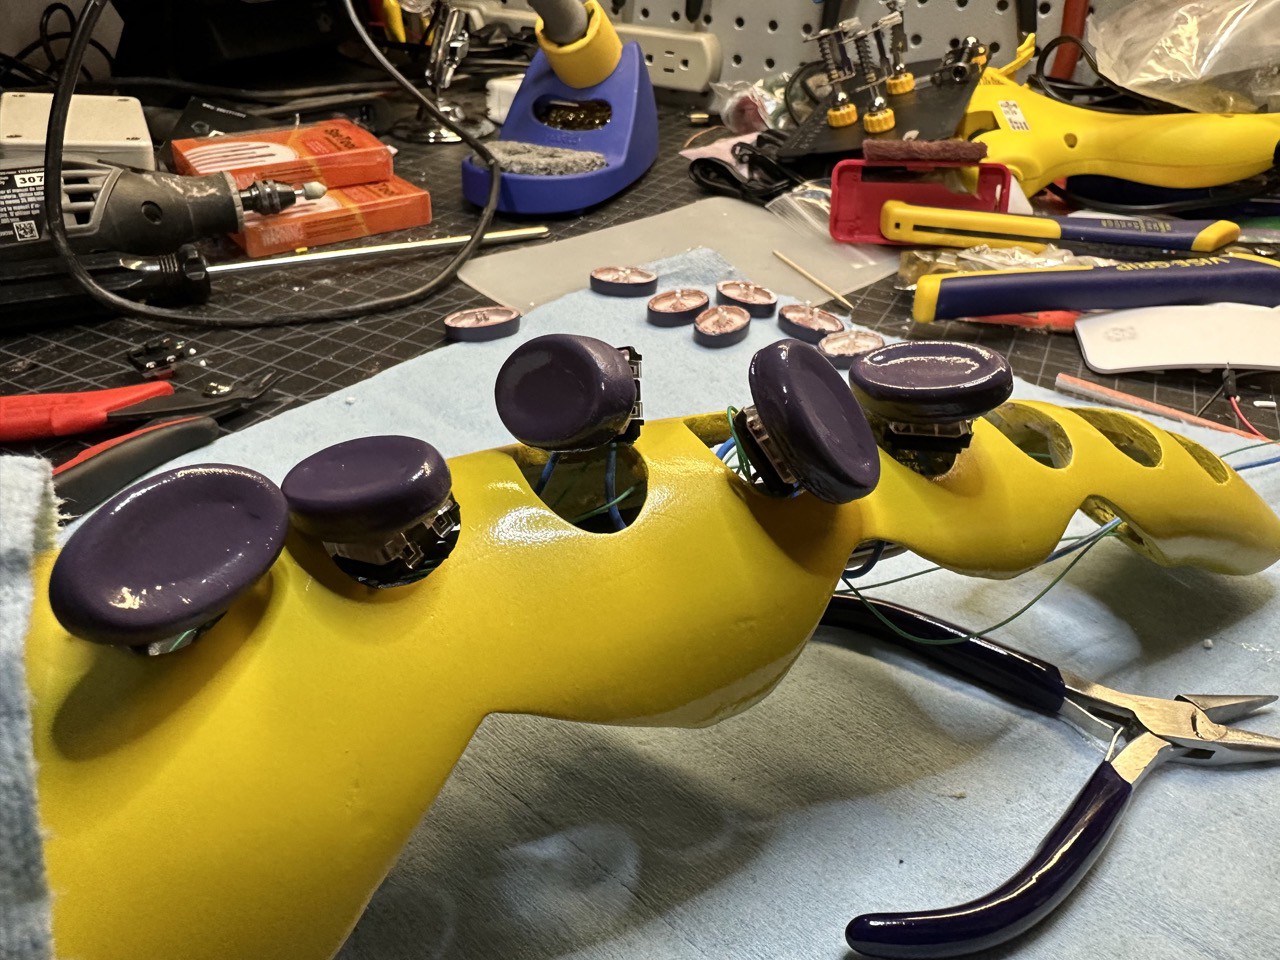
All that was left was to…
- Do the same for the volume knob and stop button
- Add a couple layers of 1K clear coat to the paint
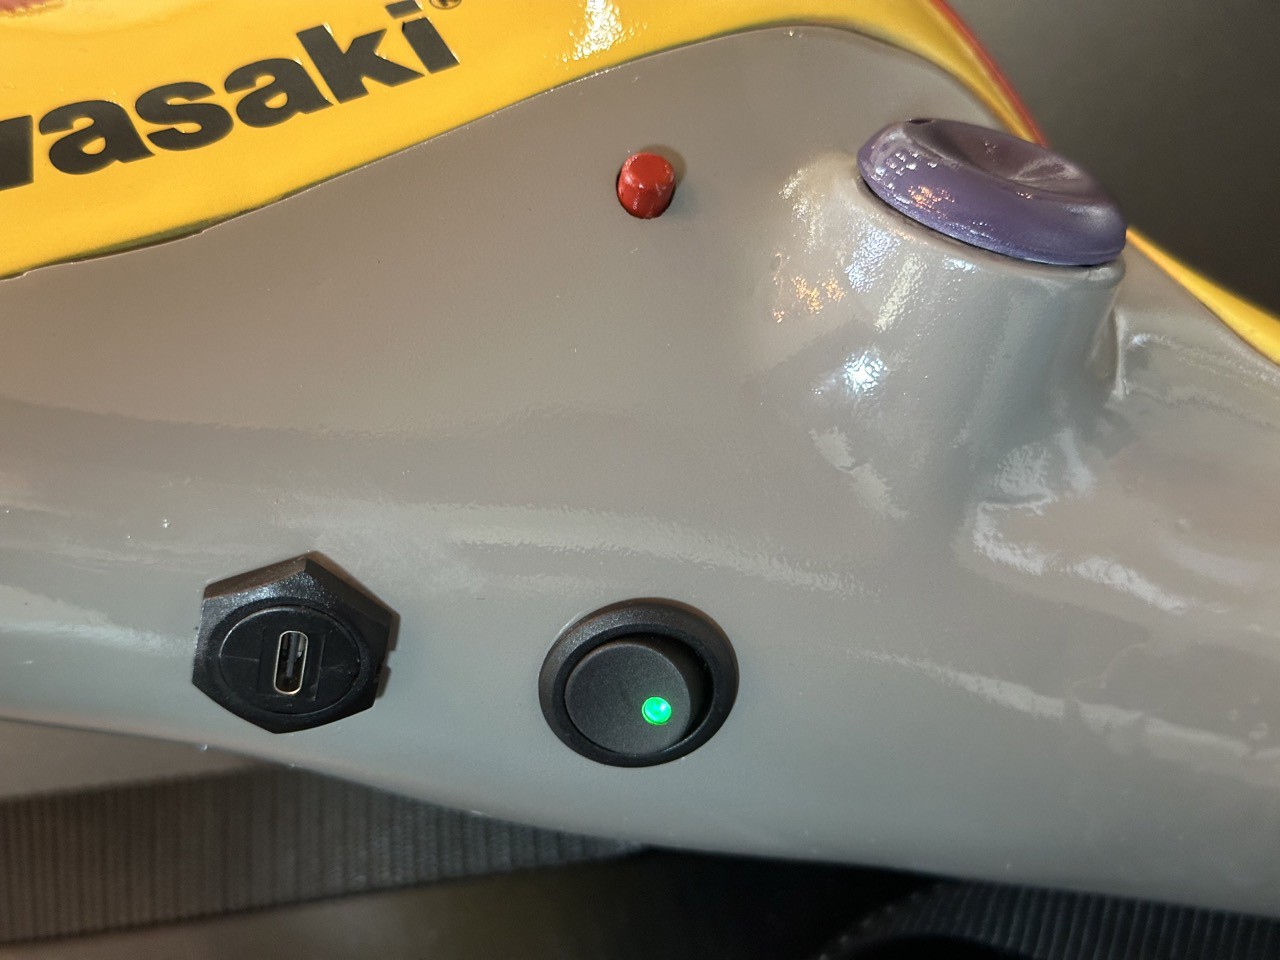
- Install the power switch and USB charging/programming port
- Attach the mouthpiece (which was 3D printed, formed into a silicone mold, and finally cast in a non-toxic red resin for the safety of anyone actually putting their mouth on it)
- Wire up the circuit board to the switches, potentiometer, speaker, and battery
- Mount the speaker to the underside of the speaker grille
- Reduce the possibility of scratches around the shoulder strap ring using a layer of UV resin
- Fashion a shoulder strap out of nylon webbing, a buckle, and some slide clips
- Recreate the Sax-a-Boom logo decal in Affinity Designer, then print onto sticker paper
- Cut the Kawasaki logo out of black vinyl on an old Cricut Expression reprogrammed with FreeExpression firmware, then transfer to the Sax-a-Boom
- Summon Nacho's eagle powers and fight Ramses in the ring… wait, wrong project

At last I finished it! I put some final touches on it the morning of my son's presentation. He took it to school and did a killer Jack Black impersonation (I might be biased, but what do you expect?).
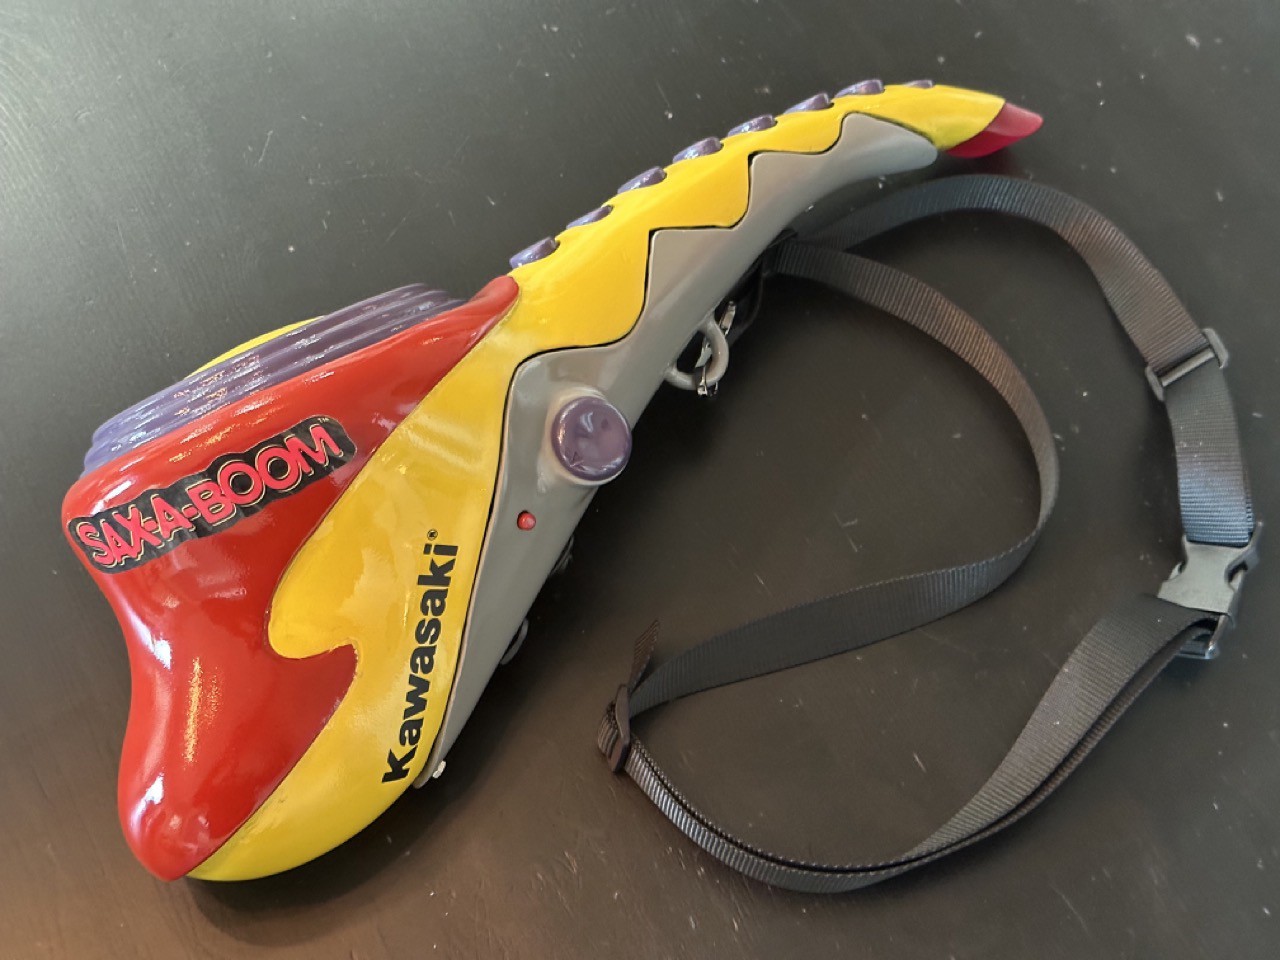
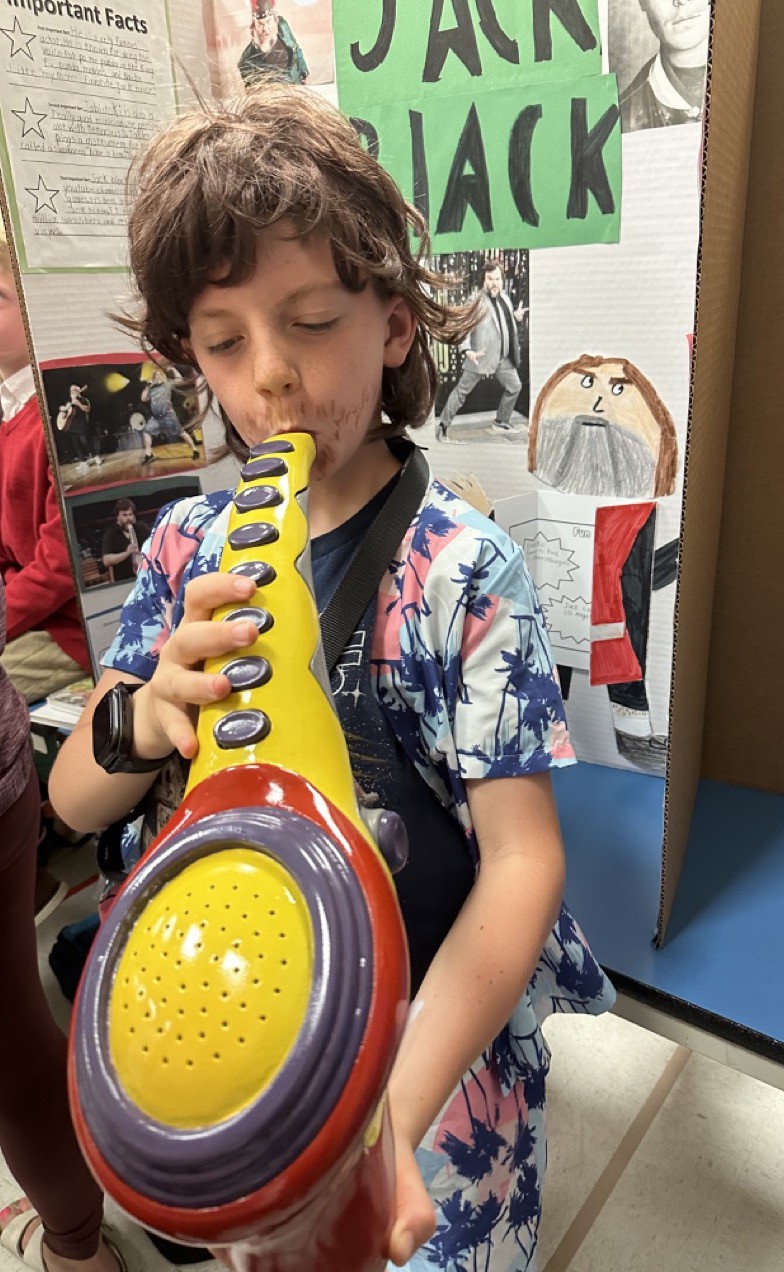
There's some issues with the paint job, there's a small gap between the bottom cover and the main body, the buttons have alignment issues (sometimes they stay down until jostled), and quite a few details don't match what I can see in pictures of the real thing. But despite the shortcomings, it's a pretty fun toy that bears a lot of resemblance to a Sax-a-Boom!
That brings up another point: I have no idea how the scale of this thing compares to a real Sax-a-Boom because I couldn't find any specs for the toy itself or images that allowed for determining exact dimensions. I sized it based on some rough approximations of hand/finger sizes in relation to the buttons, and just picked some dimensions that seemed right. It could be way off though!
The functionality is also a bit different. I think the real one has a switch that changes it between looping samples and playing them once, whereas this device just uses the loop mode for now. The onboard ESP32-S3 could easily be programmed for single play mode or to allow switching via an app. Or maybe I’ll have it switch modes with a button combo. I might have the button sounds in the wrong order - I wasn't too concerned about checking, but that’s easily changed, along with the sounds themselves. Is the world ready for a Fart-a-Boom?
As for features that didn’t exist in the original, mine has WiFi and Bluetooth capability (if I decide to use them in the firmware), and it charges with USB-C! Take that, funny toy from the 90's!
So was it worth it? If I just wanted a Sax-a-Boom, then no, I’m afraid not. You’re probably not going to save a lot of money going the DIY route, especially if you factor in the time it takes to build one the way I did. But as a fun challenge and cool prop for my son’s biography presentation, I consider it a success!
I’d love to see it side-by-side with a real Sax-a-Boom someday. Maybe I'd attempt to learn the elusive art of actually playing one too, but they say it takes years to master. I wonder if Mr. Black offers lessons.
Until then, we'll just be rocking out with our humble tribute to the greatest instrument in the world!
(I've attached 3D model files and the code I used for this project)