Close
0%
0%

SDO Milliohm Meter v1

A minimal 4-wire milliohm meter with 4.5 digit display

Similar projects worth following
Here's a milliohm meter with following specifications:

- self-contained,
- low-cost "jellybean" parts,
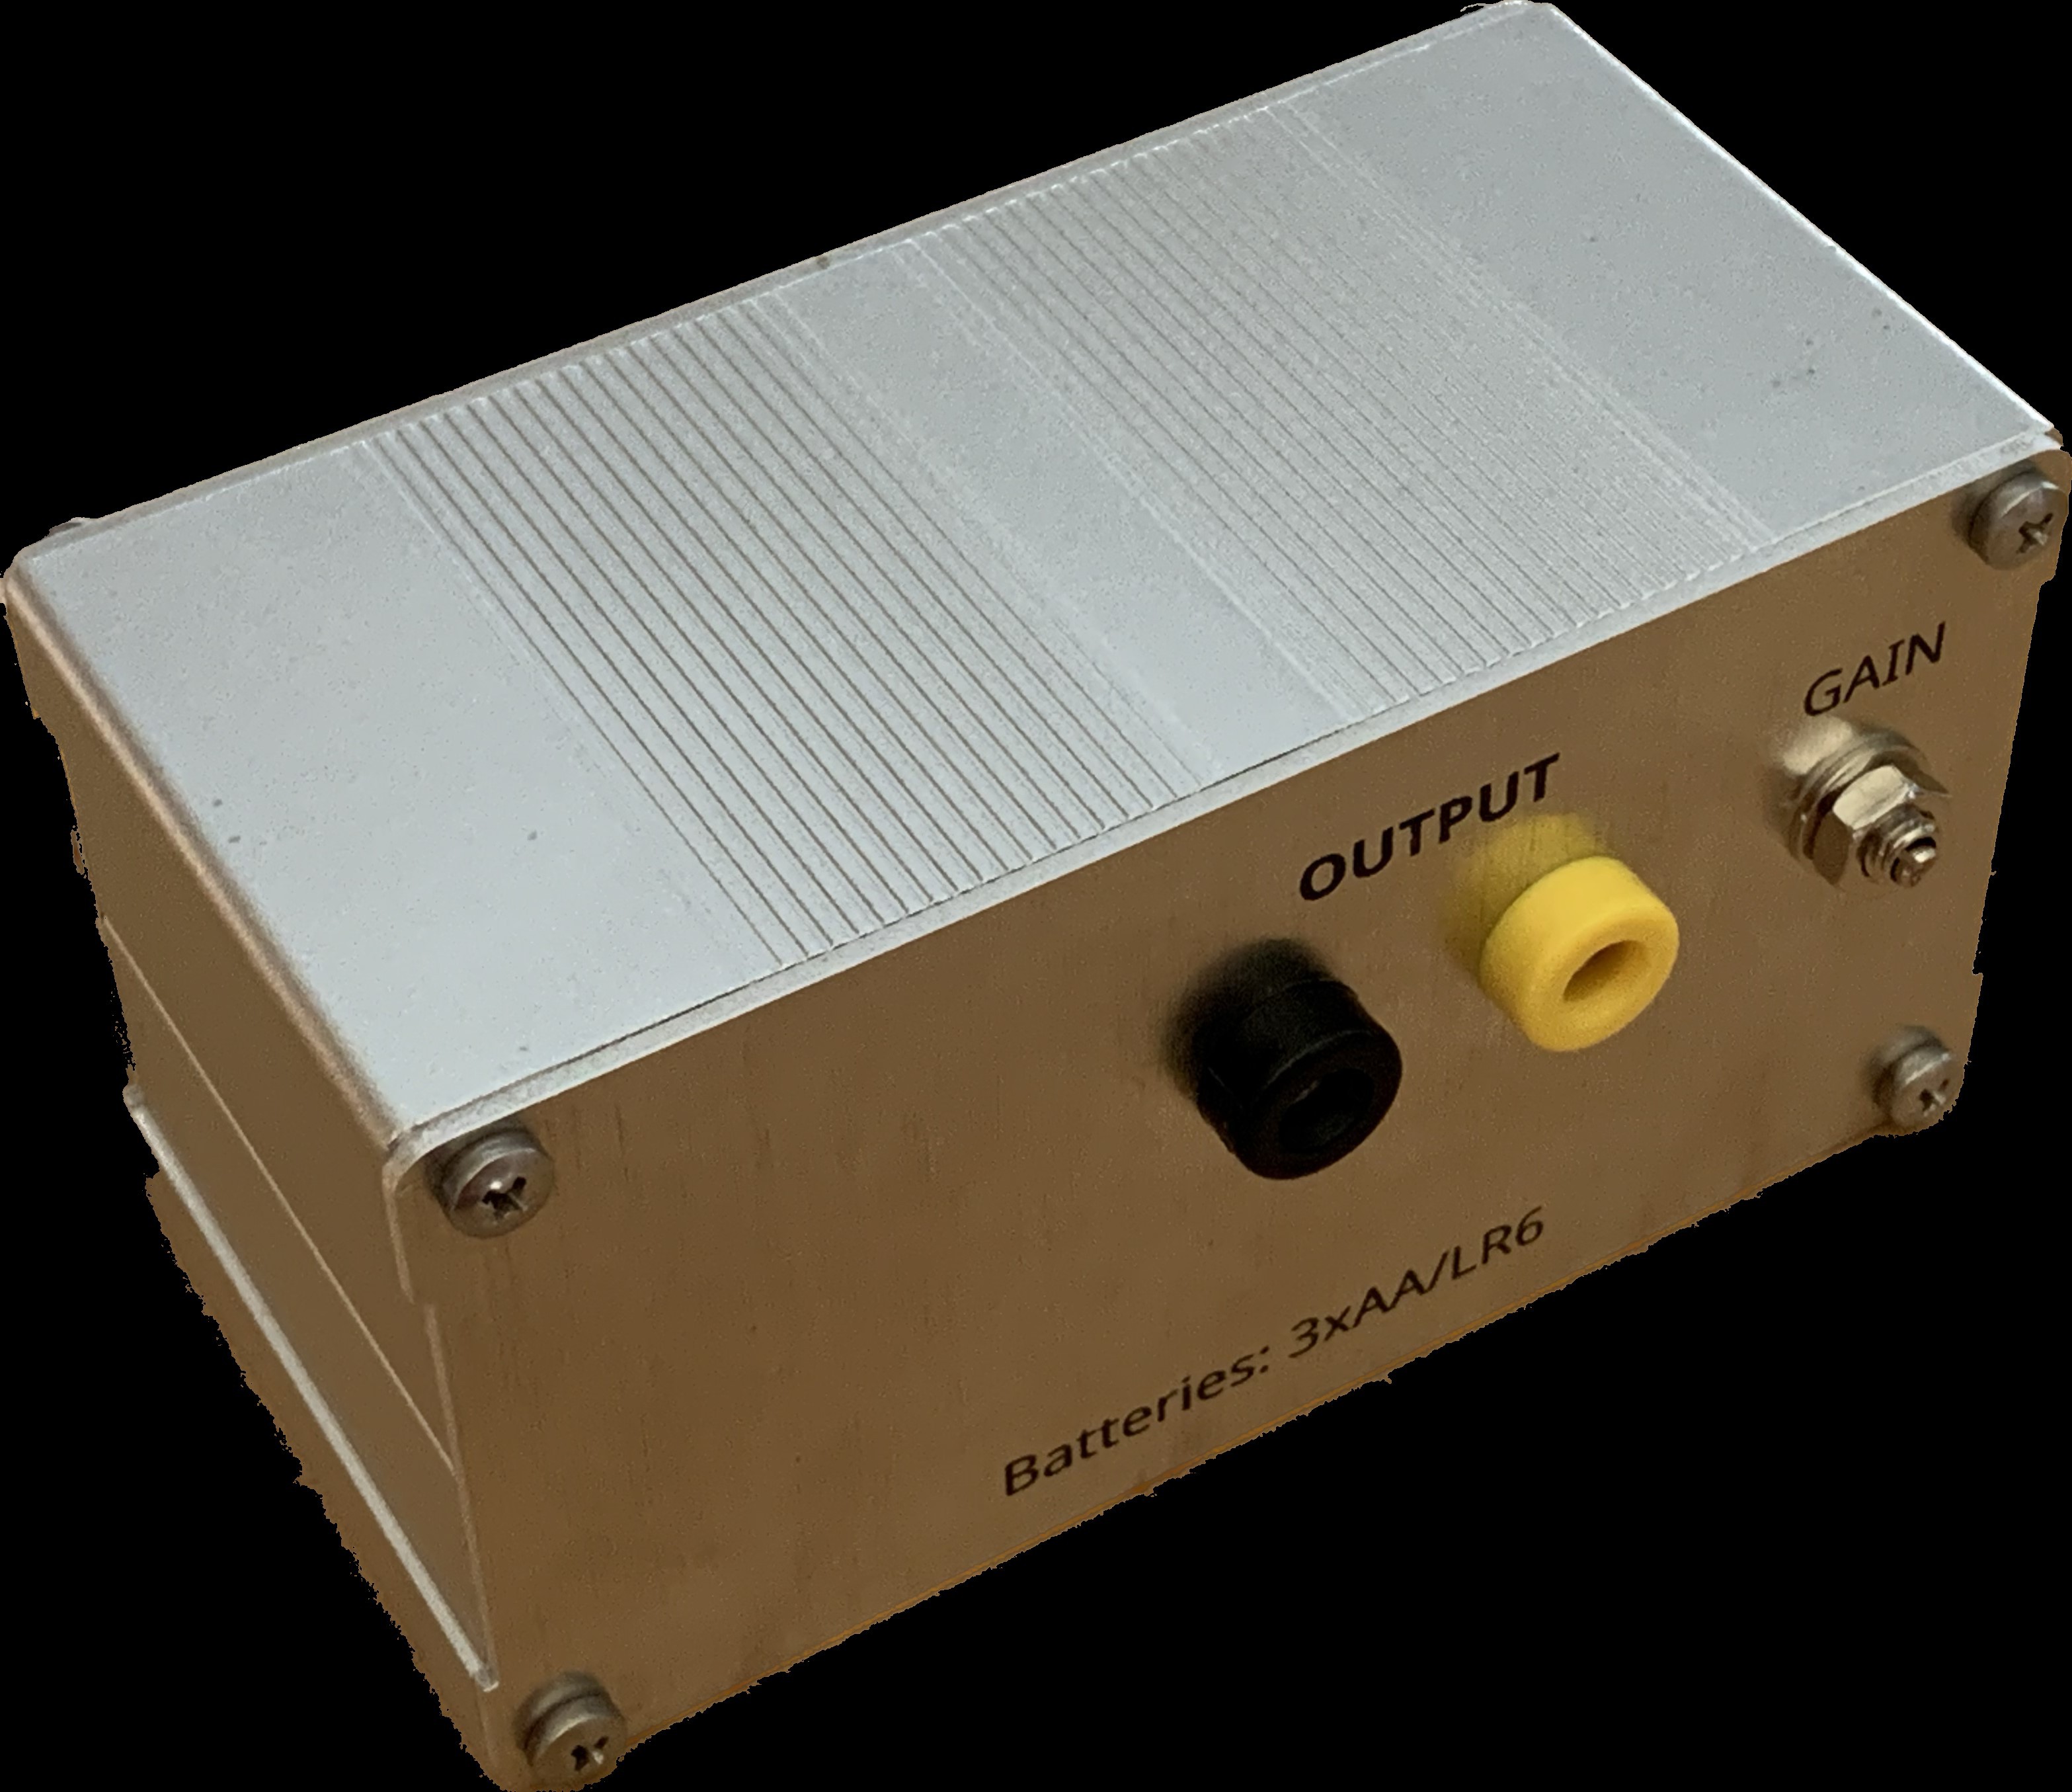
- battery-powered: 3xAA/LR6 cell,
- 4-wire Kelvin sensing mode only,
- 100mA sense current,
- fixed 1Ω range with 20% overrange,
- ±1mΩ accuracy within 15°..35°C operating temperature,
- 4.5-digit digital display with 0.1mΩ resolution, 3Hz update rate,
- 1V/Ω non-isolated analog output,
- battery state indicator with three levels: 3.5V (OK)
- supply voltage range from 3.0V to 5.5V.

It is intended for bench or portable use, as a relatively high-performance instrument in spite of its simplicity and low cost.

The primary motivation is to demonstrate that a very basic circuit can perform well in practice. It is meant as an exploratory step for future improvements.

A "moar, better" v2 is in the works :)

Motivation

I wanted a basic 4.5 digit milliohm meter, for battery operation, designed to be affordable and use common, inexpensive parts, with some flexibility there: higher-cost part substitutes will perform better.

Op-amps and comparators figure prominently in the design and implement most of its functionality.

The design was prompted by and is a "reply" to Electrolab's milliohm meter project in the following video: Monte um Milliohmimetro super preciso!!! YouTube video. It demonstrates similar or better performance using jellybean general-purpose parts that were available in the late 1970s (save for the digital display), from a much lower supply voltage.

It is a stepping stone for a future project.

Requirements

  • 3V to 5V operation,
  • bare bones BOM cost around $15,
  • reasonable accuracy with jellybean parts,
  • 1Ω full-scale single range with some overrange capability,
  • 4-wire operation only,
  • zero- and scale factor (gain) adjustments,
  • digital display with 1mΩ or better resolution,
  • power supply monitor/indicator,
  • 1V/Ohm analog output for e.g. data logging
  • four op-amps (two duals), two comparators (one dual)

This is a Prototype!

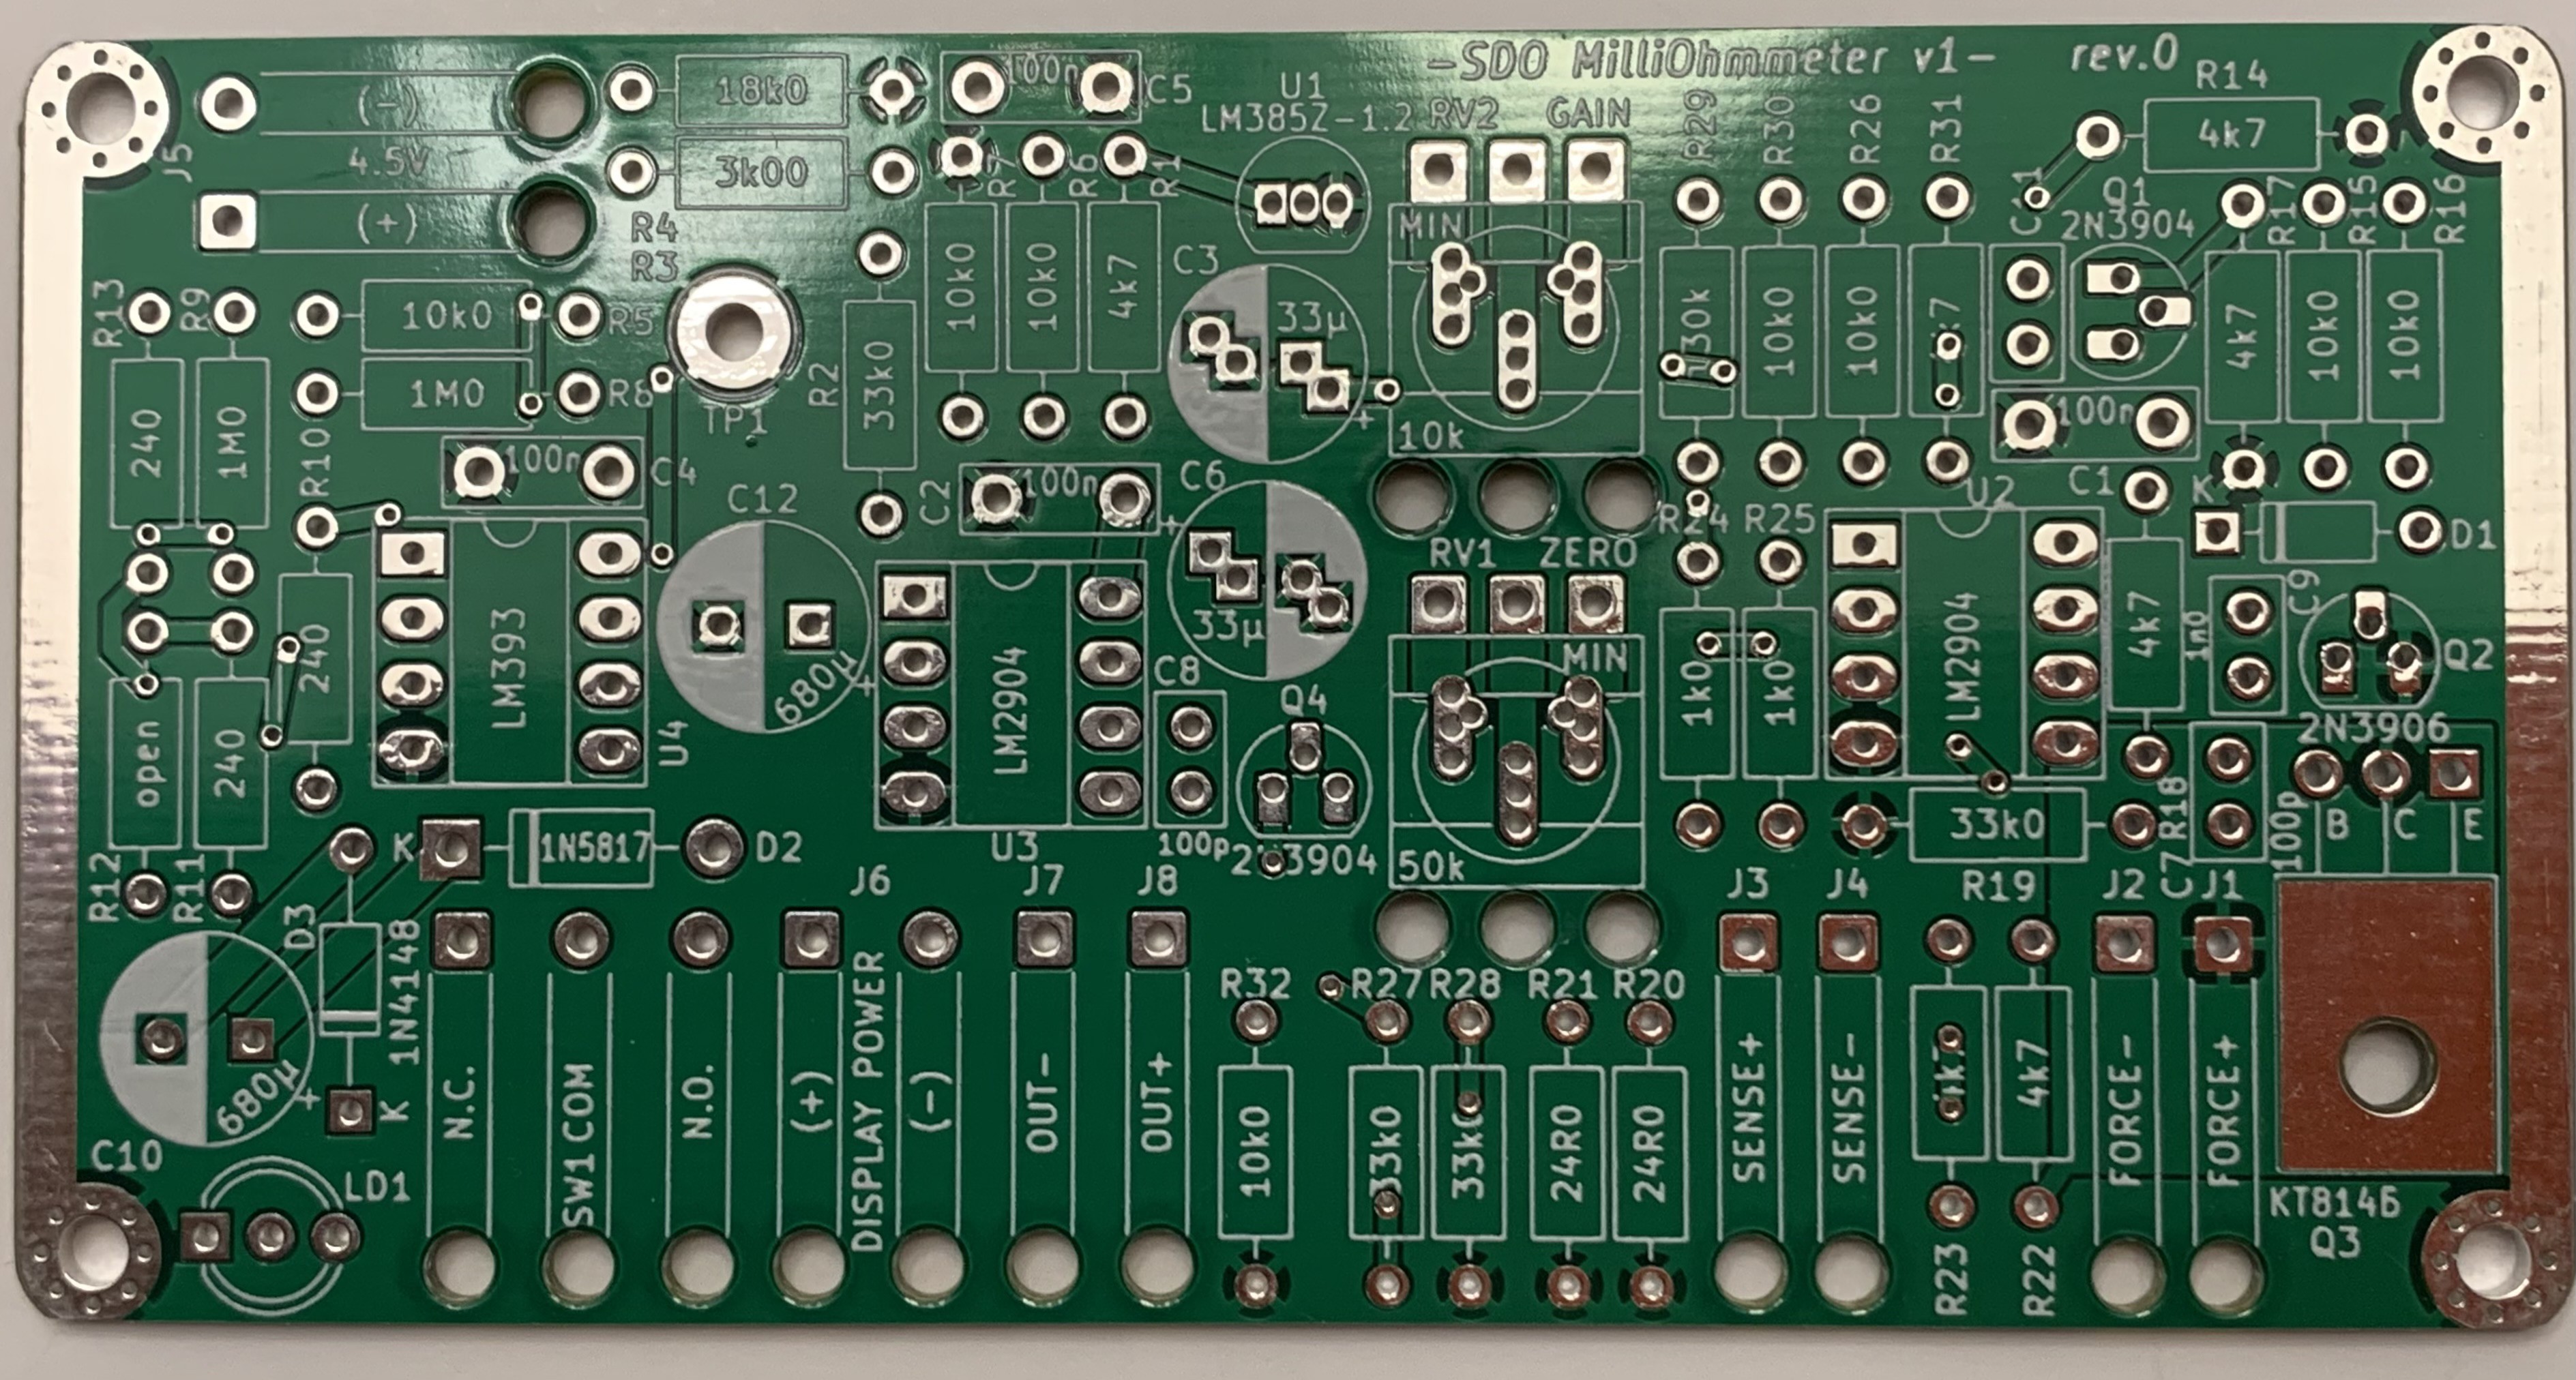
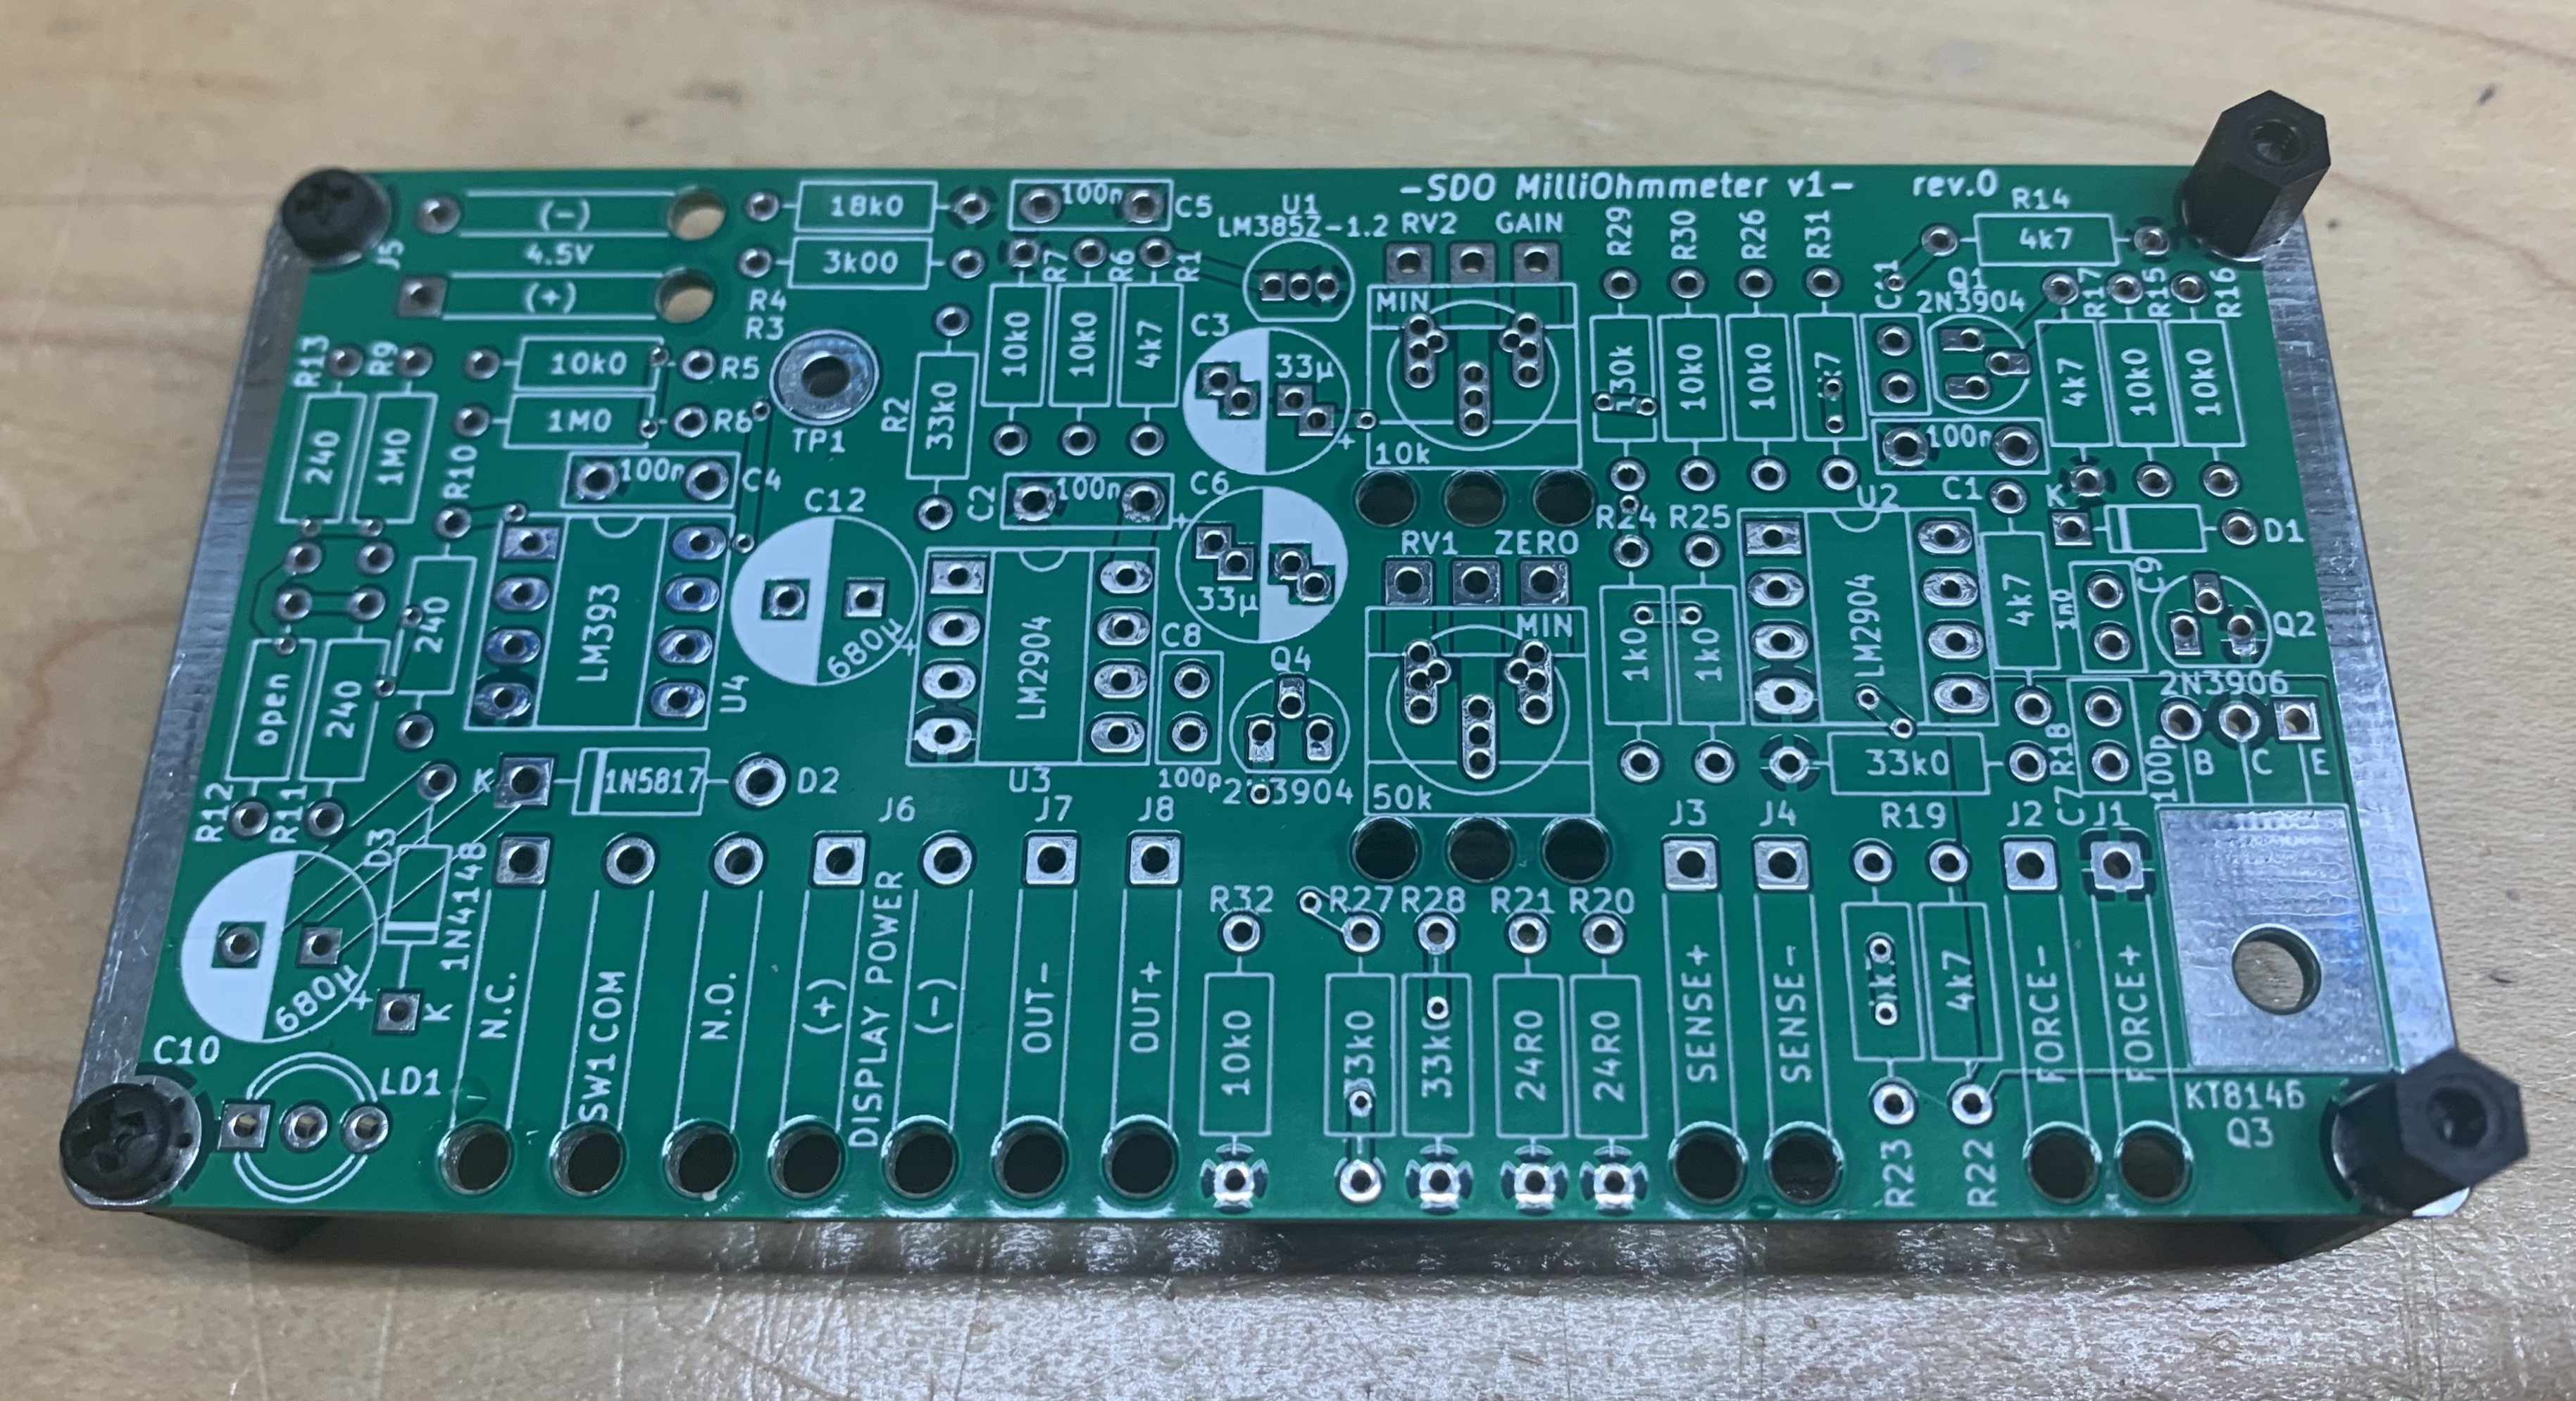
The design as shown suffers from problems not unknown to those who build a new design for the first time. My first mistake was to lay out the PCB based on the box dimensions from the eBay listing. Those dimensions turned out to be a bit of a "ballpark". The board dimensions should be 100x49mm to ensure fit.

The PCB is too wide by 1-2mm, and had to be sanded down to fit between the front and back plates of the enclosure.

The wire stress relief features are somewhat big for the wires used.

There's no provision for 2-wire measurement even though it would have been a reasonable requirement to have.

I've bought the PCBs from PCBWay, without any sponsorship. I am very happy with the quality so I can gladly recommend their "5 for $5" product. The size of the boards is limited to 100x100mm for that price. Larger boards cost more.

The laser-cut panels were ordered from Ponoko, without any sponsorship. Again, they provide high-quality product and I can recommend their service based on this experience.


Enclosure and Controls
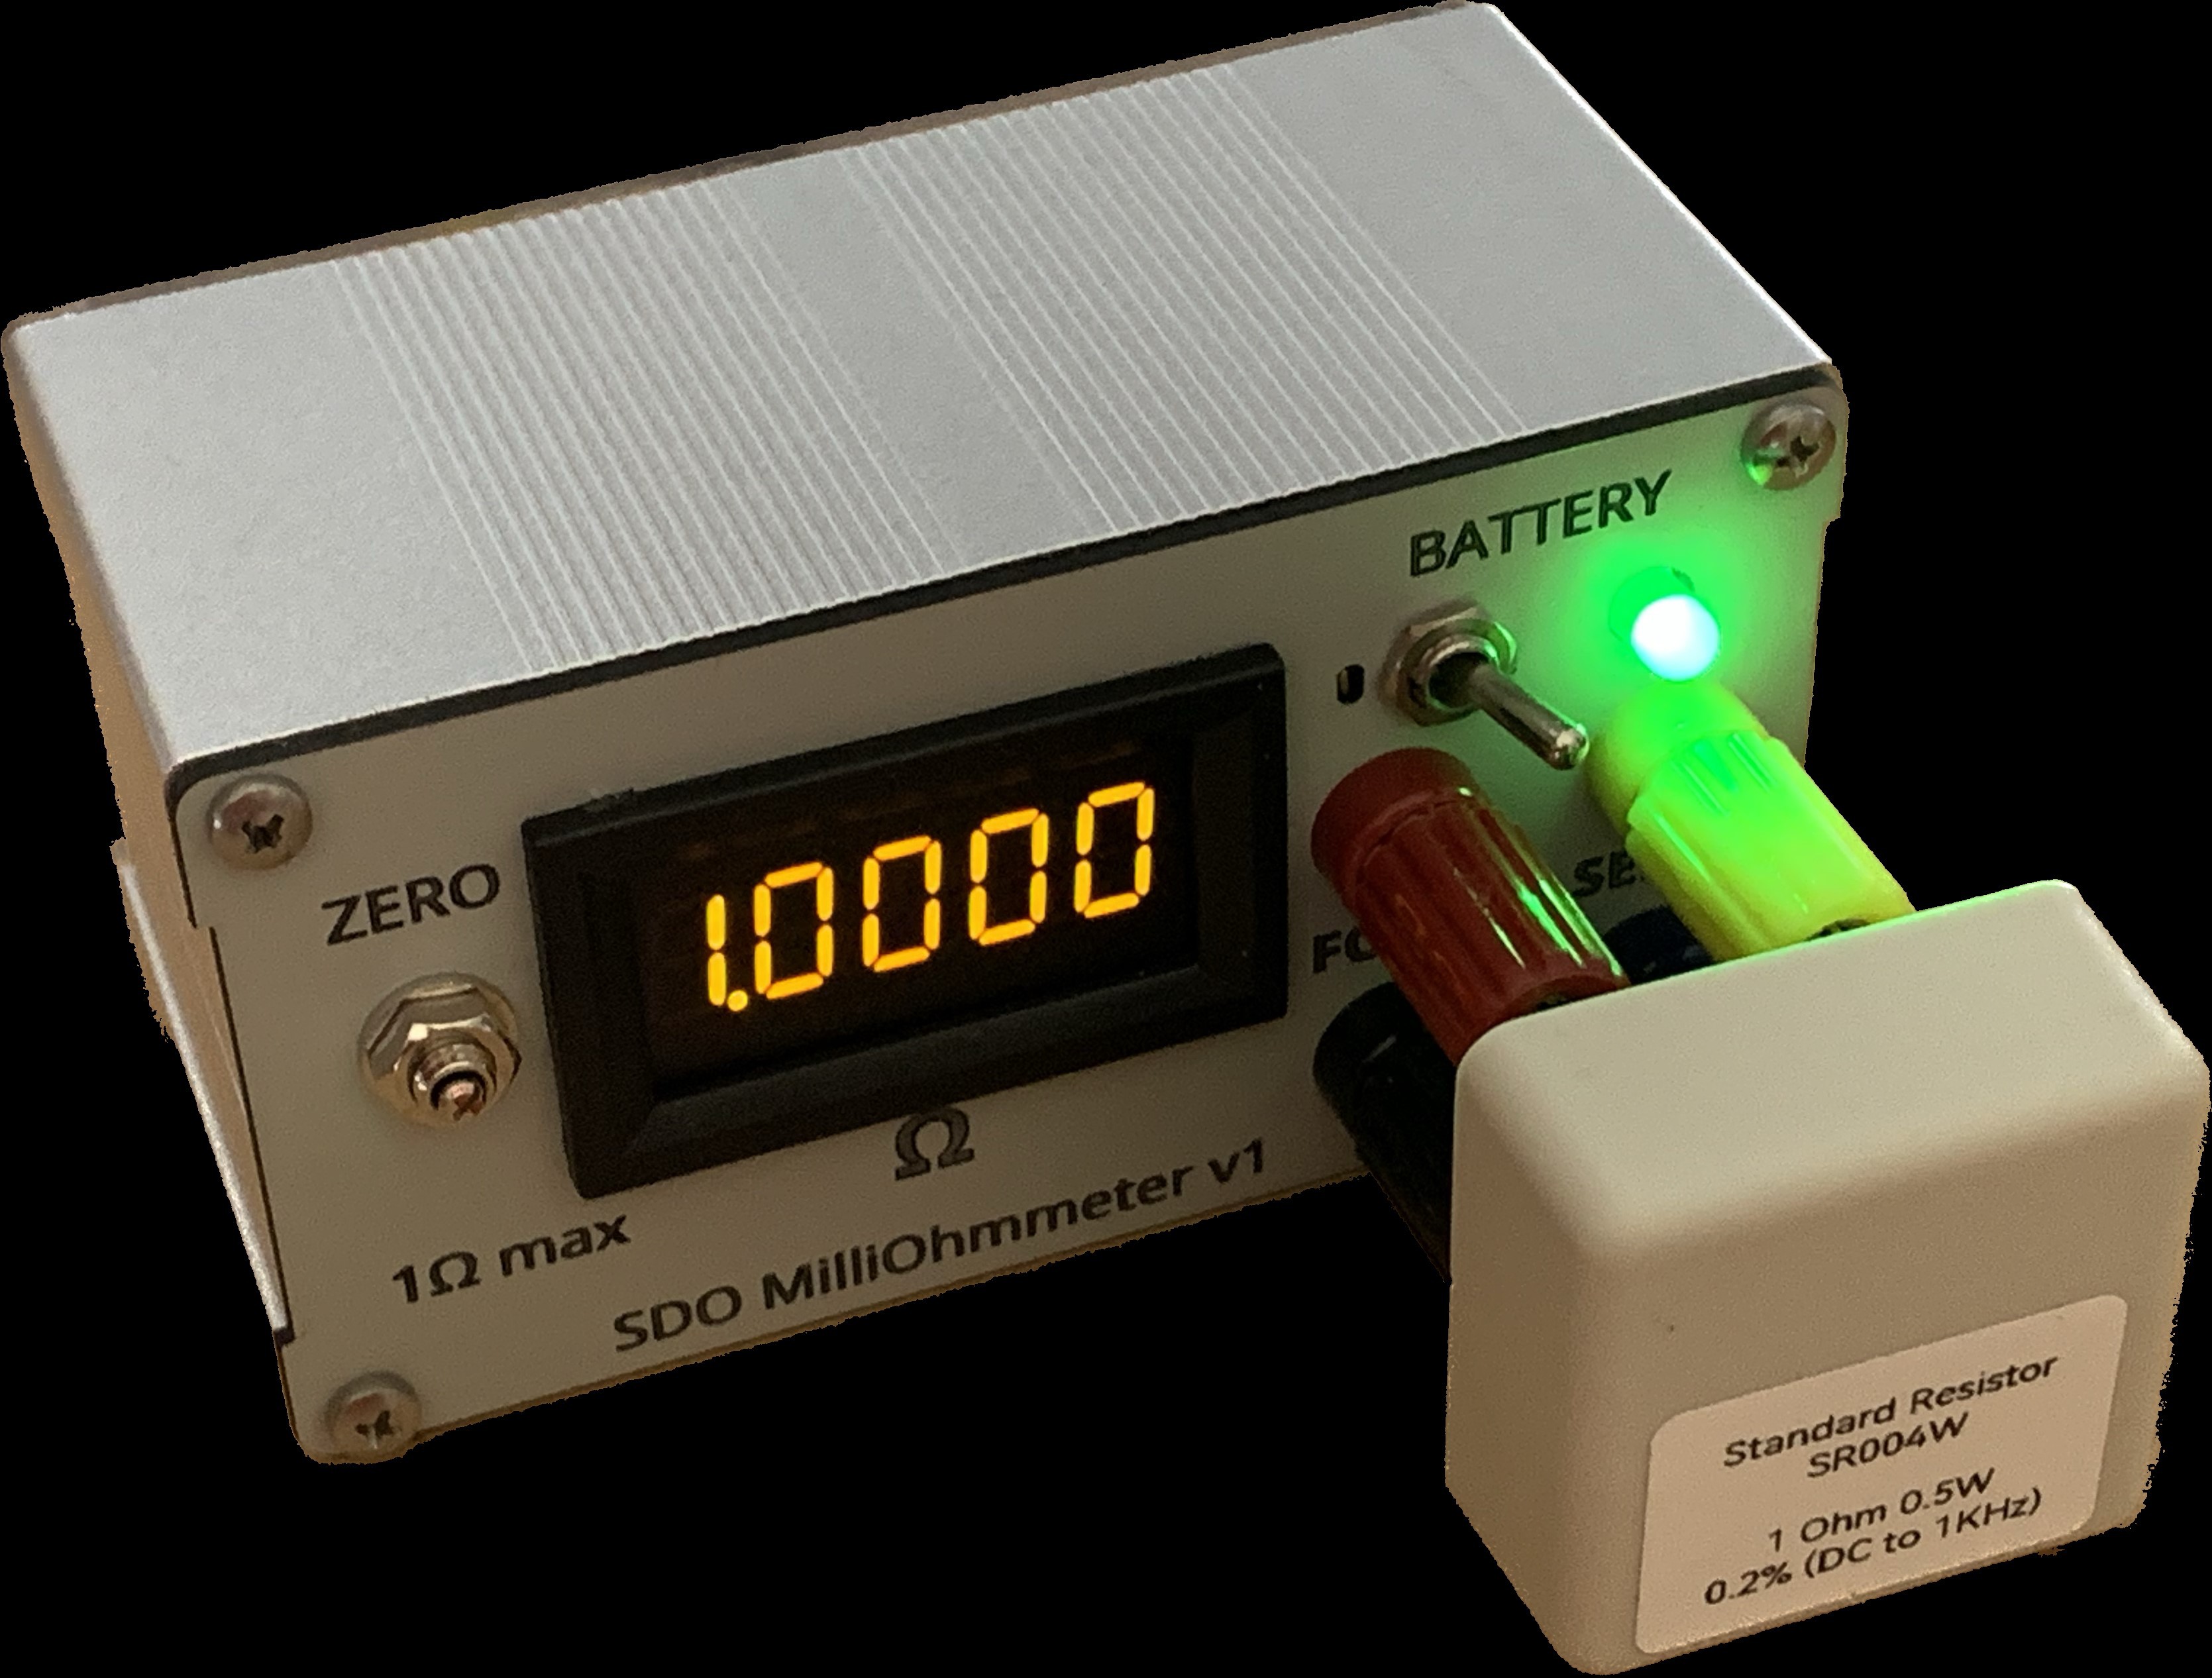
The meter is packaged in a two-part extruded aluminum enclosure. On the front, there are:

  • a 4.5-digit resistance display,
  • power switch,
  • tri-color battery voltage indicator,
  • force and sense binding posts (jacks),
  • a zero adjustment trimmer.
Read more »

milliohm-v1.zip

KiCad 6 Project

x-zip-compressed - 903.97 kB - 05/30/2023 at 16:34

Download

MilliOhmmeter v1 Front.svg

Front panel laser cut design

svg+xml - 104.28 kB - 05/21/2023 at 03:30

Preview

MilliOhmmeter v1 Back.svg

Rear panel laser cut design

svg+xml - 64.81 kB - 05/21/2023 at 03:30

Preview

View all 20 components

  • First Prototype

    Kuba Sunderland-Ober05/30/2023 at 16:26 0 comments

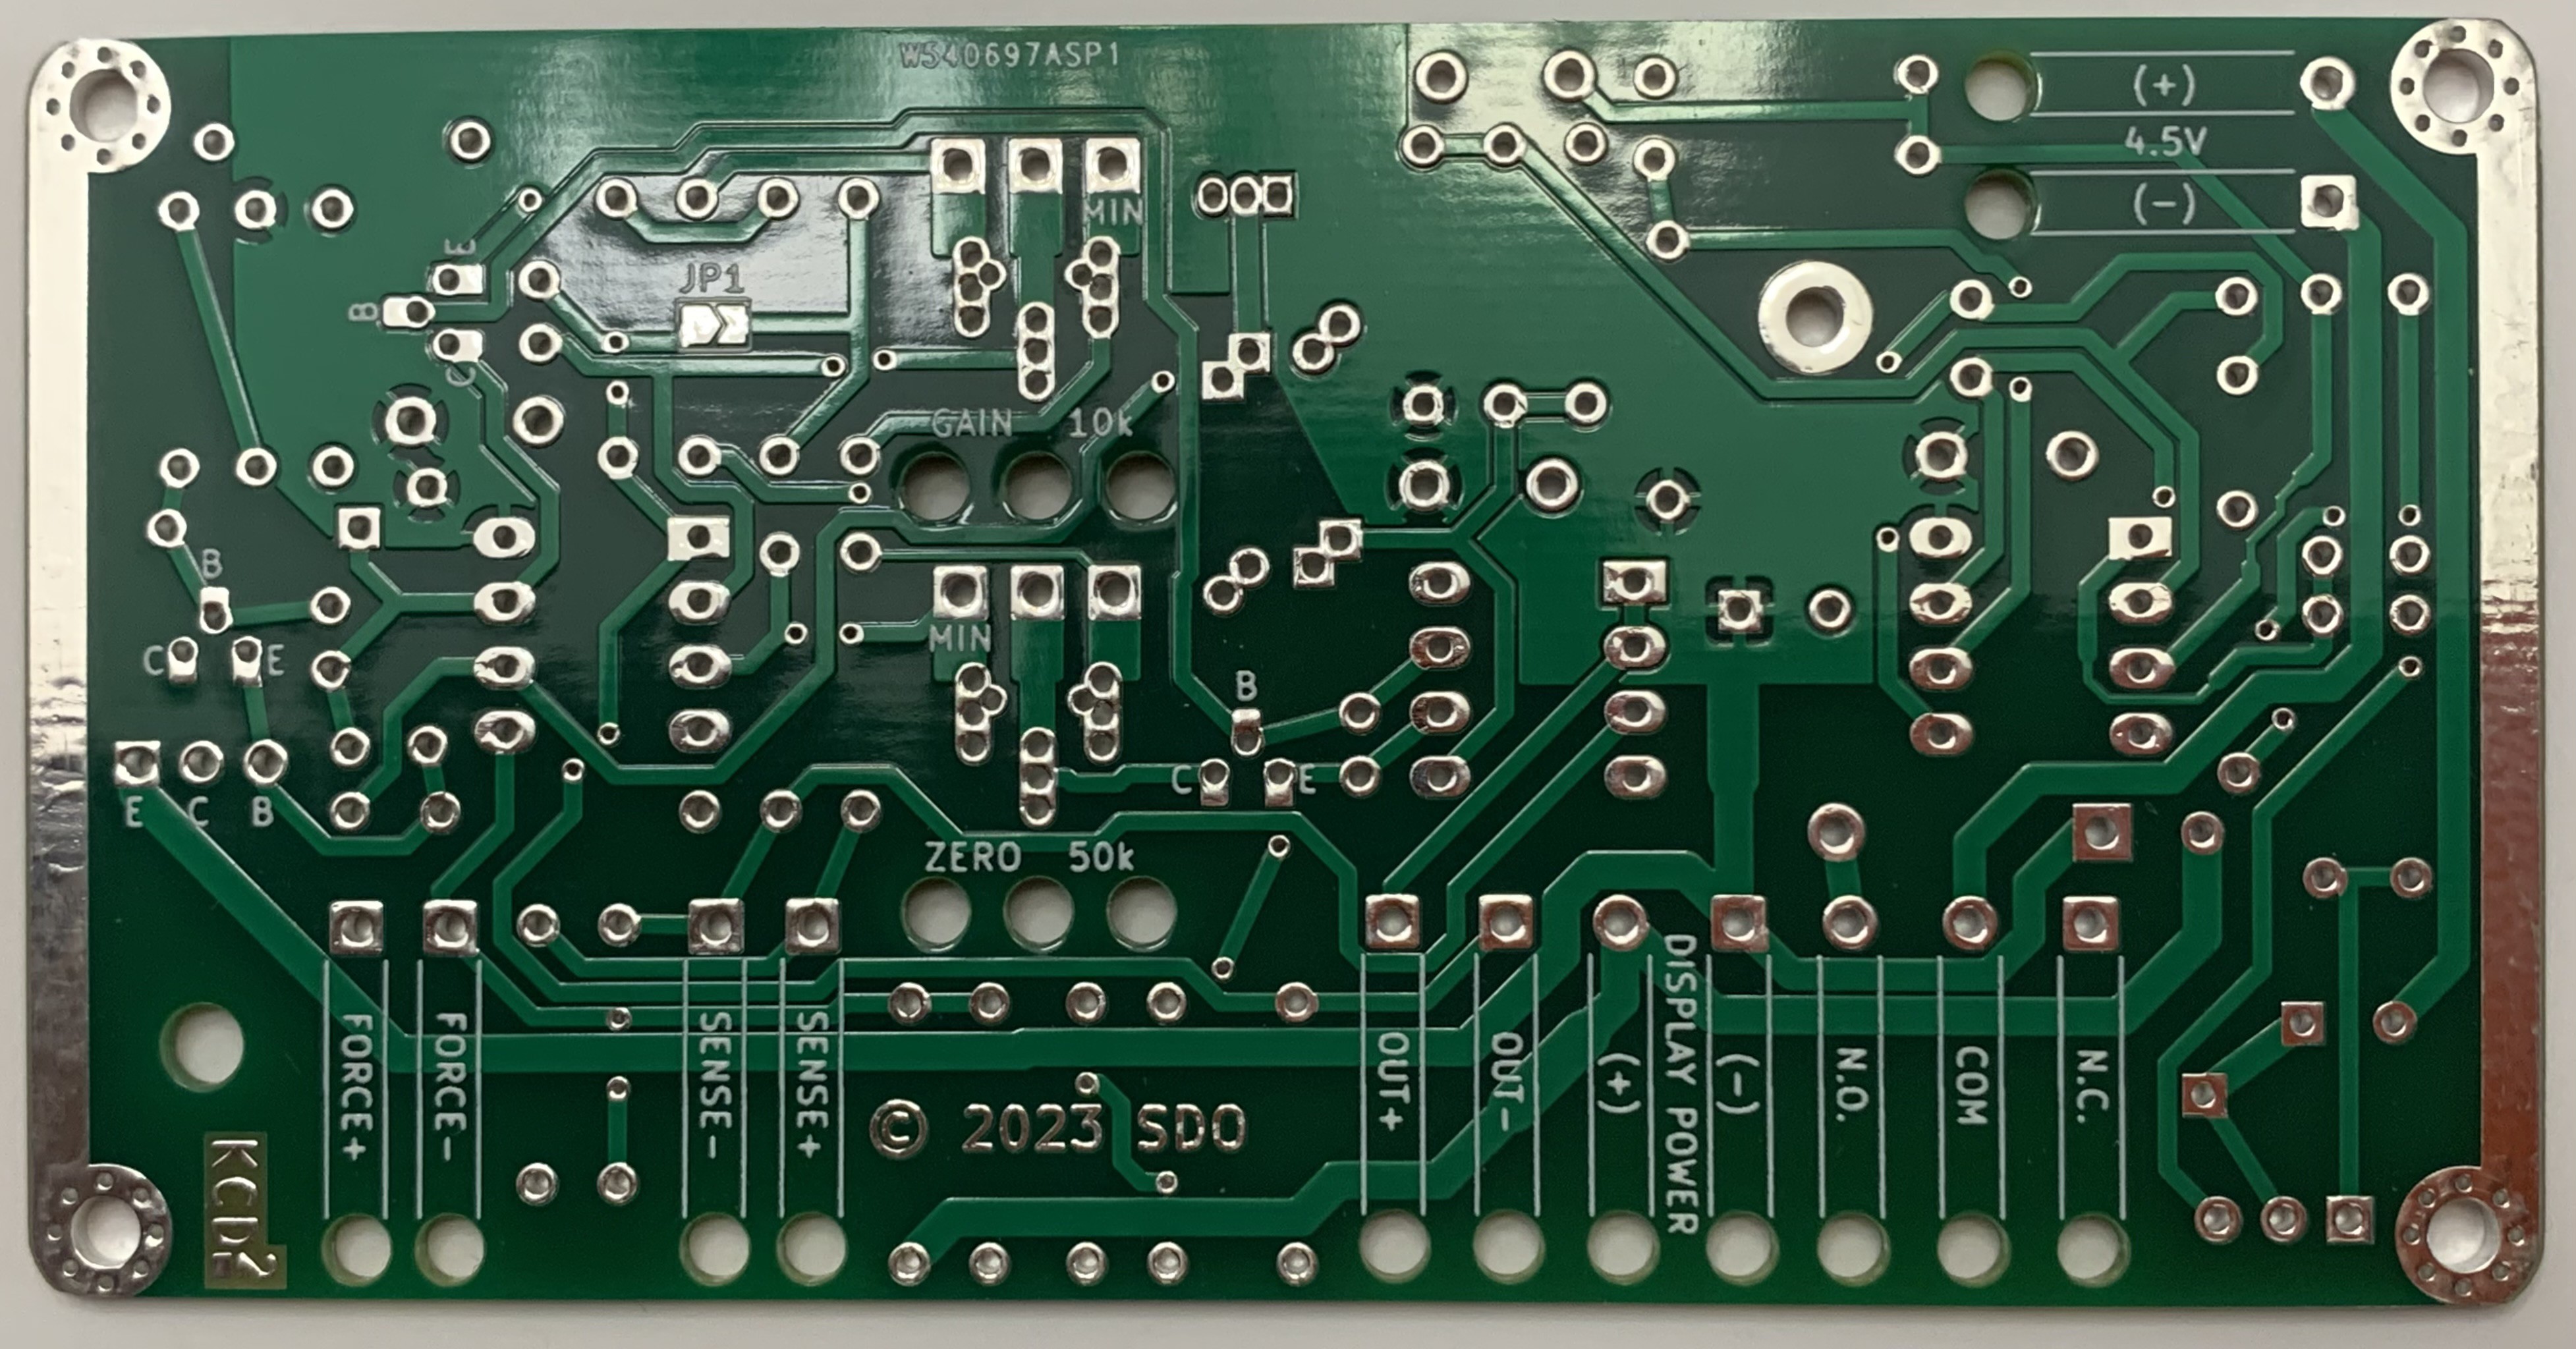
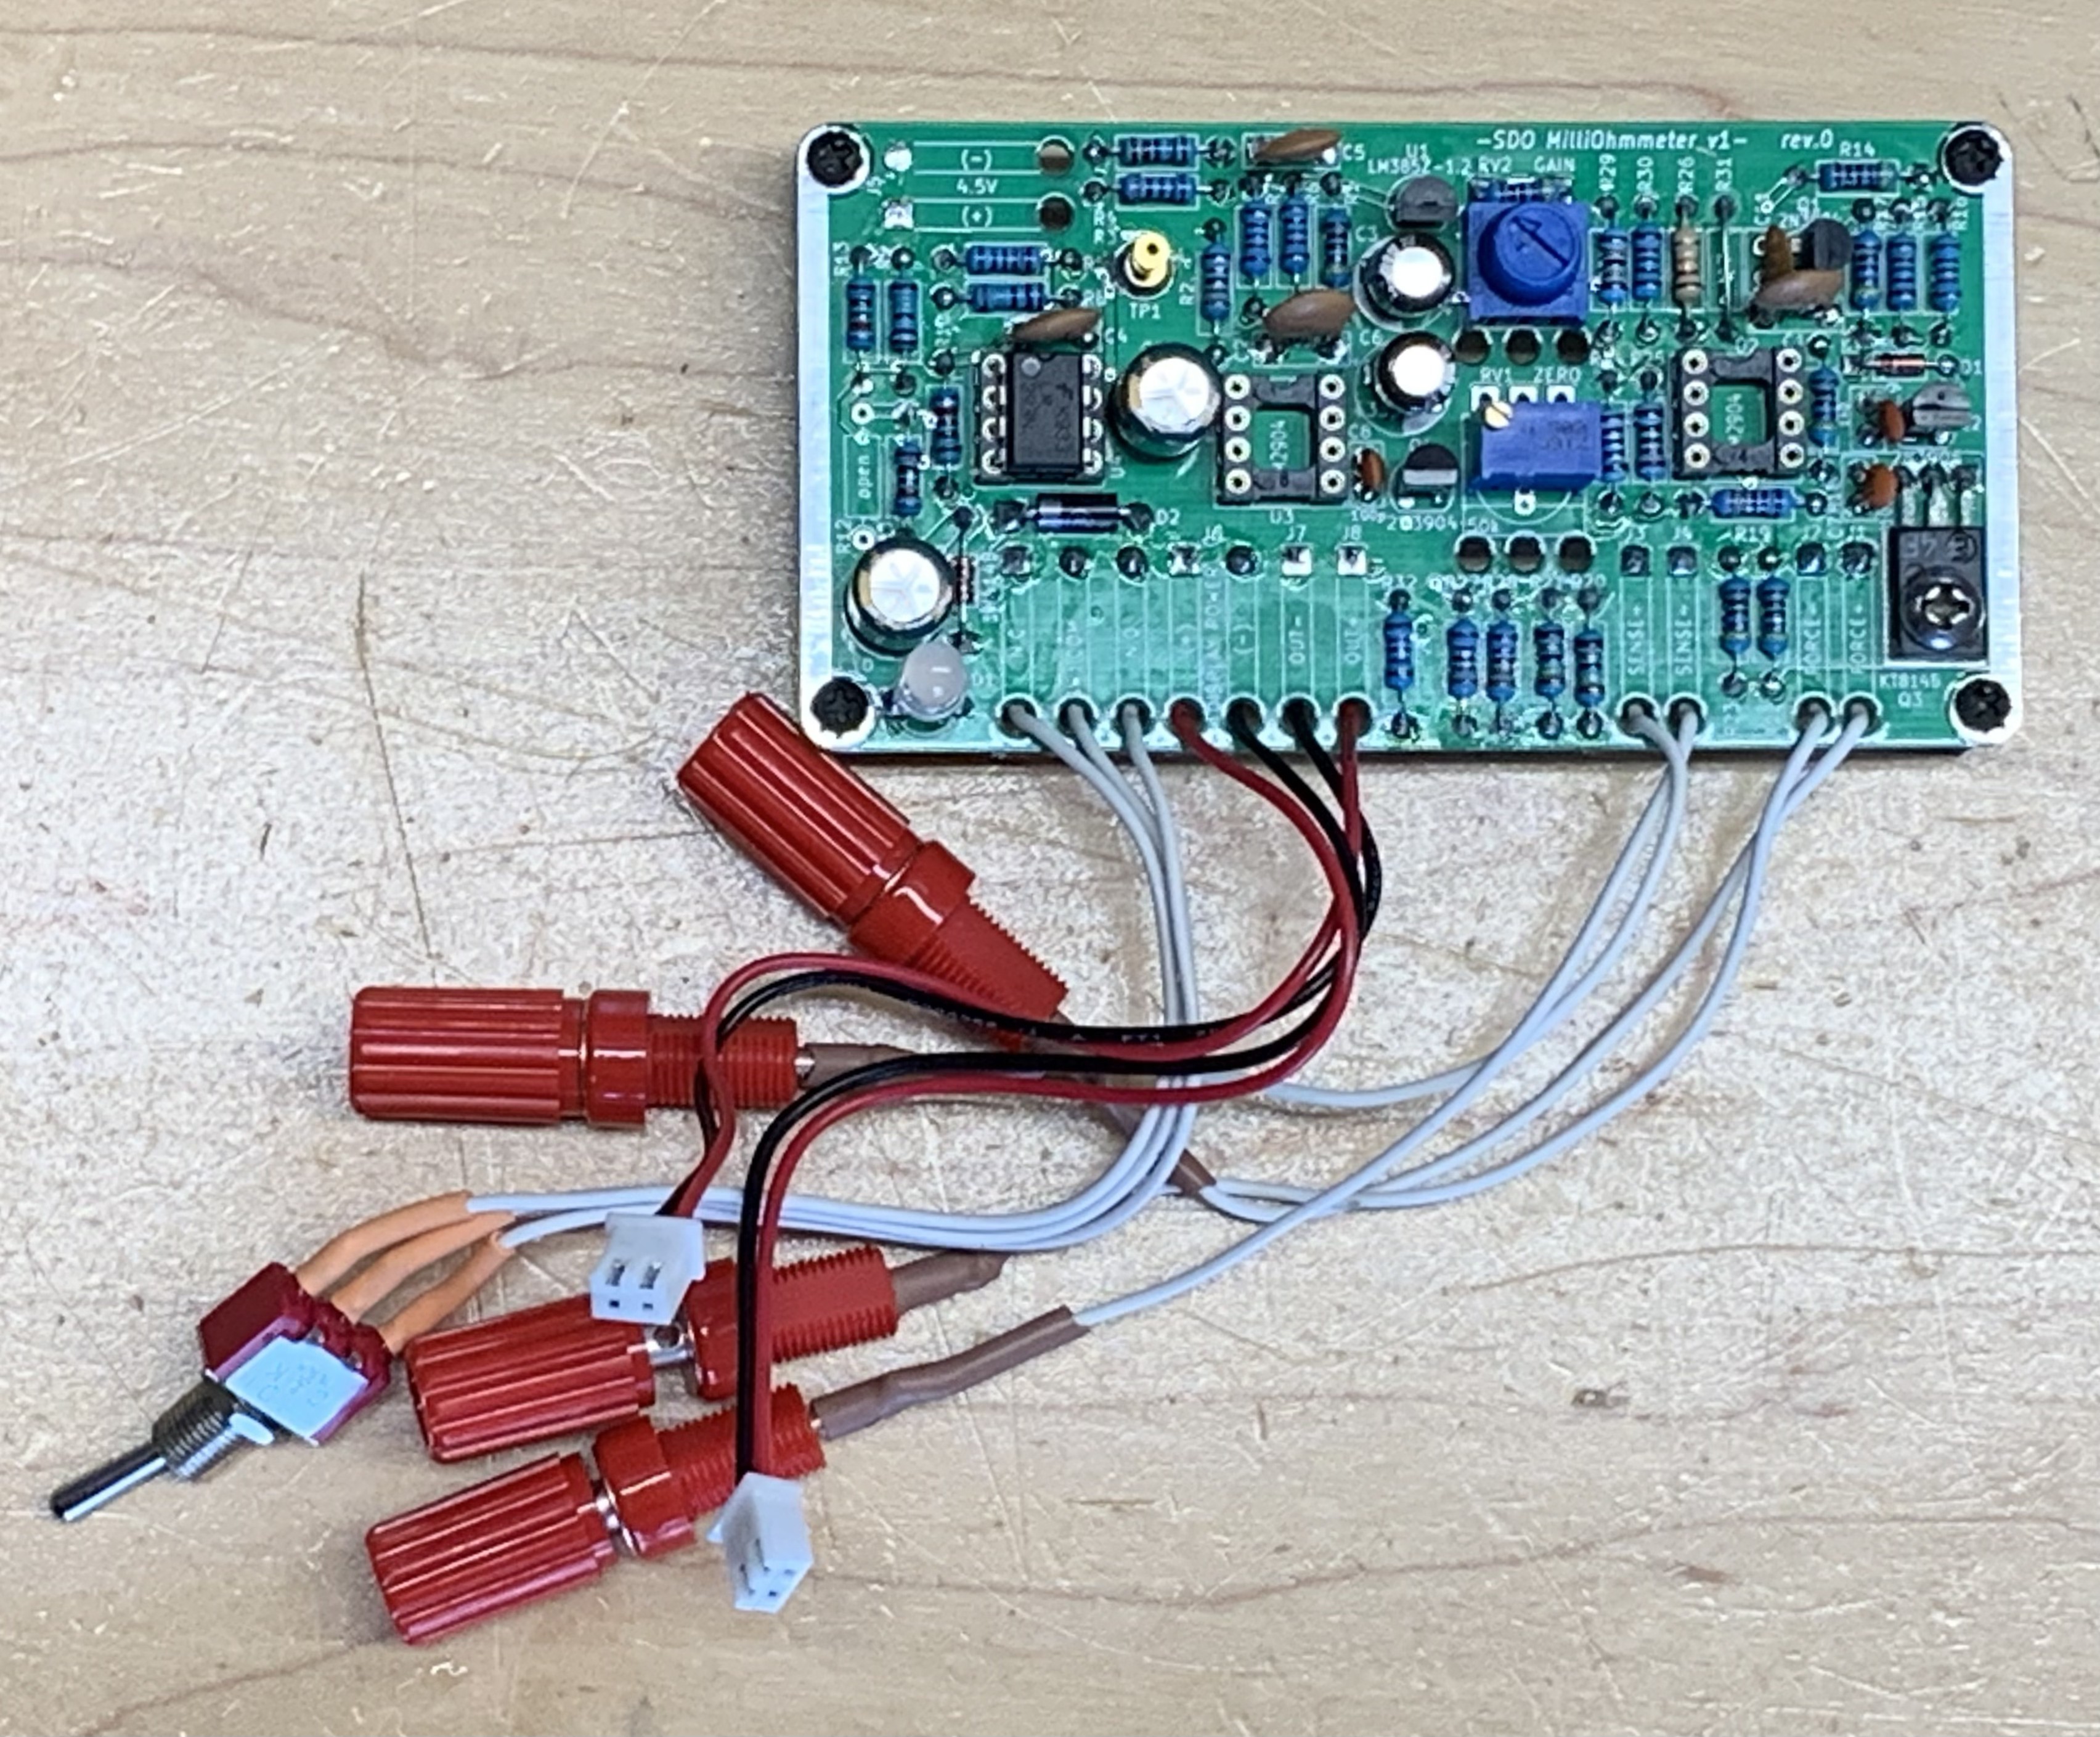
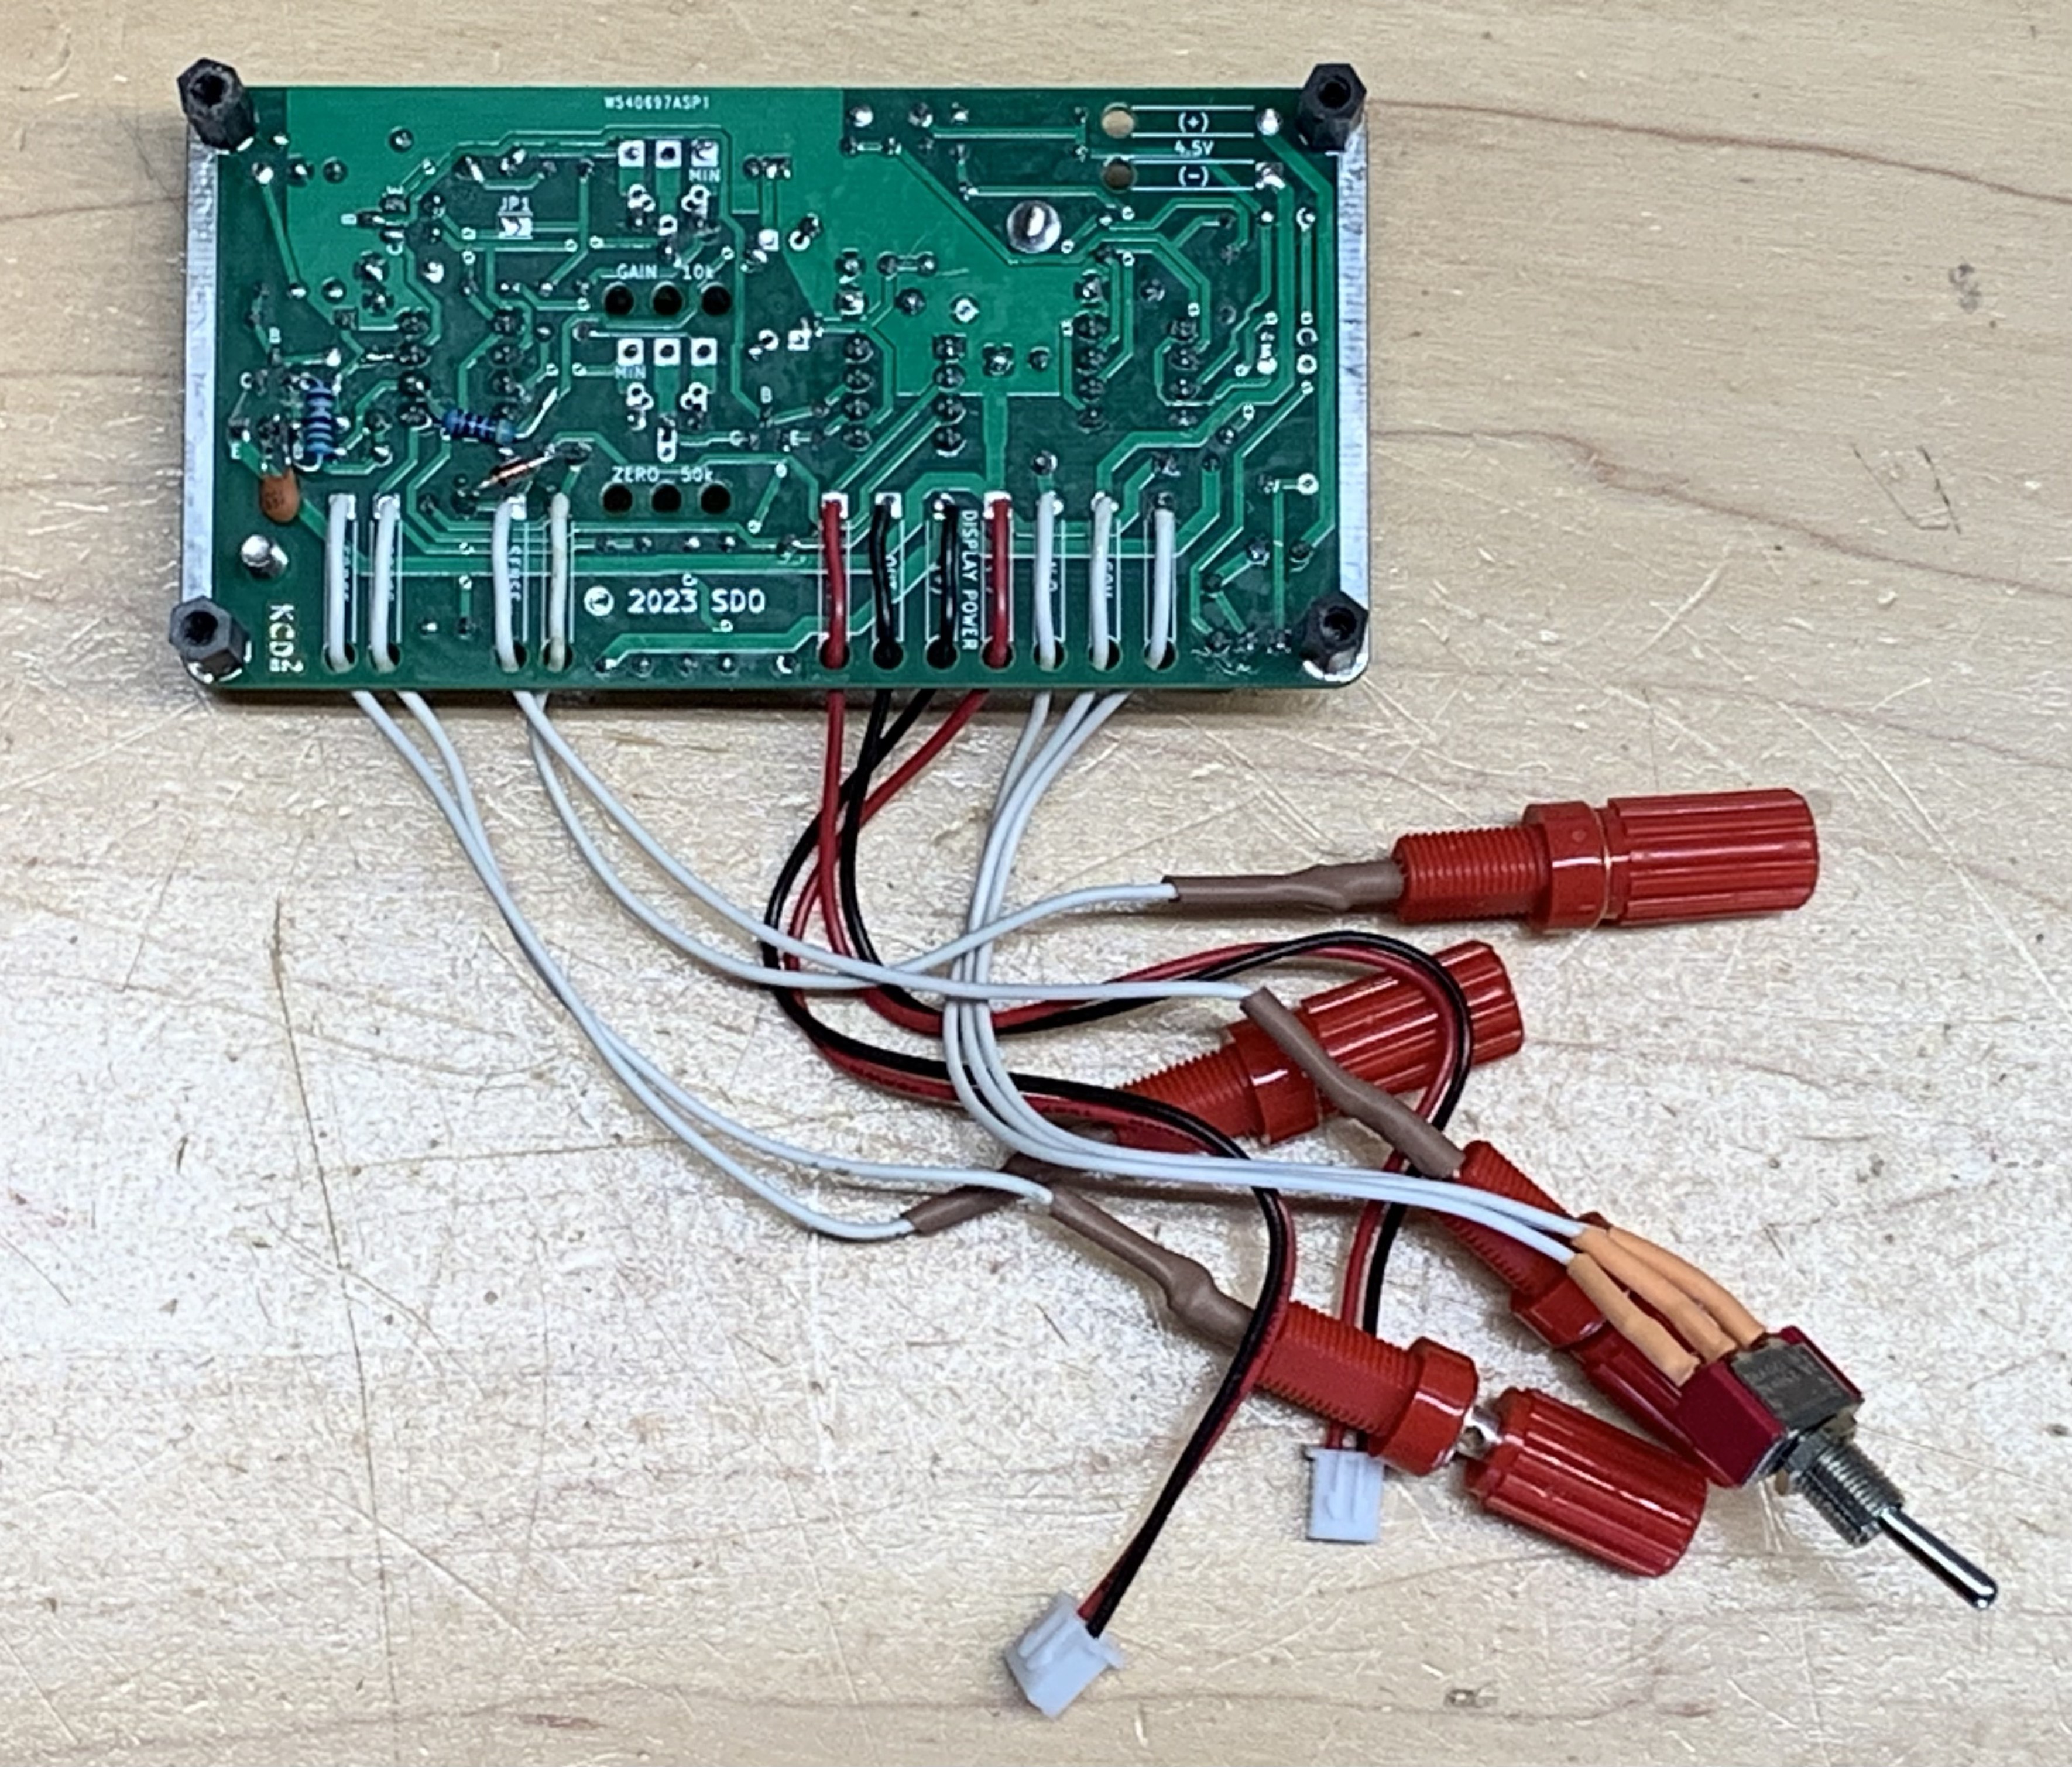
    Five PCBs came from PCBway. I've put the first one together. A few changes were necessary, but with the it works! The boards turned out to be a bit too wide (Y direction on the PCB) to fit between the front and back panel of the enclosure. Had to sand them down a bit. There's plenty of margin to accommodate it.

    The PCBs look real nice!

  • Early Proof of Concept

    Kuba Sunderland-Ober05/30/2023 at 16:21 0 comments

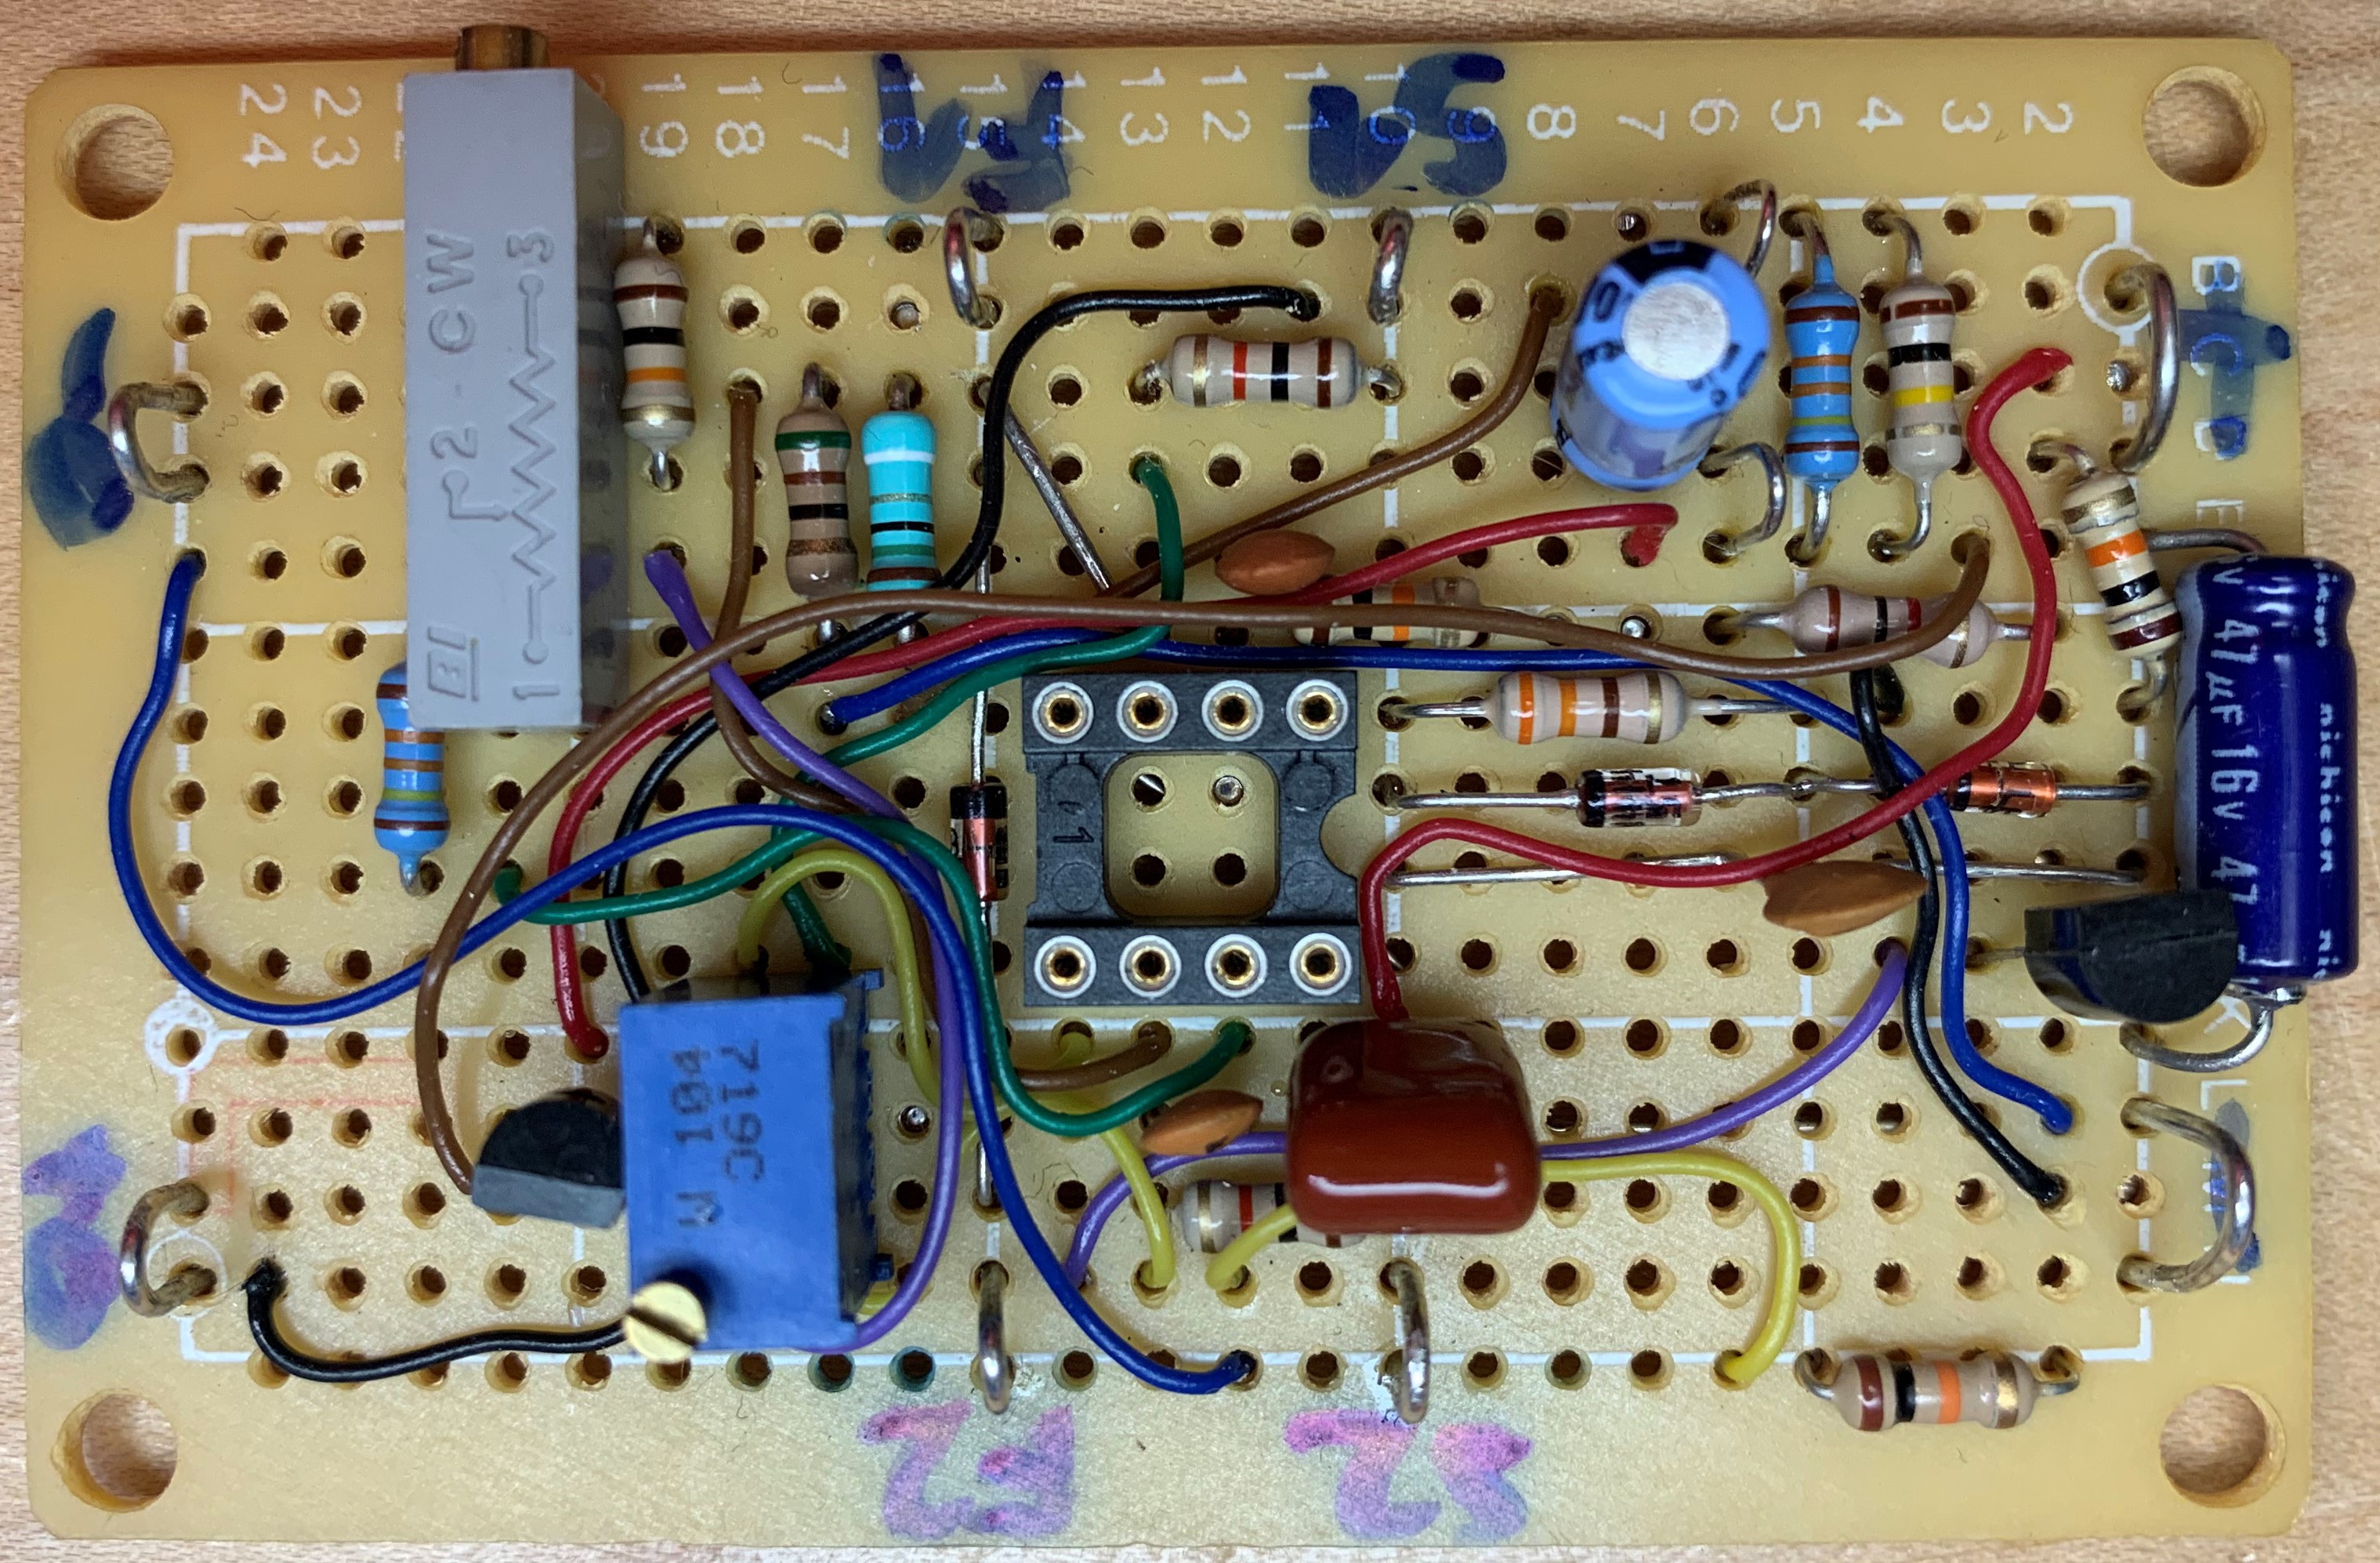
    Just to see how close to reality the idea was, I put together the current source and the sense amplifier using a dual LM2904 on a protoboard. It behaved reasonably close to what was required, and I proceeded with a PCB layout for v1 rev 1.


View all 2 project logs

  • 1
    Display Module - PCB Removal from Bezel

    The display module requires the following modifications to improve performance in this project:

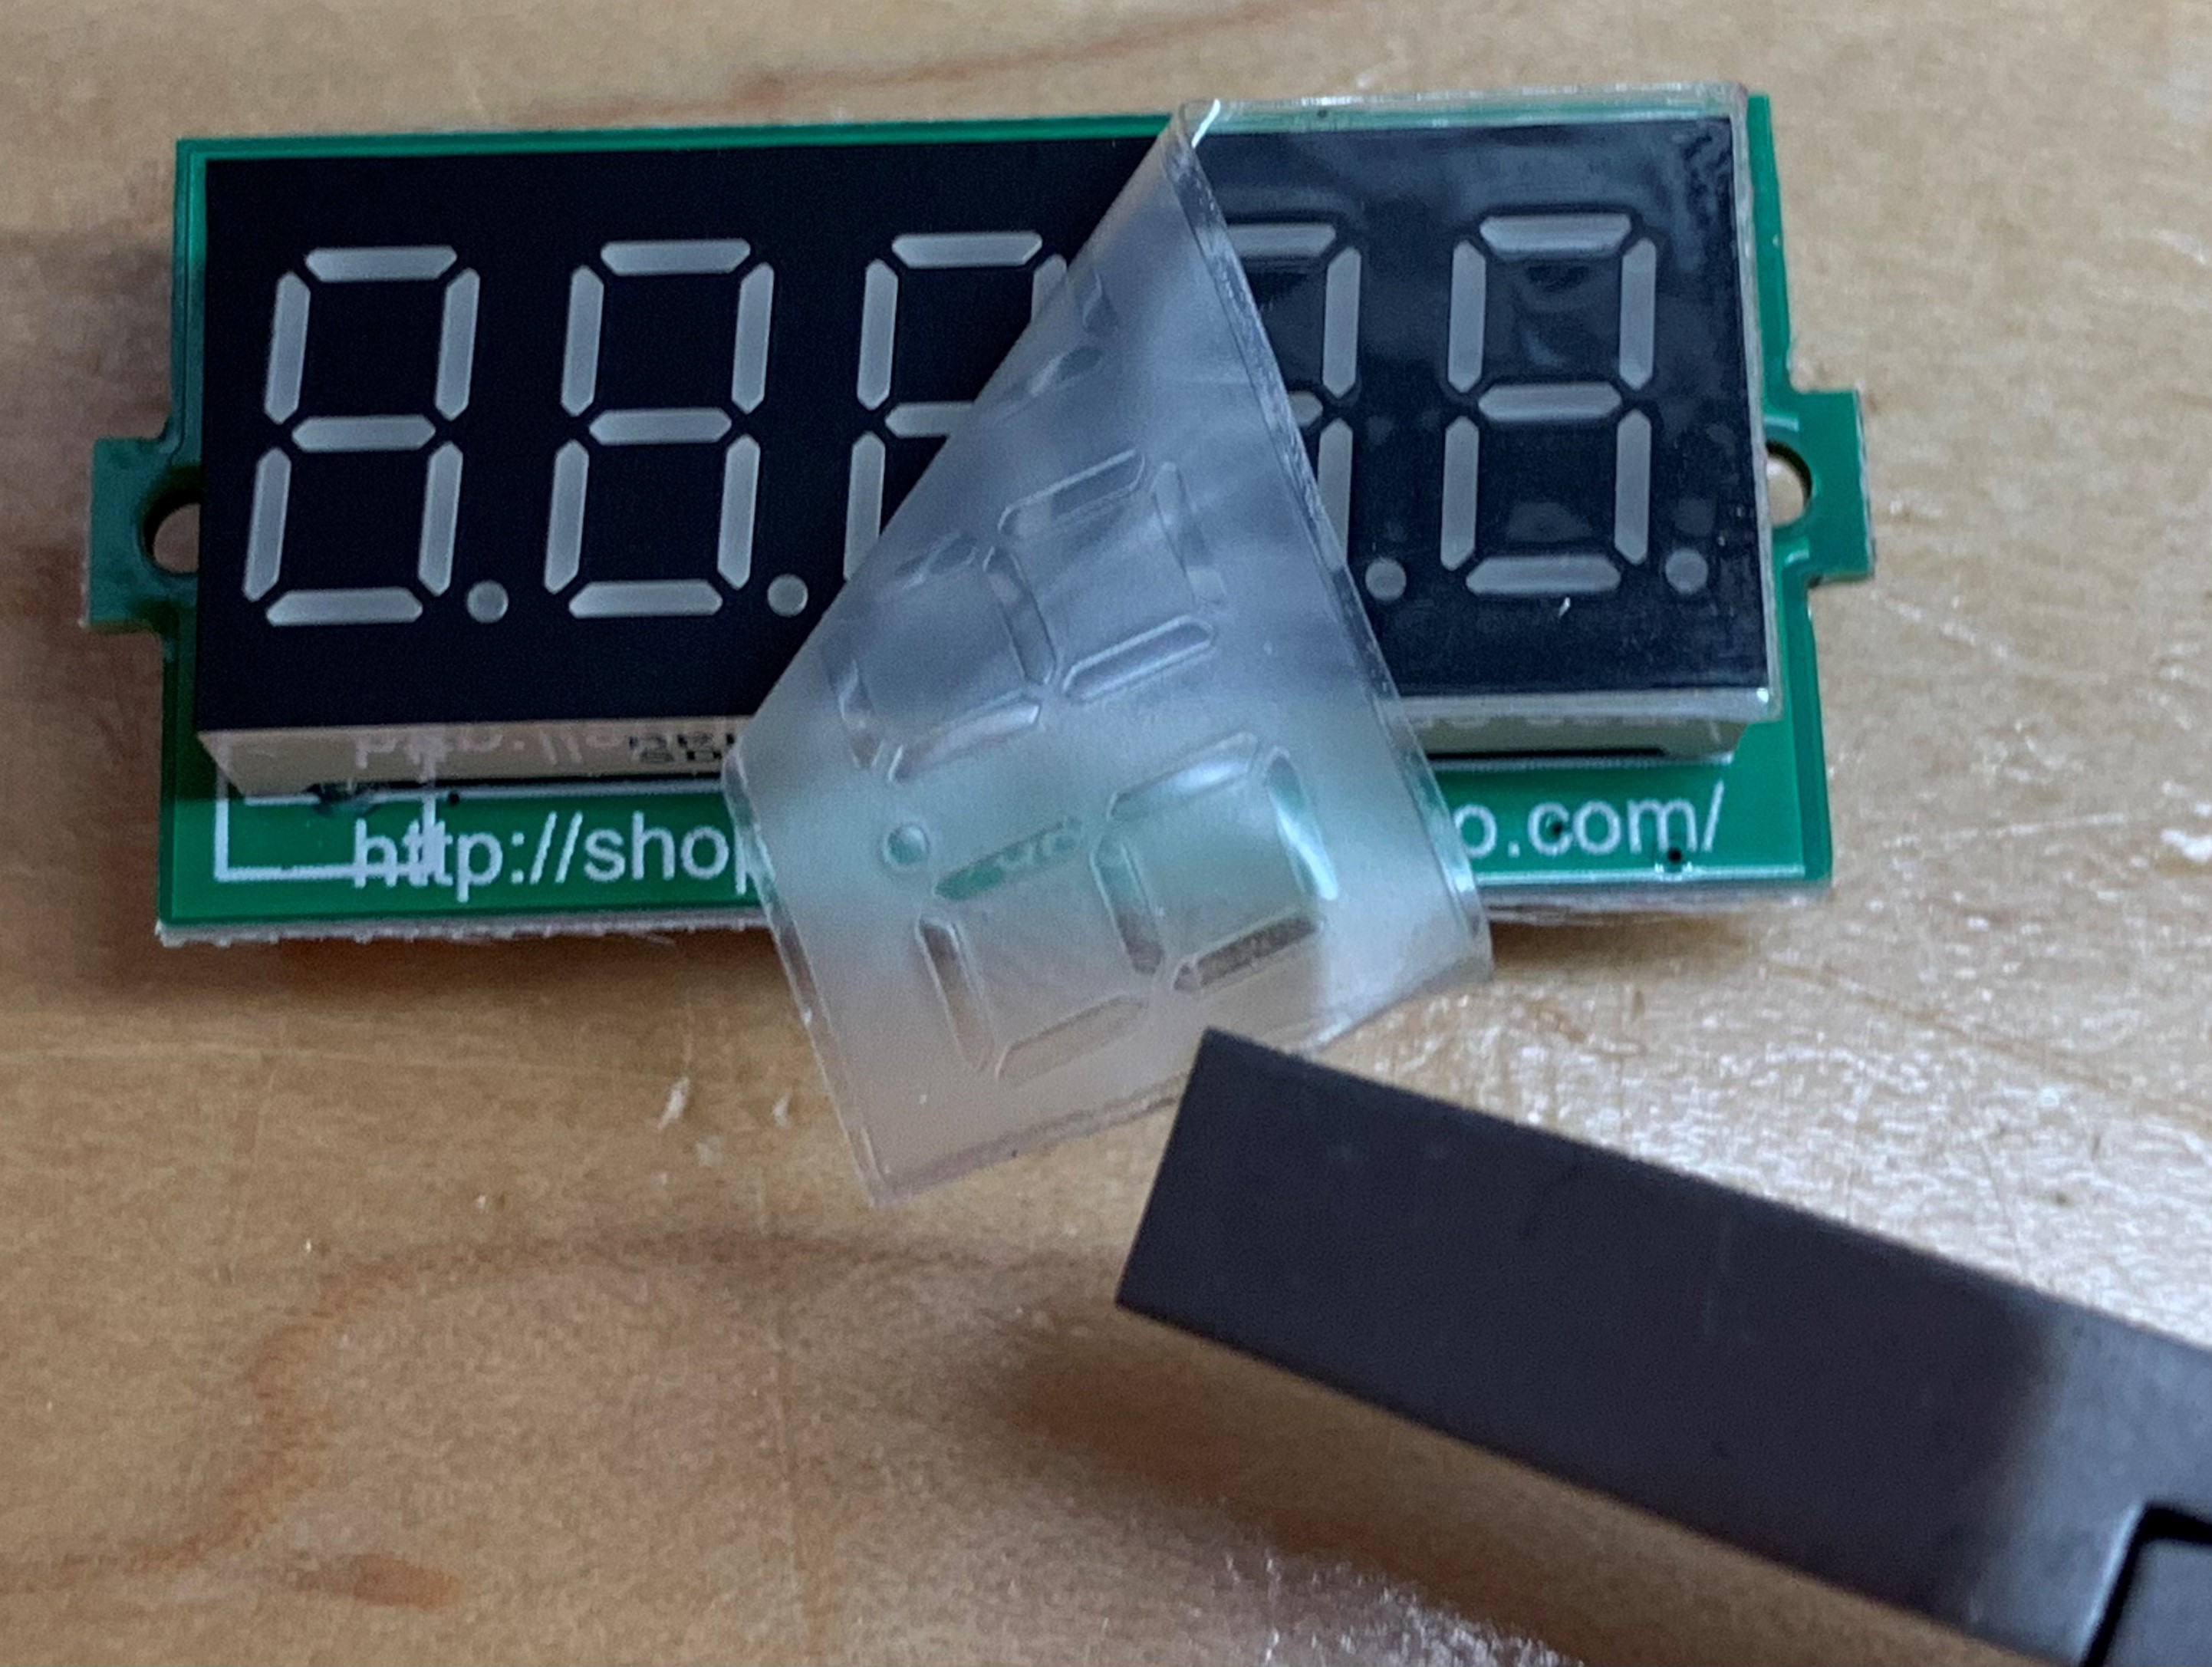
    1. Remove the protective film left on the LED display on the PCB.
    2. Bypass the reverse power protection and on-board LDO.
    3. Cut the grounding link for the negative input terminal of the ADC - under the display.
      The ADC has fully differential inputs, but the negative input is linked to ground by default.

    To carry out the modifications, first remove the PCB from the bezel.

  • 2
    Display Module - Protective Film Removal

    The display modules are assembled with the protective film left on the LED display. That film should be obviously removed, improving the display clarity.

  • 3
    Display Module - Voltage Regulator Bypass

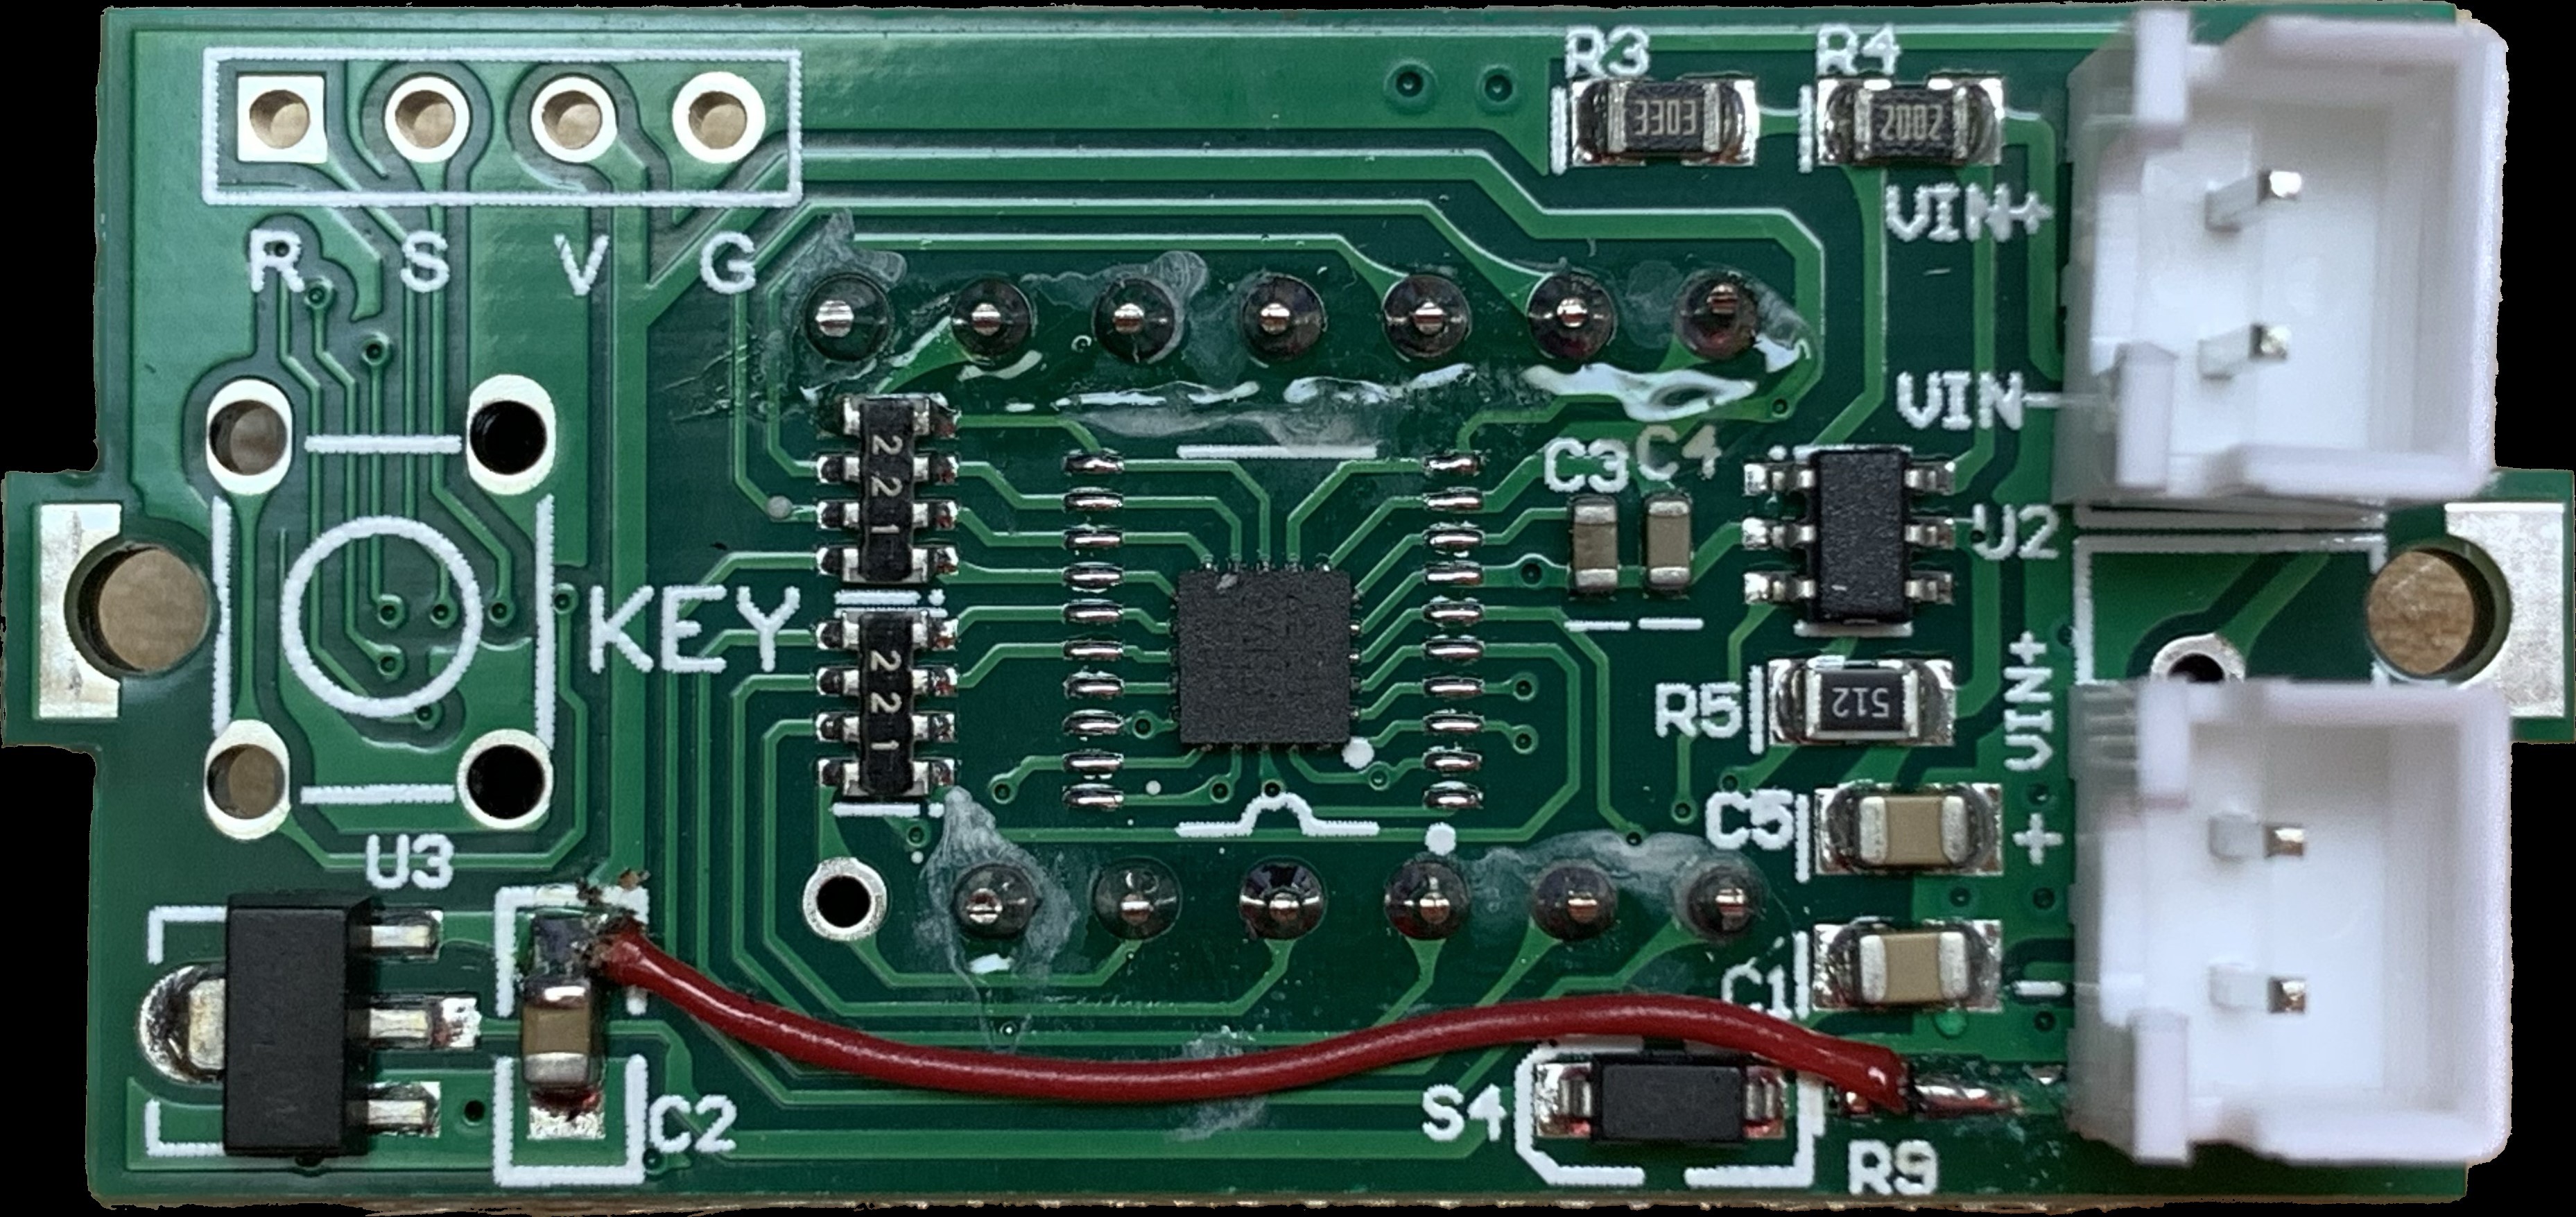
    Solder a piece of wire between the right side of R9 and the upper side of C2. This bypasses the series resistor R9, the Schottky diode S4, and the 3.3V voltage regulator U3.

    The STM8 MCU U4 and the ADC U2 can operate over the entire supply range of the milliohm meter (3V to 5V) without additional regulation. This modification ensures satisfactory performance of the display all the way to full battery discharge at 3.0V.

View all 6 instructions

Enjoy this project?

Share

Discussions

Similar Projects

Does this project spark your interest?

Become a member to follow this project and never miss any updates