 Ahron Wayne
The keen observer would notice that the title of this Hackaday blog is, X-Ray CT scannerS get new life. Not scanner, --- where's number two? Way back in post #1 or 2 or so, you saw something about it going into a woodshop, right?
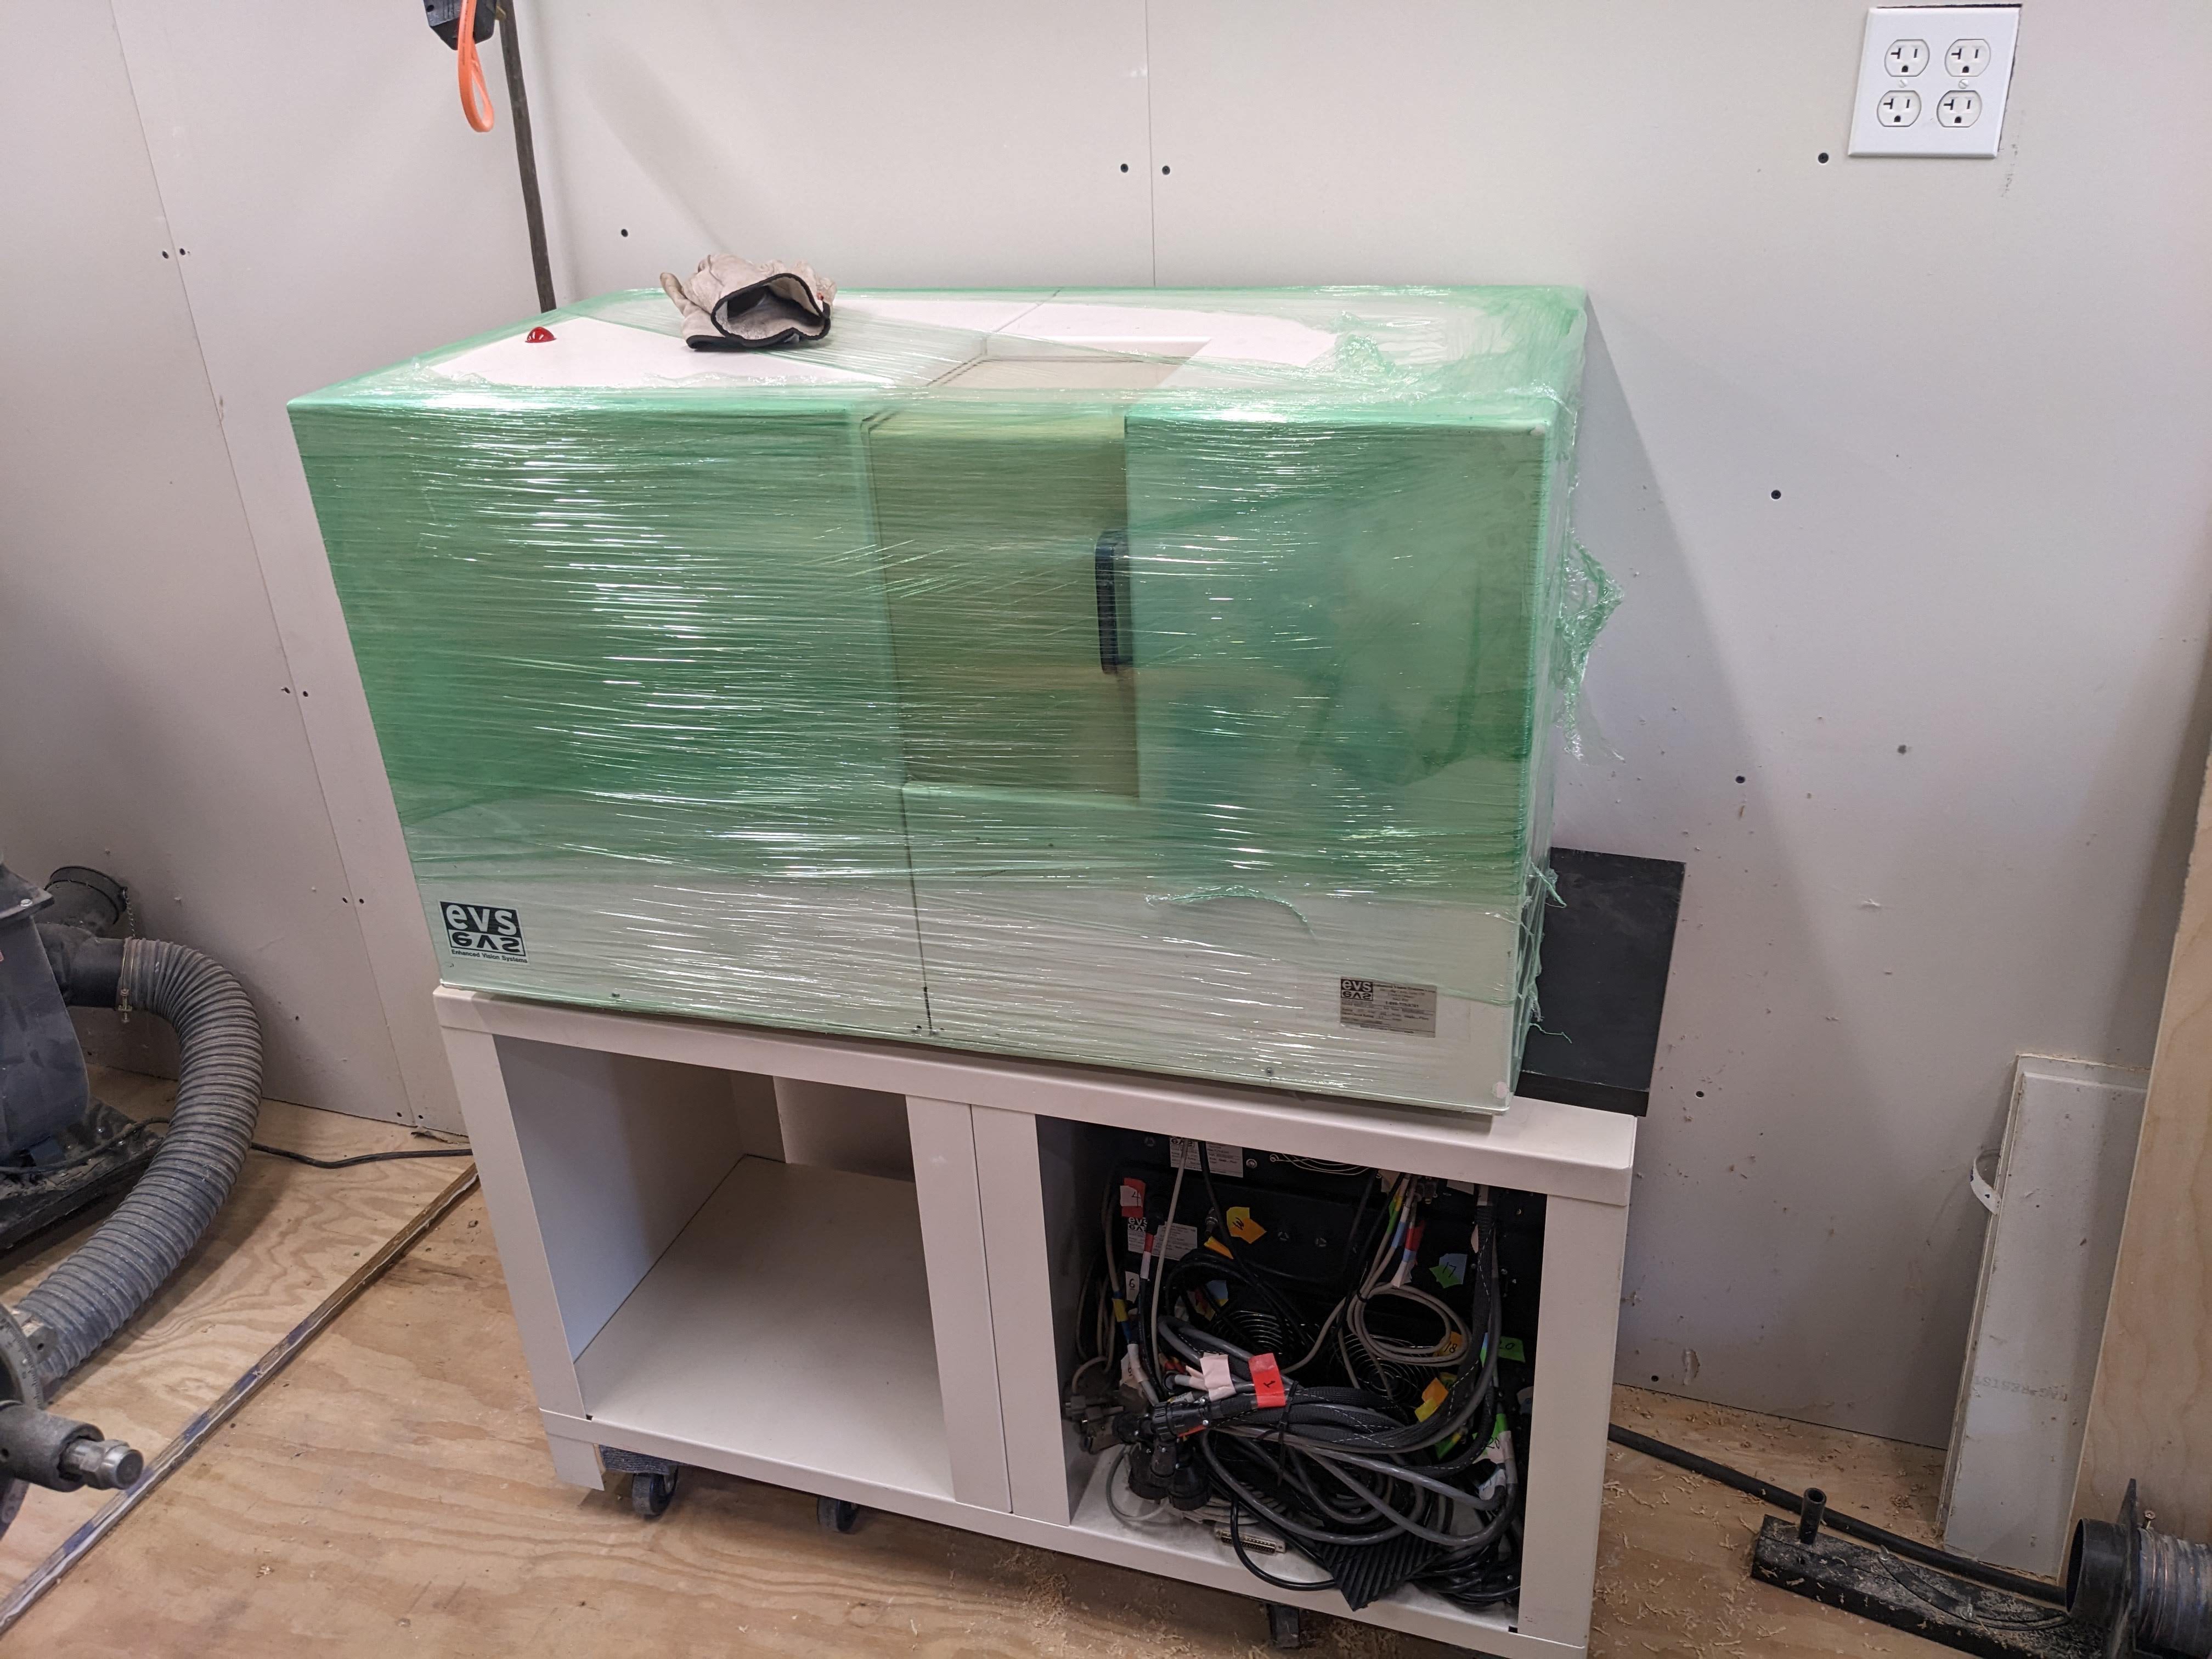
Well, a year and a few months later, it's out of the woodshop!
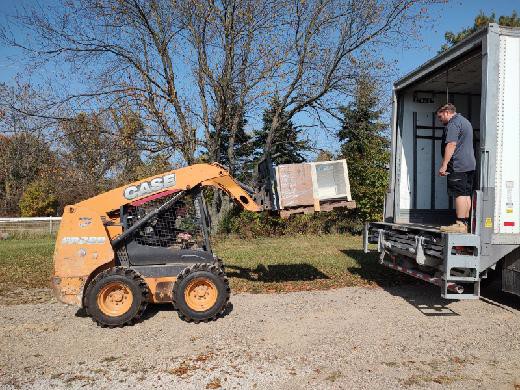
Thanks to some VERY great friends, who both kept it safe for that amount of time and then palletized it for shipping all the way across the country, where I may or may not have moved to for a new job. (Said job may or may not involve building custom X-Ray CT scanners, and I may or may not have used the experience from this blog to get said job).
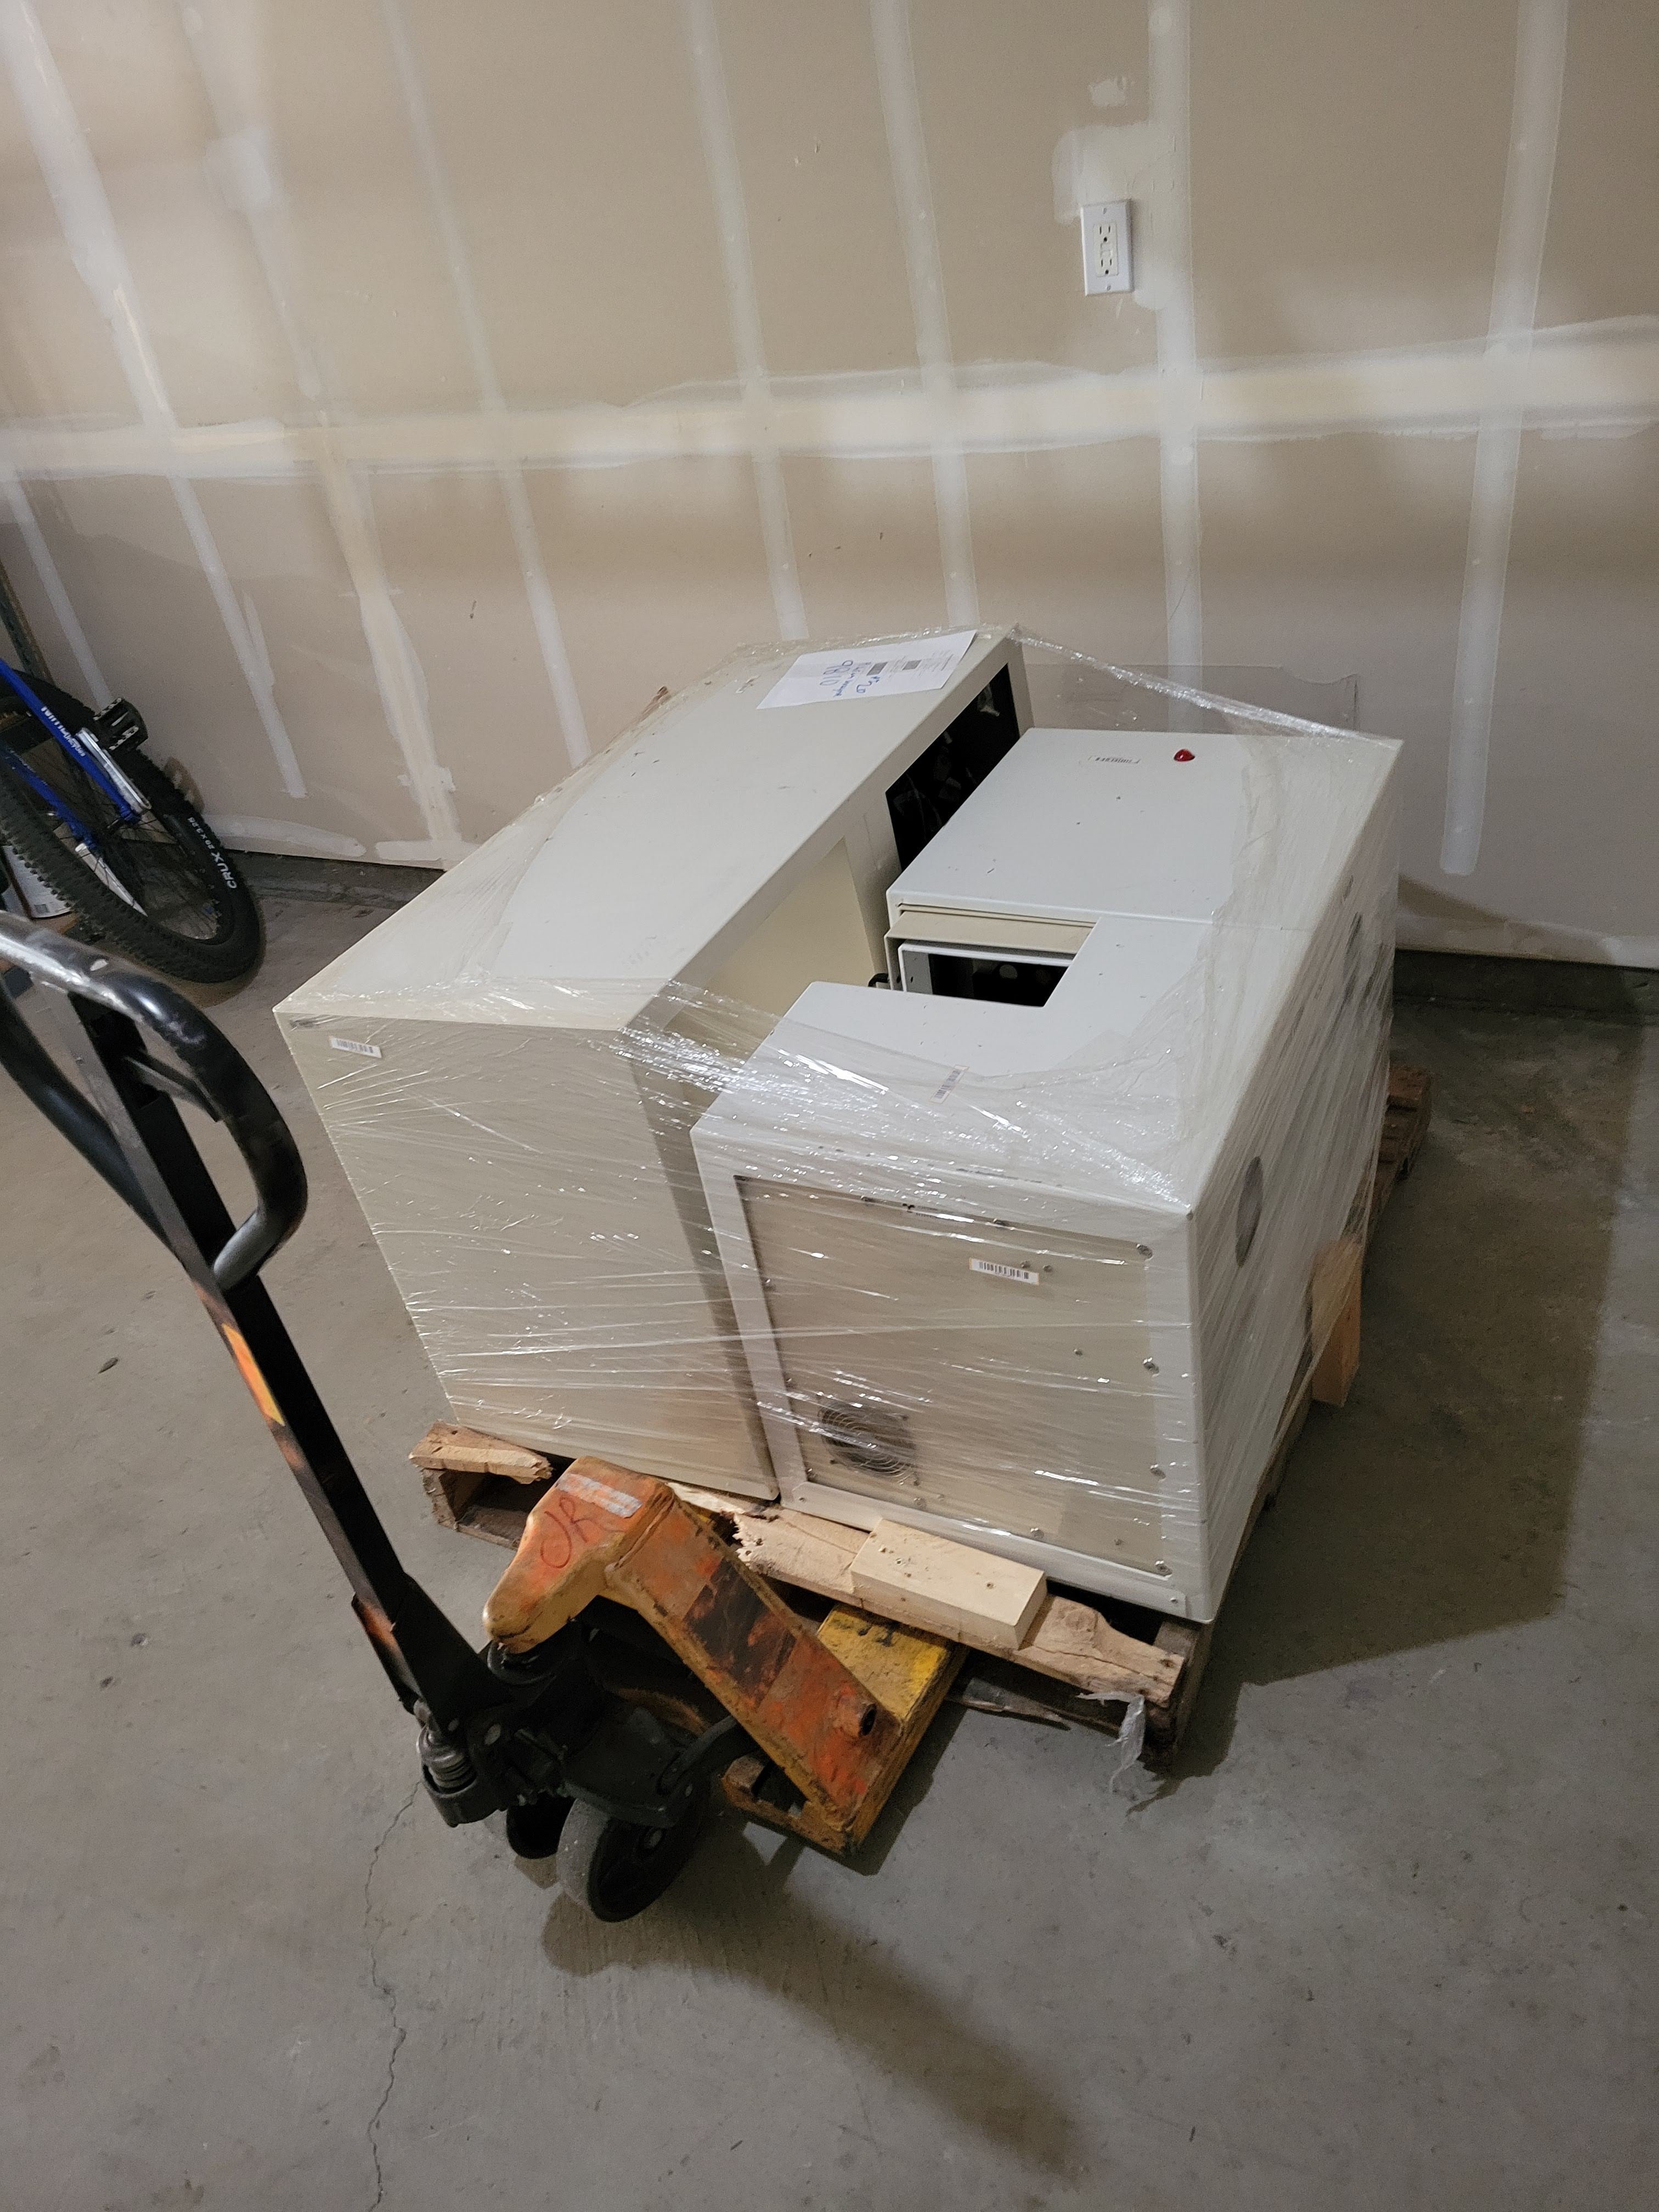
After unwrapping, first order of business is to remove that extra layer of lead shielding that feels almost like an afterthought --- they designed this nice case and decided it wasn't enough.
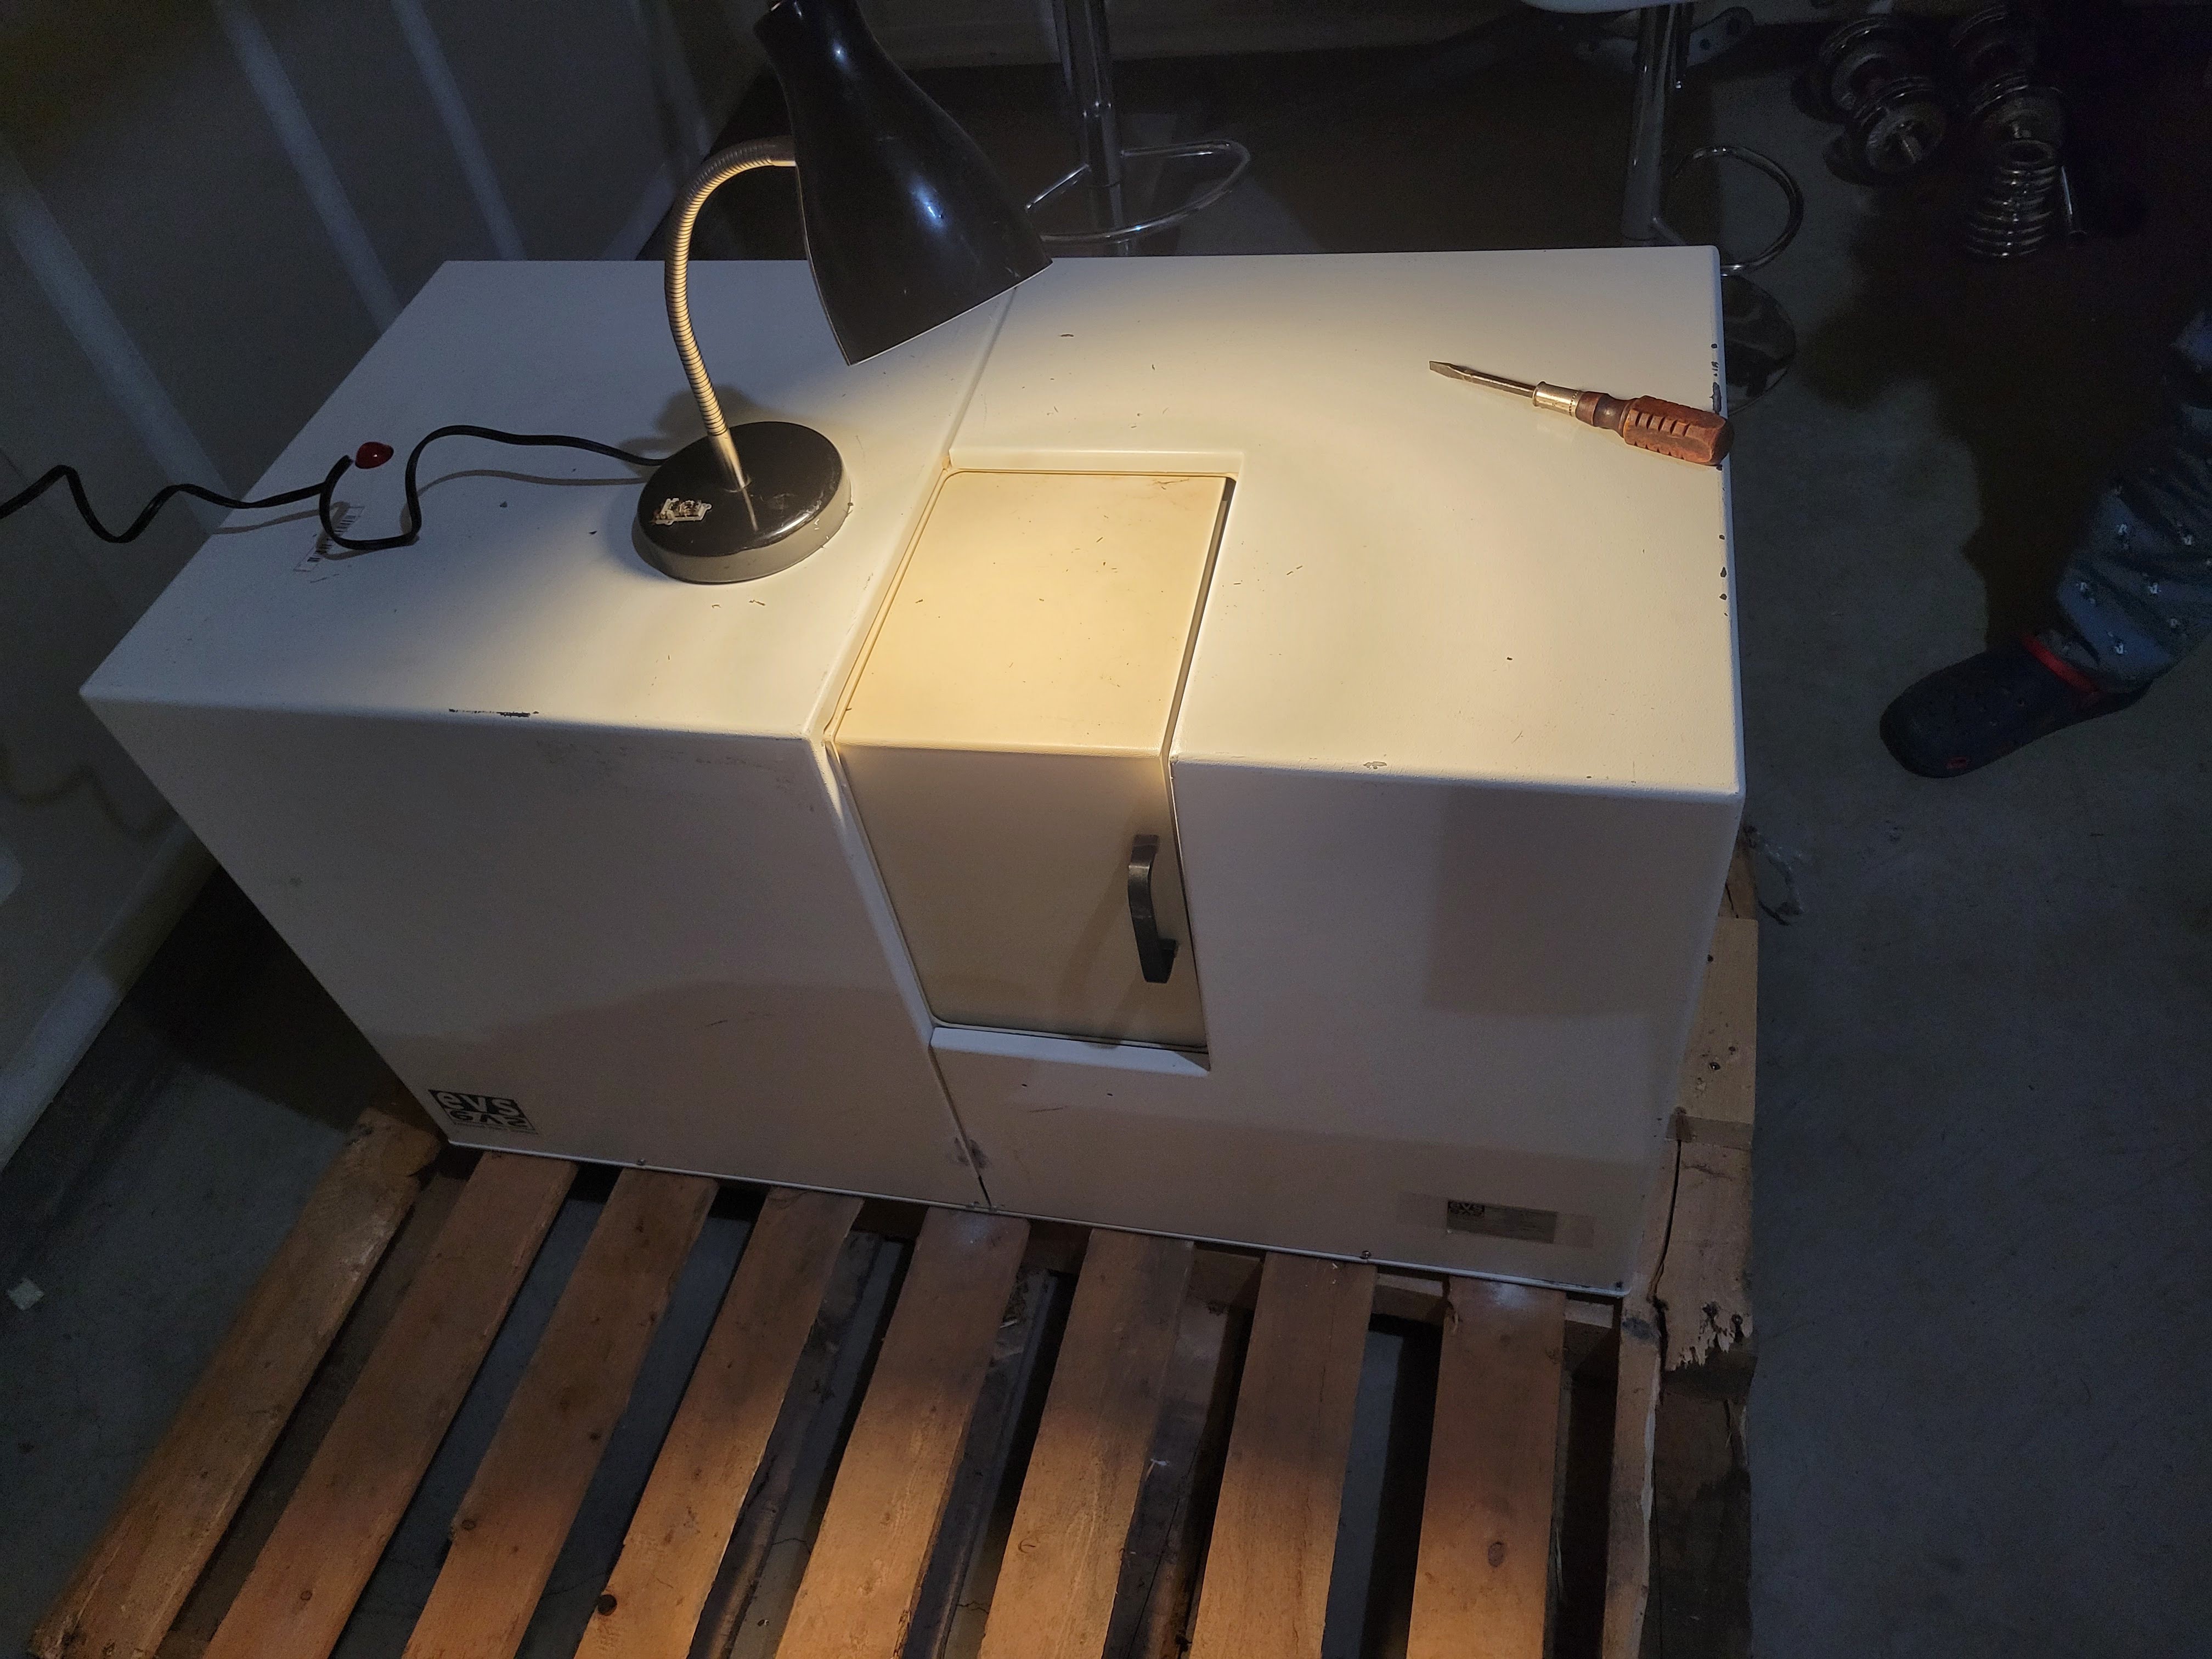

One panel down... say hi to my new roommate!
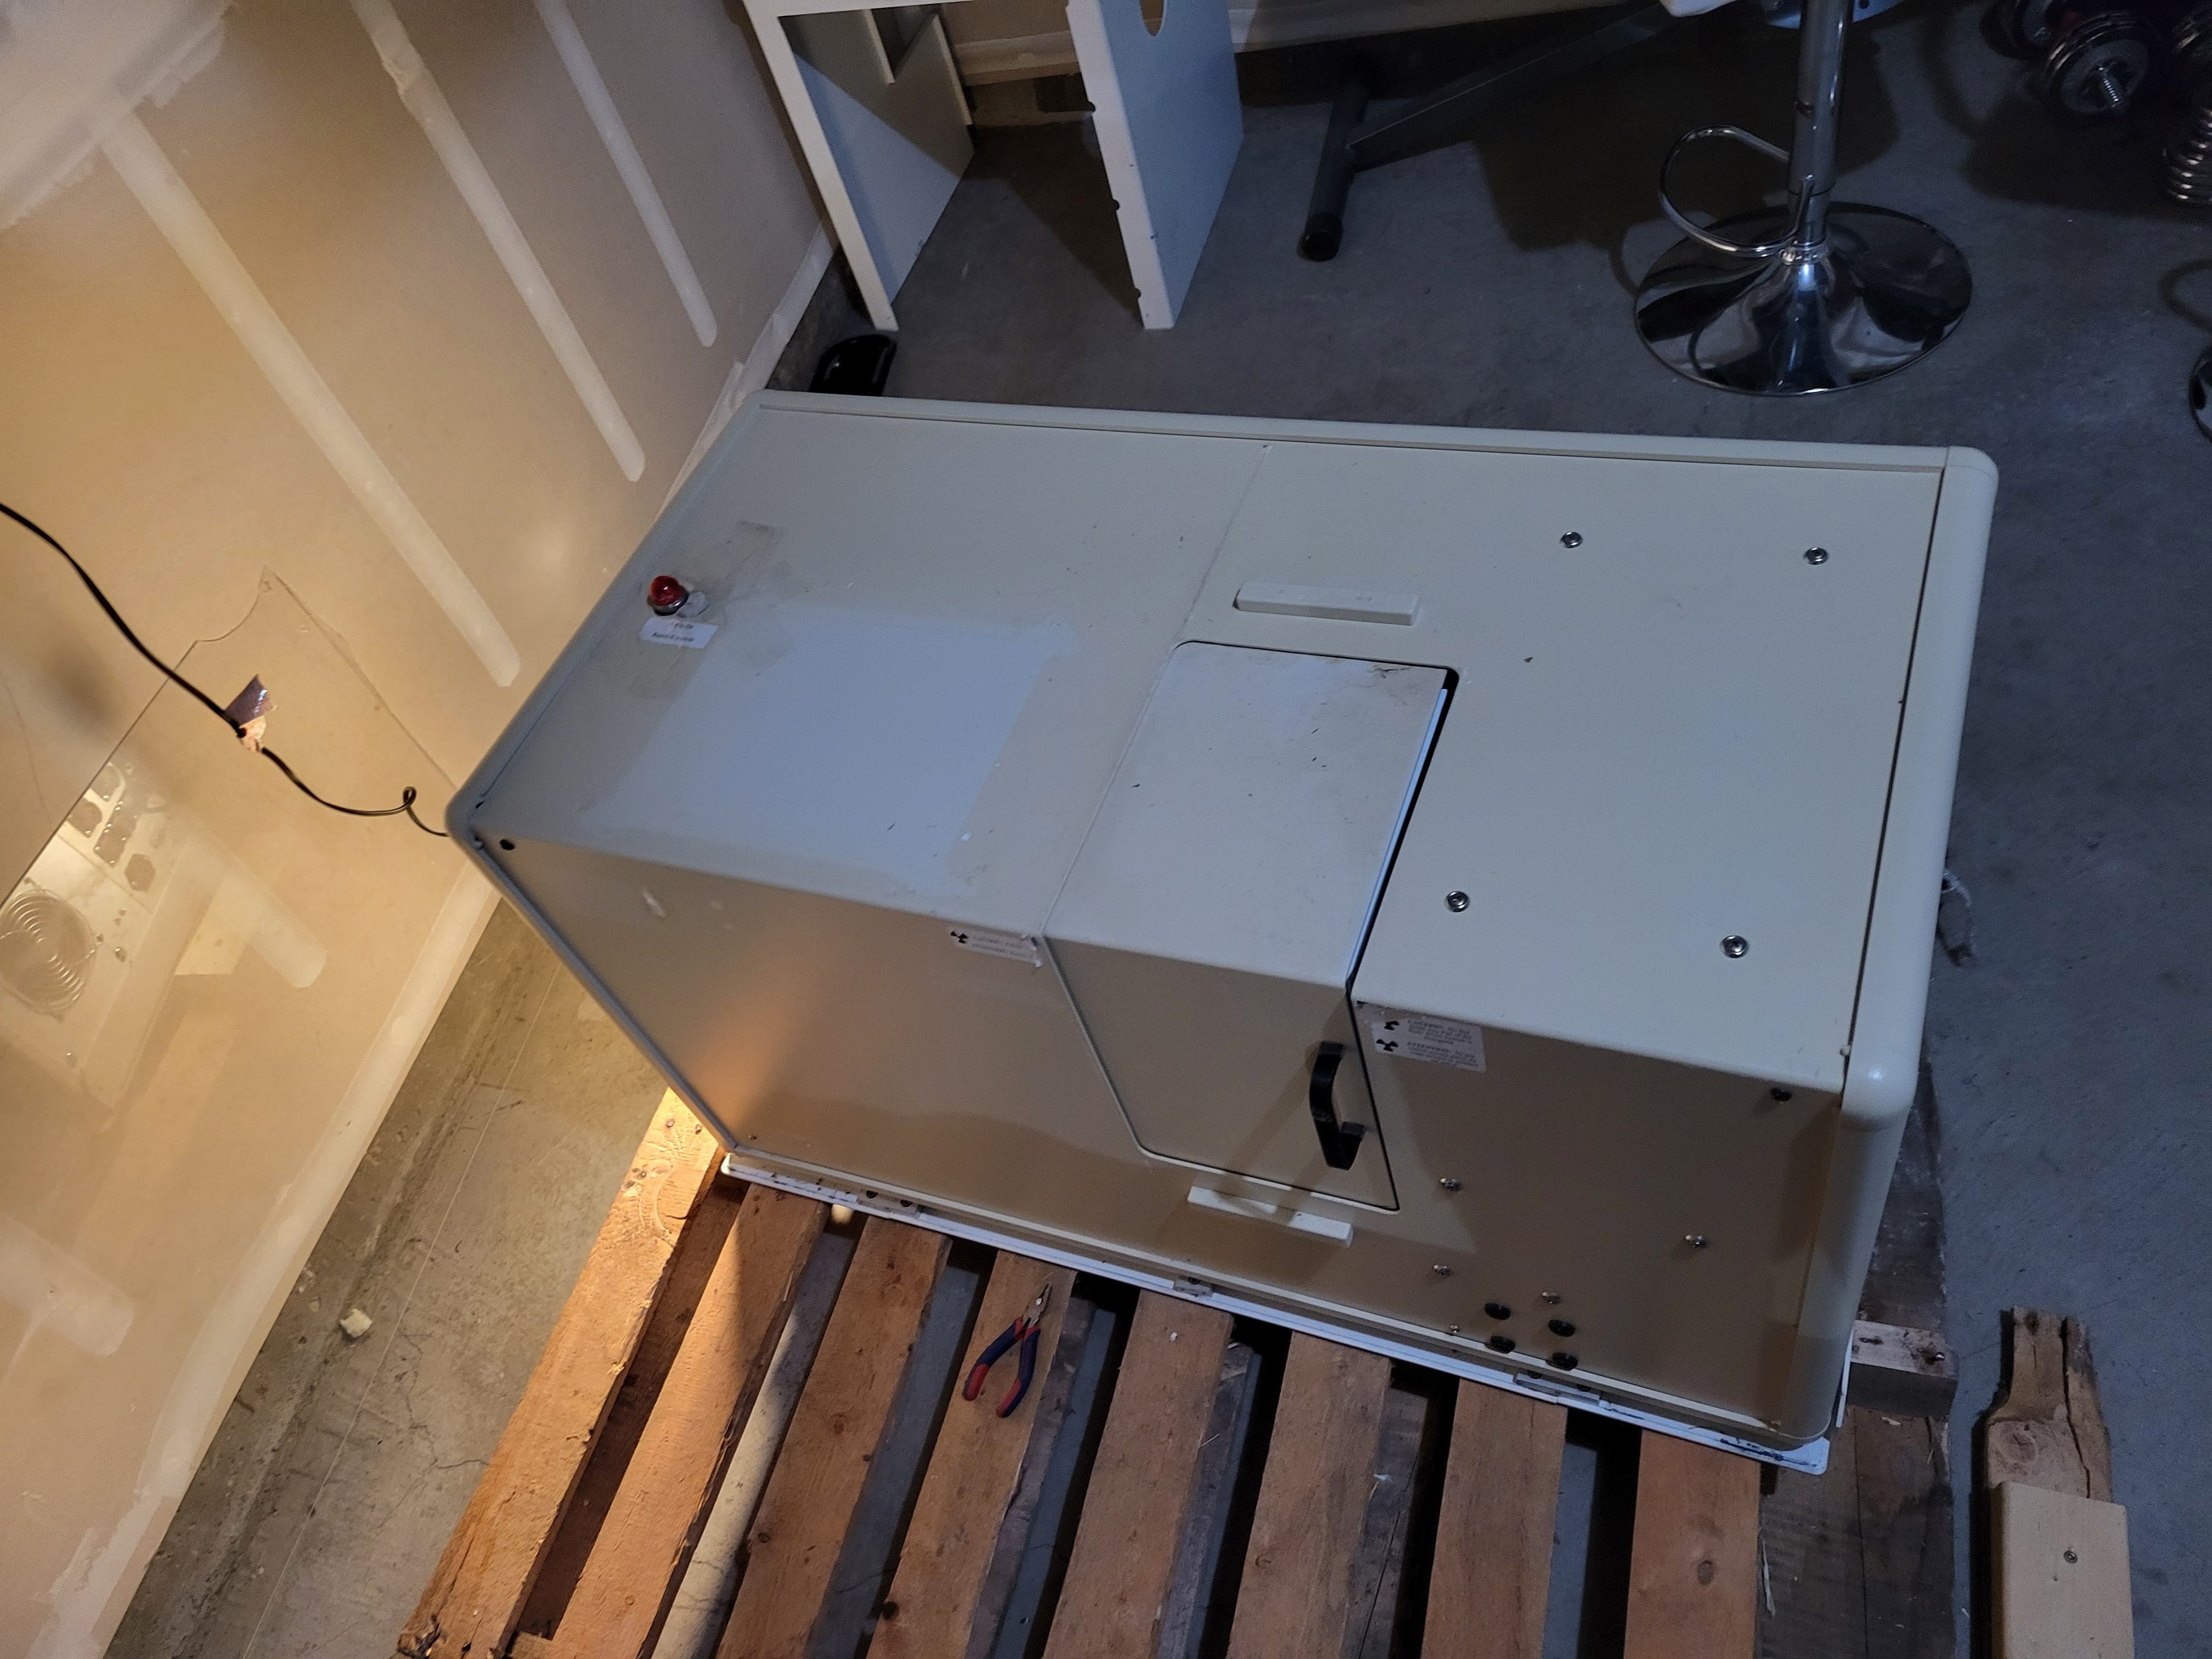
There it is! Incidentally, this environment is just a little bit different than for machine #1 and I REALLY need to get a work table, and some decent lightning. A few months ago when the pokemon cards thing was prompting reaction videos and stuff, a guy remarked that I had put the machine together "in a cave". This definitely feels like that...
Anyway, now that the case is off, we can see a couple of differences from machine #1.
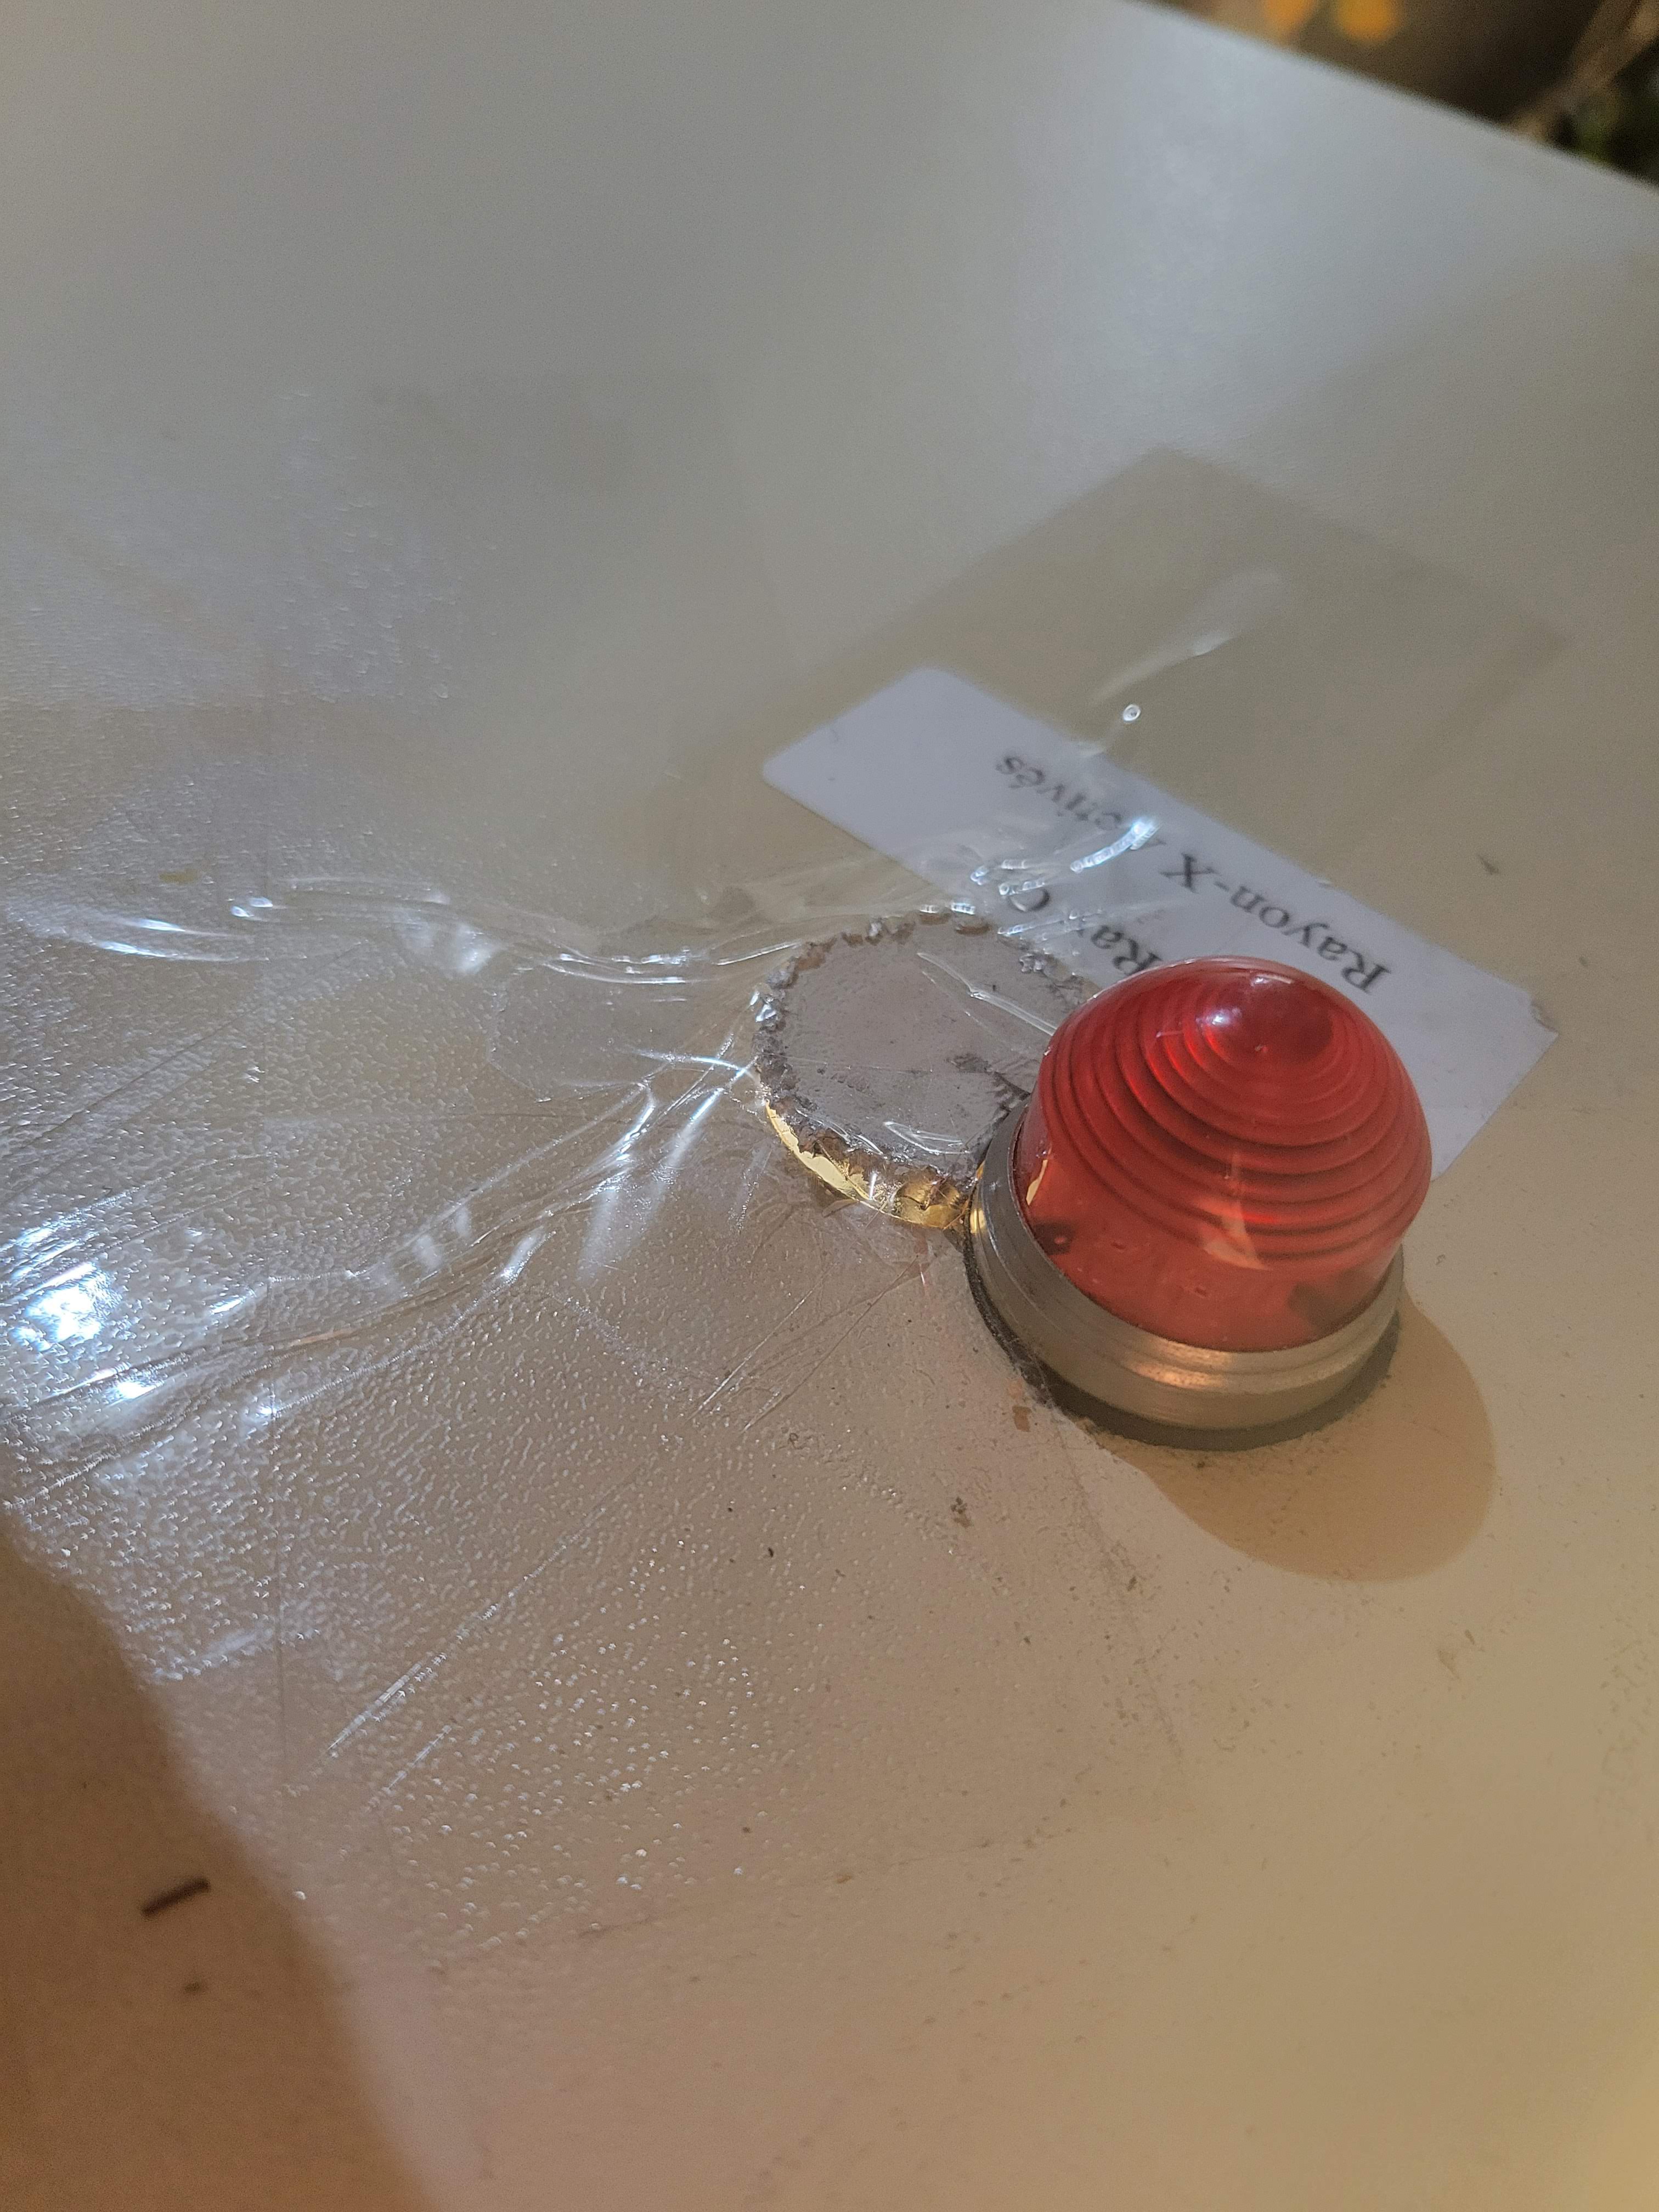
...There's this very suspicious looking bit of lead cut out next to the warning light, which is terribly ironic to me, as I think maybe they cut out the mounting hole in the wrong place the first time? And had to cut it again, necessitating the hack? both machines had their fair amount of custom lead patches; but this seems...
Anyway, I guess it's a good thing the system comes with the extra layer of protection we took off a minute ago.
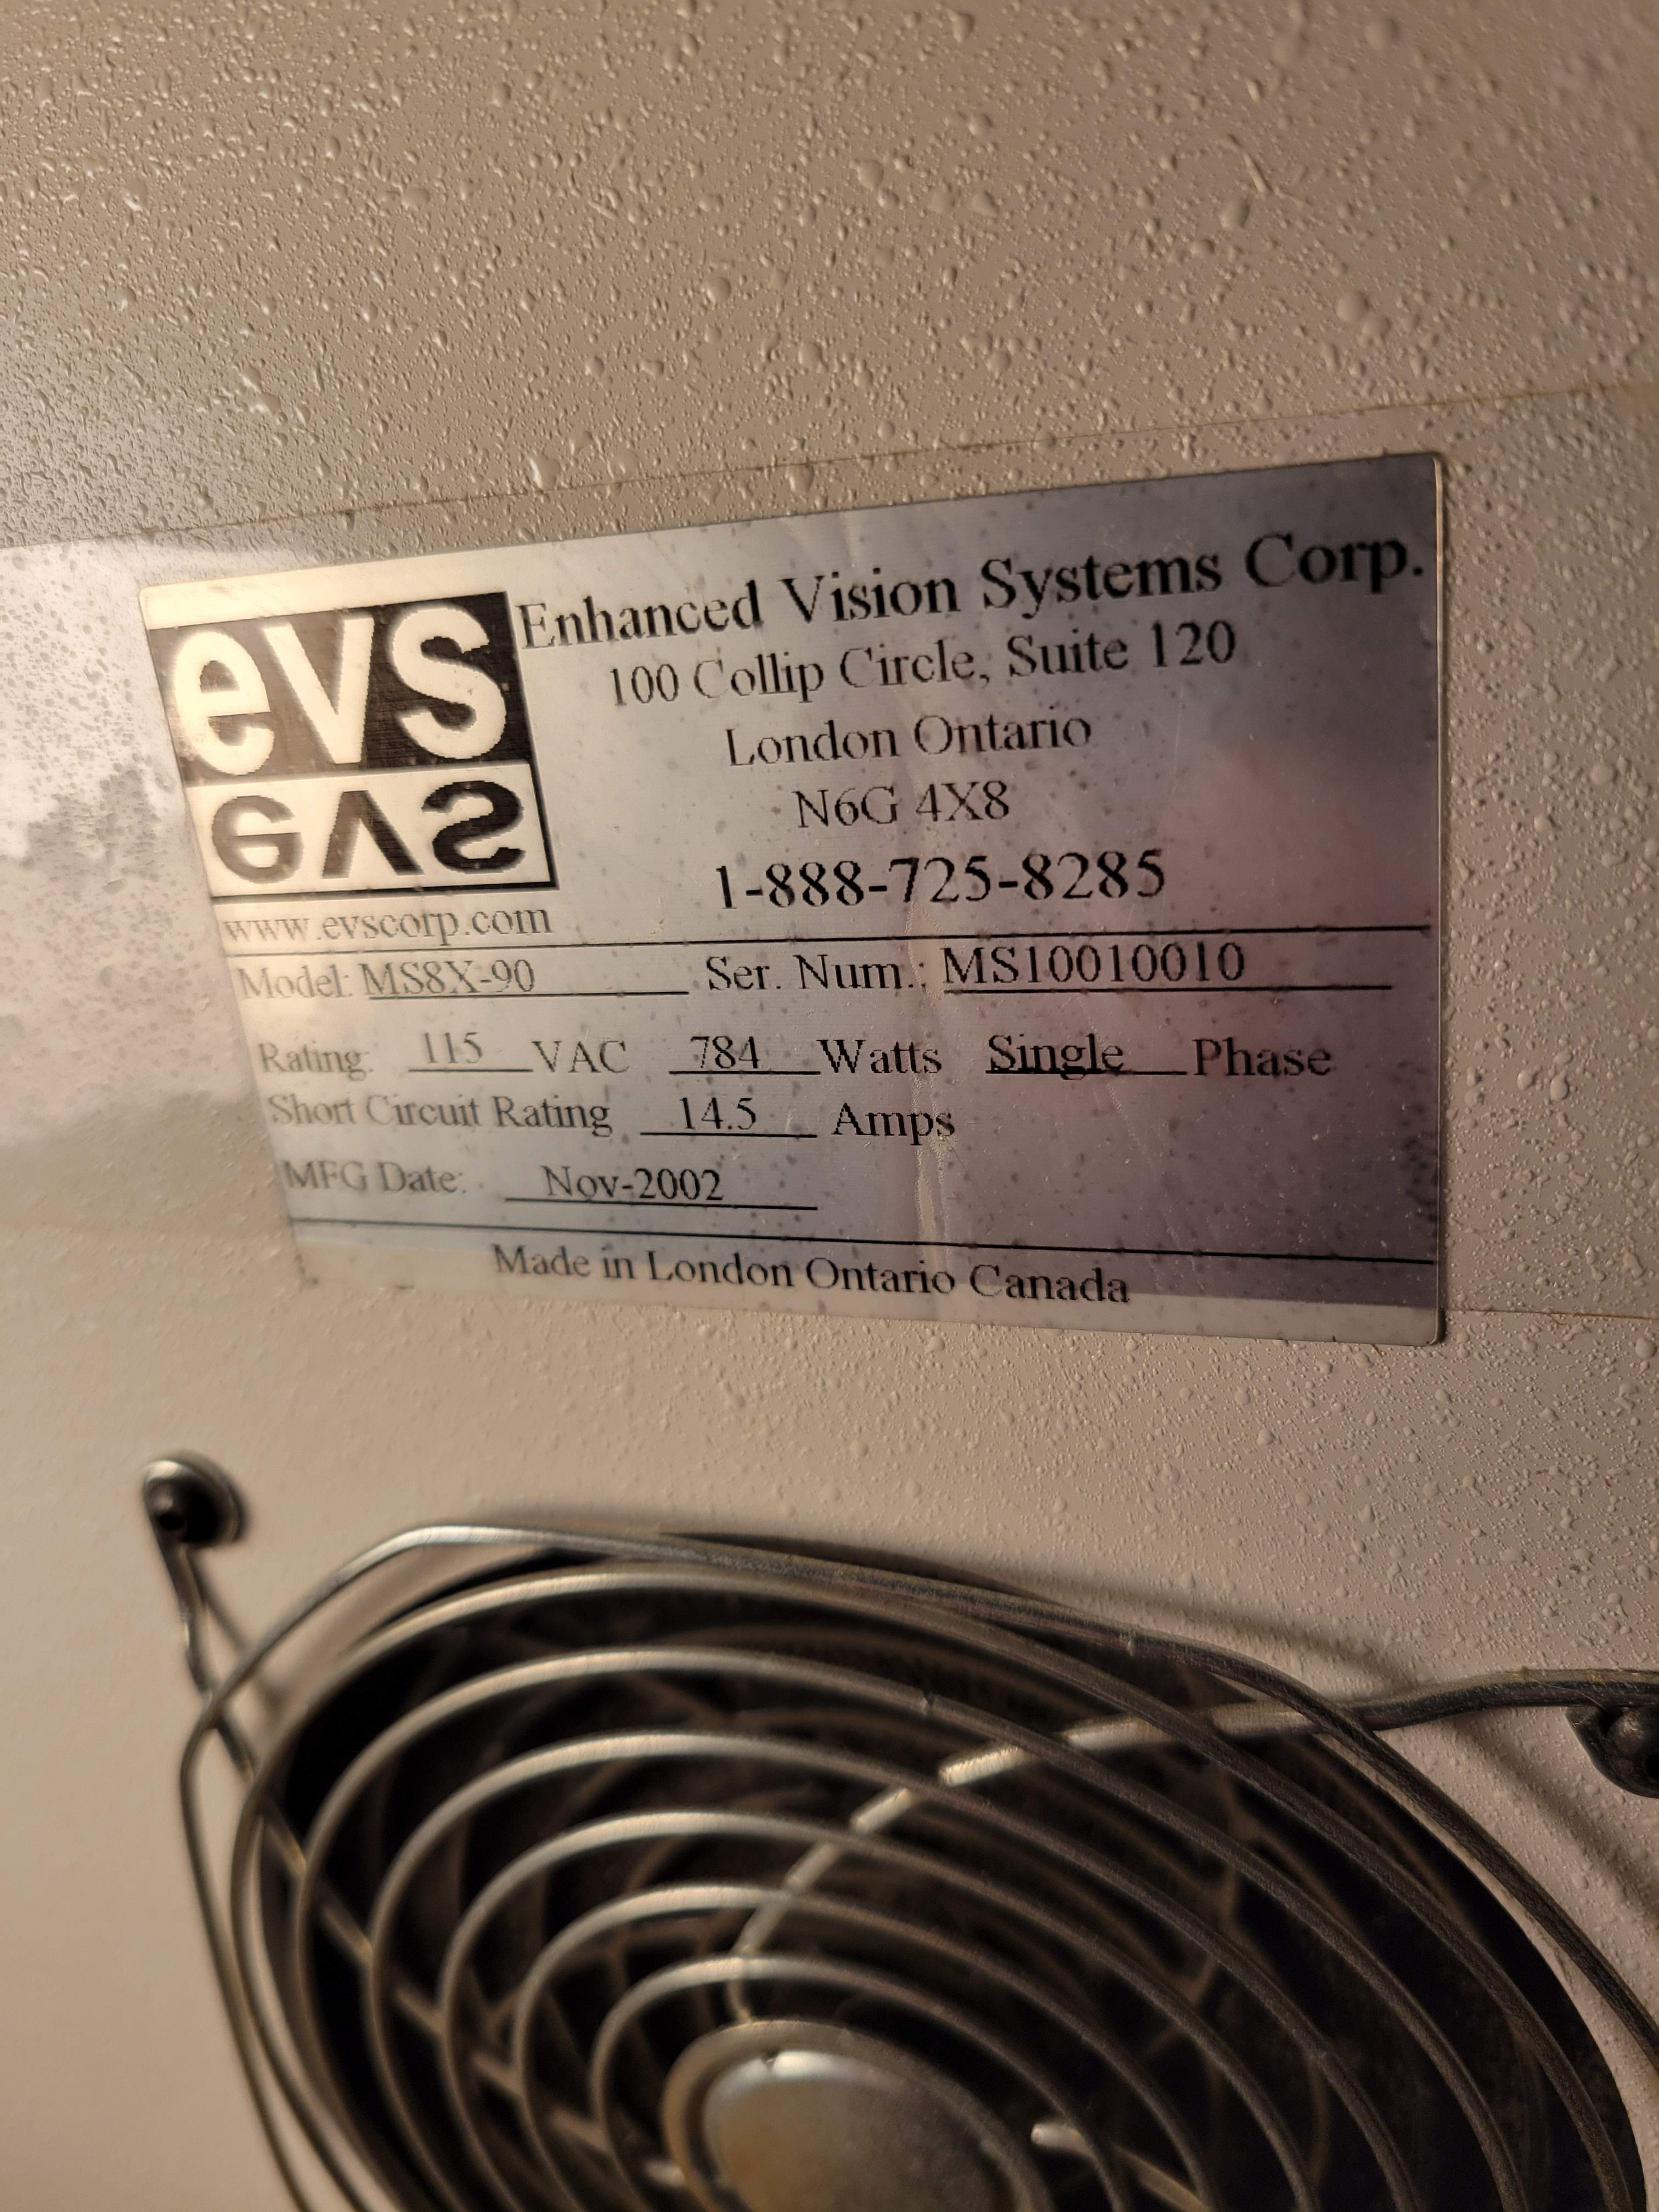
There's also no GE logo prominently placed on the front of the case. The color is also a bit more off white, and has a couple other superficial differences with mounting holes and such. The label tells me it's about a year older than system #1.
Next thing, we went straight to taking off the case this time. No point inspecting it with its clothes on. As usual, the case removal process involved a decent amount of swearing and not so delicate thumping and crashing into stuff. But it wasn't a 3 day read the manual process like last time; the machines are a bit different but I feel like I pretty much know my way around it at this point.

Look familiar? Again, a few superficial differences with placement of shielding and interlocks, but by and large, no big surprises here. I'm just doing a little bit of work on it a day, but the very next thing will be cleaning (literally vacuuming and wiping stuff down), and doing a bit more inspection and thinking.
So what's the plan for machine #1?
Whereas the first machine was basically a restoration project --- getting all the original hardware and software running as much as possible, complete with windows XP machine and early 2000s detector and source technology, this time I want to retrofit it to be a machine that is more modern and hackable. I'll still utilize what I can wherever that makes sense --- mounting points, motor axes, wiring and especially the shielding/case, but I'll be making a lot of changes, including:
1: Replacing the source with a newer digitally controlled one. The one in here is dead, never got up to voltage, and anyway the model is 20 years old. Luckily, kevex/thermo fisher made a new digital version with the same specs and form factor, so it should be as close to a drop in replacement as I could hope for - can use all the existing mechanical hardware pretty much. I got one from ebay for 95% off, then had fun explaining to TSA what it was doing in my carry-on.

2: Replacing the fiber optic coupled detector with a modern flat panel. This is the biggest change --- I have this really great detector from Varex, also from ebay, from 2 years ago --- back when my plans for getting a CT scanner was to build one myself! This alone should be not kidding like a 10x throughput difference, thanks to sheer detector efficiency, as well as having a relatively much bigger detection area. I'll talk about the fine points in this, like how/where to mount it and the consequences for resolution and such, in a later post.
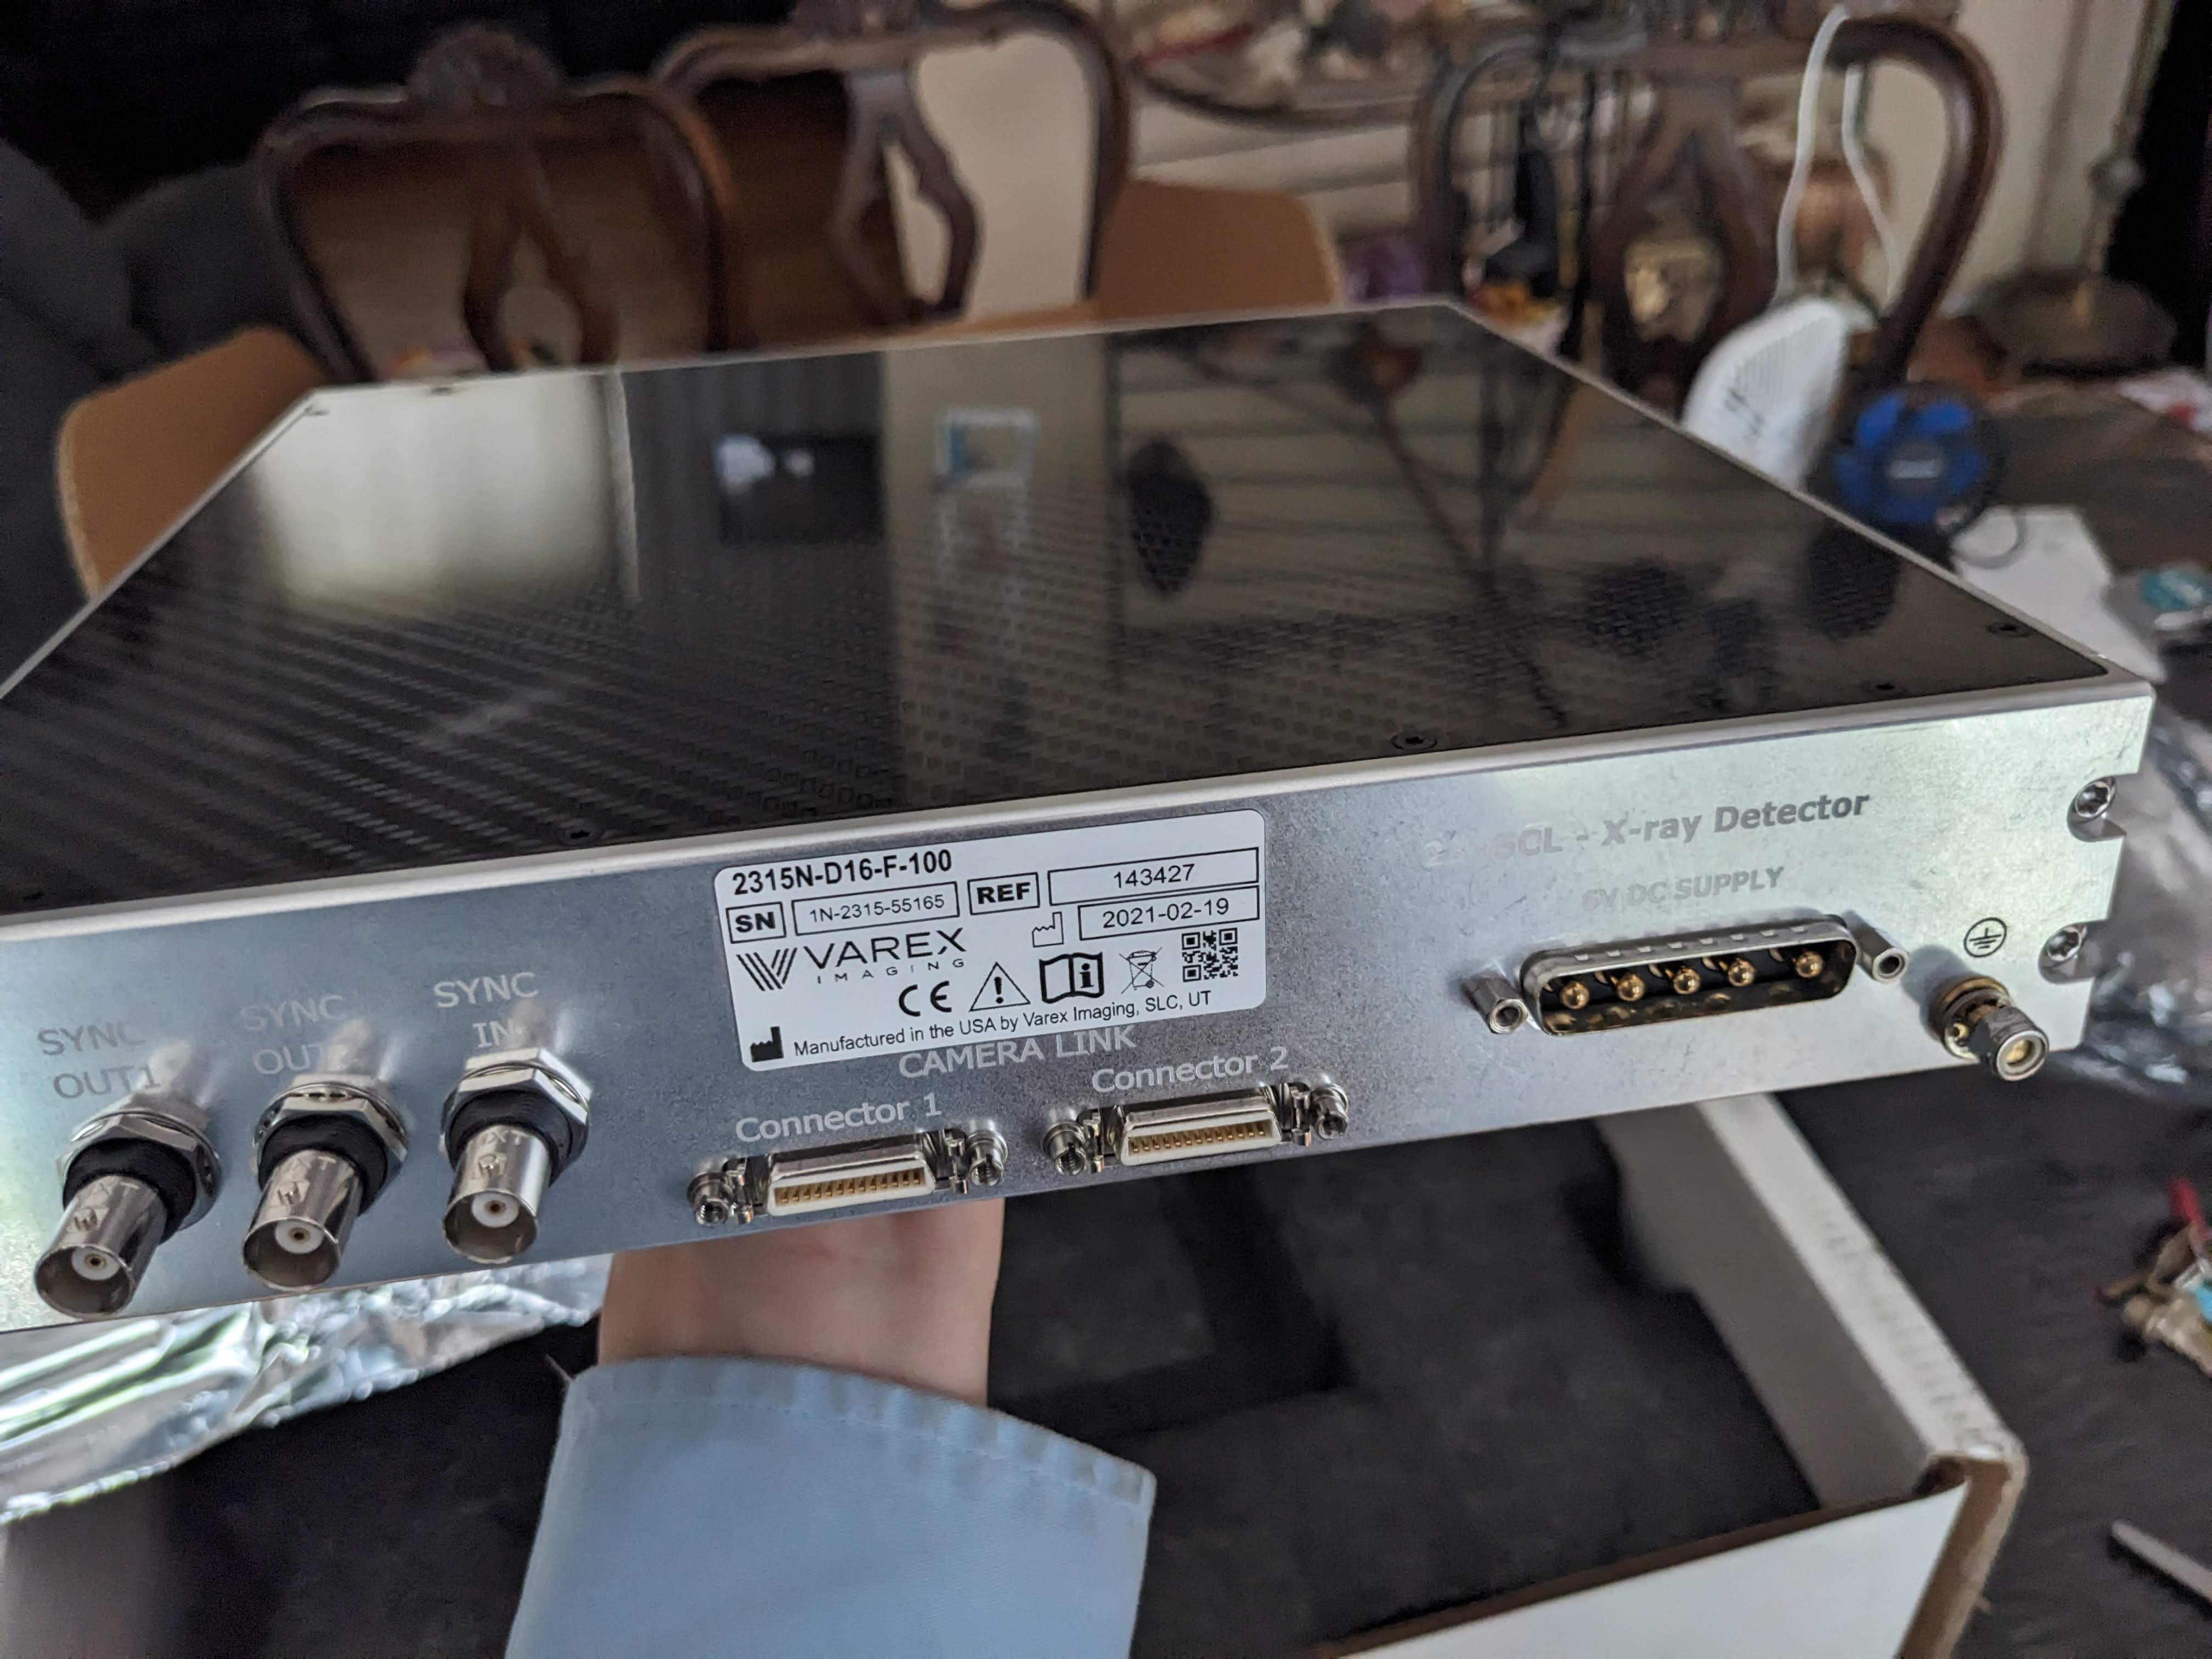
... actually, I haven't yet held this next to the machine, so I hope it at least theoretically fits.
3: New computer, control electronics, software. Yeah. I'm thinking --- raspberry pi for the backend, possibly arduino or using the existing controller for direct motor control. And a modern PC with a real GPU to do image acquisition and CT reconstruction (OpenRTK? Tomopy? so many options). I want full control of scans, none of this forcing me to change the registry to trick it into doing stuff crap. Or being locked in to 2 hour reconstructions with a CPU on windows XP. I want to be able to do time lapses, helical scans, stitch scans together, do robotic automation, all that fun stuff.
Like I said, next will be things like cleaning, inspection, and then probably removing the old detector. Stay tuned!
Discussions
Become a Hackaday.io Member
Create an account to leave a comment. Already have an account? Log In.