 Ahron Wayne
Look, it's not done. But it's done enough to WORK, and if I don't update when the thing WORKS, when will I?
LOOK AT IT! Isn't it BEAUTIFUL? IT FREAKING WORKS! And represents another good two months of weekends and evenings after work and frustration and a hundred tiny little engineering problems, some of which were executed elegantly but most of which are just good enough, and even more (more than most?) are probably going to snap or bind in bad conditions or have a race condition that makes it crash and maybe I've forgotten what they are, but when it doesn't crash? it Doesn't Crash! And it's an Autoloader!
Zoidberg says, hooray!
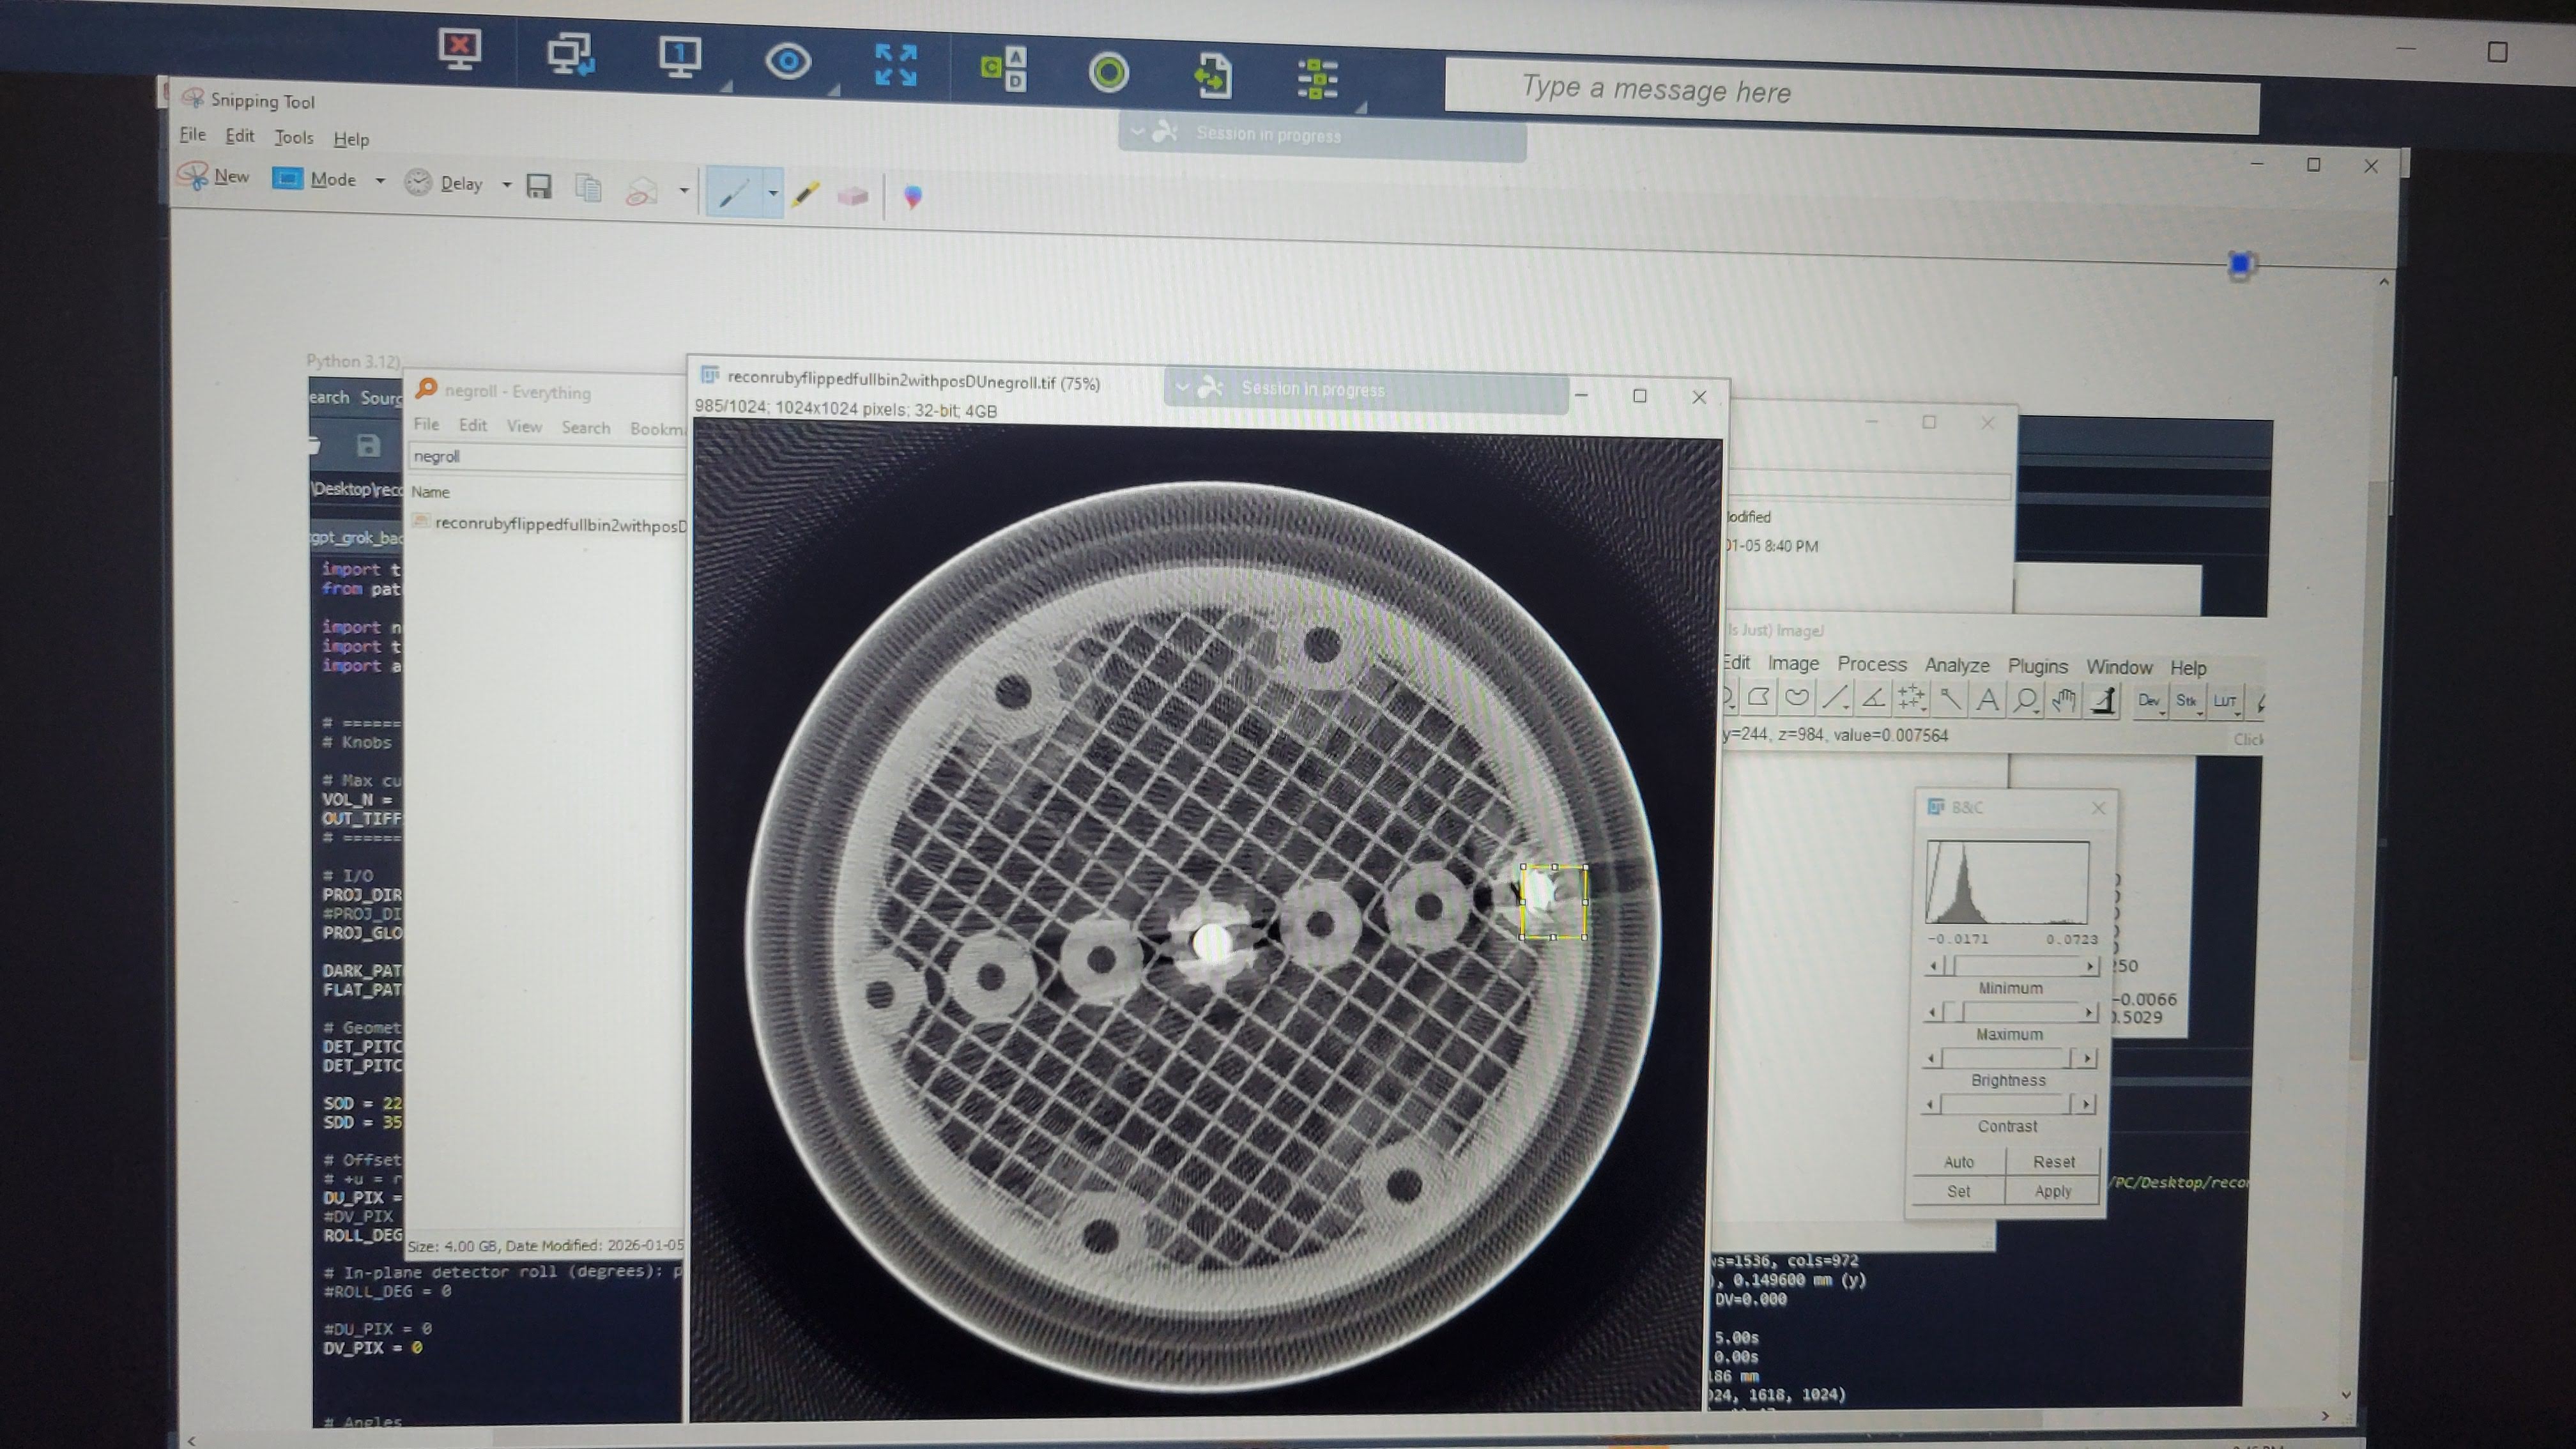
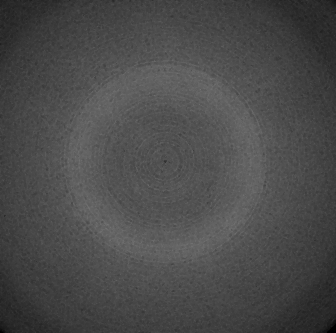
It was about a week after the last post, having stared at balls for a really long time, that I got reconstruction working - for anyone else building a CT scanner in the garage, the key turned out to be flipping images sideways, or equivalently rotating in the opposite direction - I owe a particular someone beer for that. But then reconstruction worked:
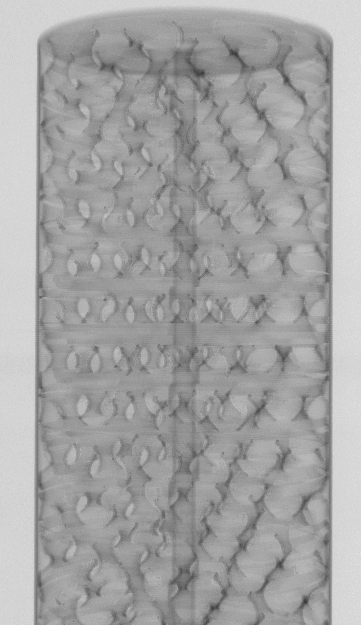
I started (and then never finished) a series about 3D printing infills - I printed 5 different cylinders with different infills and was going to show what they looked like inside.
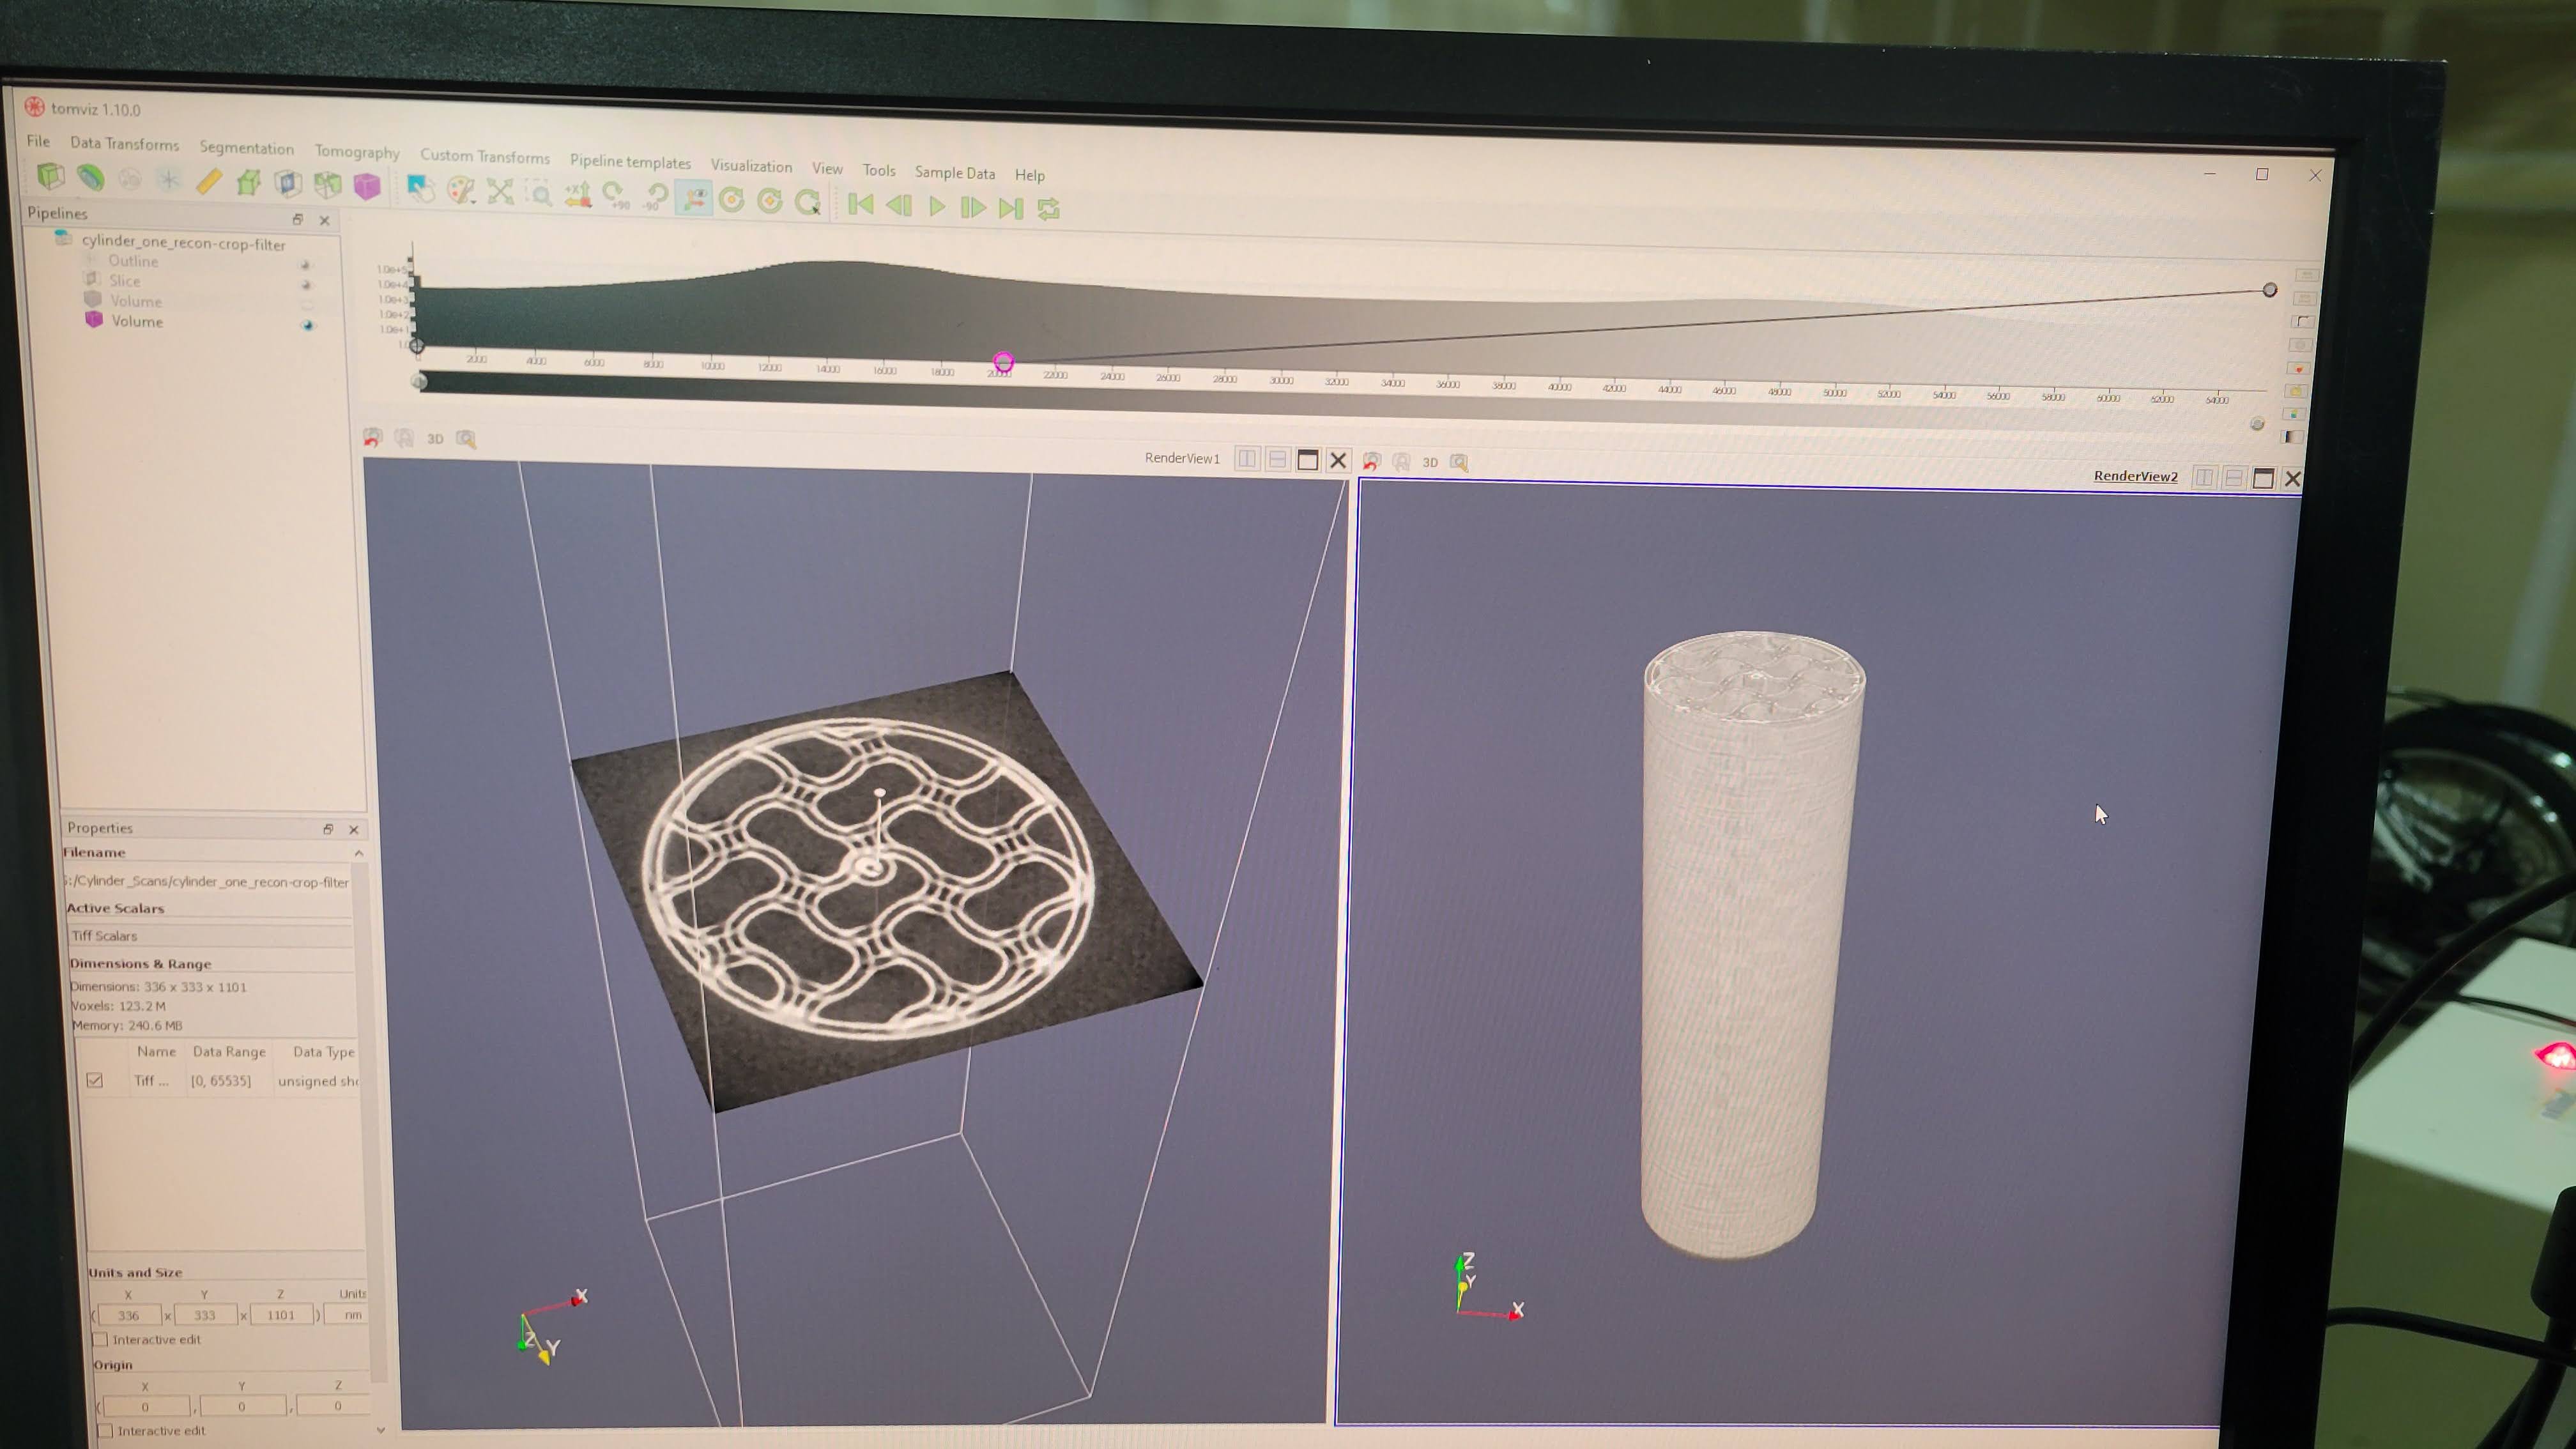
And I got to the machine with all these cylinders to do scans that individually took maybe half an hour but required me to be there to unload and load and correct and reconstruct, and thought, dangerously: This needs to be automated.
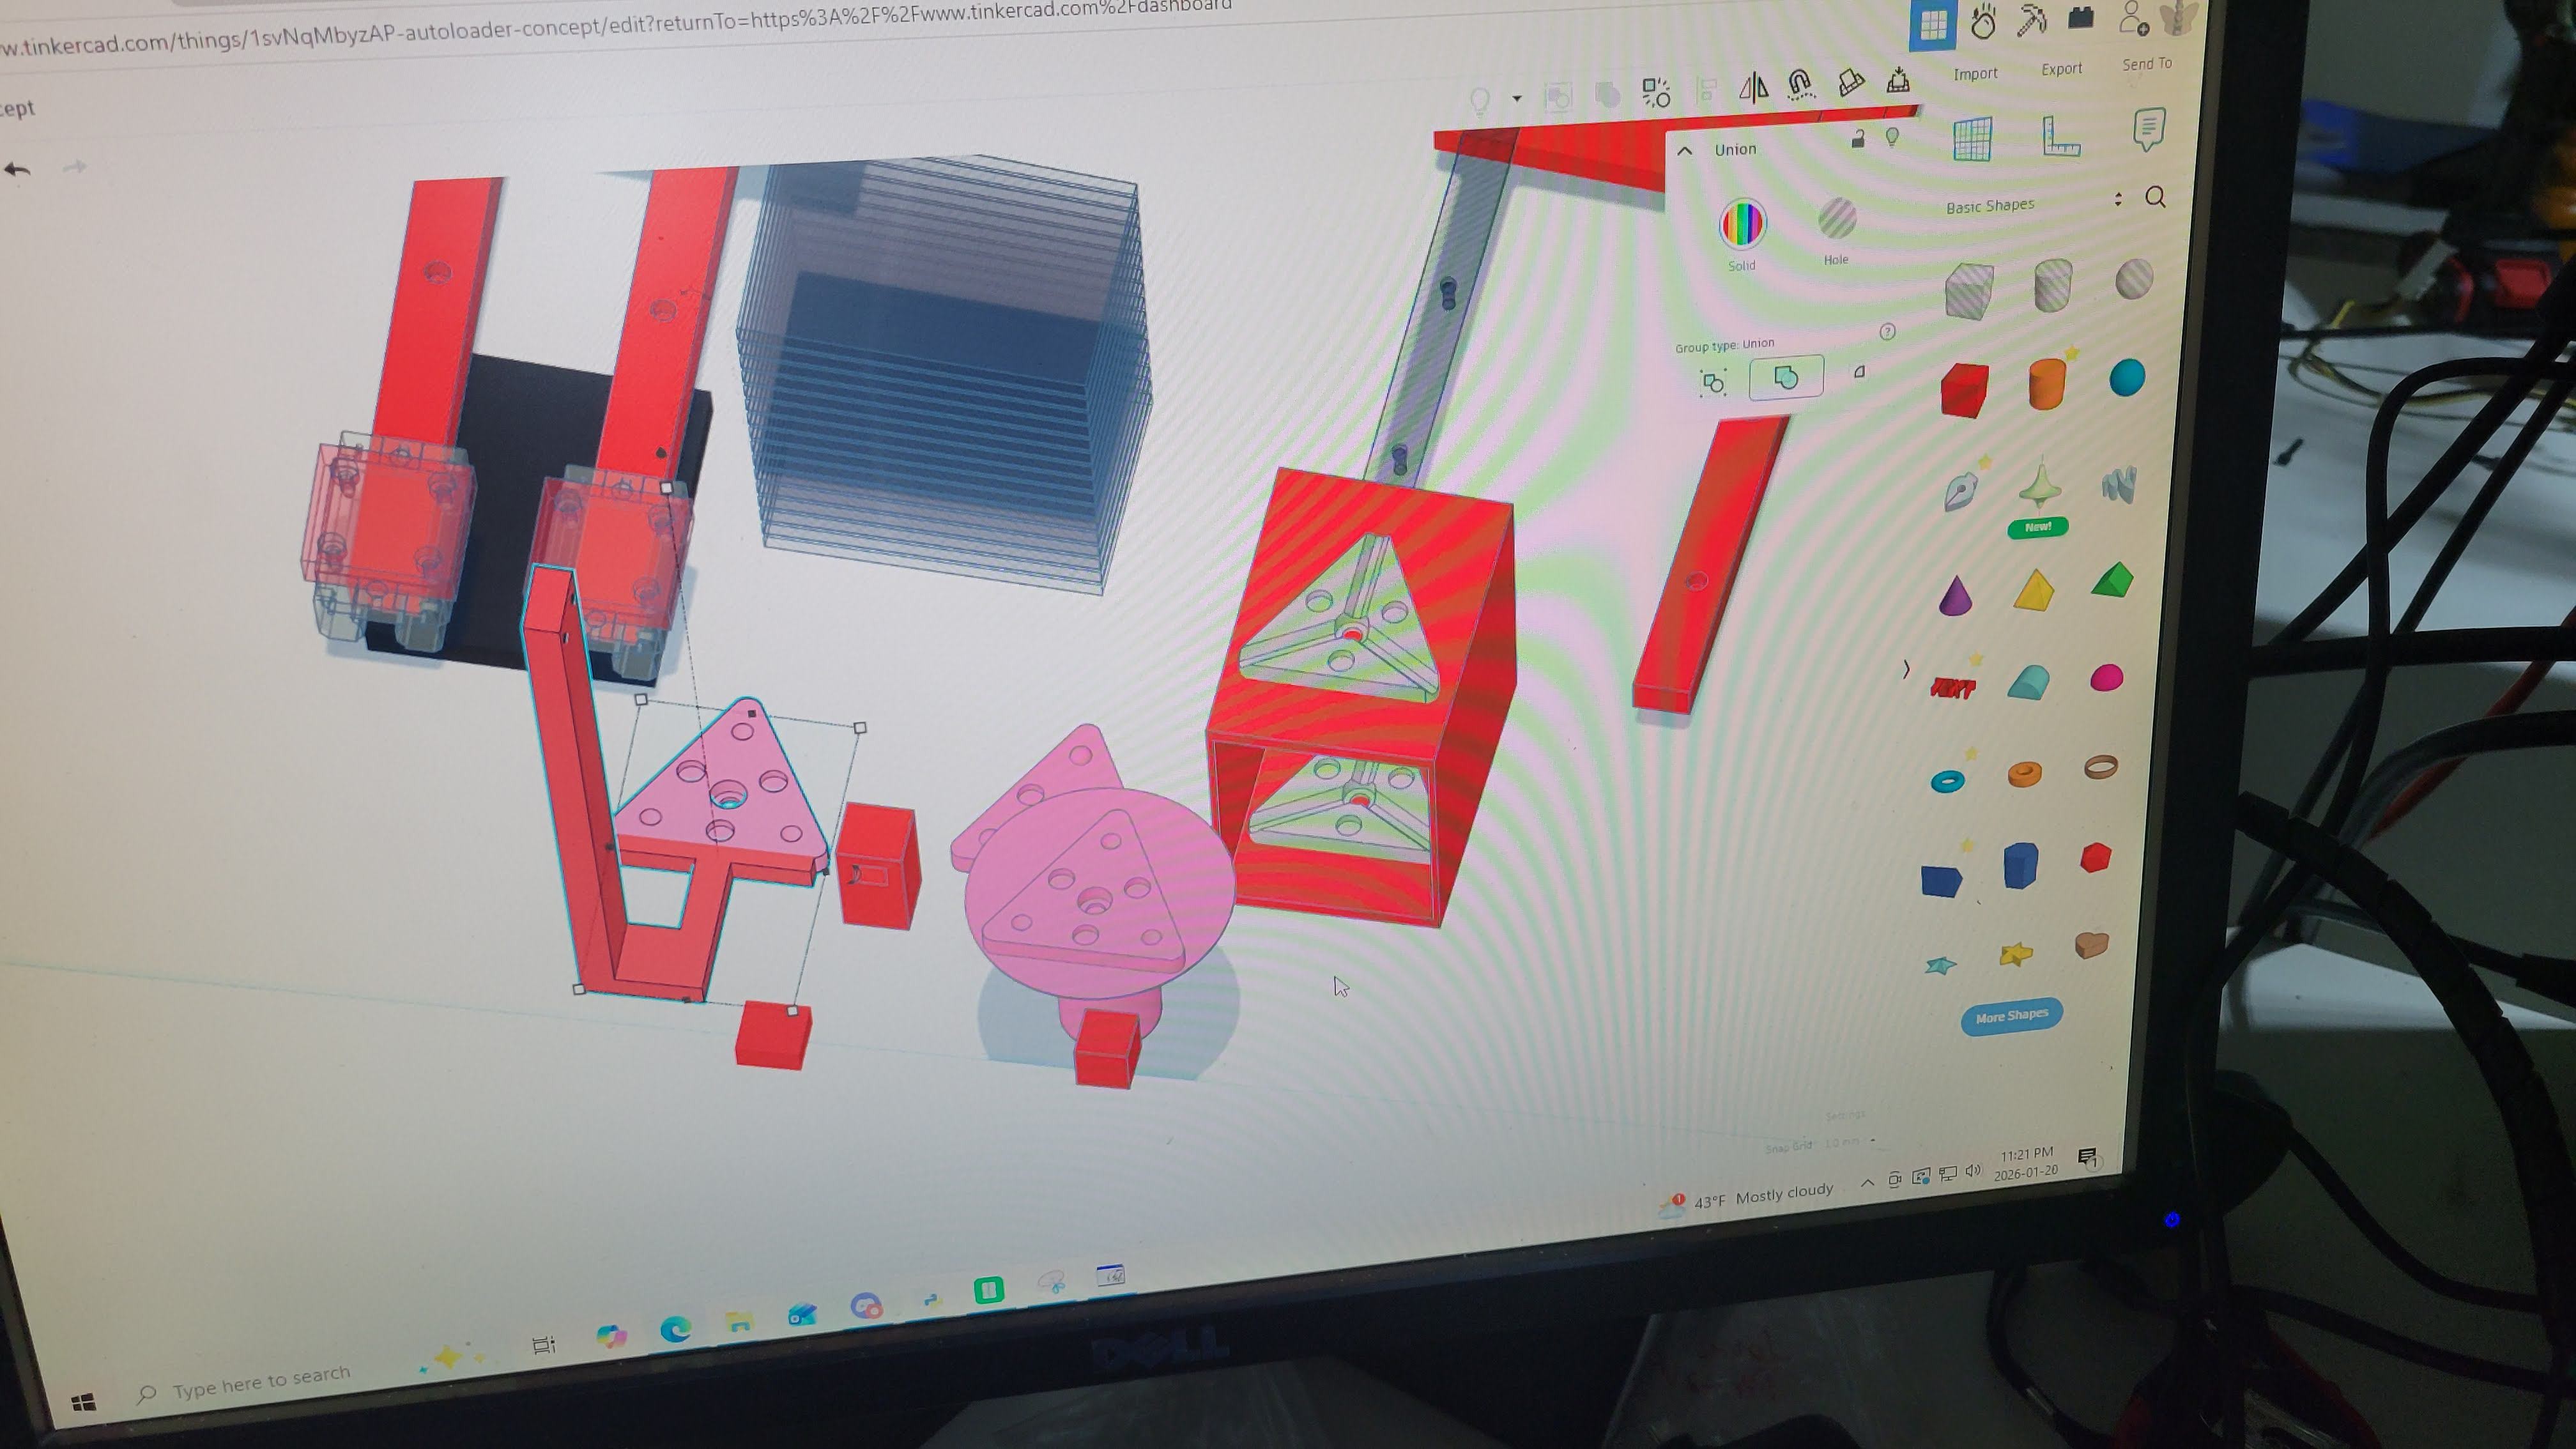
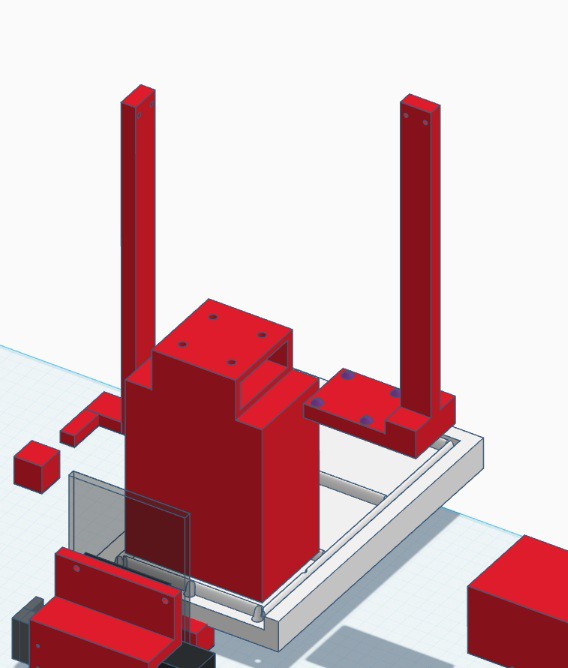
And now it is. Behold, my first concept, rendered in 120FPS photorealistic 8k in solidworks, I mean, it's a screenshot of blocks and cylinders stacked together in TinkerCAD:
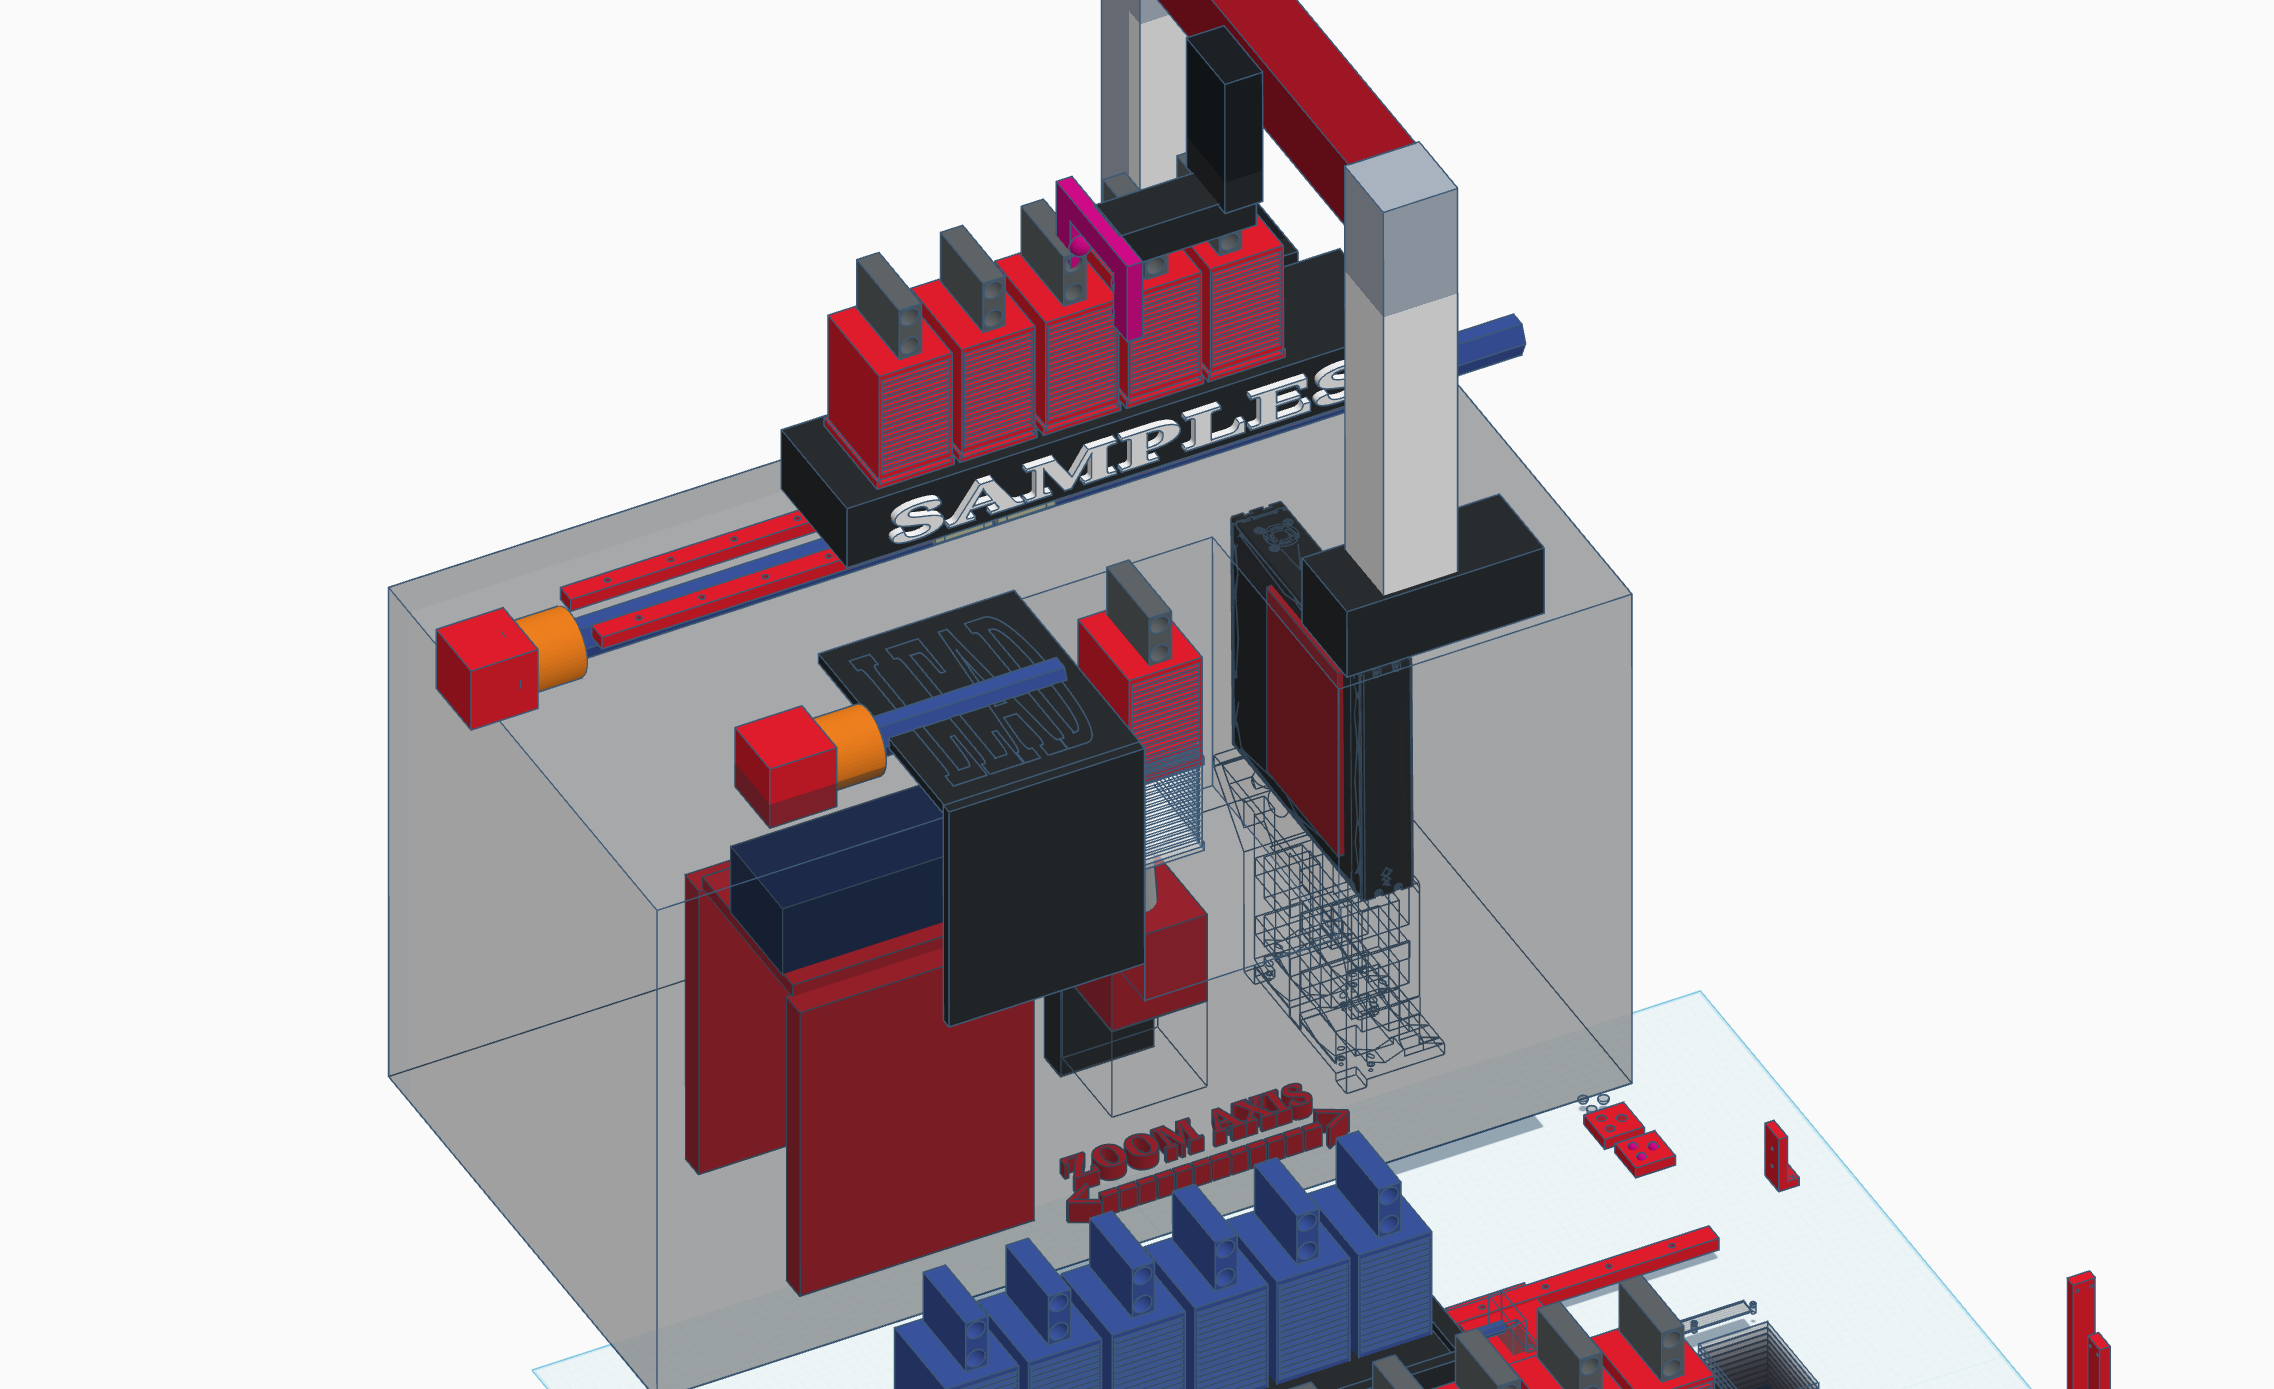
So you got a some kind of linear pushing thing, holding samples that I'm calling "cartridges". you got a some kind of bridge thing that holds a some kind of gripper, and moves back and forth and picks up samples and moves them up and down. And you've got a some kind of a door opener thing, cuz x-rays go pew pew pew and we want them to stay safely inside our lead box. Even if chatgpt thinks this is impossible and refuses to help me with anything the moment it sees any of the scary words. (personal rant)
Well, if it works in CAD! Let's build it!
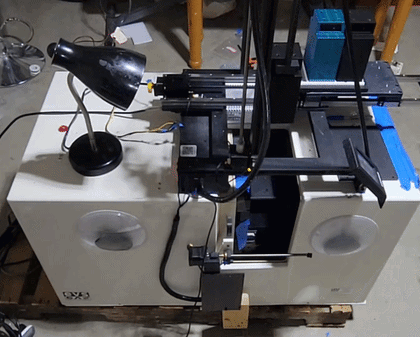
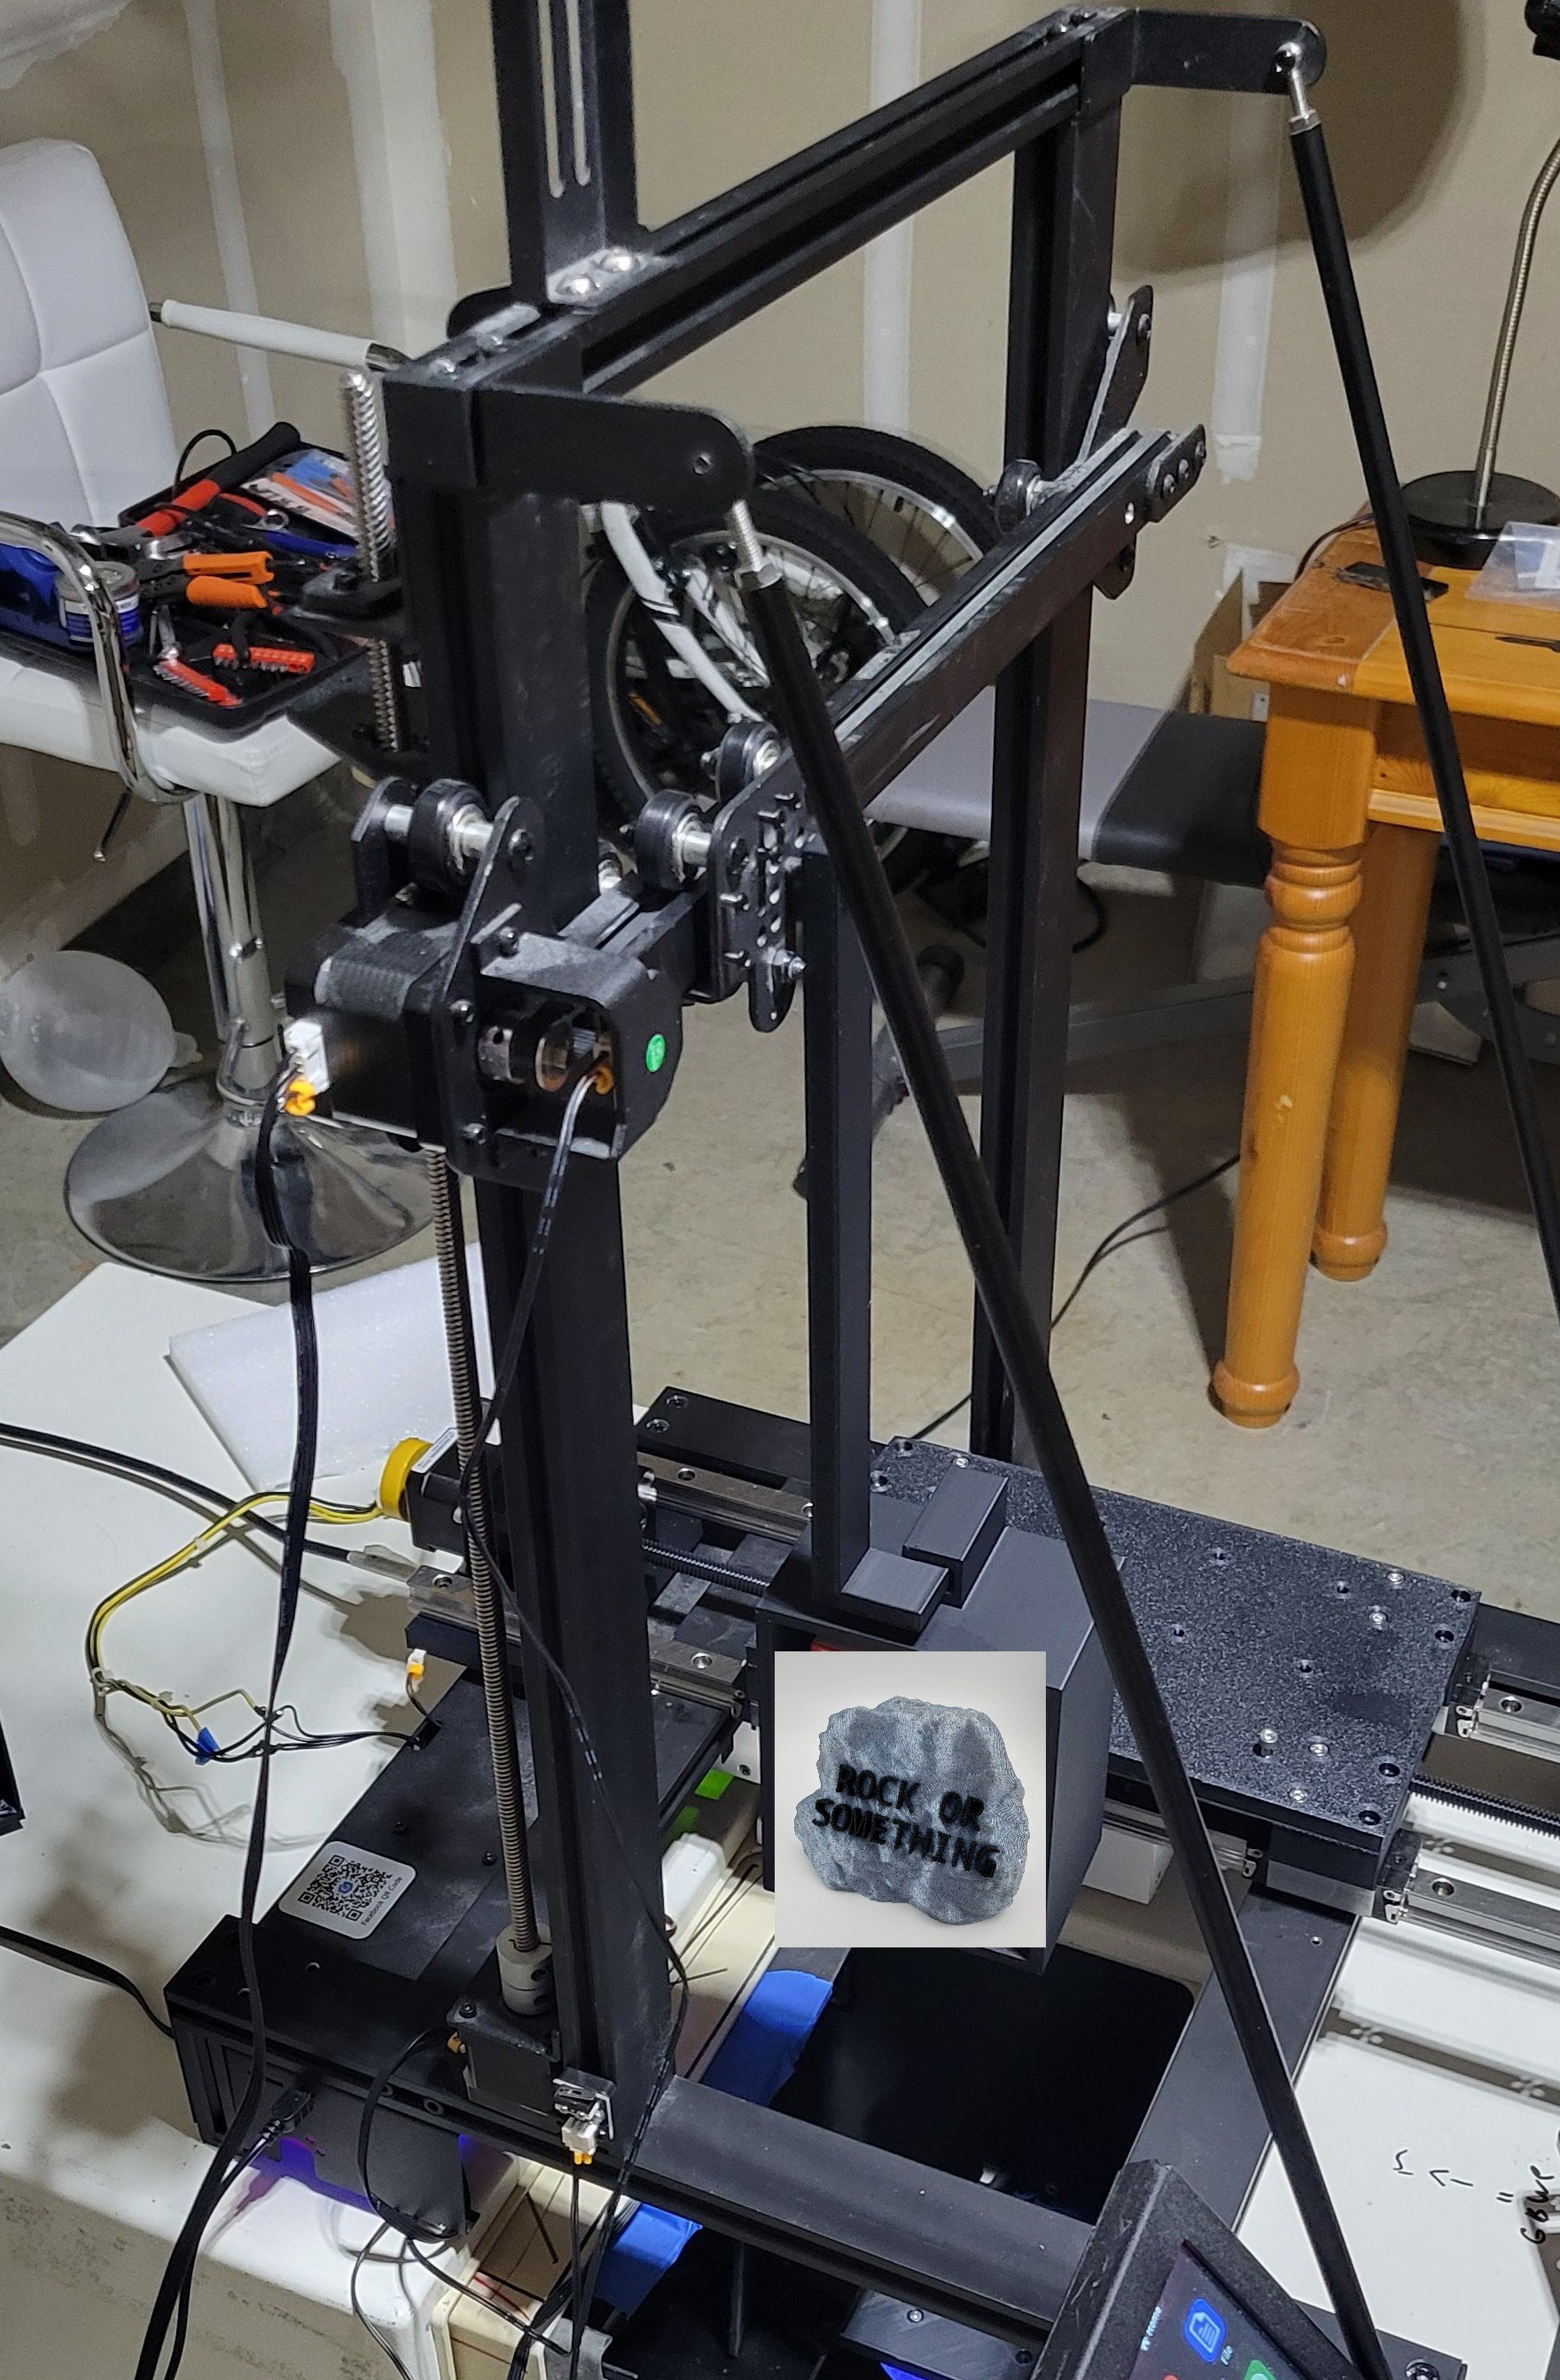
I basically knew right off the bat that I would use a 3D printer as the core for this thing. I looked on facebook market place and scored this beauty: A "Longer" 3D printer, runs Marlin, 400 mm of Z travel (used up all but ~20 mm of that), FIFTY BUCKS!
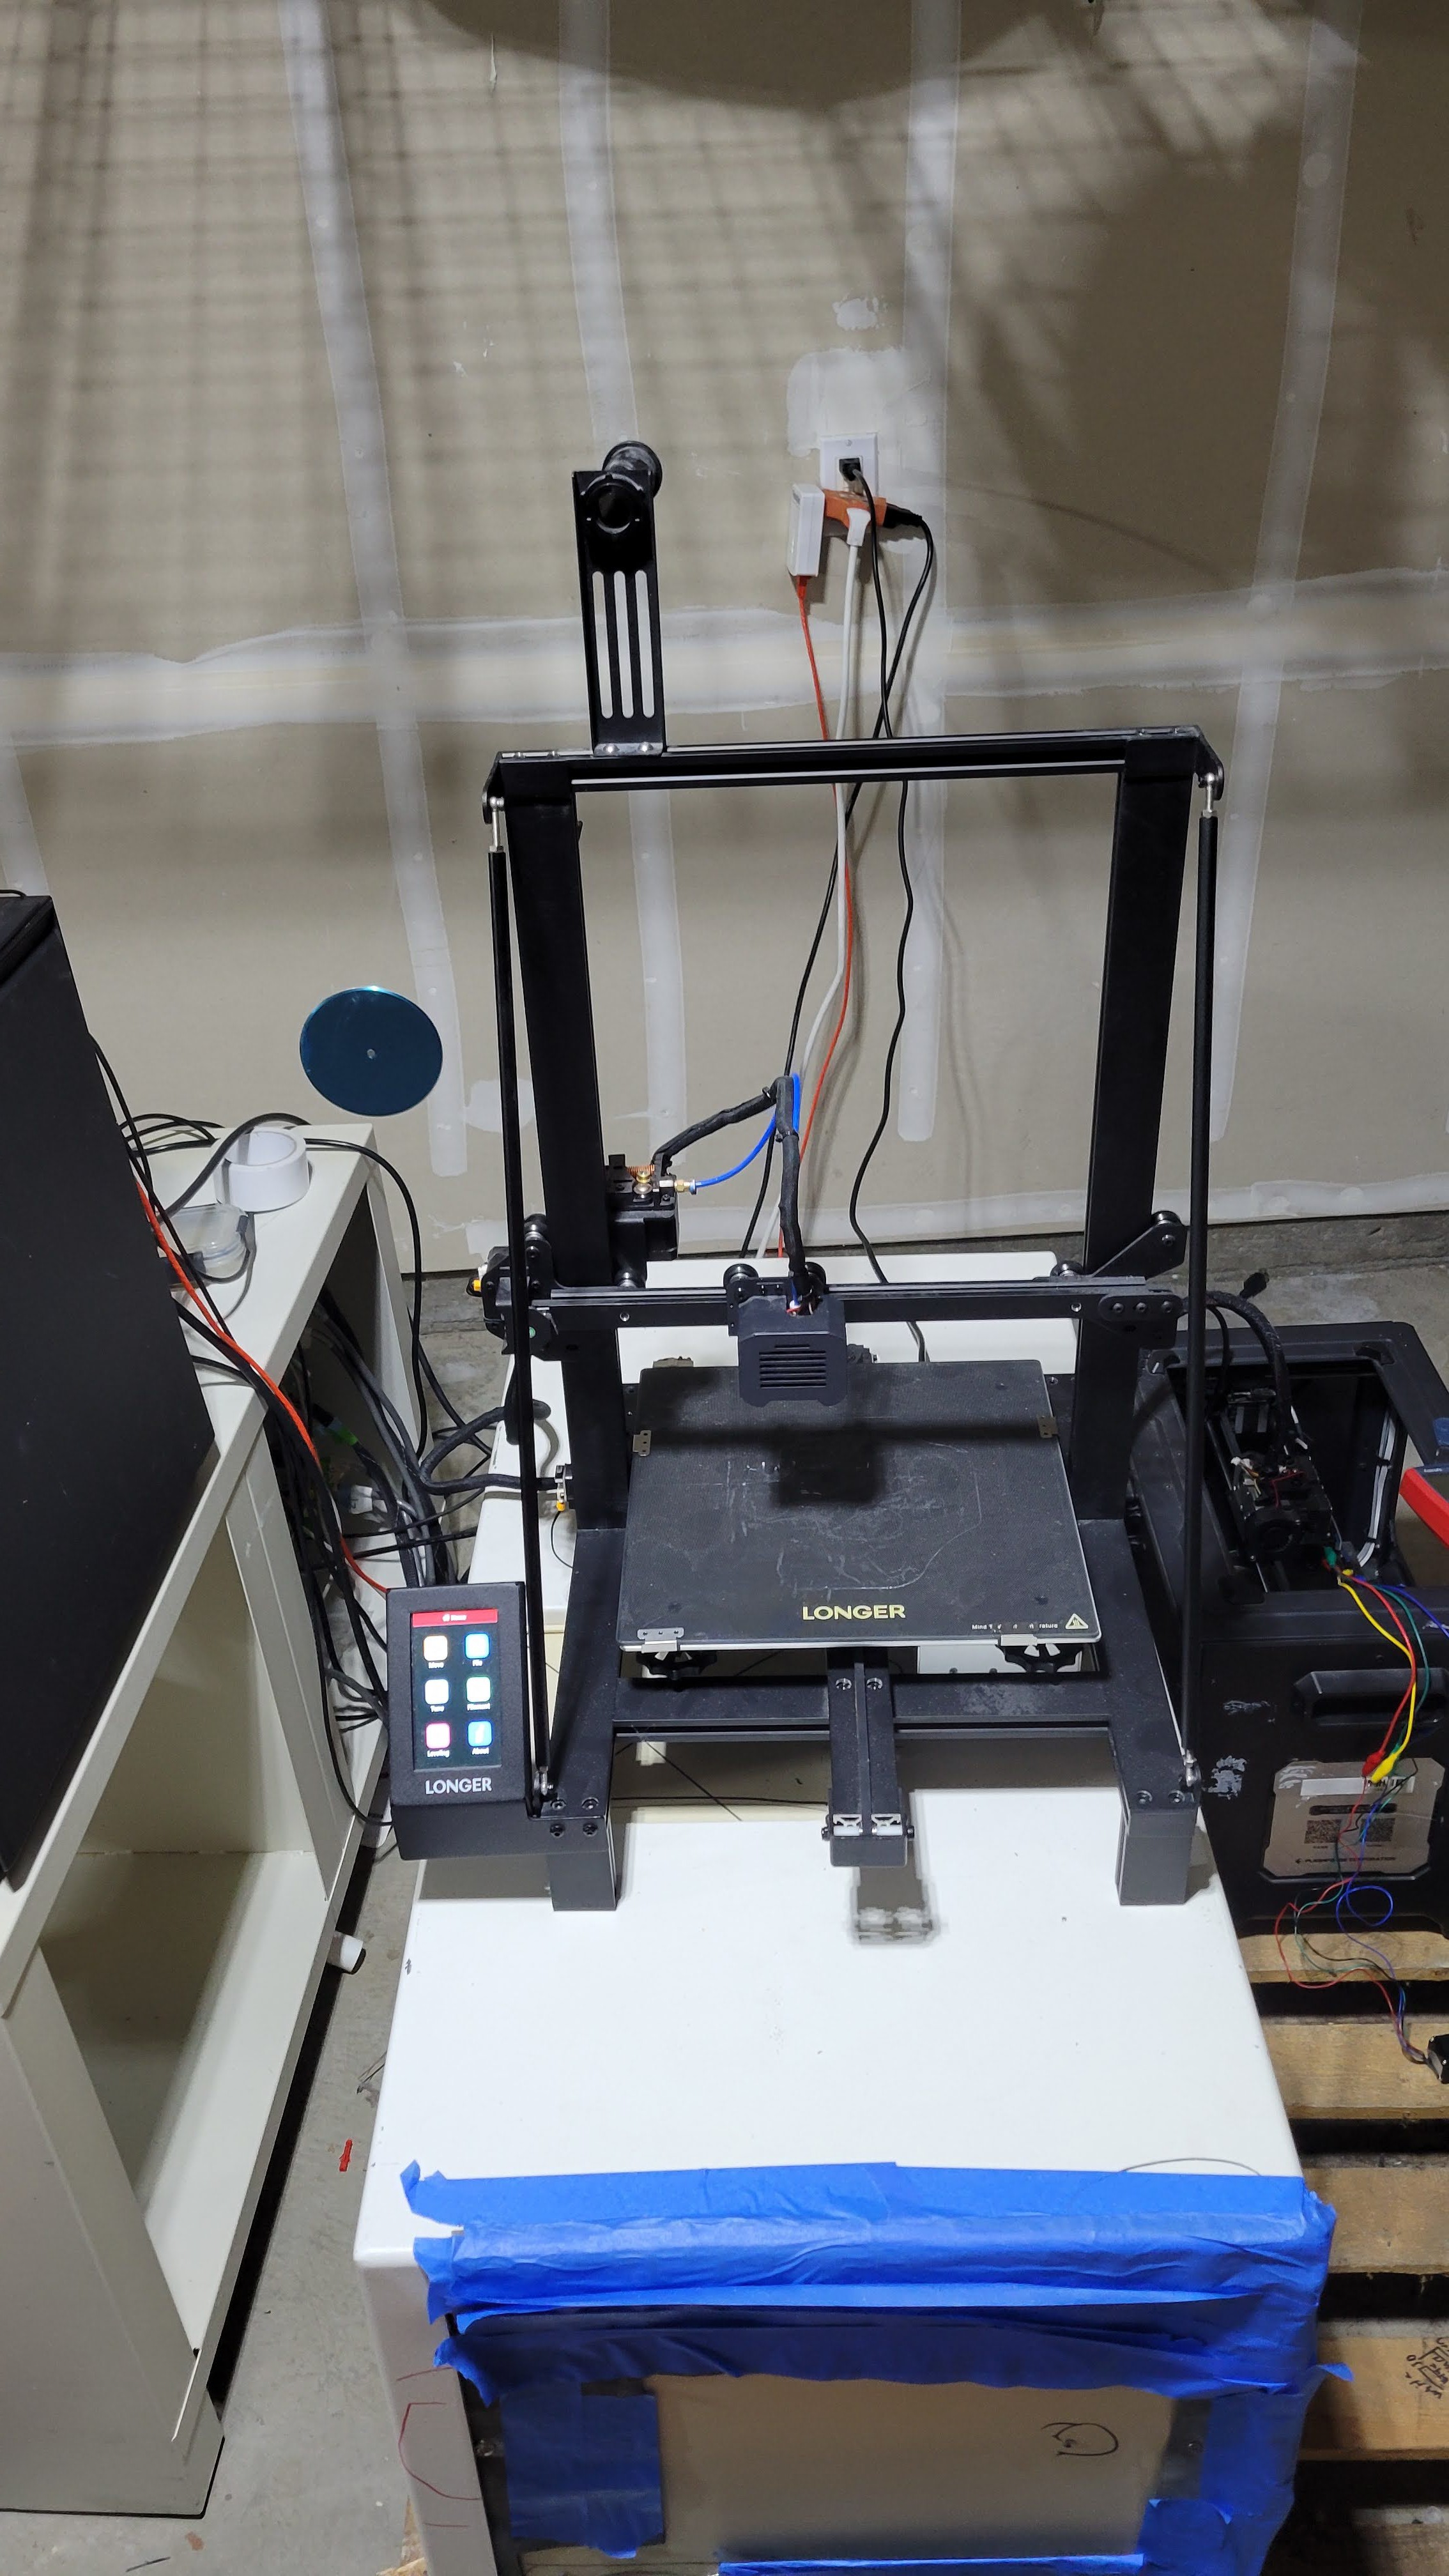
There it is on top of my machine! Fits perfectly! I actually felt a little bad about disassembling it - I could use a big 3D printer - but I bought it for expressly this purpose, so disassemble it I did. Off went all the 3D printery-stuff: Hot end, build plate, and extruder.
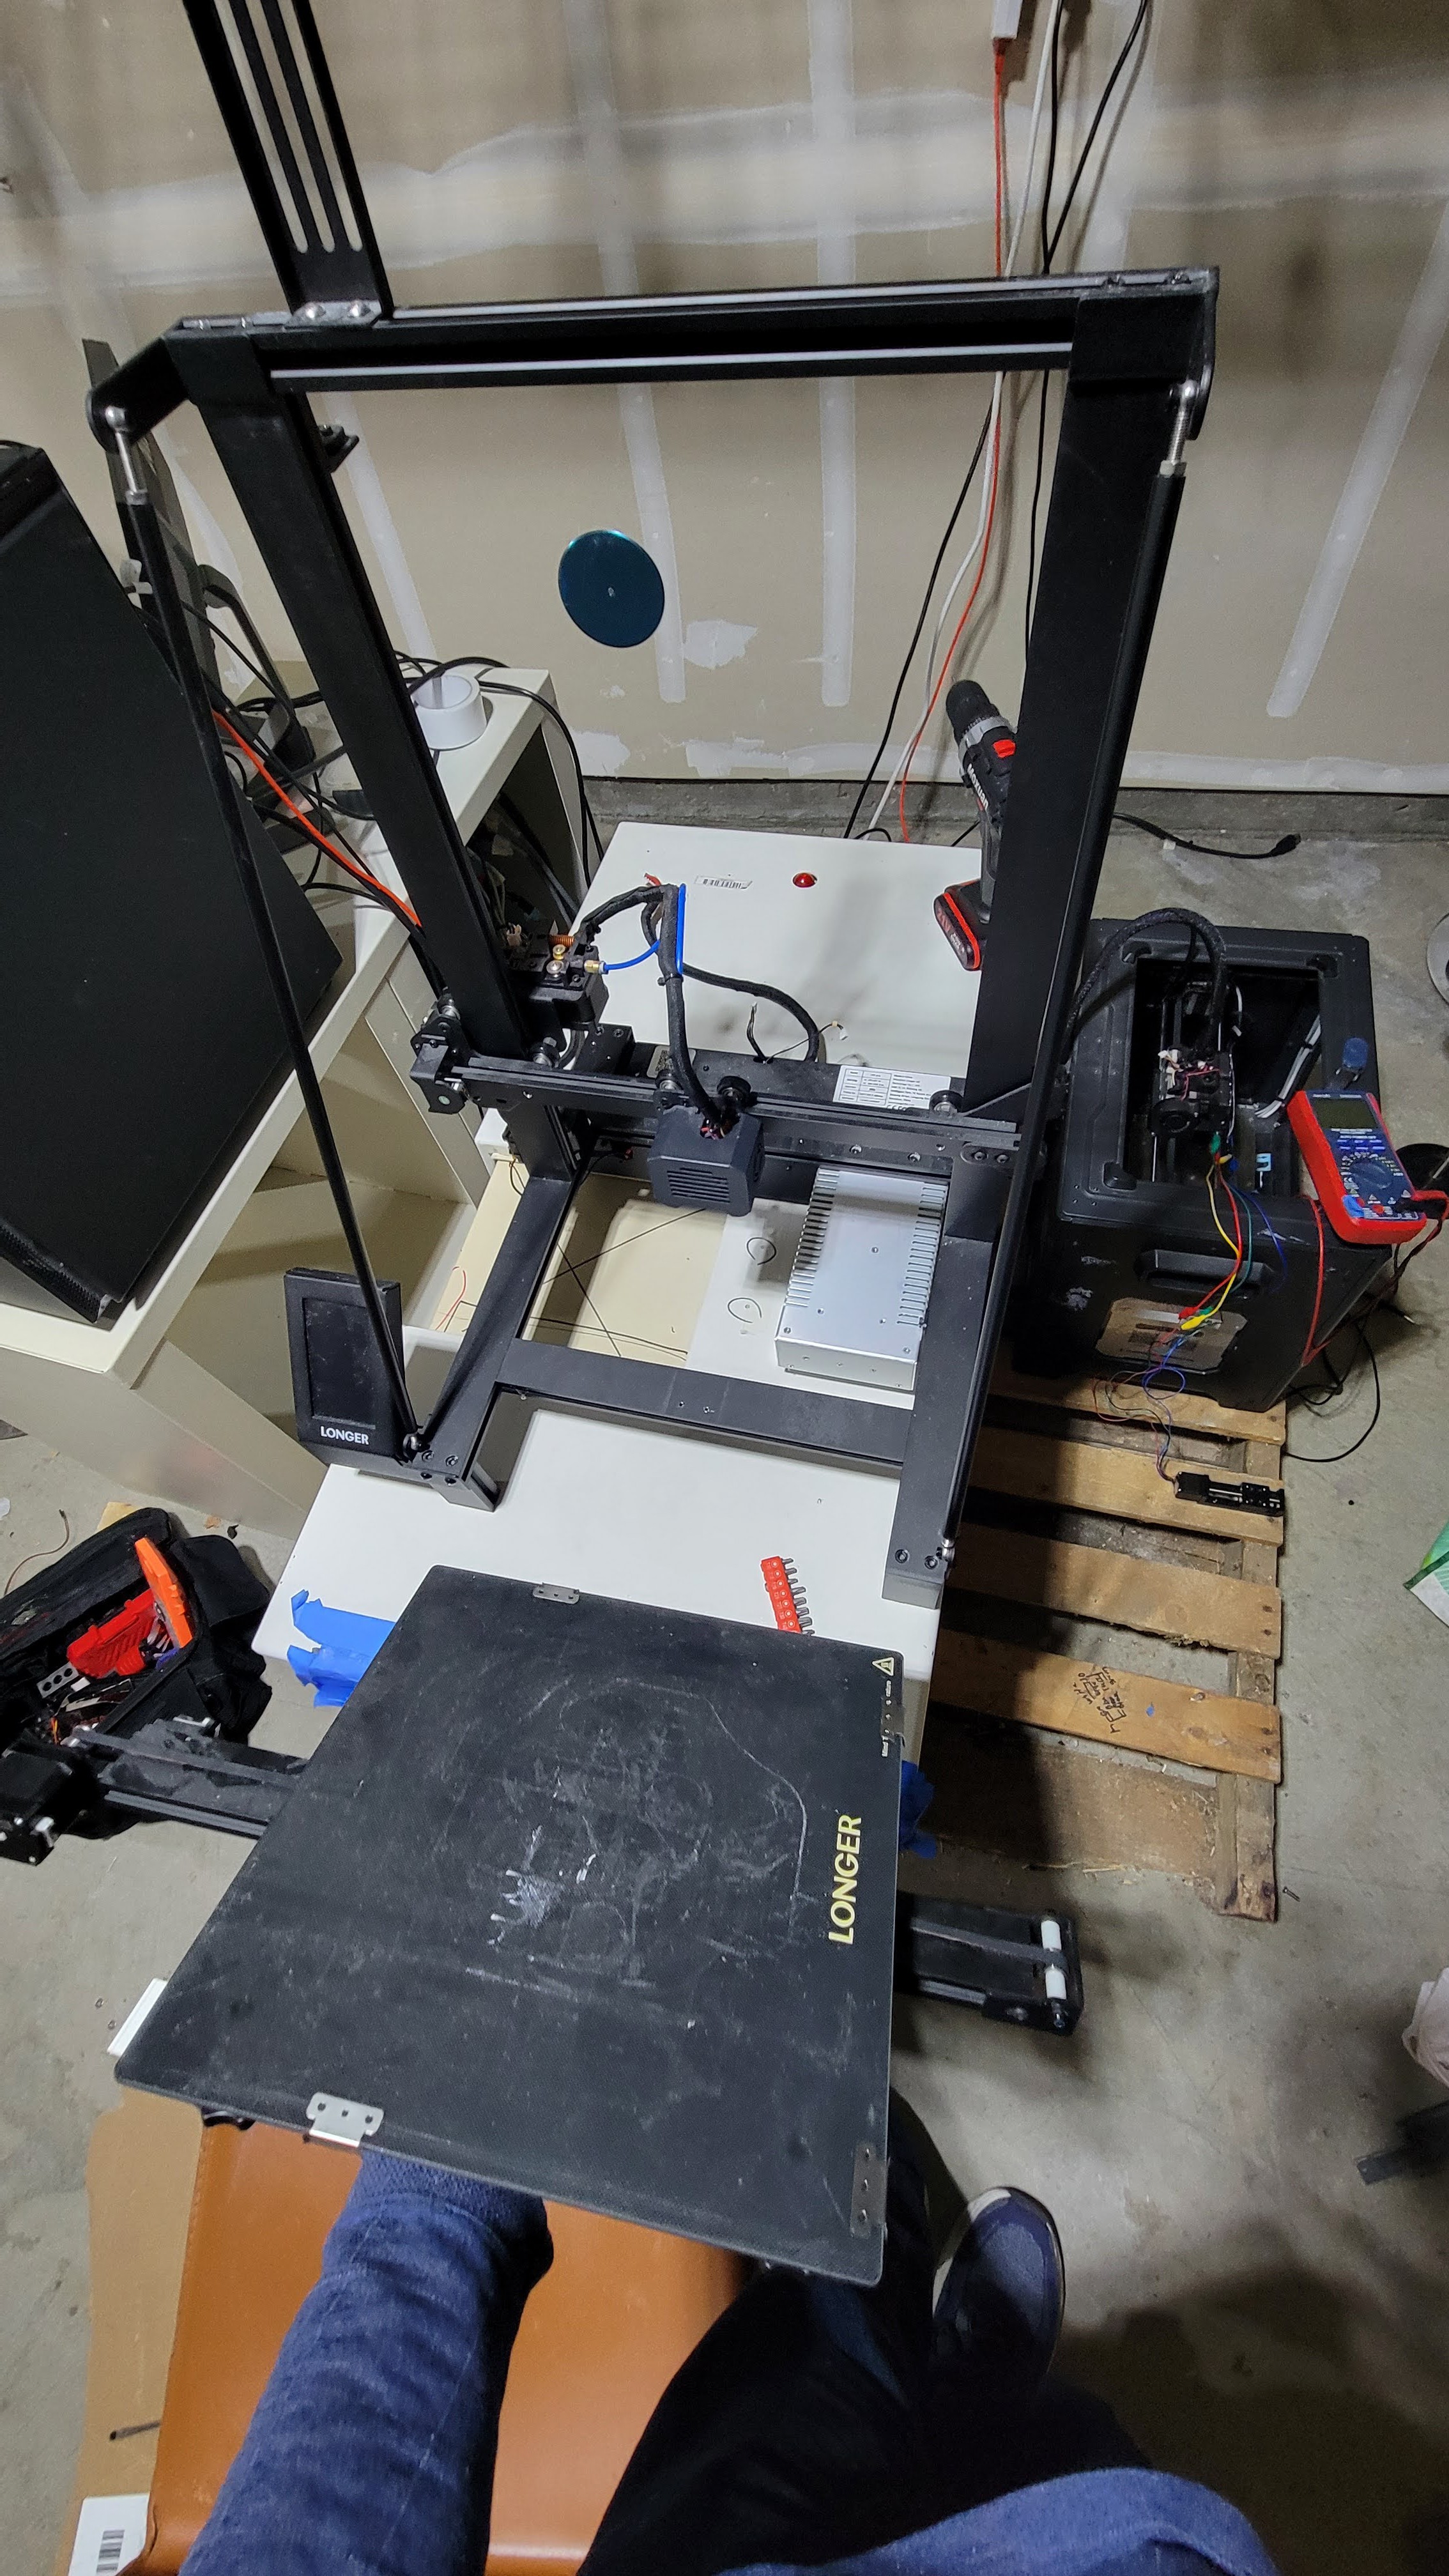
I was left with an open frame, which I realized I could go through instead of having an open bridge like in my initial concept. My designs are nothing if not c̶o̶m̶p̶l̶e̶t̶e̶l̶y̶ ̶d̶e̶v̶i̶a̶t̶i̶n̶g̶ ̶f̶r̶o̶m̶ ̶t̶h̶e̶ ̶o̶r̶i̶g̶i̶n̶a̶l̶ ̶p̶l̶a̶n̶ ̶i̶f̶ ̶i̶t̶ ̶e̶v̶e̶r̶ ̶e̶x̶i̶s̶t̶e̶d̶ flexible.
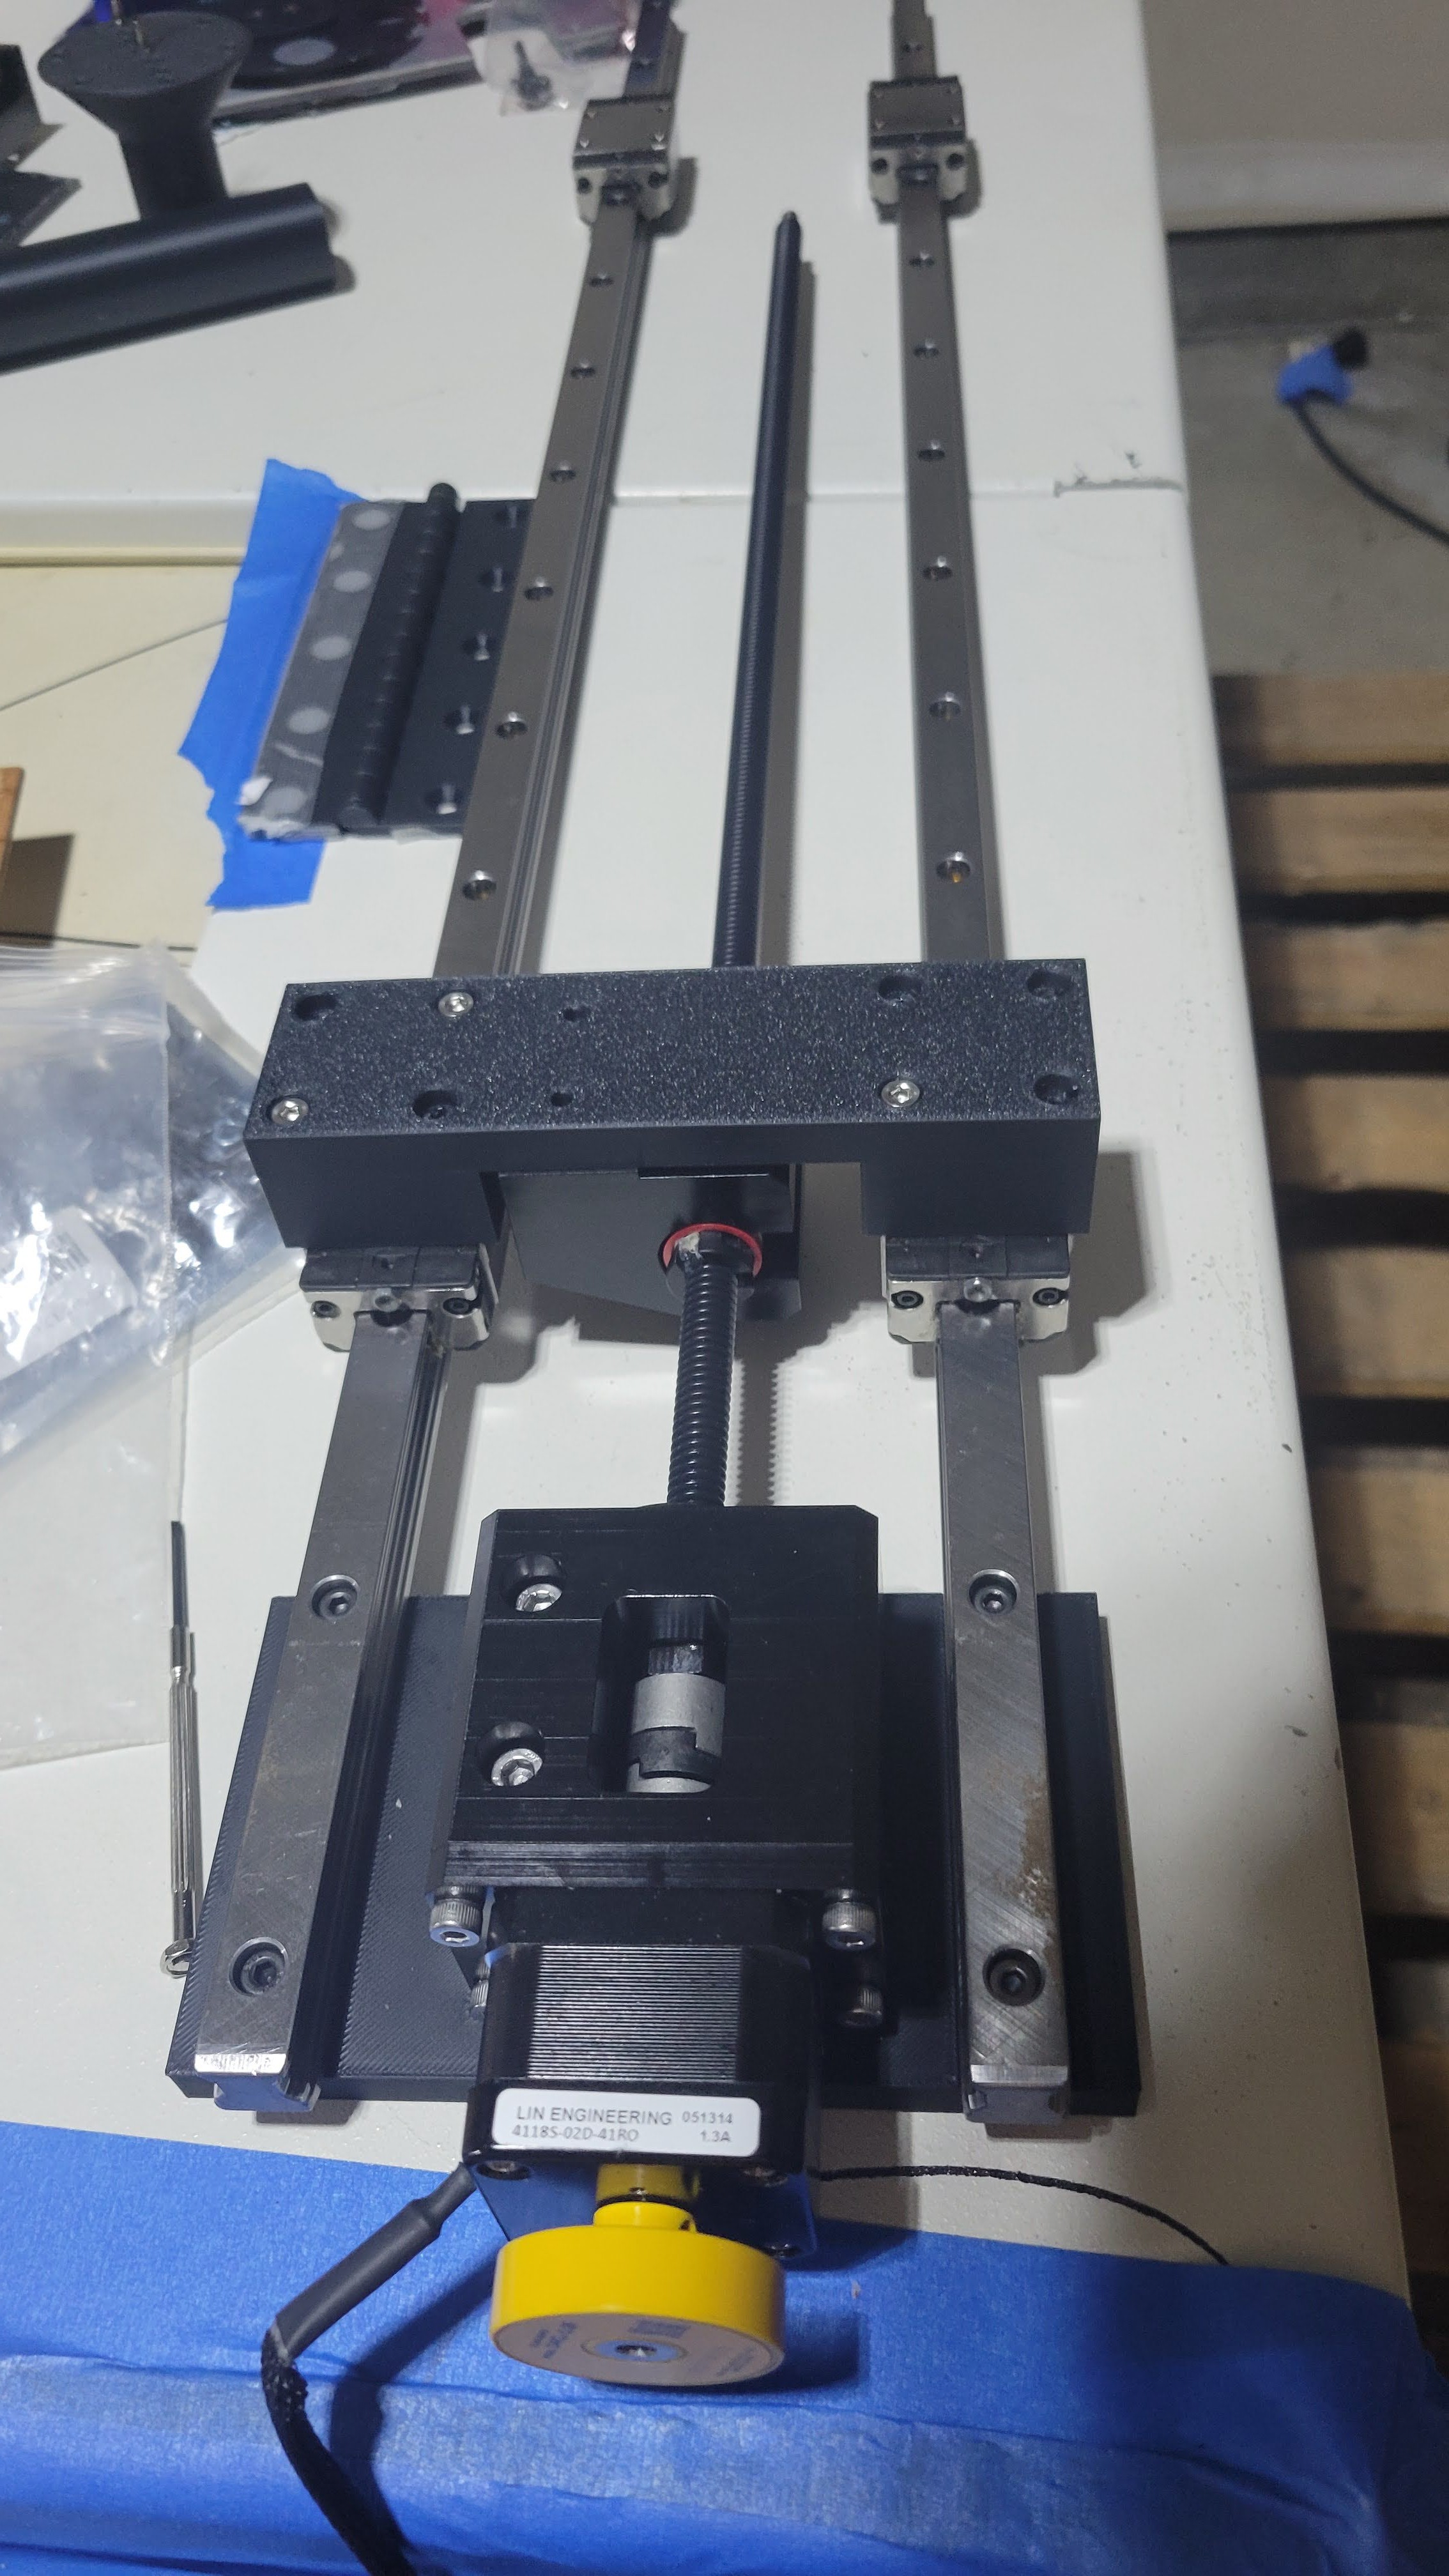
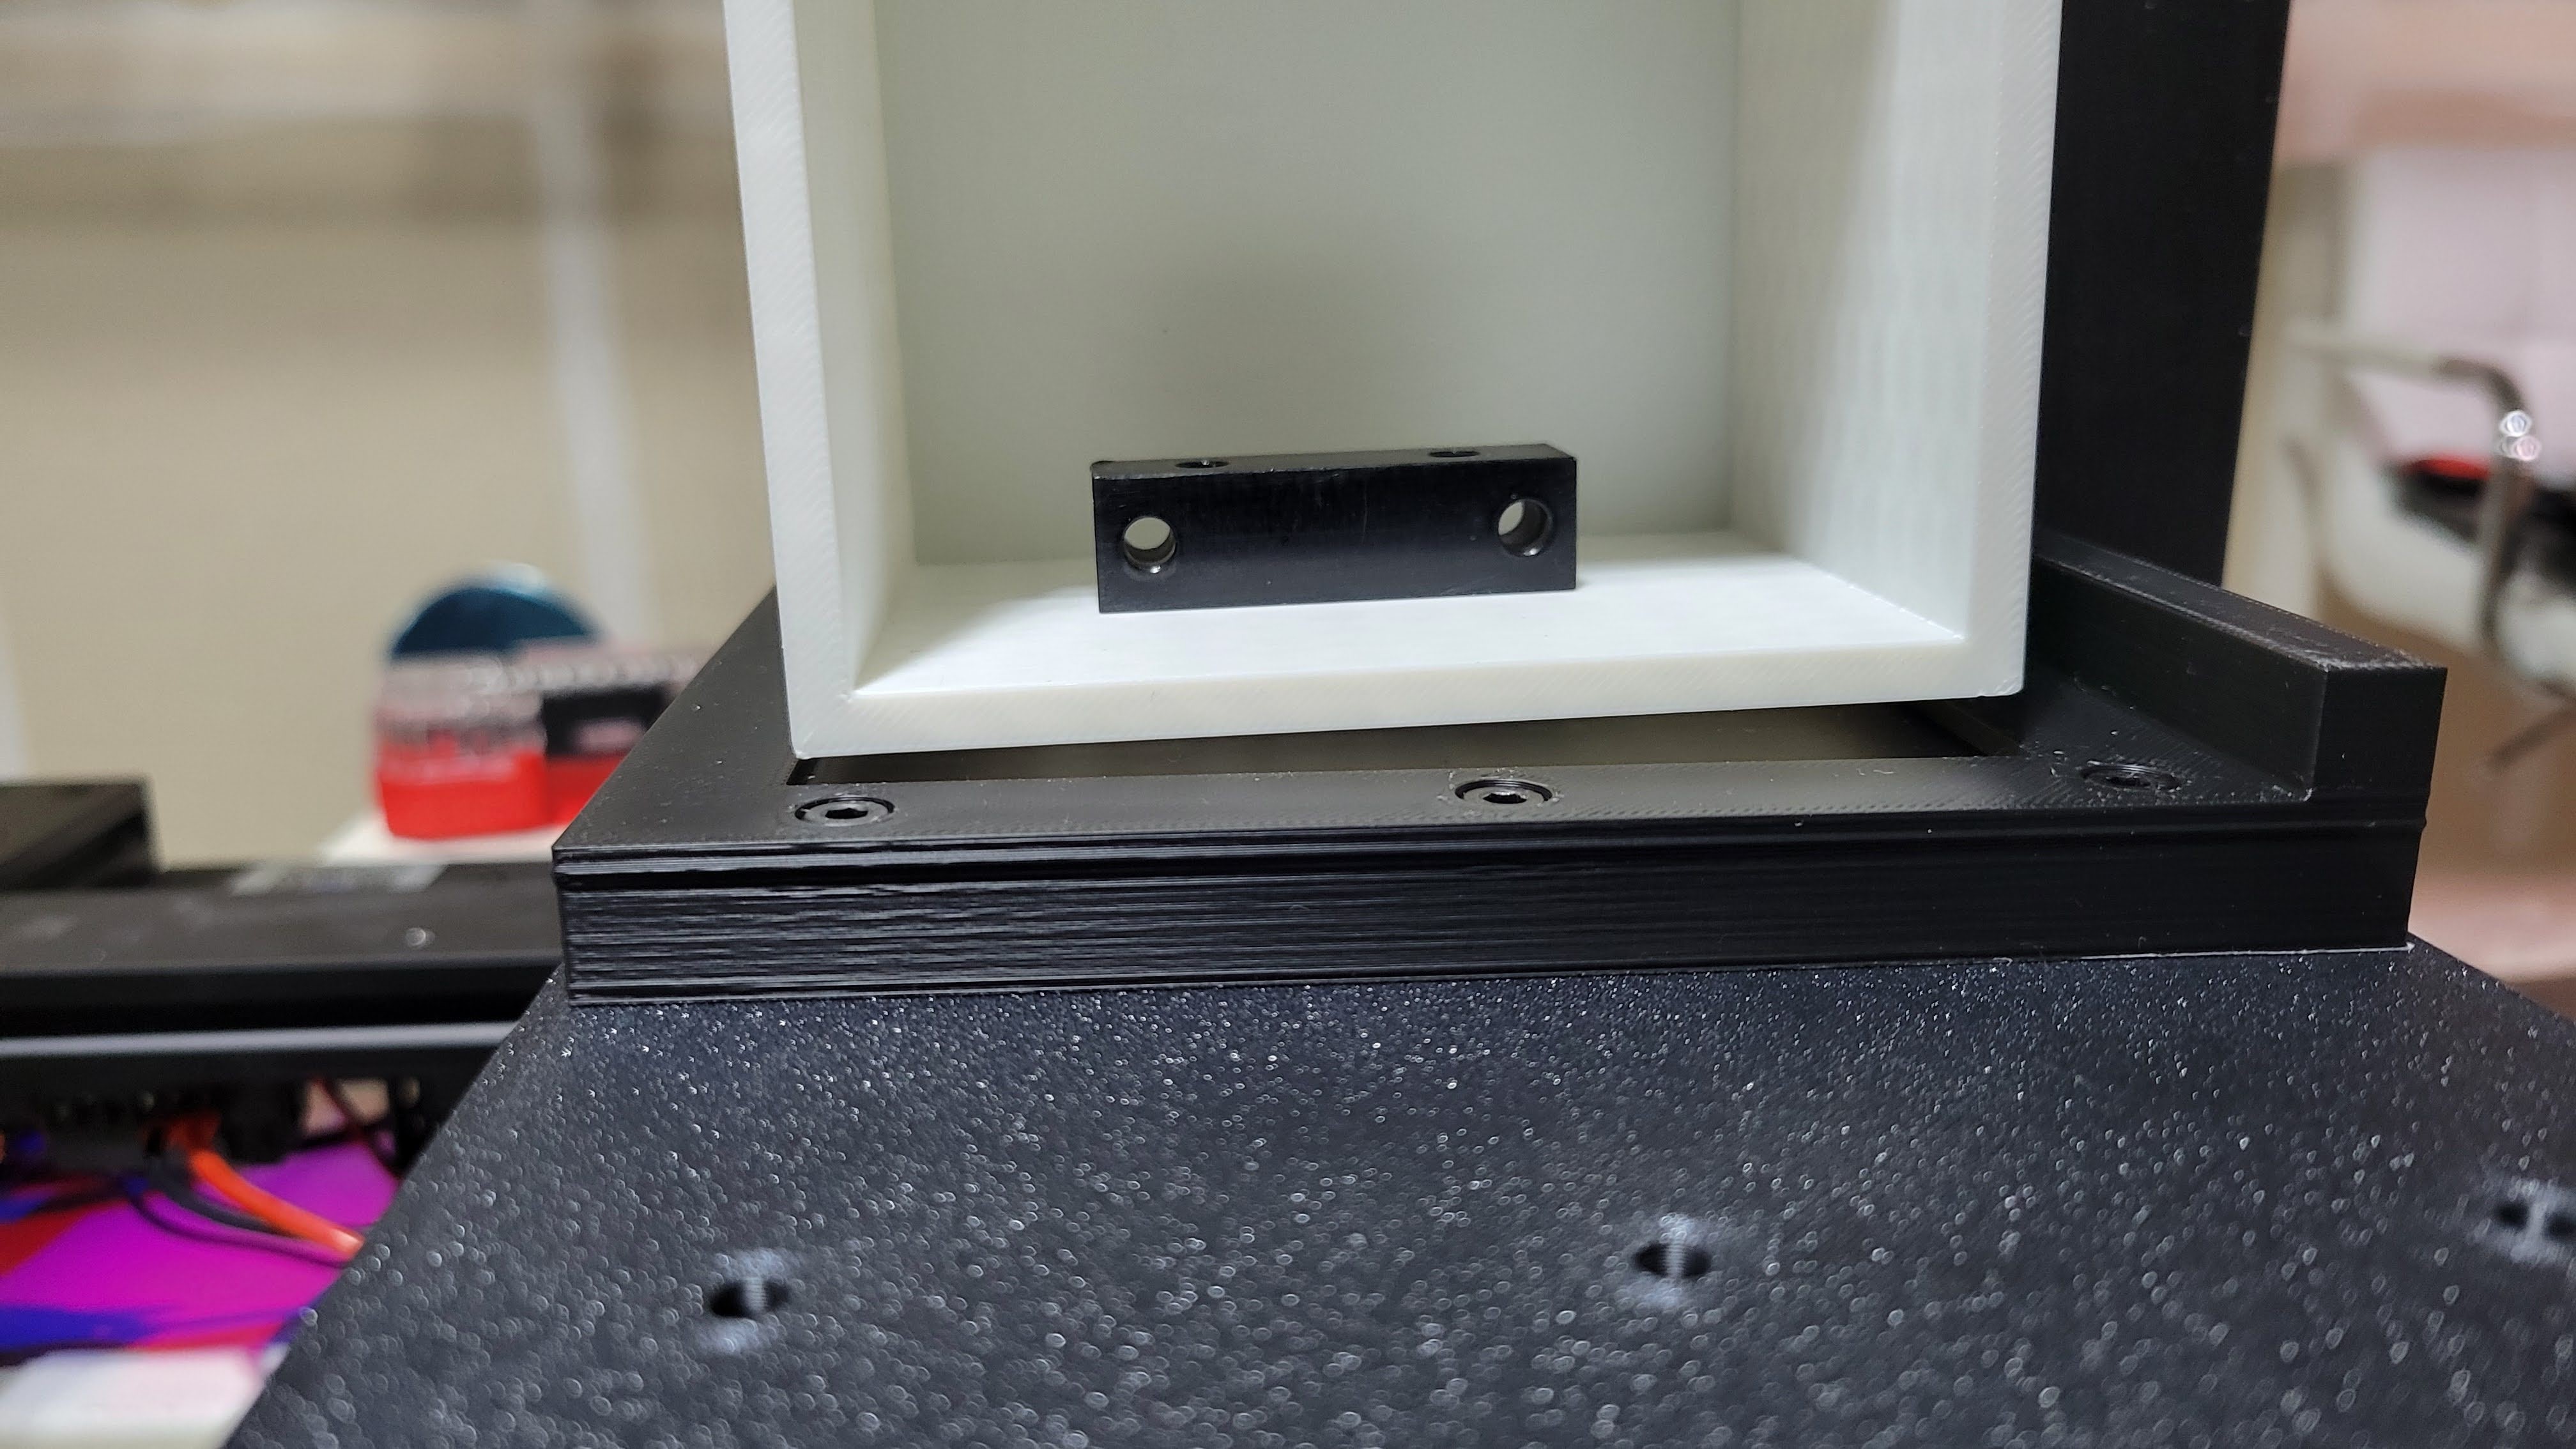
There's my linear rail, in progress. it is a great example of "I spent 20 hours to use what I found in the dumpster last week instead of paying 200 bucks for a pre-built version on amazon". The problem being that the deal with the 3D printer was so good, how could I spend more on a single axis. What a trap, and what a pain. It still binds at one side (leadscrew isn't aligned) so I set the home switch to be further than that point and called it a week.
The next "isolated" part of the system was the door opener. Also an example of "what a pain". The door is heavy and clicks into the interlock system and you need a fair amount of force to open it. My first attempt with one axis of an old laser cutter was unsuccessful. I changed two main things - fixed it to the pallet/floor instead of the printer frame and switched to a leadscrew system.
incidentally, I ran out of axes on my printer, so the door runs on the Extruder motor - hacks definitely needed to get that to work in Marlin. And the "home" is the filament runout sensor, a loop checking for that being pressed instead of a native G28 home command. For software control by the way I adapted some old code from an old project - my LadyBug microscope scanner, taking out all the image taking stuff: https://github.com/yuji3w/ladybug
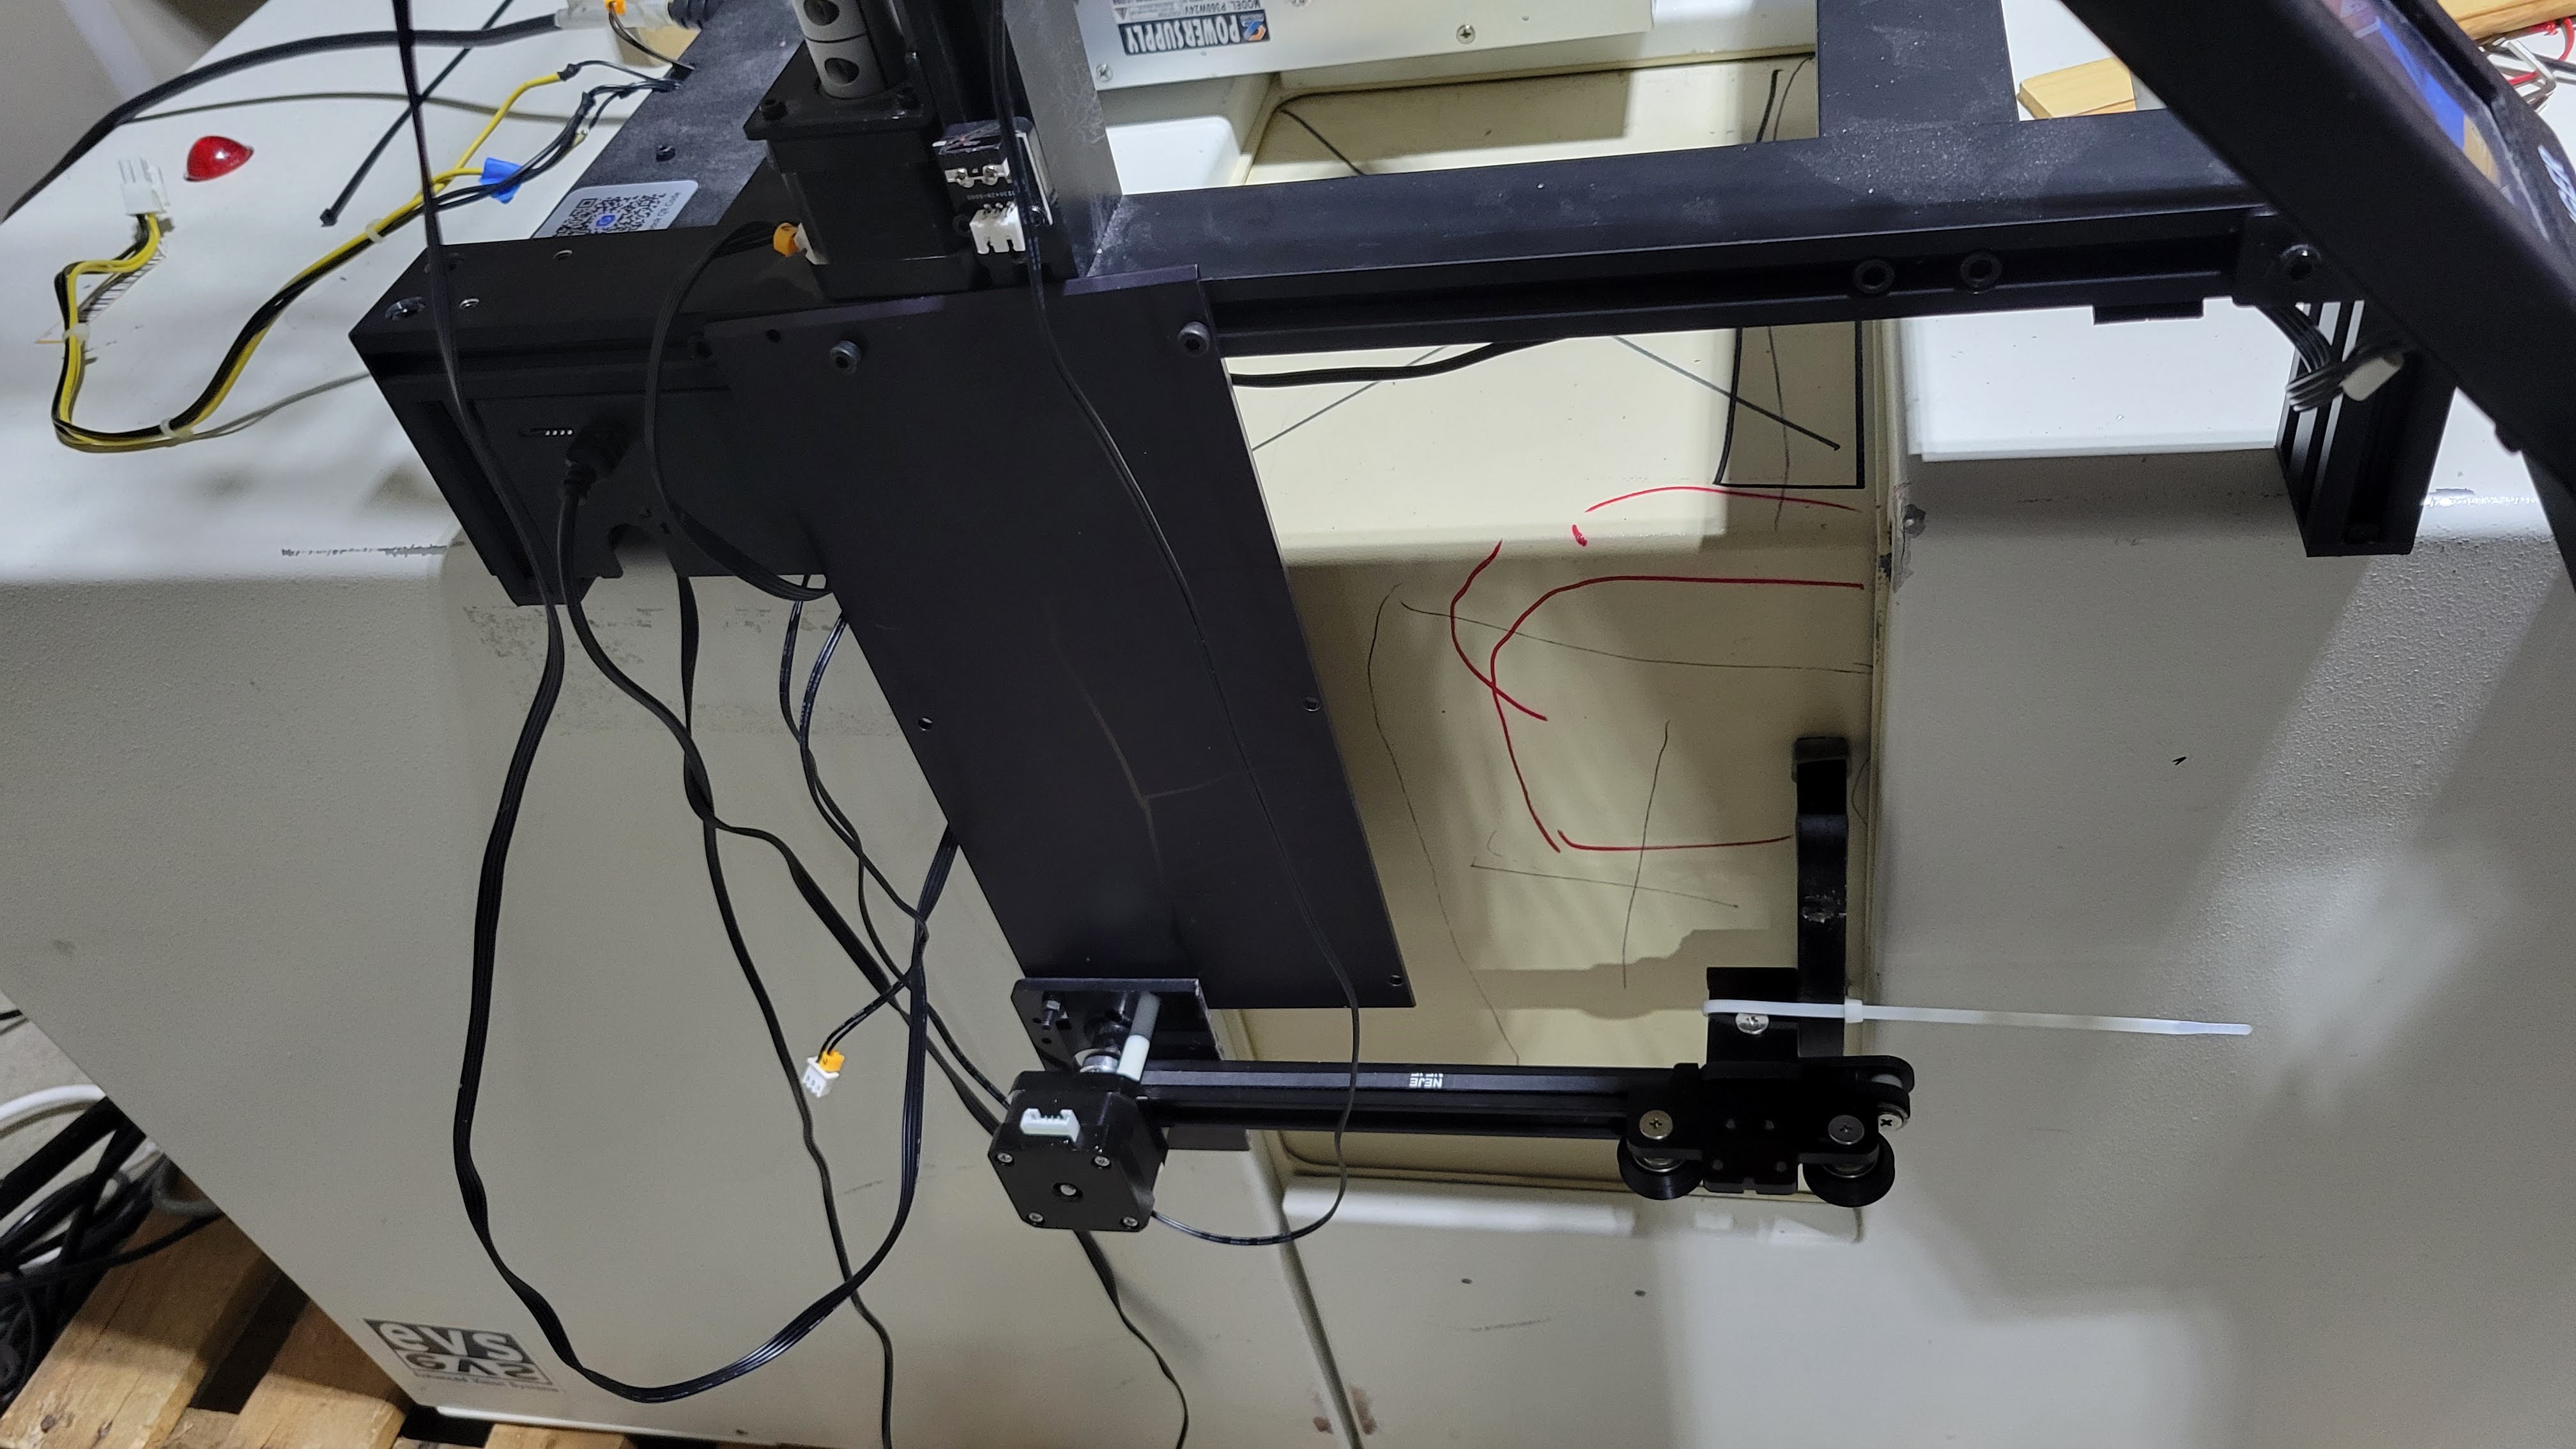
Ok, linear axis and door opener. Now we have to lift something up and put it down. The original concept used a gripper, but I wasn't married to that, and eventually decided to use a hook. I started out really complicated, then went too simple, and ended up on something in the middle.
Too complicated:
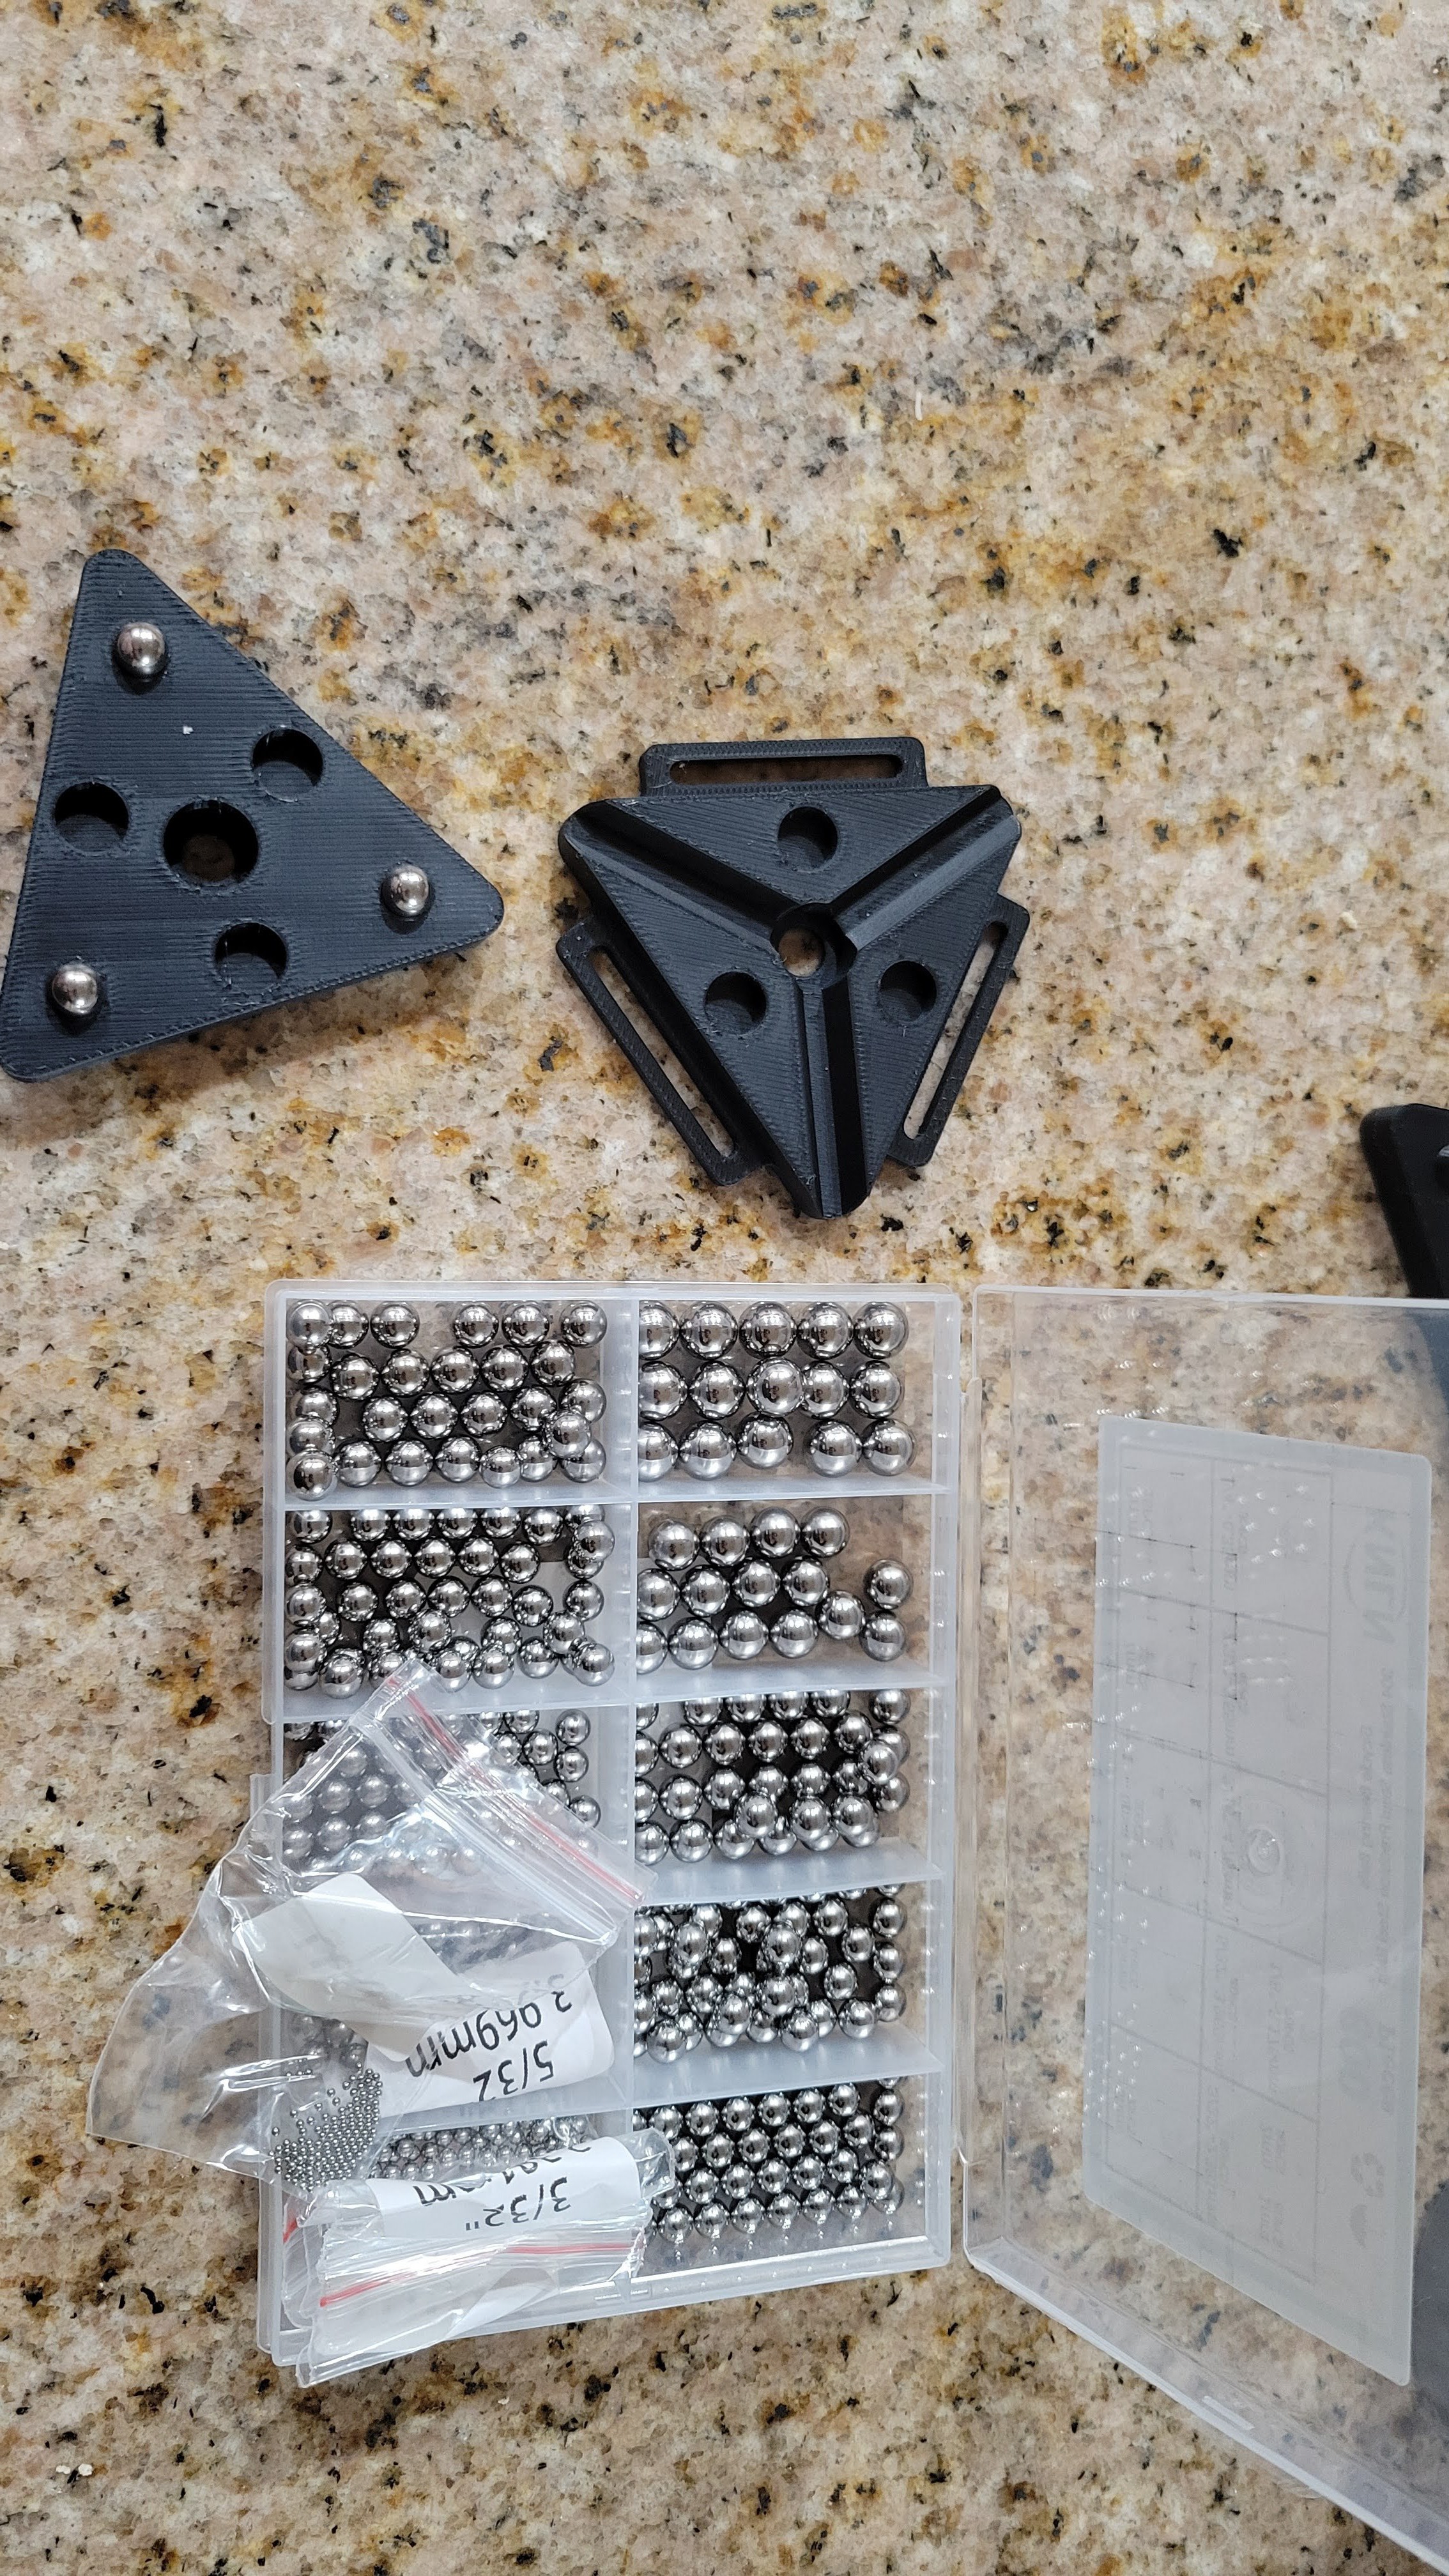
A "kinematic mount" --- something I had seen many times before but never really entered my brain, and they are cool and have their uses. They are designed to perfectly constrain degrees of freedom such that once settled, they are always in exactly the same place. The problem is that being in the same place eventually isn't the same as helping you reach that location in practice, and in practice I wanted a lot more tolerance to misalignment - I needed "self settling" into place. Maybe I could have done something with magnets but one of my constraints was keeping dense stuff out of the path of x-rays, so I ultimately scrapped this one.
To get practice with the lifting and moving I tried using a very simple hook, definitely in the style of TinkerCAD. A block at the end of a block, lifting a block cut out of a slightly larger block and on top of another even larger block with a slightly smaller block cut out of it.
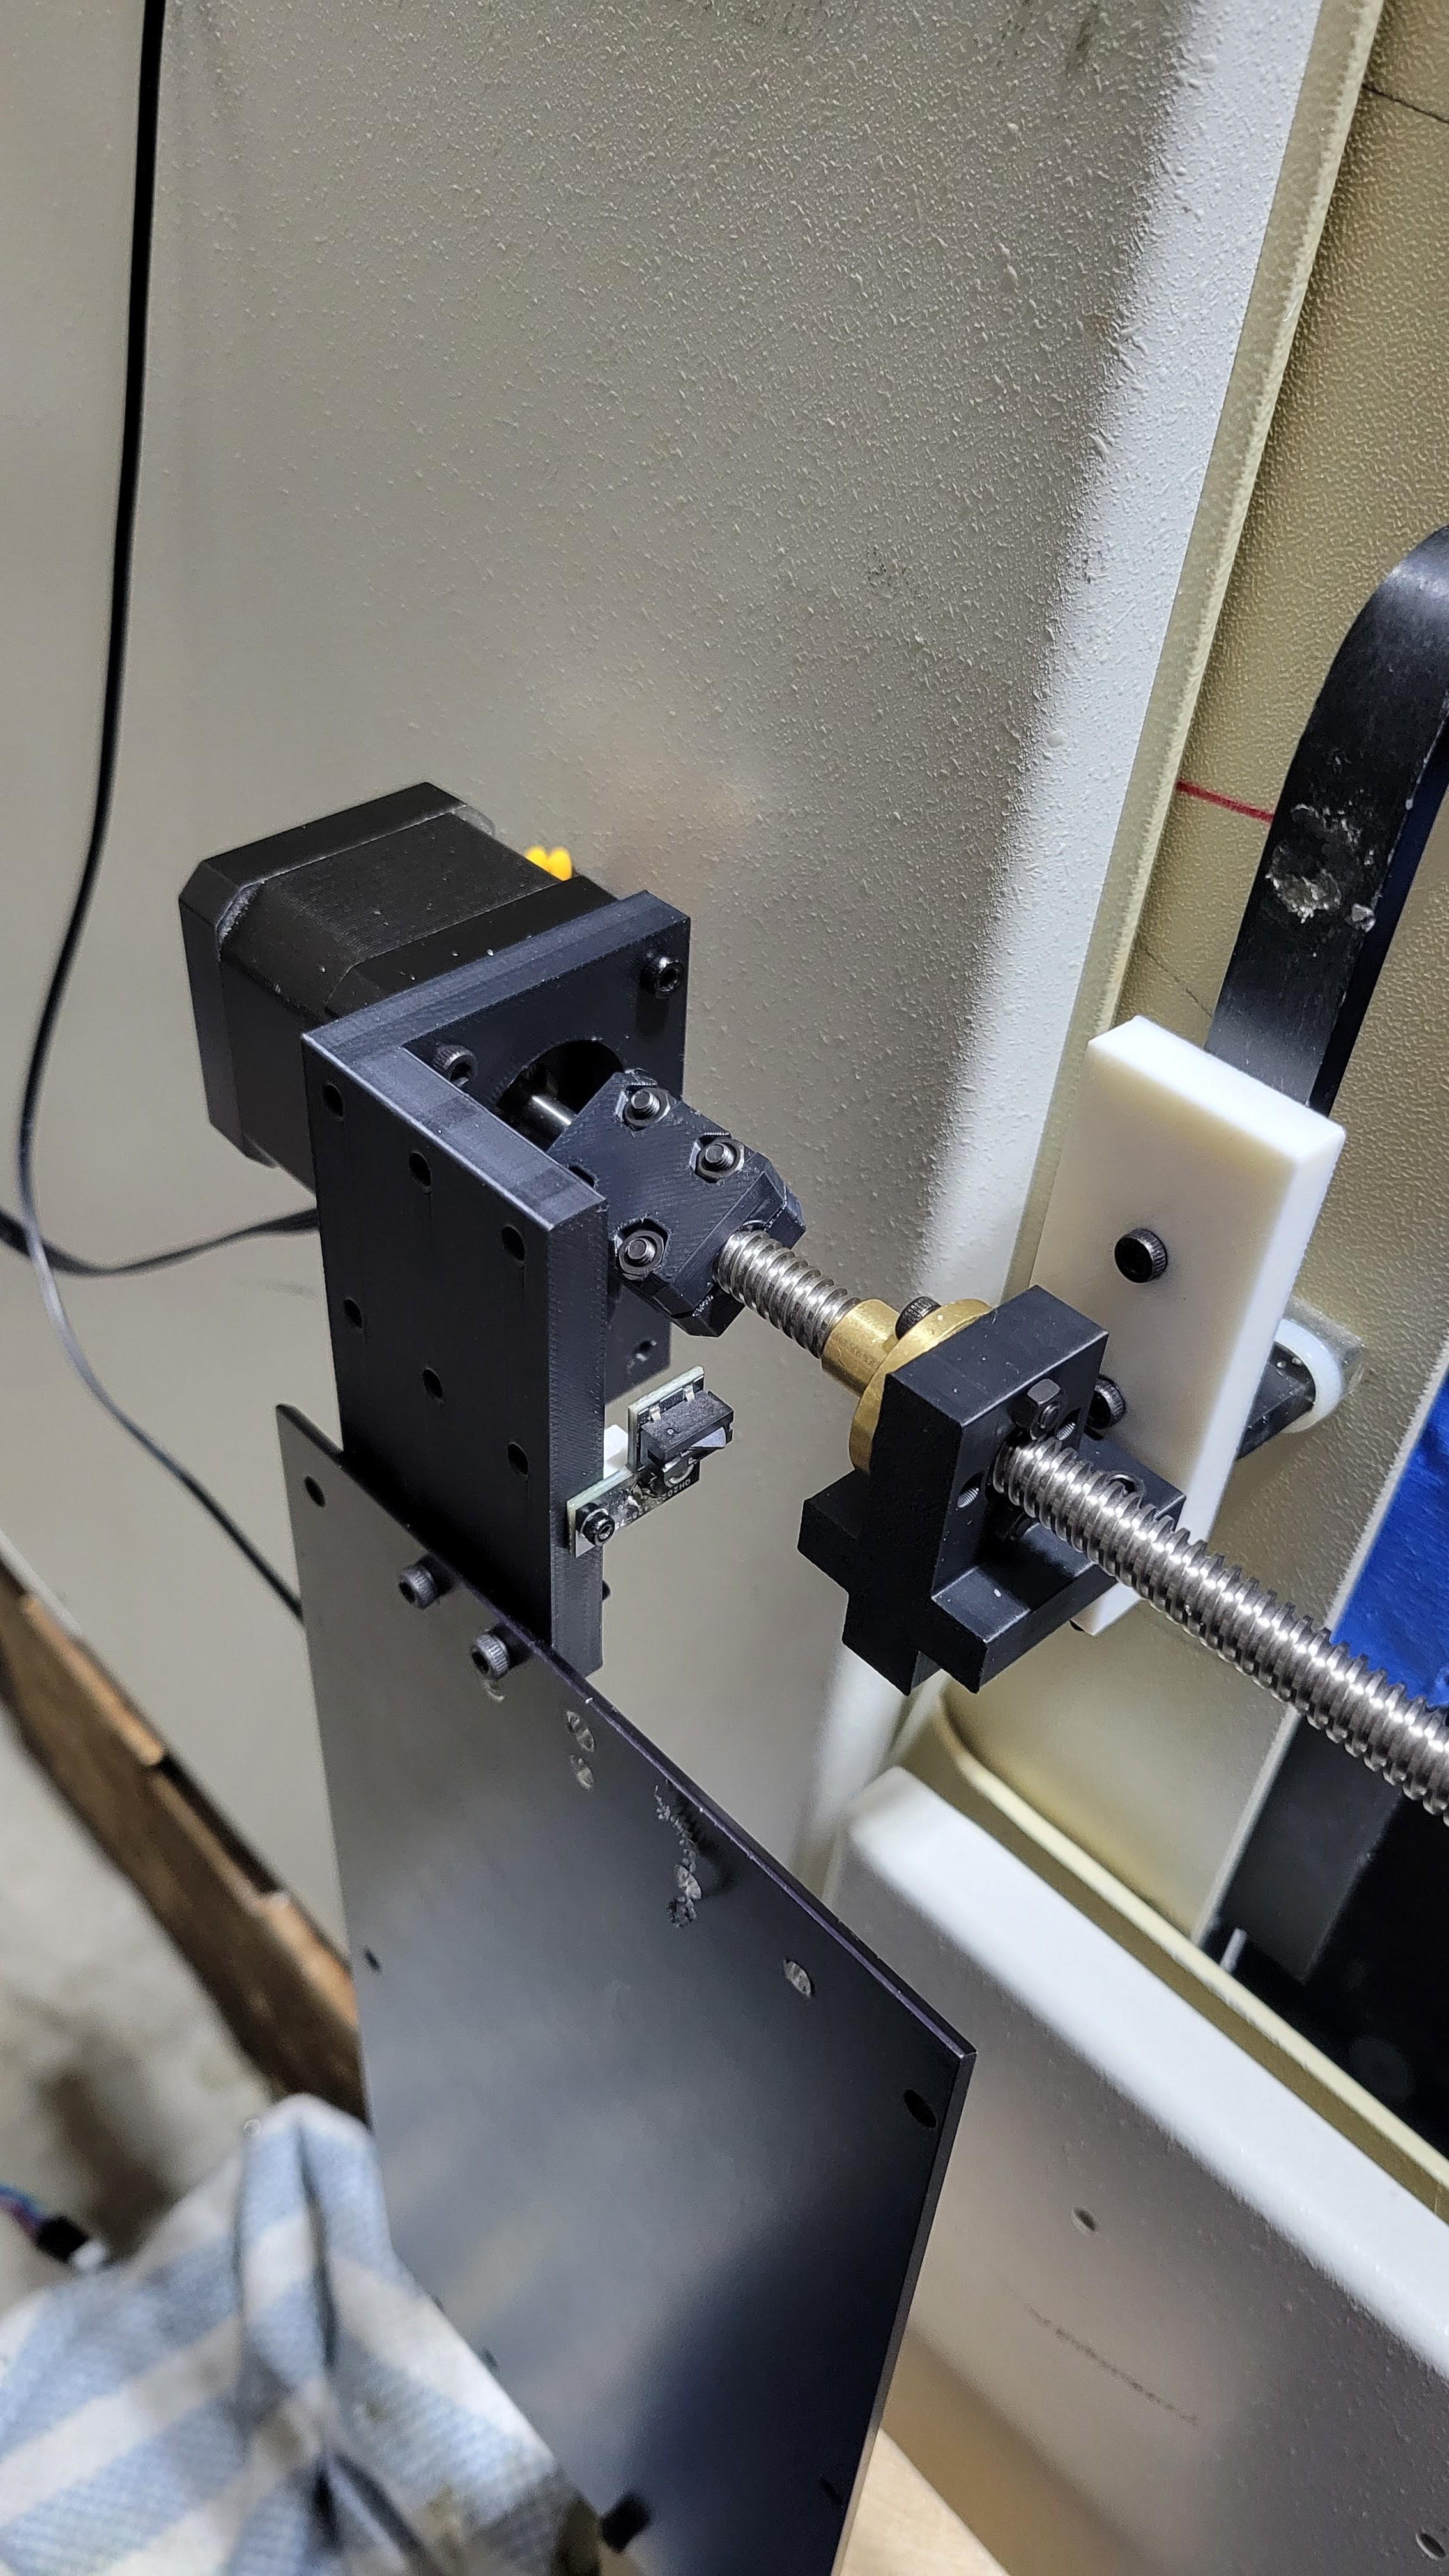
Finally after some iteration I came up with this bumpy spatula thing - cones that go into holes and self align as long as you are within a few mm.
To my Y axis from before was mounted my rail, with a base plate for carrying swappable "wings" for different types of cartridges - necessary cuz I can't actually print 2 feet long things in one go with my 3D printer, but also providing flexibility for different kinds of samples. Mostly I have a standard box that is the maximum size thing that can be scanned in one go (64x64x95mm at the moment - if you're reading this and you have something plastic or otherwise not dense, and it fits into that volume, and no expectations on data quality, I'll totally scan it for 20 bucks).
At first again I just had a sharp gap to divide sections but as you can see, in real life things don't go perfectly up and down:
And if you were off by a little bit it would sit on the edge and then things would crash. But you can't just make the gap bigger or humans wouldn't be able to load it and you've just transferred the alignment burden to the cone thingies above. So I rounded the edges:
This works really well and behold!

A wing!
And an autoloader!

Now you have to build a state machine and finish reverse engineering the communication for your EVS scanner and control the source and make recipes and I'm still working on that now. But yesterday I trusted the machine enough to splashtop in from my bed, load from wing #2, do a quick scan and set the box back in its holder. I checked on it in the morning and it wasn't in shambles.
And THAT'S pretty cool!
Update: My source exploded like 12 hour after this post came out
Discussions
Become a Hackaday.io Member
Create an account to leave a comment. Already have an account? Log In.
Lots in here. For a start:
> I wish I could upload the original quality and number of frames!
How about as many as fit -- or at least one?!
> "I spent 20 hours to use what I found in the dumpster [...]"
Gooble Gobble
> Update: My source exploded ...
Um, that sounds bad -- but I don't know enough to know how bad.
Are you sure? yes | no