I have made the probe with tiny Tungsteen wire etched to be very sharp. It's time to connect and turn on so long waited microscope.
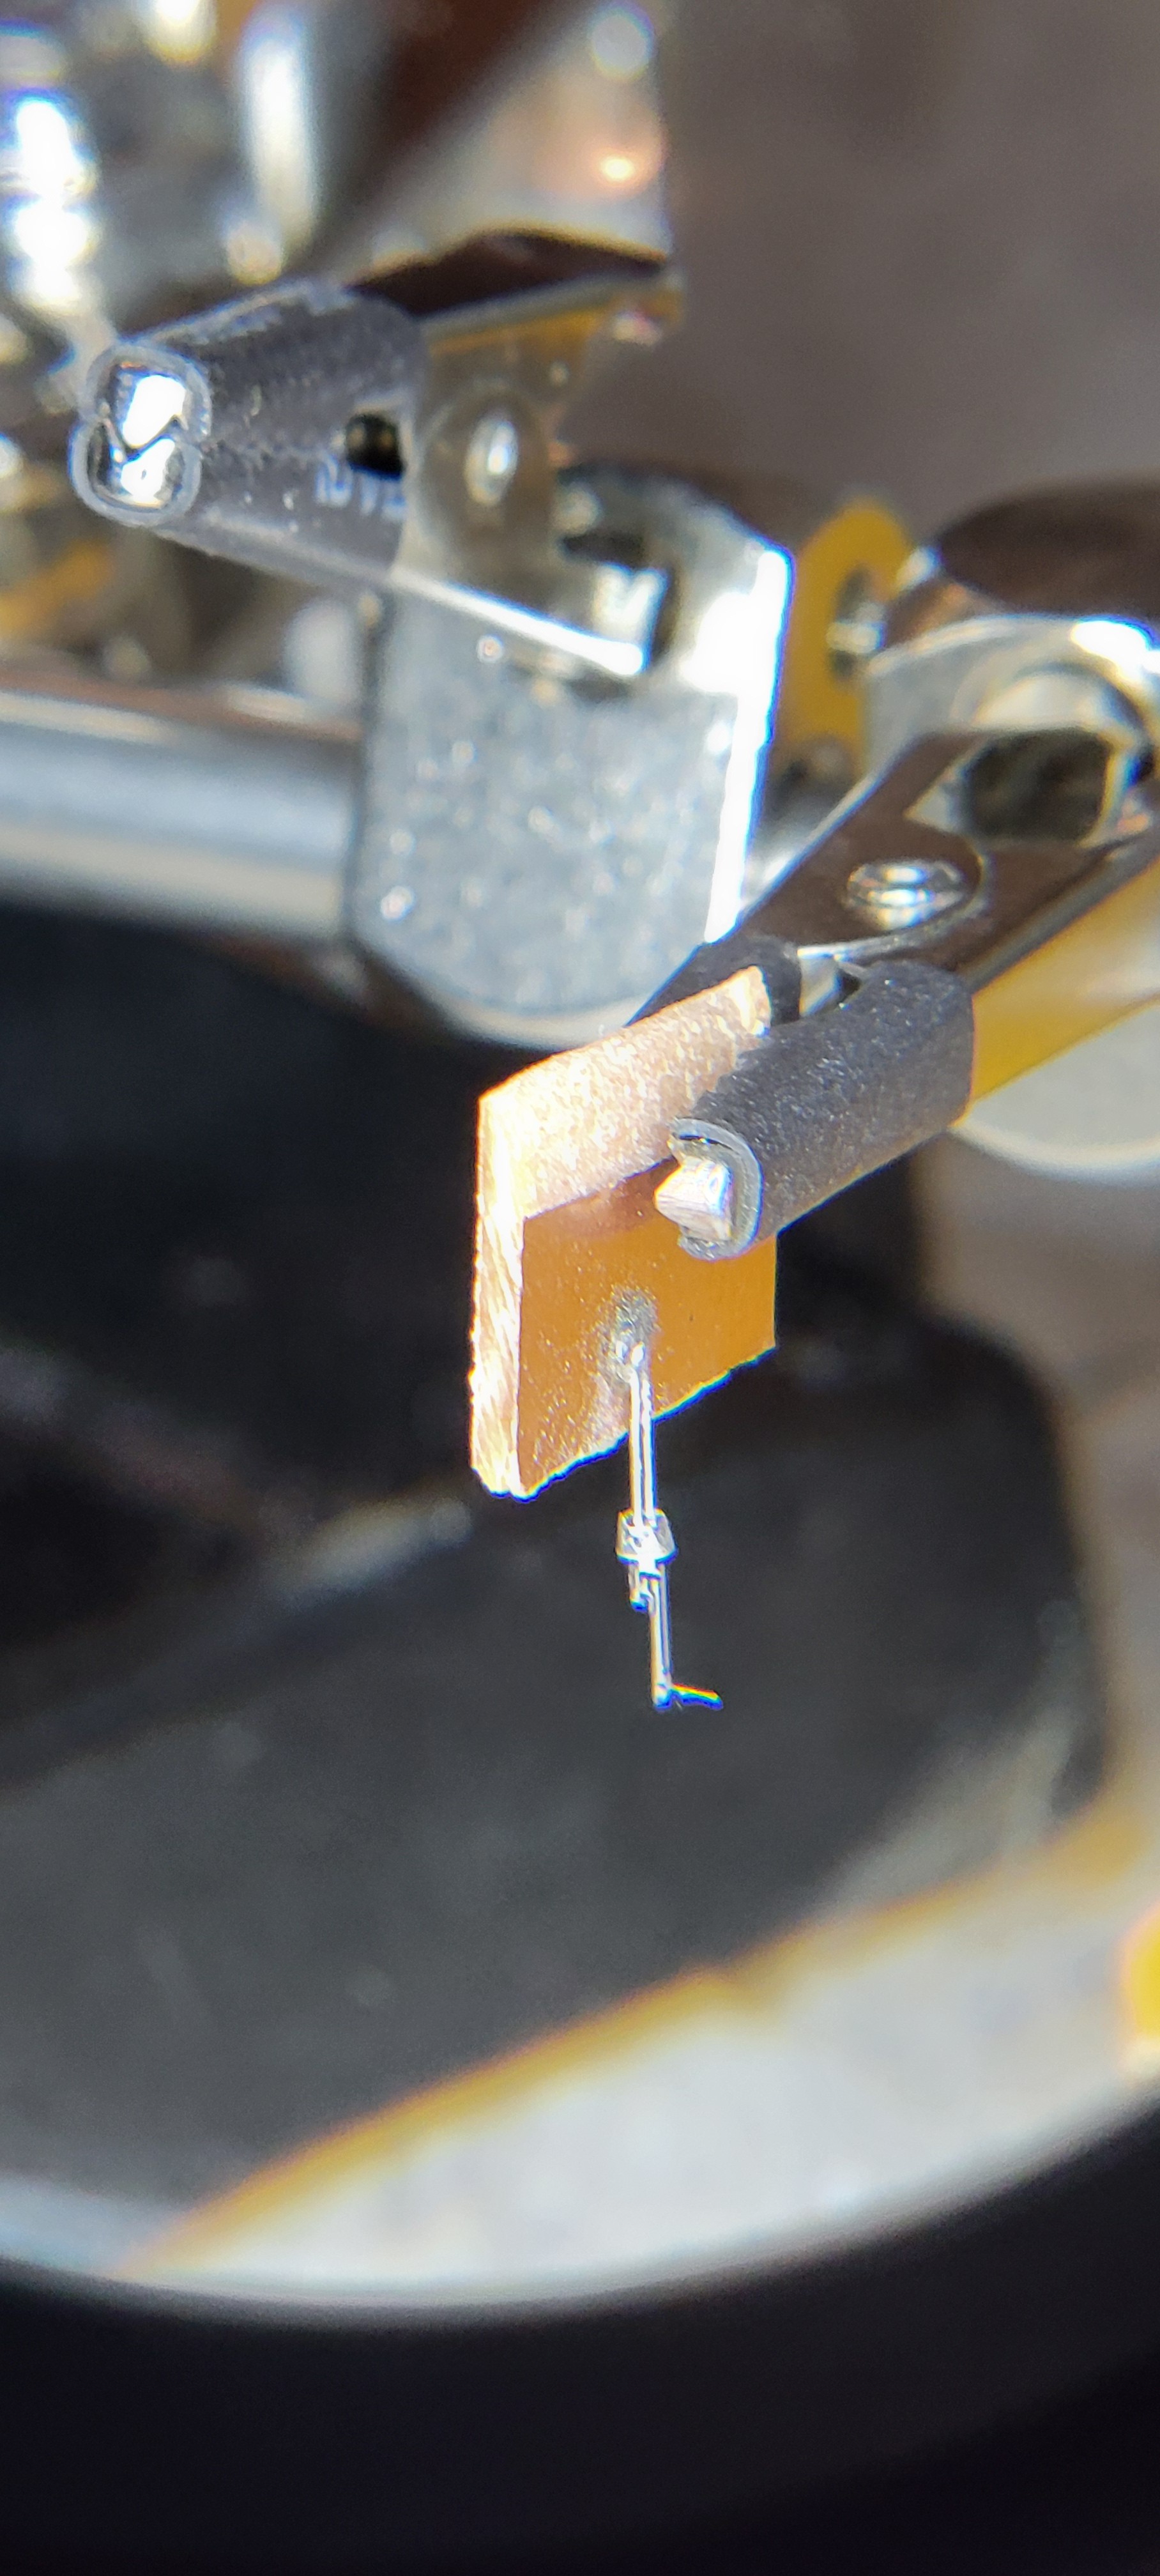
I've glued the quartz fork to a tiny pcb
Which in turn was glued to the QFM board.
Looks promising but nothing happened. I've tried to search for frequency but nothing.
Maybe I've applied to much glue and killed oscillation?
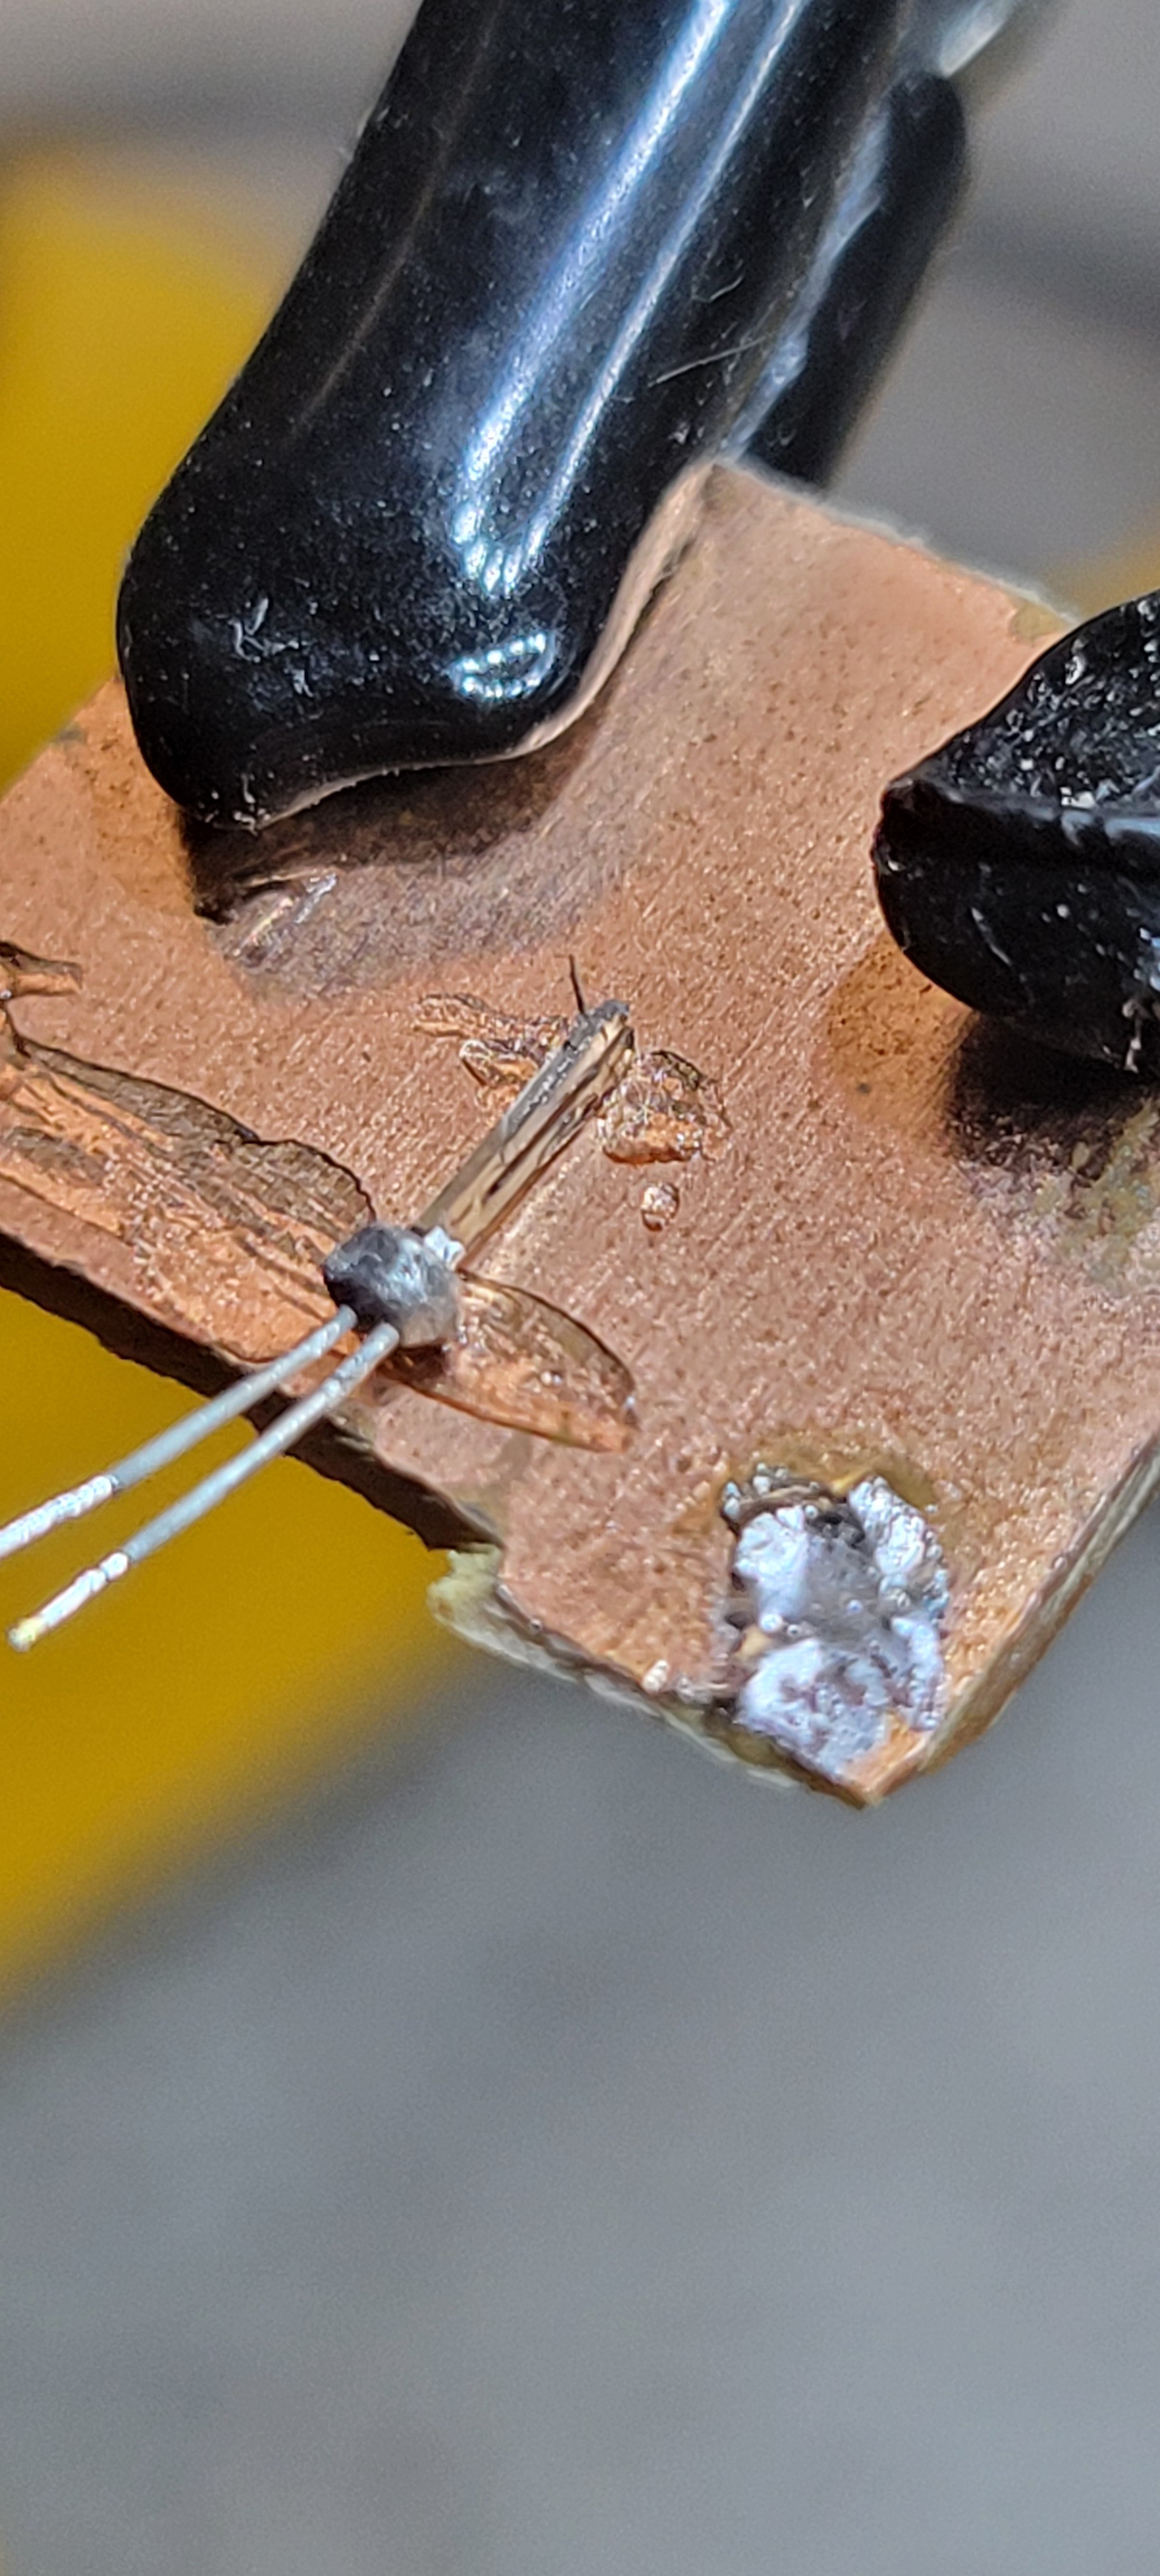
Now let's make the probe with wire connected on the top instead of connection in the middle. This way glue will not kill elasticity of the quartz fork
So instead of gluing one of the sides I am trying to glue Tungsteen wires on both sides. Since I don't want to etch both sides, it would be faster to glue tiny piece of Tungsteen on one side and etch the other.
It turned out that cutting is breaking the fork :(
But it does possible to glue tiny piece to a fork. That's what I am going to try next.
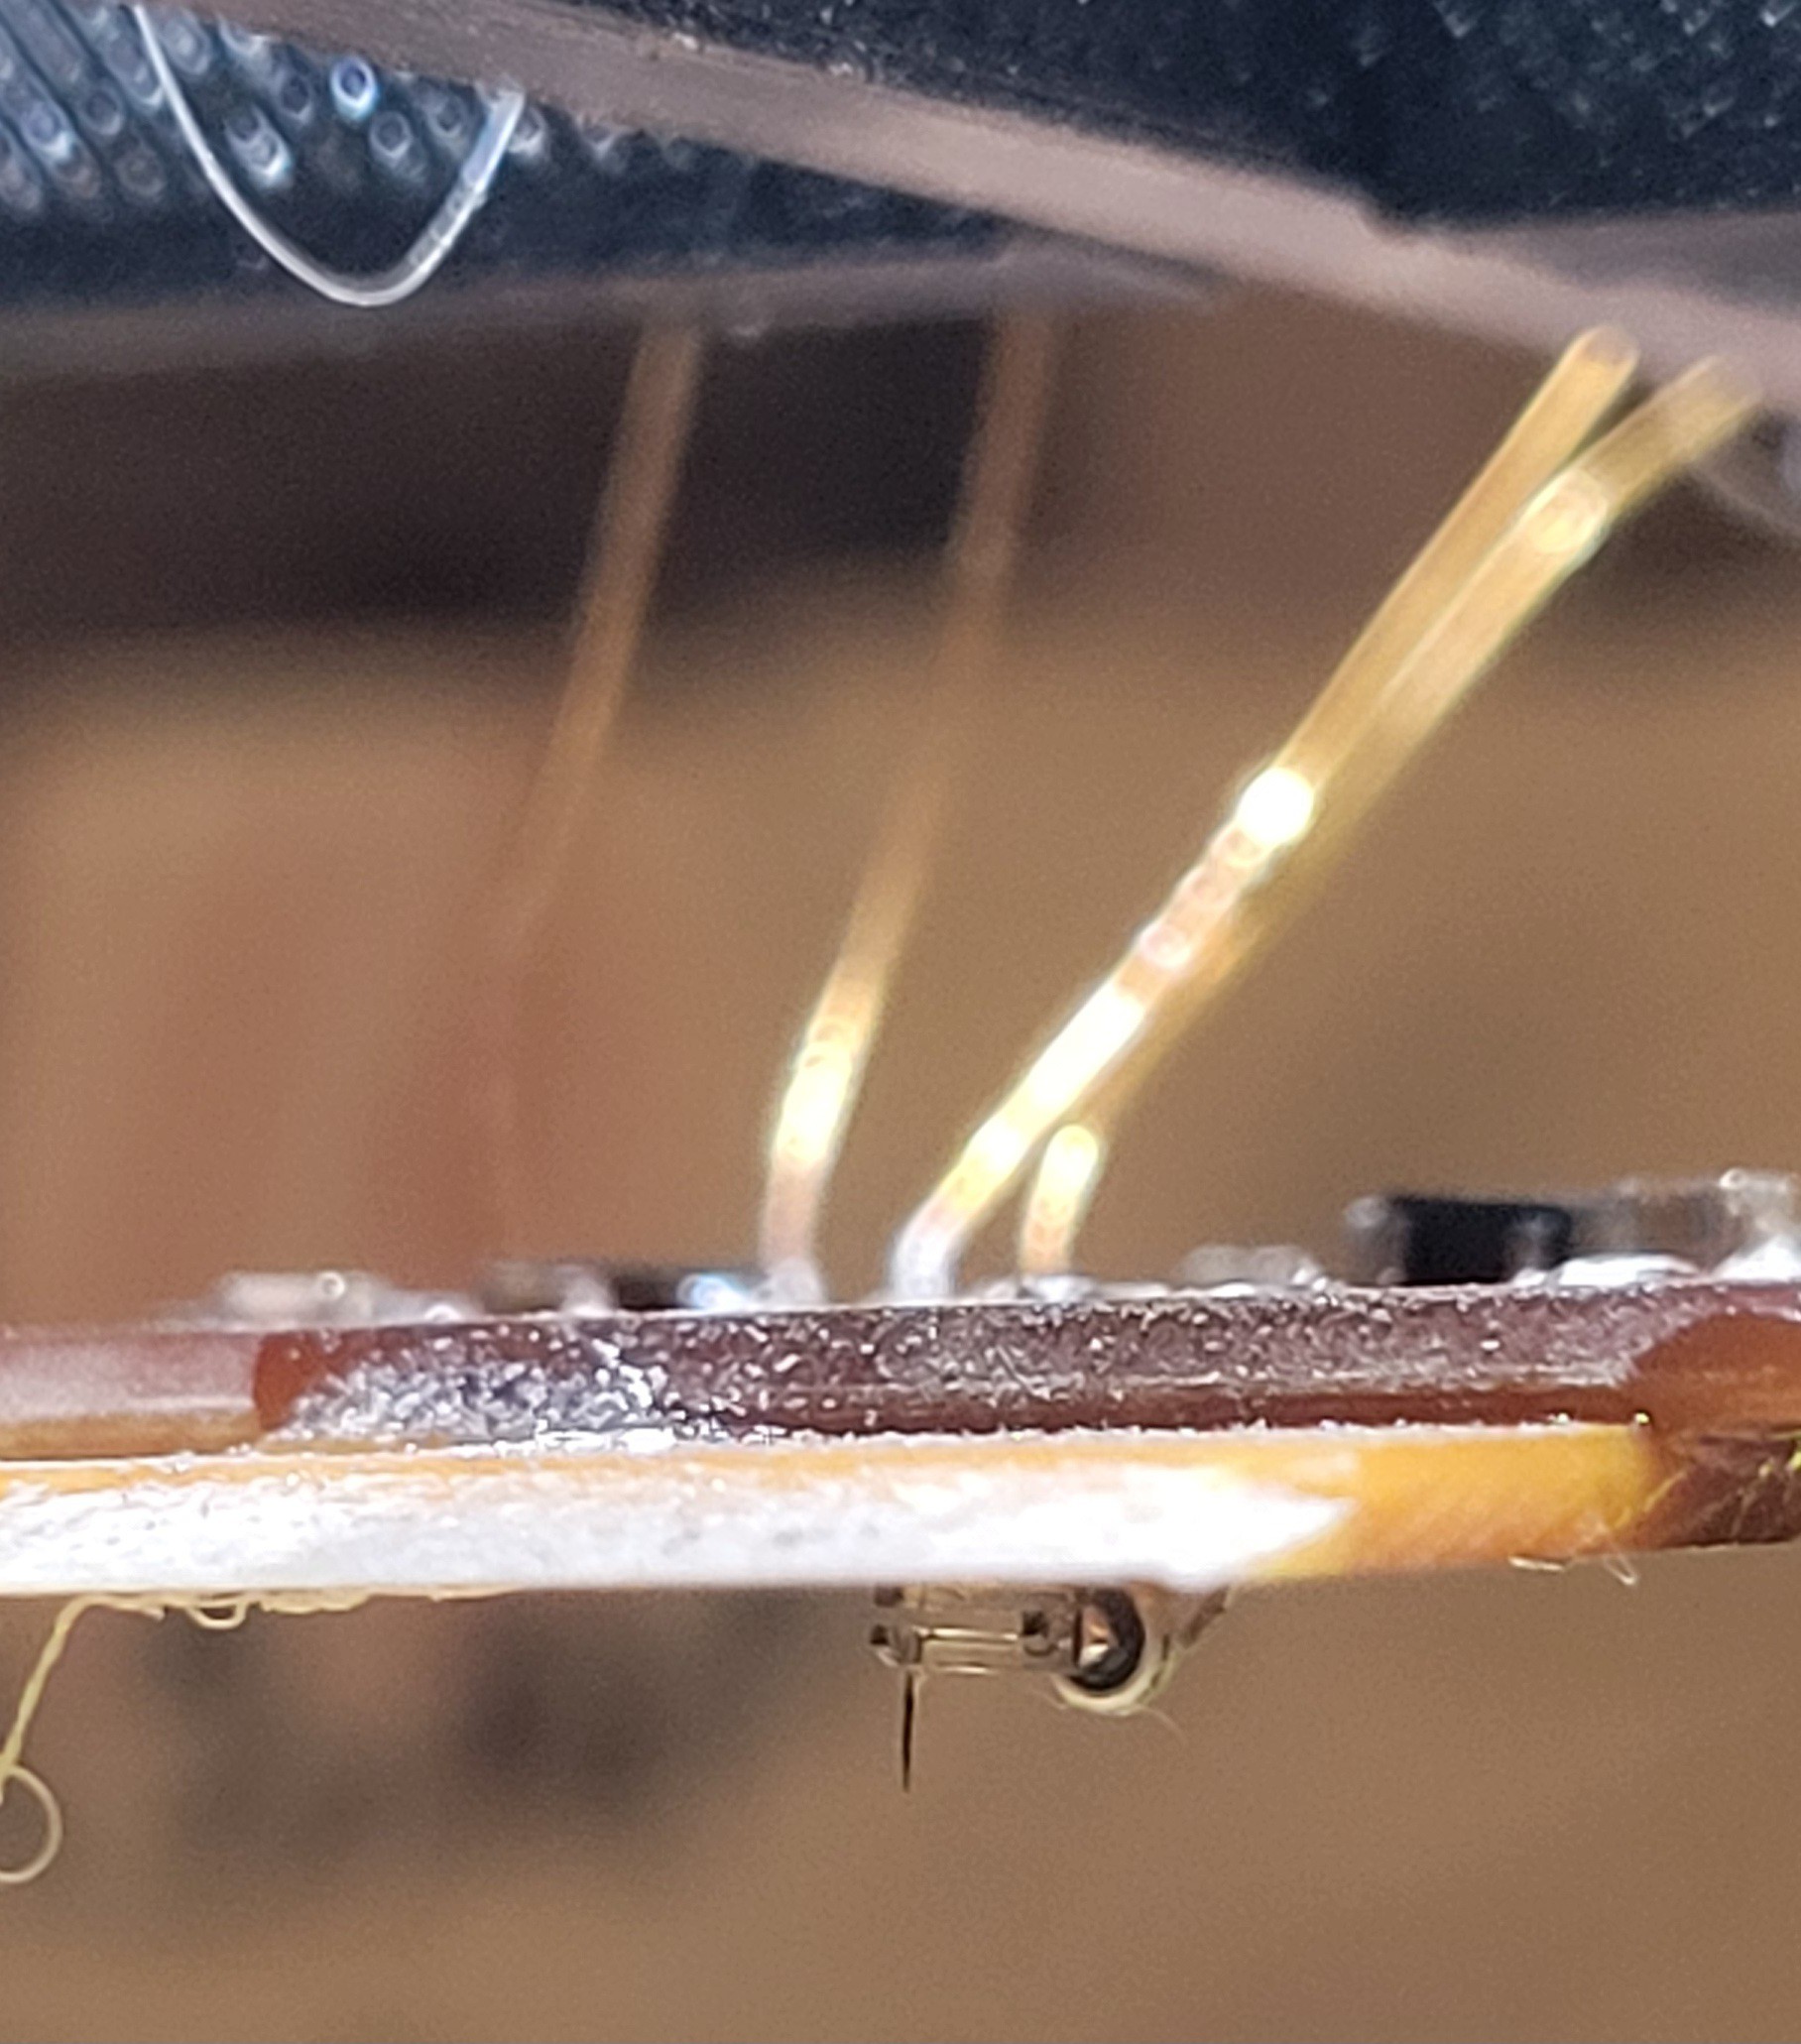
I've tried different combinations, I don't know what I'm doing wrong but once I apply glue it stops behaving like crystal. Maybe I should apply glue only on the ends of the quartz crystals fongs.
Although I managed to glue Tungsteen wire it was always so difficult. Now I found a method to simply connect both qrustal fork and tiny wire by using microscope!
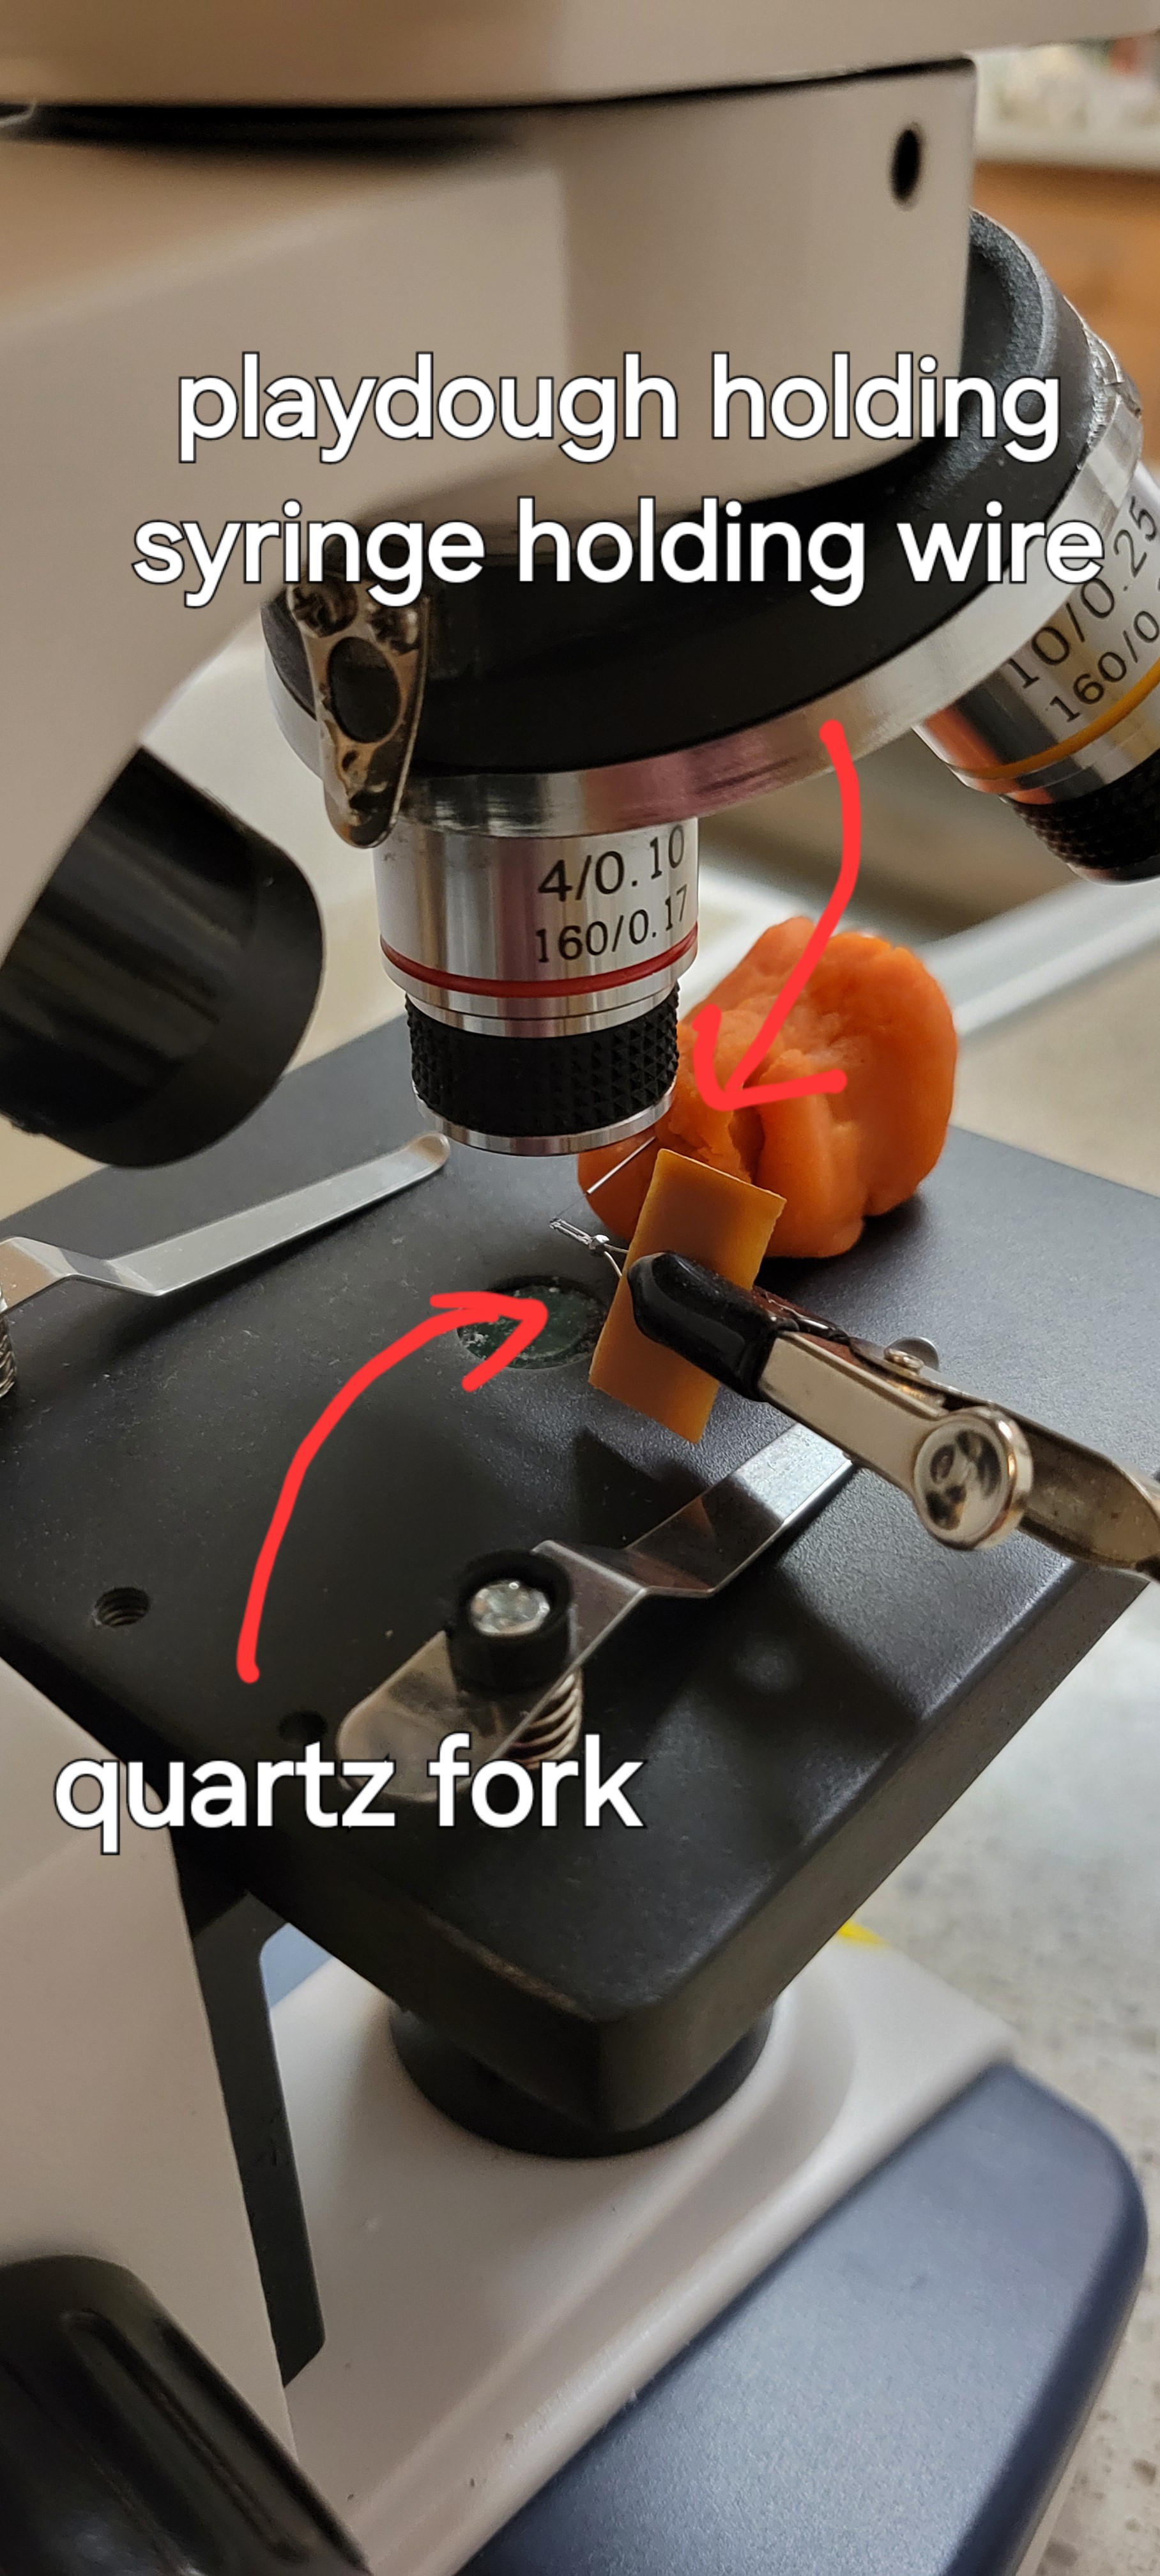
Calibration goes like this, first place quartz fork and some helper and make sure it seen in microscope ( height should be adjusted) then place playdough (yeah, I got kids) and put syringe inside it inside syringe should be tiny Tungsteen wite. Change microscope plate height so wire became visible.
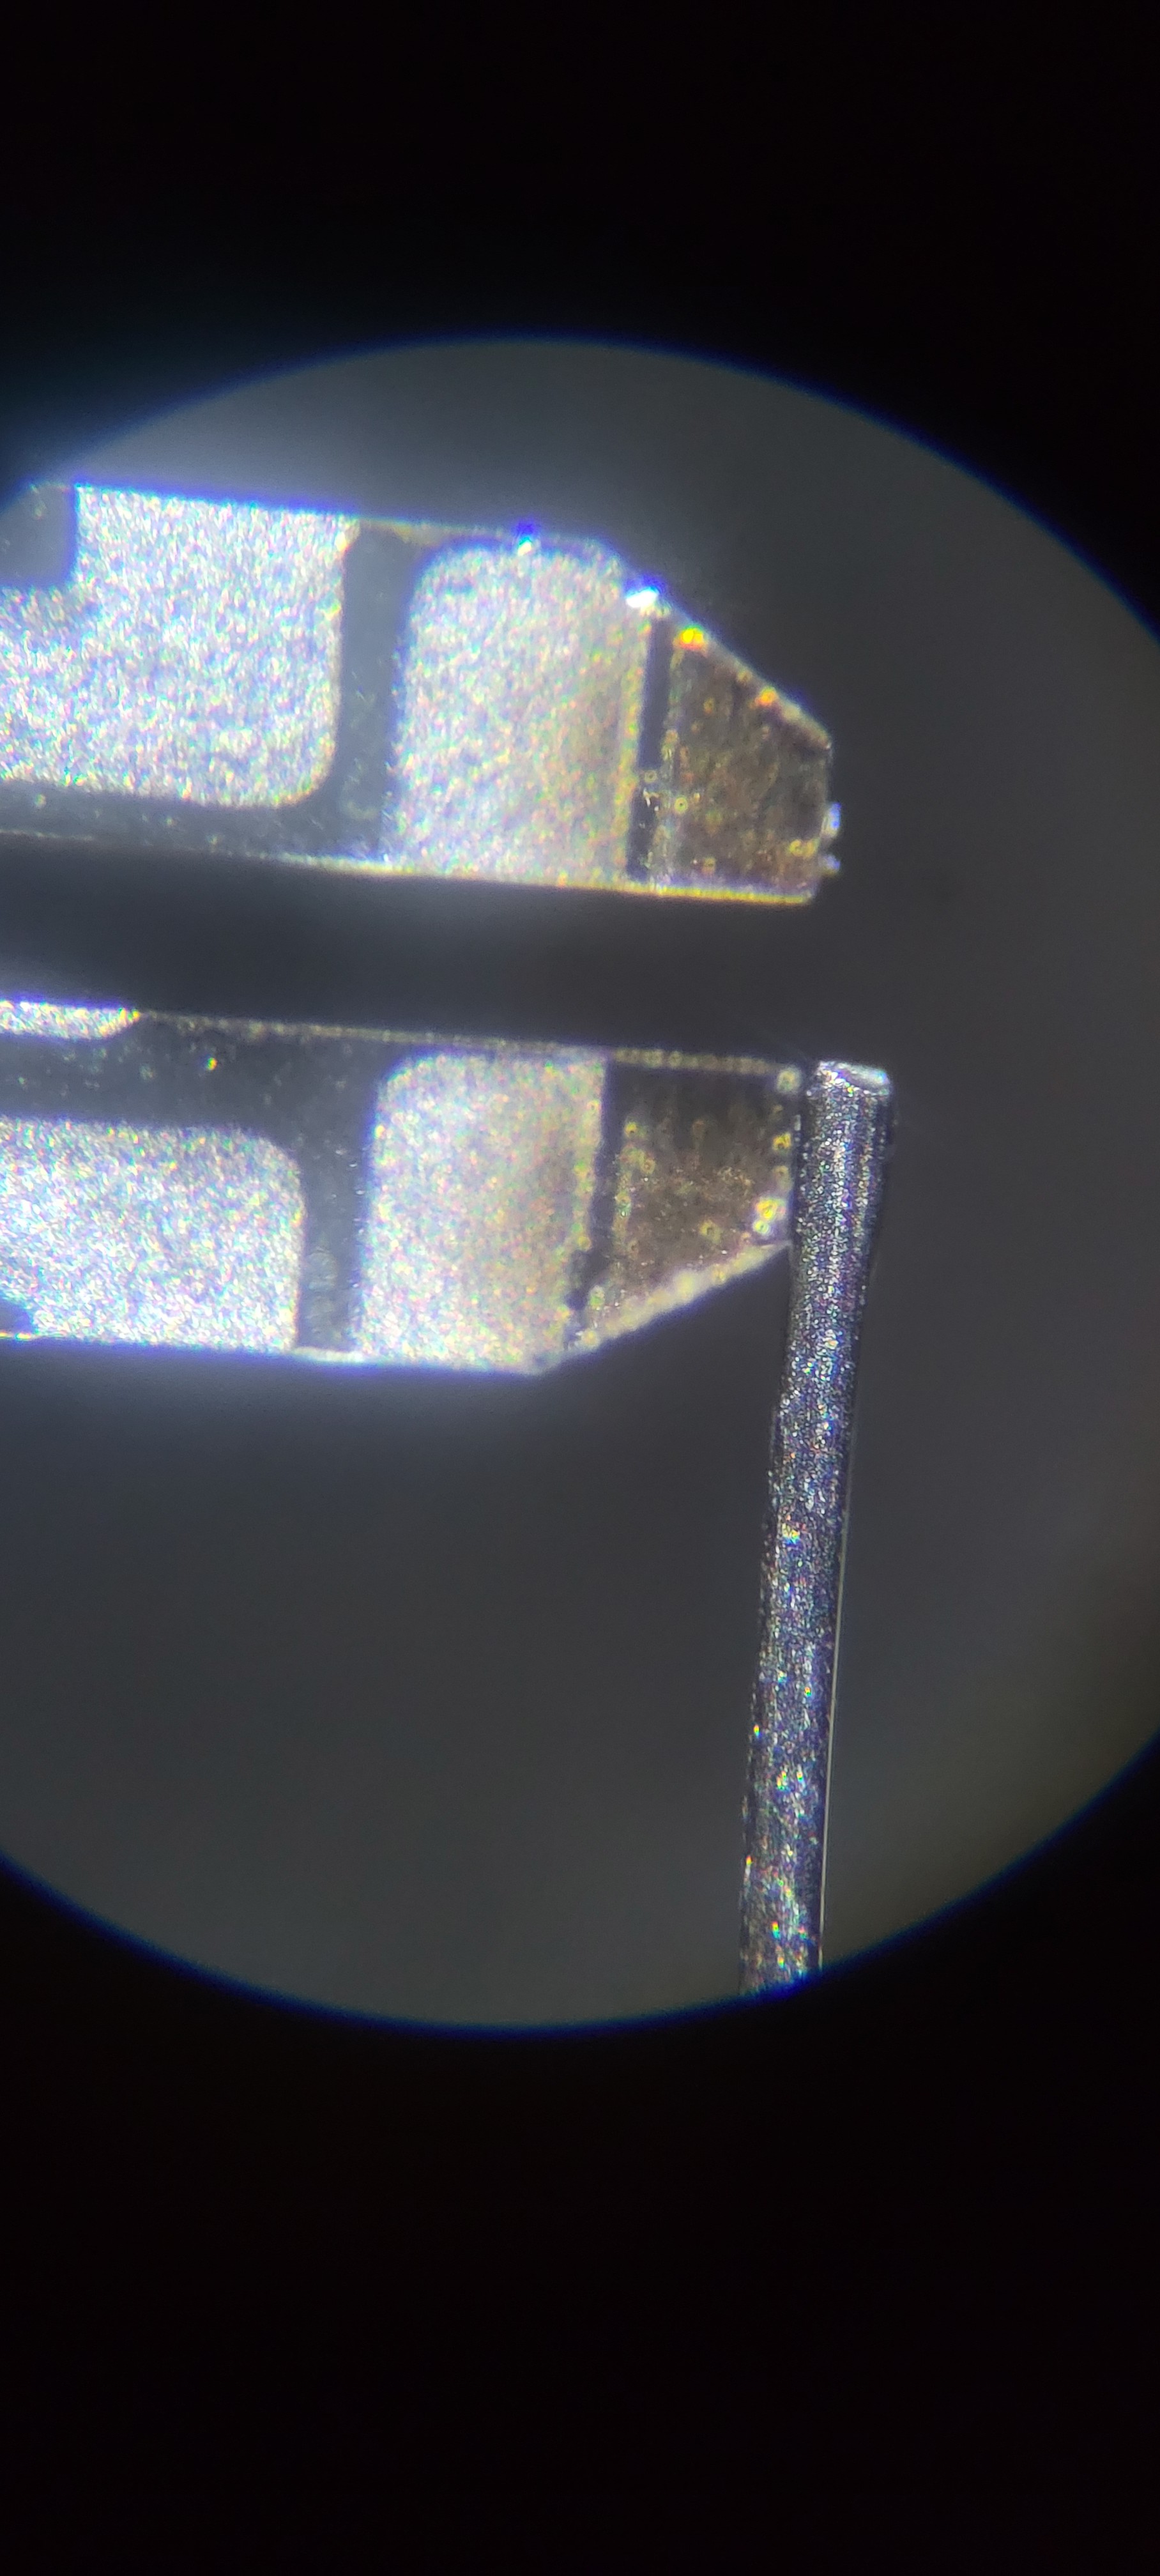
Now only thing is left is to apply glue and be patient.
Discussions
Become a Hackaday.io Member
Create an account to leave a comment. Already have an account? Log In.