The inception of the Smart Garden project occurred in the aftermath of the summer of 2020, when the unfortunate demise of my balcony plants due to issues with the existing time-based irrigation system compelled me to seek a better solution. Subsequently, I transitioned to a generic Alexa-compatible board with four relays and an external electro-valve to manage water flow.
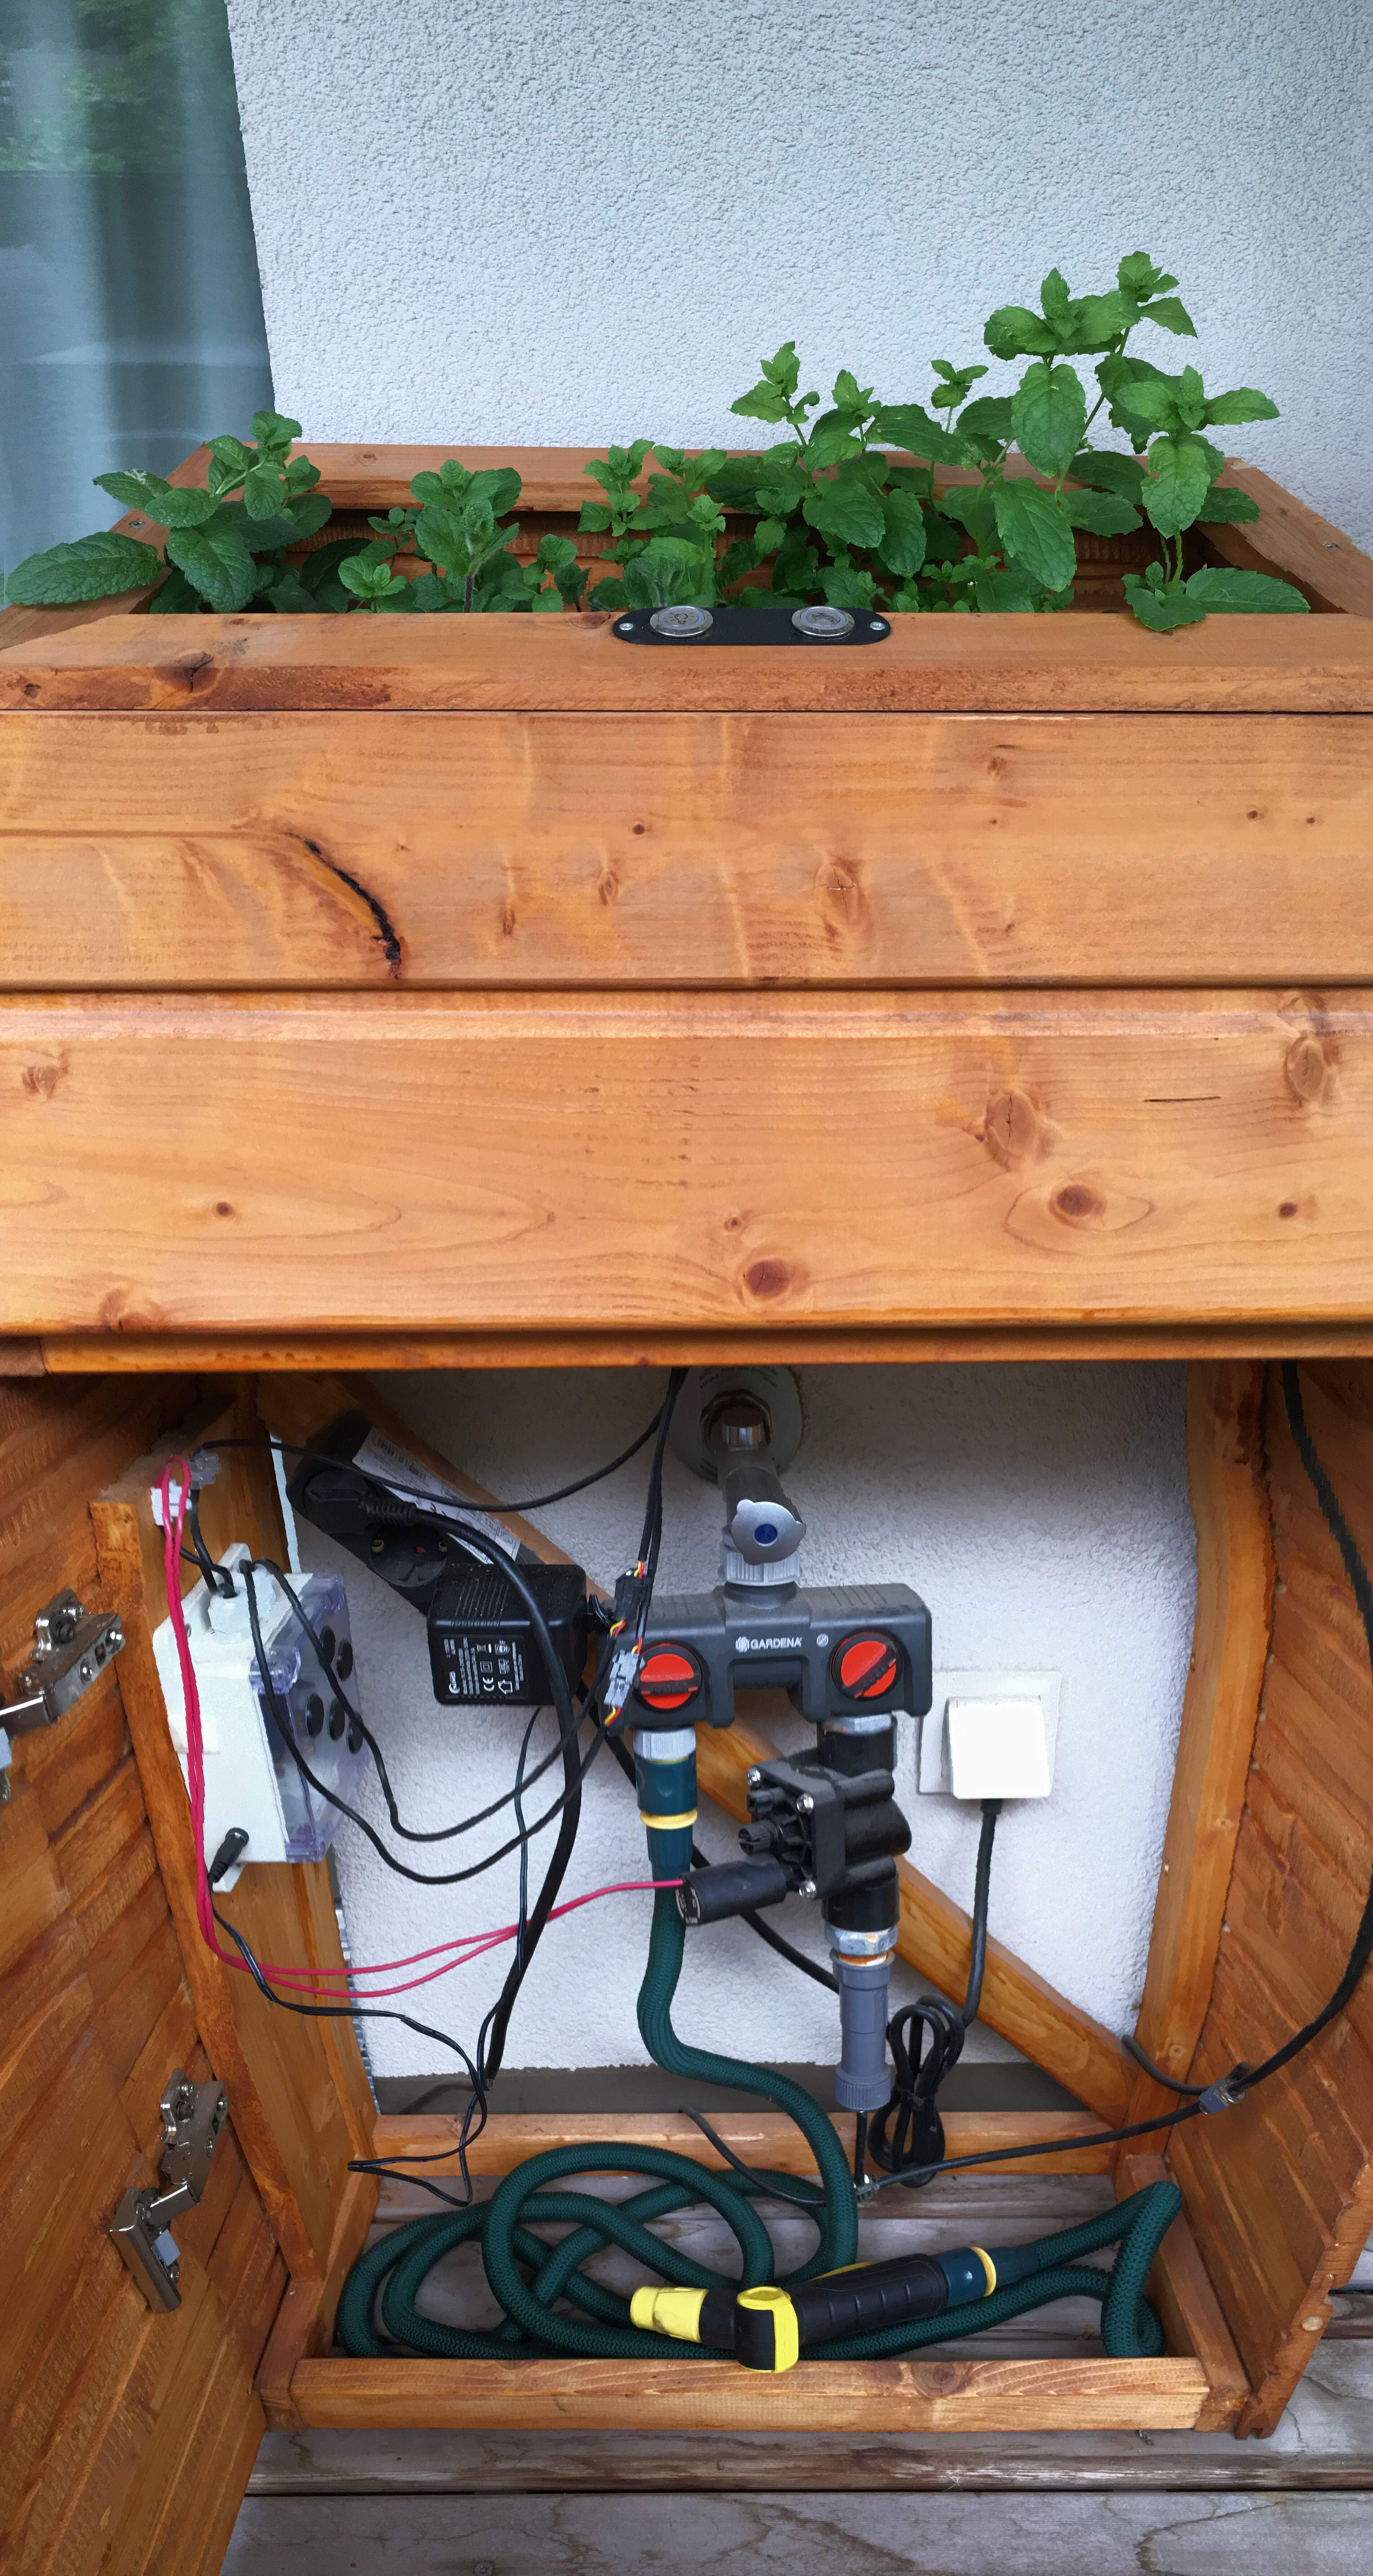
While it served its purpose, this setup posed challenges. To consolidate power from a 24VAC supply, I had to source a specific AC-to-DC step-down module for the electronics and diligently connect wires for each relay. Additionally, I incorporated a capacitor in parallel with the electro-valve to minimize electrical noise generated by the solenoid and mitigate inrush current, thereby extending the valve's lifespan.
Ultimately, I found myself grappling with a convoluted web of wires within a sealed box, wary of reopening it. Hence, by the conclusion of the summer of 2022, I resolved to devise an all-in-one board solution: the Smart Garden board.
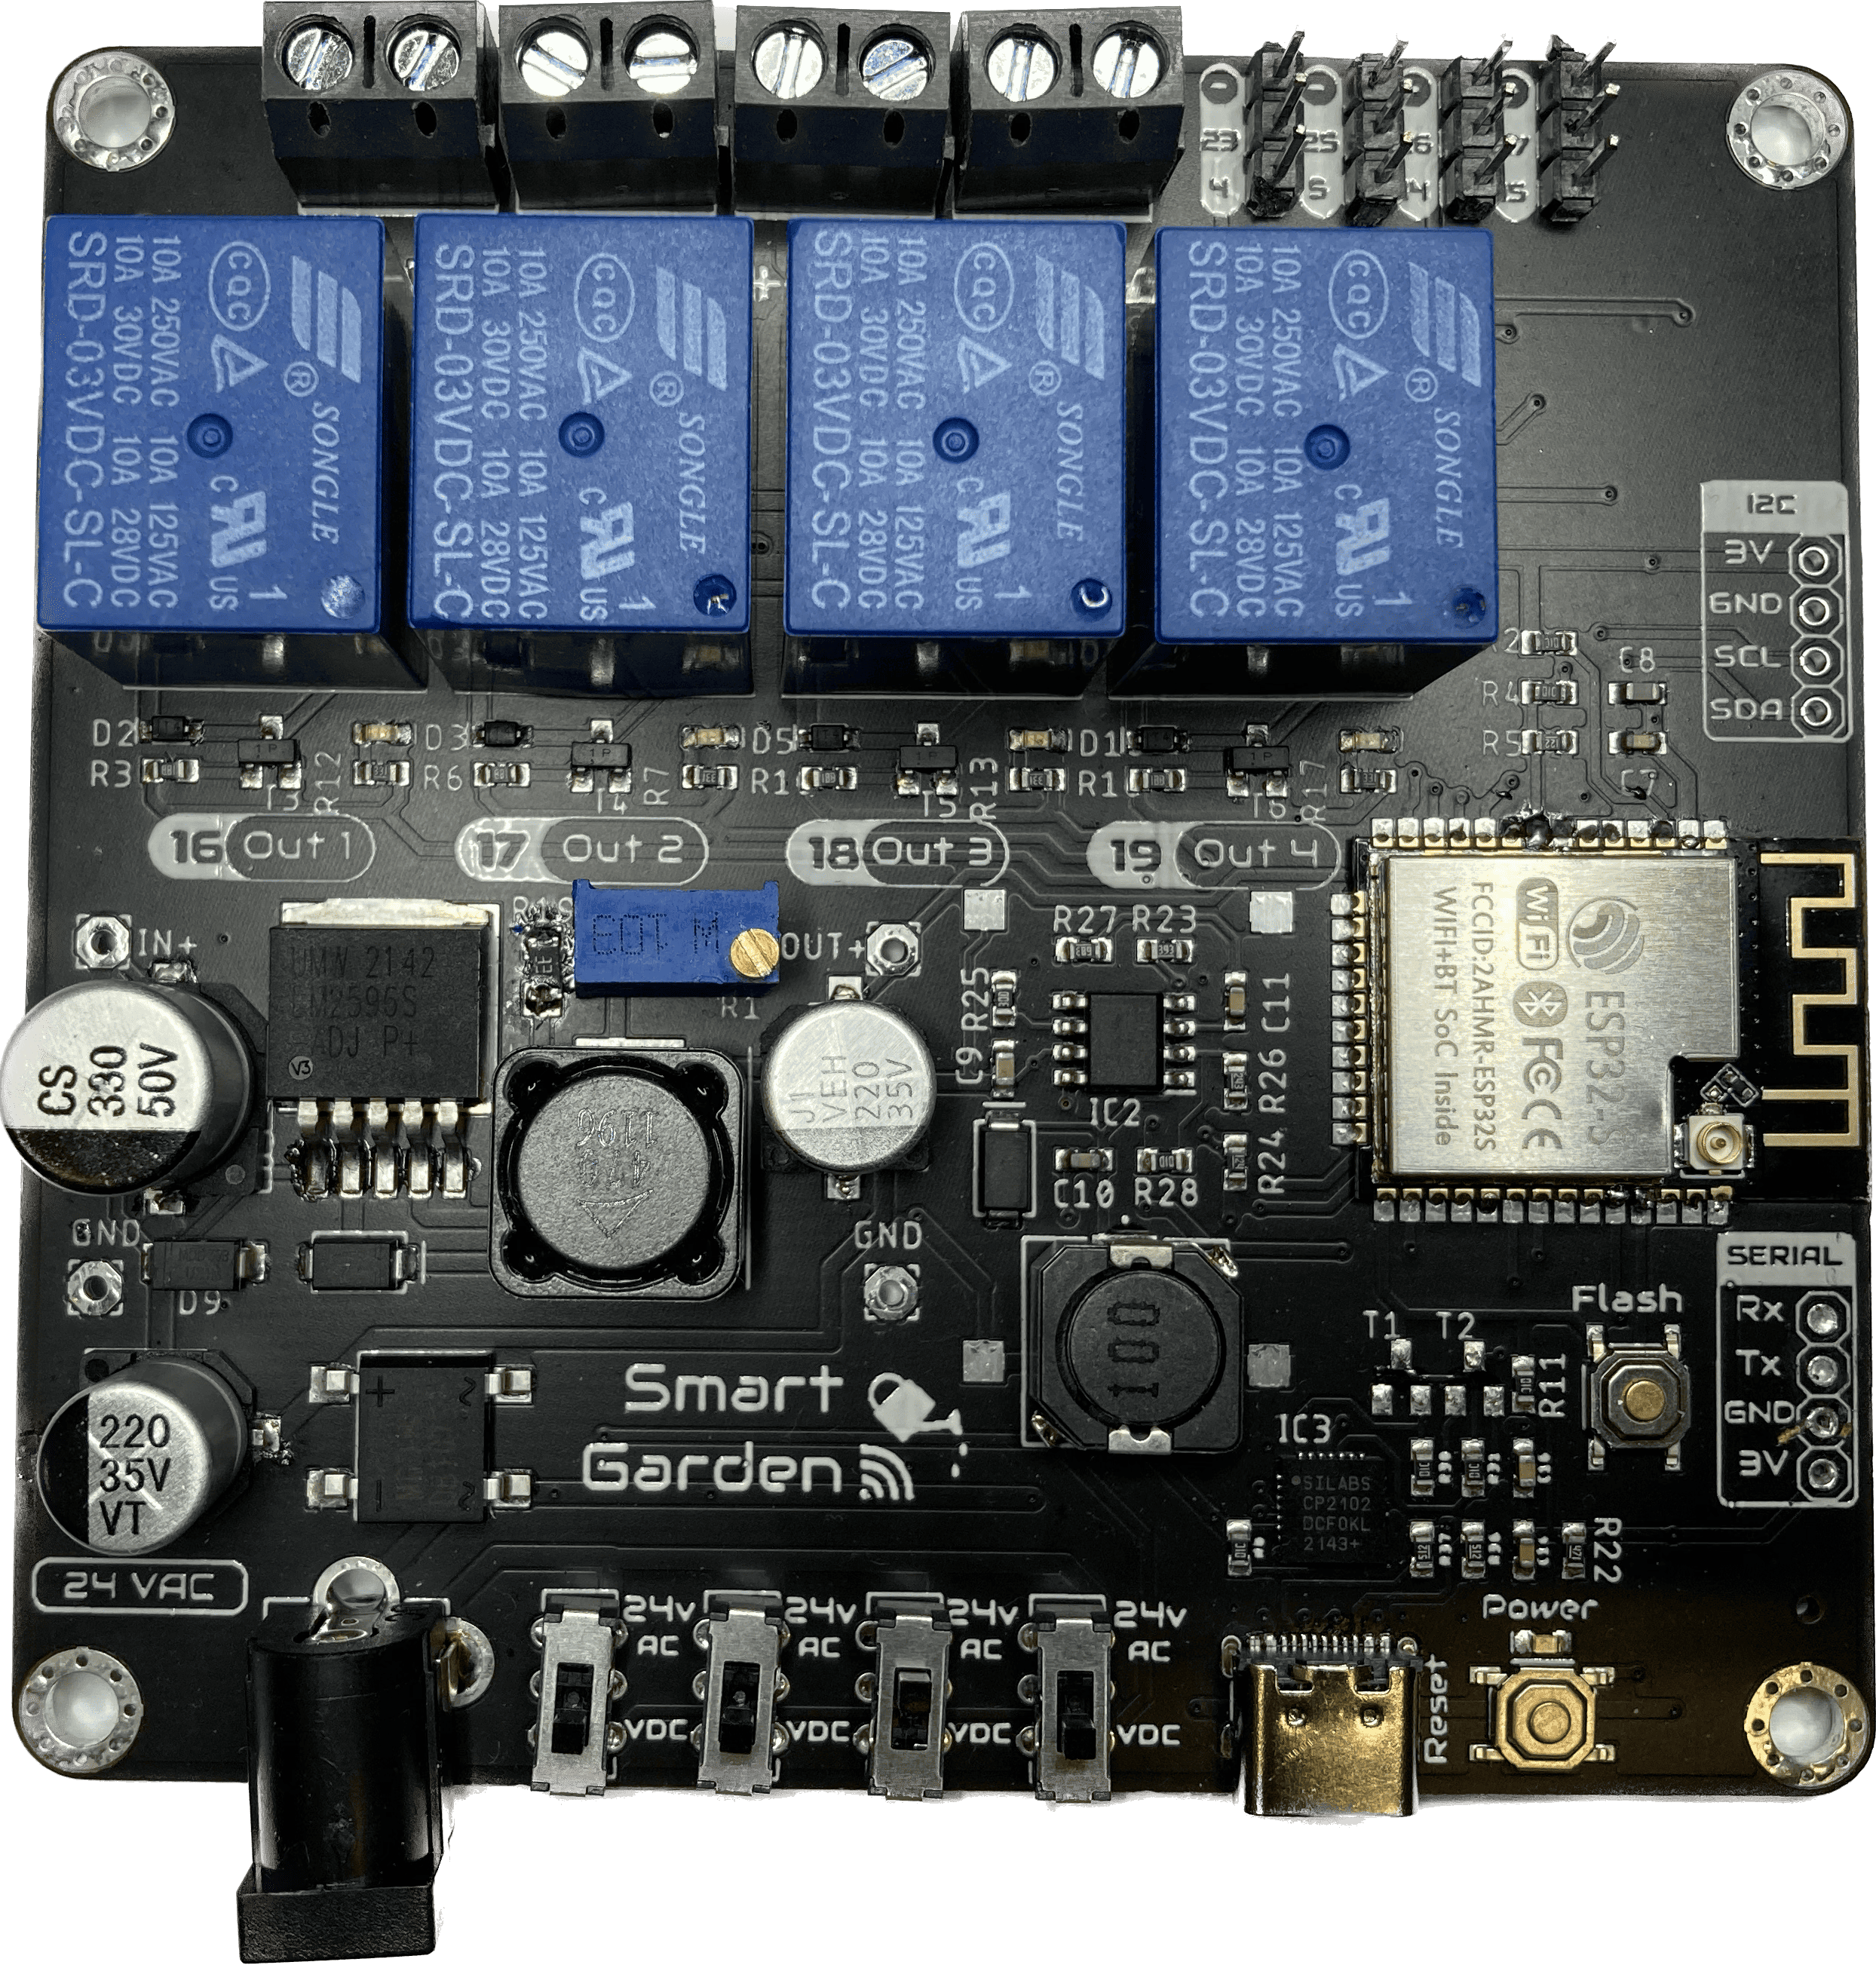
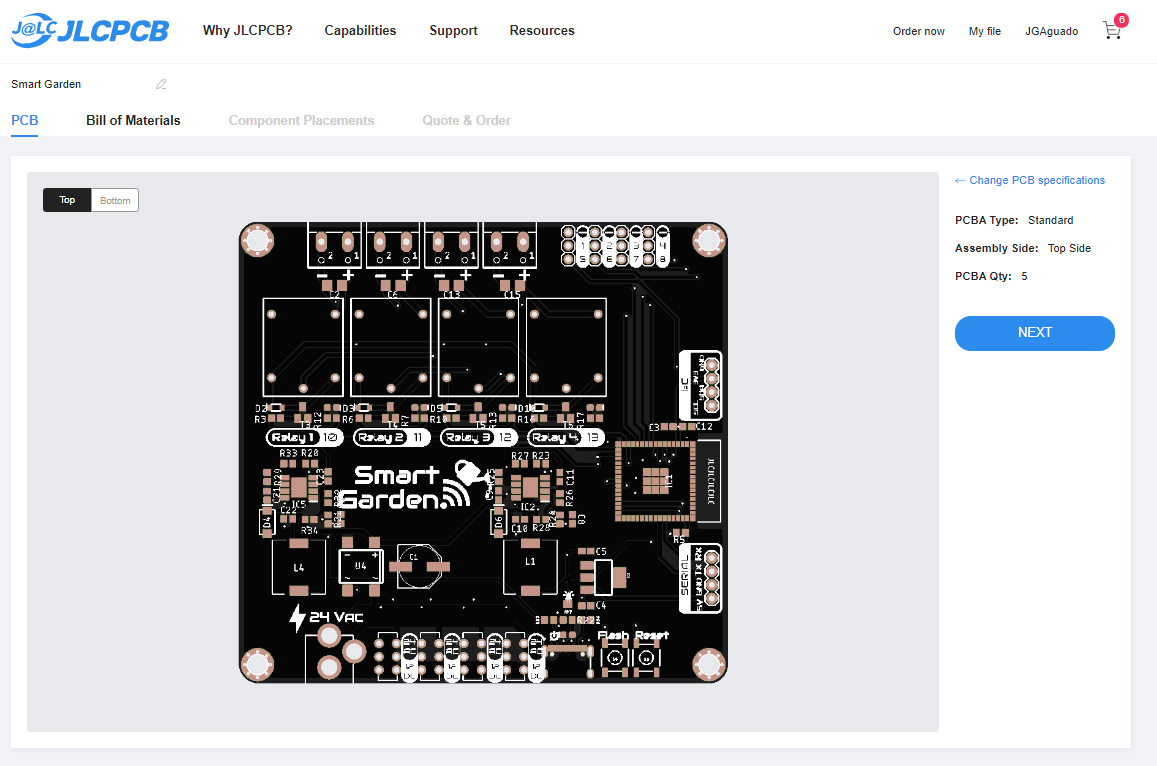
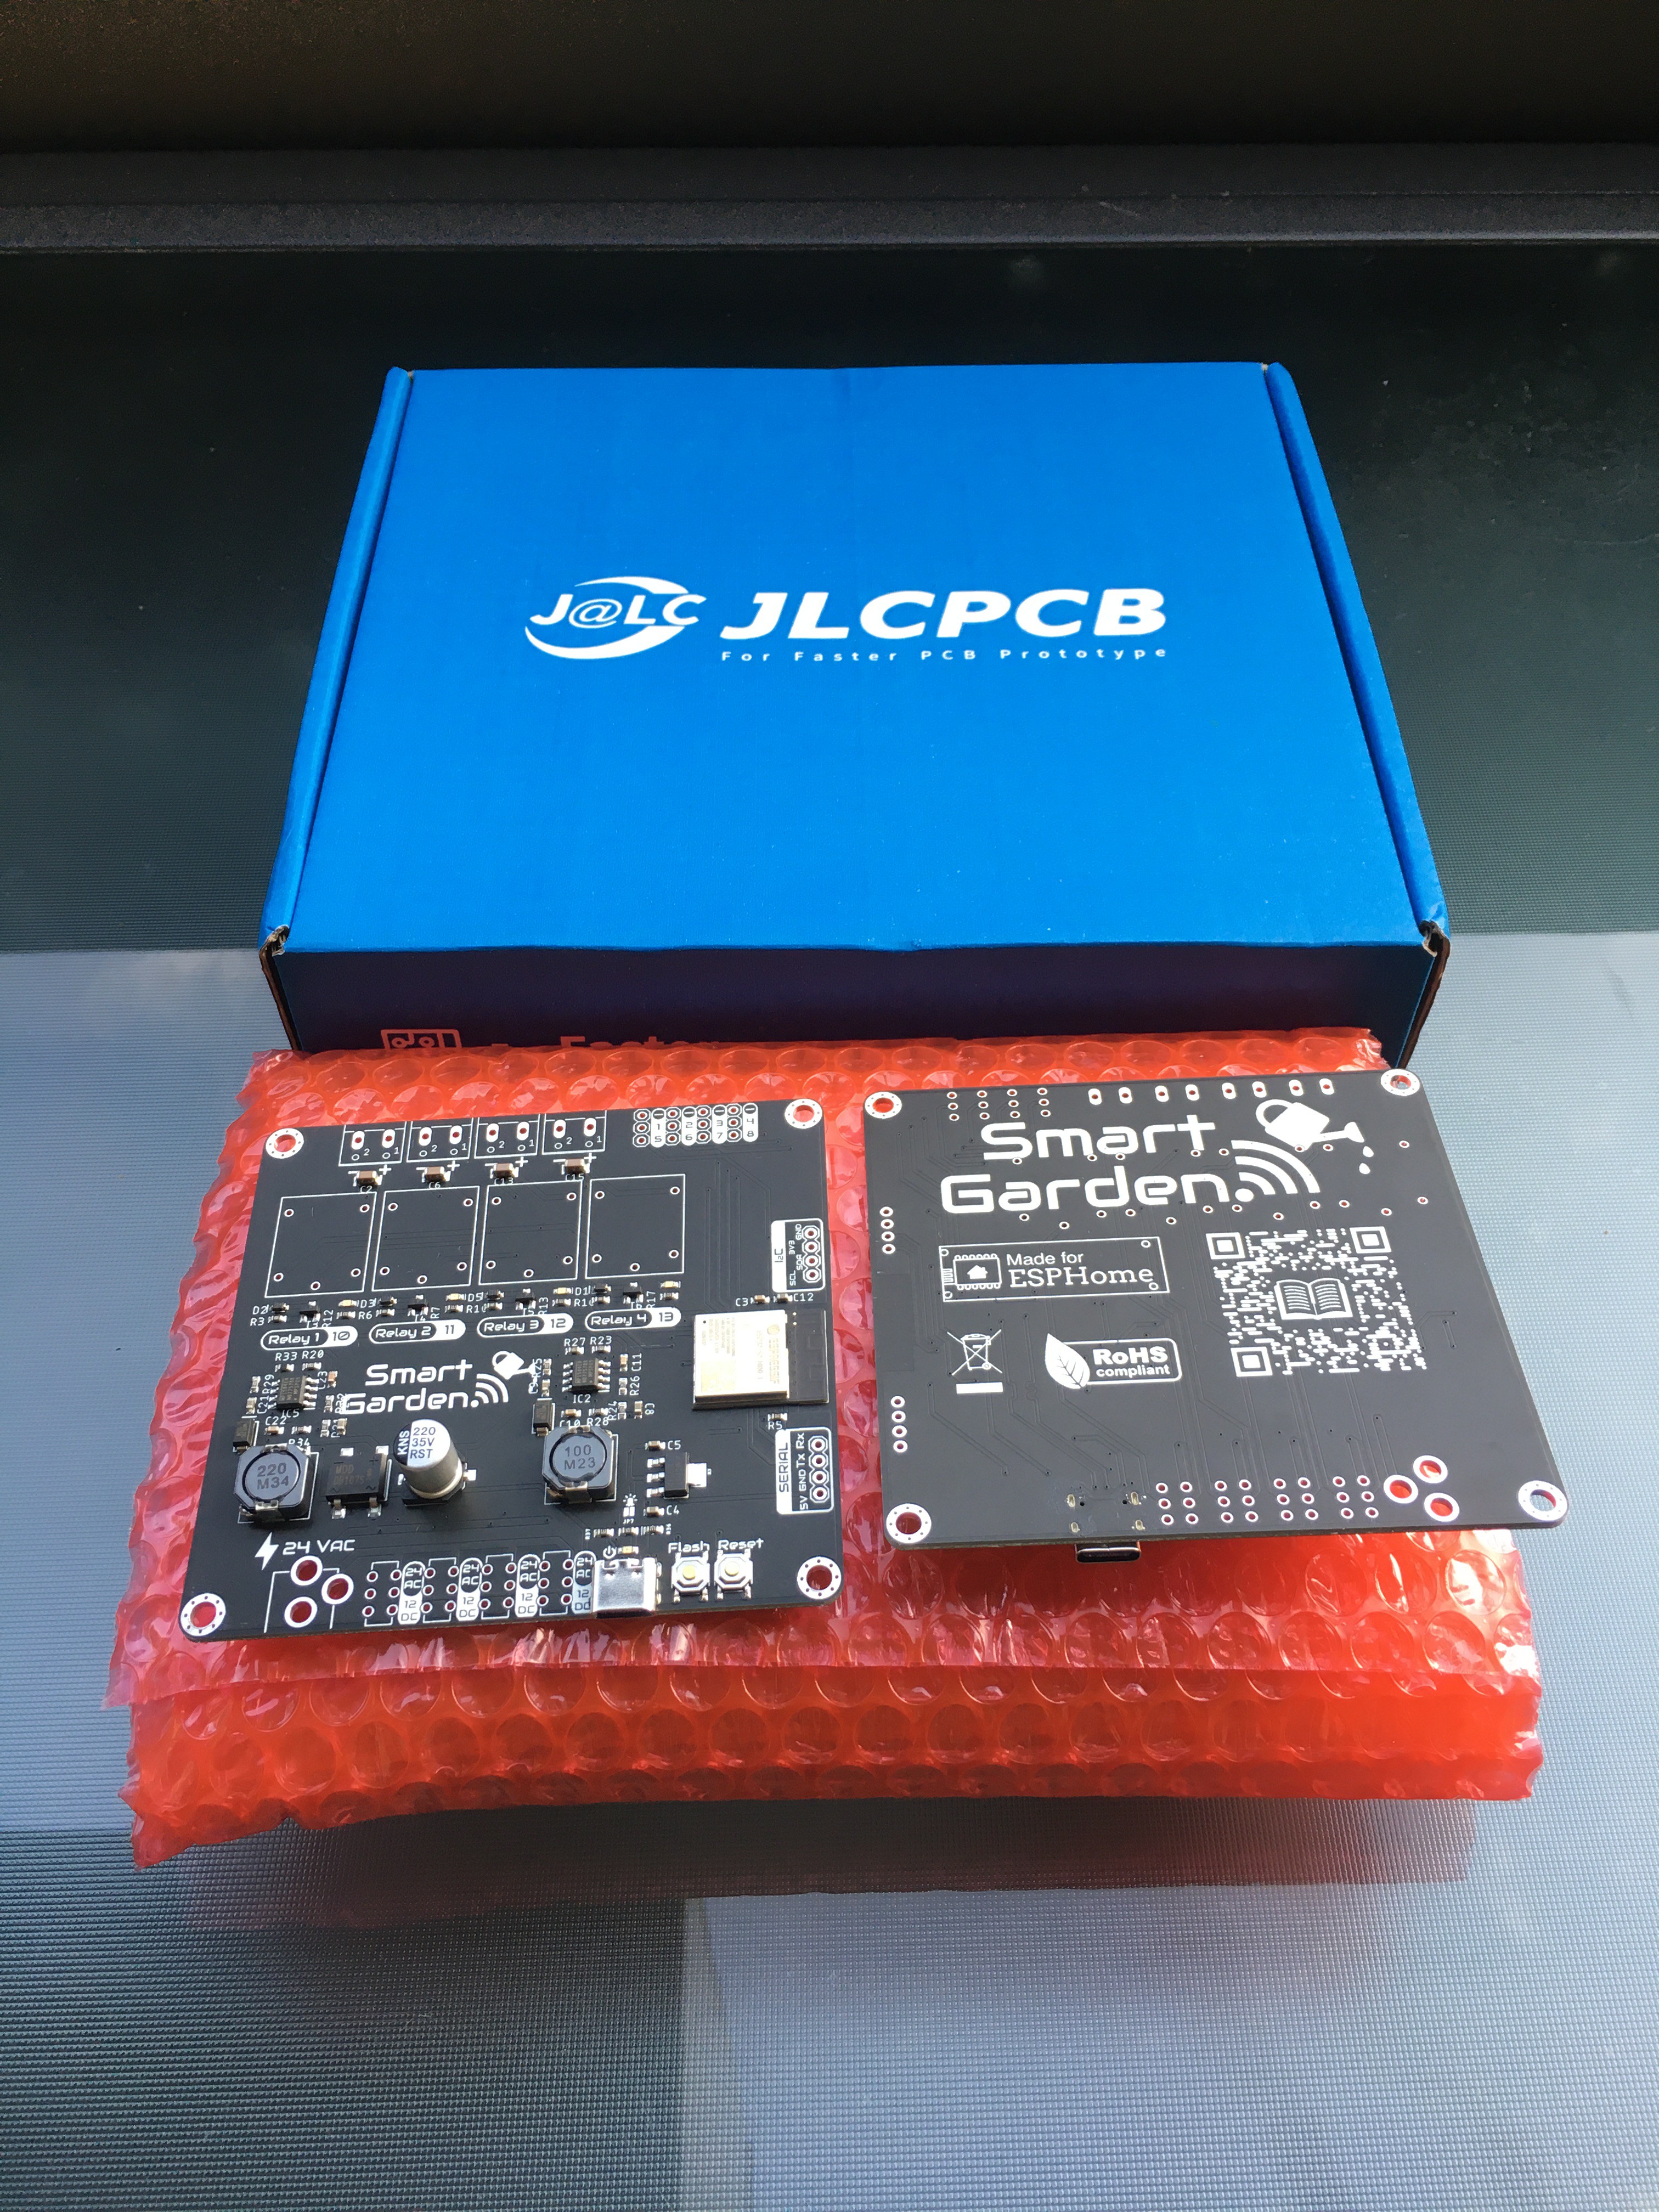
The project commenced with an exploration of various microcontrollers, with the ESP32 emerging as the frontrunner due to its remarkable capabilities and widespread adoption in the maker community. Capitalizing on the ESP32's versatility and power, the Smart Garden board materialized.
Initial efforts focused on delivering robust control for standard 24VAC solenoid valves, as well as accommodating DC-driven irrigation valves and water pumps. By integrating four channels with support for both AC and DC voltages, the Smart Garden offered the flexible irrigation system design I sought. This ensured users could seamlessly adapt the board to their existing garden infrastructure, making it a cost-effective upgrade option.
During the prototype stage, programming initially relied on a serial pinhead (VCC, Tx, Rx & GND). However, to streamline the reprogramming process, for the second revision of the board, I incorporated a CP210x IC with USB-C port compatibility, enhancing simplicity and user-friendliness. Additionally, the wireless Over-the-Air (OTA) firmware update feature eliminated the need for physical connections during updates.
To augment integration possibilities, the Smart Garden embraced the popular ESPHome firmware. This facilitated a seamless connection with Home Assistant setups, enabling convenient monitoring and automation of the garden irrigation system.
This integration with Home Assistant, along with my complementary project Smart Plant (which monitors soil moisture and other parameters), proved invaluable for precise irrigation control of distinct plant groups based on their individual needs. Water conservation and prevention of overwatering became achievable goals. Moreover, leveraging accurate weather forecasts within the Home Assistant setup enabled the implementation of diverse automation strategies.
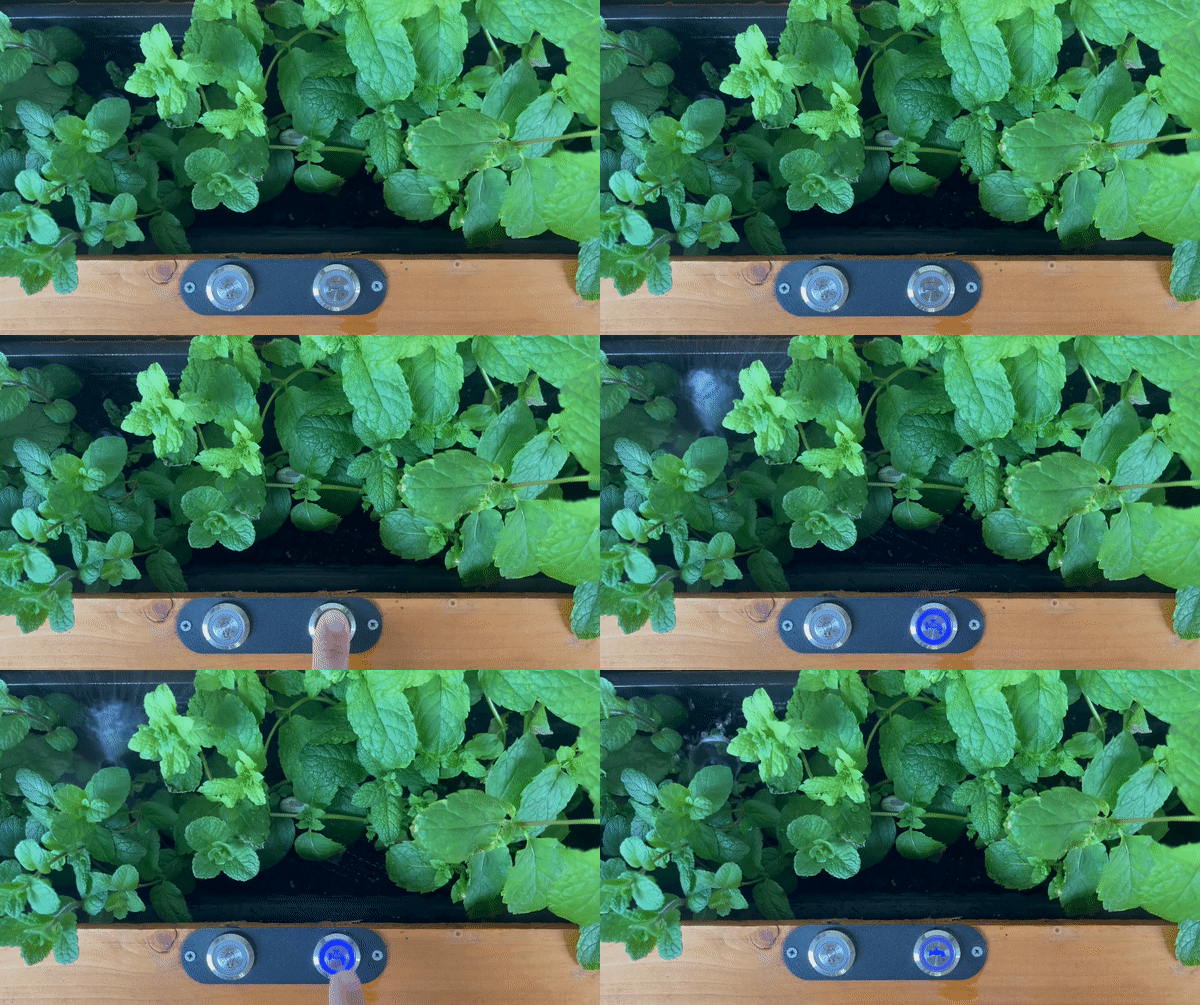
The inclusion of a set of 8 I/O pins for reading pushbuttons or turning on the pushbuttons LED rings proved quite useful for triggering manually some watering routines.
Finally, I added an I2C port and a serial port in order to expand the board's capabilities, empowering users to incorporate external sensors and control additional boards. This versatility unlocked a world of possibilities, ranging from weather sensor integration to managing upcoming expansion boards with increased channel support.
 Jon
Jon

 Flavio
 sako0938
 Andy Smith
I have done the same but just used an off the shelf Kincony board but there are many other 4 channel relay boards out there with wide ranging power supplies.